
Stretch Like a Pro: Advanced Techniques for Neapolitan Pizza Dough

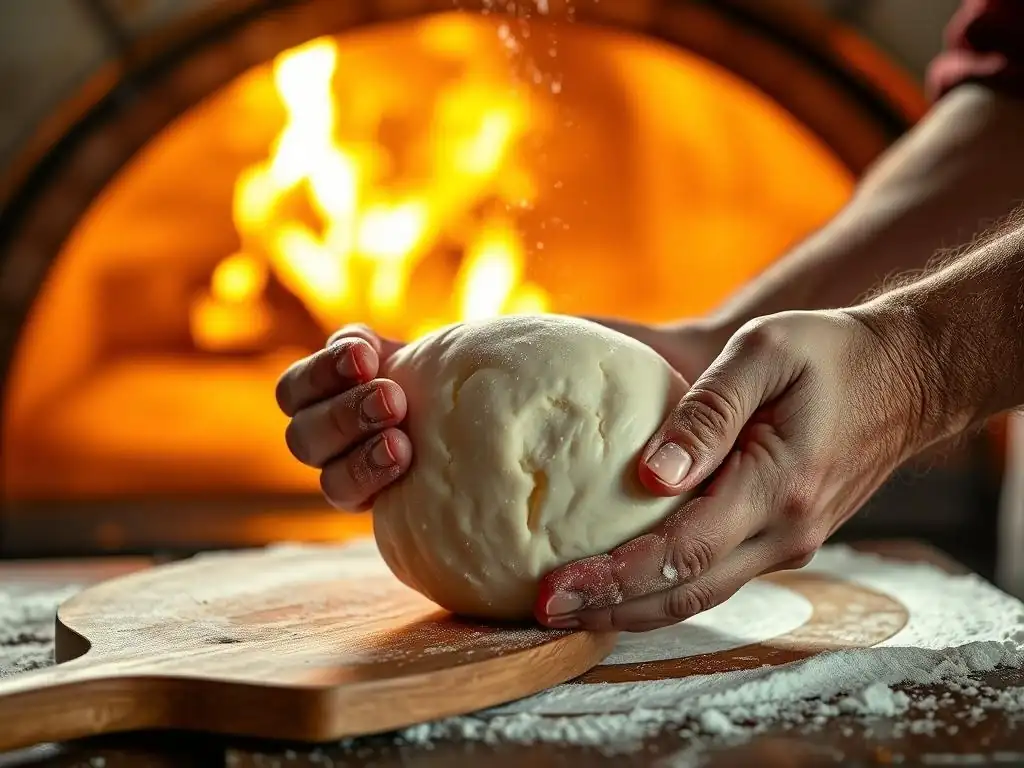
Welcome to BakeWithEase, where baking becomes a joy! Ever wondered what separates a good pizza from a truly authentic Neapolitan experience? This week, we're diving deep into the heart of Italian culinary tradition. Get ready to stretch like a pro because we're about to unveil advanced techniques for crafting the perfect Neapolitan pizza dough recipe – secrets that will transform your homemade pizzas forever. Intrigued? Let's get baking!
- Mastering Neapolitan Pizza Dough: Beyond the Basics
- Understanding Neapolitan Dough: Key Properties for Stretching
- Advanced Stretching Techniques for Neapolitan Pizza
- Achieving the Perfect Neapolitan Pizza Shape
- Troubleshooting Common Neapolitan Dough Problems
- Optimizing Your Neapolitan Pizza Baking Process
- Neapolitan Pizza Dough Recipe Refinement: Personalizing Your Dough
- Advanced Neapolitan Pizza Topping Strategies
- Conclusion: Become a Neapolitan Pizza Dough Master
-
Frequently Asked Questions
- What makes Neapolitan pizza dough different from other types of pizza dough?
- What kind of flour is best for making Neapolitan pizza dough?
- How important is the fermentation process for Neapolitan pizza dough?
- What are some common mistakes to avoid when stretching Neapolitan pizza dough?
- Why is a pizza stone or steel recommended for baking Neapolitan pizza?
- Final Reflection: Mastering the Art of Neapolitan Pizza Dough
- Unlock Your Pizza Potential: Master Neapolitan Dough Today!
Mastering Neapolitan Pizza Dough: Beyond the Basics
Creating authentic Neapolitan pizza is an art form, and at its heart lies the dough. While a basic Neapolitan pizza dough recipe is a great starting point, truly mastering the craft involves understanding the nuances of dough handling and fermentation. This article dives deeper, exploring advanced techniques that transform a simple mixture of flour, water, yeast, and salt into a perfectly airy, elastic base worthy of the Associazione Verace Pizza Napoletana standards. We'll move beyond mixing and basic shaping to explore hydration, gluten development, fermentation control, and sophisticated stretching methods that result in that signature light and chewy crust.
Elevating Your Neapolitan Pizza: An Introduction to Advanced Techniques
Moving beyond a standard Neapolitan pizza dough recipe requires a deeper understanding of the science behind the bake. It's about controlling variables like flour protein content, water temperature, fermentation time, and humidity. For instance, using a high-quality Italian Tipo 00 flour, typically with a protein content around 11-12.5%, is crucial for developing the right gluten structure needed for that characteristic airy crust, known as the 'cornicione'. Understanding how ambient temperature affects yeast activity, for example, a difference of just 5°C (9°F) can drastically alter fermentation speed, is vital for consistent results.
These advanced techniques focus on optimizing the dough's internal structure before it even hits the oven. Techniques like autolyse (a resting period after mixing flour and water) or specific kneading methods are employed to build a strong, yet extensible gluten network. This network is what traps the gases produced by fermentation, allowing the dough to puff up dramatically in the high heat of a pizza oven. Mastering these steps is key to achieving a Neapolitan pizza dough that not only tastes incredible but also handles beautifully, stretching thin without tearing and developing a magnificent crust.
Understanding Neapolitan Dough: Key Properties for Stretching
To stretch Neapolitan pizza dough like a pro, you first need to understand what makes it unique. It's not just about the ingredients in your Neapolitan pizza dough recipe; it's about the physical and chemical properties developed during mixing and fermentation. The balance of hydration, the strength of the gluten network, and the maturity of the fermentation process all contribute to dough that is pliable, elastic, and extensible – the perfect trifecta for stretching.
The Importance of Hydration in Neapolitan Pizza Dough
Hydration, the ratio of water to flour by weight, is a critical factor in any Neapolitan pizza dough recipe, typically ranging from 58% to 65% for traditional styles. Higher hydration levels (e.g., 62%+) result in a wetter, stickier dough that can be challenging for beginners but yields a more open crumb structure and a lighter, airier crust when baked.
This is because the extra water provides more steam during baking, contributing to the oven spring and the formation of large internal pockets. Conversely, lower hydration (e.g., 58-60%) makes the dough easier to handle and stretch, offering a slightly denser crust, which some prefer.
Understanding how different flours absorb water is also key. A strong Tipo 00 flour designed for long fermentation might handle 65% hydration easily, while a weaker flour could become unmanageable at the same level. Adjusting your water content based on the specific flour used and the ambient humidity is an advanced technique that ensures your Neapolitan pizza dough recipe is perfectly tuned. For example, in a humid environment, you might slightly reduce the water content by 1-2% to compensate for moisture absorbed from the air, ensuring consistent dough texture and handling.
Gluten Development: The Foundation of Stretchable Dough
Gluten development is paramount for creating a stretchable Neapolitan pizza dough. Gluten is formed when two proteins in flour, glutenin and gliadin, combine with water and are worked (through kneading or mixing). This forms an elastic network that provides structure and allows the dough to capture gases. For a Neapolitan pizza dough recipe, sufficient gluten development is essential; too little and the dough tears easily; too much and it becomes tough and difficult to stretch thinly. The goal is a dough that is both elastic (springs back) and extensible (can be stretched out).
Achieving optimal gluten development involves adequate kneading and resting periods. While vigorous machine kneading can develop gluten quickly, traditional hand kneading or techniques like the 'no-knead' method relying on time and folds can also build a strong network. During resting periods (like the autolyse phase or bulk fermentation), enzymes naturally break down some gluten, increasing extensibility while maintaining elasticity. A well-developed dough, after resting, should feel smooth, supple, and pass the "windowpane test" – where a small piece can be stretched thin enough to see light through it without tearing, indicating a strong, elastic gluten network ready for stretching.
Optimal Fermentation for Superior Dough Elasticity
Fermentation is a complex process in any Neapolitan pizza dough recipe, involving yeast activity and enzyme action, and it profoundly impacts dough elasticity and flavor. A correctly fermented dough is relaxed, pliable, and easy to stretch, while under-fermented dough is tight and springs back excessively, and over-fermented dough can be weak and tear easily. Yeast consumes sugars, producing carbon dioxide gas (which makes the dough rise) and alcohol/organic acids (which contribute flavor). Enzymes break down complex starches into simpler sugars for the yeast and also modify the gluten structure, increasing extensibility.
Optimal fermentation typically involves a combination of bulk fermentation (the first rise of the entire dough mass) and portioned fermentation (the rise of individual dough balls). Traditional Neapolitan methods often use a long, slow fermentation, sometimes involving cold fermentation in a refrigerator for 24-72 hours. This slow process allows for greater flavor development and enzyme activity, resulting in a more mature, extensible dough.
Following cold fermentation, a period at room temperature (often 2-4 hours) is necessary for the dough balls to relax and become ready for stretching. The ideal fermentation ensures the dough has enough strength to hold its shape but is relaxed enough to be stretched effortlessly.
Advanced Stretching Techniques for Neapolitan Pizza
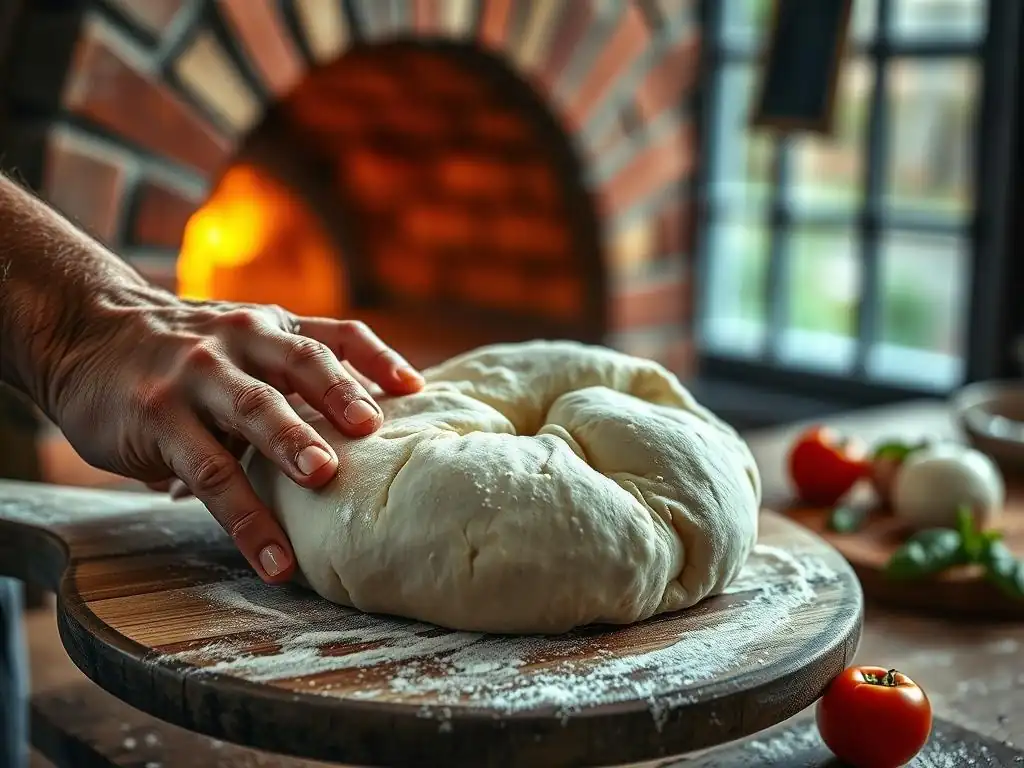
Once your Neapolitan pizza dough recipe has gone through its optimal fermentation, the moment of truth arrives: stretching. This is where skill and feel come into play. Unlike rolling, stretching preserves the air bubbles created during fermentation, contributing to the airy crust. The key is to be gentle and work with the dough, not against it. These advanced techniques help you achieve a perfectly thin base with a distinct, puffy edge (cornicione).
The Gentle Hand: Minimizing Dough Stress During Stretching
The most fundamental principle of stretching Neapolitan pizza dough is to be gentle. Excessive force or aggressive handling can damage the delicate gluten network and burst the precious air bubbles that contribute to the light texture of the crust. Start by gently coaxing the dough ball into a rough circle on a lightly floured surface, pressing down with your fingertips from the center outwards, leaving the outer edge untouched to form the cornicione. Avoid pressing down on the edge itself.
As you stretch, lift the dough and use the backs of your hands or knuckles to gently pull and rotate the dough, allowing gravity to assist in the stretching. Imagine you are coaxing the dough into shape rather than forcing it. This minimal stress approach preserves the integrity of the dough structure. A well-rested and properly fermented dough will stretch easily with this method, expanding naturally without needing excessive pulling, which is a hallmark of mastering your Neapolitan pizza dough recipe.
The Slap and Fold: A Technique for Developing Dough Strength
While typically used during the initial dough mixing phase for developing gluten, a modified "slap and fold" can sometimes be incorporated very carefully during the pre-stretching phase if a dough feels slightly tight, though this is less common for fully fermented Neapolitan dough. More relevant to stretching is understanding the principle behind slap-and-fold: building strength while maintaining extensibility. A dough with good strength can be stretched thin without tearing.
During stretching, the gentle lifting and rotating method inherently uses gravity and the dough's own weight in a way that mimics a very gentle form of stretching and folding. By supporting the dough on your knuckles and rotating it, you are encouraging it to thin out evenly while the outer edge remains thicker. This technique, when applied gently during stretching, helps maintain the structural integrity developed during fermentation, ensuring the dough has enough strength to hold toppings without collapsing or tearing during the quick, high-temperature bake required for an authentic Neapolitan pizza dough recipe.
The Finger Press Method: Evenly Distributing Air
The finger press method is the foundational technique for initiating the stretching of Neapolitan pizza dough. Starting with a well-rested dough ball, place it on a lightly floured surface. Using the pads of your fingers (not the tips), gently press down on the center of the dough, working outwards in a circular motion. The goal is to flatten the center while pushing the air towards the edges, creating that raised rim (cornicione). It's crucial not to press on the very edge itself.
Continue pressing and expanding the central area until you have a disc with a distinct, puffy border. This initial step is vital for evenly distributing the air within the dough and setting up the shape for further stretching using lifting and gravity. Mastering this initial press ensures that the cornicione is well-formed and that the center is thin enough to bake quickly without becoming soggy, a key outcome of a well-executed Neapolitan pizza dough recipe.
Achieving the Perfect Neapolitan Pizza Shape
The classic Neapolitan pizza is round, a shape dictated by tradition and optimized for high-temperature baking. However, understanding how to achieve this perfect circle consistently, and knowing how to adapt if necessary, is part of becoming a Neapolitan pizza expert. The goal is a uniform thickness (excluding the cornicione) for even cooking.
The Classic Round: Mastering the Traditional Pizza Form
Achieving the classic round shape for your Neapolitan pizza dough is the standard goal. After the initial finger press to create a disc with a rim, lift the dough and support it on your knuckles, allowing gravity to stretch it. Gently rotate the dough, letting its weight pull it downwards and outwards into a circle. The key is to rotate continuously while gently stretching, ensuring the dough expands evenly in all directions. Avoid stretching one section too much at once, which can lead to uneven thickness or tears.
Practice makes perfect with this technique. Aim for a diameter appropriate for your baking surface – typically around 30-35 cm (12-14 inches) for a standard Neapolitan pizza. The center should be thin, almost translucent, while the cornicione remains puffy. A well-developed and rested Neapolitan pizza dough recipe will cooperate beautifully, stretching easily into a perfect circle with minimal effort, reflecting the quality of the ingredients and preparation.
Beyond the Circle: Exploring Creative Pizza Shapes
While the classic round is traditional, don't be afraid to experiment once you've mastered your Neapolitan pizza dough recipe. Rectangular pizzas (often called "pizza in teglia" or pan pizza, though traditional Neapolitan is not typically baked in a pan) are popular and easier to manage on standard rectangular baking steels or stones in home ovens. To make a rectangular pizza, simply press and stretch the dough into a rectangular shape, focusing on achieving even thickness across the entire surface, still leaving a slight rim if desired.
Another shape is the 'pizza a portafoglio' or wallet pizza, a smaller, folded pizza popular as street food in Naples. This might use a smaller dough ball stretched into a slightly smaller circle before being topped and folded. While the core Neapolitan pizza dough recipe remains the same, adapting the final shape can be fun and practical for different baking setups or serving styles, proving the versatility of a great dough.
Avoiding Common Stretching Mistakes: Tears, Thin Spots, and Uneven Thickness
Common pitfalls when stretching Neapolitan pizza dough include tearing the dough, creating excessively thin spots in the center, or ending up with uneven thickness. Tearing often occurs if the dough is under-fermented (too tight), over-fermented (too weak), or if you are using too much force. If a small tear appears, you can often pinch it shut before topping, though large tears are difficult to recover from. Thin spots happen when you apply too much pressure in one area or stretch too aggressively; they often become holes during baking.
Uneven thickness is a common issue, leading to parts of the pizza being overcooked and crispy while others are undercooked and doughy. This is usually a result of inconsistent stretching – not rotating evenly or applying more pressure in certain areas. To avoid these issues, ensure your Neapolitan pizza dough recipe is properly fermented and rested, use a gentle touch, rotate the dough consistently as you stretch, and practice makes perfect. Feeling the dough and understanding its resistance is key to knowing how much tension to apply.
Troubleshooting Common Neapolitan Dough Problems
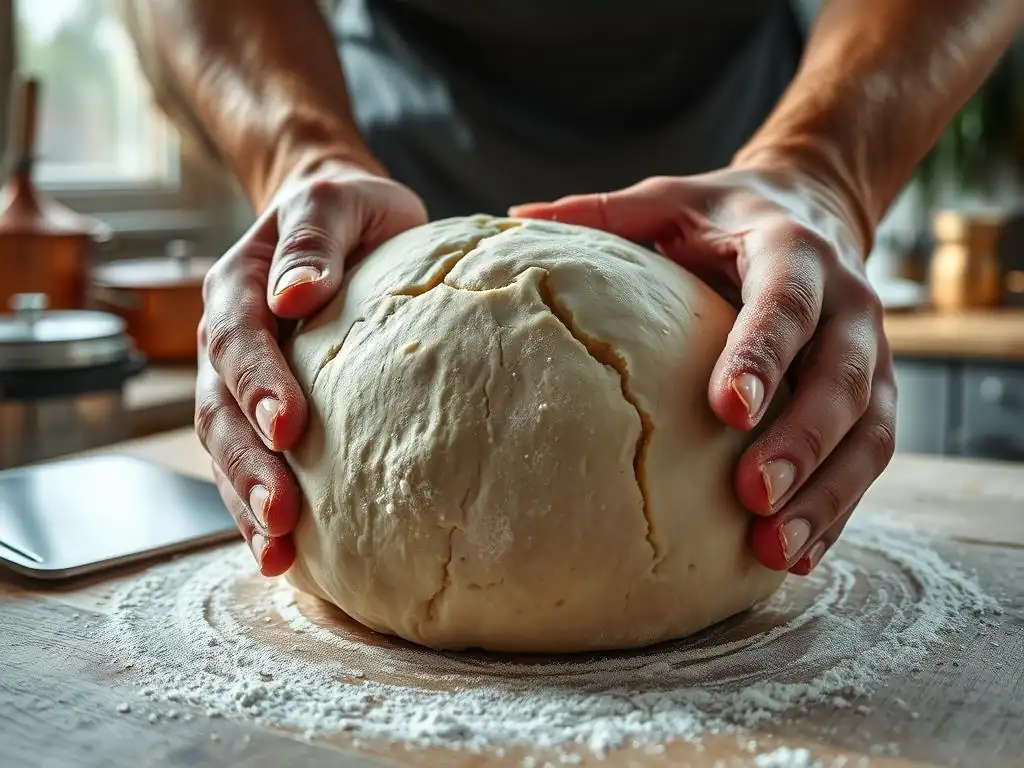
Even with a perfect Neapolitan pizza dough recipe, you might encounter issues during preparation or stretching. Understanding the root cause of common problems like tearing, springing back, or stickiness allows you to adjust your technique or recipe parameters for future batches.
Dough That Tears Easily: Causes and Solutions
If your Neapolitan pizza dough tears easily during stretching, it's usually a sign of an issue with gluten development or fermentation. Under-fermented dough hasn't had enough time for enzymes to relax the gluten, making it tight and prone to tearing when stretched thin. Over-fermented dough, conversely, has had its gluten structure weakened by excessive enzyme activity and can also tear easily because it lacks strength. Insufficient kneading or poor-quality flour with low protein content can also lead to weak gluten that tears.
To solve this: If under-fermented, give the dough more time to rest at room temperature to relax. If over-fermented (it might smell strongly alcoholic and be very slack), there's little you can do for the current batch, but adjust future fermentation times. Ensure you are using a suitable high-protein flour (like Tipo 00 with 11-12.5% protein) and that you've kneaded or folded the dough sufficiently to develop the gluten network according to your Neapolitan pizza dough recipe. Gentle handling during stretching is also crucial.
Dough That Springs Back: Taming Elasticity
Dough that springs back excessively after stretching is typically under-fermented. The gluten network is strong but hasn't relaxed enough, so it snaps back like a rubber band. This makes it frustrating to stretch thin and can result in a thicker, chewier crust than desired. It can also happen if the dough hasn't had adequate rest after being portioned into balls.
The solution is simple: give the dough more time to relax. After forming dough balls, allow them to rest at room temperature for at least 2-4 hours before stretching. If the dough still springs back, let it rest for another 15-30 minutes covered; this extra time allows the gluten to relax further, making the dough more extensible and easier to stretch thin without resistance. Patience is key when working with a Neapolitan pizza dough recipe aiming for optimal elasticity.
Dough That's Too Sticky: Hydration Adjustments
Excessively sticky dough is often a result of high hydration or insufficient gluten development. While a wetter dough can yield a lighter crust, too much water makes it difficult to handle without sticking to your hands or the work surface. It can also indicate that the flour isn't absorbing water as expected, potentially due to lower protein content or insufficient mixing time to allow full hydration.
To manage sticky dough, first ensure you are using enough flour for your Neapolitan pizza dough recipe relative to the water (check your hydration percentage). If the recipe calls for high hydration, ensure adequate kneading/mixing to develop gluten, which helps manage the wetness. You can also lightly flour your hands and work surface during handling and stretching, but avoid incorporating too much extra flour into the dough, as this can make the crust tough. For future batches, consider slightly reducing the water content by 1-2% if stickiness is a persistent issue, especially in humid conditions or with lower-protein flours.
Optimizing Your Neapolitan Pizza Baking Process
Stretching the perfect Neapolitan pizza dough is only half the battle; baking it correctly is just as important. Neapolitan pizza is traditionally baked very quickly at extremely high temperatures. Replicating this at home requires specific tools and techniques to achieve that characteristic blistered crust and perfectly cooked toppings.
Stone vs. Steel: Choosing the Right Baking Surface
Achieving the intense heat transfer needed for a Neapolitan-style crust in a home oven often requires a baking surface like a pizza stone or baking steel. A baking stone, typically made of ceramic or cordierite, absorbs heat and radiates it into the dough, helping to cook the bottom quickly and evenly. A baking steel, made of steel, conducts heat much more efficiently than stone, transferring heat to the dough faster and resulting in a more pronounced oven spring and crispier bottom crust.
Steels tend to get hotter and recover temperature faster than stones, making them excellent for replicating the intense heat of a wood-fired oven. For achieving the classic Neapolitan airy cornicione and slightly chewy center with leoparding (dark blisters), a baking steel preheated at the highest oven temperature for at least 45-60 minutes is often preferred. While a stone works well, a steel can provide a more authentic result when using your perfected Neapolitan pizza dough recipe.
Oven Temperature and Baking Time: Achieving Authentic Results
Authentic Neapolitan pizza is baked in a wood-fired oven at temperatures soaring to 450-500°C (850-930°F) for only 60-90 seconds. This intense heat cooks the dough almost instantly, creating a puffy, charred crust and melting the toppings without drying them out. Replicating this in a home oven, which typically maxes out around 250-280°C (480-550°F), requires maximizing heat.
Preheat your oven to its highest setting (often 250-280°C or 480-550°F), ideally with a convection fan, and preheat your baking stone or steel for at least an hour. Place the pizza directly onto the preheated surface. Baking time will be longer than in a wood oven, typically 2-5 minutes, depending on your oven's temperature and the thickness of the pizza. Watch the pizza closely; it's done when the cornicione is puffed and blistered with some charring, and the bottom crust is golden brown. Achieving this balance is the final step in perfecting your Neapolitan pizza dough recipe experience.
From Oven to Plate: Presentation Tips for Your Neapolitan Pizza
Once your perfectly baked Neapolitan pizza emerges from the oven, presentation is the final touch. Serve it immediately while it's hot and the crust is at its best. Use a pizza wheel or a large knife to slice it into wedges. For an authentic touch, you might drizzle a little high-quality extra virgin olive oil over the top just before serving – this enhances the flavor and adds a beautiful sheen.
Consider garnishing with fresh basil leaves, tearing them rather than cutting for a more rustic look. The beauty of a well-made Neapolitan pizza from a quality Neapolitan pizza dough recipe is its simplicity; the focus is on the quality of the ingredients, especially the dough itself. Presenting it simply on a plate or cutting board allows the magnificent crust and vibrant toppings to be the stars of the show.
Neapolitan Pizza Dough Recipe Refinement: Personalizing Your Dough
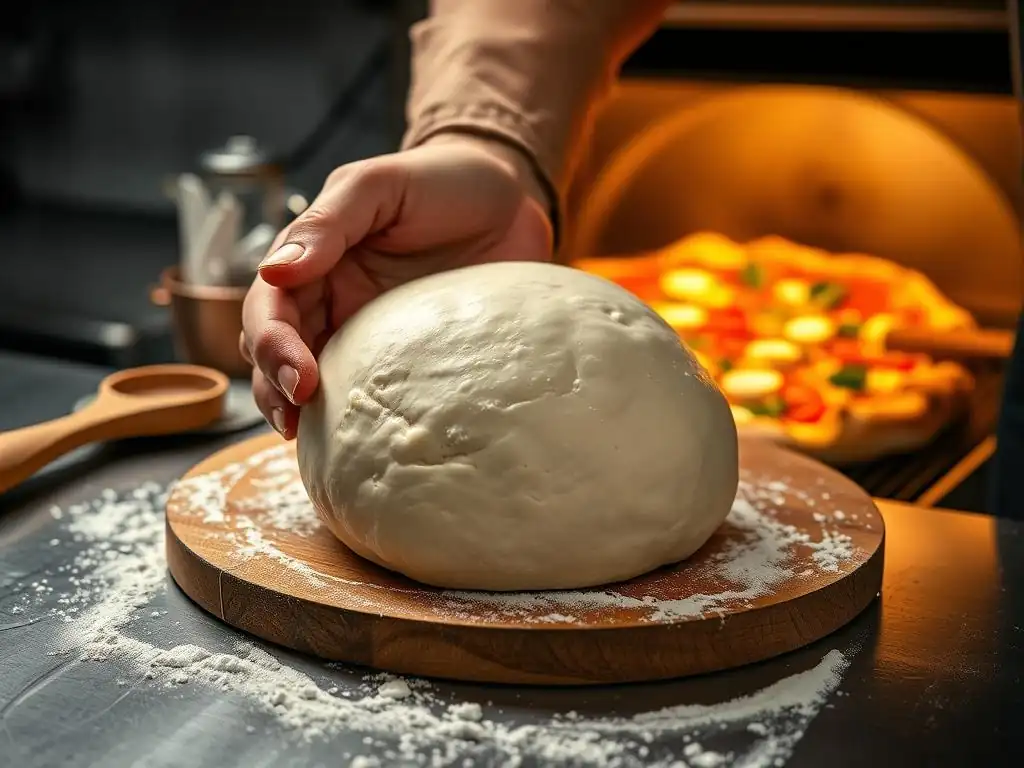
Once you've mastered the basic techniques, you can begin refining your Neapolitan pizza dough recipe to suit your preferences and available ingredients. Experimentation is part of the joy of baking, and small adjustments can lead to significant changes in flavor, texture, and handling.
Experimenting with Different Flours for Unique Flavors
While Italian Tipo 00 flour is traditional for a Neapolitan pizza dough recipe due to its fine grind and protein structure, experimenting with other flours can introduce unique flavors and textures. For instance, using a blend of Tipo 00 and a small percentage (e.g., 5-10%) of whole wheat flour can add a nutty flavor and slightly different texture to the crust, though it might affect the lightness of the cornicione. Strong bread flour (around 12.5-13.5% protein) can also be used, though it often requires longer or different kneading to achieve the same extensibility as Tipo 00.
Some bakers even incorporate a small amount of sourdough starter (lievito madre) alongside commercial yeast in their Neapolitan pizza dough recipe for a more complex flavor profile with subtle tang. When experimenting, make small changes (e.g., swap out 10% of the flour) and observe the results. Note how different flours absorb water differently and adjust hydration as needed; whole wheat, for example, typically requires more water than white flour.
Adjusting Fermentation Times for Desired Results
Fermentation time is a powerful lever for controlling both dough handling and flavor in your Neapolitan pizza dough recipe. A shorter, warmer fermentation (e.g., 6-8 hours at room temperature) yields a dough that develops quickly but might have less complex flavor. A longer, colder fermentation (e.g., 24-72 hours in the refrigerator) slows down yeast activity but allows enzymes more time to break down starches and proteins, resulting in a more extensible dough and deeper, more nuanced flavors.
You can adjust fermentation based on your schedule and desired outcome. If you want pizza tonight and started this morning, a room temperature ferment might be appropriate. If you're planning ahead, a cold ferment offers convenience and improved flavor. Try making batches of the same Neapolitan pizza dough recipe but varying only the fermentation time (e.g., 24 hours cold vs. 48 hours cold) to taste the difference and find what you prefer.
Adding Flavor Infusions to Your Neapolitan Dough [Basil Oil]
While not strictly traditional for the dough itself, subtle flavor infusions can elevate your Neapolitan pizza dough recipe. One simple method is to incorporate flavored oil, such as basil oil, directly into the dough during mixing. To make basil oil, simply blend fresh basil leaves with good quality extra virgin olive oil and strain. Replace a small portion of the plain olive oil (if your recipe includes it) or a tiny amount of the total liquid with this infused oil (e.g., 1-2% of the flour weight in oil).
Adding basil oil imparts a subtle aromatic note throughout the crust, complementing the classic pizza flavors. Other infusions could include garlic oil or even a touch of chili oil for heat, depending on your desired flavor profile. The key is to use a small amount so it doesn't interfere with the dough's structure or fermentation, but just adds a hint of flavor. This technique allows for creative personalization of your standard Neapolitan pizza dough recipe.
Advanced Neapolitan Pizza Topping Strategies
Toppings on a Neapolitan pizza are traditionally simple, allowing the quality of the dough and minimal ingredients to shine. Mastering advanced topping strategies means understanding balance, quality, and restraint to complement your perfectly crafted Neapolitan pizza dough.
Complementing Your Dough with Authentic Toppings
The most classic Neapolitan pizzas, like the Margherita, feature minimal, high-quality ingredients that perfectly complement the light, airy crust from a great Neapolitan pizza dough recipe. Authentic toppings include San Marzano tomatoes (D.O.P. certified if possible), fresh mozzarella (Fior di Latte or Buffalo mozzarella), fresh basil, and extra virgin olive oil. The key is the quality and freshness of these ingredients.
Using watery tomatoes or low-quality cheese can make the pizza soggy, undermining the crispness of the crust. Drain canned tomatoes thoroughly and slice fresh mozzarella ahead of time to allow excess moisture to weep out. This attention to detail ensures that your carefully prepared Neapolitan pizza dough recipe results in a pizza that is balanced in texture and flavor, with the dough remaining the star.
Balancing Flavors and Textures on Your Pizza
Balancing flavors and textures is crucial for any pizza, but especially for Neapolitan where the crust is so prominent. Avoid overloading the pizza with too many toppings, as this can weigh down the dough, prevent it from cooking properly, and create a soggy center. Aim for a harmonious combination of tastes and textures – the sweetness of tomato, the creaminess of cheese, the freshness of basil, and the slight char and chew of the crust.
Think about contrast: the crisp edge of the cornicione against the soft center, the juicy tomato against the melted cheese. For pizzas beyond the Margherita, choose toppings that cook quickly in high heat, like thinly sliced vegetables or small pieces of meat. Distribute toppings evenly but not densely, leaving space for the dough to puff up. This strategic topping ensures that every bite highlights the delicious base created by your Neapolitan pizza dough recipe.
The Art of Simple Topping: Less is Often More
The philosophy of Neapolitan pizza is that less is often more when it comes to toppings. The beauty lies in the quality of a few key ingredients placed on an exceptional base from a well-executed Neapolitan pizza dough recipe. Overcrowding a pizza obscures the flavor of individual components and can lead to a poor bake.
Consider the classic Marinara pizza: just tomato, garlic, oregano, and olive oil. There's no cheese, yet it's a celebrated Neapolitan pizza because the simple, high-quality toppings allow the flavor and texture of the dough to truly shine. When topping your own creations, ask yourself if each ingredient adds something essential and if the amount is appropriate for the delicate base. Embracing simplicity is an advanced topping strategy that honors the tradition of Neapolitan pizza.
Conclusion: Become a Neapolitan Pizza Dough Master
Mastering Neapolitan pizza dough is a rewarding journey that goes beyond simply following a Neapolitan pizza dough recipe. It involves understanding the science of hydration, gluten, and fermentation, practicing gentle stretching techniques, and optimizing your baking process. From the tactile feel of a perfectly developed dough to the visual appeal of a beautifully blistered cornicione, each step offers an opportunity for learning and improvement.
By paying attention to the details discussed – from selecting the right flour and controlling fermentation to refining your stretching method and topping with care – you can consistently produce pizzas that rival those from Naples itself. Don't be discouraged by initial challenges; every bake is a chance to learn. With practice and patience, you'll develop an intuitive feel for the dough, transforming your home kitchen into a pizzeria and truly becoming a Neapolitan pizza dough master.
Frequently Asked Questions
What makes Neapolitan pizza dough different from other types of pizza dough?
Neapolitan pizza dough relies on a specific process using only four simple ingredients: flour, water, salt, and yeast. It also requires a high hydration level and a long fermentation process for a light and airy crust.
What kind of flour is best for making Neapolitan pizza dough?
The most authentic Neapolitan pizza dough uses 00 flour, a finely milled Italian flour. This flour provides the proper protein content needed for the dough's characteristic elasticity and chew. Other strong bread flours can be used as a substitute, but the results may vary.
How important is the fermentation process for Neapolitan pizza dough?
Fermentation is crucial for developing the flavor and texture of Neapolitan pizza dough. Long fermentation allows the yeast to break down the starches, creating a lighter, more digestible dough with complex flavors.
What are some common mistakes to avoid when stretching Neapolitan pizza dough?
Avoid using a rolling pin, which compresses the dough and results in a dense crust. Instead, use your hands to gently stretch the dough from the center outwards, being careful not to tear it. Also, avoid overworking the dough, as this can make it tough.
Why is a pizza stone or steel recommended for baking Neapolitan pizza?
A pizza stone or steel helps to achieve a crispy crust by providing a high, consistent heat source. They retain heat well and transfer it directly to the dough, mimicking the conditions of a traditional wood-fired oven.
Final Reflection: Mastering the Art of Neapolitan Pizza Dough
The pursuit of the perfect Neapolitan pizza dough is not merely a culinary quest; it's a journey of precision, patience, and passion that reflects a deep connection to tradition and a commitment to excellence. The techniques explored in this article—from understanding hydration levels and fermentation processes to mastering the crucial stretching and shaping—are not just steps in a recipe; they are the building blocks of a truly authentic Neapolitan pizza experience. This understanding is more relevant than ever in a world increasingly focused on artisanal food and the appreciation of handcrafted goods.
The influence of Neapolitan pizza-making extends far beyond the simple act of creating a delicious meal. It represents a cultural heritage, a testament to generations of pizzaiolos perfecting their craft. It's a tradition that continues to evolve and inspire, constantly pushing the boundaries of what's possible. The pizza is a canvas, and the dough is the foundation upon which a masterpiece is built.
This simple statement encapsulates the artistry and dedication required to achieve the perfect Neapolitan pizza. My own journey in mastering this dough has been a rewarding one, filled with both triumphs and humbling failures, ultimately deepening my respect for the skill and dedication involved.
Now, it's your turn. Don't just follow the recipe; understand it. Experiment with different flours, hydration levels, and fermentation times. Embrace the challenges, learn from your mistakes, and most importantly, enjoy the process. The reward? A pizza that transcends mere sustenance, becoming a testament to your skill and a delicious celebration of Italian culinary heritage. The journey to mastering Neapolitan pizza dough is a lifelong pursuit, and each perfectly formed pie is a step closer to perfection. So, embrace the challenge, and let the stretching begin!
Unlock Your Pizza Potential: Master Neapolitan Dough Today!
Thanks for diving deep into the world of Neapolitan pizza dough! We hope you’ve gained valuable insights into crafting that perfect, airy crust. Now it's time to put your knowledge to the test.
- Take on the challenge: Try making your own Neapolitan pizza dough using the techniques we’ve discussed. Document your progress—even the “fails” are learning opportunities!
- Share your success (or your struggles!): Post a picture of your pizza creation on social media using #BakeWithEaseNeapolitan. Let's build a community of pizza-making enthusiasts!
- Explore new variations: Experiment with different flour types or try adding unique herbs and spices to elevate your dough game.
Ready to create the Neapolitan pizza of your dreams? What unique twist will you add to your next creation?