
How to Fix a Dry Cake: Simple Tricks That Work

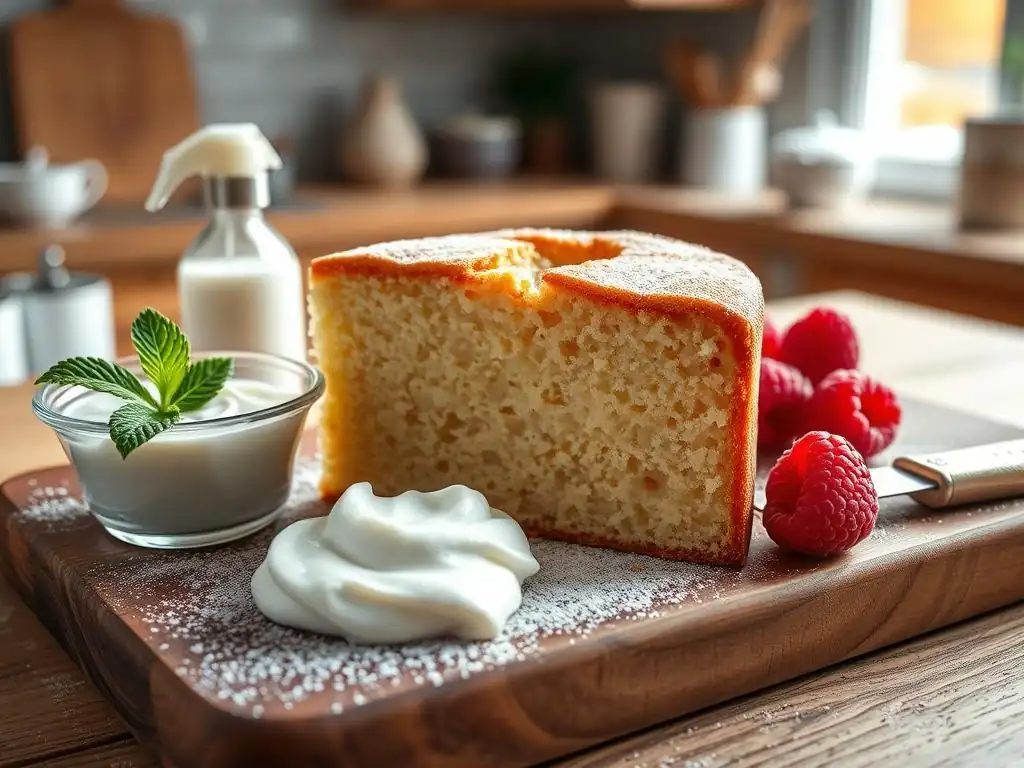
Welcome to BakeWithEase, your partner in creating delicious baked goods! Ever wondered if there's a way to rescue a cake that's turned out a little too dry? You're in the right place. Discover our dry cake fix tips and transform that crumbly disappointment into a moist and delectable treat. Ready to unlock the secrets? Let's dive in and bring that cake back to life!
- Is Your Cake Too Dry? Understanding Why and How to Rescue It
- Dry Cake Fix Tips: Easy Solutions for a Moist Cake
- Turning Dry Cake into Delicious Desserts: Creative Solutions
- Preventing Dry Cake in the Future: Pro Baking Tips
- Conclusion: Never Throw Away a Dry Cake Again!
-
Frequently Asked Questions
- How can I prevent my cake from becoming dry in the first place?
- What's the most effective way to add moisture back to a dry cake after baking?
- Can I fix a dry cake with frosting alone?
- Is there a difference in how to fix a dry layer cake versus a dry sheet cake?
- What are some common mistakes that lead to dry cakes?
- Final Reflection: The Sweetness of Second Chances
- Rediscover Your Baking Bliss!
Is Your Cake Too Dry? Understanding Why and How to Rescue It
Baking can be incredibly rewarding, but sometimes, despite your best efforts, a cake turns out less moist than you hoped. A dry cake can be disappointing, especially after spending time and effort in the kitchen. The good news is that a dry cake doesn't have to be a total loss. With a few simple dry cake fix tips and techniques, you can often rescue it or transform it into something new and delicious. Understanding why a cake might become dry is the first step in preventing it in the future and effectively applying dry cake fix tips now.
This section will explore the common culprits behind dry cakes and how to spot the signs early. We'll delve into the science behind moisture loss in baking, looking at how ingredients interact and how baking conditions play a crucial role. By identifying the root cause, you'll be better equipped not only to fix the current dry cake situation but also to refine your baking process for consistently moist results in the future. Let's troubleshoot your way to baking success!
Common Causes of Dry Cake: A Baker's Troubleshooting Guide
One of the most frequent reasons for a cake turning out dry is simply overbaking. When a cake spends too long in the oven, the heat evaporates too much moisture from the batter. This is especially true for lean cakes that don't contain a lot of fat or sugar, as these ingredients help retain moisture. For instance, baking a sponge cake just a few minutes past its ideal time can make a significant difference in its texture, often resulting in a crumbly, dry outcome instead of a light, airy one.
Another major factor is inaccurate ingredient measurement, particularly the dry ingredients like flour and leavening agents. Adding too much flour, for example, introduces more dry matter that requires moisture. If the liquid ingredients aren't increased proportionally, the resulting batter will be too dry, leading to a dense, dry cake. Similarly, using too much leavening can cause the cake to rise too quickly and collapse slightly, compacting the crumb and making it feel dry. Even using the wrong type of fat (like oil instead of butter in some recipes) or insufficient amounts of fat can impact moisture retention.
Identifying a Dry Cake: Signs and Symptoms
A dry cake often reveals itself through several tell-tale signs. Visually, the cake might look dense or crumbly around the edges. When you slice into it, the crumb structure might appear tight and lack the open, airy quality of a moist cake. The surface might also look slightly cracked or overly browned, particularly if overbaking is the cause. These visual cues are often the first indication that you might need some dry cake fix tips.
Beyond appearance, the texture and taste are undeniable indicators. A dry cake will feel crumbly and perhaps a bit stiff when you touch it. When you take a bite, it might feel dense or even powdery in your mouth, requiring a drink to wash it down. It won't have that pleasant, yielding, moist texture that melts slightly. The flavor might also seem less vibrant, as moisture helps distribute flavor compounds. If your cake exhibits these characteristics, don't despair; there are effective dry cake fix tips available.
Dry Cake Fix Tips: Easy Solutions for a Moist Cake
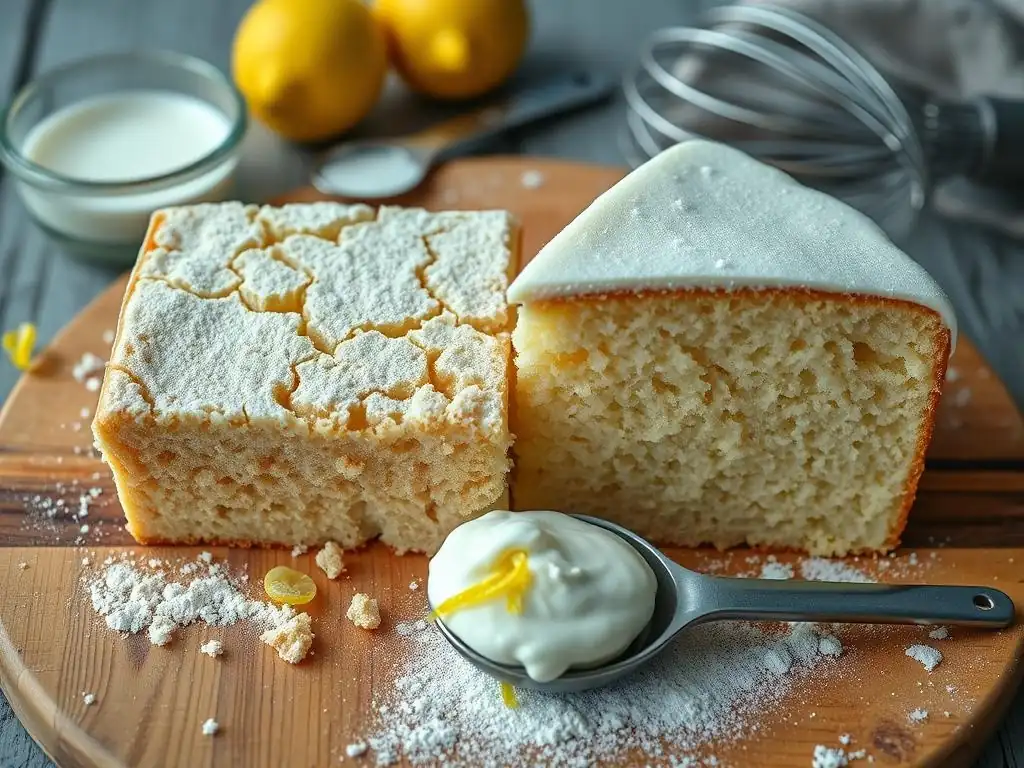
So, you've identified that your cake is dry. Now what? The good news is that there are several effective dry cake fix tips you can employ to bring moisture back into the crumb and make it enjoyable again. These methods range from simple soaks to gentle steaming, and the best choice often depends on the type of cake and how dry it is. Applying moisture after baking requires a different approach than building it in during the process.
These techniques work by introducing liquid back into the cake's structure, hydrating the dried-out flour and other ingredients. The key is to apply the moisture evenly and in a way that complements the cake's flavor profile. Whether you opt for a sweet syrup, a tangy fruit juice, or the gentle power of steam, these dry cake fix tips can dramatically improve the texture and palatability of your baked goods, saving them from the bin.
Simple Syrup Soak: The Easiest Way to Add Moisture Back
Using a simple syrup is arguably the most popular and versatile dry cake fix tip. Simple syrup is incredibly easy to make and can be flavored with extracts, citrus zest, or even liqueurs to match or enhance your cake's taste. It works by soaking into the porous structure of the dry cake, adding sweetness and, more importantly, liquid that is then absorbed by the dry crumb, making it moist and tender again. This method is particularly effective for sponge cakes, pound cakes, and even some drier butter cakes.
The process involves gently brushing or pouring the syrup over the cooled cake, allowing it time to absorb fully. The amount of syrup needed will depend on the size and dryness of the cake. Start with a modest amount and add more if needed. This technique not only fixes the dryness but can also add an extra layer of flavor, making your rescued cake even better than it might have been originally. It's a go-to method for many professional bakers fixing dry cake layers before assembling them.
How to Make a Basic Simple Syrup for Cakes
A basic simple syrup is made with just two ingredients: sugar and water, typically in a 1:1 ratio by weight or volume. For example, you can combine 1 cup of granulated sugar with 1 cup of water.
To make the syrup:
- Combine the sugar and water in a small saucepan.
- Heat over medium heat, stirring occasionally, until the sugar is completely dissolved and the liquid is clear. Do not boil for too long, as this will thicken the syrup too much.
- Once the sugar is dissolved, remove the pan from the heat.
- Let the syrup cool completely before using it on your cake.
- Optional: For flavored syrup, stir in a teaspoon of vanilla extract, a tablespoon of citrus zest, or a few tablespoons of liqueur (like rum or orange liqueur) after removing from heat and before cooling.
This basic syrup is perfect for most applications. For a slightly richer syrup, you could use a 2:1 sugar to water ratio, but the 1:1 is generally sufficient for fixing dry cake.
Applying Simple Syrup: A Step-by-Step Guide
Applying simple syrup correctly is key to achieving an evenly moist cake without making it soggy.
Here’s how to apply simple syrup to fix your dry cake:
- Ensure your cake is completely cooled. Applying warm syrup to a warm cake can make it gummy.
- Prepare your simple syrup and let it cool to room temperature.
- Use a pastry brush, a spoon, or a squeeze bottle.
- For a brush: Gently brush the syrup over the entire surface of the cake. Pay extra attention to the edges and top, which often dry out first.
- For a spoon or squeeze bottle: Slowly drizzle or pour the syrup over the cake surface.
- Allow the syrup to soak in for 15-30 minutes. You will see it being absorbed.
- Check the cake's moisture level by gently pressing down or inserting a toothpick into a few spots. If it still feels dry, apply another layer of syrup.
- Continue applying syrup in layers until the cake reaches your desired moisture level. Be careful not to oversaturate.
- Once satisfied, allow the cake to sit for at least an hour, or preferably longer, for the moisture to distribute evenly throughout the crumb before frosting or serving.
This method is a highly effective dry cake fix tip, especially for layers that will be stacked and frosted, as the frosting can help seal in the added moisture.
Reviving Dry Cake with Fruit Juice
Using fruit juice is another excellent dry cake fix tip, particularly when you want to add a complementary flavor profile to your cake. Juices like orange, apple, pineapple, or even berry juices can introduce moisture while also enhancing the cake's overall taste. This method works similarly to simple syrup, with the liquid being absorbed by the dry cake crumb. The natural sugars in the juice also contribute to the moistness.
This technique is particularly effective for cakes where the fruit flavor will blend well, such as an orange juice soak for a plain butter cake or apple juice for a spice cake. It's a healthier alternative to simple syrup if you're trying to reduce added sugar, although the natural sugars in the juice still contribute. Experimenting with different juices can open up new flavor possibilities for your rescued cakes.
Choosing the Right Juice for Your Cake Flavor
Selecting the appropriate fruit juice is crucial for a harmonious flavor combination. Consider the main flavor of your dry cake when choosing.
- Vanilla or Plain Cakes: Orange juice, apple juice, or pineapple juice are versatile choices. Lemon or lime juice can add a bright, tangy contrast.
- Chocolate Cakes: Cherry juice, raspberry juice, or even orange juice can pair beautifully with chocolate.
- Spice Cakes: Apple juice or pear juice are natural fits.
- Lemon Cakes: Lemon juice (diluted slightly if too tart) or a mix of lemon and simple syrup works well.
- Carrot Cakes: Apple or orange juice enhances the existing flavors.
Always use 100% fruit juice without added sugars if possible, unless you specifically want the extra sweetness. Taste a small amount of the juice and cake together to ensure the flavors complement each other before applying it to the whole cake. This mindful selection is key to successful dry cake fix tips using juice.
How to Apply Fruit Juice to a Dry Cake
Applying fruit juice is very similar to applying simple syrup. The goal is even saturation without making the cake soggy.
Here are the steps for using fruit juice as a dry cake fix tip:
- Ensure the dry cake is completely cool.
- Have your chosen fruit juice ready at room temperature.
- Use a pastry brush or a spoon for application.
- Gently brush or drizzle the juice over the entire surface of the cake, ensuring edges and the top are well-covered.
- Let the juice soak in for 15-30 minutes.
- Check the moisture level. If still dry, apply another layer of juice.
- Repeat until the cake reaches the desired moisture.
- Allow the cake to rest for at least an hour for the moisture to distribute evenly before proceeding with frosting or serving.
This method is a simple yet effective way to add both moisture and flavor, making it a valuable dry cake fix tip for many types of cakes.
Steaming Your Cake: A Gentle Moistening Technique
Steaming is a less common but effective dry cake fix tip that adds moisture without adding extra sweetness or flavor, unless you add flavorings to the steaming liquid. This method involves exposing the dry cake to steam, which is then absorbed into the crumb. It's a gentle way to rehydrate the cake, particularly useful if the cake is only slightly dry or if you want to avoid adding more sugar.
Steaming can be done in a few ways, either using your oven or stovetop. The key is to create a steamy environment around the cake. This method can be particularly good for delicate cakes that might not hold up well to brushing or pouring liquids, or for cakes where you want to preserve the original flavor profile exactly. It's a subtle but powerful dry cake fix tip.
How to Steam a Dry Cake in the Oven
Steaming a dry cake in the oven utilizes the oven's heat to generate steam from a pan of water.
Here’s how to do it:
- Preheat your oven to a low temperature, around 250-300°F (120-150°C).
- Place a heatproof pan (like a roasting pan or oven-safe dish) on the bottom rack of the oven.
- Carefully fill the pan with hot water, about 1-2 inches deep.
- Place your dry cake (uncovered) on the middle or upper rack, above the water pan.
- Close the oven door and let the cake steam for 10-30 minutes. The exact time will depend on how dry the cake is and your oven. Check periodically.
- Remove the cake from the oven and let it cool completely.
The moist environment created by the steam will be absorbed by the cake crumb, helping to soften and rehydrate it. This is a hands-off dry cake fix tip once the setup is ready.
How to Steam a Dry Cake on the Stovetop
Steaming on the stovetop is another option, often faster than using the oven, but requires more direct attention.
Here’s how to steam a dry cake using the stovetop:
- Find a pot large enough to hold your dry cake or cake slices. The cake should fit above the water level.
- Add a few inches of water to the bottom of the pot.
- Place a steamer basket, a heatproof plate on top of crumpled foil balls, or a similar setup in the pot so the cake sits above the water. Ensure the water doesn't touch the cake.
- Bring the water to a simmer over medium heat.
- Place the dry cake or slices in the pot on the steamer setup.
- Cover the pot tightly with a lid.
- Let the cake steam for 5-15 minutes, depending on its size and dryness. Keep an eye on the water level.
- Carefully remove the cake from the pot and let it cool completely.
This stovetop method is a quick dry cake fix tip for smaller cakes or individual slices, providing a fast way to add moisture back.
Turning Dry Cake into Delicious Desserts: Creative Solutions
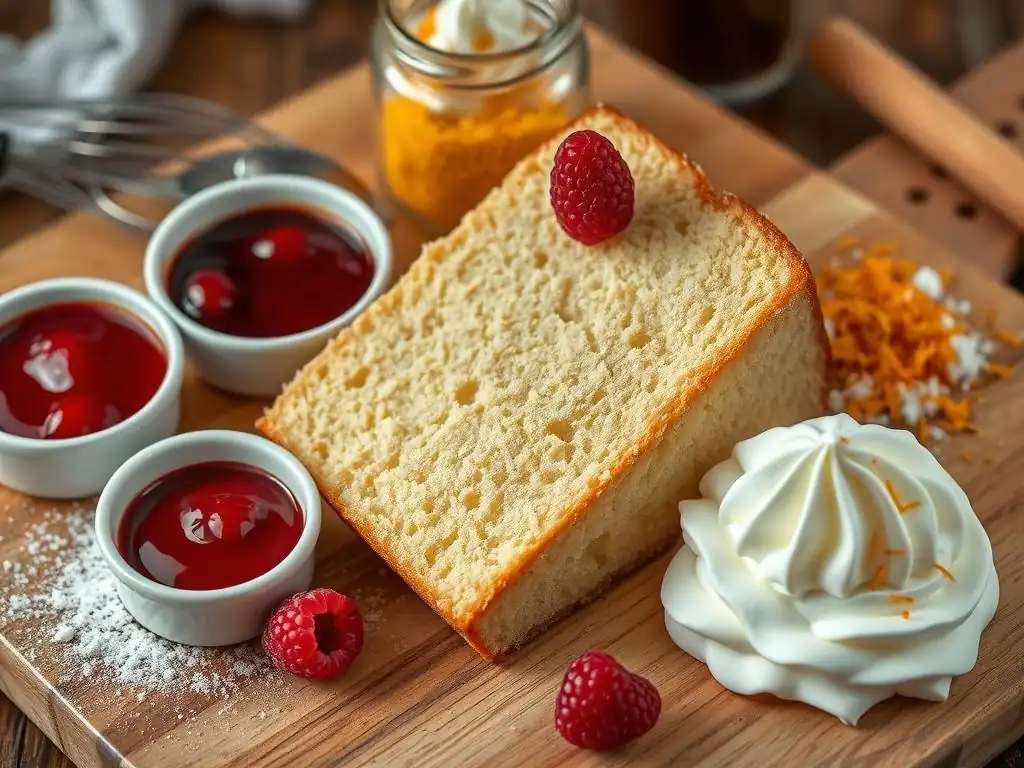
Sometimes, a cake is too dry to be fully revived by simple soaks or steaming, or perhaps you just want to try something new. Don't throw it away! A dry cake is the perfect base for a variety of other delicious desserts. Its dry texture actually makes it ideal for crumbling or shaping, providing a second life for your baking project. Repurposing a dry cake is a fantastic way to minimize waste and enjoy your efforts in a different form.
These creative solutions transform the texture of the dry cake entirely, incorporating it into new recipes where its dryness is no longer a flaw but an advantage. From fun party treats to elegant layered desserts, a dry cake can be the starting point for culinary creativity. Let's explore some popular ways to give your dry cake a delicious makeover using clever dry cake fix tips that involve transformation.
Cake Pops: A Fun Way to Repurpose Dry Cake
Cake pops are a wildly popular treat that are perfect for using up dry or leftover cake. The process involves crumbling the cake and mixing it with frosting or another binder until it's moist enough to roll into balls. The dryness of the cake is actually beneficial here, as it prevents the mixture from becoming too sticky or greasy. Once rolled, the balls are chilled, dipped in melted chocolate or candy coating, and decorated.
This method completely transforms the texture of the dry cake into a dense, truffle-like consistency. It's a fun activity, especially with kids, and the resulting cake pops are portable, portion-controlled, and endlessly customizable with different coatings and decorations. It's one of the most enjoyable dry cake fix tips because it results in a completely new dessert experience.
Cake Pop Recipe Using Dry Cake
This basic recipe outlines how to turn your dry cake into tasty cake pops.
Ingredients:
- About 4 cups of crumbled dry cake (from an 8-inch or 9-inch cake layer)
- ½ to ¾ cup of frosting (buttercream, cream cheese, or ganache work well)
- Candy melts or chocolate for coating
- Lollipop sticks
Instructions:
- Crumble the dry cake very finely into a large bowl. Ensure there are no large lumps.
- Add the frosting, starting with ½ cup. Mix with your hands or a sturdy spoon until the mixture is evenly moistened and holds together when squeezed, similar to playdough. Add more frosting if needed, a tablespoon at a time.
- Roll the mixture into uniform balls, about 1-1.5 inches in diameter.
- Place the cake balls on a baking sheet lined with parchment paper.
- Chill the balls in the refrigerator for at least 30 minutes, or freeze for 15 minutes, until firm.
- Melt your candy melts or chocolate according to package directions.
- Dip the tip of a lollipop stick into the melted coating and insert it about halfway into a chilled cake ball. This helps secure the ball to the stick.
- Dip the entire cake ball into the melted coating, rotating gently to cover completely. Let excess coating drip off.
- Decorate immediately with sprinkles or other toppings if desired.
- Place the finished cake pop stick-down in a foam block or stand to set completely.
This is a fantastic dry cake fix tip for turning a baking mishap into a crowd-pleasing treat.
Cake Crumble: A Delicious Topping for Desserts
A dry cake can be easily transformed into a delicious cake crumble, perfect for topping ice cream, yogurt parfaits, fruit crisps, or even as a base for mini cheesecakes. The dry texture makes it easy to break down into crumbs, which can then be toasted or used as is. This simple dry cake fix tip adds texture, flavor, and visual appeal to other desserts, giving your cake scraps a valuable purpose.
Making cake crumble is incredibly quick and requires minimal effort. You can enhance the flavor by adding spices like cinnamon or nutmeg, or even some finely chopped nuts before using it. It's an excellent way to add a sweet, cakey element to simple dishes, proving that even a dry cake can be a valuable ingredient.
Making Cake Crumble from Dry Cake
Transforming dry cake into crumble is straightforward.
Steps:
- Break the dry cake into small pieces using your hands.
- For finer crumbs, pulse the cake pieces in a food processor until they reach the desired consistency. Be careful not to over-process into a paste.
- Optional: To toast the crumble and add extra flavor/crunch, spread the crumbs on a baking sheet. Bake at 300°F (150°C) for 10-15 minutes, stirring halfway through, until lightly golden and fragrant.
- Let the crumble cool completely before using or storing.
Use the crumble immediately or store it in an airtight container at room temperature for a few days, or in the freezer for longer storage. This easy dry cake fix tip is perfect for enhancing other desserts.
Trifle: Layering Dry Cake with Cream and Fruit
Trifle is a classic dessert that is ideally suited for using up dry cake. A traditional trifle consists of layers of cake, custard or cream, fruit, and sometimes jelly or liqueur. The dry cake pieces soak up the moisture from the other layers, becoming tender and flavorful. This transformation is key to the trifle's appeal, making dry cake an asset rather than a problem.
Layering a trifle is also visually appealing, creating a beautiful dessert that's perfect for entertaining. The combination of textures – the softened cake, smooth cream, and fresh fruit – is delightful. It's a sophisticated dry cake fix tip that turns a simple cake into an elegant centerpiece.
Trifle Recipe Using Dry Cake
Here’s a simple outline for making a trifle with your dry cake.
Ingredients:
- Cubes of dry cake (about 1-2 inches)
- Prepared custard, pudding, whipped cream, or mascarpone cream
- Fresh or frozen fruit (berries, sliced peaches, etc.)
- Optional: Fruit juice, liqueur, or simple syrup to soak the cake cubes
Instructions:
- Cut your dry cake into bite-sized cubes.
- Optional: Briefly soak the cake cubes in fruit juice, liqueur, or simple syrup if you want to add extra moisture and flavor immediately, though they will also absorb moisture from the other layers over time.
- In a large glass bowl or individual glasses, start with a layer of cake cubes.
- Top the cake layer with a layer of fruit.
- Add a layer of custard, pudding, or cream.
- Repeat the layers until the bowl is full, ending with a layer of cream or custard.
- Chill the trifle in the refrigerator for at least 2-4 hours (preferably longer) to allow the flavors to meld and the cake to soften.
- Decorate the top with more fruit or whipped cream before serving.
This is an excellent dry cake fix tip that creates a show-stopping dessert from humble beginnings.
Preventing Dry Cake in the Future: Pro Baking Tips
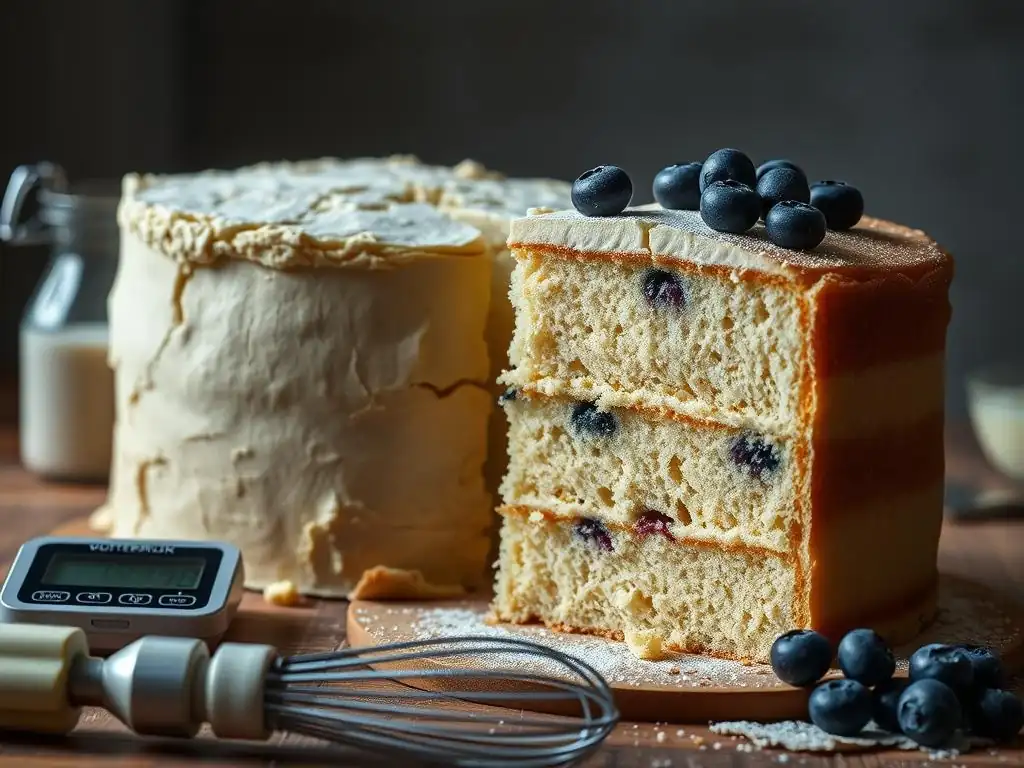
While it's great to have dry cake fix tips at your disposal, the best strategy is to prevent your cakes from drying out in the first place. Mastering a few key baking techniques can significantly improve your cake's moisture and texture. Preventing dryness starts from the moment you select a recipe and continues through mixing, baking, and even cooling and storage.
By paying attention to detail and understanding the role each ingredient and step plays, you can consistently bake moist, tender cakes. This section covers essential tips that professional bakers use to ensure their cakes are never dry, focusing on accuracy, timing, and proper handling after baking. Implement these strategies, and you'll rarely need those dry cake fix tips again!
Measuring Ingredients Accurately: The Key to Moist Cakes
Accurate measurement is perhaps the most critical factor in preventing a dry cake. Baking is a science, and the ratios of ingredients, especially flour to liquid and fat, are carefully balanced to achieve the desired texture and moisture. Using too much dry ingredient, particularly flour, is a very common cause of dry cakes. A difference of even a quarter cup of flour can significantly impact the final result.
It is highly recommended to measure flour by weight using a kitchen scale (e.g., 1 cup of all-purpose flour is typically around 120-125 grams). If measuring by volume, spoon the flour lightly into the measuring cup and level it off with a straight edge, rather than scooping directly from the bag, which can compact the flour and result in using too much. Paying meticulous attention to ingredient quantities is the foundational dry cake fix tip for prevention.
Avoiding Overbaking: Tips for Perfect Baking Times
Overbaking is a major culprit behind dry cakes because it literally bakes the moisture out. Even if your measurements are perfect, leaving a cake in the oven for too long will result in a dry, crumbly texture. Baking times provided in recipes are often approximate, as ovens can vary significantly. It's crucial to start checking for doneness at the minimum time stated in the recipe or even a few minutes earlier.
Look for visual cues like the cake pulling slightly away from the sides of the pan. The most reliable test is the toothpick test: insert a toothpick or thin skewer into the center of the cake. It should come out clean or with just a few moist crumbs attached, not wet batter. If it comes out with wet batter, continue baking and check again in 2-3 minute intervals. As soon as it passes the test, take it out of the oven. A slightly underbaked cake is easier to fix than an overbaked one.
Proper Storage: Keeping Your Cake Moist and Fresh
How you store your cake after it's baked and cooled also plays a significant role in maintaining its moisture. Improper storage exposes the cake to air, which causes it to dry out quickly. Oxygen and evaporation are the enemies of a moist cake! Sealing the cake properly helps to trap the moisture within the crumb and prevent it from escaping into the surrounding air.
Always ensure the cake is completely cooled before storing. Storing a warm cake creates condensation inside the container, which can make the cake gummy or sticky and also create a breeding ground for bacteria. Once cooled, wrap the cake tightly or place it in an airtight container. Different storage methods are suitable depending on how long you plan to keep the cake.
Storing Cake at Room Temperature
Most cakes, especially those without perishable fillings or frostings (like simple butter cakes, pound cakes, or loaf cakes), can be stored at room temperature for 2-3 days.
To store at room temperature:
- Ensure the cake is completely cool.
- Wrap the cake tightly in plastic wrap, covering all surfaces.
- Alternatively, place the wrapped cake in an airtight cake carrier or container.
- Store away from direct sunlight or heat sources.
If the cake is frosted, especially with buttercream, it's best to store it in an airtight container rather than just wrapping, to protect the frosting.
Storing Cake in the Refrigerator
Cakes with perishable components like cream cheese frosting, fresh fruit fillings, or fresh cream should be stored in the refrigerator. Refrigeration extends the shelf life but can also slightly dry out the cake if not stored properly.
To store in the refrigerator:
- Ensure the cake is completely cool.
- If the cake is whole or a large piece, wrap it tightly in plastic wrap, then place it in an airtight container if possible.
- If the cake is sliced, cover the cut surfaces with plastic wrap before placing the piece in an airtight container.
- Refrigerated cake is typically good for 5-7 days.
- Allow refrigerated cake to sit at room temperature for 15-30 minutes before serving for the best texture and flavor.
Proper sealing is essential to minimize moisture loss in the colder, drier environment of the refrigerator.
Storing Cake in the Freezer
Freezing is an excellent option for long-term storage of baked cake, preserving its moisture and freshness for months. This is particularly useful if you've baked ahead or have leftovers you won't eat within a few days.
To store in the freezer:
- Ensure the cake is completely cool.
- For unfrosted cakes or layers: Wrap tightly first in plastic wrap, then in aluminum foil or place in a freezer-safe bag or container. Double wrapping provides extra protection against freezer burn.
- For frosted cakes: Freeze the cake uncovered on a baking sheet until the frosting is firm (about 1 hour). Then, wrap tightly in plastic wrap and then foil or place in a freezer container. This prevents the wrapping from sticking to the frosting.
- Properly stored cake can last in the freezer for 2-3 months.
- To thaw, unwrap the cake (especially frosted cakes) and let it thaw at room temperature or in the refrigerator to prevent condensation from making it soggy. Thawing can take several hours or overnight depending on the size.
Freezing is a highly effective way to keep cake moist for extended periods, avoiding the need for dry cake fix tips later.
Conclusion: Never Throw Away a Dry Cake Again!
Dealing with a dry cake can be frustrating, but as we've seen, it's far from the end of its delicious potential. From simple techniques like soaking with syrup or juice and gentle steaming, to creative transformations into cake pops, crumbles, or trifles, there are numerous effective dry cake fix tips at your disposal. These methods not only rescue your baking efforts but can also inspire new culinary creations.
Furthermore, by understanding the common causes – overbaking and inaccurate measurements – and implementing preventative strategies like precise ingredient handling, careful timing, and proper storage, you can drastically reduce the likelihood of ending up with a dry cake in the first place. Baking is a skill that improves with practice and knowledge. Embrace these dry cake fix tips and prevention methods, and you'll be well on your way to consistently baking moist, delightful cakes every time, ensuring that no cake ever needs to go to waste again.
Frequently Asked Questions
How can I prevent my cake from becoming dry in the first place?
The best way to avoid a dry cake is to ensure proper measuring of ingredients and avoid overbaking. Following the recipe precisely is crucial for a moist outcome.
What's the most effective way to add moisture back to a dry cake after baking?
Soaking the cake with a simple syrup or fruit juice is highly effective. This allows the liquid to penetrate the cake, adding much-needed moisture and flavor.
Can I fix a dry cake with frosting alone?
While frosting can help mask dryness, it's not a complete fix. It adds surface moisture but doesn't penetrate deep into the cake's structure.
Is there a difference in how to fix a dry layer cake versus a dry sheet cake?
The principles are similar, but with layer cakes, be careful when applying liquid to avoid making the layers too soggy. Use a light hand and ensure even distribution.
What are some common mistakes that lead to dry cakes?
Common mistakes include overmixing the batter, using too much flour, and not using enough fat (like butter or oil). These factors significantly impact the cake's final moisture content.
Final Reflection: The Sweetness of Second Chances
The battle against a dry cake is a common culinary struggle, but armed with the right knowledge, even the most parched pastry can be salvaged. This isn't just about fixing a cake; it's about embracing resilience in the face of culinary setbacks and finding creative solutions to unexpected challenges. The techniques outlined—from simple syrup injections to the clever use of fruit—prove that even seemingly ruined creations can be transformed into something delicious.
The impact of a perfectly moist cake extends beyond mere taste; it's a symbol of success, a testament to our efforts in the kitchen. It's a small victory, yet one that resonates deeply with our desire for mastery and control. The frustration of a dry cake, however, teaches us patience and resourcefulness. As Julia Child famously said, If you're afraid of butter, use cream.
This sentiment applies broadly; even when faced with a culinary catastrophe, there's always a way to adapt and improve, to find the sweetness in a second chance.
So, the next time you encounter a dry cake, remember the lessons learned here. Don't despair! Instead, see it as an opportunity to practice your skills, to experiment with different solutions, and to ultimately create something even more delicious than you initially intended. Embrace the challenge, and you'll discover the surprising satisfaction of transforming a culinary mishap into a sweet triumph. You've got this!
Rediscover Your Baking Bliss!
Thanks for taking the time to learn how to rescue a dry cake! We hope you now feel confident tackling those baking mishaps. Ready to put your newfound knowledge into practice?
- Bake a show-stopping cake this weekend: Use your new skills to create a masterpiece and impress your friends and family. Remember those simple tricks we shared, and you’ll be amazed at the results!
- Share your baking triumphs (and fails!): Post a picture of your cake on social media and tag us – we’d love to see your results!
- Experiment with different cake recipes: Challenge yourself to try a new recipe, armed with your confidence in preventing dryness.
What unexpected ingredient will you try next to elevate your cake game?