
The ParisBrest: A Choux Pastry Masterpiece Explained

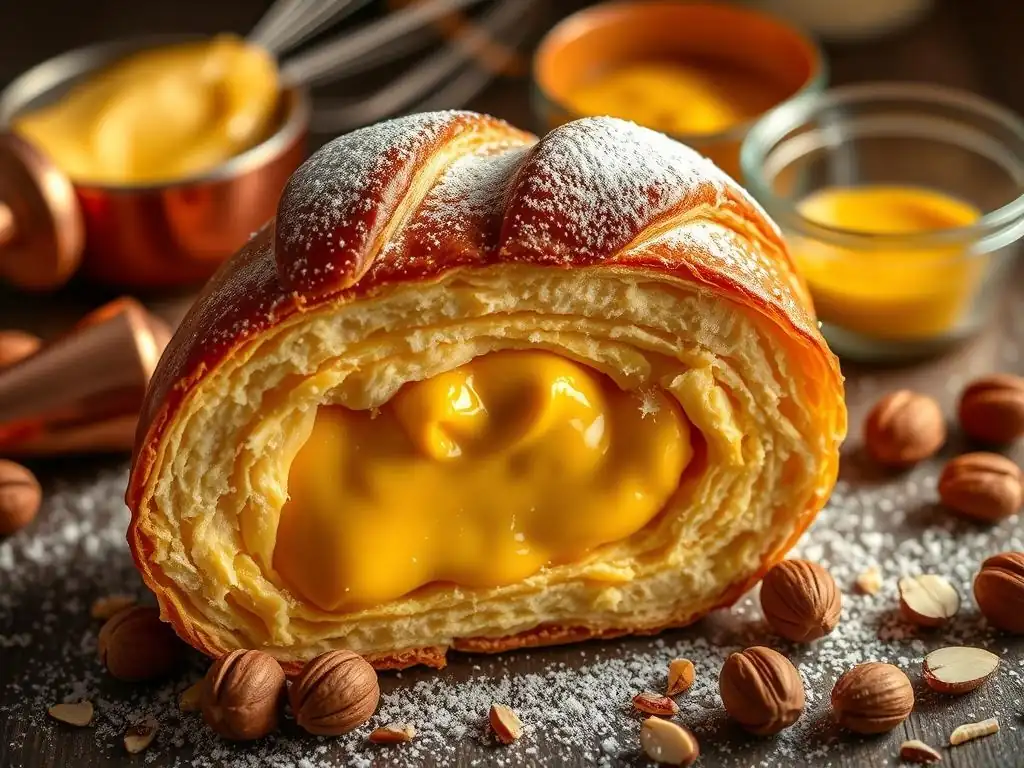
Welcome to BakeWithEase, where even the most impressive pastries become achievable! Ever dreamt of creating a stunning ParisBrest that looks like it came straight from a Parisian patisserie? Get ready to unveil the secrets behind this classic French dessert with our Easy ParisBrest recipe tutorial. Dive in and discover how simple it can be to master choux pastry and craft your own edible masterpiece. Let's bake!
- Discover the Parisian Delight: An Authentic Paris-Brest Recipe Tutorial
- What is a Paris-Brest? Exploring the History and Origins
- Mastering the Choux Pastry: The Foundation of Your Paris-Brest
- Crafting the Hazelnut Praline Cream Filling: The Heart of the Paris-Brest
- Assembling Your Paris-Brest: A Visual Guide
- Baking the Perfect Paris-Brest: Temperature and Timing
- Storing Your Paris-Brest: Keeping it Fresh
- Paris-Brest Variations: Beyond the Classic Recipe
- Troubleshooting Your Paris-Brest: Common Mistakes and Solutions
- From Our Kitchen to Yours: Enjoying Your Homemade Paris-Brest
- Frequently Asked Questions
- Final Reflection: The Enduring Allure of the Paris-Brest
- Unleash Your Inner Pâtissier: Bake the Perfect Paris-Brest!
Discover the Parisian Delight: An Authentic Paris-Brest Recipe Tutorial
Welcome to BakeWithEase, where we demystify classic pastries! Today, we're diving into the wonderful world of the Paris-Brest, a truly iconic French creation. While it might look intricate, mastering this pastry is absolutely achievable, and this article will guide you through an easy ParisBrest recipe tutorial. From perfect choux pastry to a luscious praline cream, we'll break down each step so you can recreate this delightful dessert in your own kitchen. Get ready to impress your friends and family with this stunning ring-shaped treat!
This comprehensive guide is designed to walk you through every component of the Paris-Brest. We'll cover the historical roots that inspired its unique shape, delve into the secrets of light and airy choux pastry, and reveal how to make the rich, nutty praline cream filling that is the heart of this dessert. Whether you're a seasoned baker or just starting your pastry journey, you'll find this easy ParisBrest recipe tutorial accessible and rewarding. Let's get baking!
What is a Paris-Brest? Exploring the History and Origins
The Story Behind the Wheel-Shaped Pastry: A Tribute to the Paris-Brest Bicycle Race
The Paris-Brest pastry owes its distinctive circular shape to a famous bicycle race. Created in 1891 by pâtissier Louis Durand in Maisons-Laffitte, near Paris, the pastry was designed to commemorate the Paris–Brest–Paris bicycle race, which had just begun that year. The wheel-like form was a direct nod to the bicycle wheels used by the participants. This historical connection gives the pastry a unique narrative, linking the world of demanding endurance sports with the delicate art of French patisserie.
Durand's original creation quickly gained popularity among cyclists and spectators alike, becoming synonymous with the race itself. The round shape wasn't just symbolic; it also provided a large surface area for the filling, making it a substantial and satisfying treat for athletes needing energy. Over time, the Paris-Brest transcended its sporting origins to become a beloved classic in French bakeries, cherished for its combination of textures and flavors. The tradition of shaping it like a wheel has endured, making it instantly recognizable.
Key Characteristics of a Traditional Paris-Brest: Choux Pastry, Praline Cream, and Almonds
A traditional Paris-Brest is defined by three core elements that work in harmony: the choux pastry ring, the praline crème mousseline or crème pâtissière, and the toasted almonds scattered on top. The choux pastry is baked into a large ring, often scored or piped with ridges before baking, which helps it expand evenly and provides a beautiful texture. Once baked and cooled, it's typically sliced horizontally.
The filling is arguably the soul of the Paris-Brest. Traditionally, it's a praline-flavored cream, often a crème mousseline (pastry cream enriched with butter) or a stabilized crème pâtissière. The praline is a paste made from caramelized sugar and nuts, most commonly hazelnuts and almonds, which is then ground into a smooth or slightly crunchy paste. This praline is folded into the cream, giving it a rich, nutty flavor and a smooth, luxurious texture. Finally, toasted slivered almonds are sprinkled generously over the top, adding a crucial crunch that contrasts beautifully with the soft pastry and creamy filling.
Mastering the Choux Pastry: The Foundation of Your Paris-Brest
Classic Choux Pastry Recipe: A Step-by-Step Guide
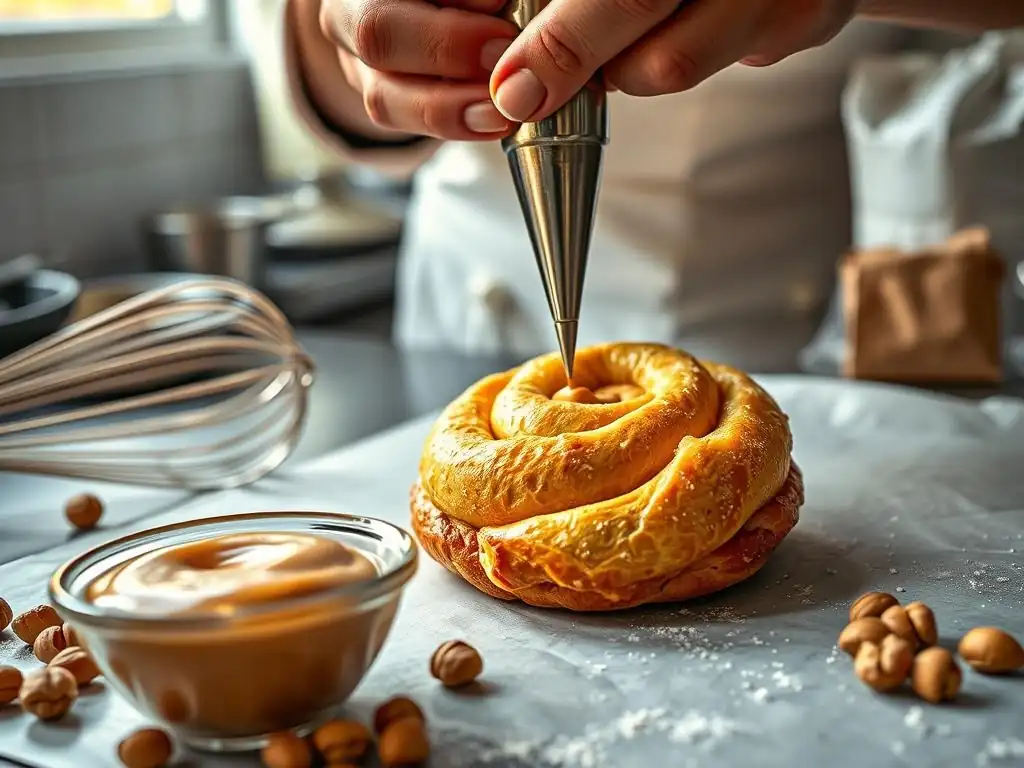
Making choux pastry, or pâte à choux, is a fundamental skill for many French pastries, including our easy ParisBrest recipe tutorial. It starts by heating water (or milk), butter, a pinch of salt, and a little sugar in a saucepan until the butter melts and the mixture boils. Remove from the heat and quickly add all the flour at once, stirring vigorously with a wooden spoon until it forms a cohesive ball that pulls away from the sides of the pan.
Return the pan to low heat and continue stirring for a couple of minutes to dry out the dough slightly – this step is crucial for creating steam later, which makes the pastry puff up. This drying helps evaporate excess moisture; aim for a thin film on the bottom of the pan. Transfer the dough to a bowl and let it cool slightly for about 5 minutes.
Then, beat in the eggs one at a time, ensuring each egg is fully incorporated before adding the next. The dough should become smooth, glossy, and pipeable, holding a soft peak when lifted with the spoon.
Tips for Perfect Choux Pastry Every Time: Achieving the Right Consistency
The consistency of your choux dough is paramount. After adding the eggs, the dough should be thick enough to hold its shape when piped, but soft enough to fall slowly from a spoon in a 'V' shape. If it's too stiff, your pastries won't rise properly; if too wet, they'll collapse. You can test the consistency by scooping some dough onto a spoon; it should form a soft point and slowly droop. Another test is to drag your finger through the dough in the bowl; the furrow should hold without the dough immediately flowing back together.
Using room-temperature eggs is also beneficial as they incorporate more smoothly into the dough. Don't rush the drying step on the stove; properly drying the panada (the cooked flour mixture) is vital for creating strong steam lift during baking. Also, be patient when adding the eggs – you might not need every drop of the last egg, depending on the flour and humidity. Add the last egg gradually, checking the consistency as you go.
Troubleshooting Common Choux Pastry Problems: From Flat Shells to Uneven Baking
One of the most common issues is flat or collapsed choux shells. This can happen if the dough wasn't dried enough on the stove, if the eggs weren't fully incorporated, or if the oven temperature was too low, preventing sufficient steam production. Ensure your oven is preheated accurately to a high temperature (often around 200-220°C initially). Another cause is opening the oven door too early while the pastries are still setting; the sudden change in temperature can cause them to deflate.
Uneven baking or pale shells can result from an oven that isn't heating evenly, or from overcrowding the baking sheet. Make sure there's space between your piped rings for air circulation. If your oven has hot spots, you might need to rotate the baking sheet halfway through the baking time.
If the tops are browning too quickly but the insides are still soft, you can loosely tent the pastries with foil for the remainder of the baking time. Baking until the choux are deeply golden brown and feel light and hollow is key to preventing them from collapsing after cooling.
Crafting the Hazelnut Praline Cream Filling: The Heart of the Paris-Brest
Authentic Hazelnut Praline Recipe: A Step-by-Step Guide
The star of the Paris-Brest filling is the praline. To make authentic hazelnut praline, start by toasting whole hazelnuts (and sometimes almonds, depending on preference) at around 160°C for about 10-15 minutes until fragrant and their skins are loose. Rub them in a clean towel to remove most of the skins. While the nuts are warm, make a dry caramel by heating sugar in a heavy-bottomed saucepan over medium heat. Let the sugar melt and turn amber without stirring initially; swirl the pan gently if needed.
Once the caramel is a rich golden-brown (be careful not to burn it! ), carefully add the warm, toasted nuts. Stir quickly to coat all the nuts in caramel. Pour this mixture onto a silicone baking mat or greased parchment paper and let it cool completely until hardened. Once cool and brittle, break the praliné into smaller pieces.
Transfer the pieces to a food processor and process. Initially, it will turn into a powder, then a paste, and finally, a smooth, runny butter as the nuts release their oils. This can take several minutes, so be patient and scrape down the sides as needed. Process until you reach your desired consistency – smooth or slightly crunchy.
Achieving the Perfect Creamy Texture for Your Praline Filling: Balancing Fat and Sugar
The praline cream for an easy ParisBrest recipe tutorial is typically a crème mousseline, which is pastry cream enriched with a significant amount of butter. The key to a smooth, stable cream is ensuring your pastry cream base is well-made and thick, and that your butter is at cool room temperature (around 15-18°C) but still pliable. The butter is whipped into the cooled pastry cream gradually, incorporating air and richness.
When combining the praline paste with the crème mousseline, ensure both are roughly the same temperature to prevent the butter in the cream from seizing or melting unevenly. Gently fold or whip the praline into the finished crème mousseline until evenly distributed. If the cream seems too soft, chilling it briefly in the refrigerator can help it firm up before piping. A good ratio might be around 150-200g of praline paste per 500g of crème mousseline, but adjust to your taste preference for nuttiness.
Variations: Exploring Different Nut Pralines and Flavors
While hazelnut is traditional, the praline component offers fantastic opportunities for variation in your easy ParisBrest recipe tutorial. A classic alternative is a 50/50 mix of hazelnuts and almonds, which creates a slightly different flavor profile. You can also make pure almond praline, which yields a lighter color and a distinct almond flavor.
Beyond the nut base, you can infuse the praline itself or the cream with other flavors. For instance, a hint of vanilla or a small amount of sea salt can enhance the praline's depth. Some modern variations might use pecans, pistachios, or even peanuts for the praline, each bringing its unique character to the pastry. Remember to toast any nuts you use to bring out their maximum flavor before making the caramel.
Assembling Your Paris-Brest: A Visual Guide
Step-by-Step Assembly Instructions for a Stunning Paris-Brest
Assembling your Paris-Brest is where all your hard work comes together. First, ensure your baked choux ring is completely cooled. Using a serrated knife, carefully slice the ring horizontally into two halves. This requires a steady hand to avoid crushing the delicate pastry. The top half is usually slightly smaller or flatter than the bottom.
The next step is filling. Load your praline cream into a piping bag fitted with a star or round tip. Pipe generous mounds of cream onto the bottom half of the choux ring. You can pipe one or two layers, ensuring the cream fills the ring evenly. Don't be shy with the filling – a well-filled Paris-Brest is a joy! Carefully place the top half of the choux ring back onto the piped cream, gently pressing down just enough to settle it without squishing the filling out excessively.
Decoration Ideas: Elevating Your Paris-Brest Presentation with Toasted Almonds and Powdered Sugar
Traditional decoration for a Paris-Brest involves toasted slivered almonds and a dusting of powdered sugar. Toast the slivered almonds in a dry pan over medium heat or in a 160°C oven until golden brown and fragrant – watch them closely as they can burn quickly. Once cooled, sprinkle the toasted almonds generously over the top of the assembled pastry. They provide a lovely crunch and visual appeal.
For the final touch, dust the entire pastry generously with powdered sugar using a fine-mesh sieve. This adds a classic, elegant finish and a subtle sweetness. Some bakers like to score the top of the choux before baking to create defined ridges, which then catch the powdered sugar beautifully. You can also add a few dollops of extra praline cream on top for decoration if you like, perhaps garnishing with a few more toasted nuts.
Slicing and Serving Your Paris-Brest: Tips for a Clean Cut and Elegant Presentation
Slicing a large Paris-Brest can be tricky due to its delicate nature and creamy filling. The best way to get clean slices is to use a sharp, serrated knife. Use a gentle sawing motion rather than pressing straight down, which can flatten the choux and squeeze out the filling. Chilling the assembled pastry for about 30 minutes before slicing can also help firm up the cream, making it easier to cut cleanly.
Serve the Paris-Brest in slices. The size of the slices depends on the size of your ring and how many servings you need, but typically a large ring might yield 6-8 generous slices. Present the slices on individual plates, showcasing the beautiful layers of choux and praline cream. It's best enjoyed at cool room temperature or slightly chilled.
Baking the Perfect Paris-Brest: Temperature and Timing
Optimal Oven Temperature for Choux Pastry: Achieving a Golden-Brown Crust
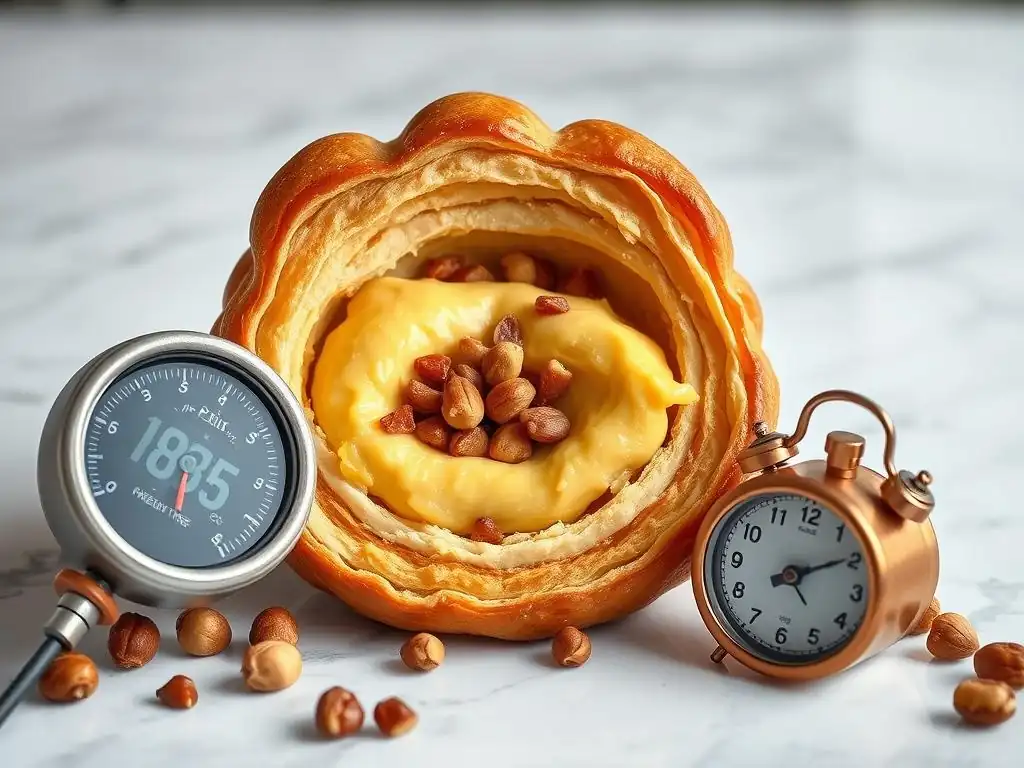
Baking choux pastry requires a specific temperature strategy to ensure it rises correctly and develops a firm, golden crust. A common method is to start with a high temperature, often around 200-220°C (400-425°F), for the first 10-15 minutes. This initial blast of heat creates a strong burst of steam from the moisture in the dough, causing the pastry to puff up rapidly and create a hollow center.
After this initial high-heat period, the temperature is typically reduced to around 170-180°C (340-350°F) for the remaining baking time, usually another 20-30 minutes or longer depending on the size of the ring. This lower temperature allows the pastry to dry out and firm up gradually without burning the exterior. Baking for long enough at the lower temperature is crucial for stability; underbaked choux will collapse upon cooling.
How to Tell When Your Paris-Brest is Perfectly Baked: Hollow Shells and a Firm Structure
Knowing when your choux ring is done is key to a successful Paris-Brest. A perfectly baked choux pastry should be deeply golden brown all over, including the sides and bottom. It should feel very light when you lift it, indicating a hollow interior. If you tap the bottom, it should sound hollow.
Another good indicator is the texture. The crust should feel firm and crisp; if it feels soft or pliable, it needs more time in the oven to dry out. You can also gently poke a hole in the side of one pastry (if baking smaller éclairs or puffs alongside) to check the interior – it should be mostly hollow with no wet dough pockets. For a large ring, baking until it's visibly well-browned and has held its shape firmly for several minutes after the initial puff is a reliable sign.
Preventing Soggy Paris-Brest: Tips for Crispy Shells and Proper Cooling
Soggy choux pastry is a common disappointment. To prevent this, ensure your choux is baked thoroughly until it's dry and firm inside. Don't reduce the baking time, even if the pastry looks golden. Once baked, it's essential to cool the choux ring correctly. Some bakers recommend poking a small hole in the side or bottom of each pastry immediately after taking them out of the oven to allow steam to escape, which helps the interior dry out.
Cool the baked choux ring completely on a wire rack. This allows air to circulate around the entire pastry, preventing moisture from condensing underneath and making the bottom soggy. Do not fill the pastry until it is entirely cool, ideally at room temperature. Moisture from warm pastry can negatively affect the cream filling and the crispness of the shell. Proper cooling is a simple but vital step in achieving a crispy, stable choux for your easy ParisBrest recipe tutorial.
Storing Your Paris-Brest: Keeping it Fresh
Best Practices for Storing Paris-Brest Pastries: Refrigeration and Avoiding Moisture
Once assembled with the praline cream, a Paris-Brest should be stored in the refrigerator due to the dairy-based filling. To store it, place the pastry in an airtight container. This protects it from absorbing odors from other foods in the fridge and helps maintain its quality. Avoid wrapping it tightly in plastic wrap alone, as this can trap moisture and soften the choux pastry.
If you have leftover slices, storing them individually in airtight containers is also effective. The goal is to protect the cream and minimize contact with air and moisture. While refrigeration is necessary for food safety, it can slightly soften the choux over time. For best texture, it's ideal to consume the Paris-Brest within a day or two of assembly.
How Long Does Paris-Brest Stay Fresh? : Optimal Shelf Life and Quality
An assembled Paris-Brest is best enjoyed within 1-2 days of being filled and refrigerated. The quality of the choux pastry will start to soften after the first day as moisture from the cream migrates into the shell. While still safe to eat for perhaps up to 3-4 days if kept properly chilled, the crispness of the choux is significantly diminished, which impacts the overall experience of this pastry.
If you want to prepare components in advance, you can bake the choux ring ahead of time. Unfilled choux shells, once completely cooled, can be stored in an airtight container at room temperature for a day or two, or frozen for up to a month. The praline paste can be made well in advance and stored at room temperature. The praline cream base ( crème pâtissière) can be made a day ahead and chilled, then the butter and praline added just before assembly. Assembling closer to serving time will yield the best texture.
Paris-Brest Variations: Beyond the Classic Recipe
Chocolate Paris-Brest: A Decadent Twist with Chocolate Praline Cream
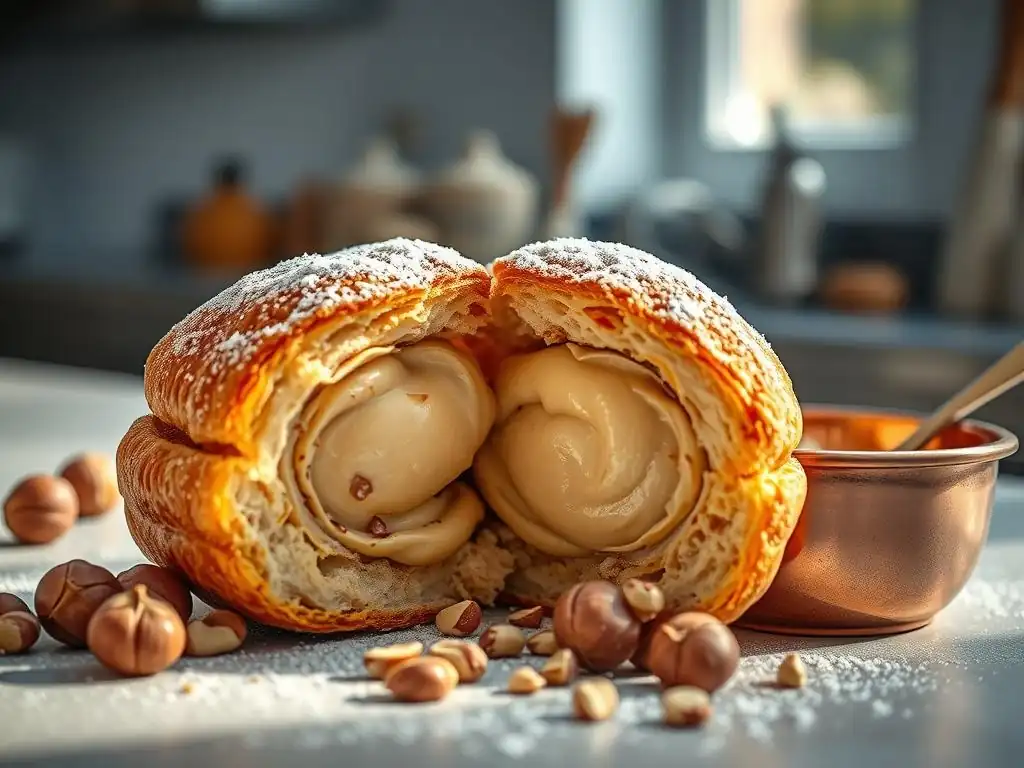
For chocolate lovers, a decadent twist on the classic is the Chocolate Paris-Brest. This variation typically involves incorporating chocolate into the praline cream filling. This can be done by folding melted dark chocolate into the praline crème mousseline, or by using a chocolate-flavored praline paste (made with caramelized sugar and cocoa nibs or chocolate).
Another approach is to make a chocolate pastry cream base before adding the praline. The choux pastry itself can sometimes have a small amount of cocoa powder added for a subtle chocolate hue and flavor, though this is less common. Decorate with chocolate shavings or cocoa powder alongside the traditional almonds for an extra layer of indulgence. This chocolate version offers a richer, more intense flavor profile compared to the nutty classic.
Coffee Paris-Brest: Adding a Caffeine Kick with Coffee-Infused Cream
Coffee is another popular flavor pairing with nuts and pastry, making a Coffee Paris-Brest a delightful variation. This is usually achieved by infusing the praline cream with coffee flavor. Strong brewed coffee or espresso can be used as part of the liquid when making the pastry cream base, or instant espresso powder can be dissolved and added.
Alternatively, coffee extract or liqueur can be added to the finished praline cream. The intensity of the coffee flavor is adjustable based on preference. This variation provides a pleasant bitterness and aromatic depth that complements the sweetness and nuttiness of the praline beautifully. It's a sophisticated twist perfect for coffee aficionados.
Pistachio Paris-Brest: Incorporating Pistachio Flavors
Exploring other nuts leads to delicious variations like the Pistachio Paris-Brest. This version uses pistachio praline instead of or in combination with hazelnut/almond praline. To make pistachio praline, toast shelled pistachios and caramelize them with sugar, then process into a paste just like traditional praline. High-quality, bright green pistachios will yield the best color and flavor.
The pistachio praline is then folded into the crème mousseline. Some recipes might also add a little pure pistachio paste (100% ground pistachios) for a more intense flavor and vibrant green color. This variation offers a different kind of nuttiness and a beautiful visual appeal with its green-hued filling. It's a refreshing change from the classic and still follows the fundamental structure of an easy ParisBrest recipe tutorial.
Troubleshooting Your Paris-Brest: Common Mistakes and Solutions
My Choux Pastry Didn't Rise: Possible Causes and Fixes
If your choux pastry rings came out flat or didn't puff up properly, several factors could be at play. The most frequent culprit is insufficient drying of the panada on the stove; if there's too much moisture, the steam needed for lift won't be generated effectively. Ensure you cook the dough on low heat for 2-3 minutes until a film forms on the pan bottom. Another reason could be adding too many eggs, making the dough too wet and heavy; it needs to be pipeable but still hold its shape.
Baking at a temperature that is too low, especially during the crucial initial phase, will also prevent proper rising. Make sure your oven is accurately preheated to the higher temperature (e.g., 200-220°C) before putting the pastries in, and avoid opening the oven door for at least the first 15 minutes. If you've checked these points, your oven thermostat might be off; consider using an oven thermometer.
My Praline Cream is Too Runny: How to Thicken It
A runny praline cream filling can make assembly difficult and results in a messy pastry. If your crème mousseline base was too thin to begin with, this will carry over. Ensure your pastry cream is cooked until visibly thickened and boils for at least 30-60 seconds to activate the starch properly. If the finished praline cream is too soft after adding the butter and praline, the butter might have been too warm and melted rather than emulsified.
To rescue a runny cream, you can try chilling it in the refrigerator for a period (30-60 minutes) to help the butter firm up. If it's still too soft, you might need to gently re-whip it with a bit more cool, soft butter, or in some cases, add a small amount of stabilizer like gelatin (dissolved and cooled) or cornstarch slurry cooked briefly with a little milk, though this changes the texture. Prevention through proper pastry cream technique and using cool, soft butter is key.
My Paris-Brest is Too Dry: Tips for Adding Moisture
If your finished Paris-Brest feels dry, it's likely due to the choux pastry being overbaked or the filling being insufficient or not moist enough. Ensure you bake the choux until golden and firm, but not until it's excessively brittle or dark brown, which can dry it out. Cooling on a wire rack is important, but don't leave the unfilled shells sitting out for days at room temperature as they can dry out further.
The most significant factor in moisture is the filling. Ensure you use a generous amount of praline cream; a well-filled Paris-Brest has a better moisture balance. If your praline cream recipe is on the stiffer side, you can adjust it by ensuring the pastry cream base is smooth and adding the butter correctly for maximum richness and smooth texture. Sometimes, adding a touch more milk or cream to the finished praline cream (if the recipe allows and it won't make it too runny) can help, but the primary solution lies in proper baking and generous filling.
From Our Kitchen to Yours: Enjoying Your Homemade Paris-Brest
Creating a Paris-Brest from scratch is a rewarding baking project. Following this easy ParisBrest recipe tutorial, you've mastered the delicate choux pastry, crafted rich praline, and assembled a beautiful, classic French dessert. The combination of the light, airy shell, the creamy, nutty filling, and the crunchy almonds is simply divine.
Sharing a slice of homemade Paris-Brest is a special moment. Whether you stick to the traditional hazelnut or explore exciting variations, the effort you put in will be evident in every delicious bite. We hope this guide empowers you to tackle this iconic pastry with confidence and find joy in the process. Happy baking, and enjoy your magnificent Paris-Brest masterpiece!
Frequently Asked Questions
What exactly is a Paris-Brest, and what makes it special?
The Paris-Brest is a classic French pastry. It's made of choux pastry, filled with a praline cream, and typically dusted with powdered sugar. Its circular shape is said to represent a bicycle wheel, commemorating a bicycle race.
Is the choux pastry for a Paris-Brest difficult to make?
While choux pastry can seem intimidating, BakeWithEase provides an easy-to-follow tutorial. Our recipe breaks down the steps, focusing on achieving the correct consistency for a light and airy pastry.
What kind of praline cream is used in a Paris-Brest?
Traditionally, the cream is a mousseline cream flavored with praline paste. Our recipe might offer variations or simplified versions for an easier experience without sacrificing the delicious praline flavor.
Can I substitute any ingredients in your Easy Paris-Brest recipe?
While we recommend sticking to the recipe for the best results, some substitutions are possible. Check the recipe's notes for suggestions on dairy-free or nut-free alternatives, but be aware that results may vary.
How should I store a Paris-Brest, and how long will it last?
Paris-Brests are best enjoyed fresh. Store leftovers in the refrigerator for up to two days. The pastry tends to soften over time, so consume it as soon as possible for the best texture and flavor.
Final Reflection: The Enduring Allure of the Paris-Brest
The seemingly simple act of crafting a Paris-Brest belies a profound connection to culinary history and the enduring power of perfectly executed pastry. This seemingly straightforward recipe, broken down step-by-step in this tutorial, offers not just a delicious treat, but a gateway to understanding the artistry and precision behind classic French baking. The accessibility of this recipe, however, shouldn't diminish the satisfaction of mastering its techniques.
The Paris-Brest, with its iconic bicycle-wheel shape and delicate praline cream, transcends mere dessert; it's a symbol of French culinary heritage and a testament to the enduring appeal of simple, high-quality ingredients. The best things in life are simple,
a phrase often heard, rings especially true when considering the elegance and satisfaction derived from a perfectly made Paris-Brest. Its continued popularity, from classic patisseries to home kitchens, speaks volumes about its timeless appeal and the joy it brings to both baker and eater.
Now, I invite you to roll up your sleeves and embark on your own Paris-Brest journey. Don't be intimidated by the seemingly complex steps; each one, as detailed in this tutorial, is designed to empower you. The reward? Not just a delicious pastry, but a deeper appreciation for the art of baking and the satisfaction of creating something beautiful and delicious with your own hands. Embrace the challenge, savor the process, and experience the magic of the Paris-Brest for yourself.
Unleash Your Inner Pâtissier: Bake the Perfect Paris-Brest!
Thanks for joining us on this delicious journey into the world of the Paris-Brest! We hope you've gained a deeper appreciation for this iconic pastry and are feeling inspired to create your own masterpiece. Now, it's time to put your newfound knowledge to the test!
- Bake your own Paris-Brest: Gather your ingredients and follow our detailed recipe (available on our website - link would go here if this weren't a text-only example). Don't be afraid to experiment with different flavors and fillings!
- Share your creation: Post a photo of your finished Paris-Brest on social media using #BakeWithEaseParisBrest and tag us! We'd love to see your baking prowess.
- Challenge a friend: Nominate a friend to bake their own Paris-Brest and share their results. Let's spread the pastry love!
Ready to transform your kitchen into a Parisian patisserie? What unique flavor combination will you try in your Paris-Brest?