
The Art of Proofing Sourdough Rye Bread

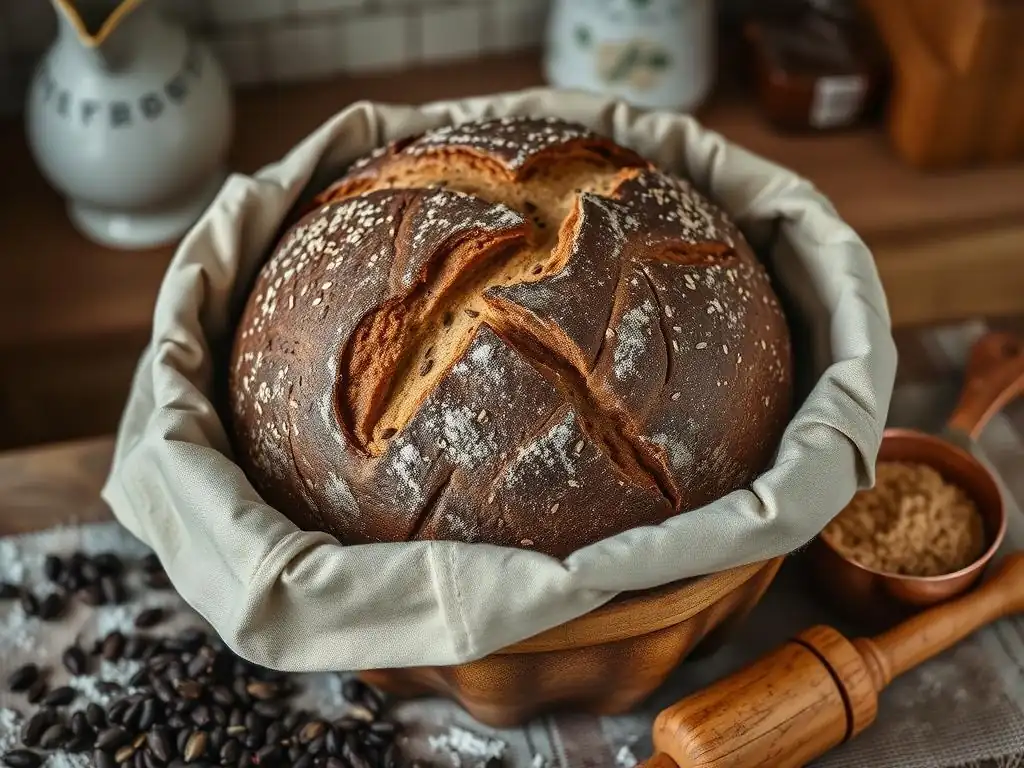
Welcome to BakeWithEase, your partner in crafting delectable baked goods!
Ever wonder how to achieve that perfect rise and tangy flavor in your sourdough rye? Mastering the art of proofing sourdough rye bread is the key. Discover the secrets behind optimal fermentation and unlock a richer, more complex loaf. Intrigued? Let's delve into the techniques that will elevate your rye baking to new heights!
- The Art of Proofing Sourdough Rye Bread: A BakeWithEase Guide
- Understanding Sourdough Rye Bread and Proofing
-
Mastering the Sourdough Rye Bread Proofing Process
- Step-by-Step Guide to Proofing Your Sourdough Rye
- Preparing Your Dough for Proofing: Achieving Optimal Consistency
- Choosing the Right Proofing Vessel: Bowls, Baskets (Bannetons), and Dutch Ovens
- Temperature Matters: Finding the Ideal Proofing Environment
- Time is of the Essence: How Long to Proof Sourdough Rye?
- Visual Cues: Recognizing When Your Sourdough Rye is Properly Proofed
- Troubleshooting Common Sourdough Rye Proofing Problems
- Tips and Tricks for Consistent Sourdough Rye Proofing
- Advanced Sourdough Rye Proofing Techniques
- Baking Your Perfectly Proofed Sourdough Rye Bread
- Sourdough Rye Bread Proofing: Achieving Baking Success with Ease
- Frequently Asked Questions
- Final Reflection: The Patience and Precision of Sourdough Rye Proofing
- Unlock Your Rye Bread Potential!
The Art of Proofing Sourdough Rye Bread: A BakeWithEase Guide
Understanding Sourdough Rye Bread and Proofing
What is Sourdough Rye Bread? A Brief Overview
Sourdough rye bread is a beloved staple in many cultures, celebrated for its distinctive tangy flavor and dense, yet often moist, crumb. Unlike breads leavened solely with commercial yeast, sourdough rye relies on a sourdough starter – a fermented mix of flour and water teeming with wild yeast and lactic acid bacteria.
This symbiotic culture is responsible for both the bread's rise and its complex taste profile. The inclusion of rye flour, which is lower in gluten compared to wheat flour and contains more pentosans (complex carbohydrates), significantly impacts the dough's structure and hydration needs, making sourdough rye bread proofing a unique process.
Working with rye flour presents particular challenges and rewards. Its lower gluten content means the dough is often stickier and less elastic than wheat dough. This affects how the dough handles and how it rises. The pentosans in rye absorb a large amount of water, contributing to the bread's moisture but also potentially inhibiting gluten development. Mastering sourdough rye bread proofing requires understanding these characteristics and adapting standard proofing techniques to suit the specific demands of a rye-heavy dough, ensuring it develops properly before baking.
Why Proofing is Crucial for Sourdough Rye Bread Success
Proofing, also known as fermentation, is a non-negotiable step in the sourdough baking process, especially when working with rye. It's the period after shaping where the dough undergoes a final rise before hitting the oven. During proofing, the yeast in the sourdough starter produces carbon dioxide gas, which is trapped within the dough's structure, causing it to expand. This expansion is vital for achieving a light, airy texture in the finished loaf, counteracting the natural tendency of rye to produce a denser bread.
Beyond leavening, proper sourdough rye bread proofing is essential for flavor development. The lactic acid bacteria in the starter continue their work during this phase, producing organic acids (primarily lactic and acetic acid) that contribute significantly to the bread's characteristic tang. The duration and temperature of the proofing process directly influence the balance of these flavors.
An under-proofed loaf will be dense, potentially gummy, and lack depth of flavor, while an over-proofed loaf may collapse, have a poor crust, and an overly acidic taste. Therefore, precise sourdough rye bread proofing is the bridge between a shaped dough and a successful bake.
The Science Behind Sourdough Rye Bread Proofing: Fermentation, Acidity, and Gas Production
At its core, sourdough rye bread proofing is a controlled fermentation process driven by the microorganisms in the starter. Wild yeasts consume sugars in the flour, producing ethanol and carbon dioxide (CO2). This CO2 gas is what creates the bubbles that cause the dough to rise. Simultaneously, lactic acid bacteria ferment carbohydrates, producing lactic acid (milder, yogurt-like tang) and acetic acid (sharper, vinegar-like tang). The ratio of these acids depends heavily on the proofing temperature; warmer temperatures generally favor lactic acid production, while cooler temperatures encourage acetic acid.
Rye flour introduces complexities to this scientific dance. It contains enzymes that break down starches more readily than wheat, providing more food for the microbes but also potentially leading to a stickier dough and faster fermentation. The pentosans in rye can interfere with the gluten network (what little there is), making it harder for the dough to hold onto the CO2 gas produced. Successful sourdough rye bread proofing involves managing these factors – temperature, time, hydration, and starter activity – to ensure sufficient gas production and acid development without the dough losing its structural integrity before baking.
Mastering the Sourdough Rye Bread Proofing Process
Step-by-Step Guide to Proofing Your Sourdough Rye
Proofing your sourdough rye dough involves several key steps after the bulk fermentation and shaping phases. First, ensure your shaped loaf is placed seam-side down in your chosen proofing vessel, typically a floured banneton or bowl lined with a floured cloth. Dusting the vessel generously with rice flour is often recommended, especially for sticky rye doughs, as it prevents sticking better than wheat flour.
Once nestled in its proofing home, the dough needs time and a suitable environment to rise. The duration and temperature will vary significantly based on the specific recipe, the percentage of rye flour, the starter's activity, and your desired outcome (e.g., room temperature for speed, cold proofing for flavor). Cover the proofing vessel to prevent the dough from drying out. This might be a plastic bag, a damp towel, or a dedicated proofing cover. Monitor the dough's progress using visual cues and the poke test, which we'll discuss shortly, to determine precisely when it's ready for baking.
Preparing Your Dough for Proofing: Achieving Optimal Consistency
Before proofing begins, the dough must have completed its bulk fermentation and been shaped appropriately. For sourdough rye, achieving the right consistency is paramount. Rye doughs are often wetter and stickier than wheat doughs due to rye's high water absorption and lower gluten. Aim for a dough that is hydrated enough to allow for microbial activity and moisture retention but not so wet that it's impossible to handle or shape. A hydration level between 70-85% is common for many rye or part-rye sourdoughs, though this varies greatly with the percentage of rye used.
Proper development during mixing and bulk fermentation is also crucial. While rye doesn't form the same strong gluten network as wheat, some level of structure is needed to trap gases during sourdough rye bread proofing. Techniques like mixing, brief kneading (if the dough allows), and stretch-and-folds during bulk fermentation help build this minimal structure and distribute the yeast and bacteria evenly throughout the dough. A dough that feels slightly aerated and holds a loose shape after bulk fermentation is generally well-prepared for the final proof.
Choosing the Right Proofing Vessel: Bowls, Baskets (Bannetons), and Dutch Ovens
The vessel you choose for sourdough rye bread proofing plays a role in both the dough's shape and how easily it releases before baking. Bannetons (proofing baskets), typically made of rattan or cane, are a popular choice as they wick away a small amount of moisture from the surface of the dough, contributing to a better crust and helping the dough hold its shape, especially important for stickier rye doughs. They also impart an attractive spiral pattern on the crust. Ensure bannetons are well-floured, ideally with rice flour, to prevent sticking.
Alternatively, you can proof sourdough rye dough in a simple bowl lined with a floured tea towel or linen cloth. This method works well and doesn't require specialized equipment, though shaping might need to be a bit tighter to help the dough maintain structure.
Some bakers also proof directly in the vessel they plan to bake in, such as a Dutch oven or loaf pan. Proofing in a Dutch oven requires careful handling when transferring to the hot pot, while proofing in a loaf pan is straightforward and guarantees a specific shape, often preferred for higher-percentage rye loaves that benefit from the support.
Temperature Matters: Finding the Ideal Proofing Environment
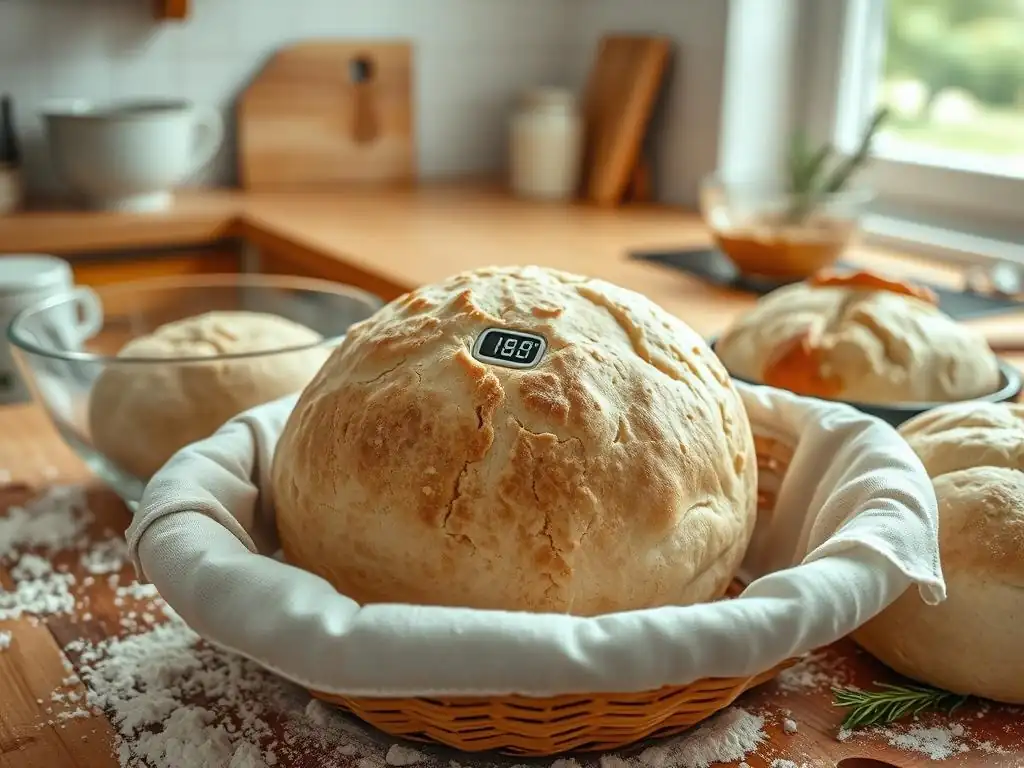
Temperature is one of the most critical factors influencing the speed and outcome of sourdough rye bread proofing. Yeast and bacteria activity are highly sensitive to temperature changes. A typical room temperature proof might occur between 70-78°F (21-26°C). At this range, proofing can take anywhere from 2 to 4 hours, or even longer, depending on the starter's strength and the recipe. Warmer temperatures accelerate fermentation, meaning the dough will proof faster, potentially developing more lactic acid relative to acetic acid.
Conversely, cooler temperatures significantly slow down the sourdough rye bread proofing process. Cold proofing in the refrigerator, typically between 38-42°F (3-5°C), can extend the proofing time to 8-16 hours or even up to 24 hours. This slow fermentation allows for a deeper development of complex flavors, particularly acetic acid, resulting in a tangier loaf. It also fits conveniently into a schedule, allowing bakers to proof overnight. Finding the ideal temperature depends on your schedule, desired flavor profile, and how quickly your specific starter ferments rye dough.
Time is of the Essence: How Long to Proof Sourdough Rye?
Determining the exact duration for sourdough rye bread proofing is more of an art than a strict science, as it's heavily influenced by temperature, starter activity, hydration, and the amount of rye flour used. A general guideline for room temperature proofing (70-78°F / 21-26°C) is often 2-4 hours, but this can vary wildly. A dough with a very active starter and a higher percentage of rye might be ready in closer to 2 hours, while a slower starter or a lower temperature could require 4 hours or more.
For cold proofing in the refrigerator (38-42°F / 3-5°C), the time frame expands considerably, typically ranging from 8 to 16 hours, though some recipes might call for 24 hours or even longer for maximum flavor development. It's crucial to remember that these times are merely estimates. The best way to know when your sourdough rye dough is perfectly proofed is by observing its visual cues and performing the poke test, as over-proofing or under-proofing by even a short amount of time can significantly impact the final loaf.
Visual Cues: Recognizing When Your Sourdough Rye is Properly Proofed
Identifying the Perfect Rise: What to Look For
Recognizing when your sourdough rye dough has reached the perfect state of proofing relies heavily on visual assessment. The dough should have visibly increased in volume since you placed it in the proofing vessel. However, rye doughs typically don't double in size like many wheat doughs; a 50-75% increase in volume is often a good indicator, depending on the rye percentage and hydration. Look for a dough that appears well-inflated, rounded, and slightly domed.
The surface of the dough should look smooth and taut (if proofing seam-side down in a banneton) or gently rounded (if proofing seam-side up). You might see small bubbles just beneath the surface. If the dough looks significantly larger than 75% increased volume, appears slack, or shows signs of collapsing around the edges, it might be heading towards over-proofing. An under-proofed dough, conversely, will show minimal volume increase and look dense and tight.
The Poke Test: Checking Dough Elasticity
The poke test is a classic and reliable method for determining if your sourdough rye dough is properly proofed. Gently flour one of your fingers and lightly press it into the surface of the dough, about half an inch deep. Observe how quickly the indentation springs back.
- If the indentation springs back immediately and completely, the dough is likely under-proofed. It needs more time to relax and develop gas.
- If the indentation springs back slowly, only partially filling the hole, the dough is likely perfectly proofed. It has enough structure to hold its shape but is relaxed enough to expand further in the oven.
- If the indentation remains completely or mostly visible and doesn't spring back at all, the dough is likely over-proofed. The structure has weakened too much to recover.
Performing the poke test provides valuable insight into the dough's internal structure and gas development during sourdough rye bread proofing.
Assessing the Aroma: The Smell of Well-Proofed Dough
The aroma of your sourdough rye dough can also provide clues about its proofing stage and the activity of the microbes. As the yeast and bacteria ferment the sugars in the flour, they produce volatile compounds that contribute to the bread's final flavor and smell. A well-proofed sourdough rye dough should have a pleasant, distinctly acidic aroma, indicative of healthy lactic and acetic acid production.
The smell should be tangy and complex, perhaps with slightly fruity or even alcoholic notes, but not overwhelmingly sharp or unpleasant. If the dough smells strongly of pure alcohol, it might be slightly over-proofed, indicating that the yeast have consumed most of the available sugars and are producing more ethanol. Conversely, an under-proofed dough might have a weaker, less developed aroma, smelling more like plain flour and water. Pay attention to these aromatic cues alongside visual signs and the poke test for the most accurate assessment of your sourdough rye bread proofing progress.
Troubleshooting Common Sourdough Rye Proofing Problems
Over-Proofing: Signs and Solutions
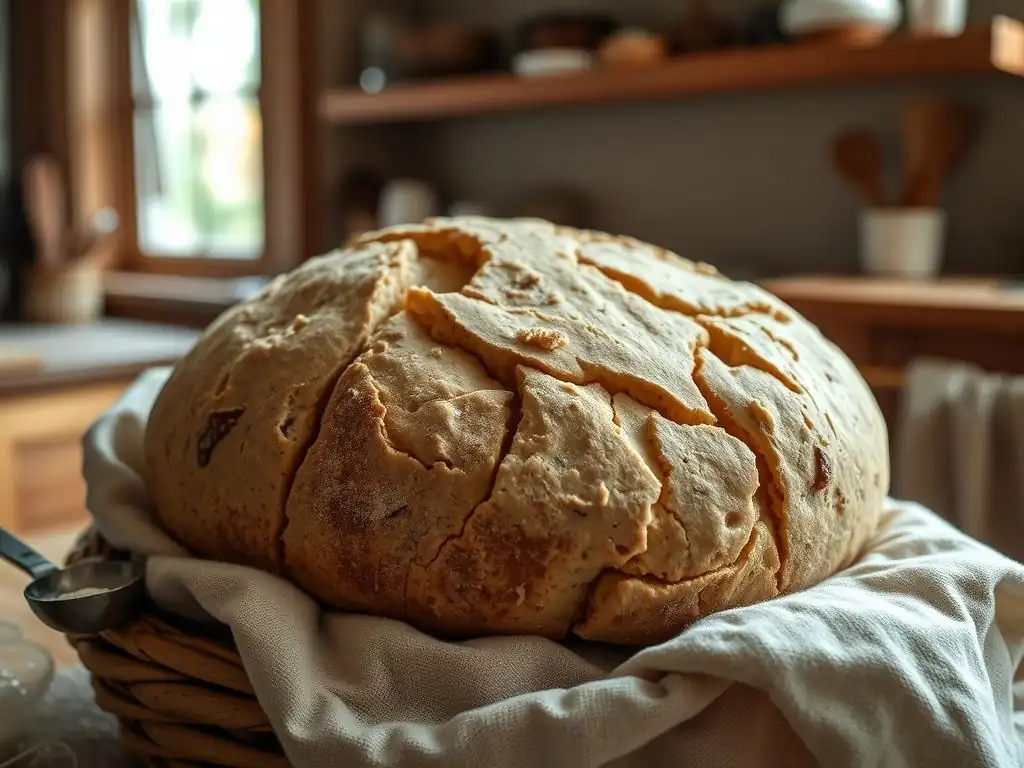
Over-proofing is a common pitfall in sourdough rye bread proofing. Signs include the dough looking significantly larger than expected (perhaps double its original size), appearing very fragile or slack, and failing the poke test (indentation stays put). In extreme cases, the dough may start to collapse or show large, uneven bubbles on the surface. An over-proofed loaf will typically have poor oven spring, resulting in a flat, dense loaf with a potentially gummy texture and an overly sour, sometimes unpleasant, flavor.
If you catch the dough just as it's starting to become over-proofed, you might be able to salvage it by gently reshaping it very carefully and proofing for a much shorter time before baking immediately. If it's severely over-proofed and has lost significant structure, you can repurpose it into other baked goods like flatbreads, crackers, or even incorporate a small amount into a new dough batch (as 'old dough' or pâte fermentée) to add flavor. The key is to learn from the experience and adjust future sourdough rye bread proofing times or temperatures.
Under-Proofing: Identifying and Rectifying the Issue
Under-proofing is another frequent challenge. Signs of under-proofed sourdough rye dough include minimal volume increase during the final proof, a tight, dense appearance, and the poke test resulting in an indentation that springs back immediately. An under-proofed loaf will exhibit explosive, uncontrolled oven spring, potentially tearing dramatically in unintended places. The crumb will be dense, sometimes gummy, with uneven, large holes concentrated near the crust and a tight, heavy interior. The flavor may be less developed and lack the characteristic sourdough tang.
If you realize the dough is under-proofed before baking, the solution is simple: give it more time to proof. Check its progress periodically with the poke test. If you've already baked an under-proofed loaf, there's not much you can do to fix that loaf, but you can adjust your process for the next bake. Common causes include too cool a proofing environment, a weak or inactive starter, or simply not allowing enough time for the final sourdough rye bread proofing stage.
Dealing with Sticky Dough During Proofing
Rye doughs are inherently stickier than wheat doughs due to their composition. This stickiness can make handling difficult during shaping and transferring for proofing. If your dough feels excessively sticky during proofing prep, ensure your hands and work surface are lightly floured, preferably with rice flour which is non-glutenous and less likely to be absorbed by the dough. Avoid adding too much flour, which can dry out the dough.
When placing the dough in a banneton or proofing bowl, flour the vessel generously. For bannetons, rubbing flour into the basket's pores helps prevent sticking. If using a lined bowl, ensure the cloth is well-floured. If the dough is sticking excessively after proofing when trying to turn it out, a bench scraper can be invaluable for gently easing it away from the vessel walls. Remember that some stickiness is normal with rye; the goal is to manage it, not eliminate it entirely, to ensure proper hydration for successful sourdough rye bread proofing.
Temperature Fluctuations: Maintaining a Consistent Environment
Consistent temperature is vital for predictable sourdough rye bread proofing. Significant fluctuations can lead to uneven fermentation or misjudging proofing time. For instance, placing dough near a drafty window or heat source can drastically alter its proofing speed. If your kitchen temperature varies, consider finding a more stable spot.
Options for maintaining consistent proofing temperature include using an oven with just the light on (which typically creates a warm, stable environment around 75-85°F or 24-29°C), a microwave (turned off, but used as an insulated box), or a dedicated proofing box if you bake frequently. For cold proofing, ensure your refrigerator maintains a consistent temperature between 38-42°F (3-5°C) to ensure slow, controlled fermentation. Consistent temperature control is a key factor in achieving repeatable results with sourdough rye bread proofing.
Tips and Tricks for Consistent Sourdough Rye Proofing
Using a Proofing Box or Proofer
For serious bakers seeking precise control over sourdough rye bread proofing, a proofing box or dedicated proofer is an excellent investment. These devices allow you to set a specific temperature and sometimes humidity level, creating an ideal environment for fermentation regardless of your kitchen's ambient conditions. This eliminates much of the guesswork associated with temperature fluctuations and helps achieve consistent proofing times.
Using a proofer ensures that your starter performs predictably and the dough develops at a steady rate. This is particularly beneficial when experimenting with different rye percentages or hydration levels, as it helps isolate temperature as a variable. While not strictly necessary, a proofer can significantly enhance the consistency and reliability of your sourdough rye bread proofing results, leading to more successful loaves.
The Refrigerator Method: Retarding Proof for Enhanced Flavor
Cold proofing, or retarding the dough in the refrigerator, is a popular technique for sourdough rye bread proofing. As mentioned earlier, temperatures typically range from 38-42°F (3-5°C), dramatically slowing down fermentation. This extended, slow proofing time allows enzymes to break down starches into sugars more thoroughly and provides ample time for lactic acid bacteria to produce flavorful organic acids, particularly acetic acid, which contributes a deeper tang.
Beyond flavor, cold proofing offers practical benefits. It makes the sticky rye dough easier to handle and score when it's cold and firm. It also provides flexibility in your baking schedule, allowing you to bake the loaf directly from the fridge when you're ready, rather than being tied to a specific window of room-temperature proofing time. Many bakers find that cold proofing for at least 8-12 hours significantly improves the flavor and handling of their sourdough rye.
Utilizing Warm Water Baths for Faster Proofing
If you need to speed up the sourdough rye bread proofing process, a warm water bath can provide a consistently warm environment. Place your covered proofing vessel inside a larger container filled with warm water. Ensure the water level is below the rim of the proofing vessel and that no water gets into the dough. The water temperature should be warm to the touch, perhaps around 80-90°F (27-32°C), but not hot, as too much heat can kill the yeast.
This method can significantly shorten the proofing time compared to a cooler room temperature. However, be vigilant, as fermentation will be faster, and the dough can quickly become over-proofed. Monitor the dough closely using visual cues and the poke test, as the proofing time might be reduced to just 1-2 hours depending on the water temperature and your starter's activity. This technique is useful when you're on a tight schedule but requires careful attention during the sourdough rye bread proofing stage.
Adjusting Proofing Time Based on Rye Flour Percentage
The percentage of rye flour in your dough significantly impacts the required sourdough rye bread proofing time. Rye flour ferments faster than wheat flour due to higher enzymatic activity that breaks down starches into simple sugars more quickly. Additionally, rye's lower gluten content means the dough's structure is less robust and can become over-proofed and collapse more easily.
Therefore, doughs with a higher percentage of rye (e.g., 50% or more) will generally require shorter proofing times compared to doughs with a lower percentage (e.g., 20-30% rye). A 100% rye sourdough, for instance, might proof in a fraction of the time a wheat-based sourdough would. Always consider the rye percentage when estimating proofing duration and rely heavily on visual cues and the poke test rather than strict timing guidelines, especially when working with new recipes or higher rye percentages during sourdough rye bread proofing.
Advanced Sourdough Rye Proofing Techniques
Cold Proofing for Deeper Flavors
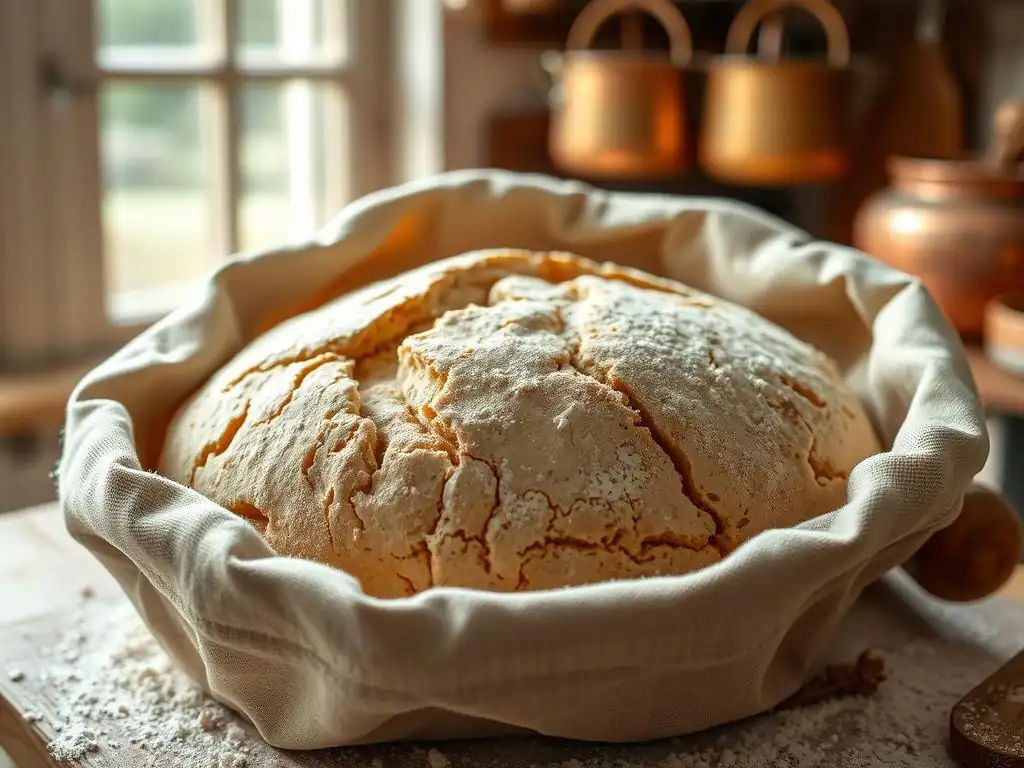
As explored earlier, cold proofing in the refrigerator (38-42°F / 3-5°C) is a powerful technique for enhancing the flavor of sourdough rye. By significantly slowing down fermentation over 8-24 hours, the dough has ample time to develop complex aromatic compounds. The cooler temperature favors the production of acetic acid, resulting in a more pronounced, vinegary tang that complements the earthy notes of rye flour beautifully.
Beyond flavor, cold proofing improves the handling of sticky rye dough, making it easier to score and transfer into a hot oven. It also allows for a more flexible baking schedule. While it requires planning ahead, incorporating a cold proof into your sourdough rye bread proofing routine is highly recommended for achieving loaves with superior flavor depth and texture.
Double Proofing for Improved Texture
Some sourdough rye recipes call for a "double proof," which refers to proofing the dough after the initial bulk fermentation, then gently reshaping it, and proofing it again. This technique is less common for high-hydration, freeform rye loaves but can be beneficial for lower-hydration rye doughs or those baked in loaf pans. The first proof allows initial gas development, while the second proof after shaping provides a final lift and helps relax the dough's structure.
However, caution is advised with double proofing sourdough rye. Rye dough is delicate and can easily lose structure if handled too much or proofed excessively. If attempting a double proof, ensure the first proof is relatively short, reshape gently without degassing completely, and keep a close eye on the second proof, as it may proceed faster than the first. This technique is less about volume and more about refining the crumb structure and shape, and requires careful monitoring during the entire sourdough rye bread proofing process.
Incorporating Autolyse for Better Dough Development
Autolyse is a technique where you mix just the flour and water from a recipe and let it rest for a period (typically 20 minutes to an hour) before adding the starter and salt. While commonly used for wheat doughs to hydrate the flour and begin gluten development, it can also benefit sourdough rye bread proofing, particularly in doughs with a significant percentage of wheat or lower percentages of rye.
For rye-heavy doughs, a shorter autolyse might be more appropriate. This initial hydration period allows the rye flour to absorb water fully, which is crucial given rye's high absorption capacity. It can also help the limited gluten network in wheat flour components start to develop. By giving the flour a head start on hydration, the dough might become slightly less sticky and easier to handle later in the process, potentially leading to better structure retention during sourdough rye bread proofing.
Baking Your Perfectly Proofed Sourdough Rye Bread
Scoring the Dough: Preparing for the Oven
Scoring is the art of making intentional cuts on the surface of your proofed sourdough rye dough just before baking. These cuts serve several purposes. Primarily, they act as vents, allowing the dough to expand in a controlled manner during oven spring. Without scoring, the expanding gas would find the weakest point in the crust, resulting in uncontrolled tearing. Scoring also directs the oven spring, helping to achieve a desired shape and volume.
For sourdough rye, especially higher-percentage loaves which may have less dramatic oven spring than wheat loaves, scoring is still important. Simple cuts, like a single slash down the middle or a crosshatch pattern, are common. Use a very sharp blade (like a baker's lame or razor blade) and make quick, confident cuts about half an inch deep. For cold-proofed dough, scoring is usually easier as the cold surface is firmer. Proper scoring complements successful sourdough rye bread proofing by allowing the dough's final rise to be both beautiful and functional.
Baking Temperatures and Times: Achieving the Perfect Crust
Baking sourdough rye bread requires high temperatures to achieve good oven spring and a desirable crust. Most recipes call for preheating your oven, often with a baking vessel like a Dutch oven or baking stone inside, to temperatures ranging from 450-500°F (230-260°C). The initial high heat provides the necessary burst of energy for the dough to expand rapidly before the crust sets.
Baking is typically done in two stages: an initial covered period (if using a Dutch oven or steam) to trap moisture and promote oven spring and crust development, followed by an uncovered period to allow the crust to brown and crisp up. For a medium-sized loaf, the total baking time might range from 30 to 50 minutes, depending on the size and percentage of rye. A standard approach might be 20-30 minutes covered at 475°F (245°C), followed by 15-20 minutes uncovered at 450°F (230°C). Baking until the internal temperature reaches around 200-210°F (93-99°C) ensures the bread is fully cooked.
Cooling and Slicing: Enjoying Your Homemade Sourdough Rye
Once your sourdough rye loaf emerges from the oven, golden brown with a firm crust, the baking process isn't quite finished. It's absolutely crucial to let the bread cool completely on a wire rack before slicing. This cooling period allows the internal structure to set and moisture to redistribute evenly throughout the loaf. Slicing too early can result in a gummy crumb because the internal starches haven't finished their transformation.
Allowing the loaf to cool for at least 2-3 hours, or even longer for larger or higher-rye loaves, is essential for optimal texture and flavor. The wonderful aromas that fill your kitchen during this time are part of the rewarding experience. Once fully cooled, slice your beautifully proofed and baked sourdough rye bread with a sharp serrated knife and enjoy the fruits of your labor – a loaf with a complex flavor, satisfying texture, and that signature sourdough tang, all made possible by careful sourdough rye bread proofing.
Sourdough Rye Bread Proofing: Achieving Baking Success with Ease
Key Takeaways for Consistent Proofing
Mastering sourdough rye bread proofing is key to baking delicious loaves consistently. Remember that rye dough behaves differently than wheat dough – it's often stickier, ferments faster, and doesn't develop as strong a gluten network. Therefore, relying on visual cues and the poke test is more reliable than strict timing. Temperature control is paramount; warmer temperatures speed things up, while cold proofing slows fermentation for enhanced flavor and easier handling.
- Know your dough: Understand the impact of rye percentage on hydration, handling, and proofing speed.
- Temperature Control: Maintain a consistent proofing environment, whether warm or cold.
- Watch, Don't Clock: Use visual cues (volume increase, smoothness) and the poke test to determine readiness.
- Manage Stickiness: Use rice flour and gentle handling techniques.
- Consider Cold Proofing: For flavor development and scheduling flexibility.
Resources for Further Learning
To deepen your understanding of sourdough rye bread proofing and baking, explore reliable resources. Many excellent books dedicated to sourdough and rye baking offer detailed explanations, specific recipes with precise proofing instructions, and troubleshooting tips tailored to different rye percentages. Online baking forums and communities are also valuable places to connect with other bakers, ask questions, and share experiences related to sourdough rye bread proofing challenges and successes.
Additionally, consider reputable baking websites and blogs that provide in-depth guides and video tutorials. Look for resources that specifically address working with high-hydration and high-rye doughs, as these require slightly different techniques than standard wheat sourdoughs. Continuous learning and practice are part of the journey to consistently bake beautiful, flavorful sourdough rye bread.
Frequently Asked Questions
What is the importance of proofing in sourdough rye bread baking?
Proofing allows the sourdough starter to ferment and expand, creating the airy texture characteristic of sourdough rye. Without proper proofing, the bread will be dense and lack the desired flavor.
How long should I proof my sourdough rye bread?
Proofing time varies depending on factors like room temperature and starter activity. Generally, it can range from 2-4 hours at room temperature or overnight in the refrigerator.
What are the signs that my sourdough rye bread is properly proofed?
The dough should have visibly increased in size, feel light and airy, and have small bubbles on the surface. Gently poke the dough; a slight indentation should slowly spring back.
Can I over-proof my sourdough rye bread?
Yes, over-proofing occurs when the dough ferments for too long. Signs include a deflated dough, sour or vinegary smell, and a weak gluten structure, leading to a flat loaf.
What is the best temperature for proofing sourdough rye bread?
The ideal temperature range for proofing is between 70-75°F (21-24°C). Maintaining this temperature range promotes optimal yeast activity and consistent results.
Final Reflection: The Patience and Precision of Sourdough Rye Proofing
The art of proofing sourdough rye bread is more than just a baking technique; it's a testament to the power of observation and the rewards of patience. Mastering this crucial step unlocks the potential for a truly exceptional loaf, one that embodies the complex flavors and textures that make sourdough rye so beloved. In a world increasingly focused on instant gratification, the deliberate process of proofing offers a valuable counterpoint, a reminder to slow down and appreciate the nuances of craft.
The journey of a sourdough rye loaf, from initial mixing to the final bake, is a microcosm of life itself – a process demanding careful attention and a willingness to adapt. The subtle shifts in the dough's texture and aroma provide invaluable feedback, guiding the baker towards perfection. As the dough rises, it mirrors the slow, steady growth that characterizes the best things in life. The best things in life are worth waiting for,
a sentiment perfectly encapsulates the essence of sourdough rye proofing. This process isn't just about achieving a visually appealing rise; it's about nurturing a living organism and understanding its needs.
Now, consider your own journey. What aspects of your life require the same level of patience and attention to detail as proofing a sourdough rye loaf? Take a moment to reflect on the areas where slowing down and carefully observing the process might lead to unexpected rewards. Perhaps it's a personal project, a relationship, or even a simple task that demands more mindful engagement. Embrace the art of proofing, not just in your baking, but in all aspects of your life. The rewards, like the perfectly risen sourdough rye, will be well worth the wait.
Unlock Your Rye Bread Potential!
Thanks for taking the time to delve into the art of proofing sourdough rye! You've now gained valuable insights into achieving that perfect rise and tangy flavor. Ready to put your new knowledge into practice?
- Bake your perfect rye: Try the recipe variations mentioned in the article, experimenting with different flours and hydration levels to find your signature loaf. This is your chance to create something truly amazing!
- Share your success (or challenges!): Post a picture of your creation on social media – we’d love to see your results and hear your baking story! Use #BakeWithEaseRye.
- Join our baking community: Head over to our forums to connect with other enthusiastic bakers and share tips, tricks, and delicious rye bread recipes.
So, what unique twist will you add to your next sourdough rye loaf? Let's hear about it in the comments below!