
Achieve Airy Focaccia Texture Every Time

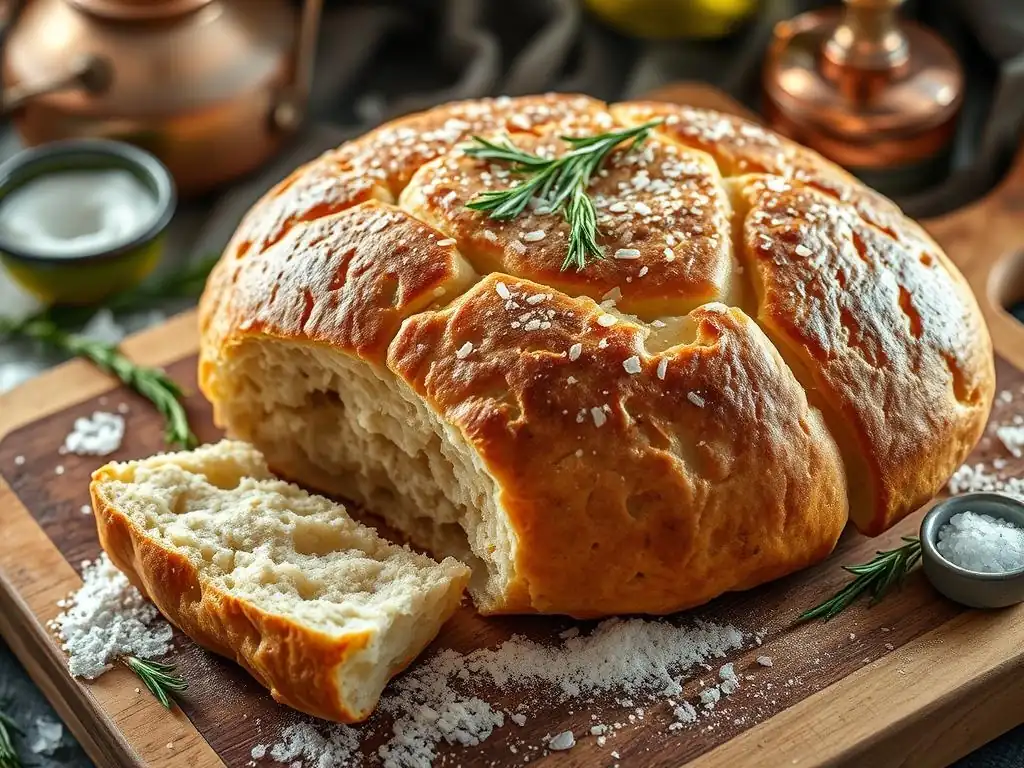
Welcome to BakeWithEase, your trusted guide to unlocking baking brilliance! Ever dreamt of perfecting focaccia texture easily? You're in the right place! Dive in as we reveal the secrets to achieving that coveted airy, light-as-a-cloud focaccia, and discover how simple tweaks can transform your baking. Get ready to elevate your bread baking game!
- Achieve Airy Focaccia Texture Every Time: A Guide to Baking Success
- Introduction: Mastering the Airy Focaccia Texture
- Understanding Focaccia Dough: The Foundation for Perfect Texture
- Baking Your Focaccia: Temperature and Technique
- Focaccia Toppings: Enhancing Flavor and Texture
- Troubleshooting Common Focaccia Texture Problems
- Recipe: Classic Airy Focaccia
- Tips and Tricks for Consistently Perfect Focaccia Texture
- Conclusion: Enjoy Your Perfectly Textured Homemade Focaccia
-
Frequently Asked Questions
- How can I achieve a truly airy focaccia texture?
- What type of flour is best for perfecting focaccia texture easily?
- What are some common mistakes that lead to a dense focaccia?
- How does the amount of olive oil affect the focaccia texture?
- What is the best way to dimple the focaccia dough before baking?
- Final Reflection: The Pursuit of the Perfect Focaccia Crumb
- Unlock the Secret to Perfectly Airy Focaccia!
Achieve Airy Focaccia Texture Every Time: A Guide to Baking Success
Introduction: Mastering the Airy Focaccia Texture
There's something truly magical about a perfectly baked focaccia. It's more than just bread; it's an experience. The golden, slightly crisp bottom crust, the soft, open, and airy interior, and the delightful chewiness all come together to create a culinary masterpiece.
Many home bakers aspire to achieve this ideal texture, and while it might seem daunting, it's absolutely within reach with the right understanding and techniques. Perfecting focaccia texture easily is about mastering a few key principles, from understanding your dough to knowing your oven. This guide will walk you through each step, demystifying the process and equipping you with the knowledge to bake focaccia that rivals your favorite bakery.
Achieving that signature airy crumb isn't just about following a recipe; it's about understanding why certain steps are crucial. It involves working with a wet dough, allowing ample time for fermentation, and utilizing specific baking techniques. We'll delve into the science behind the bubbles and the secrets to getting that beautiful open structure. Whether you're a beginner or looking to refine your skills, focusing on hydration, proofing, and baking conditions will significantly improve your results, making perfecting focaccia texture easily a rewarding journey.
Understanding Focaccia Dough: The Foundation for Perfect Texture
The Importance of High Hydration for Focaccia
High hydration is perhaps the single most critical factor in achieving an airy focaccia texture. Hydration refers to the ratio of water to flour in your dough, typically expressed as a percentage of the flour weight.
For focaccia, hydration levels often range from 70% to 85% or even higher, meaning for every 100 grams of flour, you use 70 to 85 grams (or more) of water. This seemingly wet and sticky dough can be challenging to handle initially, but the extra water is what creates steam during baking, expanding the air pockets formed during proofing and resulting in that desirable open, airy crumb structure.
Working with high-hydration dough requires a slightly different approach than dryer doughs. Kneading might involve techniques like stretch and folds rather than vigorous traditional kneading. The wetness encourages greater gluten development through time (autolyse and bulk fermentation) rather than just mechanical action. While a lower hydration dough (say, 60-65%) might be easier to handle, it will inevitably produce a denser crumb. Embracing the stickiness and allowing time to build strength is essential for perfecting focaccia texture easily by leveraging hydration.
Choosing the Right Flour for Light and Airy Focaccia
The type of flour you use significantly impacts the focaccia's texture. A good quality bread flour is often recommended because it has a higher protein content (typically 12-14%) compared to all-purpose flour (around 10-12%). This higher protein level means more gluten can be developed. Gluten is the protein network that gives bread its structure and elasticity, trapping the gases produced by yeast during fermentation. A strong, well-developed gluten network is crucial for holding the airy structure as the dough proofs and bakes.
While bread flour is ideal for maximum airiness and chew, you can successfully use all-purpose flour, especially if it's on the higher end of the protein range (e.g., 11-12%). Using a blend of bread flour and a softer flour like '00' flour (often used for pasta or pizza) can also yield interesting results, offering a tender crumb. The key is to understand that the flour needs sufficient protein to build a robust structure capable of supporting the high hydration and the large air pockets you want to achieve when perfecting focaccia texture easily.
Understanding Proofing: The Key to Airy Focaccia
Proofing, also known as fermentation, is the process where yeast consumes sugars in the dough and produces carbon dioxide gas and alcohol. This gas is what creates the bubbles and causes the dough to rise. Proper proofing is absolutely fundamental to achieving an airy focaccia. It's not just about the dough getting bigger; it's about the development of flavor, the strengthening of the gluten network, and the creation of a structure capable of holding those large air pockets. Under-proofed dough will be dense and tight, while over-proofed dough can collapse, resulting in a poor texture.
Proofing typically happens in two main stages: bulk fermentation (the first rise of the whole dough) and final proofing (the rise after shaping). The duration and temperature of these stages are critical and can vary based on yeast activity, ambient temperature, and the specific recipe. Learning to read the dough – observing its size, feel, and how it reacts to touch – is more important than strictly following time guidelines, although they provide a useful starting point for perfecting focaccia texture easily.
First Proof: Bulk Fermentation for Flavor and Structure
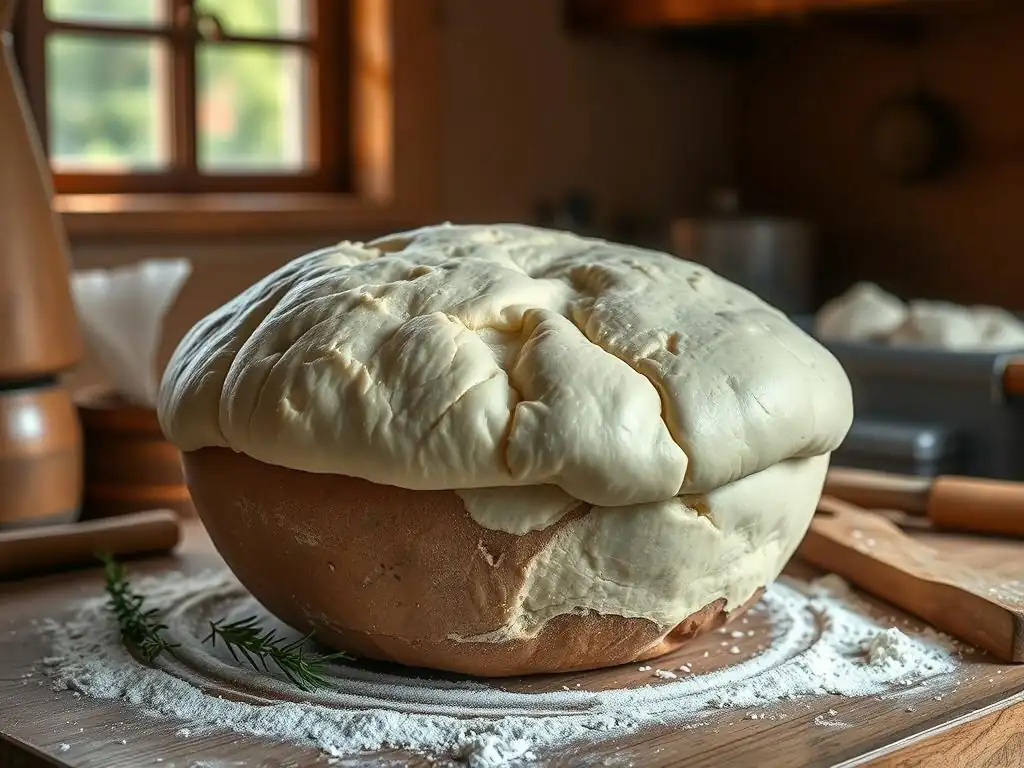
Bulk fermentation is the initial, and often longest, rise of the entire dough mass before it's divided or shaped. This stage is crucial for developing both flavor and structure. During bulk fermentation, the yeast is most active, producing a significant amount of gas, and the gluten network starts to relax and strengthen through the process of autolysis and any stretch-and-folds you perform. A typical bulk fermentation for focaccia might last anywhere from 1 to 4 hours at room temperature (around 70-75°F or 21-24°C), or even longer if done in a cooler environment or the refrigerator.
During this time, the dough should increase significantly in volume, perhaps doubling or even tripling depending on the recipe and temperature. You might perform a few sets of stretch-and-folds during the first hour or two to help build strength in the high-hydration dough. By the end of bulk fermentation, the dough should look bubbly on the surface and feel airy when gently handled. This stage is where the foundation for the open crumb structure is truly built, making it indispensable for perfecting focaccia texture easily.
Second Proof: Achieving the Signature Focaccia Rise
The second proof, or final proofing, occurs after the dough has been transferred to its baking pan, dimpled, and topped. This is a shorter rise compared to bulk fermentation but equally important for the final texture. During this stage, the dough relaxes into the pan and expands further, filling out the corners and gaining its final volume before baking. The characteristic dimples you create allow you to visually gauge the progress of the second proof – they should slowly spring back when gently pressed, indicating the dough is properly inflated but not yet over-proofed.
The duration of the second proof can range from 30 minutes to an hour or more at room temperature. It's essential not to rush this step. The dough needs sufficient time to relax and become airy in the pan. If baked too soon, the crumb will be tighter. If proofed for too long, the structure can weaken, leading to a flatter focaccia. Observing the dough's appearance and feel is key to determining readiness, ensuring you're on track for perfecting focaccia texture easily.
Baking Your Focaccia: Temperature and Technique
The Ideal Oven Temperature for a Golden Crust and Airy Interior
Baking temperature is a critical factor in achieving the perfect focaccia texture – a crisp exterior and a light, airy interior. Focaccia is typically baked at a relatively high temperature, usually between 400°F and 450°F (200°C to 230°C). A hot oven ensures a strong oven spring – the final burst of rising that occurs when the dough hits the heat – which helps create a more open crumb structure. The high heat also quickly sets the crust, trapping the steam inside and allowing the interior to cook through while remaining moist and airy.
Preheating your oven thoroughly is essential. Allow at least 20-30 minutes after the oven indicates it's reached the target temperature to ensure the oven walls and any baking stones/steels are fully heated. Baking on a preheated baking stone or steel can further enhance the bottom crust's crispness, contributing to the overall textural contrast. The exact temperature might require a little experimentation with your specific oven, but starting in the 425-450°F (220-230°C) range is a reliable approach for perfecting focaccia texture easily.
Creating Steam for a Crispy Crust and Soft Crumb
While focaccia doesn't typically require the intense steam environment needed for lean artisan loaves, a little steam can still benefit the crust development and overall texture. Steam keeps the surface of the dough pliable longer at the beginning of the bake, allowing it to expand more fully before the crust sets. This contributes to better oven spring and a potentially more open crumb. It also helps create a thin, crispy crust rather than a thick, hard one.
You can create steam in a home oven by placing a heat-safe pan (like a cast iron skillet or a metal baking pan) on the bottom rack while the oven preheats. Just before you place the focaccia in the oven, carefully pour about a cup of hot water into the preheated pan. Close the oven door quickly to trap the steam. Be cautious when doing this, as the steam is very hot.
Alternatively, some bakers spritz the oven walls with water using a spray bottle. The steam is most effective in the first 5-10 minutes of baking. Using steam is a simple technique that can elevate your efforts in perfecting focaccia texture easily.
Focaccia Toppings: Enhancing Flavor and Texture
Choosing Complementary Toppings for Your Focaccia
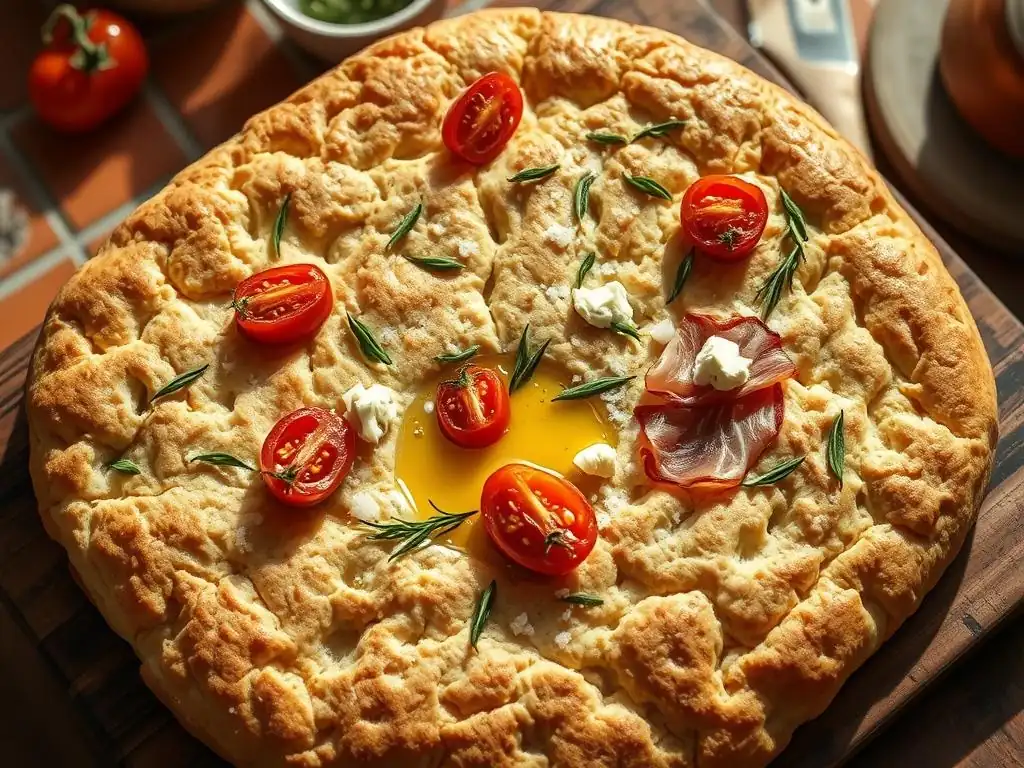
Focaccia toppings are more than just decoration; they significantly contribute to the final flavor and can even play a role in the texture. Classic toppings include flaky sea salt and a generous drizzle of olive oil, which are essential for authentic focaccia. The salt adds crucial flavor and helps balance the richness of the oil, while the olive oil contributes moisture, flavor, and helps create that characteristic slightly fried bottom crust. Beyond the basics, popular additions include fresh rosemary, olives, cherry tomatoes, thinly sliced onions, or garlic.
When choosing toppings, consider flavors that complement the rich, slightly sweet taste of the bread. Avoid toppings that are excessively wet, as they can make the dough soggy, or those that will burn at high baking temperatures. Hard cheeses like Parmesan can be added in the last few minutes of baking to prevent burning. The right combination of toppings enhances the overall eating experience and adds layers of texture, from the burst of a roasted tomato to the savory bite of an olive, all contributing to the enjoyment of your perfectly textured focaccia.
Applying Toppings for Even Distribution and Flavor Infusion
How you apply toppings is key to ensuring every bite is flavorful and the texture is consistent. Olive oil is typically applied generously both before and after the second proof, often pooled in the dimples. This isn't just for flavor; it helps prevent the dough from drying out during proofing and contributes to the crispy bottom crust during baking. Flaky sea salt should be sprinkled generously over the entire surface, ensuring a salty crunch in every piece.
Other toppings like herbs, vegetables, or olives are usually added after the dough has been dimpled and just before or after the final drizzle of olive oil. Pressing toppings like cherry tomatoes or olives gently into the dimples helps secure them and ensures their flavor infuses into the bread as it bakes. Distribute toppings evenly across the surface so that each slice gets a good mix. Thoughtful application of toppings is the final touch in perfecting focaccia texture easily, adding both visual appeal and bursts of flavor.
Troubleshooting Common Focaccia Texture Problems
Why is My Focaccia Dense? (And How to Fix It)
A dense focaccia is a common issue and usually stems from problems with either gluten development or proofing. If your dough wasn't kneaded or stretched and folded sufficiently, the gluten network might not be strong enough to trap the gas produced by the yeast, resulting in a tight crumb. Using a lower protein flour or insufficient hydration can also contribute to density. Another major culprit is under-proofing. If the dough hasn't had enough time to rise adequately during bulk fermentation or the final proof, it won't have the necessary volume and air pockets before hitting the hot oven.
To fix density, focus on these areas: Ensure you are using a flour with adequate protein (12%+ is best). Increase your dough's hydration if it's below 70%. Practice stretch and folds during the first hour or two of bulk fermentation to build strength. Most importantly, give your dough ample time to proof.
Don't rely solely on time; observe the dough's volume and feel. It should look significantly increased in size and feel airy. A longer, slower proof (perhaps in a cooler spot or the fridge) can often improve both structure and flavor, helping you avoid that disappointing dense result when perfecting focaccia texture easily.
Avoiding a Gummy Focaccia: Baking Time and Temperature Adjustments
A gummy or doughy focaccia interior often indicates that the bread hasn't been baked through completely. This can happen if the oven temperature is too low, the baking time is too short, or if there's too much moisture still trapped in the center of the loaf. Sometimes, excessive moisture from wet toppings can also contribute to a gummy texture, especially if they are applied too heavily or too early.
To avoid a gummy focaccia, ensure your oven is accurately preheated to the correct high temperature (400-450°F or 200-230°C). Bake the focaccia until the top is deeply golden brown and the bottom crust is well-colored and feels firm when tapped. If the top is browning too quickly, you can loosely tent the focaccia with foil for the last part of the bake.
Using a probe thermometer is the most reliable way to check for doneness; the internal temperature of the bread should reach around 200-210°F (93-99°C). If it's lower, continue baking. Adjusting your baking time and temperature based on these visual and internal cues is crucial for perfecting focaccia texture easily and ensuring it's baked all the way through.
Recipe: Classic Airy Focaccia
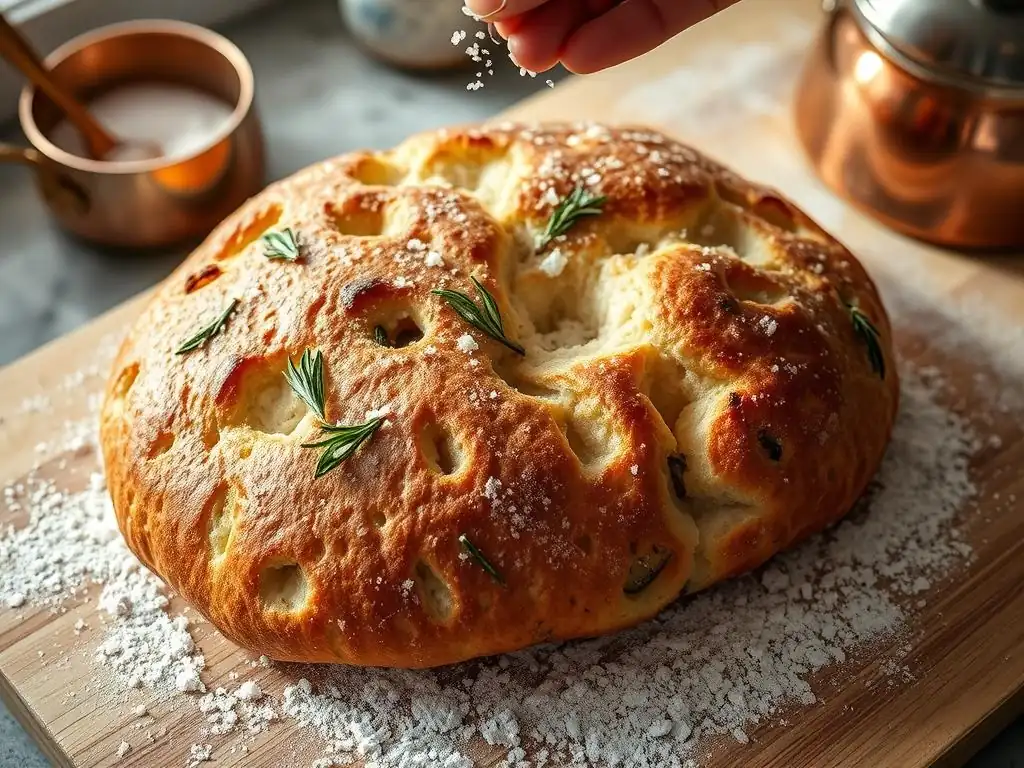
Ingredients for the Perfect Airy Focaccia
Here are the ingredients you'll need for a classic airy focaccia, designed for a standard 9x13 inch pan. This recipe uses a hydration level of approximately 78%, which is excellent for achieving an open crumb.
- 400 grams Bread Flour (approx. 12-14% protein)
- 310 grams Lukewarm Water (around 90-100°F or 32-38°C)
- 8 grams Fine Sea Salt (for the dough)
- 4 grams Instant Dry Yeast (or 5 grams Active Dry Yeast, activated)
- 4-6 tablespoons Extra Virgin Olive Oil (for the pan and topping)
- Flaky Sea Salt (for finishing)
- Optional Toppings: Fresh rosemary sprigs, halved cherry tomatoes, olives, thinly sliced garlic
Ingredients Checklist:
[ ] Bread Flour
[ ] Lukewarm Water
[ ] Fine Sea Salt (dough)
[ ] Instant Dry Yeast
[ ] Extra Virgin Olive Oil
[ ] Flaky Sea Salt (topping)
[ ] Optional Toppings (e.g., Rosemary, Tomatoes)
Step-by-Step Instructions for Achieving the Ideal Texture
Follow these steps carefully to guide you in perfecting focaccia texture easily:
- Combine Wet and Dry: In a large bowl, whisk together the flour, fine sea salt, and instant yeast. Add the lukewarm water and mix with a spatula or wooden spoon until a shaggy, wet dough forms. There's no need for intense kneading at this stage.
- Autolyse (Optional but Recommended): Cover the bowl and let the dough rest for 20-30 minutes. This allows the flour to fully hydrate, making subsequent handling easier and improving gluten development.
- Stretch and Folds (Bulk Fermentation): Drizzle a little olive oil over the dough and your hands. Perform a series of stretch and folds directly in the bowl. Grab a portion of the dough from one side, stretch it up, and fold it over the center. Rotate the bowl and repeat with the dough from the other three sides. Repeat this process 3-4 times every 30-45 minutes during the first 1.5 to 2 hours of bulk fermentation.
- Bulk Fermentation: Cover the bowl and let the dough rise at room temperature (70-75°F or 21-24°C) for a total of 2-4 hours, or until it has at least doubled, looks bubbly, and feels airy. You can also cold proof in the refrigerator for 12-24 hours for enhanced flavor development.
- Prepare the Pan: Generously coat the bottom and sides of a 9x13 inch baking pan with 2-3 tablespoons of olive oil. Ensure every surface the dough will touch is well-oiled.
- Transfer and Rest: Gently transfer the dough from the bowl into the prepared pan. Drizzle a little more olive oil over the top of the dough. Cover the pan loosely with plastic wrap or a damp towel and let it rest for 30 minutes. This allows the gluten to relax, making it easier to spread.
- Spread the Dough: Using oiled fingertips, gently press the dough towards the edges of the pan, trying not to deflate it too much. If it springs back, let it rest for another 10-15 minutes before continuing.
- Second Proof & Dimpling: Cover the pan again and let the dough proof at room temperature for another 45-60 minutes, or until it looks puffy and has nearly filled the pan. Preheat your oven to 425°F (220°C) towards the end of this proofing time. Once ready, uncover the dough. Generously drizzle another 2-3 tablespoons of olive oil over the surface, allowing it to pool slightly. Using oiled fingers, gently press straight down into the dough to create the signature dimples, going all the way down to the bottom of the pan.
- Add Toppings: Scatter your chosen toppings (rosemary, tomatoes, olives, etc.) over the dimpled dough, gently pressing them into the indentations. Sprinkle generously with flaky sea salt.
- Bake: Place the pan in the preheated oven. Bake for 20-30 minutes, or until the focaccia is deeply golden brown on top and the bottom crust is firm and golden.
- Cool and Finish: Carefully remove the focaccia from the oven. For an extra burst of flavor and moisture, you can drizzle a little more olive oil over the hot surface immediately after baking. Let it cool in the pan for 5-10 minutes before transferring it to a wire rack to cool slightly further before slicing and serving.
Tips and Tricks for Consistently Perfect Focaccia Texture
The Dimpling Technique: Creating Those Signature Focaccia Indentations
The dimpling technique is not just for aesthetics; it serves a crucial purpose in achieving the classic focaccia texture. When you gently press your oiled fingertips into the dough, you are creating indentations that prevent the dough from rising too much in specific spots, encouraging the air pockets to develop around these areas instead. The dimples also serve as little reservoirs for the olive oil and flaky salt, ensuring bursts of flavor and moisture in every bite.
It's important to dimple the dough after the second proofing has largely occurred and the dough is puffy and relaxed in the pan. Use oiled fingers to prevent sticking and press firmly but gently, going almost all the way down to the bottom of the pan. Don't be afraid to really press in! The dough might resist slightly, which is normal. The dimples should hold their shape relatively well, though they will puff up slightly during baking. Mastering this simple technique is key to perfecting focaccia texture easily and getting that iconic look.
Storing Focaccia for Optimal Freshness
Focaccia is best enjoyed fresh, warm from the oven, when its texture is at its peak – the crust crisp, the interior airy and soft. However, if you have leftovers, proper storage is essential to maintain quality. Allow the focaccia to cool completely on a wire rack before storing. Storing warm bread can trap moisture and make it soggy.
For short-term storage (1-2 days), wrap the cooled focaccia tightly in plastic wrap or aluminum foil, or place it in an airtight container at room temperature. Avoid refrigerating focaccia, as this can actually accelerate staling and negatively impact the texture. To refresh leftover focaccia and bring back some of its original crispness, you can lightly toast slices in a toaster oven, a conventional oven at around 350°F (175°C) for 5-10 minutes, or even in a dry skillet on the stovetop. This simple step can revive the texture, making perfecting focaccia texture easily enjoyable even the next day.
Conclusion: Enjoy Your Perfectly Textured Homemade Focaccia
Frequently Asked Questions
How can I achieve a truly airy focaccia texture?
To achieve an airy focaccia, focus on proper hydration of the dough and a long, slow fermentation. This allows for optimal gluten development and gas production.
What type of flour is best for perfecting focaccia texture easily?
High-protein flour, like bread flour, is recommended. It provides the necessary gluten structure to create a chewy and airy focaccia.
What are some common mistakes that lead to a dense focaccia?
Over-kneading the dough, using insufficient yeast, or skipping the second proofing can result in a dense texture.
How does the amount of olive oil affect the focaccia texture?
Olive oil contributes to both flavor and texture. Using the right amount in the dough and for topping creates a tender and delicious focaccia.
What is the best way to dimple the focaccia dough before baking?
Use your fingertips to gently press deep dimples into the dough before baking. This creates pockets that will fill with olive oil and crisp up beautifully.
Final Reflection: The Pursuit of the Perfect Focaccia Crumb
The quest for that airy, ethereal focaccia crumb isn't just about baking; it's about mastering the art of patience and precision in the kitchen. The techniques detailed in this article—from the careful hydration of the dough to the strategic timing of the proofing process—represent a journey towards culinary mastery that extends far beyond a single loaf of bread. The reward? A texture so light and delicate, it practically melts in your mouth.
The pursuit of the perfect focaccia crumb reflects a larger cultural shift towards appreciating the simple pleasures and the artistry of everyday cooking. We're increasingly drawn to recipes that celebrate both technique and ingredient quality, seeking out experiences that connect us to the process of creation. The best things in life are simple,
a phrase often repeated, rings especially true when considering the satisfaction derived from a perfectly executed focaccia. This isn't just about the final product; it's about the journey, the learning, and the connection to something both ancient and deeply satisfying.
Now, I invite you to take what you've learned and apply it to your own baking adventures. Don't be afraid to experiment, to adjust hydration levels, and to play with different flours. The perfect focaccia is waiting for you—not as a destination, but as a continuous process of discovery and refinement. Embrace the challenge, savor the process, and most importantly, enjoy the delicious results. The airy crumb awaits!
Unlock the Secret to Perfectly Airy Focaccia!
Thanks for joining us on this focaccia journey! We hope you’ve gained valuable insights into achieving that incredible airy texture. Ready to take your baking skills to the next level?
- Master the art of focaccia: Try our recommended recipe variations today—experiment with different herbs, cheeses, or even fruits! Let your creativity run wild.
- Share your focaccia triumphs: Show off your perfectly airy creations on social media using #BakeWithEaseFocaccia and inspire others!
- Join our baking community: Let's chat about your focaccia experience—what worked, what surprised you? Share your tips and tricks in the comments below.
What unexpected ingredient will you add to your next focaccia masterpiece?