
Mastering the Lamination Process for Flaky Doughs

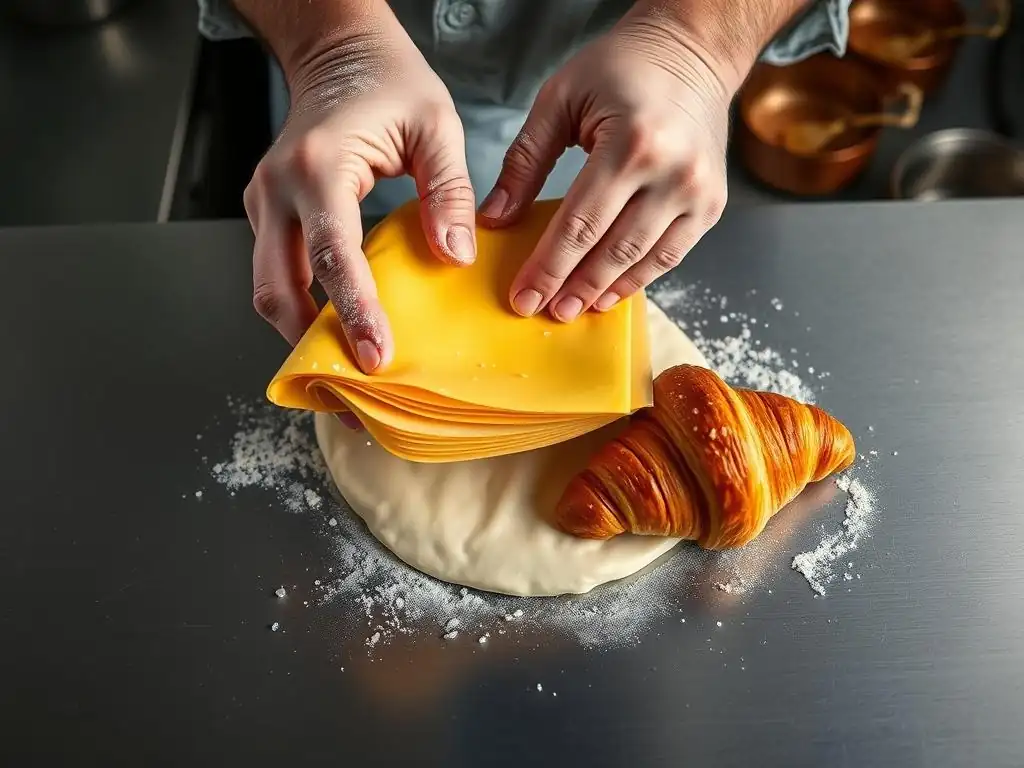
Welcome to BakeWithEase, your trusted guide to baking bliss! Ever wondered how those perfectly layered pastries achieve that irresistible shatter? Dive in and unlock the secrets to achieving bakery-quality results at home. We're demystifying the art of flaky dough lamination techniques in this article. Prepare to transform your baking with step-by-step instructions and expert tips – are you ready to create dough that's truly unforgettable?
- Understanding Flaky Dough Lamination Techniques: A Baker's Guide
- Essential Tools and Ingredients for Successful Lamination
- Step-by-Step Guide to Perfect Flaky Dough Lamination
- Troubleshooting Common Lamination Problems
- Advanced Lamination Techniques for Exceptional Results
- Recipes Using Laminated Dough: Putting Your Skills to the Test
- Tips and Tricks for Flaky Dough Success
- Storing and Freezing Laminated Dough
- Conclusion: Bake with Ease and Enjoy Your Laminated Creations!
-
Frequently Asked Questions
- What exactly is dough lamination, and why is it important for achieving a flaky texture?
- What types of fat are best for lamination, and why?
- What are some common mistakes people make when laminating dough, and how can I avoid them?
- How many folds or "turns" are typically required for achieving optimal flakiness in laminated dough?
- Can I use a stand mixer to make laminated dough, or is it better to do it by hand?
- Final Reflection: The Enduring Allure of Flaky Perfection
- Unleash Your Inner Pastry Chef: Perfect Flaky Layers Every Time!
Understanding Flaky Dough Lamination Techniques: A Baker's Guide
What is Lamination in Baking? The Secret to Flaky Layers
Lamination is a fundamental technique in pastry making that involves creating multiple thin layers of dough separated by layers of fat, typically butter. This intricate process is what gives pastries like croissants, puff pastry, and danishes their characteristic light, airy, and incredibly flaky texture. When the dough is baked, the fat melts and releases steam, which forces the thin layers of dough apart, creating hundreds of delicate strata. It's a process that requires patience and precision, but mastering these flaky dough lamination techniques unlocks a world of delicious possibilities.
Think of lamination as building a delicate edible structure, layer by layer. The goal is not to mix the fat into the dough, but to keep it distinct, spread thinly between sheets of dough. This separation is crucial. Without proper lamination, you'd simply have a rich, dense dough, not the shatteringly crisp layers that define classic flaky pastries. The beauty of effective flaky dough lamination techniques lies in the controlled interaction between the dough and fat under heat.
The Science Behind Flaky Dough: Fat, Flour, and Folding
The magic of flaky dough lamination techniques hinges on the interplay of three main elements: flour, fat, and temperature. The flour provides the structure through gluten development. When dough is mixed and kneaded, gluten proteins form a network. For laminated dough, you want enough gluten development to allow the dough to be rolled thinly without tearing, but not so much that it becomes tough or resists rolling. A flour with a moderate protein content, around 11-12%, is often ideal for croissants, balancing strength and extensibility.
The fat, usually butter, is the key to the layers. High-quality butter with a higher fat content (around 82% or more) and good plasticity is preferred because it remains solid yet pliable during rolling and folding. As the dough bakes, the butter melts. The water in the butter (typically around 16-18%) turns to steam. This steam is trapped between the dough layers, pushing them apart and creating the signature lift and flakiness. The cold temperature maintained throughout the process is vital; it keeps the butter solid, allowing it to create distinct layers rather than being absorbed into the dough.
Essential Tools and Ingredients for Successful Lamination
Best Types of Butter for Laminated Dough: Achieving Optimal Flakiness
Choosing the right butter is paramount when employing flaky dough lamination techniques. European-style butters, often labeled as having a higher butterfat percentage (typically 82% or more compared to the 80% standard in many American butters), are generally favored. This higher fat content means less water, resulting in flakier layers and less steam to potentially make the dough tough. Brands like Plugra, Kerrygold, or even some high-quality local dairy butters with a specified high butterfat content are excellent choices.
Beyond the fat percentage, the plasticity of the butter is critical. The butter needs to be cold but pliable enough to roll out evenly with the dough without cracking or melting. Some bakers temper their butter slightly or use specific butter sheets designed for lamination. The goal is a block of butter that is firm but yields slightly when pressed, ideally around 50-55°F (10-13°C), ensuring it spreads into a thin, continuous layer during rolling, which is essential for effective flaky dough lamination techniques.
Flour Power: Choosing the Right Flour for Laminated Pastries
The type of flour significantly impacts the dough's behavior during the lamination process. For croissants and danishes, which require some strength to develop that open, airy crumb structure, a bread flour or a blend with a protein content in the 11-12.5% range is often recommended. This provides enough gluten development to allow the dough to stretch without tearing during rolling, accommodating multiple folds.
For pastries like puff pastry, where maximum flakiness and minimal internal structure are desired, a lower protein all-purpose flour (around 10-11%) or even pastry flour might be used. The key is to balance extensibility (ability to stretch) with elasticity (ability to spring back). Too little protein, and the dough tears; too much, and it's too elastic and hard to roll thin. Experimenting with different flours is part of mastering flaky dough lamination techniques for various pastry types.
Other Key Ingredients: Water, Salt, and Malt Syrup
While butter and flour are the stars, other ingredients play supporting roles in flaky dough lamination techniques. Water hydrates the flour, allowing gluten to form, and its conversion to steam during baking is what creates the lift. The hydration level typically ranges from 50-60% of the flour weight, influencing the dough's consistency and ease of handling. Cold water is usually preferred to help control dough temperature.
Salt is crucial for flavor balance and also plays a role in controlling yeast activity (if used) and strengthening the gluten structure. A typical salt percentage is around 1.5-2% of the flour weight. For yeasted laminated doughs like croissants, a touch of sugar and sometimes malt syrup (diastatic malt powder or extract) is included. Malt syrup provides food for the yeast, aids in browning during baking, and contributes a subtle flavor, enhancing the overall result of your flaky dough lamination techniques.
Step-by-Step Guide to Perfect Flaky Dough Lamination
Preparing the Détrempe: The Foundation of Your Dough
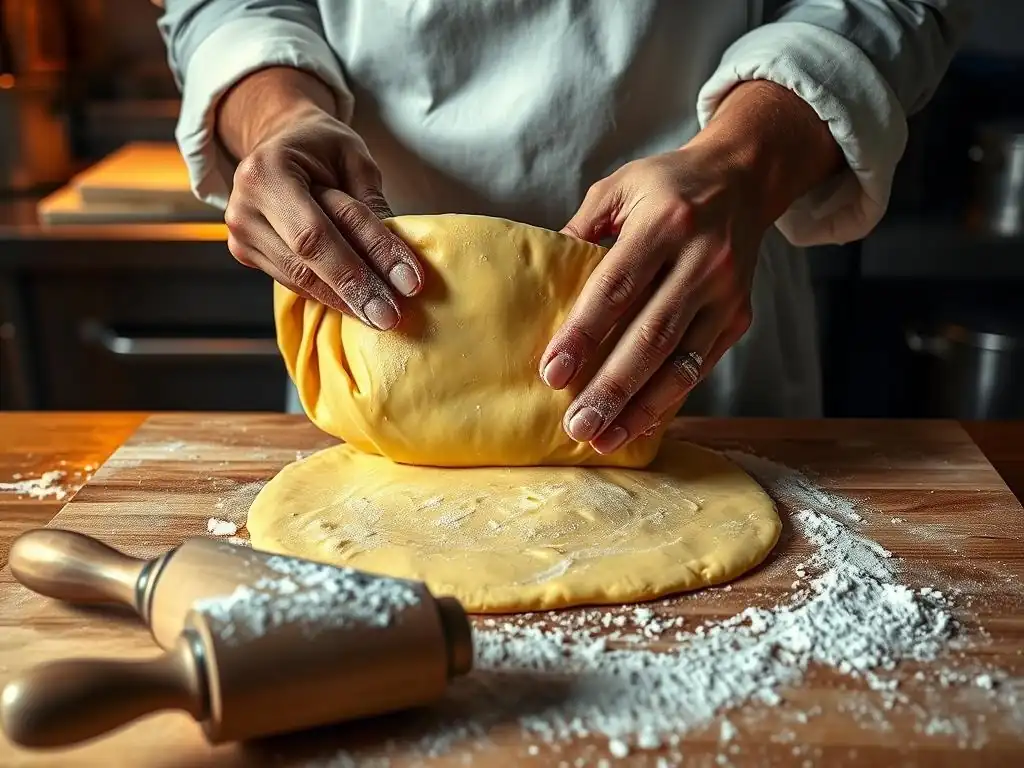
The détrempe is the initial dough base before the butter is incorporated. It typically consists of flour, water, salt, and sometimes yeast and sugar for enriched doughs like croissants. The key here is minimal mixing. Combine the ingredients until just combined, forming a shaggy dough. Overmixing at this stage will develop too much gluten too early, making the dough difficult to roll out thinly later in the lamination process.
After mixing, the détrempe needs to rest, usually for at least 30 minutes at room temperature, or preferably chilling in the refrigerator for several hours or overnight. This rest allows the flour to fully hydrate and the gluten to relax. A well-rested détrempe is pliable and elastic, ready to be rolled without excessive resistance, setting a strong foundation for successful flaky dough lamination techniques.
Incorporating the Butter Block: The Key to Lamination
This is where the magic begins. Take your prepared butter block (rolled or shaped into a rectangle, usually about 6x8 inches and ½ inch thick for a typical batch using 2 cups of flour) and your chilled détrempe. Roll the détrempe into a rectangle about twice the size of your butter block. Place the butter block on one half of the détrempe, leaving a small border around the edges.
Fold the other half of the détrempe over the butter block, enclosing it completely. Pinch the edges firmly to seal the butter inside. Ensure there are no gaps or holes where the butter could escape during rolling. This step is critical for creating the distinct layers required for flaky dough lamination techniques; the goal is a single layer of butter completely encased in dough.
Mastering the Folds: Turns and Resting Periods Explained
After enclosing the butter, the process of creating hundreds of layers begins with "turns" or folds. Each turn involves rolling the dough out into a rectangle and then folding it in a specific way. The number and type of folds determine the final number of layers. Between each turn, the dough must be chilled in the refrigerator for 30-60 minutes. This rest is crucial to relax the gluten and firm up the butter, preventing it from melting or squeezing out during the next roll. Typically, laminated dough requires 3 to 4 turns.
The Single Fold (Simple Fold) Technique
The single fold is the most common turn used in flaky dough lamination techniques. After resting, roll the dough into a rectangle, usually about 1/4 inch thick. Visualize dividing the rectangle into three equal sections. Fold one end up to cover the middle section, then fold the other end down over the first fold, like folding a letter. This creates three layers of dough separated by two layers of butter. Mark the dough (e.g., with an indentation) to indicate it has had one fold.
The Double Fold (Book Fold) Technique
The double fold creates more layers faster. Roll the dough into a rectangle, again about 1/4 inch thick. Visualize dividing the rectangle into four equal sections. Fold the two ends inwards so they meet in the middle. Then, fold the dough in half along the center line, like closing a book. This creates four layers of dough separated by three layers of butter. This technique yields more layers per turn but can sometimes make the dough harder to handle if not sufficiently rested.
Resting the Dough: Why It's Crucial for Gluten Relaxation
Resting the dough between turns is non-negotiable in flaky dough lamination techniques. Each time you roll and fold, you develop the gluten network in the dough, making it elastic and prone to shrinking back. The rest period, ideally in the refrigerator between 35-40°F (2-4°C), allows the gluten to relax. This makes the dough pliable and easy to roll thinly for the next turn without tearing or excessive resistance.
Equally important, chilling allows the butter layers to firm up. If the butter is too soft, it will meld with the dough or squeeze out during rolling, ruining the distinct layers. Proper chilling ensures the butter stays in thin sheets, ready to create steam and separate the layers during baking. A typical rest is 30-60 minutes, but longer rests (up to several hours or overnight) can be beneficial, especially after the final fold.
Troubleshooting Common Lamination Problems
Butter Melting: Preventing Soft Butter Issues
One of the most common challenges when learning flaky dough lamination techniques is dealing with melting butter. If your butter is too soft or the environment is too warm, the butter will ooze out during rolling or blend into the dough, preventing the formation of distinct layers. The result is a greasy, dense pastry rather than a light, flaky one.
To prevent this, ensure both your dough and butter are properly chilled before you begin rolling and between each turn. Work quickly, especially in warm kitchens. If the dough becomes resistant or you see the butter softening, stop immediately and return the dough to the refrigerator for a sufficient rest (at least 30 minutes, or until the butter is firm again). Keeping your tools and workspace cool also helps significantly.
Dough Tearing: Addressing Gluten Development Problems
Dough tearing during rolling is usually a sign of overworked gluten or insufficient resting. If the gluten network is too tight, the dough resists stretching and can snap when you try to roll it thinly. This disrupts the butter layers and compromises the final flakiness.
Ensure you don't overmix the détrempe initially. During rolling, apply even pressure and roll gently. If the dough starts to spring back excessively or tear, it needs more rest. Wrap it well and refrigerate for another 30-60 minutes. Sometimes, a longer rest (e.g., overnight) can drastically improve the dough's extensibility and make rolling much easier for successful flaky dough lamination techniques.
Uneven Layers: Achieving Consistent Flakiness
Uneven layers result in pastries that are flaky in some spots but dense in others. This can happen if the butter block wasn't evenly incorporated, if the dough was rolled unevenly, or if the folds weren't precise. Patchy butter distribution means some areas lack the steam needed for separation.
To achieve consistent layers, ensure your initial butter block is a uniform thickness. Roll the dough rectangle evenly before each fold, striving for consistent thickness across the entire sheet. Make sure your folds are neat and precise, aligning the edges as well as possible. Practice with your flaky dough lamination techniques will help develop the feel for even rolling and folding.
Advanced Lamination Techniques for Exceptional Results
Variations in Folding Techniques: Exploring Different Methods
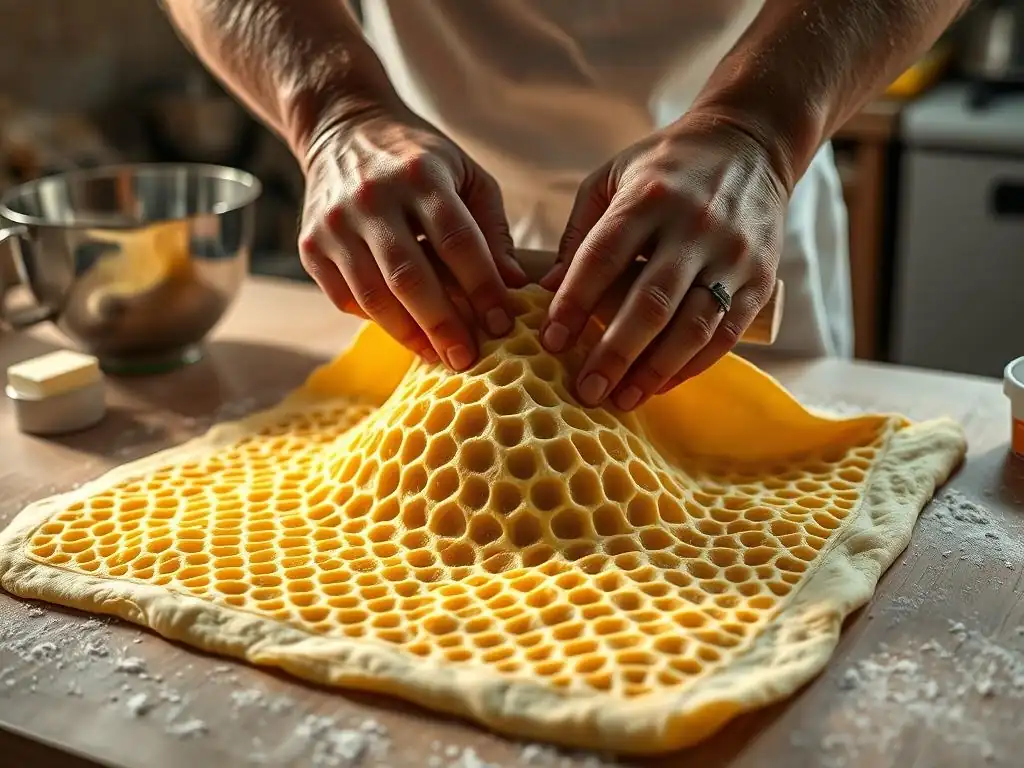
While the single and double folds are standard, experienced bakers sometimes experiment with variations or different sequences of folds to achieve specific results. For instance, some prefer a sequence of four single folds for maximal layers (resulting in 3^4 = 81 layers), while others might use a double fold followed by singles.
Another advanced technique is reverse lamination, where the butter block is on the outside, and the détrempe is enclosed within the butter. This method can result in extremely tender and flaky pastries, as the butter completely surrounds the dough from the start. Exploring these variations allows bakers to refine their flaky dough lamination techniques for different pastry applications.
Using a Laminator: Speed and Consistency Advantages
For professional bakeries or serious home bakers making large quantities, a dough laminator (or sheeter) is a valuable piece of equipment. Instead of a rolling pin, the dough is fed through rollers with adjustable gaps, allowing for precise and consistent rolling to the desired thickness with minimal effort.
Using a laminator significantly speeds up the lamination process and ensures unparalleled uniformity in layer thickness. This consistency often leads to more predictable and superior flaky results compared to manual rolling, especially when dealing with large batches of dough. While not essential for home baking, it represents a significant advancement in flaky dough lamination techniques for high-volume production.
Creating Unique Designs: Pinwheel Shapes and Marbling
Mastering flaky dough lamination techniques opens the door to creative pastry designs. Beyond classic croissants or pain au chocolat, laminated dough can be shaped into various forms. Palmiers are made by rolling the dough with sugar and slicing it into 'elephant ear' shapes. Kouign Amann involves folding dough with layers of sugar and butter and baking it in a mold for a caramelized exterior.
An advanced visual technique is creating a marbled effect. This involves laminating two doughs of different colors (e.g., plain and cocoa dough). Rolling and folding them together creates a striking marbled pattern in the final baked pastry. These techniques demonstrate the versatility and artistic potential unlocked by mastering flaky dough lamination techniques.
Recipes Using Laminated Dough: Putting Your Skills to the Test
Classic Croissants: A Step-by-Step Recipe
Creating classic croissants is often considered the ultimate test of one's flaky dough lamination techniques. The process involves making a yeasted détrempe, incorporating a butter block, and performing several folds (typically 3-4 single folds). After the final fold and rest, the dough is rolled thin (to about 3-4mm thickness), cut into triangles, rolled into crescent shapes, proofed until nearly doubled in size, and then baked at around 375-400°F (190-200°C) until golden brown and flaky. The result should be a light, airy interior with distinct layers and a crisp exterior.
Pain au Chocolat: Mastering the Chocolate-Filled Pastry
Pain au chocolat uses the same laminated dough as croissants but requires slightly different shaping. After the final fold and rest, the dough is rolled out and cut into rectangles (often about 3-4 inches wide). Two pieces of high-quality baking chocolate (like batons) are placed at one end of the rectangle, and the dough is rolled up to enclose the chocolate.
These are also proofed and baked similarly to croissants. The success of a pain au chocolat relies directly on the quality of the flaky dough lamination techniques, ensuring the dough bakes up light and crispy around the melted chocolate.
Other Laminated Pastry Creations: Palmiers, Kouign Amann, and Danishes
Laminated dough is incredibly versatile. Palmiers require rolling the finished dough with sugar, then rolling both ends inward to meet in the middle before slicing and baking. Kouign Amann is a Breton pastry made with laminated dough, sugar, and butter, baked in rounds, resulting in a caramelized crust and tender, layered interior. Danishes involve shaping laminated dough around various sweet fillings like fruit, cheese, or nuts. Each pastry showcases the unique texture achieved through precise flaky dough lamination techniques, demonstrating the breadth of possibilities.
Tips and Tricks for Flaky Dough Success
Maintaining the Right Temperature: The Importance of a Cold Environment
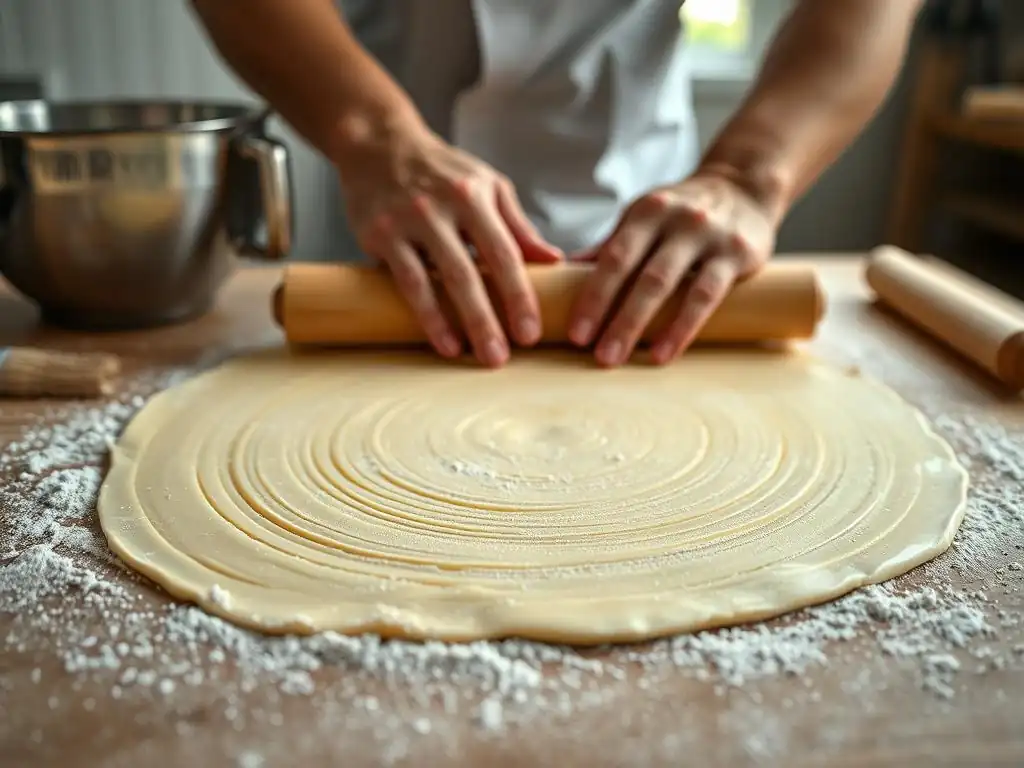
Temperature control is arguably the most critical factor in flaky dough lamination techniques. Both the dough and the butter must remain cold throughout the process. Ideally, your kitchen environment should be cool, around 65-70°F (18-21°C). Use cold ingredients (water) when making the détrempe. Ensure the butter block is cold but pliable (around 50-55°F / 10-13°C) when you incorporate it.
Between each fold, the dough must be refrigerated for at least 30-60 minutes to firm up the butter and relax the gluten. Rushing this chilling step is a common mistake that leads to butter melting and layers being ruined. A digital thermometer can be helpful to check the temperature of your dough and butter.
Handling the Dough Gently: Avoiding Overworking
Work with the dough gently during rolling and folding. Avoid excessive pressure, which can force the butter into the dough or tear the layers. Use just enough flour to prevent sticking, but not so much that it dries out the dough.
Roll from the center outwards, applying even pressure. If the dough resists rolling or springs back excessively, cover it and let it rest for a few minutes at room temperature before returning it to the fridge. Treating the dough with care helps maintain the integrity of the layers created by your flaky dough lamination techniques.
Baking Your Laminated Pastries: Achieving the Perfect Golden Brown
Baking laminated pastries requires a relatively hot oven to ensure the butter melts quickly and creates steam before the dough sets. Temperatures typically range from 375-400°F (190-200°C). A hot oven also helps achieve that beautiful golden-brown color and crisp exterior.
Preheat your oven thoroughly. Using a baking stone or steel can help ensure consistent bottom heat, promoting even lift and browning. Avoid opening the oven door too frequently during the initial stages of baking, as this can cause the temperature to drop and affect the rise. Bake until the pastries are deeply golden brown and feel light, indicating the layers have fully separated and cooked through.
Storing and Freezing Laminated Dough
Properly Storing Unbaked Dough
Once your laminated dough has completed its final folds and resting period, it's best to use it relatively soon. If you need to store it before shaping and baking, wrap it tightly in plastic wrap to prevent it from drying out or absorbing odors from the refrigerator. It can be stored in the refrigerator for up to 1-2 days. For yeasted doughs like croissant dough, prolonged refrigeration can lead to over-proofing or changes in fermentation characteristics, so plan accordingly.
Freezing and Thawing Techniques for Best Results
Laminated dough freezes exceptionally well, allowing you to break down the process or prepare ahead. After the final fold, wrap the dough very tightly in multiple layers of plastic wrap, followed by a layer of aluminum foil or a freezer bag. Label with the date. Properly frozen laminated dough can last for 1-2 months.
To thaw, transfer the wrapped dough to the refrigerator and let it thaw slowly overnight (usually 12-24 hours depending on the size). Avoid thawing at room temperature, as this can cause the butter to melt and seep into the dough. Once thawed, the dough should be used within a day or two. This flexibility makes incorporating flaky dough lamination techniques into your baking routine much more manageable.
Conclusion: Bake with Ease and Enjoy Your Laminated Creations!
Mastering flaky dough lamination techniques is a rewarding journey for any baker. It requires attention to detail, patience, and understanding the role of temperature, fat, and gluten. While it might seem daunting at first, with practice, the process becomes more intuitive.
From the initial détrempe to the final golden bake, each step contributes to those ethereal, flaky layers we all adore. Don't be discouraged by imperfections in your early attempts; every batch is a learning opportunity. Embrace the process, follow the guidelines, and soon you'll be pulling beautiful, flaky pastries from your own oven, ready to be enjoyed. Happy baking!
Frequently Asked Questions
What exactly is dough lamination, and why is it important for achieving a flaky texture?
Dough lamination is the process of creating thin, alternating layers of dough and fat (usually butter). This technique is crucial because the fat melts during baking, creating steam that separates the dough layers, resulting in a flaky and light texture.
What types of fat are best for lamination, and why?
While various fats can be used, cold butter is widely considered the best for lamination. Butter's high fat content and ability to remain solid at cool temperatures allow for distinct layers to form during the lamination process.
What are some common mistakes people make when laminating dough, and how can I avoid them?
Common mistakes include using butter that is too soft, overworking the dough, and not chilling the dough sufficiently between turns. To avoid these, ensure your butter is cold, handle the dough gently, and chill the dough according to the recipe instructions.
How many folds or "turns" are typically required for achieving optimal flakiness in laminated dough?
The number of folds varies depending on the recipe and desired outcome, but generally, 3-4 single or double turns are sufficient for achieving a beautifully flaky dough. Too many turns can result in a tough dough, while too few may lack definition.
Can I use a stand mixer to make laminated dough, or is it better to do it by hand?
While a stand mixer can be used, it's generally recommended to laminate dough by hand, especially for beginners. Hand-lamination allows for more control and prevents overworking the dough, which is essential for achieving optimal flakiness.
Final Reflection: The Enduring Allure of Flaky Perfection
The pursuit of the perfect flaky pastry remains a culinary quest of enduring relevance, a testament to our innate desire for both sensory pleasure and technical mastery. From the humble croissant to the elegant mille-feuille, the lamination process, though demanding, unlocks a textural experience that continues to captivate bakers and eaters alike. The techniques detailed in this article are not merely recipes; they are keys to unlocking a deeper understanding of dough behavior and the transformative power of controlled hydration and folding.
The impact of mastering flaky dough lamination extends far beyond the kitchen; it's a journey of precision and patience that mirrors many aspects of life. The meticulous layering, the careful attention to temperature, the rewarding outcome – these all resonate with the challenges and triumphs we face in other endeavors. As the renowned pastry chef, Michel Roux, once said, Baking is a science, but it's also an art. It's about precision, but it's also about passion.
This quote encapsulates the essence of the lamination process, highlighting the blend of technical skill and creative spirit required to achieve truly exceptional results.
Now, consider your own journey. Perhaps you've already experimented with these techniques, or maybe this article has sparked a newfound curiosity. I invite you to embrace the challenge, to experiment with different flours and fats, and to discover the joy of creating something beautiful and delicious with your own hands. The path to flaky perfection is a rewarding one, filled with both learning and delicious rewards. Don't be afraid to get your hands messy; the journey itself is as important as the destination.
Unleash Your Inner Pastry Chef: Perfect Flaky Layers Every Time!
Thanks for taking the time to explore the world of flaky doughs with us! We hope you've gained valuable insights into achieving those perfect, melt-in-your-mouth layers. Now it's time to put your new knowledge into practice!
- Master the Lamination Technique: Try laminating your favorite dough recipe today – even a simple butter croissant dough will show amazing results. Remember those crucial folds!
- Share Your Success (or Challenges!): Let's build a community of bakers! Share your lamination experiences – photos, tips, or questions – in the comments below. We'd love to see your creations!
- Explore Advanced Techniques: For a deeper dive, consider experimenting with different types of fats or chilling times to discover what works best for you.
Ready to transform your baking game? What's your biggest challenge when it comes to achieving perfectly flaky pastry?