
Basic White Bread Demystified: Bake With Ease

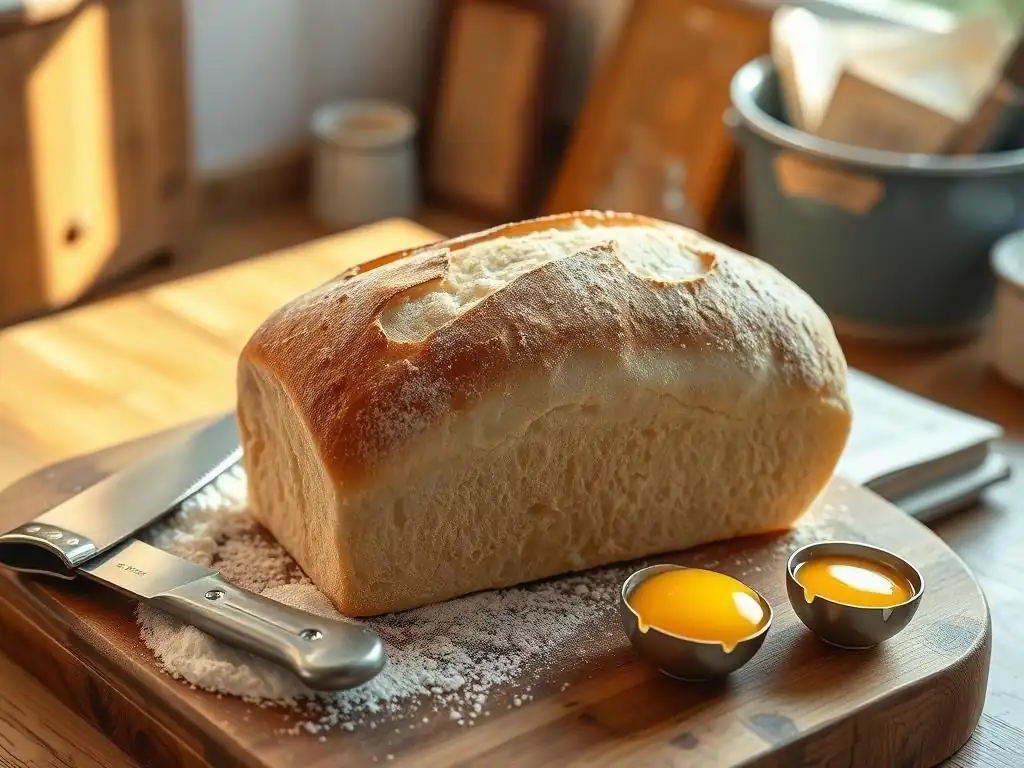
Welcome to BakeWithEase, your kitchen companion for conquering the world of baking! Ever dreamed of pulling a perfectly golden loaf from your oven, but felt intimidated by complex recipes? You're in the right place. We're demystifying the art of baking, one simple recipe at a time. Ready to unlock the secrets to a fluffy, delicious loaf? Let's start with our easy white bread recipe and discover just how rewarding bread baking can be!
- Introduction to Sourdough Baking
-
The Sourdough Recipe: Step-by-Step
- Gathering Your Ingredients for Sourdough Bread
- Equipment Needed for Baking Sourdough at Home
- Mixing the Dough: Autolyse and Initial Mix
- Bulk Fermentation: Developing Strength and Flavor
- Shaping the Dough: Creating Tension
- Cold Proofing: Enhancing Flavor and Texture
- Baking Your Sourdough to Perfection
- Cooling and Slicing Your Homemade Sourdough Bread
- Troubleshooting Common Sourdough Baking Issues
- Storing Your Freshly Baked Sourdough Bread
- Serving Suggestions for Your Sourdough Bread
- Conclusion: Mastering the Art of Sourdough Baking
- Frequently Asked Questions
- Final Reflection: The Humble Loaf, A Timeless Triumph
- Unleash Your Inner Baker: Bake the Perfect Loaf Today!
Introduction to Sourdough Baking
Welcome to the World of Homemade Sourdough
Embarking on the journey of baking homemade sourdough bread is a rewarding experience that connects you with a time-honored culinary tradition. Unlike commercial yeast breads, sourdough relies on a natural leavening agent – a living culture of wild yeast and bacteria – to make the dough rise.
This process not only imparts a unique tangy flavor and chewy texture but also offers potential digestive benefits due to the fermentation. It might seem daunting at first, with terms like "starter," "autolyse," and "bulk fermentation," but with a clear guide and a little patience, anyone can master the art of baking a beautiful sourdough loaf right in their own kitchen.
Think of your sourdough starter as a pet that needs occasional feeding and attention; it's the heart of your bread. Once your starter is healthy and active, the process of mixing, shaping, and baking transforms simple ingredients into something truly magical. Many home bakers find the rhythmic process of kneading and folding dough to be incredibly therapeutic. The aroma that fills your home as a sourdough loaf bakes is unparalleled, promising a crusty exterior and a soft, open interior crumb. This guide aims to demystify each step, making sourdough baking accessible and enjoyable for bakers of all skill levels.
Why Bake Your Own Sourdough Bread?
Baking your own sourdough bread offers numerous advantages over buying it from a store. Firstly, you have complete control over the ingredients. You can choose high-quality flours, filtered water, and premium salt, avoiding additives and preservatives often found in commercial loaves. This allows for a purer, often more nutritious bread. For example, a typical store-bought sourdough might contain commercial yeast or dough conditioners, whereas a true homemade loaf relies solely on the natural starter for leavening. This control ensures you're baking the healthiest bread possible for yourself and your family.
Beyond ingredient control, the flavor and texture of homemade sourdough are often superior. The long fermentation process develops complex flavors that are simply not present in faster-rising breads. The characteristic tang intensifies with longer fermentation, particularly during cold proofing. Furthermore, achieving that perfect crackling crust and open, airy crumb is a source of immense satisfaction for the home baker. While a standard white bread recipe might take a few hours from start to finish, a sourdough loaf involves a longer process, often spanning 24-48 hours including fermentation and proofing, which contributes significantly to its unique characteristics.
The Sourdough Recipe: Step-by-Step
Gathering Your Ingredients for Sourdough Bread
Essential Ingredients for a Sourdough Loaf
To bake a classic sourdough loaf, you'll need just four fundamental ingredients: active sourdough starter, flour, water, and salt. An active starter is crucial; it should be bubbly, smell pleasantly acidic (like yogurt or vinegar), and pass the float test (a small piece dropped in water should float). You'll typically need around 50-100 grams of active starter for a standard loaf recipe.
The flour is the main building block, usually a combination of strong bread flour and perhaps some whole wheat or rye for flavor and structure. For a beginner's easy sourdough recipe, 500 grams of bread flour is a common starting point.
Water is equally important, hydrating the flour and activating the gluten development. The hydration level (ratio of water to flour) significantly impacts the dough's handling and the final crumb structure. Many easy sourdough recipes start with a hydration around 70-75% (meaning 350-375 grams of water for 500 grams of flour). Finally, salt isn't just for flavor; it controls the fermentation rate and strengthens the gluten network. About 10-12 grams of fine sea salt is typical for a 500g flour loaf. Ensuring these four simple ingredients are measured accurately is the first critical step in baking delicious homemade sourdough.
Ingredient Considerations: Flour, Water, Salt
The type of flour you use dramatically affects your sourdough bread. High-protein bread flour (around 12-14% protein) is recommended for its strong gluten-forming capabilities, which are essential for trapping the gases produced by the starter and creating an open crumb. Using some whole wheat or rye flour (often 10-20% of the total flour weight) can add nutritional value and complexity to the flavor, though it will absorb more water and result in a denser dough. For an easy sourdough, starting with 100% bread flour is often simplest.
Water quality matters too. Chlorinated water can potentially harm the delicate microorganisms in your starter. If your tap water is heavily chlorinated, let it sit out for 24 hours or use filtered water. The temperature of the water also influences dough temperature, which in turn affects fermentation speed.
Warm water (around 80-90°F or 27-32°C) is often used to kickstart fermentation, especially in cooler kitchens. Salt should ideally be non-iodized sea salt or kosher salt; iodine can interfere with fermentation. Avoid using table salt that contains anti-caking agents. Precise measurements, especially for water and flour, are key in sourdough baking, often using a digital scale for accuracy.
Equipment Needed for Baking Sourdough at Home
Must-Have Tools for Sourdough
Baking a great sourdough loaf doesn't require a professional kitchen, but a few key tools will make the process much smoother. A digital scale is indispensable for accurate measurement of flour, water, and starter – precision is far more important than volume measurements in sourdough. You'll also need a large mixing bowl, preferably glass or plastic, with enough room for the dough to double in size during bulk fermentation (at least a 4-quart capacity for a standard loaf). A dough scraper or bench scraper is incredibly useful for handling sticky dough and cleaning surfaces.
For baking, a Dutch oven or a lidded pot is highly recommended. The sealed environment traps steam released by the dough, which keeps the crust soft initially, allowing the loaf to expand fully before the crust sets. This trapped steam is crucial for achieving a great oven spring and a thin, crispy crust.
A 5 or 6-quart cast iron Dutch oven is a popular choice, but any oven-safe pot with a tight-fitting lid will work. Lastly, you'll need something for the final proofing, like a proofing basket (banneton) lined with flour or a bowl lined with a floured tea towel.
Optional Equipment to Enhance Your Sourdough Baking
While not strictly necessary for an easy sourdough recipe, several optional tools can significantly enhance your baking experience and the quality of your bread. A stand mixer with a dough hook can take the effort out of the initial mixing and kneading, though hand mixing is perfectly fine and preferred by many for developing feel for the dough. A lame or sharp razor blade is used to score the dough before baking; precise scoring allows the bread to expand predictably in the oven and improves the final appearance.
Other helpful items include an instant-read thermometer to check the internal temperature of the baked loaf (it should reach around 205-210°F or 96-99°C) and a spray bottle to spritz the dough or oven for extra steam if not using a Dutch oven. A cooling rack is essential for allowing the finished bread to cool properly, preventing a soggy bottom crust. While you can improvise with many items, investing in a few of these tools can make your sourdough baking journey more consistent and enjoyable.
Mixing the Dough: Autolyse and Initial Mix
Combining Flour and Water: The Autolyse
The autolyse step is a simple yet powerful technique in sourdough baking. It involves mixing just the flour and water for your recipe and letting the mixture rest for 20 minutes to an hour, or even longer. The term "autolyse" was coined by French baking professor Raymond Calvel. This resting period allows the flour to fully hydrate and enzyme activity to begin breaking down starches into sugars, which the yeast can feed on. Crucially, it also allows the gluten network to start developing without any mechanical effort from kneading.
During the autolyse, you'll notice the mixture transform from a shaggy mass into a more cohesive, smoother dough. The dough will become less sticky and easier to handle. This step is particularly beneficial when working with high-hydration doughs. By giving the gluten a head start, the subsequent mixing required after adding the starter and salt is significantly reduced, leading to less oxidation and potentially better flavor and crumb structure. For an easy sourdough recipe, even a 30-minute autolyse can make a noticeable difference in dough handling.
Adding Starter and Salt: The Initial Mix
After the autolyse period, it's time to incorporate the active sourdough starter and salt into the dough. Spread the starter over the surface of the autolysed dough, and sprinkle the salt over the starter. Because the dough has already started to develop gluten, integrating these additions might require a bit of gentle mixing or kneading. You can use your hands, a stand mixer, or a dough whisk to bring everything together until the starter and salt are evenly distributed throughout the dough.
This stage marks the beginning of active fermentation. The starter's microorganisms will begin consuming the sugars in the flour, producing carbon dioxide gas (which makes the bread rise) and organic acids (which contribute to the sour flavor). The salt helps to control the fermentation rate, preventing the dough from rising too quickly, and also strengthens the gluten structure. Mix until the dough feels cohesive again, even if it's still a bit shaggy. The real gluten development will continue during the bulk fermentation stage through a series of folds.
Bulk Fermentation: Developing Strength and Flavor
Understanding Bulk Fermentation
Bulk fermentation, also known as the first rise, is the critical period after the initial mixing when the dough is left to ferment as a single mass before shaping. This is where the bulk of the leavening and flavor development occurs. The dough should be placed in a lightly oiled container, often marked or clear to observe its rise.
The duration of bulk fermentation depends heavily on the ambient temperature and the activity of your starter. In a warm kitchen (around 75-80°F or 24-27°C), it might take 4-6 hours; in a cooler environment, it could take much longer, perhaps 8-12 hours.
During bulk fermentation, the dough should increase significantly in volume, typically by 50-100% depending on the recipe and desired outcome. You'll observe bubbles forming on the surface and throughout the dough. The dough will transform from dense and tight to light, airy, and somewhat jiggly. Learning to read the dough's signs – not just relying on the clock – is key to successful sourdough baking. The dough should feel alive and gassy, pulling away from the sides of the container easily.
Folding Techniques for Strength and Structure
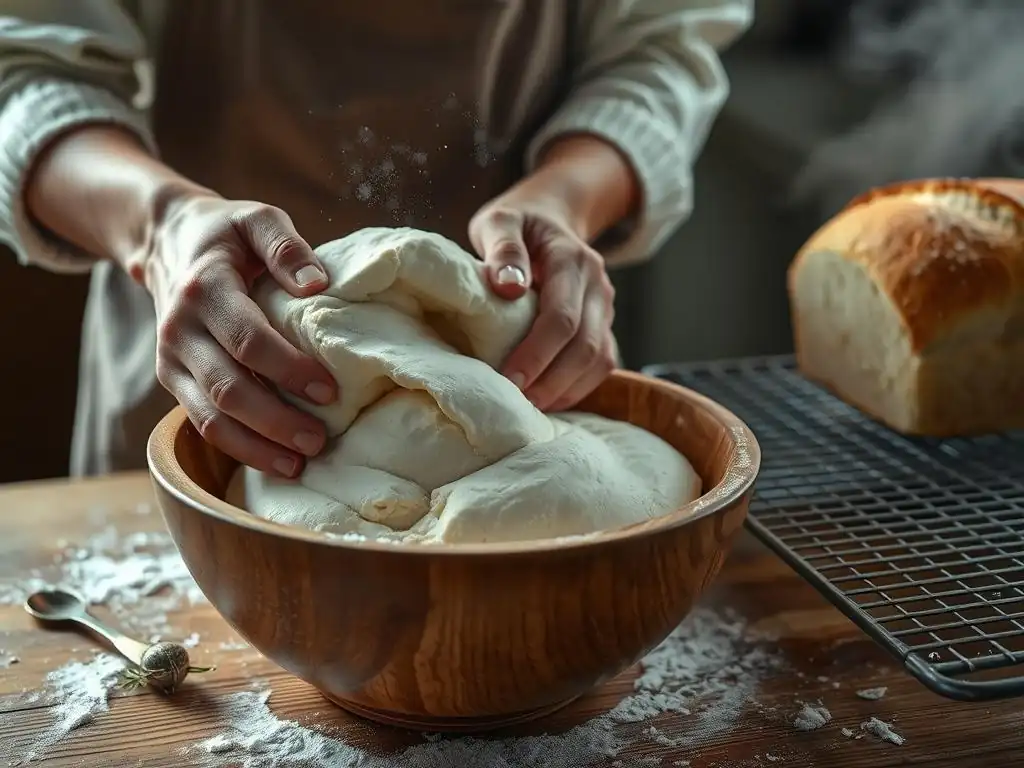
Throughout the bulk fermentation period, a series of folds are performed on the dough. These folds serve multiple purposes: they build strength and structure in the gluten network, redistribute the yeast and bacteria for more even fermentation, and help regulate the dough's temperature. Common techniques include stretch and folds or coil folds. For stretch and folds, wet your hands, grab one side of the dough, gently stretch it upwards, and fold it over the opposite side. Rotate the container and repeat for all four sides.
Typically, 3-5 sets of folds are performed during the first 2-3 hours of bulk fermentation, with 30-60 minutes rest between each set. For coil folds, lift the dough from the middle with wet hands, letting the ends fall and fold underneath. Repeat from the other side. These gentle manipulations help develop tension and elasticity without degassing the dough too much. By the end of the folding period, the dough should feel noticeably stronger, smoother, and more capable of holding its shape.
Shaping the Dough: Creating Tension
Pre-Shaping for Sourdough
After bulk fermentation is complete, the dough needs to be gently handled and prepared for its final shape. This intermediate step is called pre-shaping. Carefully turn the dough out onto a lightly floured surface, trying to disturb it as little as possible to preserve the trapped gases. The goal of pre-shaping is to gently form the dough into a rough shape that is close to its final form (a round boule or an oval batard) and to create some initial surface tension.
For a boule, gently cup the dough with your hands and pull it towards you, rotating it slightly with each pull to create a round shape with tension on the surface. For a batard, gently shape it into a rough log. Avoid using excessive flour, as this can prevent the dough from sealing properly. Let the pre-shaped dough rest on the counter, covered, for 20-30 minutes. This resting period, called the bench rest, allows the gluten to relax after handling, making the final shaping much easier and preventing the dough from tearing.
Final Shaping Techniques for Sourdough
The final shaping is crucial for creating a loaf that will hold its structure during proofing and baking and achieve good oven spring. The goal is to create significant surface tension and seal the seams properly. For a boule, gently flip the rested dough over so the seam is facing up.
Fold the top third down, then the bottom third up over that. Fold one side in about a third, then the other side over that. Finally, flip the dough over and use your hands to gently pull and tuck the dough under itself, rotating it to create a tight, smooth surface.
For a batard, after the initial folds (often like the boule shaping), roll the dough up tightly from one end, sealing the seam with your fingers. Gently elongate the log to your desired length, ensuring tension is maintained along the surface. Once shaped, the dough is immediately placed into a floured proofing basket (banneton) or a bowl lined with a floured cloth, seam-side up (if baking seam-side down) or seam-side down (if baking seam-side up, which is common when using a Dutch oven). The flour in the basket prevents the dough from sticking during proofing.
Cold Proofing: Enhancing Flavor and Texture
The Importance of Cold Proofing
Cold proofing, also known as retarding, is a highly recommended step in sourdough baking, particularly for developing complex flavors and achieving a desirable texture. After final shaping, the dough in its proofing basket is placed in the refrigerator, typically for 8 to 24 hours, or even up to 48 hours. The cold temperature significantly slows down the fermentation process but doesn't stop it entirely. This extended, slow fermentation allows organic acids, such as lactic and acetic acid, to develop, contributing to the characteristic tangy flavor of sourdough.
Beyond flavor, cold proofing also benefits the dough's structure and handling. The cold makes the dough firmer and easier to score just before baking. It also helps to strengthen the gluten network further and improves the oven spring. While you can bake sourdough after a shorter, warm proof, cold proofing is widely considered essential for achieving the best results in terms of both taste and crumb structure, making it a key step for a truly great homemade sourdough loaf.
Preparing for Baking After Cold Proofing
Once the cold proofing period is complete, your dough is ready to bake. Before taking the dough out of the refrigerator, it's crucial to preheat your oven thoroughly, including your baking vessel (like a Dutch oven or baking stone). Preheat the oven to a high temperature, typically between 450°F and 500°F (230°C to 260°C). This high initial temperature is vital for achieving maximum oven spring and a crispy crust. Allow at least 30-60 minutes for the oven and the vessel to reach the target temperature.
When the oven is preheated, carefully take the proofed dough out of the refrigerator. If using a proofing basket, gently invert the dough onto a piece of parchment paper or directly onto a hot baking surface. Score the dough quickly and confidently with a sharp lame or razor blade. The cold dough is easier to score cleanly. Scoring allows the loaf to expand in a controlled manner during baking. Work relatively quickly to get the dough into the hot oven before it loses its chill and structure.
Baking Your Sourdough to Perfection
Oven Temperature and Baking Time Guidelines for Sourdough
Baking sourdough effectively requires a high initial temperature and then often a slight reduction. A common approach when using a Dutch oven is to preheat the oven and the Dutch oven to 475°F (245°C). Carefully place the scored dough on parchment paper into the hot Dutch oven, put the lid on, and bake for 20-25 minutes. The lid traps steam, mimicking a professional steam injection oven, which is crucial for oven spring and crust development.
After the initial covered bake, remove the lid (carefully!) and reduce the oven temperature slightly, often to 450°F (230°C). Continue baking for another 20-30 minutes, or until the crust is a deep golden brown and the internal temperature of the loaf reaches 205-210°F (96-99°C). Baking uncovered allows the crust to fully brown and crisp up. These timings are general guidelines; actual baking time can vary based on your oven and the size of your loaf. A darker crust often means more flavor.
Achieving a Crispy Crust and Open Crumb
Achieving that coveted crispy crust and open, airy crumb is a hallmark of successful sourdough baking. The crispy crust is primarily developed during the uncovered phase of baking at high heat, allowing the surface moisture to evaporate and the sugars to caramelize. The steam created by baking in a lidded vessel (like a Dutch oven) during the initial phase is essential; it keeps the crust pliable, allowing the dough to expand maximally before the crust sets. Without sufficient steam, the crust sets too early, restricting oven spring and resulting in a denser loaf.
The open crumb structure is a result of several factors working together: a healthy, active starter, proper gluten development through mixing and folding, sufficient bulk fermentation (allowing gases to develop), gentle handling during shaping to preserve those gases, and good oven spring during baking. High hydration doughs generally lend themselves to more open crumbs, but mastering dough tension and handling is key to preventing the gases from escaping. An internal temperature of 205-210°F confirms the bread is fully baked through, contributing to a good crumb.
Cooling and Slicing Your Homemade Sourdough Bread
Importance of Cooling Before Slicing Sourdough
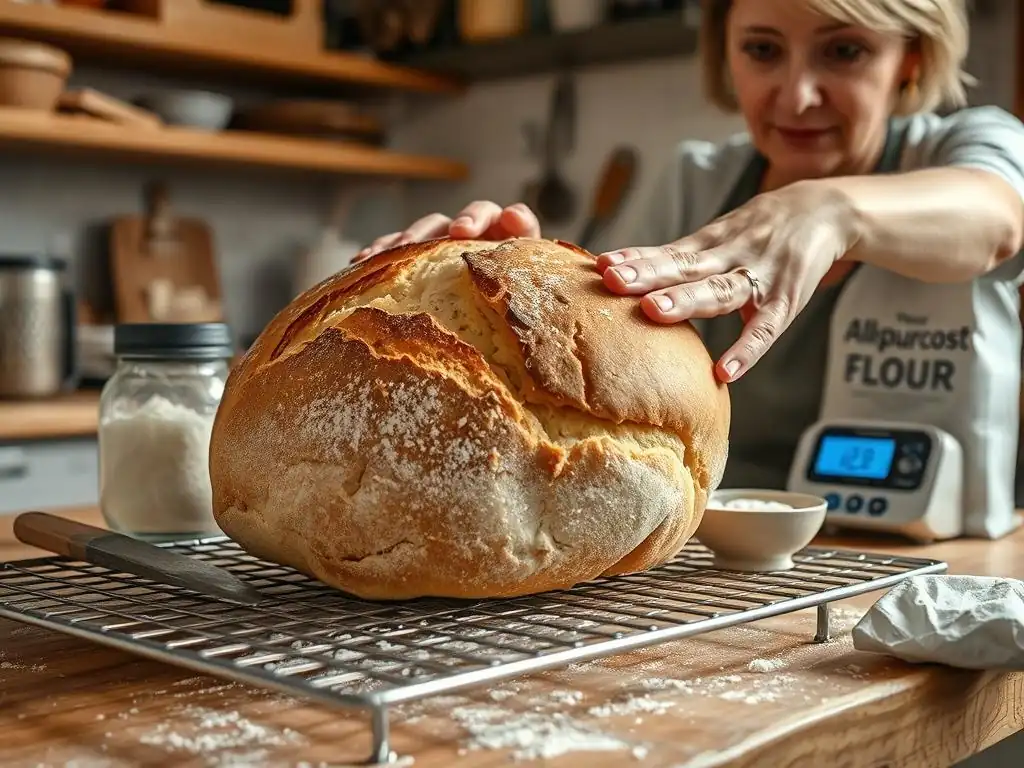
Perhaps the most challenging part of baking sourdough is waiting for it to cool before slicing. It's absolutely crucial to let your freshly baked loaf cool completely on a wire rack for at least 2-3 hours, or even longer for larger loaves. While the bread is cooling, residual heat continues to cook the interior, a process known as carry-over cooking. Moisture is also redistributing throughout the loaf.
Slicing into a hot loaf too early will result in a gummy, dense, and moist interior, even if the crust is perfect. The steam trapped inside needs time to dissipate and the structure to set. Cutting too soon essentially ruins the texture you worked so hard to achieve. Patience truly is a virtue at this final stage of sourdough baking; resist the temptation to slice until the loaf is cool to the touch.
Slicing Techniques for Sourdough
Once your sourdough bread has cooled completely, it's ready to be sliced and enjoyed. A good quality bread knife with a serrated blade is essential for slicing sourdough, especially through the thick, crispy crust. A sharp knife will slice cleanly without crushing the loaf. Use a gentle sawing motion rather than pressing down hard, which can flatten the bread.
For even slices, you can use a bread slicing guide, though with practice, you'll be able to slice freehand. Start at one end of the loaf and work your way across. The thickness of your slices is a matter of personal preference, whether you prefer thin slices for toast or thick ones for sandwiches. Proper slicing reveals the beautiful crumb structure you've created through careful sourdough baking.
Troubleshooting Common Sourdough Baking Issues
Weak Starter: Identifying and Reviving
A weak or inactive sourdough starter is one of the most common frustrations for new sourdough bakers. Signs of a weak starter include little to no bubbling after feeding, failure to double or triple in size within a predictable timeframe (e.g., 4-8 hours after feeding), or a thin, watery consistency. A healthy, active starter should be bubbly throughout, have a pleasant, slightly tangy aroma, and reliably rise and fall after feeding.
To revive a weak starter, try feeding it more frequently, perhaps twice a day, using a consistent feeding ratio (e.g., 1:1:1 ratio of starter, water, and flour by weight). Ensure you are discarding a significant portion of the starter before each feeding to maintain a manageable volume and provide the microorganisms with fresh "food." Using warm water (around 75-80°F) and good quality organic flour can also help boost activity. Be patient; it might take several consistent feedings over a few days to bring a sluggish starter back to full strength for baking sourdough.
Dough Not Rising: Troubleshooting Sourdough
If your sourdough dough isn't rising during bulk fermentation or proofing, several factors could be the cause. The most likely culprit is an inactive or weak starter (refer to the previous section). If your starter isn't producing enough gas, the dough won't rise. Ensure your starter is vigorous and passes the float test before you begin mixing your dough.
Another common issue is temperature; sourdough ferments optimally within a certain temperature range, typically 75-80°F (24-27°C) for bulk fermentation. If your kitchen is too cold, fermentation will be very slow or stall completely. Try placing the dough in a warmer spot, like inside a turned-off oven with the light on, or in a proofing box.
Other potential issues include insufficient bulk fermentation time (you need to allow the dough enough time to develop and rise) or using chlorinated water which can inhibit microbial activity. Over-proofing is also possible; while the dough might rise initially, it can collapse if left too long, especially in warm conditions. Learning to gauge the dough's readiness by its feel and appearance, not just the clock, is crucial for successful sourdough baking.
Dense or Gummy Bread: Understanding the Causes in Sourdough
A dense or gummy interior crumb is a disappointing outcome in sourdough baking, often indicating that something went wrong during fermentation, shaping, or baking. One primary cause is under-proofing. If the dough hasn't fermented long enough during bulk fermentation or final proofing, it won't have developed sufficient gas to create an open structure. The dough will be dense and heavy. Conversely, severe over-proofing can also lead to a dense crumb because the gluten structure breaks down and cannot support the gas.
Another common reason is slicing the bread before it has cooled completely. As mentioned earlier, cutting into a hot loaf traps moisture, resulting in a gummy texture. Insufficient baking time or temperature can also contribute; the internal temperature needs to reach 205-210°F to ensure the starches are properly set. Weak gluten development due to improper mixing, folding, or using low-protein flour can also lead to a tight, dense crumb that struggles to expand. Ensuring all steps, from starter activity to cooling, are followed correctly is key to avoiding a gummy sourdough loaf.
Storing Your Freshly Baked Sourdough Bread
Best Practices for Keeping Sourdough Fresh
Proper storage is essential to maintain the quality of your homemade sourdough bread. Unlike commercial bread with preservatives, sourdough's natural acidity helps preserve it to some extent, but it will still dry out and eventually mold. The best way to store a whole loaf is at room temperature, wrapped in a linen bread bag or a clean tea towel.
This allows the crust to remain somewhat crisp while protecting the interior from drying out too quickly. Avoid plastic bags for storing a whole loaf at room temperature, as they trap moisture and can soften the crust and encourage mold growth.
If you've already sliced the loaf, the cut side is vulnerable to drying. Store the cut loaf with the cut side down on a cutting board, covered with a tea towel or beeswax wrap. Alternatively, place the cut side against a flat surface in a bread box.
A bread box helps regulate humidity, keeping the crust from getting too hard and the interior from drying out too fast. For slices, you can store them in a sealed container or plastic bag, though this will soften the crust. Aim to consume your sourdough within 3-4 days for the best quality when stored at room temperature.
Freezing Sourdough for Later Use
Freezing is an excellent way to preserve your homemade sourdough bread for longer periods without sacrificing much quality. To freeze a whole loaf, ensure it is completely cooled. Wrap it tightly in plastic wrap, then wrap it again in aluminum foil or place it in a freezer-safe bag. This double layer of protection helps prevent freezer burn. A properly wrapped whole loaf can be frozen for up to 3 months.
For convenience, you can also slice the cooled loaf before freezing. Stack the slices and wrap them tightly in plastic wrap, then foil or a freezer bag. This allows you to take out just a few slices at a time. Frozen sliced sourdough can be quickly toasted from frozen. To thaw a whole loaf, remove all packaging and let it sit at room temperature for several hours. You can refresh a thawed loaf by spritzing it with water and warming it in a moderate oven (350°F/175°C) for 10-15 minutes.
Serving Suggestions for Your Sourdough Bread
Delicious Ways to Enjoy Homemade Sourdough
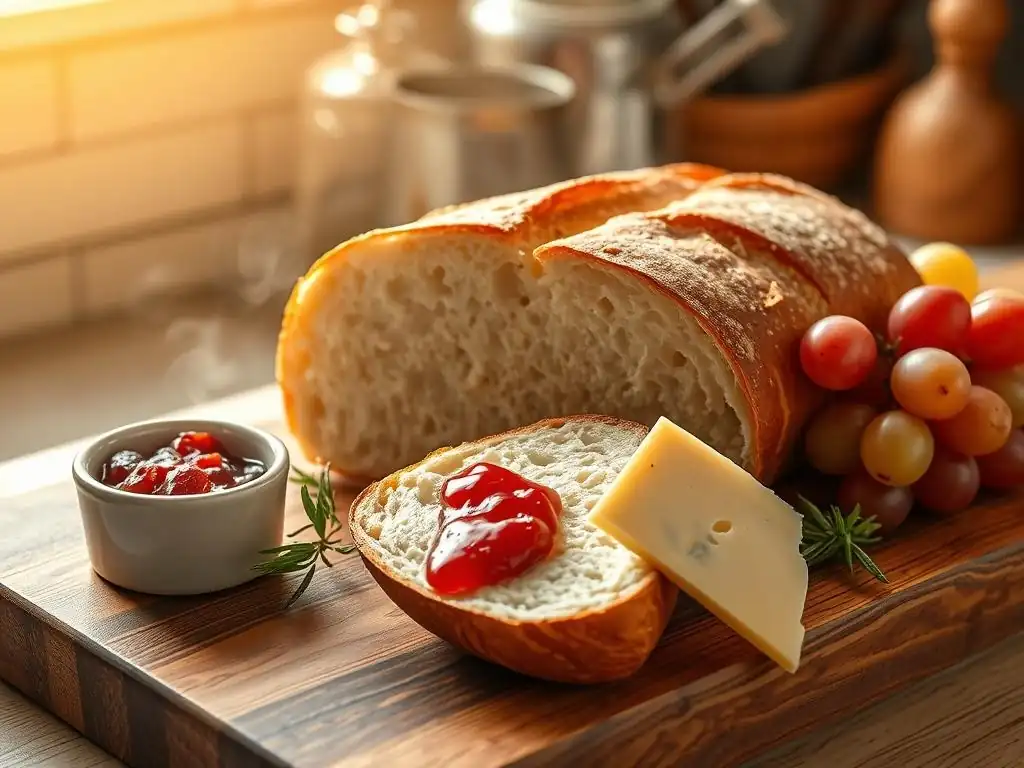
Freshly baked homemade sourdough bread is incredibly versatile and delicious on its own, but it also serves as the perfect base for countless culinary creations. A simple slice toasted and topped with butter is a classic for a reason. For a quick meal, try bruschetta with fresh tomatoes, garlic, basil, and a drizzle of olive oil on grilled sourdough slices. It makes the absolute best base for avocado toast, elevating a simple snack into something special.
Sourdough is also fantastic for sandwiches, offering a sturdy structure and tangy flavor that complements various fillings, from classic deli meats and cheeses to gourmet combinations. Don's forget the simple pleasure of dipping crusty sourdough into olive oil with balsamic vinegar, or using it to sop up sauces from pasta or stews. The tangy notes pair exceptionally well with rich, savory dishes.
Sourdough Recipes: Beyond Bread
The versatility of sourdough extends beyond just slicing and serving the loaf. Stale sourdough can be transformed into delicious dishes. Cubes of dried sourdough make excellent croutons for salads and soups; simply toss them with olive oil and herbs and bake until golden and crispy. Sourdough breadcrumbs, made by pulsing dried bread in a food processor, add a flavorful topping to gratins, casseroles, or breaded cutlets.
Another popular use for slightly stale sourdough is Panzanella, a Tuscan bread salad where stale bread cubes are soaked and mixed with tomatoes, onions, basil, and a vinaigrette. Sourdough also makes a wonderful base for savory bread puddings or stratas. For a sweet twist, try making sourdough French toast; the tangy flavor provides a nice contrast to the sweetness of syrup and fruit. Even discarded sourdough starter can be used in recipes like pancakes, waffles, or crackers, ensuring nothing goes to waste in your sourdough baking journey.
Conclusion: Mastering the Art of Sourdough Baking
Recap of Key Sourdough Baking Tips
Mastering sourdough baking is a journey that involves understanding a few key principles. Firstly, an active and healthy sourdough starter is the foundation of good bread; consistent feeding and observation are crucial. Accuracy in measurement, particularly using a digital scale for flour, water, and starter, ensures consistent results. Patience is paramount throughout the process, especially during bulk fermentation and cold proofing, allowing time for flavor and structure to develop.
Gentle handling and proper shaping techniques are vital for building dough tension and achieving good oven spring. Finally, baking at high temperatures with steam, followed by cooling the loaf completely, are essential steps for that perfect crust and crumb. Don't be discouraged by imperfect loaves; every bake is a learning opportunity. Embrace the process, trust your intuition, and enjoy the journey of creating delicious homemade sourdough.
Continuing Your Bread Baking Journey
Baking your first successful sourdough loaf is a significant achievement, but it's just the beginning of a fulfilling bread baking journey. Once you're comfortable with a basic easy sourdough recipe, you can start experimenting with variations. Try incorporating different types of flour, such as whole wheat, rye, or spelt, to alter the flavor and texture. Adjusting the hydration level can lead to different crumb structures, from tighter to more open and airy.
You can also explore adding inclusions like seeds, nuts, herbs, or dried fruits to your dough. Experiment with different shaping techniques for boules, batards, or even braided loaves. The world of sourdough baking is vast and offers endless possibilities for creativity and exploration. Continue practicing, keep learning from your bakes, and most importantly, enjoy the delicious results of your efforts. Happy baking!
Frequently Asked Questions
What makes this white bread recipe "easy"?
This recipe focuses on simple techniques and readily available ingredients, making it perfect for beginner bakers or those looking for a quick and reliable loaf.
What kind of flour is best for this "Easy white bread recipe"?
All-purpose flour is recommended for this recipe. It provides a good balance of gluten and structure for a soft, yet sturdy loaf of white bread.
How do I know when the dough has risen enough?
The dough should have doubled in size and feel light and airy. Gently poke it; if the indentation slowly fills in, it's ready to bake.
Can I use a stand mixer instead of kneading by hand?
Yes, a stand mixer with a dough hook can be used. Mix until the dough is smooth and elastic, usually around 8-10 minutes on medium speed.
What's the best way to store leftover white bread?
Store the cooled bread in an airtight container at room temperature to maintain its freshness for several days. You can also freeze it for longer storage.
Final Reflection: The Humble Loaf, A Timeless Triumph
The seemingly simple act of baking a loaf of white bread remains surprisingly relevant today, offering a comforting connection to tradition in our fast-paced world. More than just a recipe, mastering basic white bread unlocks a deeper understanding of food production, fostering self-sufficiency and a profound appreciation for the ingredients we consume. It's a skill that transcends generations and connects us to a rich culinary heritage.
The enduring appeal of homemade bread, particularly a perfectly risen white loaf, lies in its ability to evoke feelings of warmth, comfort, and connection. It's a tangible representation of nurturing and care, a stark contrast to the often-processed alternatives found on supermarket shelves. Bread is the staff of life,
a simple phrase that holds immense weight, encapsulating the fundamental role bread plays in sustaining us, both physically and emotionally. The act of baking itself becomes a meditative practice, a quiet moment of creation amidst the chaos of modern life.
Now, consider your own kitchen. Imagine the aroma of freshly baked bread filling your home, the satisfying thud of the loaf as it cools on a wire rack. Don't let the perceived complexity deter you. This article has equipped you with the knowledge and confidence to embark on this rewarding journey. Take the leap, experiment with different flours, add your own unique twist – and discover the joy of creating something truly nourishing, both for your body and your soul. The humble loaf awaits.
Unleash Your Inner Baker: Bake the Perfect Loaf Today!
Thanks for joining us on this bread-baking journey! You’ve now unlocked the secrets to crafting a deliciously simple, yet perfectly satisfying, loaf of white bread. Ready to put your new skills to the test?
- Bake your own loaf today! Use the recipe from this article to create your masterpiece. Note the subtle changes you can make to personalize your bread.
- Share your baking triumph! Post a picture of your freshly baked bread on social media and tag us – we’d love to see it!
- Explore other easy bread recipes on our site to expand your baking horizons.
So, what delicious adventure will your next baking project be?