
Quick Guide to Activating Yeast for GlutenFree Baking

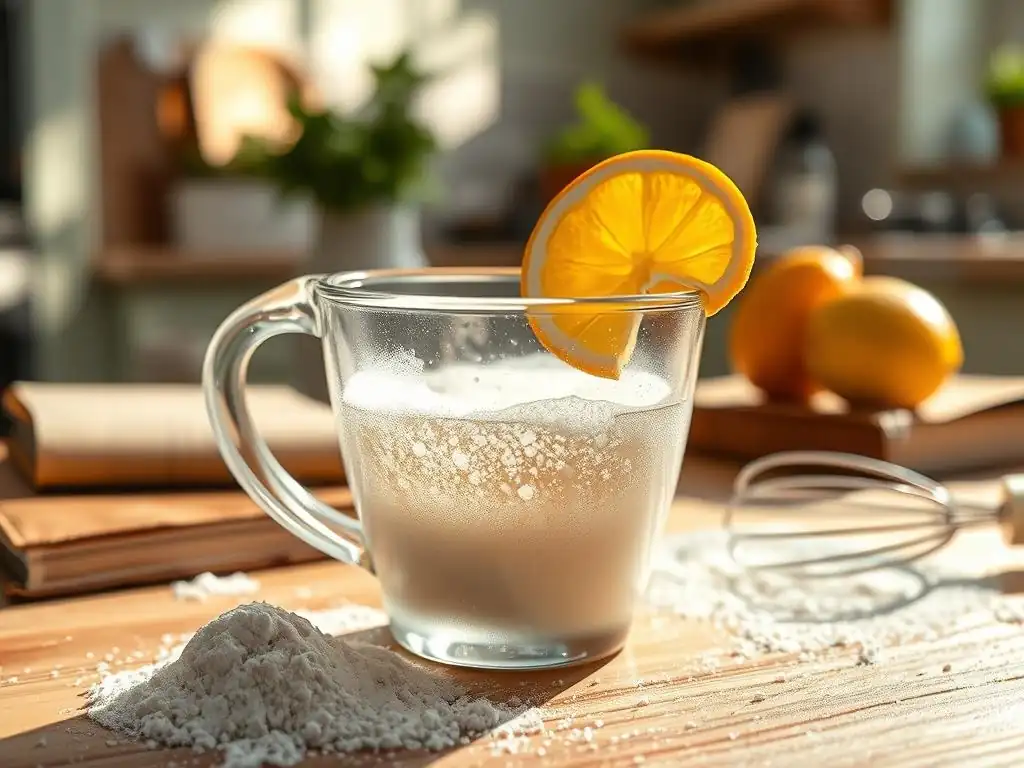
Welcome to BakeWithEase! Ever wondered how to conquer the challenges of gluten-free bread baking? Unlock the secrets to perfect loaves with our guide on how to effectively activate yeast specifically for gluten-free recipes. Discover the crucial steps and techniques that make all the difference, and say goodbye to dense, disappointing results. Ready to rise to the occasion? Let's get baking!
- Introduction: Why Activate Yeast for Gluten-Free Bread?
-
Step-by-Step Guide: Activating Yeast for Gluten-Free Baking Success
- What You'll Need: Ingredients and Equipment for Yeast Activation
- Step 1: Warming the Water to the Correct Temperature
- Step 2: Measuring the Yeast for Gluten-Free Bread
- Step 3: Combining Yeast, Warm Water, and Sugar
- Step 4: Allowing the Yeast to Activate (Proofing)
- Step 5: Checking for Yeast Activity (Signs of Activation)
- Troubleshooting Yeast Activation Issues in Gluten-Free Baking
- Using Activated Yeast in Your Gluten-Free Bread Recipe
- Advanced Tips for Gluten-Free Yeast Baking
- Conclusion: Mastering Yeast Activation for Gluten-Free Baking Ease
-
Frequently Asked Questions
- How is activating yeast different in gluten-free baking compared to traditional baking?
- What is the ideal temperature range for activating yeast in gluten-free recipes?
- Why is sugar often added when activating yeast for gluten-free baking?
- How long should I wait to see if the yeast has been successfully activated?
- What should I do if my yeast doesn't activate, even after 10 minutes?
- Final Reflection: The Tiny Secret to Gluten-Free Baking Success
- Unleash the Power of Your Yeast: Bake Gluten-Free Wonders!
Introduction: Why Activate Yeast for Gluten-Free Bread?
Baking gluten-free bread can sometimes feel like a different ballgame compared to traditional wheat-based baking. Without the gluten network to trap gases produced by yeast, gluten-free doughs rely heavily on the yeast itself to provide lift and structure. This makes understanding and properly executing yeast activation (also known as proofing) absolutely crucial for achieving a light, airy loaf rather than a dense, brick-like result. Correctly activating your yeast ensures it's alive, healthy, and ready to work its magic, producing the carbon dioxide needed for your bread to rise beautifully. It's the essential first step to unlocking successful gluten-free baking.
Taking the time to activate yeast for gluten-free baking is like giving your dough a head start. You're confirming that the tiny microorganisms are awake and active before you mix them into the rest of your ingredients. This simple step eliminates one major variable in the baking process. If your yeast doesn't activate, you know right away that your bread won't rise, saving you time, ingredients, and frustration. It's a small investment of about 5-10 minutes that significantly increases your chances of baking a delicious, well-risen gluten-free loaf.
The Importance of Yeast Activation in Gluten-Free Baking
In traditional baking, the elastic gluten network captures the gas produced by yeast, allowing the dough to stretch and rise. Gluten-free flours, however, lack this protein structure. They often rely on binders like xanthan gum or psyllium husk, but these don't replicate the gluten network perfectly.
Therefore, the leavening power of the yeast must be reliable and robust. Activating the yeast beforehand ensures that the yeast is viable and actively producing gas before being incorporated into the often heavier, denser gluten-free flour mixes. This initial burst of activity is vital for initiating the rise in a dough that might otherwise struggle to lift.
Furthermore, yeast activation allows you to confirm the freshness and viability of your yeast. Yeast is a living organism and can expire or become inactive if stored improperly. By adding warm water and a little sugar, you create an ideal environment for the yeast to "wake up" and feed.
If it foams and bubbles, you know it's alive and ready to leaven your gluten-free bread dough. If it doesn't show signs of life, you've saved yourself the disappointment of a flat loaf and can start over with a fresh packet or jar of yeast. This step is a simple quality control measure that is particularly valuable in gluten-free baking where achieving good rise can be more challenging.
Understanding Instant and Active Dry Yeast for Gluten-Free Recipes
Active dry yeast is granular and typically requires activation (proofing) before being added to other ingredients. This involves dissolving it in warm liquid, usually water, along with a pinch of sugar. The sugar acts as food for the yeast, helping it become active and visible. This method is highly recommended for gluten-free baking, especially for beginners, as it confirms the yeast's viability before you commit to making the whole dough. Observing the yeast "bloom" is a reassuring sign that your leavening agent is ready to perform.
Instant yeast, also known as rapid-rise or quick-rise yeast, is processed differently and has finer granules. It can often be mixed directly into dry ingredients without prior activation. However, for gluten-free baking, even when using instant yeast, many bakers still recommend proofing it first.
This provides the same confidence in the yeast's activity as with active dry yeast. While instant yeast is designed for faster rising times, its success in gluten-free recipes still benefits from the verification step of activation. Always check the package instructions, but be prepared to proof instant yeast for gluten-free bread if desired for peace of mind.
Step-by-Step Guide: Activating Yeast for Gluten-Free Baking Success
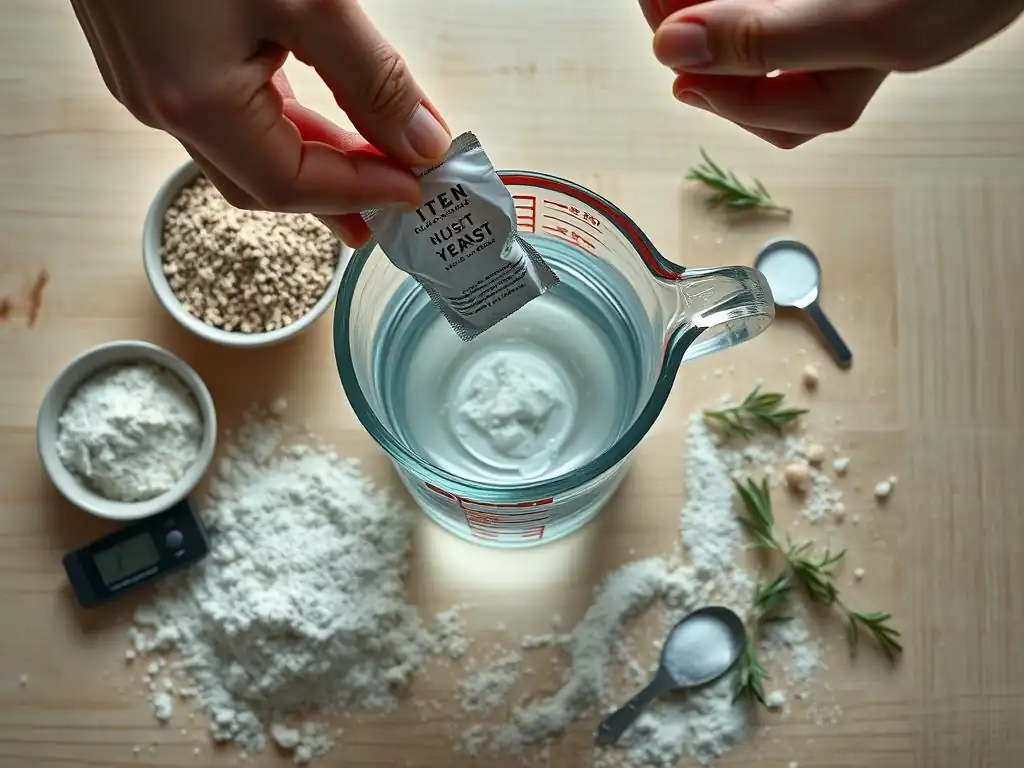
Activating yeast is a straightforward process that takes just a few minutes. Mastering this simple technique is fundamental to successful gluten-free bread baking. Follow these steps to ensure your yeast is perfectly ready to give your gluten-free loaves that much-needed lift.
What You'll Need: Ingredients and Equipment for Yeast Activation
To successfully activate your yeast, you'll need a few basic items. First, you'll need the yeast itself – either active dry or instant yeast. You'll also need warm water; the temperature is critical, typically between 105°F and 115°F (about 40°C to 46°C). A small amount of sugar is also necessary, usually just a teaspoon or two, as it provides food for the yeast to get started. Plain granulated sugar works perfectly.
For equipment, a measuring cup for the water and measuring spoons for the yeast and sugar are essential for accuracy. You'll also need a small bowl or cup to combine the ingredients. A thermometer, preferably an instant-read kitchen thermometer, is highly recommended to accurately check the water temperature. This is perhaps the most crucial piece of equipment for reliable yeast activation.
#### Yeast Activation Checklist:

- [ ] Active Dry or Instant Yeast
- [ ] Warm Water (105°F - 115°F or 40°C - 46°C)
- [ ] Sugar (approx. 1-2 teaspoons)
- [ ] Measuring Cup
- [ ] Measuring Spoons
- [ ] Small Bowl or Cup
- [ ] Kitchen Thermometer (Recommended)
Step 1: Warming the Water to the Correct Temperature
The temperature of the water is arguably the most critical factor when you activate yeast for glutenfree baking. Water that is too cold will not wake up the yeast effectively, resulting in slow or no activation. Water that is too hot, typically above 120°F (around 49°C), can kill the yeast outright, rendering it useless for leavening. The sweet spot for active dry yeast is generally between 105°F and 115°F (40°C-46°C). For instant yeast, slightly cooler temperatures around 100°F (38°C) can also work, but the 105-115°F range is safe for both.
Using a thermometer is the most reliable way to ensure your water is within this ideal range. You can heat the water on the stovetop or in a microwave, then check the temperature before adding the yeast. If you don't have a thermometer, the water should feel warm to the touch, like a warm bath, but not hot. It should not feel cool or lukewarm. Getting this temperature right is fundamental to successful yeast activation and, consequently, to achieving a good rise in your gluten-free bread.
Step 2: Measuring the Yeast for Gluten-Free Bread
Accurate measurement of yeast is important for consistent results in gluten-free baking. Most recipes will specify the amount of yeast needed, often in teaspoons or by the packet. A standard packet of active dry or instant yeast typically contains 2 and 1/4 teaspoons, weighing about 7 grams. If your recipe calls for a specific weight, using a digital kitchen scale is the most accurate method.
When measuring yeast from a jar using measuring spoons, be sure to level off the spoon after scooping to avoid using too much or too little. Using the correct amount of yeast is part of the process to activate yeast glutenfree baking properly. Too little yeast might result in a poor rise, while too much can lead to an overly yeasty flavor and potentially cause the dough to rise too quickly and then collapse. Follow your recipe's specifications closely for the best outcome.
Step 3: Combining Yeast, Warm Water, and Sugar
Once your warm water is at the correct temperature (105°F-115°F or 40°C-46°C), pour it into your small bowl or cup. Add the measured yeast to the warm water. If using active dry yeast, you can often sprinkle it over the surface; it may not dissolve immediately. If using instant yeast, you can also sprinkle it on top or gently stir it in.
Next, add the sugar to the mixture. A teaspoon or two is usually sufficient. Gently stir the mixture briefly, just enough to combine the yeast and sugar with the water. Avoid vigorous whisking, which can introduce too much air initially. The goal is simply to hydrate the yeast and provide it with a readily available food source (the sugar) in a comfortable environment (the warm water) so it can begin to multiply and produce gas. This combination sets the stage for the yeast to activate effectively.
Step 4: Allowing the Yeast to Activate (Proofing)
After combining the yeast, warm water, and sugar, let the mixture sit undisturbed. This resting period is called proofing or activating the yeast. The ideal environment for this is simply leaving the bowl at room temperature, away from drafts or cold spots. Do not cover the bowl tightly; yeast needs air to breathe.
Within a few minutes, typically 5 to 10 minutes, you should start to see visible signs of activity. The mixture should become cloudy, and a foamy layer will begin to form on the surface. This foam is carbon dioxide gas being released by the yeast as it consumes the sugar. Allowing this process to happen fully ensures that the yeast is active and ready to contribute to the rise of your gluten-free bread.
Step 5: Checking for Yeast Activity (Signs of Activation)
The most clear indicator that your yeast has successfully activated is the formation of a foamy, bubbly layer on the surface of the water. This foam should be substantial, covering the entire surface of the liquid. It might even expand slightly, indicating that the yeast is vigorously producing gas.
If, after 10-15 minutes, your mixture shows little to no foam, or just a few scattered bubbles, it's a sign that the yeast is likely dead or inactive. Common reasons for this include using water that was too hot or too cold, or using expired yeast. In this case, it's best to discard the mixture and start over with fresh yeast and carefully check the water temperature. Seeing a healthy, foamy bloom confirms you are ready to proceed with your gluten-free bread recipe.
Troubleshooting Yeast Activation Issues in Gluten-Free Baking
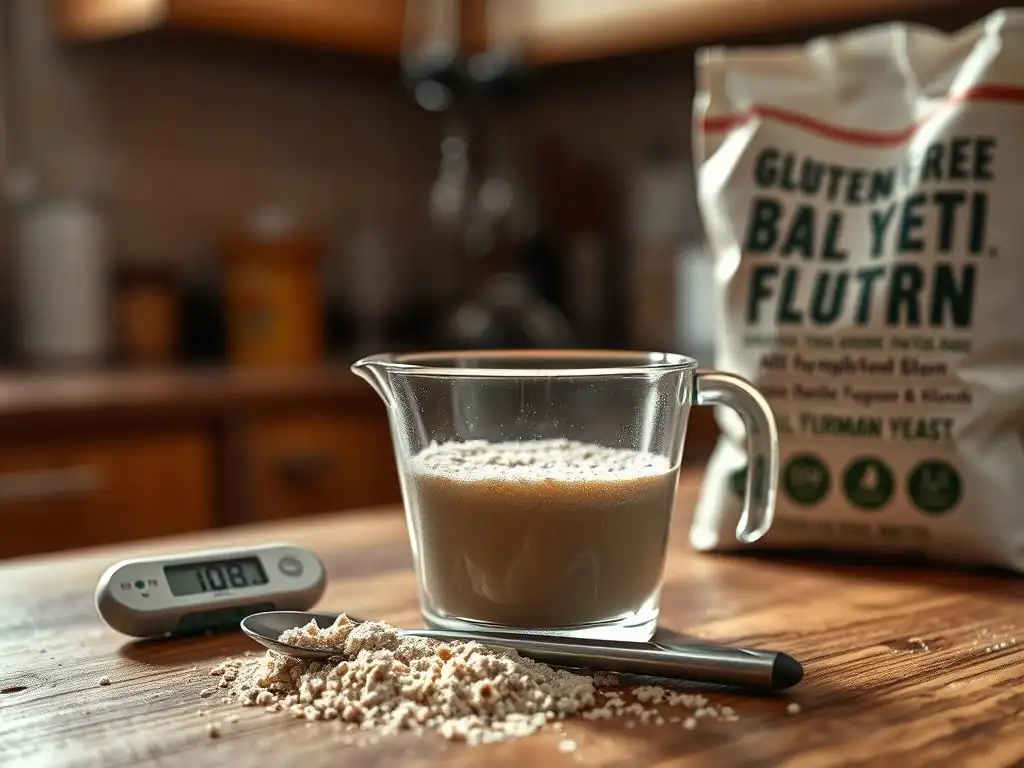
Sometimes, despite following the steps, your yeast might not activate as expected. This can be frustrating, especially when you're eager to bake gluten-free bread. Understanding common problems and their solutions can help you troubleshoot and ensure your next attempt at yeast activation is successful.
Common Problems: Yeast Not Activating
One of the most frequent reasons for yeast failing to activate is incorrect water temperature. Water that is too cold (below 100°F or 38°C) won't awaken the yeast effectively, leading to minimal or no activity. On the other end of the spectrum, water that is too hot (above 120°F or 49°C) can kill the yeast organisms instantly. Yeast is a delicate living organism, and temperature is paramount to its survival and activity.
Another common issue is using old or expired yeast. Yeast has a shelf life, and if it's past its expiration date or hasn't been stored properly (ideally in an airtight container in the refrigerator or freezer), it may lose its viability. Even if the date is current, improper storage can deactivate it. If you've checked your water temperature and it's correct, inactive yeast is the next most likely culprit when trying to activate yeast glutenfree baking.
Solutions: What to Do If Your Yeast Isn't Blooming
If you've waited the recommended 5-10 minutes and your yeast mixture isn't foamy, don't despair! First, double-check the water temperature you used. If you didn't use a thermometer, try again, being more careful about the warmth – aim for warm bathwater temperature. If you did use a thermometer, ensure it's calibrated correctly.
If the temperature was correct, the issue is likely the yeast itself. Discard the current mixture. Open a new packet or jar of yeast, ideally one you know is fresh or has been stored properly. Try the activation process again with the new yeast and accurately measured warm water and sugar. Using fresh, correctly stored yeast is often the simple solution to getting a good bloom and proceeding successfully with your gluten-free bread recipe.
Water Temperature: The Key to Optimal Yeast Activation
As reiterated throughout this guide, water temperature is the single most important factor in successful yeast activation. For active dry yeast, the ideal range is 105°F to 115°F (40°C to 46°C). This temperature range provides a comfortable environment for the dormant yeast cells to rehydrate and begin feeding on the sugar. Think of it as the perfect cozy temperature for them to wake up and get to work.
Using a reliable thermometer is the best way to ensure you hit this target temperature every time. Guessing the temperature can lead to inconsistent results – sometimes it works, sometimes it doesn't. Investing in a simple digital thermometer will pay off in more reliably risen gluten-free loaves. Remember, too cold means slow or no activation, and too hot means dead yeast. Precision here is key to confidently activate yeast glutenfree baking.
Using Activated Yeast in Your Gluten-Free Bread Recipe
Once your yeast has successfully activated and shows a healthy foam, it's ready to be incorporated into your gluten-free bread dough. This bubbly mixture is now a potent leavening agent, eager to make your dough rise.
Incorporating Activated Yeast into Gluten-Free Dough
The activated yeast mixture is typically added along with the other wet ingredients in your gluten-free bread recipe. Follow your recipe's instructions carefully regarding when to add the yeast mixture. Often, it's combined with other liquids like milk (dairy or non-dairy), eggs, oil, or melted butter before being added to the dry ingredients.
Gently mix the wet and dry ingredients together until just combined, then proceed to mix or knead according to your specific gluten-free recipe. Since gluten-free dough doesn't develop gluten like wheat dough, vigorous kneading isn't necessary. The key is to distribute the activated yeast evenly throughout the dough so that the leavening occurs consistently, contributing to a uniform rise and texture in your finished gluten-free loaf.
Adjusting Liquid Ratios Based on Yeast Activation
When you activate yeast for gluten-free baking, you are using a portion of the total liquid required in the recipe (the warm water for proofing). It's important to account for this liquid when adding the remaining wet ingredients. For example, if your recipe calls for 1 and 1/2 cups of liquid total, and you used 1/2 cup of warm water to activate the yeast, you would then add 1 cup of the remaining liquid (milk, etc.) to the dough mixture.
Always ensure the total amount of liquid added to the dough, including the liquid used for yeast activation, matches the amount specified in the recipe. Gluten-free doughs can be very sensitive to hydration levels, and getting the liquid ratio correct is crucial for achieving the right dough consistency and optimal rise after the yeast has done its job.
Advanced Tips for Gluten-Free Yeast Baking
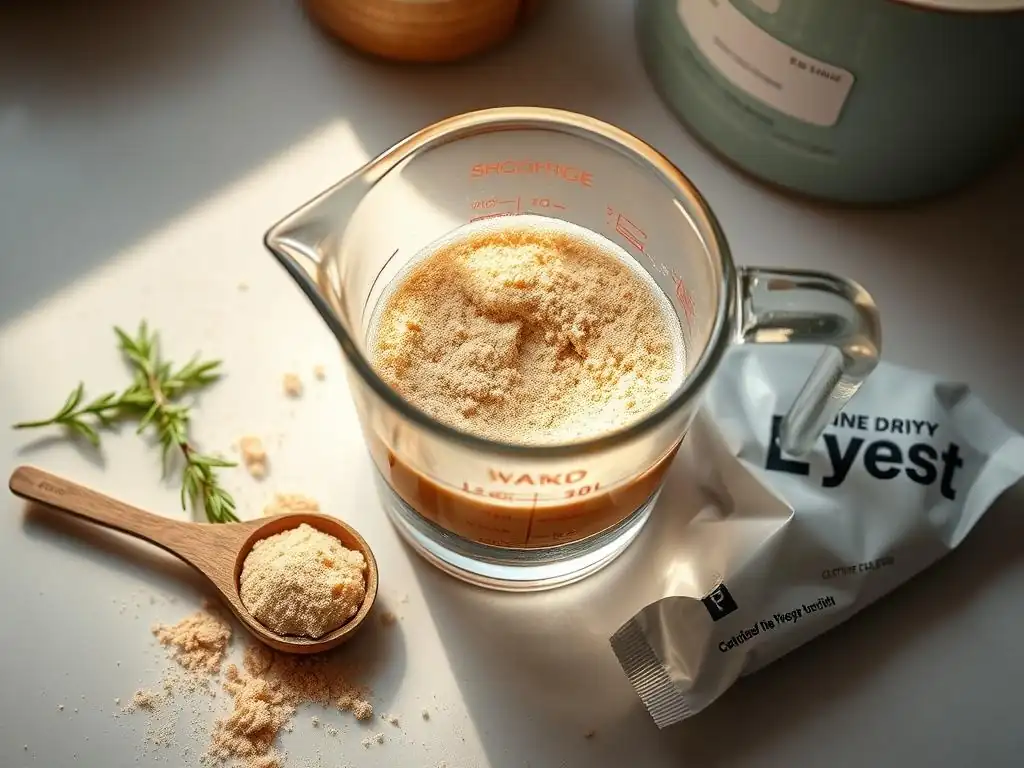
Beyond basic activation, a few advanced techniques can further enhance your gluten-free yeast baking results, adding flavor and improving texture.
Using a Gluten-Free Sourdough Starter for Enhanced Flavor
While activating commercial yeast is a quick method, using a gluten-free sourdough starter is an excellent way to add depth of flavor and improve the texture of your gluten-free bread. A sourdough starter is a living culture of wild yeast and bacteria that ferments the dough slowly. It requires regular feeding and maintenance, but the tangy flavor and unique crumb it imparts are well worth the effort for many bakers.
Incorporating an active gluten-free starter into your recipe can partially or fully replace commercial yeast, depending on the desired outcome and recipe. The fermentation process breaks down some of the starches, potentially making the bread easier to digest for some. While it requires more time and patience than simply activating a packet of yeast, mastering a gluten-free sourdough starter elevates your baking significantly.
<q>Using a gluten-free sourdough starter adds complexity and a delightful tang that's hard to achieve with commercial yeast alone.</q>
Proofing Gluten-Free Dough in a Warm, Humid Environment
After incorporating your activated yeast into the dough and mixing it, the dough needs a warm, humid environment to rise effectively. Unlike wheat dough which might double in size, gluten-free doughs often rise by about 50-75% during the first proofing. A warm environment helps the yeast continue its activity.
A simple way to create a warm, humid environment is to place the dough in a bowl covered loosely with plastic wrap or a damp towel, then place the bowl in a slightly warm, turned-off oven with a pan of hot water on the rack below. The warmth from the water and the residual heat in the oven create the perfect proofing chamber. Aim for a temperature around 75°F to 85°F (24°C to 29°C). This controlled environment encourages the activated yeast glutenfree baking process to proceed optimally, leading to a better final rise and texture.
Conclusion: Mastering Yeast Activation for Gluten-Free Baking Ease
Successfully activating yeast is a foundational skill that dramatically improves your gluten-free bread baking results. It's a simple step that confirms the viability of your leavening agent and gives your dough the best possible start. By understanding the correct water temperature, the signs of successful activation, and how to troubleshoot common issues, you gain confidence and control over your baking process.
Taking the time to activate yeast for gluten-free baking isn't just about getting a good rise; it's about building consistency and reliability into your baking. It removes a key variable, allowing you to focus on other aspects of the recipe, like flour blends and hydration.
Achieving Consistent Results with Activated Yeast
By consistently using the proper technique to activate yeast glutenfree baking, you pave the way for more predictable and satisfying outcomes. Each time you see that healthy, foamy bloom, you know your yeast is alive and ready to work. This consistency is crucial in gluten-free baking, where variables can have a significant impact on the final product.
Mastering this skill means you're less likely to encounter flat, dense loaves due to inactive yeast. It frees you up to experiment with different gluten-free flour combinations, add-ins, and shaping techniques, confident that your leavening is reliable. Prioritize accurate water temperature, use fresh yeast, and always check for that tell-tale foam. This simple practice will elevate your gluten-free baking from hit-or-miss to consistently delicious.
Frequently Asked Questions
How is activating yeast different in gluten-free baking compared to traditional baking?
Gluten-free baking often requires more care when activating yeast. Gluten-free flours lack the protein structure that helps trap gases, so a strong yeast activation is crucial. Also, the water temperature may need to be more precise for optimal results.
What is the ideal temperature range for activating yeast in gluten-free recipes?
The ideal temperature range is typically between 105-115°F (40-46°C). Using water that is too hot can kill the yeast, while water that is too cold will prevent activation.
Why is sugar often added when activating yeast for gluten-free baking?
Sugar provides the yeast with a readily available food source. This helps to boost the yeast's activity and ensure that it is vigorous enough to leaven the gluten-free dough effectively, as gluten-free flours can be less nutritious for yeast.
How long should I wait to see if the yeast has been successfully activated?
Generally, you should wait about 5-10 minutes. If the yeast is active, you should see a foamy layer on top of the water, indicating that the yeast is producing carbon dioxide.
What should I do if my yeast doesn't activate, even after 10 minutes?
If the yeast doesn't activate, it might be old or dead. You'll need to discard the yeast and start again with a fresh batch. Also, ensure that the water temperature is within the recommended range.
Final Reflection: The Tiny Secret to Gluten-Free Baking Success
The ability to successfully activate yeast is no longer a niche skill; it's the cornerstone of achieving consistently light and airy gluten-free bread. Mastering this simple process unlocks a world of delicious possibilities, transforming frustrating baking experiences into triumphs. The seemingly small act of properly activating yeast dramatically impacts the final product, moving from dense, gummy loaves to the fluffy, flavorful bread we all crave.
The impact of reliable yeast activation extends beyond individual kitchens; it empowers the entire gluten-free baking community. It fosters a sense of confidence and control, allowing bakers to experiment with more complex recipes and techniques. This shared knowledge and empowerment is crucial, as many gluten-free bakers feel limited by the challenges of the process. The greatest discovery of all time is that a person can change his future by merely changing his attitude.
– Oprah Winfrey. This quote resonates deeply because a change in attitude – a belief in one's ability to succeed – is often the key to unlocking successful gluten-free baking.
Now, it's your turn. Don't let the fear of yeast activation hold you back from exploring the wonderful world of gluten-free baking. Take the time to practice the techniques outlined in this guide, experiment with different flours and recipes, and most importantly, trust the process. The reward – a perfectly risen, delicious gluten-free loaf – is well worth the effort. Embrace the challenge, and discover the joy of baking your own gluten-free bread.
Unleash the Power of Your Yeast: Bake Gluten-Free Wonders!
Thanks for taking the time to learn about activating yeast for perfect gluten-free baking! We hope you now feel confident tackling those delicious, fluffy gluten-free recipes you've always dreamed of. Ready to put your newfound knowledge into action?
- Bake your dream gluten-free loaf: Try a new recipe today – even a simple one – and see the difference proper yeast activation makes! Record your results and share your experience!
- Experiment with different yeast strains: See how different yeast types affect the rise and flavor of your bread. What subtle differences do you discover?
- Share your baking triumphs (and even your “oops” moments!) with our community on our social media pages. Let's learn from each other!
So, what amazing gluten-free creation will you bake first?