
The Secret to a Crispy Bottom and Perfectly Chewy Edge

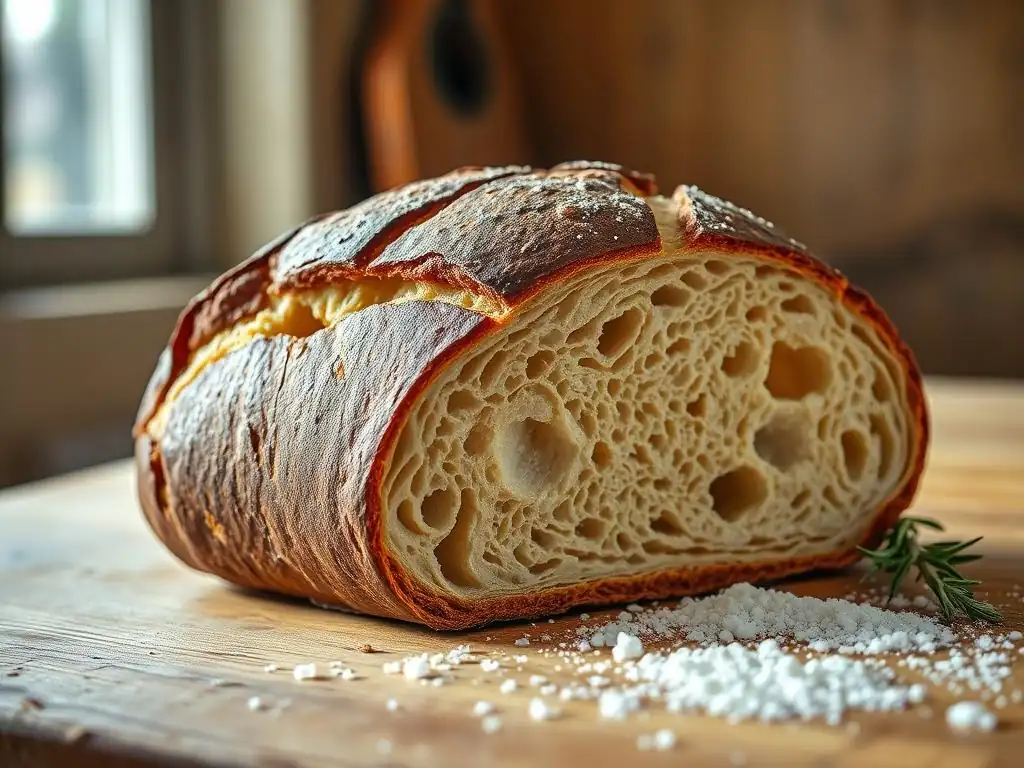
Welcome to BakeWithEase, where baking dreams become delicious reality! Ever wonder how to achieve that perfectly elusive crispy bottom and chewy interior in your homemade bread? Unlock the secrets in our latest guide, designed to transform your loaf from ordinary to extraordinary. Prepare to be amazed as we reveal the techniques and tips that will have everyone asking for your recipe. Let's get baking!
- The Secret to a Crispy Bottom and Perfectly Chewy Edge: Advanced Pizza Dough Techniques
- Introduction: Mastering the Crispy Bottom Chewy Edge Pizza Dough
- Understanding the Science Behind Crispy Bottom and Chewy Crust
- Advanced Techniques for a Crispy Bottom Pizza
- Achieving the Perfect Chewy Edge: Dough Handling and Fermentation
- Recipe: Crispy Bottom, Chewy Edge Pizza Dough (BakeWithEase Exclusive)
- Troubleshooting: Common Issues and Solutions for Pizza Dough
- Beyond the Basics: Experimenting with Flavors and Toppings
- Conclusion: Your Journey to Crispy Bottom Chewy Bread Mastery
-
Frequently Asked Questions
- What's the most important factor in achieving a crispy bottom on my bread?
- How does steam contribute to a crispy bottom and chewy interior?
- What type of dough hydration levels are best for a crispy bottom chewy bread?
- Can I achieve a crispy bottom chewy bread without specialized equipment like a Dutch oven?
- How does cooling the bread affect the crust and crumb texture?
- Final Reflection: The Enduring Allure of the Perfect Loaf
- Unlock Your Perfect Pie Crust: It's Easier Than You Think!
The Secret to a Crispy Bottom and Perfectly Chewy Edge: Advanced Pizza Dough Techniques
Introduction: Mastering the Crispy Bottom Chewy Edge Pizza Dough
BakeWithEase's Guide to Pizza Perfection: Achieving the Ultimate Texture
Achieving the perfect pizza crust is the holy grail for many home bakers. It's a delicate balance – you want a base that's sturdy enough to hold your toppings without becoming soggy, offering a satisfying crisp when you bite into it, while the edge, or cornicione, should be airy, light, and delightfully chewy. This combination is what defines truly exceptional pizza, often referred to as the ideal crispy bottom chewy bread.
It’s more than just mixing flour and water; it involves understanding the science and applying specific techniques honed over years of baking tradition. At BakeWithEase, we believe this level of pizza perfection is entirely within your reach.
This guide delves into the advanced methods that elevate your pizza dough from good to extraordinary. We'll explore the fundamental principles governing dough texture – hydration, gluten development, and the critical role of heat – and then layer in specific techniques. Whether you're battling a perpetually soggy bottom or a dense, uninspiring crust, we'll provide actionable insights. Mastering the crispy bottom chewy bread texture transforms your homemade pizza experience, bringing a touch of the pizzeria right into your kitchen with BakeWithEase's friendly, step-by-step approach.
Understanding the Science Behind Crispy Bottom and Chewy Crust
The Role of Hydration in Pizza Dough Texture
Hydration, the ratio of water to flour in your dough, is a fundamental factor determining its final texture. A higher hydration percentage (more water relative to flour) generally leads to a more open, airy crumb and contributes to chewiness. For a typical Neapolitan-style dough aiming for a crispy bottom chewy bread, hydration often ranges from 60% to 70%. Dough at 60% hydration is easier to handle and results in a slightly denser crumb, while dough at 70% hydration is stickier but yields a lighter, more open structure in the crust.
The water in the dough serves multiple purposes. It activates the gluten-forming proteins, allows yeast to work, and crucially, it turns into steam during baking. This steam helps the dough puff up rapidly in the hot oven (oven spring). As baking continues, the water evaporates from the crust. In a high-temperature oven, the rapid evaporation from the bottom surface, coupled with direct heat transfer from a baking stone or steel, is key to developing that sought-after crispy bottom. The residual moisture within the thicker parts of the crust helps maintain chewiness.
Gluten Development: The Key to a Chewy Interior
Gluten, formed when the proteins gliadin and glutenin in flour combine with water and are developed through kneading or time, is the structural backbone of your pizza dough. A well-developed gluten network is essential for trapping the gases produced by yeast, allowing the dough to rise and create the airy, chewy interior of the crust. Without sufficient gluten development, the dough will be weak, won't hold its shape well, and will result in a dense, flat crust rather than a light and chewy one.
Developing gluten can be achieved through mechanical kneading (by hand or stand mixer) or through time, particularly during long, slow fermentation periods like cold fermentation. Kneading aligns the protein strands, forming a strong, elastic network. For a dough that can achieve a crispy bottom chewy bread, aiming for a moderate to strong gluten development is important. Over-kneading can make the dough tough, while under-kneading will leave it weak and unable to support the desired airy structure in the edge.
The Impact of Oven Temperature on Crust Crispiness
High heat is absolutely critical for achieving a crispy bottom and a properly cooked crust with a chewy edge. Professional pizza ovens often reach temperatures exceeding 900°F (480°C), cooking a pizza in 60-90 seconds. While home ovens typically max out around 500-550°F (260-290°C), maximizing your oven's temperature is vital. The intense heat causes rapid oven spring, quickly setting the crust structure. More importantly for the bottom, it facilitates rapid heat transfer from your baking surface.
When the dough hits a screaming hot stone or steel, the water at the interface instantly turns to steam and is driven out, while the direct, high heat causes the starches on the bottom to gelatinize and then crisp up through the Maillard reaction and caramelization. Baking at a lower temperature will result in a longer bake time, allowing more moisture to migrate from the dough into the base before it has a chance to crisp, leading to a soggy bottom.
A temperature of at least 500°F (260°C) is generally recommended in a home oven for the best crispy bottom chewy bread results.
Advanced Techniques for a Crispy Bottom Pizza
Preheating Your Baking Stone or Steel for Maximum Heat Transfer
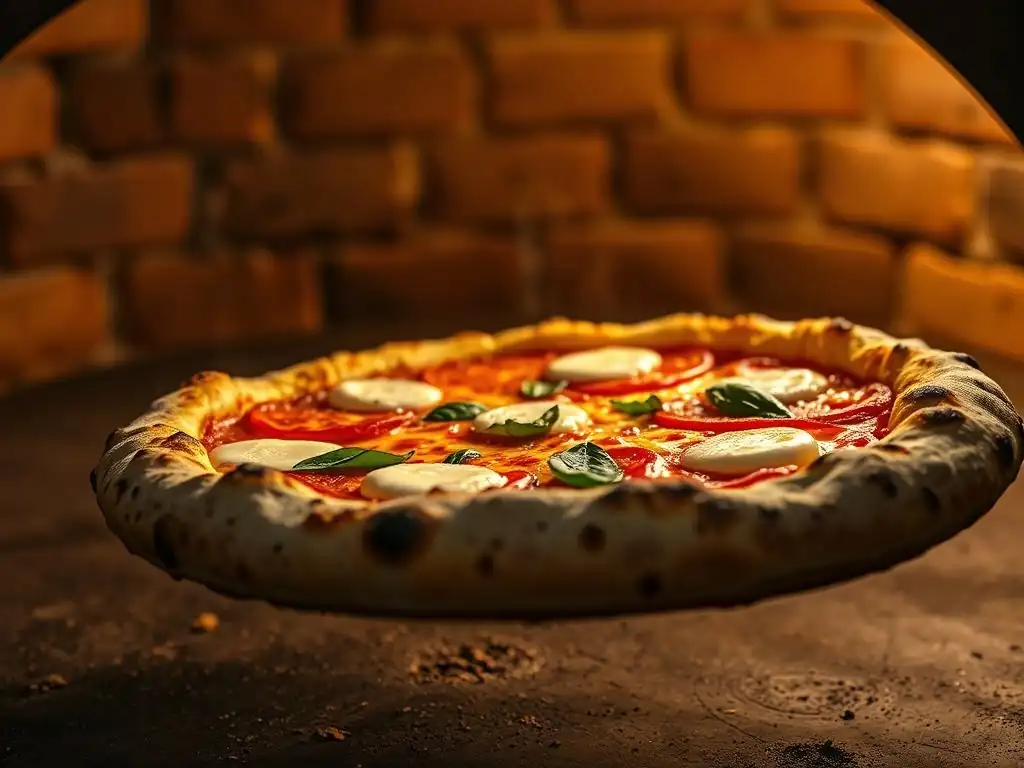
One of the most impactful techniques for achieving a crispy bottom is ensuring your baking surface is incredibly hot before the pizza goes on. A pizza stone or, even better, a pizza steel acts as a thermal mass, absorbing and retaining a significant amount of heat from the oven. When the dough is placed on this hot surface, heat is rapidly transferred directly into the base, initiating the crucial processes needed for crisping. Simply placing the stone or steel in a cold oven and waiting for the oven's air temperature to reach its setting isn't enough.
To maximize heat transfer, you need to preheat your stone or steel for a substantial amount of time after the oven reaches its set temperature. For most home ovens maxed out at 500-550°F (260-290°C), this means leaving the stone or steel inside for at least 45 to 60 minutes, or even longer if possible. This ensures the surface itself is saturated with heat, ready to deliver that intense thermal shock to the dough that creates the crispy bottom chewy bread texture you desire. A pizza steel conducts heat more efficiently than stone, often providing an even crispier base.
The Importance of Dough Thickness for Crispy Results
The thickness of your stretched pizza dough directly impacts how quickly and effectively the bottom crisps up. A thicker dough center will take longer for heat to penetrate and moisture to evaporate, increasing the risk of a soggy bottom before the edges and top are cooked. Conversely, a dough stretched thin enough allows for rapid heat transfer from the baking surface, quickly driving out moisture and crisping the base before the rest of the pizza overcooks.
For a truly crispy bottom, aim to stretch the dough relatively thin in the center, while leaving a slightly thicker rim for the chewy edge. Think of a Neapolitan or New York style – thin in the middle, puffy and airy on the edge. This contrast in thickness is fundamental to achieving the dual texture of crispy bottom chewy bread. Avoid uniform thickness across the entire base; the difference between the thin center and the thicker edge is key to textural variation.
Using Semolina or Cornmeal for a Non-Stick, Crispy Base
A common technique used by pizzerias and home bakers alike is dusting the pizza peel with semolina flour or cornmeal before placing the stretched dough on it. This serves a practical purpose – it acts like tiny ball bearings, allowing the raw dough to slide smoothly off the peel onto the hot baking stone or steel. However, it also contributes positively to the crispy bottom texture.
As the pizza bakes, these small grains of semolina or cornmeal toast on the hot surface beneath the dough. They add a subtle crunch and prevent the dough from sticking, allowing steam to escape more easily from the bottom surface, further aiding in crisp development. Using fine semolina ("semola rimacinata") is often preferred as it provides excellent non-stick properties without adding too much noticeable grit to the final crispy bottom chewy bread.
Achieving the Perfect Chewy Edge: Dough Handling and Fermentation
Cold Fermentation: Developing Complex Flavors and a Chewy Texture
Cold fermentation involves proofing your pizza dough in the refrigerator for an extended period, typically 24 to 72 hours, or even longer. This slow, cool environment significantly impacts both the flavor and texture of the final crust. At lower temperatures, yeast activity is dramatically slowed, which delays the dough's rise. However, other enzymatic processes continue to work. Amylase enzymes break down complex starches into simpler sugars, enhancing flavor and promoting better browning during baking.
Crucially for chewiness, the slow fermentation allows the gluten network to relax and strengthen gradually without the dough becoming over-proofed and losing its structure. The longer fermentation time helps develop a more robust and extensible gluten structure, which is essential for trapping the gases that create the airy pockets in the crust's edge during oven spring. This results in a more complex, flavorful dough with a superior chewy texture, contributing significantly to the ideal crispy bottom chewy bread profile.
Gentle Stretching and Shaping Techniques to Preserve Air Pockets
Once your dough has undergone its long fermentation and is ready to be shaped, handling it correctly is paramount to preserving the structure needed for a chewy edge. The airy pockets in the rim are created by the carbon dioxide produced during fermentation. Aggressively pressing or rolling the edge will deflate these precious bubbles, resulting in a dense, flat crust instead of a light, airy, chewy one.
Instead of rolling, focus on stretching the dough gently by hand. Start by pressing the air from the center outwards, leaving a small rim untouched. Then, lift the dough and let gravity help stretch it, or use techniques like the "slap and fold" if the dough is very wet, being careful not to compress the edge. The goal is to stretch the center thin while leaving the gases trapped in the rim intact. This gentle approach is key to ensuring a puffy, chewy cornicione complementing the crispy bottom chewy bread base.
The Windowpane Test: Ensuring Optimal Gluten Development
The windowpane test is a classic method used by bakers to assess whether gluten has been sufficiently developed in dough. It's a simple but effective indicator that the gluten network is strong and elastic enough to support a good rise and structure, which translates directly into a better crumb and chewiness in your pizza crust. Performing this test helps you avoid both under-kneading (weak dough) and over-kneading (tough dough).
To perform the test, take a small piece of dough, about the size of a golf ball. Gently stretch it with your fingers, rotating and pulling the edges outwards. If the dough can be stretched thin enough to see light through it – forming a translucent "windowpane" – without tearing easily, the gluten is well-developed. If it tears quickly, it needs more kneading or a short rest period (autolyse) followed by more kneading. Achieving this stage ensures the dough has the strength and elasticity for that perfect crispy bottom chewy bread texture.
Recipe: Crispy Bottom, Chewy Edge Pizza Dough (BakeWithEase Exclusive)
Ingredients for the Perfect Pizza Dough
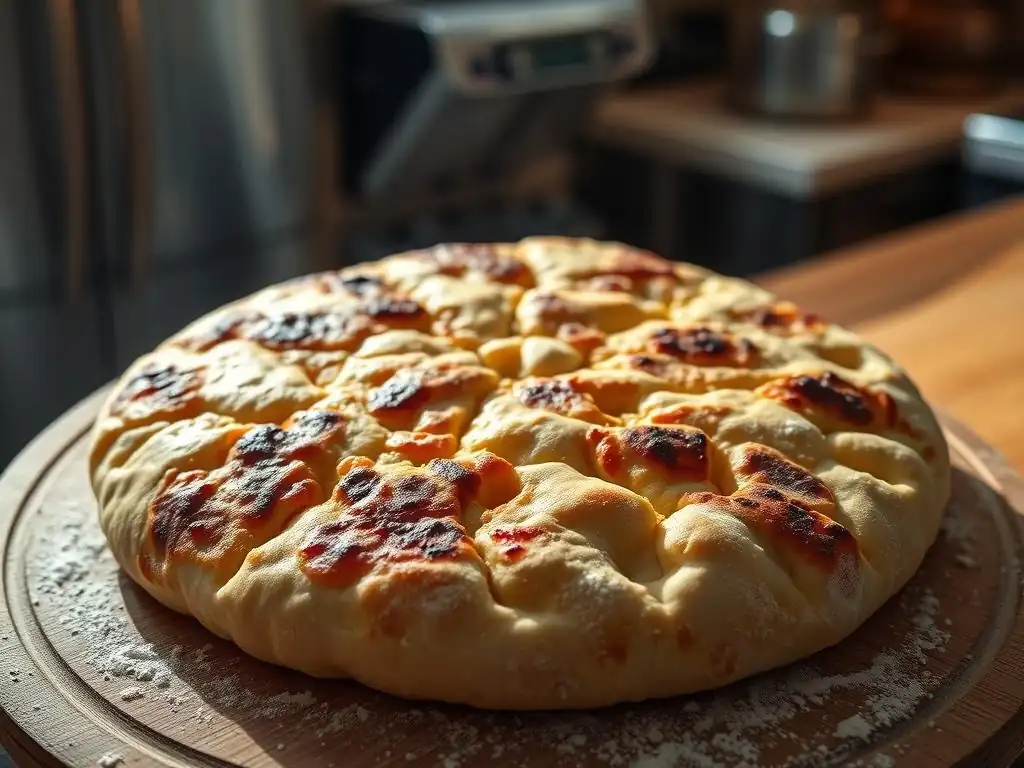
Crafting the ideal crispy bottom chewy bread starts with the right ingredients, measured precisely. For this BakeWithEase recipe, we emphasize using a high-quality bread flour or Italian "00" flour due to its high protein content (typically 12-14%), which is essential for developing a strong gluten network. Water quantity is also critical – we'll use a hydration level around 65% for a dough that's manageable yet yields excellent chewiness.
Here are the ingredients by weight, which provides the most consistent results:
- 500 grams (approx 4 cups) Bread Flour or "00" Flour
- 325 grams (approx 1 1/3 cups) Cool Water (around 60-65°F / 15-18°C)
- 10 grams (approx 1.5 teaspoons) Fine Sea Salt
- 1 gram (approx 1/4 teaspoon) Instant Dry Yeast (for cold fermentation)
Using cool water helps control the initial fermentation rate, which is beneficial before the cold fermentation step. The salt not only adds flavor but also helps regulate yeast activity and strengthens the gluten structure. This specific ratio is designed to provide a dough foundation perfect for developing the desired crispy bottom chewy bread characteristics.
Step-by-Step Instructions for Mixing, Kneading, and Proofing
- Combine Ingredients: In a large mixing bowl or the bowl of a stand mixer, whisk together the flour and instant yeast. In a separate container, dissolve the salt in the cool water.
- Mix: Pour the salted water into the dry ingredients. Mix with a spoon or the dough hook attachment on low speed until a shaggy dough forms and no dry flour remains. This stage takes about 1-2 minutes.
- Autolyse (Optional but Recommended): Cover the bowl and let the dough rest for 20-30 minutes. This "autolyse" period allows the flour to fully hydrate and gluten development to begin without kneading, leading to a more extensible dough and a better crispy bottom chewy bread crumb.
- Knead: After the rest, knead the dough. If using a stand mixer, knead on medium-low speed for 8-10 minutes until the dough is smooth, elastic, and passes the windowpane test. If kneading by hand, turn the dough out onto a lightly floured surface and knead for 10-15 minutes using techniques like stretch and fold or slap and fold until smooth and elastic.
- Bulk Fermentation (Initial): Form the dough into a ball, place it in a lightly oiled bowl, and cover tightly with plastic wrap. Let it sit at room temperature for 1-2 hours, or until it has slightly increased in volume (about 20-30%). This gives the yeast a head start before refrigeration.
- Cold Fermentation: Transfer the covered bowl to the refrigerator. Let the dough cold ferment for at least 24 hours, and ideally 48-72 hours. This slow fermentation is crucial for developing flavor and the chewy texture in your crispy bottom chewy bread.
- Divide and Shape: About 2-3 hours before you plan to bake, remove the dough from the refrigerator. Gently turn it out onto a lightly floured surface. Divide the dough into 2 or 3 equal portions (depending on desired pizza size). Gently shape each portion into a smooth ball, being careful not to degas it completely.
- Second Proofing (Bench Rest): Place the dough balls on a lightly floured surface or in individual proofing containers. Cover them loosely with plastic wrap or a damp towel. Let them rest at room temperature for 2-3 hours. They should relax and become puffy and easy to stretch.
Baking Instructions: Achieving the Ideal Crispy Bottom and Chewy Edge
Baking is where the magic happens, transforming your carefully prepared dough into the perfect crispy bottom chewy bread. This requires high heat and proper technique for transferring the pizza.
- Preheat Oven and Stone/Steel: Place your pizza stone or steel on the middle rack of your oven (or lower if your oven has a heating element on the bottom). Preheat the oven to its highest possible temperature, ideally 500-550°F (260-290°C). Let it preheat for a minimum of 45-60 minutes after the oven reaches temperature to ensure the stone/steel is saturated with heat.
- Prepare Your Peel: Lightly dust a pizza peel (or the back of a baking sheet) with semolina flour or cornmeal.
- Shape the Pizza: Take one dough ball and gently stretch it by hand on your lightly floured surface or directly on the prepared peel. Start from the center and work outwards, leaving the rim slightly thicker. Aim for a size appropriate for your stone/steel.
- Add Toppings: Quickly add your sauce, cheese, and toppings. Be mindful not to overload the pizza, especially with wet ingredients, as this can lead to a soggy bottom.
- Transfer to Oven: Give the peel a little shake to ensure the pizza isn't sticking. Open the hot oven and carefully slide the pizza off the peel onto the preheated stone or steel.
- Bake: Bake for 6-10 minutes. The exact time will vary depending on your oven temperature, dough thickness, and toppings. Watch for visual cues: the crust should be puffed up and golden brown, the cheese should be melted and bubbly, and the bottom should be visibly browned and crispy when you lift an edge with a spatula.
- Cool Slightly: Use the peel to remove the pizza from the oven. Transfer it to a cutting board or wire rack. Let it rest for a minute or two before slicing. This brief rest allows the crust to set slightly and prevents toppings from sliding off. Enjoy your perfectly baked crispy bottom chewy bread!
Troubleshooting: Common Issues and Solutions for Pizza Dough
Soggy Bottom: Identifying and Preventing Moisture Issues
A soggy bottom is a common frustration when aiming for crispy bottom chewy bread, and it's usually a moisture management problem. The primary culprits include insufficient oven temperature or preheating time, leading to slow baking where moisture can't escape quickly from the base. Another major cause is overloading the pizza with too much sauce, fresh mozzarella (which releases a lot of water), or watery vegetables.
To prevent a soggy bottom, ensure your oven and baking stone/steel are preheated at the highest temperature for at least 45-60 minutes. Stretch the dough thin in the center to facilitate faster heat transfer and moisture evaporation. Be judicious with sauce and wet toppings – drain fresh mozzarella or pat down watery vegetables like zucchini or mushrooms. For extra insurance, you can slightly par-bake the crust for 2-3 minutes before adding toppings, creating a moisture barrier, though this is less common for achieving a truly crispy bottom chewy bread compared to maximizing heat.
Tough or Dense Crust: Correcting Gluten Over-Development
If your pizza crust turns out tough or overly dense instead of airy and chewy, it often points to issues with gluten development or handling. Over-kneading the dough can create an overly tight gluten network that results in a tough texture. Conversely, not giving the dough enough rest time between handling steps (like after dividing or shaping) can leave the gluten too tense, preventing it from relaxing and expanding properly during proofing and baking.
To correct this, pay attention during the kneading stage; stop once the dough is smooth and passes the windowpane test, avoiding excessive kneading. Allow sufficient rest periods – a 10-15 minute bench rest after dividing the dough balls helps the gluten relax before the final shaping. Handle the dough gently when stretching, especially the rim, to preserve the air pockets essential for a chewy edge. Ensuring adequate hydration in your dough also contributes to a more tender, less tough crust.
Uneven Baking: Ensuring Consistent Heat Distribution
Sometimes, one part of your pizza crust might be perfectly golden and crispy while another remains pale or undercooked. This is typically due to uneven heat distribution in your oven or improper placement of your baking surface. Home ovens often have hot spots, and heat may be more intense towards the back or sides.
To promote even baking and ensure a consistent crispy bottom chewy bread, make sure your pizza stone or steel is centered on the oven rack. If your oven has a strong heating element on the bottom, placing the stone/steel on a lower rack can help direct intense heat towards the base. If you notice one side is cooking faster, carefully rotate the pizza halfway through the baking time using your peel. Observing your oven's specific tendencies over time will help you anticipate and counteract uneven heating for future bakes.
Beyond the Basics: Experimenting with Flavors and Toppings
Infusing Your Dough with Herbs and Spices
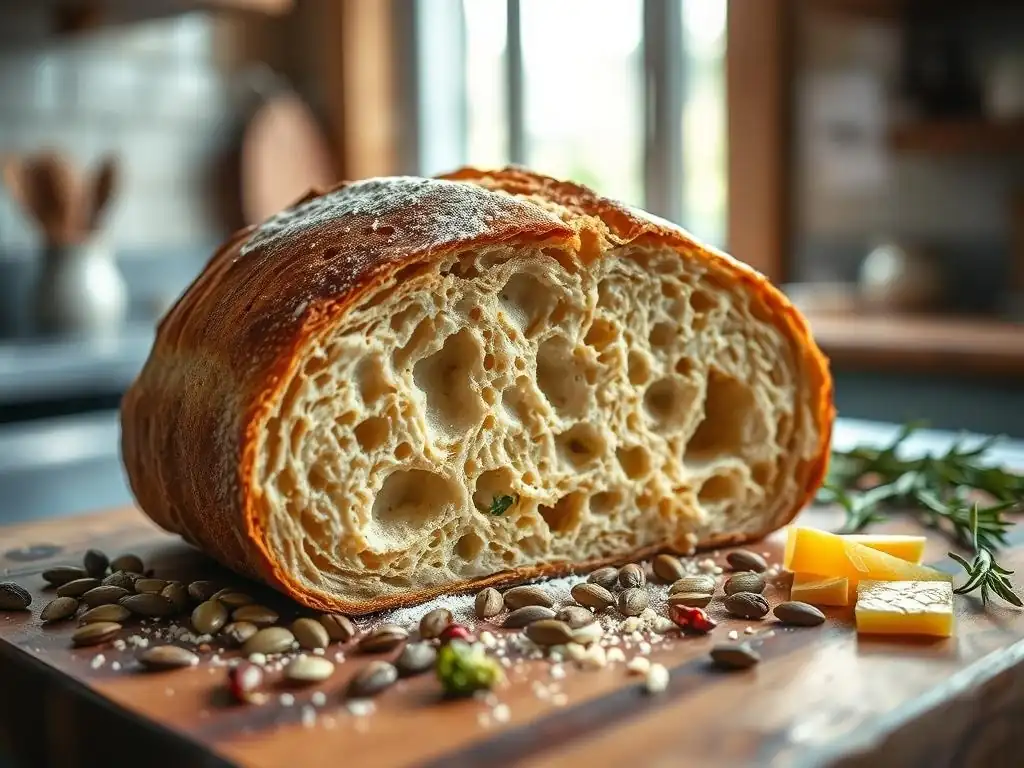
While a classic pizza dough is simple, you can add subtle layers of flavor directly into your crispy bottom chewy bread base by incorporating dried herbs and spices. This is a fantastic way to complement your toppings and add an extra dimension to every bite. Dried oregano, basil, rosemary, garlic powder, or onion powder are excellent choices that pair well with most pizza toppings.
You can add these ingredients during the initial mixing stage with the flour. Start with conservative amounts, perhaps 1-2 teaspoons of dried herbs or 1/2 teaspoon of garlic/onion powder per 500g of flour, and adjust in future batches based on your preference. The flavors will meld with the dough during the long fermentation, resulting in a wonderfully aromatic crust that enhances the overall crispy bottom chewy bread experience. Consider combinations like rosemary and garlic for a white pizza base, or oregano and basil for a traditional red sauce pizza.
Creating Unique Flavor Combinations with Toppings
Once you've mastered the art of the crispy bottom chewy bread, the world of toppings opens up endless possibilities for culinary creativity. Moving beyond pepperoni and mushrooms allows you to explore sophisticated and delicious flavor pairings. Think about balancing textures and tastes – salty cured meats with sweet caramelized onions, creamy cheeses with acidic tomatoes, or spicy elements with cooling components.
Consider unique combinations like fig jam with prosciutto and arugula, roasted butternut squash with sage and goat cheese, or spicy nduja sausage with burrata. The key is to not overwhelm the perfect base you've created. Use high-quality ingredients and arrange them thoughtfully to ensure even cooking and prevent excess moisture. Experimenting with different cheeses beyond standard mozzarella, like provolone, fontina, or even a sprinkle of parmesan after baking, can also dramatically change the flavor profile of your crispy bottom chewy bread pizza.
BakeWithEase's Top Pizza Topping Recommendations
Based on our experience crafting delicious homemade pizzas, here are a few topping combinations that truly shine when paired with a crispy bottom chewy bread crust:
- Spicy Salami & Hot Honey: The salty, slightly spicy salami crisps beautifully, while a drizzle of hot honey after baking adds a sweet and fiery counterpoint that's unexpectedly addictive. Pair with a simple tomato sauce and fresh mozzarella.
- Roasted Red Pepper & Goat Cheese: Roasting red peppers brings out their sweetness. Combine this with tangy goat cheese and a sprinkle of fresh thyme on an olive oil base (no tomato sauce) for a vibrant, flavorful vegetarian option that doesn't add excessive moisture.
- Prosciutto & Arugula: Bake the pizza with tomato sauce and mozzarella. Immediately after it comes out of the oven, top with thinly sliced prosciutto and a generous pile of fresh arugula dressed lightly with olive oil and lemon juice. The heat wilts the prosciutto slightly and allows the fresh, peppery greens to contrast with the rich cheese and crispy bottom chewy bread.
These combinations highlight how thoughtful topping choices can complement the texture and flavor of your expertly crafted crispy bottom chewy bread base, turning a simple meal into a gourmet experience.
Conclusion: Your Journey to Crispy Bottom Chewy Bread Mastery
BakeWithEase: Your Resource for Baking Success
Embarking on the journey to master crispy bottom chewy bread is a rewarding endeavor. It requires patience, attention to detail, and a willingness to learn from each bake. We've covered the essential scientific principles – the delicate dance of hydration and gluten, the transformative power of high heat – and layered in advanced techniques like cold fermentation, careful handling, and maximizing your oven's potential with a preheated stone or steel.
Remember, achieving that perfect crispy bottom chewy bread texture is an ongoing process. Each oven is different, each flour behaves uniquely, and even humidity can play a role. Don't be discouraged by imperfections; see them as opportunities to refine your technique.
By applying the principles and methods discussed in this BakeWithEase guide, you are well on your way to consistently producing pizzas that boast a wonderfully crispy base and a delightfully chewy edge. Continue exploring recipes, experimenting with techniques, and trusting the process. BakeWithEase is here to support your baking adventures every step of the way, helping you turn your kitchen into a haven for delicious, expertly crafted crispy bottom chewy bread and beyond.
Frequently Asked Questions
What's the most important factor in achieving a crispy bottom on my bread?
The most important factor is ensuring sufficient heat at the bottom of the oven. This can be achieved using a baking stone or Dutch oven.
How does steam contribute to a crispy bottom and chewy interior?
Steam early in the baking process helps keep the crust moist and pliable, allowing for maximum oven spring and a chewy interior. Later, the lack of steam allows the crust to dry out and crisp.
What type of dough hydration levels are best for a crispy bottom chewy bread?
Higher hydration doughs, typically around 70-80%, are generally preferred. The extra water creates more steam during baking, contributing to both a crispy crust and a chewy crumb.
Can I achieve a crispy bottom chewy bread without specialized equipment like a Dutch oven?
Yes, you can! Using a baking stone and introducing steam into the oven by placing a tray of hot water on the bottom rack can produce similar results.
How does cooling the bread affect the crust and crumb texture?
Allowing the bread to cool completely on a wire rack is crucial. This allows excess moisture to escape, preventing a soggy bottom and ensuring the chewy interior sets properly.
Final Reflection: The Enduring Allure of the Perfect Loaf
The quest for the perfect crust—that magical combination of a shatteringly crisp bottom and a delightfully chewy edge—is more than just a culinary pursuit; it's a reflection of our innate desire for perfection and the satisfaction of mastering a craft. This seemingly simple goal, as explored throughout this article, reveals a surprising depth of knowledge, encompassing everything from flour selection and hydration levels to baking techniques and oven mastery. The pursuit of this ideal continues to resonate deeply within the baking community and beyond.
The impact of achieving that perfect crust transcends the simple act of eating bread. It's a testament to patience, precision, and the rewarding feeling of transforming humble ingredients into something truly special. It's a connection to generations past, a shared experience across cultures, and a symbol of comfort and nourishment. As the renowned baker, Jim Lahey, once said, Bread baking is a journey, not a destination. Each loaf is a lesson, each crust a testament to your progress.
This sentiment perfectly captures the ongoing learning and refinement involved in this seemingly simple process.
Now, consider your own baking journey. What have you learned from the techniques discussed here? Perhaps it's time to experiment with different flours, adjust your hydration, or even invest in a new baking stone. Don't be afraid to embrace the imperfections; they are part of the process. The next time you pull a loaf from the oven, take a moment to appreciate the crisp bottom, the chewy edge, and the journey it took to get there. The reward is not just a delicious piece of bread, but a deeper understanding of yourself and the transformative power of baking.
Unlock Your Perfect Pie Crust: It's Easier Than You Think!
Thanks for taking the time to explore the secrets to a flawlessly delicious pie crust! We hope you gained valuable insights into achieving that perfect balance of crisp and chewy. Now it's time to put your new knowledge to the test!
- Bake your dream pie: Choose your favorite filling and put your newfound crust-making skills into action! Experiment with different flours or fats to see what works best for you.
- Share your masterpiece: Post a picture of your creation on social media and tag us – we'd love to see your baking success! #BakeWithEase #PerfectPieCrust
- Consider trying a new pie filling you've never baked before. Challenge yourself!
Ready to experience the joy of a perfectly baked pie? What unique twist will you add to your next crust?