
Perfectly Uniform Cookies? It's Easy with SliceandBake!

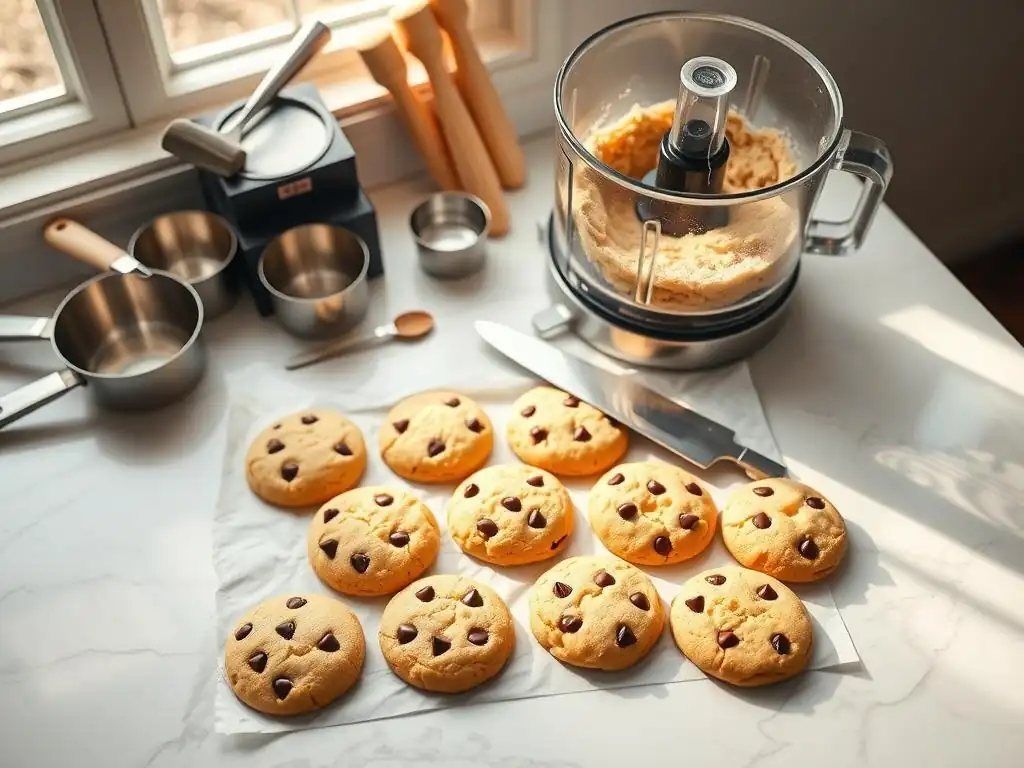
Welcome to BakeWithEase, where the joy of baking meets simplicity! Are you ready to elevate your baking skills and impress your friends and family with perfectly uniform cookies? In our latest article, we dive into the essential techniques that will transform your cookie-making experience with the innovative Slice-and-Bake method. Whether you're a novice baker or looking to refine your craft, our easy-to-follow guides will have you whipping up delightful treats in no time. So grab your apron and get ready to explore the sweet world of baking—your next culinary adventure awaits!
- BakeWithEase Presents: Mastering Uniform Cookies with Slice-and-Bake
- Why Slice-and-Bake is the Key to Uniform Cookies Baking
- Essential Tools for Uniform Slice-and-Ease Cookies
- Slice-and-Bake Cookie Dough Preparation: The Foundation of Uniformity
- Achieving Perfectly Uniform Cookie Slices: A Step-by-Step Guide
- Baking Uniform Slice-and-Bake Cookies: Tips and Tricks
- Troubleshooting: Common Slice-and-Bake Cookie Problems and Solutions
- Creative Slice-and-Bake Cookie Variations: Beyond the Basics
- Conclusion: Enjoy Perfectly Uniform Cookies, Baked with Ease!
-
Frequently Asked Questions
- How does the SliceandBake method contribute to uniform cookies?
- What are the key advantages of using SliceandBake for uniform cookies?
- What types of cookie dough are best suited for uniform SliceandBake cookies?
- Can I freeze SliceandBake cookie dough for uniform cookies later?
- What are some tips for achieving uniform slices when using the SliceandBake method?
- Final Reflection: The Enduring Allure of Perfectly Uniform Cookies
- Unleash Your Inner Cookie Connoisseur!
Welcome to the world of baking, where precision often leads to perfection! One common goal for many home bakers is achieving perfectly uniform cookies. We've all seen those beautiful cookie platters where every cookie looks like it was stamped from the same mold – consistent in size, shape, and color. While many methods can lead to delicious cookies, achieving that coveted uniformity can sometimes feel like a challenge, especially for beginners. This is where the humble slice-and-bake technique shines.
Slice-and-bake cookies are not just convenient; they are a fantastic method for mastering uniform cookies baking techniques right from the start. By preparing the dough in advance, shaping it into a log, chilling it thoroughly, and then simply slicing and baking, you eliminate many potential variables that can lead to inconsistent results. This method builds a foundation of predictable outcomes, making it easier to troubleshoot and refine your uniform cookies baking techniques over time. It's a simple approach that yields impressive consistency with minimal fuss.
The primary reason slice-and-bake excels at producing uniform cookies is the inherent control it gives you over thickness. When you roll dough into a log and chill it, you're creating a solid, manageable form. Slicing this log allows you to cut each cookie to virtually the same thickness, slice after slice. Imagine cutting a log that's been chilled firm: a sharp knife glides through, creating discs that are consistently, say, a quarter-inch thick. This level of control is much harder to achieve when rolling out dough freehand and using cookie cutters, where dough thickness can vary across the sheet.
This consistent thickness is a secret weapon for achieving uniform cookies baking techniques. When every cookie on the baking sheet starts at the same height, they are exposed to the oven's heat in the exact same way. A cookie that's slightly thicker will take longer to bake through and may remain pale in the center while thinner cookies brown around the edges. Conversely, a thinner cookie will bake faster, potentially burning before its thicker neighbors are done. With slice-and-bake, you set the stage for even baking simply by ensuring uniform thickness before the cookies even hit the oven rack.
Say Goodbye to Uneven Baking: Slice-and-Bake Advantages
Beyond just consistent thickness, the slice-and-bake method offers several advantages that contribute to uniform results. Because the dough is chilled and firm, the cookies hold their shape better during the initial stages of baking. This means less spreading if the dough is properly formulated and chilled, leading to cookies that maintain a similar diameter and shape as they bake. Unlike drop cookies, which can spread unpredictably depending on dough consistency and heat, slice-and-bake cookies tend to expand more evenly.
Furthermore, the ability to pre-portion the cookies ensures that each one contains roughly the same amount of dough. This mass consistency, combined with uniform thickness and shape retention, means that when placed on a baking sheet with adequate spacing, each cookie receives similar radiant and convective heat. This minimizes the risk of some cookies being perfectly golden while others are still pale or already burnt. It's a simple system that builds reliability into your uniform cookies baking techniques.
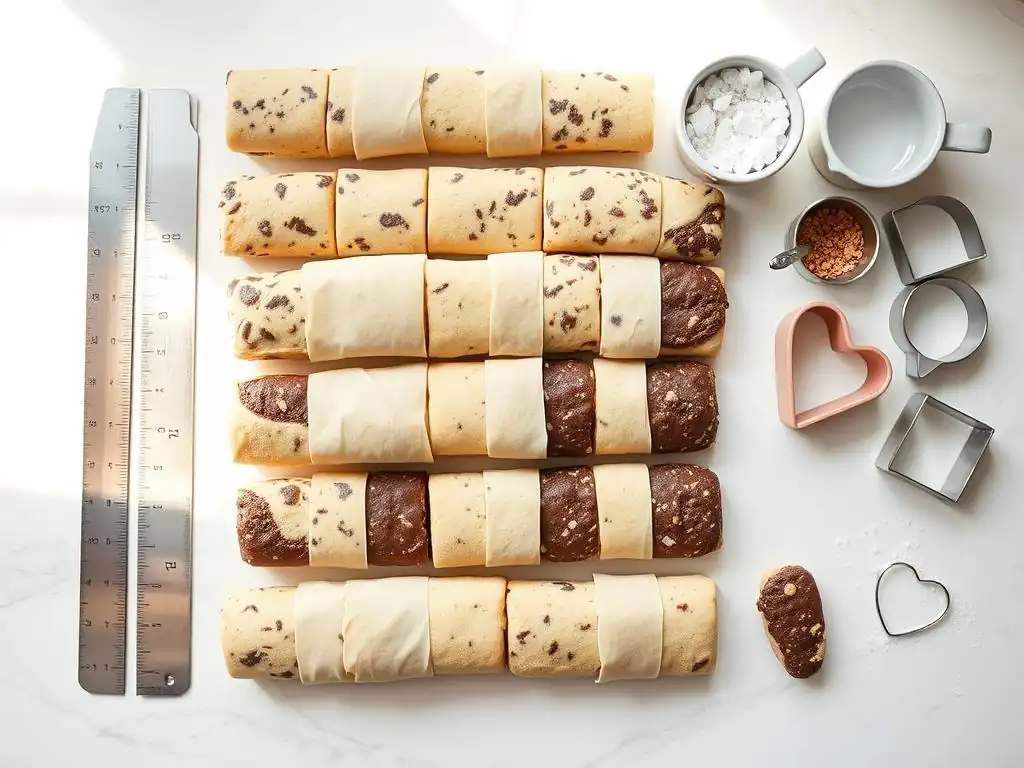
Getting that perfectly round or square log is the first step to uniform slices. While simple parchment paper and your hands are often enough, a few tools can make the process even easier and more consistent.
Parchment Paper or Plastic Wrap for Easy Rolling
Parchment paper or plastic wrap are indispensable for shaping your cookie dough log. Once the dough is mixed, you can turn it out onto a large sheet of parchment paper or plastic wrap. Use the edge of the paper or wrap to help guide and compress the dough as you roll it into a cylindrical shape.
This method prevents the dough from sticking to your hands or the counter and allows you to apply even pressure along the length of the log, ensuring a uniform diameter from end to end. A log that's thicker in the middle than the ends will inevitably lead to slices of varying sizes and thicknesses.
Cookie Dough Log Molds: Achieving Perfect Cylinders
For those seeking ultimate precision in their uniform cookies baking techniques, specialized cookie dough log molds are available. These are typically plastic or silicone tubes or forms that you press the dough into. They come in various shapes, like perfect circles, squares, or even stars, ensuring a consistently shaped log every time. Using a mold guarantees that your log has perfectly straight sides and a consistent cross-section, removing much of the guesswork from the shaping process and setting you up for flawlessly uniform slices down the line.
Once your dough log is perfectly chilled and firm, the next critical step for uniform cookies is slicing. The tool you use here makes a significant difference.
A Sharp, Thin Knife is Crucial
The most important tool for slicing is a sharp knife with a thin blade. A sharp blade cuts cleanly through the cold, firm dough without dragging or distorting the shape of the log. A thin blade is preferable because it displaces less dough as it cuts, resulting in a cleaner slice and less chance of squishing the cookie shape.
A chef's knife or a sharp utility knife works well. Avoid using serrated knives, which can tear the dough, or dull knives, which require more pressure and can flatten the log. A clean, decisive cut is key to maintaining the uniform dimensions you worked so hard to achieve.
Using a Dough Scraper for Clean Cuts
While a sharp knife is essential, a bench scraper (or dough scraper) can also be a useful tool, especially for slicing square or rectangular logs. Its straight, rigid edge allows you to make very clean, perpendicular cuts. For round logs, some bakers find it helpful to use the scraper to gently guide the knife or to clean up any dough sticking to the blade between slices. A dough scraper can help ensure that your cuts are perfectly straight and evenly spaced, further contributing to the uniformity of your cookies.
Making the Dough: Consistent Ingredients for Consistent Results
The journey to uniform cookies begins with the dough itself. Using precise measurements for your ingredients is non-negotiable. Flour, sugar, butter, and leavening agents must be measured accurately, ideally by weight for the most consistent outcome. Variations in ingredient ratios can significantly impact the dough's texture, firmness when chilled, and how much it spreads during baking. For instance, too much butter can lead to excessive spreading, while too much flour can result in a dry, crumbly dough that's hard to shape uniformly.
Ensuring your butter is at the correct temperature (usually room temperature, unless the recipe specifies otherwise) is also vital. Properly creamed butter and sugar create the necessary structure and aeration. Mixing the dough until just combined after adding dry ingredients prevents over-developing the gluten, which could make the dough tough or cause uneven spreading. A consistently made dough is the fundamental building block for achieving reliable uniform cookies baking techniques.
Shaping the Dough Log: Techniques for a Perfectly Round Roll
Once your dough is ready, shaping it into a log is where uniformity really starts taking shape. The goal is a log with a consistent diameter and smooth sides, free of bulges or flat spots.
Rolling Techniques for Uniform Diameter
Turn the dough out onto parchment paper or plastic wrap. If making a round log, gently gather the dough and begin to roll it back and forth, using the paper or wrap to help tighten the roll. Apply even pressure across the length of the log, working from the center outwards. Aim for a consistent diameter along the entire length, typically between 1.5 to 2.5 inches (about 4-6 cm), depending on your desired cookie size. Keep rolling and gently shaping until the log is smooth and uniform.
Preventing Flat Sides and Maintaining Roundness
A common issue is the log developing a flat side while chilling. To prevent this, especially if you're not using a mold, rotate the log every 15-20 minutes during the first hour of chilling. This helps gravity work in your favor, keeping the log round as it firms up. Alternatively, you can use a V-shaped trough made from aluminum foil or place the log in the corner of your refrigerator shelf to help support its round shape as it chills. A perfectly round, firm log is essential for cutting perfectly round, uniform cookies.
Chilling isn't just a suggestion; it's a critical step for achieving uniform cookies with the slice-and-bake method. Cold dough is firm dough, and firm dough is easy to slice cleanly and consistently.
How Chilling Affects Cookie Spread
Chilling significantly impacts how much your cookies spread in the oven. Cold butter in the dough melts more slowly than room-temperature butter. This slower melting process allows the cookie's structure to set before the butter has completely liquefied, resulting in less spread and thicker, more uniform cookies. Dough that isn't sufficiently chilled will likely spread too much, leading to thin, irregular shapes that bake unevenly. A minimum of 1-2 hours of chilling is usually recommended, but overnight chilling is often ideal for the firmest log and best slicing results.
Optimal Chilling Time for Slice-and-Bake
The optimal chilling time can vary depending on the recipe, the size of the log, and the temperature of your refrigerator. As a general rule, chill the log until it is very firm, almost hard. For a typical 2-inch diameter log, this might take 2 hours. For larger logs, it could take 3-4 hours or more.
You should be able to slice it without the dough crumbling or squishing. If the dough is too hard to slice easily, let it sit at room temperature for just a few minutes to soften slightly before cutting. Experimentation will help you determine the perfect chilling time for your specific recipe and refrigerator.
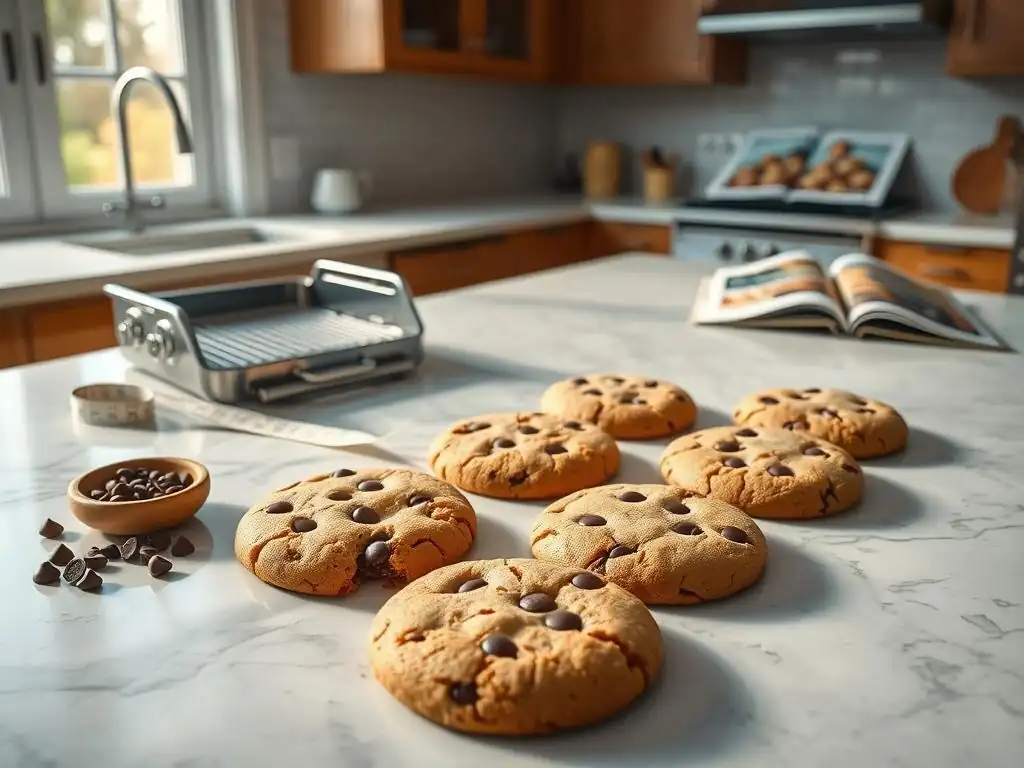
Slicing Technique: The Art of Consistency
Once your dough log is perfectly chilled, the slicing begins. This step requires a steady hand and attention to detail to maintain the uniformity you've built so far.
Maintaining Even Pressure
Place the chilled log on a stable cutting surface. Using your sharp, thin knife, apply even, downward pressure to slice through the log. Avoid using a sawing motion, which can result in uneven thickness and ragged edges. Let the sharpness of the knife do the work. Hold the log steady with one hand (keeping fingers safely out of the way!) while using the other hand to make clean, decisive cuts. Aim for a smooth, single stroke if possible. Consistent pressure ensures each slice is uniform in thickness.
Consistent Slice Thickness: Aiming for Perfection
The key to perfectly uniform cookies is consistent slice thickness. Most recipes call for slices about 1/4 to 1/3 inch thick (roughly 6-8 mm). You can eyeball this after a few practice slices, or for extra precision, you can lightly mark the log with a ruler before you start cutting. Some bakers even use guiding tools, like placing two pencils parallel to the log to rest the knife against, ensuring every slice is the same height. Whatever method you choose, consistency is paramount for achieving reliable uniform cookies baking techniques.
How you arrange your uniformly sliced cookies on the baking sheet is the final step before they go into the oven. Proper spacing is crucial for even baking and preventing them from merging.
Preventing Cookies from Merging
Even uniform cookies will spread slightly in the oven. If they are placed too close together, they will bake into each other, resulting in misshapen edges and potentially uneven browning where they touch. Leave adequate space between each cookie. A good rule of thumb is to leave at least 1.5 to 2 inches (about 4-5 cm) between cookies, and also between the cookies and the edge of the baking sheet. This allows hot air to circulate freely around each cookie, promoting even heat distribution.
Cookie Size and Spacing
The required spacing depends slightly on the size of your cookies and the recipe's expected spread. Thinner cookies or recipes known for spreading more might require slightly wider spacing, perhaps up to 2.5 inches (6 cm). For standard 2-inch diameter logs sliced 1/4 inch thick, 1.5 to 2 inches of space is usually sufficient. Using parchment paper or a silicone baking mat on your baking sheet is also recommended, as it prevents sticking and helps the cookies maintain their shape as they spread slightly.
Oven Temperature and Baking Time for Uniform Doneness
Baking is where the magic happens, and precise temperature and time are essential for uniform results. Always preheat your oven thoroughly to the temperature specified in the recipe, typically between 325°F and 375°F (160°C and 190°C). An oven that hasn't reached the correct temperature will bake cookies inconsistently. It's also highly recommended to use an oven thermometer to verify your oven's actual temperature, as many home ovens can be off by 25°F or more.
Baking Time by Oven Type
Baking times are always approximate because ovens vary. A convection oven, which circulates air, will typically bake cookies faster and often more evenly than a conventional oven. If using a convection setting, you may need to reduce the temperature by 25°F (15°C) or shorten the baking time. Conventional ovens often have hot spots; rotating your baking sheet halfway through the baking time can help ensure all cookies on the sheet bake at the same rate, contributing to uniform cookies baking techniques.
Even with uniform slices and proper spacing, monitoring your cookies as they bake is crucial. Look through the oven door (avoid opening it too early!) for signs of doneness. Uniformly baked cookies will show even browning around the edges and often a slight golden color across the top.
Signs of Over-Baking and Under-Baking
Over-baked cookies will have dark brown edges and bottoms and may taste dry or burnt. Under-baked cookies will look pale, especially in the center, and may feel soft or doughy when gently nudged. For most slice-and-bake cookies, you're looking for that perfect golden halo. If you notice some cookies on the sheet are browning faster than others, it could indicate hot spots in your oven, reinforcing the need to rotate the tray. Removing the cookies from the oven just as the edges turn golden is key to achieving that ideal texture and appearance.
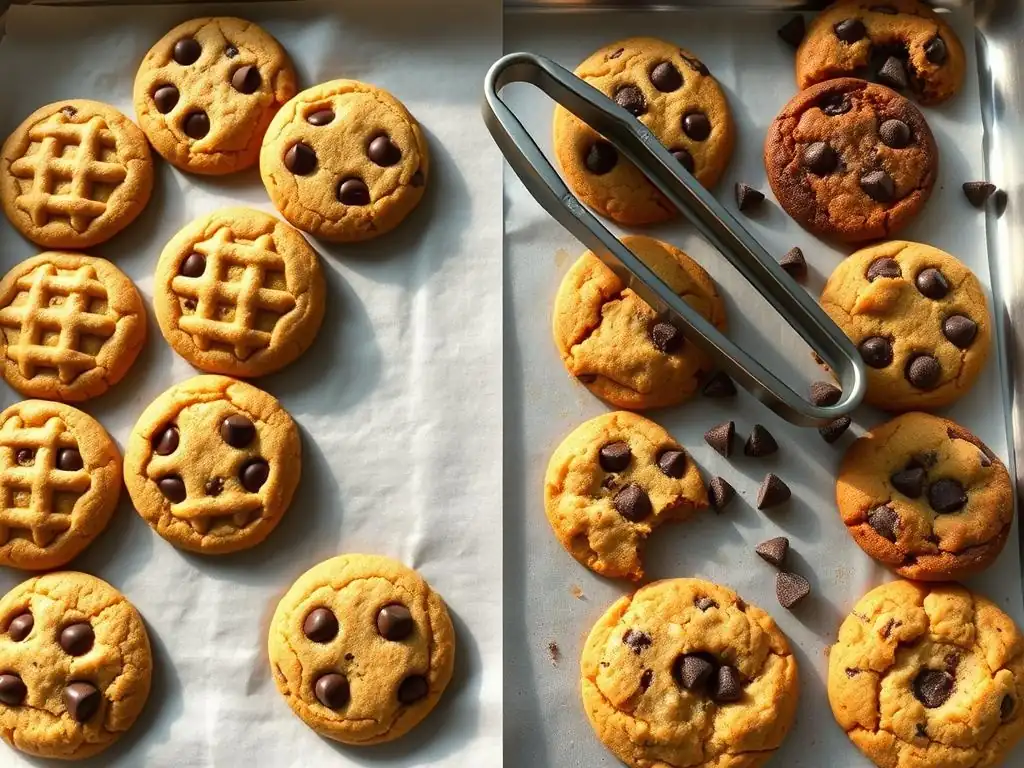
Dough Too Soft: Adjusting for Warmer Temperatures
If your dough is too soft even after chilling, it's likely due to a warm kitchen environment or a recipe with a high fat content. This makes slicing difficult, resulting in squished, non-uniform shapes.
- Solution: Return the dough log to the freezer for 15-30 minutes until very firm, then try slicing again immediately. Work quickly. If the problem persists, the recipe might need a slight adjustment, such as adding a tablespoon or two more flour, especially in humid climates. Ensure your butter wasn't overly soft when you started.
Uneven Slices: Sharpening Your Knife Skills
Cutting slices of varying thickness or with ragged edges is a common issue that directly impacts uniformity.
- Solution: Ensure your knife is razor sharp and has a thin blade. Use a clean, downward pressing motion rather than sawing. Practice making consistent marks on the log before cutting, or use physical guides like pencils. If the dough warms up and becomes difficult to slice cleanly, stop and return it to the refrigerator or freezer to re-chill before continuing.
Cookies that spread into thin, irregular puddles instead of holding their shape are often a sign of insufficient chilling or an imbalance in the dough ingredients.
- Solution: Make sure your dough log is thoroughly chilled for at least 2 hours, or preferably longer, until very firm. Ensure you are baking on a cool baking sheet (don't place dough on a hot sheet from a previous batch). If the issue persists across multiple batches despite proper chilling and technique, the recipe may have too much butter or not enough flour. Try reducing the butter by a tablespoon or adding an extra tablespoon of flour to the dough mixture next time. Baking at a slightly higher temperature (e.g., 375°F instead of 350°F) for a shorter time can also sometimes help limit spread.
Slice-and-bake dough isn't just for classic sugar cookies. It's a versatile base for countless uniform cookies baking techniques and flavor combinations.
Adding Decorations Before Baking
One easy way to add flair is by decorating the log before slicing and baking. Roll the outside of the chilled log in sprinkles, colored sugar, chopped nuts, or even finely crushed cookies before slicing. The pressure of slicing helps press the decorations firmly into the dough, ensuring they stick during baking. This creates beautiful, festive edges on every single cookie, adding visual uniformity as well as delicious texture.
Exploring Different Flavors and Mix-Ins
The base dough can be flavored with extracts like almond, lemon, or even maple. Finely chopped add-ins can also be incorporated into the dough before shaping the log.
Chocolate Chip Swirls
For a chocolate chip variation, prepare a portion of the dough as plain and another portion mixed with mini chocolate chips. Roll the plain dough into a rectangle, then spread the chocolate chip dough over it. Roll the entire thing into a log from the long side to create a swirl effect when sliced.
Holiday Sprinkles
Instead of rolling the log in sprinkles, mix festive nonpareils or jimmies directly into the dough before shaping. The chilling process helps prevent the colors from bleeding excessively, and the uniform distribution within the dough ensures every cookie slice is studded with cheer. Just be mindful that some sprinkles can melt or change color at high temperatures, so choose heat-stable varieties if possible.
Mastering uniform cookies baking techniques doesn't have to be intimidating. The slice-and-bake method simplifies the process, providing consistent results time after time. From precisely shaping the dough log and ensuring adequate chilling to using the right tools for slicing and monitoring your oven, each step contributes to that coveted uniformity.
Slice-and-Bake: Your Path to Baking Success.
By following these guidelines and practicing your uniform cookies baking techniques with slice-and-bake recipes, you'll be well on your way to baking batches of cookies that are not only delicious but also beautifully consistent in size, shape, and doneness. It's a technique that builds confidence and delivers satisfyingly predictable results, making your baking journey smoother and more enjoyable. So grab your ingredients, shape that log, chill it down, and get ready to slice and bake your way to cookie perfection, baked with ease!
Frequently Asked Questions
The SliceandBake method ensures uniformity because you're slicing pre-shaped dough logs. This results in consistent size and thickness, leading to evenly baked cookies.
The main advantages are speed and consistency. It eliminates the need for individual scooping or rolling, creating perfectly sized cookies with minimal effort.
Dough that holds its shape well, like shortbread, sugar cookies, and some peanut butter cookie doughs, are ideal. Softer doughs might need extra chilling to maintain their log shape and prevent spreading.
Yes, freezing is a great way to prepare ahead! Wrap the dough log tightly in plastic wrap and then foil. This allows you to bake fresh, uniform cookies whenever you want.
What are some tips for achieving uniform slices when using the SliceandBake method?
Use a sharp knife and a gentle sawing motion. Rotate the dough log a quarter turn after each slice to prevent flattening on one side. Make sure the dough is properly chilled for easier slicing.
The quest for the perfectly uniform cookie transcends mere aesthetics; it's a testament to our desire for control, precision, and ultimately, a consistently delicious outcome. While seemingly a simple baking task, achieving uniform cookies speaks to a deeper human need for predictability and mastery in a world often characterized by chaos. The techniques outlined in this article, centered around the Slice-and-Bake method, offer a pathway to that mastery, simplifying a process that can often feel frustratingly inconsistent.
The impact of achieving consistent baking results extends beyond the individual kitchen. It fosters a sense of accomplishment and confidence, empowering home bakers to tackle more complex recipes with greater ease. Baking is at once child's play and adult joy. And cooking is all that and a whole lot more.
- Alma Flor Ada. This quote perfectly encapsulates the joy and satisfaction derived from mastering a skill as fundamental as baking, and the Slice-and-Bake method provides a crucial stepping stone on that journey. It's a technique that allows us to share our passion for baking with others, knowing that the results will be consistently delightful.
Now, I invite you to consider your own baking journey. What aspects of baking bring you the most satisfaction? Perhaps it's the creative freedom, the act of nurturing something from raw ingredients, or the simple pleasure of sharing your creations with loved ones. Whatever your motivation, remember that the pursuit of perfection, even in something as seemingly simple as a cookie, can be a rewarding and deeply personal experience. Embrace the Slice-and-Bake method, experiment with variations, and discover the joy of consistently delicious, perfectly uniform cookies. The journey, as much as the destination, is worth savoring.
Thanks for taking the time to explore the world of perfectly uniform cookies with SliceandBake! We hope you gained valuable tips and tricks to elevate your baking game. Now it's time to put your newfound knowledge into action!
- Master the SliceandBake Technique: Try baking a batch of your favorite cookies using the SliceandBake method today. Note the difference in consistency and enjoy the perfectly sized treats!
- Share Your Success: Post a picture of your perfectly uniform cookies on social media and tag us! Let's inspire other bakers to achieve cookie perfection.
- Explore New Cookie Recipes: Challenge yourself by trying a new cookie recipe and applying the SliceandBake technique to see how it transforms the outcome.
Ready to transform your baking routine and create the most delightful cookies? What’s your favorite cookie recipe you’re excited to try with the SliceandBake method?