
Baking Rolls with Active Dry vs. Instant Yeast

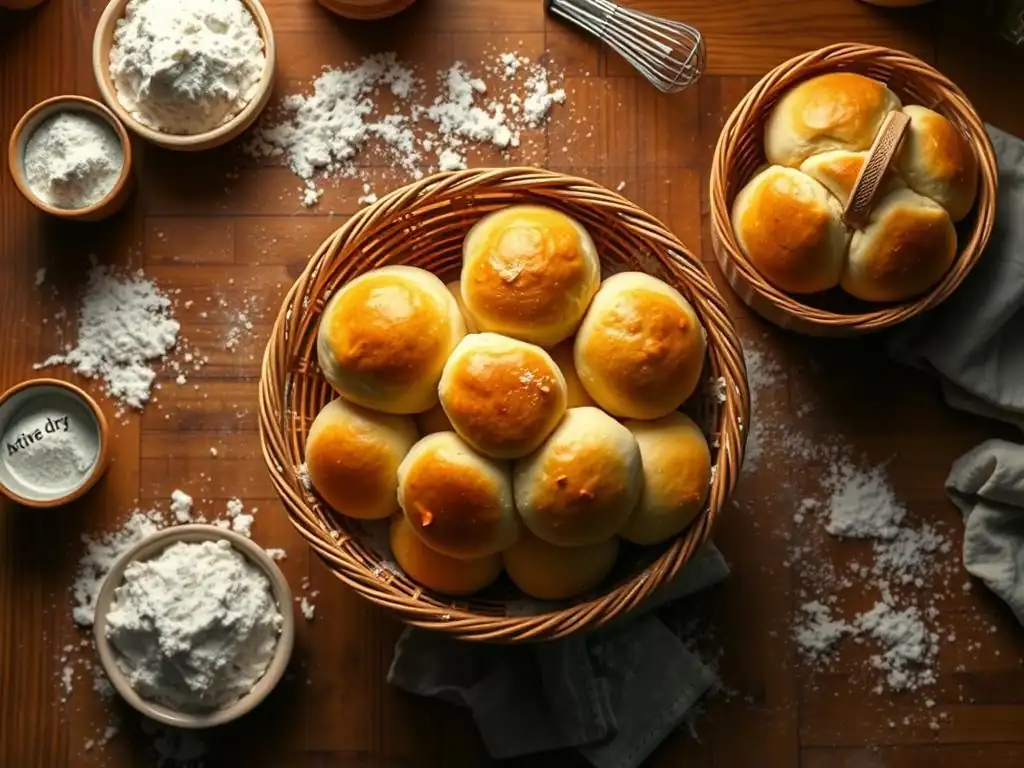
Welcome to BakeWithEase, your trusted guide to baking bliss! Ever wondered about the secret behind perfectly risen rolls? This week, we're diving deep into the world of yeast, specifically exploring the nuances of using active dry versus instant yeast. Unsure how to substitute one for the other? Our article, “Baking Rolls with Active Dry vs.
Instant Yeast,” will unlock the secrets to achieving consistent results, no matter which type of yeast you have on hand. And if you are looking for an active dry yeast conversion chart to help you in your baking journey, look no further! Get ready to transform your baking game and impress everyone with your fluffy, flavorful rolls! Let's get baking – what mysteries will yeast reveal today?
- BakeWithEase: Baking Perfect Dinner Rolls – Active Dry vs. Instant Yeast
- Active Dry Yeast Conversion Chart: Achieving Baking Success
- Baking Dinner Rolls: Step-by-Step Guide Using Active Dry Yeast
- Baking Dinner Rolls: Step-by-Step Guide Using Instant Yeast
- Troubleshooting Yeast in Roll Baking: Common Issues and Solutions
- Active Dry vs. Instant Yeast: Which is Best for Your Dinner Rolls?
- Mastering Yeast Baking: Beyond the Basics
- Frequently Asked Questions
- Final Reflection: The Humble Yeast: A Baker's Journey of Discovery
- Unlock Your Inner Baker: Mastering Yeast!
BakeWithEase: Baking Perfect Dinner Rolls – Active Dry vs. Instant Yeast
What is Active Dry Yeast? A Baker's Introduction
Active dry yeast is a popular leavening agent used by bakers for centuries to make bread and other baked goods rise. It consists of dehydrated yeast granules that are dormant and require rehydration in a warm liquid, typically water or milk, before being added to other ingredients. This process, often called proofing, awakens the yeast and confirms its viability, ensuring it's alive and ready to produce carbon dioxide gas, which makes dough rise. The granules are larger than instant yeast and have a thicker cell wall, necessitating this activation step.
Historically, active dry yeast was a revolutionary product, allowing bakers to store yeast for longer periods at room temperature compared to fresh yeast. A standard packet often contains about 2.25 teaspoons or 7 grams of yeast, enough to leaven about 4-5 cups of flour. While it requires an extra step compared to its instant counterpart, many bakers appreciate the visual confirmation that the yeast is active when it blooms into a frothy mixture, providing confidence before committing to a whole batch of dough.
What is Instant Yeast? A Baker's Introduction
Instant yeast, also known as fast-rising or rapid-rise yeast, is a more modern form of dry yeast that was developed for convenience. Like active dry yeast, it is dehydrated, but the drying process is less aggressive, resulting in finer granules that don't require pre-hydration. You can simply add instant yeast directly to your dry ingredients like flour and salt, and then proceed with mixing in the wet ingredients. This bypasses the proofing step, saving time and simplifying the baking process.
The finer particle size and different processing method allow instant yeast to be absorbed into the dough more quickly and evenly. This rapid action means doughs made with instant yeast often require only one rise instead of two, or significantly shorter rising times. A typical packet of instant yeast is also around 2.25 teaspoons (7 grams), similar in weight to active dry yeast, but its higher concentration of active cells means you generally need slightly less of it for the same leavening power, which is key when using an active dry yeast conversion chart.
Key Differences Between Active Dry and Instant Yeast for Baking Dinner Rolls
The primary difference between active dry and instant yeast lies in their preparation and speed of action. Active dry yeast requires proofing in warm liquid (usually 105°F to 115°F, or 40°C to 46°C) for 5-10 minutes until foamy before being combined with dry ingredients. This step ensures the yeast is alive and gives it a head start.
Instant yeast, on the other hand, can be mixed directly with the dry ingredients; its finer granules dissolve more easily and become active upon contact with the dough's moisture. This direct addition saves time and simplifies the process, making it appealing for busy bakers.
Beyond preparation, instant yeast typically works faster and more vigorously than active dry yeast. This often results in shorter rising times for doughs. While active dry yeast might require a first rise of 60-90 minutes and potentially a second rise, instant yeast might achieve the same volume increase in 30-60 minutes or even combine both rises into a single, shorter period.
This difference in pace impacts the overall fermentation process, which can subtly affect the flavor development in your dinner rolls. Active dry yeast's slower, longer fermentation can sometimes contribute to a slightly more complex flavor profile compared to the quicker rise from instant yeast.
Active Dry Yeast Conversion Chart: Achieving Baking Success
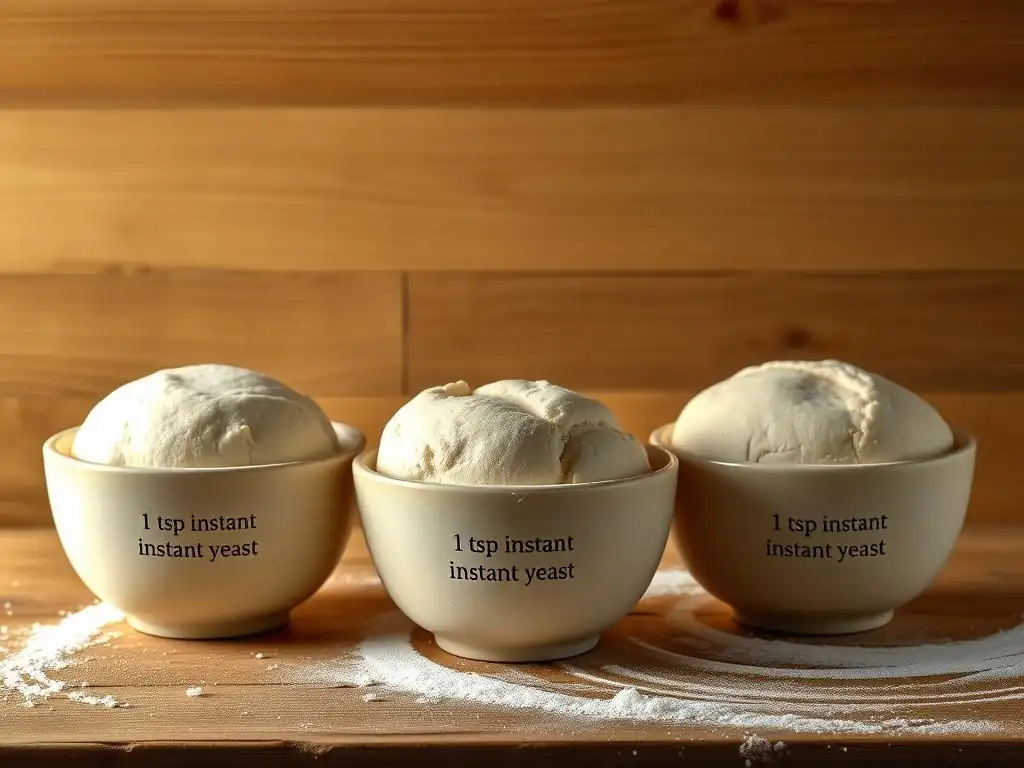
Why Use an Active Dry Yeast Conversion Chart?
Recipes often specify a particular type of yeast, but what if you only have active dry yeast on hand when the recipe calls for instant, or vice versa? This is where an active dry yeast conversion chart becomes incredibly useful.
It provides a reliable way to substitute one type of dry yeast for another while aiming to maintain the intended rise and structure of your baked goods, like fluffy dinner rolls. Without a proper conversion, simply swapping equal amounts can lead to over-proofing (if using instant where active dry was intended) or under-proofing (if using active dry where instant was intended), resulting in dense or misshapen rolls.
Using an active dry yeast conversion chart helps ensure consistent results regardless of the yeast type you have in your pantry. It takes into account the difference in activity levels and granule size between active dry and instant yeast. For instance, instant yeast is generally more potent by weight than active dry yeast.
Therefore, if a recipe calls for active dry yeast, you'll need slightly less instant yeast to achieve a similar leavening effect. Conversely, if converting from instant to active dry, you'll need a bit more active dry yeast to compensate for its slightly slower and less vigorous action.
Active Dry Yeast to Instant Yeast Conversion: A Simple Guide
Converting from active dry yeast to instant yeast is straightforward once you understand the general ratio. Since instant yeast is typically more concentrated and active, you generally need less of it than active dry yeast. A common rule of thumb is to use 75% or 80% of the amount of active dry yeast specified in the recipe.
For example, if your recipe for dinner rolls calls for 1 tablespoon of active dry yeast:
- To convert to instant yeast, you would calculate:
1 tablespoon * 0.75or1 tablespoon * 0.8. - This means you would use approximately
0.75to0.8tablespoons of instant yeast. - In terms of teaspoons, if a recipe calls for 2.25 teaspoons (one packet) of active dry yeast, you would use approximately
2.25 * 0.75 = 1.69teaspoons or2.25 * 0.8 = 1.8teaspoons of instant yeast. - A simpler approximation often used is: use 3/4 the amount of active dry yeast when converting to instant yeast.
- Remember, with instant yeast, you can usually mix it directly into your dry ingredients without proofing first, saving you that initial step.
Instant Yeast to Active Dry Yeast Conversion: A Simple Guide
Converting from instant yeast to active dry yeast requires using a slightly larger amount of active dry yeast to compensate for its lower activity per gram and the need for initial proofing. A widely accepted conversion ratio is to use 125% or 133% of the amount of instant yeast called for in the recipe.
For instance, if your dinner roll recipe specifies 1 teaspoon of instant yeast:
- To convert to active dry yeast, you would calculate:
1 teaspoon * 1.25or1 teaspoon * 1.33. - This means you would use approximately
1.25to1.33teaspoons of active dry yeast. - If a recipe calls for 2 teaspoons of instant yeast, you would need approximately
2 * 1.25 = 2.5teaspoons or2 * 1.33 = 2.66teaspoons of active dry yeast. - A simpler approximation is: use 1.25 times the amount (or 1 and 1/4 times) of instant yeast when converting to active dry yeast.
- Importantly, when using active dry yeast, you must proof it first in warm liquid (around 105°F-115°F) before adding it to your dry ingredients. This adds an extra step and a bit more liquid to the recipe, which you might need to account for slightly in your overall liquid measurement.
Important Considerations When Converting Yeast Types
Converting yeast types isn't just about adjusting the quantity; you also need to consider how the change impacts other aspects of the baking process, particularly temperature and time. Failing to account for these factors can lead to disappointing results, even with a perfect active dry yeast conversion chart. The temperature of your liquids and the overall proofing time are heavily influenced by which yeast you choose, and adjusting them is crucial for successful dinner rolls.
Furthermore, the subtle differences in fermentation speed can affect the final flavor and texture of your rolls. While instant yeast is convenient for its speed, the slightly slower, longer fermentation offered by active dry yeast can sometimes contribute to more complex flavor development. When converting, be prepared for potential variations in how your dough behaves and the total time required from start to finish. Pay close attention to visual cues, like the dough doubling in size, rather than strictly adhering to timing estimates from the original recipe.
Adjusting Liquid Temperatures When Converting Yeast Types
The temperature of the liquid used in your recipe is critical, especially when working with active dry yeast. Active dry yeast needs warm liquid, ideally between 105°F and 115°F (40°C to 46°C), to rehydrate and become active. Temperatures too low won't activate the yeast, while temperatures too high can kill it. This specific temperature range is necessary for proofing active dry yeast successfully before adding it to the rest of your ingredients.
When using instant yeast, the liquid temperature requirements are more flexible. Since instant yeast is mixed directly with dry ingredients, it activates with the temperature of the dough mixture as a whole.
While extremely hot liquids should still be avoided as they can kill the yeast, liquids between 120°F and 130°F (49°C to 54°C) are often recommended when adding directly to dry ingredients with instant yeast, as the surrounding dry ingredients help buffer the temperature. However, cooler liquids (even room temperature) can also be used with instant yeast, resulting in a slower rise that can sometimes improve flavor.
If you are converting from active dry to instant, you might consider slightly increasing the liquid temperature or simply mixing the instant yeast with the dry ingredients and using the liquid temperature suggested by the original recipe (assuming it was suitable for active dry). If converting from instant to active dry, strictly adhere to the 105°F-115°F range for proofing the active dry yeast.
Proofing Times and Yeast Conversion
Proofing time is perhaps the most significant variable affected by yeast conversion. Instant yeast typically causes dough to rise faster than active dry yeast. If a recipe designed for active dry yeast suggests a first rise of 60-90 minutes, using an equivalent amount (by conversion) of instant yeast might result in the dough doubling in size in just 30-60 minutes. Conversely, if you convert from instant yeast to active dry yeast, be prepared for the rising times to be longer than specified in the original instant yeast recipe.
It is crucial to rely on visual cues rather than strict timing when proofing, especially after converting yeast types. The dough should typically double in volume for the first rise. For the second rise (if required), it should become puffy and increase significantly in size, though perhaps not fully double again, depending on the recipe.
Over-proofing can lead to rolls that collapse or have a poor texture. Use the original recipe's times as a guideline, but monitor your dough closely and adjust the proofing period based on how it looks and feels. The speed of the rise is also influenced by ambient temperature, so a warm kitchen will speed things up, while a cool one will slow them down, regardless of yeast type.
Baking Dinner Rolls: Step-by-Step Guide Using Active Dry Yeast
Activating Active Dry Yeast: The Proofing Process
The crucial first step when baking with active dry yeast is activation, or proofing. This process ensures the yeast is alive and ready to work. You'll need a small bowl, your active dry yeast, a pinch of sugar (optional, but helps feed the yeast), and warm liquid, typically water or milk, heated to between 105°F and 115°F (40°C to 46°C). Avoid using liquids that are too hot, as temperatures above 130°F (54°C) can kill the yeast, rendering it inactive.
Measure the required amount of warm liquid into the bowl, then sprinkle the active dry yeast and sugar (if using) over the surface. Stir gently to combine. Let this mixture sit undisturbed for 5 to 10 minutes.
During this time, the yeast should absorb the liquid and begin to feed, producing carbon dioxide. You'll know the yeast is active and healthy if the mixture becomes frothy, bubbly, or forms a foamy layer on top, resembling the head on a beer. If after 10 minutes there is no foam or activity, your yeast may be dead or the liquid wasn't warm enough; in this case, it's best to discard the mixture and start again with fresh yeast or properly heated liquid.
Recipe Adaptation: Using Active Dry Yeast in Classic Dinner Roll Recipe
Adapting a classic dinner roll recipe that might originally call for instant yeast to use active dry yeast involves a few key adjustments. First, you'll need to adjust the quantity of yeast using an active dry yeast conversion chart. If the recipe calls for 2 teaspoons of instant yeast, you would use approximately 2.5 teaspoons of active dry yeast (using the 1.25x multiplier).
Second, you must incorporate the yeast differently. Instead of adding it directly to the dry ingredients, you will use a portion of the recipe's liquid (ensuring it's within the 105°F-115°F range) to proof the active dry yeast as described above. Once the yeast is proofed and foamy, you'll add this mixture to your dry ingredients along with any remaining liquid from the recipe.
The total amount of liquid in the recipe should remain the same, you are just using a portion of it initially for proofing. Be prepared for potentially longer rising times compared to the original instant yeast recipe; monitor the dough's volume rather than strictly following time cues.
Tips for Baking Perfect Dinner Rolls with Active Dry Yeast
- Ensure Yeast Viability: Always proof active dry yeast first. If it doesn't foam within 10 minutes, it's likely dead, and you need to start with fresh yeast. This prevents wasting other ingredients.
- Accurate Liquid Temperature: Use a thermometer to check your liquid temperature (105°F-115°F or 40°C-46°C) for proofing. Too cold and it won't activate; too hot and it dies.
- Allow Sufficient Proofing Time: Dough made with active dry yeast typically requires longer rising times than dough made with instant yeast. Be patient and let the dough double in size in a warm, draft-free place. This might take 60-90 minutes or even longer depending on the temperature.
- Handle Gently: Once risen, handle the dough gently when shaping your dinner rolls to avoid deflating the air pockets created by the yeast. A light touch is key to fluffy rolls.
- Second Rise is Important: Most recipes using active dry yeast benefit from a second, shorter rise after shaping the rolls. This second proof helps create a light, airy texture. Aim for the shaped rolls to become visibly puffy, which may take 20-40 minutes.
Baking Dinner Rolls: Step-by-Step Guide Using Instant Yeast
Direct Addition: Using Instant Yeast in Your Dough
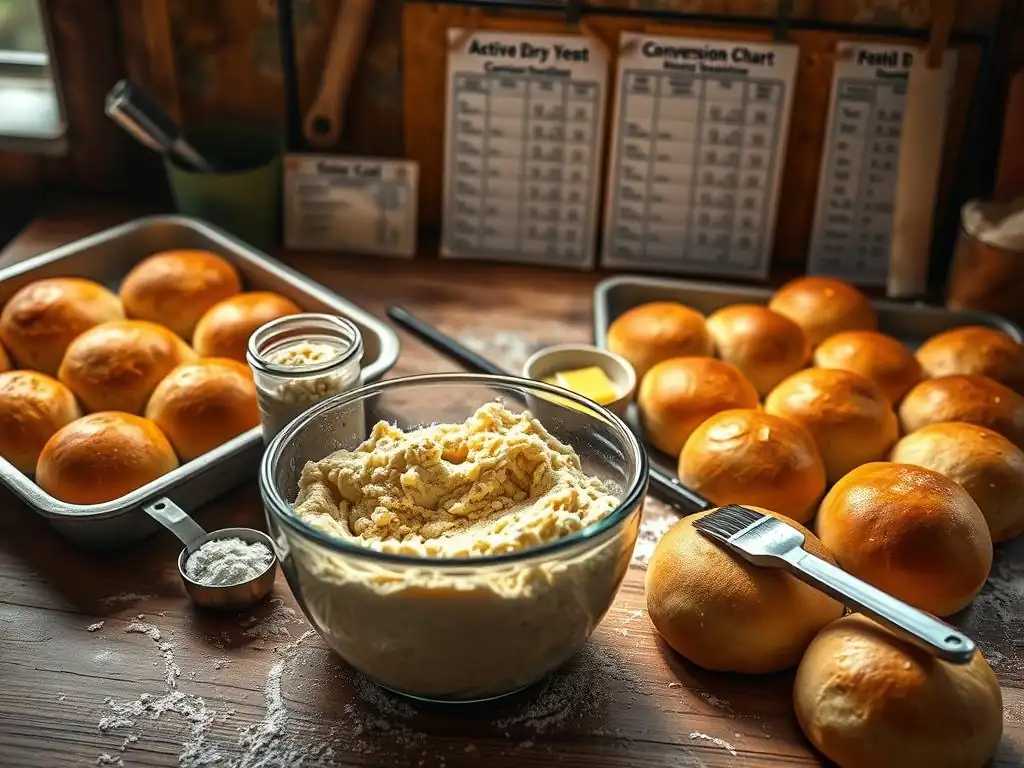
One of the main advantages of instant yeast is its ease of use – no proofing required! When a recipe calls for instant yeast (or you've converted using an active dry yeast conversion chart), you simply add it directly to your dry ingredients. This means you can combine your flour, salt, sugar, and the instant yeast in your mixing bowl right at the start.
After combining the dry ingredients, you add the wet ingredients (warm milk or water, melted butter, eggs, etc.) directly to the bowl. The yeast will begin to activate as soon as it comes into contact with the liquid and moisture from the dough during the mixing and kneading process. This streamlines the initial steps, getting you to the kneading stage faster. While some recipes might suggest warmer liquids (120°F-130°F) when using instant yeast, many work perfectly well with liquids between 100°F-115°F (38°C-46°C), especially if you are concerned about killing the yeast.
Recipe Adaptation: Using Instant Yeast in Classic Dinner Roll Recipe
Adapting a recipe that originally used active dry yeast to use instant yeast is also quite simple. First, consult an active dry yeast conversion chart to determine the correct amount of instant yeast. If the recipe calls for 2.25 teaspoons (one packet) of active dry yeast, you would use approximately 1.7 to 1.8 teaspoons of instant yeast (using the 0.75x or 0.8x multiplier).
Second, you'll skip the initial proofing step. Instead of dissolving the yeast in warm liquid, you'll measure the full amount of liquid called for in the recipe and add it directly to the dry ingredients after the instant yeast has been mixed in. The instant yeast goes directly into the bowl with the flour, salt, and other dry components. Be prepared for potentially shorter rising times compared to the original active dry yeast recipe. Monitor the dough's volume and visual cues closely, as it might double in size much faster than expected.
Tips for Baking Perfect Dinner Rolls with Instant Yeast
- Mix Directly with Dry Ingredients: The biggest advantage is skipping the proofing step. Simply whisk or stir the instant yeast into your flour mixture before adding liquids.
- Flexible Liquid Temperature: While extremely hot liquid should be avoided, instant yeast is more forgiving with liquid temperature than active dry. Liquids between 100°F-130°F (38°C-54°C) generally work well when mixed directly into dry ingredients.
- Shorter Rise Times: Expect your dough to rise faster with instant yeast. A first rise that might take 60-90 minutes with active dry yeast could be completed in 30-60 minutes with instant yeast. Pay attention to the dough doubling in size rather than the clock.
- Single Rise Option: Many recipes designed for instant yeast only require a single rise before shaping and baking, though a short second rise after shaping can still improve texture. Check your specific recipe or experiment.
- Check for Freshness: Even though it lasts a long time, instant yeast can lose potency. If your dough isn't rising, check the expiration date or test a small amount in warm water (it should show some activity, though not necessarily a full foam like active dry).
Troubleshooting Yeast in Roll Baking: Common Issues and Solutions
Rolls Not Rising: Yeast Activity Problems
One of the most frustrating issues in bread baking is when your dough or shaped rolls fail to rise. The primary culprit is almost always inactive or dead yeast. This can happen for several reasons: the yeast was expired, the liquid used was too hot and killed the yeast, the liquid was too cold and didn't activate the yeast (especially with active dry), or the yeast wasn't stored properly (exposure to air, moisture, or heat can kill it).
To troubleshoot, first check the expiration date on your yeast packet or jar. Yeast is a living organism, and it does have a shelf life, though instant yeast typically lasts longer than active dry. If the date is good, consider how you handled it. If using active dry, did you proof it in the correct temperature range (105°F-115°F)?
If it didn't foam, the yeast was likely inactive, and the batch is ruined. If using instant yeast, was the liquid excessively hot (over 130°F)? If you suspect the yeast is the issue, you can test its viability: dissolve 1 teaspoon of yeast in 1/4 cup of warm water (105°F-115°F) with a pinch of sugar. If it doesn't show signs of life (bubbling, foaming) within 10 minutes, it's time for a new packet.
Dense Rolls: Possible Causes and Solutions
Dense, heavy dinner rolls are often a result of issues related to gluten development or insufficient rising. One common cause is not kneading the dough enough. Proper kneading, whether by hand or machine, develops the gluten network in the flour, which is essential for trapping the gases produced by the yeast and creating a light, airy structure. If the gluten isn't developed, the dough won't hold its shape or the gas efficiently, leading to a dense crumb.
Another major reason for dense rolls is inadequate proofing. The dough needs sufficient time to rise and double in volume during the first proof, and the shaped rolls need to become puffy during the second proof. If the rising environment is too cold, or the yeast isn't fully active (as discussed above), the dough won't rise properly, resulting in a compact texture.
Ensure your rising environment is warm (around 75°F-85°F is ideal) and draft-free. If you converted yeast types using an active dry yeast conversion chart, double-check your conversion ratio and be mindful of the potentially altered rising times – let the dough tell you when it's ready by its size, not just the clock. Overworking the dough during shaping can also knock out too much air, contributing to density.
Over-Proofing: Recognizing and Preventing It
While under-proofing leads to dense rolls, over-proofing can be equally problematic, often resulting in rolls that rise beautifully initially but then collapse in the oven or have a coarse, crumbly texture and sometimes a strong, yeasty flavor. Over-proofing occurs when the dough rises for too long, and the yeast consumes too much of the available sugars, exhausting itself and potentially causing the gluten structure to weaken and break down.
You can recognize over-proofed dough by several signs: it may look overly large and puffy, sometimes even starting to sink in the middle; it might have a very strong, alcoholic smell; and when you gently poke it with your finger, the indentation will remain permanently, rather than slowly springing back (this is the "poke test"). To prevent over-proofing, especially when using faster-acting instant yeast or proofing in a very warm environment, monitor your dough closely.
Use the visual cue of doubling in volume as your guide for the first rise. For the second rise after shaping, the rolls should look visibly puffy, but don't let them get excessively large or airy before baking.
If you realize your dough is slightly over-proofed before shaping, you can sometimes gently punch it down, reshape, and give it a shorter second rise, though this won't fully salvage severely over-proofed dough. Baking slightly under-proofed dough is often preferable to baking significantly over-proofed dough.
Active Dry vs. Instant Yeast: Which is Best for Your Dinner Rolls?
Taste and Texture Comparison in Baked Dinner Rolls
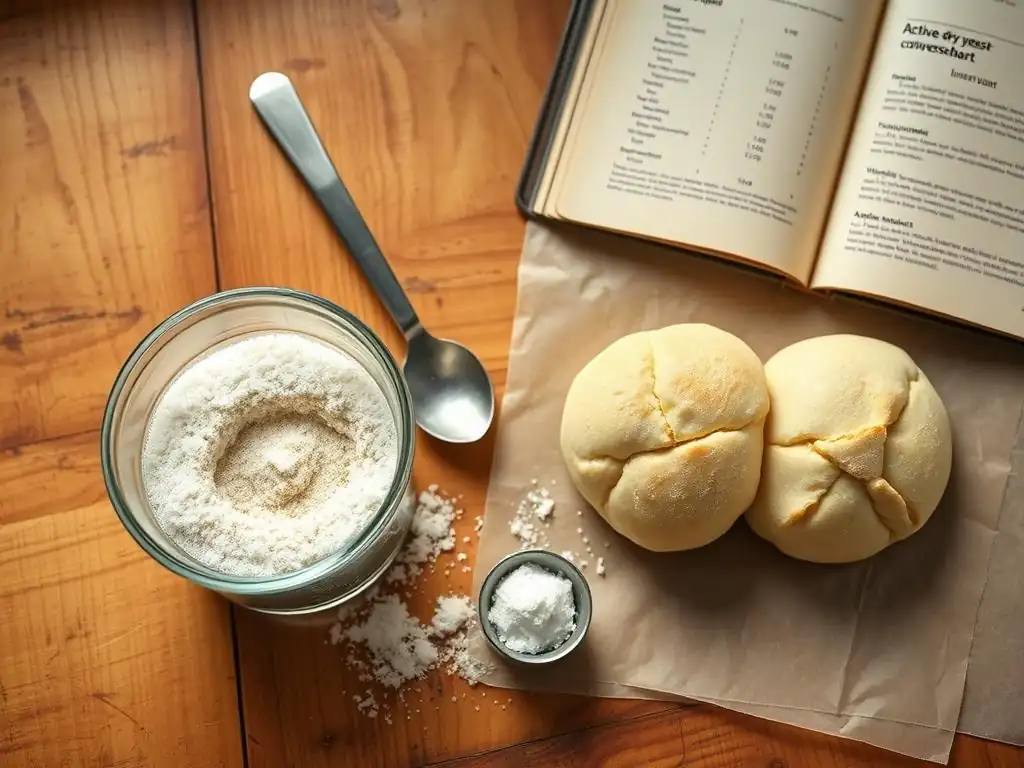
The choice between active dry and instant yeast can subtly influence the final taste and texture of your baked dinner rolls. Active dry yeast typically leads to a slower, longer fermentation process compared to instant yeast. This extended fermentation allows more complex flavors to develop in the dough as the yeast breaks down carbohydrates. Some bakers feel this contributes to a slightly richer, more nuanced 'yeasty' or 'bread-like' flavor profile in the finished rolls.
In terms of texture, both yeasts, when used correctly (perhaps with the help of an active dry yeast conversion chart for accurate amounts), can produce light and fluffy rolls. However, because instant yeast often results in a quicker rise, the gluten structure might not develop quite the same way as with a longer, slower rise.
Some anecdotal evidence suggests that active dry yeast, with its more gradual action, can sometimes contribute to a slightly more even and tender crumb structure, while instant yeast might occasionally yield a slightly coarser texture if the fermentation is rushed. These differences are often subtle and may not be noticeable to everyone, but they are points considered by experienced bakers.
Convenience and Shelf Life Considerations
When it comes to convenience, instant yeast clearly has the upper hand. The ability to mix it directly with dry ingredients bypasses the initial proofing step required for active dry yeast, saving you 5-10 minutes and one less bowl to wash. This makes instant yeast a popular choice for busy bakers or those new to bread making who want a simpler process. Instant yeast also typically leads to shorter overall rising times, meaning you can get warm dinner rolls on the table faster.
Regarding shelf life, both active dry and instant yeast are quite stable when stored properly. However, instant yeast is often packaged in vacuum-sealed packets, which gives it a longer shelf life than active dry yeast, especially once opened. Active dry yeast is more susceptible to moisture and air degradation once the package is opened and is best stored in an airtight container in the refrigerator or freezer, where it can last for several months.
Instant yeast, similarly stored, can often last even longer. Always check the expiration date, but proper storage is key to maximizing the life of either type.
Cost Analysis: Active Dry vs. Instant Yeast
The cost difference between active dry and instant yeast can vary depending on the brand, packaging size, and where you purchase it. Generally, active dry yeast is slightly less expensive per ounce or gram than instant yeast. For example, a jar of active dry yeast might cost around $5-$7 for 4 ounces, while a similar amount of instant yeast might be $6-$8.
However, when considering the effective cost per batch of dough, the difference often narrows or even reverses slightly because you typically use less instant yeast than active dry yeast for the same leavening power (remember the active dry yeast conversion chart ratio of needing about 25% less instant yeast). If a recipe calls for 2.25 teaspoons of active dry yeast and costs $0.50 per packet, you might only need 1.7 teaspoons of instant yeast from a $0.60 packet, making the instant yeast potentially cheaper per use despite a higher per-ounce price.
Buying yeast in larger, bulk packages is usually the most cost-effective way to purchase either type, provided you store it correctly to maintain freshness.
Mastering Yeast Baking: Beyond the Basics
Advanced Techniques for Yeast-Based Rolls
Once you've mastered the basics of using active dry and instant yeast (and feel comfortable with an active dry yeast conversion chart), you can explore more advanced techniques to elevate your dinner roll game. One such technique is incorporating a preferment, like a poolish or biga. These are small, wet or stiff doughs made with a portion of the flour, water, and yeast from the main recipe that are allowed to ferment for several hours or overnight.
Using a preferment, regardless of whether you use active dry or instant yeast in the preferment itself, adds depth of flavor and complexity to the final rolls through a longer, slower fermentation process. Another technique is cold fermentation, where the shaped rolls or the entire dough are placed in the refrigerator for 12-48 hours.
The cold dramatically slows down yeast activity, allowing enzymes to break down starches into sugars, resulting in more flavor compounds and a finer crumb texture. Experimenting with different flours, adding enrichments like milk, butter, and eggs, or incorporating ingredients like sourdough discard can also lead to exciting new variations on classic dinner rolls.
Exploring Different Types of Yeast for Bread Baking
Beyond active dry and instant, the world of yeast for bread baking is surprisingly diverse. Fresh yeast, also known as cake yeast, is a moist, perishable form that provides a rapid and vigorous rise, favored by some professional bakers for its consistent activity and ability to impart a subtle, sweet flavor often considered superior by purists.
It requires refrigeration and has a very short shelf life, typically only 1-2 weeks. Converting from dry yeast to fresh yeast involves using approximately 3 times the amount of dry yeast called for (e.g., 1 teaspoon instant yeast = about 3 teaspoons fresh yeast).
Another type is osmotolerant yeast, a specialized instant yeast designed for use in sweet doughs (those with high sugar content, typically over 10-15% sugar by weight). High sugar levels can inhibit regular yeast activity by drawing water out of the yeast cells. Osmotolerant yeast is more resistant to this osmotic pressure, ensuring a proper rise in rich, sweet breads and rolls like brioche or cinnamon buns. While not strictly necessary for standard dinner rolls, understanding these different types helps broaden your baking horizons and allows you to choose the best yeast for specific recipes.
BakeWithEase: Your Resource for Perfect Rolls Every Time
At BakeWithEase, we are dedicated to helping you achieve baking success, whether you're just starting out or refining your technique. Understanding the role of yeast, including how to use an active dry yeast conversion chart, is fundamental to creating delicious bread and rolls. Our site offers a wealth of resources, from simple step-by-step recipes specifically designed for beginners to detailed guides on ingredients and techniques.
Whether you prefer the convenience of instant yeast or the traditional approach with active dry yeast, we provide the information and support you need. Explore our collection of dinner roll recipes, learn more about proofing, kneading, and troubleshooting common issues. Our goal is to demystify the baking process, making it accessible and enjoyable for everyone. With BakeWithEase, you have a trusted partner to help you bake perfect dinner rolls and explore the satisfying world of bread making.
Frequently Asked Questions
What is the difference between active dry yeast and instant yeast?
Active dry yeast requires activation in warm water before use, while instant yeast can be mixed directly with dry ingredients. This makes instant yeast more convenient for quick baking.
How do I convert recipes using active dry yeast to instant yeast?
To convert recipes, use about 25% less instant yeast than the amount of active dry yeast called for. This is essential for achieving the right rise in your baked goods.
Can I use active dry yeast in place of instant yeast?
Yes, you can use active dry yeast instead of instant yeast, but you should activate it first in warm water. This step is crucial for ensuring proper fermentation in your dough.
Where can I find an active dry yeast conversion chart?
You can find an active dry yeast conversion chart on BakeWithEase.com. This resource provides easy-to-follow guidelines for switching between different types of yeast.
What types of recipes can I make with active dry yeast?
You can use active dry yeast in a variety of recipes including breads, rolls, and pastries. It's versatile and works well in any recipe that requires yeast for leavening.
Final Reflection: The Humble Yeast: A Baker's Journey of Discovery
The seemingly simple act of baking bread reveals a complex world of ingredients, each playing a crucial role in the final product. Understanding the nuances of yeast, specifically the difference between active dry and instant yeast, is key to consistent baking success. This article aimed to demystify this difference, providing a practical guide and, crucially, an active dry yeast conversion chart to empower home bakers. The impact of this knowledge extends far beyond just perfectly risen rolls.
The journey of understanding yeast has been a personal one, filled with both triumphs and the occasional, slightly deflated, failure. It's a journey shared by countless bakers throughout history, a testament to the enduring power of simple ingredients to connect us to tradition and creativity. Bread is the staff of life,
a proverb often repeated, but rarely truly understood until you've experienced the satisfaction of crafting something so fundamental from scratch. This understanding extends beyond the simple act of baking; it's about appreciating the subtle science and artistry involved.
Now, it's your turn. Don't let the seemingly small differences between yeast types intimidate you. Use the knowledge gained from this article – the conversion chart, the tips, and the insights – to experiment, to learn, and to create. Embrace the occasional imperfect loaf; it's in those imperfections that true understanding and mastery are found. The next time you reach for a packet of yeast, remember the journey, and the delicious rewards that await.
Unlock Your Inner Baker: Mastering Yeast!
Thanks for taking the time to explore the fascinating world of yeast with us! We hope you now feel more confident in choosing the right yeast for your next baking adventure. Ready to put your new knowledge into practice?
- Bake a batch of your favorite rolls using your preferred yeast today! Experiment with different flours or add-ins to personalize your recipe.
- Share your baking triumphs (and challenges!) with our community on social media using #BakeWithEaseYeast. We love seeing your creations!
- Discover new yeast-based recipes on BakeWithEase.com – we have a whole library of delicious ideas waiting for you!
What unique twist will you add to your next yeast-based bake? Let's hear about it in the comments below!