
Troubleshoot Your Rye Bread: A Baker's Guide

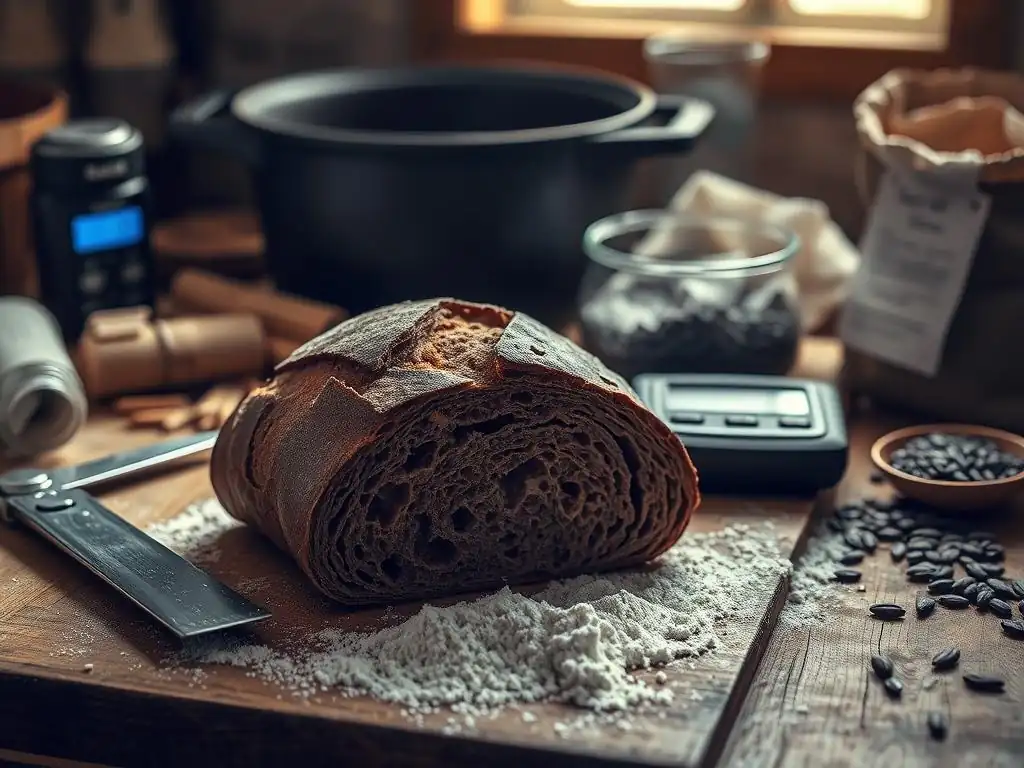
Welcome to BakeWithEase, your haven for all things baking! Ever dreamt of the perfect rye bread but find yourself facing frustrating setbacks? Dive into our guide to rye bread troubleshooting tips and unlock the secrets to achieving bakery-worthy results. We'll help you navigate common pitfalls and master the art of this flavorful loaf. Curious to know how to fix a gummy crumb or prevent a dense texture? Let's get baking!
- Introduction to Rye Bread Baking: Avoiding Common Problems
- Common Rye Bread Problems and Solutions
- Advanced Rye Bread Troubleshooting Tips
- Rye Bread Baking Best Practices: Prevention is Key
- Conclusion: Enjoying Your Homemade Rye Bread
-
Frequently Asked Questions
- What are some common issues bakers face when making rye bread?
- Why is my rye bread so dense and heavy?
- My rye bread didn't rise properly. What went wrong?
- How can I avoid a bitter or overly sour taste in my rye bread?
- What are some essential ingredients for successful rye bread baking, besides rye flour?
- Final Reflection: The Enduring Allure of a Perfect Rye
- Unlock Your Rye Bread Potential!
Introduction to Rye Bread Baking: Avoiding Common Problems
BakeWithEase Presents: Your Guide to Perfect Rye Bread
Welcome to BakeWithEase! We understand the joy and occasional frustration that comes with exploring the world of baking. Few loaves present as unique a challenge and reward as rye bread. Its distinct flavor and texture, ranging from light and airy to dense and earthy, make it a favorite for many. However, working with rye flour is quite different from common wheat flour, and these differences often lead to common pitfalls for even experienced bakers.
This guide is designed to help you navigate those challenges. We'll delve into the specifics of rye flour and provide practical, friendly rye bread troubleshooting tips to help you achieve consistent success in your kitchen. Think of us as your partner in mastering this rewarding corner of the bread baking world. By understanding the why behind common issues, you'll be better equipped to adjust your techniques and recipes.
Why Rye Bread Can Be Tricky (and How to Fix It)
Rye flour behaves differently than wheat flour primarily because of its protein structure and the presence of pentosans. While wheat flour contains gluten-forming proteins that create an elastic network capable of trapping gas and giving bread structure and volume, rye has much less of these proteins, and the gluten it does have doesn't develop in the same robust way. Instead, rye relies heavily on non-starch polysaccharides called pentosans, which are excellent at absorbing water – often six times their weight! This high water absorption can result in sticky doughs that are harder to handle.
Furthermore, rye contains enzymes that, if not managed properly (often through sourdough fermentation or scalding), can break down the starch structure during baking, leading to a gummy or heavy crumb. Troubleshooting rye bread requires understanding these fundamental differences. It's less about developing a strong gluten network and more about managing hydration, controlling enzymatic activity, and handling a less elastic dough gently.
Common Rye Bread Problems and Solutions
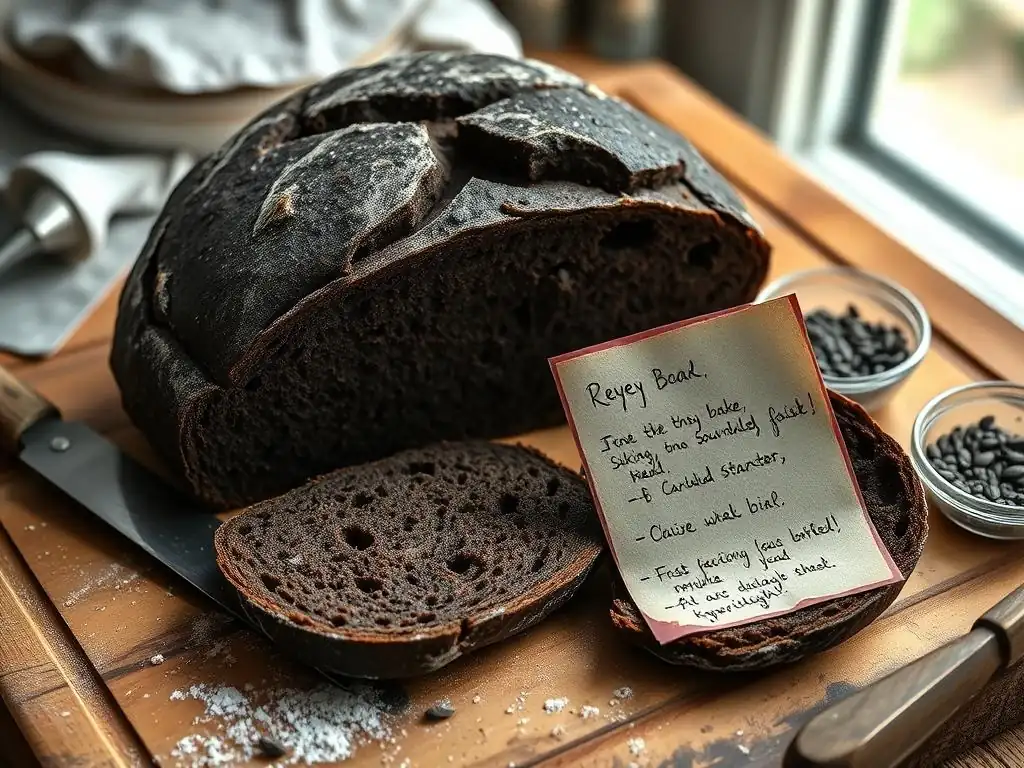
Problem 1: Dense and Heavy Rye Bread
One of the most frequent complaints when baking rye bread is that it turns out dense and heavy, sometimes feeling more like a brick than a loaf of bread. This lack of desired lightness is usually the result of several factors related to the unique properties of rye flour. Unlike wheat dough, which relies on extensive gluten development through kneading to create an open crumb structure, rye dough behaves quite differently and requires alternative approaches to achieve a less dense texture.
The primary culprits for a dense rye loaf include using the wrong type of rye flour for the desired outcome, insufficient or improper hydration leading to a stiff dough, inadequate development of the dough's structure (since traditional kneading isn't as effective), or, crucially, issues with the proofing process. Rye dough doesn't show the same dramatic rise during fermentation as wheat dough, and it can be prone to collapsing if over-proofed, which guarantees a dense final product. Effective rye bread troubleshooting tips for density focus on managing these specific aspects of the process.
Identifying the Cause of Dense Rye Bread
Dense rye bread often feels heavy for its size and lacks the internal holes (alveoli) characteristic of a lighter crumb. If you slice into your loaf and find a uniform, compacted texture with little to no open structure, density is likely your issue.
Consider the recipe you used: was it designed for a light rye or a dense pumpernickel? The type of flour dictates the potential outcome. Also, think about your process: Was the dough difficult to mix or handle? Did it seem to rise at all during fermentation? Did it deflate when you moved it or placed it in the oven? These observations provide clues to whether the issue stems from flour choice, hydration, or proofing.
Solution: Improving Rye Bread's Texture and Rise
Improving the texture and rise of rye bread involves a few key adjustments tailored to rye flour's characteristics. It's less about aggressive kneading and more about gentle handling, appropriate hydration, and careful fermentation management.
Using the Right Type of Rye Flour for a Lighter Loaf
The type of rye flour you use significantly impacts the final density. Light rye flour, which has had most of the bran and germ removed, behaves more like wheat flour and can produce a lighter loaf, especially when mixed with strong wheat flour. Medium and dark rye flours, containing more of the grain, absorb more water and lead to denser loaves. Pumpernickel flour, a very coarse grind, is intended for extremely dense, traditional loaves.
If you're aiming for a lighter texture, start with a recipe using a higher proportion of light rye or a blend of rye and wheat flour (e.g., 40-60% rye). For example, a recipe with 40% light rye flour and 60% bread flour will be much lighter than one with 80% dark rye. Ensure your flour is fresh; old flour can lose its vitality.
Enhancing Gluten Development in Rye Dough
While rye doesn't form a strong gluten network like wheat, you can still improve the dough's structure, particularly in loaves containing a significant amount of wheat flour. For rye-only or very high-percentage rye loaves, traditional kneading is less effective and can even damage the delicate structure built by the pentosans. Gentle folding or mixing until just combined is often sufficient.
When using a blend, gentle kneading or techniques like the autolyse method (mixing flour and water and letting it rest before adding other ingredients) or a tangzhong/roux (cooking a portion of the flour and liquid into a paste) can help hydrate the flour fully and improve the dough's ability to hold shape and trap gas, leading to a slightly less dense crumb. For instance, an autolyse of 30 minutes for a rye/wheat blend can noticeably improve dough handling.
Proper Proofing Techniques for Rye Bread
Rye dough proofs differently than wheat. It typically doesn't double in size and can over-proof quickly, especially in a warm environment. Over-proofed rye bread often collapses in the oven, resulting in a very dense loaf. Instead of relying solely on volume increase or the standard "poke test" (which is less reliable for rye), watch for signs of gentle swelling and listen for faint sounds of fermentation.
Aim for a proofing time that sees the dough increase by maybe 30-50% in volume, depending on the recipe and temperature. A common pitfall in rye bread troubleshooting tips is misjudging the proof; when in doubt, it's often better to slightly under-proof rye than over-proof it. The dough should still feel slightly firm and not completely airy.
Problem 2: Rye Bread That's Too Sour or Not Sour Enough
The characteristic tang of many rye breads comes from fermentation, often using a sourdough starter. Achieving the desired level of sourness is a matter of managing the balance of yeast and bacteria in your starter and controlling fermentation time and temperature. Sometimes, the flavor is overwhelmingly acidic; other times, it's surprisingly bland for a rye loaf.
The unique composition of rye flour, particularly its higher levels of fermentable sugars compared to wheat, significantly influences the activity of lactic acid bacteria (LAB) in a sourdough starter. This can lead to rapid acid production. Understanding how your starter behaves with rye flour and how environmental factors like temperature affect its metabolic processes is key to controlling the final flavor profile. Troubleshooting rye bread sourness involves fine-tuning your starter maintenance and fermentation schedule.
Understanding Rye Bread's Sourdough Flavor Profile
Sourdough fermentation produces various organic acids, primarily lactic acid (producing a milder, yogurt-like sourness) and acetic acid (producing a sharper, vinegary tang). Rye flour, rich in simple sugars, tends to favor the production of lactic acid, especially at warmer temperatures. However, a very active rye starter can also produce significant acetic acid, particularly if fed infrequently or kept cool.
The specific blend of these acids, along with other flavor compounds produced during fermentation, creates the complex, often deeply satisfying taste of sourdough rye. A common goal in rye bread troubleshooting tips is achieving a balanced, pleasant sourness that complements the rye flavor without overpowering it.
The maturity of your starter and the duration of fermentation directly impact the accumulation of these acids. A young, recently fed starter might produce less sourness, while an older, hungry starter or a long, slow fermentation will increase acidity. The type of rye flour in the starter also plays a role; darker flours often contribute more robust flavor compounds than lighter ones.
Solution: Controlling the Sourness of Your Rye Starter
Controlling sourness is largely about managing your sourdough starter's environment and feeding schedule, as well as adjusting the fermentation process of your dough.
Maintaining a Balanced Rye Starter
The ratio of flour, water, and existing starter when you feed impacts the balance of yeast and bacteria and thus the flavor. A 'stiffer' starter (lower hydration, e.g., 50-70% hydration) tends to favor acetic acid production, while a 'liquid' starter (higher hydration, e.g., 100-125% hydration) often favors lactic acid. Feeding ratios also matter; feeding a small amount of starter with a large amount of fresh flour and water ("low inoculation") can promote milder flavors, while a higher inoculation can speed up fermentation and potentially increase sourness quickly.
Temperature is critical: warmer temperatures (around 75-80°F or 24-27°C) generally promote lactic acid, while cooler temperatures (65-70°F or 18-21°C) can encourage acetic acid. Experiment with feeding ratios like 1:2:2 (starter:water:flour) for milder results, or 1:5:5 for slower, potentially more complex development.
Adjusting Fermentation Time for Desired Sourness
The duration and temperature of the dough's fermentation (both bulk fermentation and proofing) are powerful levers for controlling sourness. Longer fermentation times, especially in a cooler environment (like proofing in the refrigerator at 38-40°F or 3-4°C for 8-12 hours), allow more time for acids to develop, resulting in a tangier loaf. Shorter, warmer fermentation times will yield a milder flavor.
If your bread is too sour, try shortening the bulk fermentation slightly or proofing at room temperature for a shorter period (e.g., 2-3 hours instead of 4). If it's not sour enough, consider a longer, cooler proof. For example, moving the final shaped loaf to the fridge overnight can significantly increase sourness compared to a 2-hour room temperature proof.
Utilizing a Pre-Ferment for Enhanced Flavor
Incorporating a pre-ferment, such as a rye poolish (equal parts flour and water fermented with a small amount of starter) or a rye sponge (a portion of the flour, water, and starter mixed and allowed to ferment until bubbly), can contribute significant flavor complexity. The ripeness of the pre-ferment at the time of mixing the final dough affects the outcome.
A young, still-rising pre-ferment will add different notes than one that has peaked and is starting to fall. Using a ripe rye pre-ferment (fermented for perhaps 8-12 hours at room temperature until bubbly and slightly collapsed) can boost both sourness and other desirable fermented flavors, providing another useful rye bread troubleshooting tip for flavor control.
Problem 3: Cracked Rye Bread Crust
A beautiful, evenly browned crust is part of the appeal of homemade bread. However, rye loaves can sometimes develop large, unsightly cracks across the top or sides during baking. This isn't always a sign of a bad loaf, but it indicates uncontrolled expansion. While some rustic cracking is acceptable, major fissures suggest the crust set too early, preventing the dough from expanding smoothly as the oven spring occurs.
This premature setting of the crust is typically caused by insufficient moisture on the surface of the dough during the initial phase of baking, or by the dough expanding in an uncontrolled manner because it wasn't scored properly. High oven temperatures without adequate steam are a common contributor. Addressing cracked crusts is a key part of effective rye bread troubleshooting tips, focusing on managing the dough's surface tension and the baking environment.
Why Rye Bread Crusts Crack
Rye dough is less elastic than wheat dough. When placed in a hot oven, the yeast and steam cause a rapid expansion known as oven spring. If the crust has dried out and set too early, it becomes rigid and cannot stretch with the expanding dough. The pressure from the internal expansion then forces the crust to split at its weakest points, often resulting in large, jagged cracks.
Factors contributing to a dry crust include insufficient moisture in the dough itself, not scoring the loaf deeply or effectively enough to create weak points for controlled expansion, or, most commonly, a lack of steam in the oven during the first 10-20 minutes of baking. Dry oven air pulls moisture from the dough's surface, causing the crust to harden prematurely.
Solution: Achieving the Perfect Rye Bread Crust
Preventing cracked rye bread crusts involves ensuring the dough surface remains pliable during oven spring and providing avenues for controlled expansion.
Scoring Techniques for Even Expansion
Scoring, or slashing the dough's surface with a sharp blade (like a lame or razor blade) just before baking, is crucial for controlling where the loaf expands. For less elastic rye dough, simple, relatively deep scores are often most effective. A single slash down the center, a cross shape, or a few parallel slashes are common. These cuts provide predetermined weak points that open neatly as the dough expands, preventing random cracking.
Ensure your blade is sharp and make decisive cuts about 1/2 to 3/4 inch deep. Experiment with different patterns to see what works best for your specific rye bread recipe. Proper scoring is a fundamental rye bread troubleshooting tip for crust appearance.
Controlling Oven Temperature and Humidity
Creating a moist environment in the oven during the initial baking phase is perhaps the most critical step for preventing cracks. Steam keeps the dough surface soft and pliable, allowing it to stretch during oven spring. Many home bakers achieve this using a Dutch oven with a lid for the first portion of the bake (e.g., 20 minutes at 450°F or 230°C), which traps the dough's own steam. Alternatively, you can use a steam pan filled with hot water placed on the bottom rack of your oven, or spray the oven walls with water (carefully!)
just after loading the loaf. Baking at a high initial temperature (like 450-475°F or 230-245°C) also helps maximize oven spring before the crust fully sets. After the initial steaming period, the lid or steam source is removed to allow the crust to crisp and brown.
Adjusting Hydration Levels in Rye Dough
While not the sole cause, a dough that is significantly under-hydrated can develop a drier surface more quickly, making it more susceptible to cracking. Ensure you are using the amount of water specified in the recipe, and consider that different flours absorb water differently. If your dough consistently feels stiff and your crusts crack despite proper scoring and steaming, you might need to increase the hydration slightly in future bakes. Even an increase of 1-2% hydration (e.g., adding 5-10g more water per 500g flour) can make a difference in dough handling and crust development.
Problem 4: Gummy or Sticky Rye Bread Interior
A common and frustrating problem with rye bread is a gummy, sticky, or wet-looking interior crumb. This isn't just an unpleasant texture; it often indicates the bread hasn't fully cooked or was handled improperly after baking. Unlike wheat bread, which has a more open and airy structure when baked correctly, rye's dense nature and high pentosan content make it particularly susceptible to retaining moisture and becoming gummy if conditions aren't ideal.
The primary causes of a gummy rye crumb are underbaking (not reaching a sufficient internal temperature), cutting the loaf before it has cooled completely (trapping steam inside), or sometimes, over-proofing the dough, which can weaken the structure and lead to a collapsed, dense, and potentially gummy interior. Addressing gumminess is a key focus in rye bread troubleshooting tips, requiring attention to baking temperature, time, and post-bake handling.
Diagnosing a Gummy Rye Bread Crumb
A gummy crumb is usually apparent when you slice into the loaf. The knife may drag or stick, and the cut surface looks wet, dense, and often has a uniform, gluey texture rather than distinct pockets of air. The bread might also feel heavy and damp when held.
This issue is distinct from a dense crumb caused by poor rise; while dense, a properly baked and cooled dense rye bread should not feel sticky or gluey. If your loaf looks fine on the outside but is gummy inside, it's almost certainly a baking or cooling issue.
Solution: Baking Rye Bread to Perfection
Ensuring a perfectly baked and non-gummy rye crumb requires patience, especially after the loaf comes out of the oven.
Ensuring Proper Internal Temperature
The most reliable way to know if your rye bread is fully baked is to check its internal temperature with an instant-read thermometer. For most rye breads, a finished internal temperature of 195-210°F (90-99°C) is recommended. Baking until the crust looks done isn't enough; the interior needs to reach this temperature to ensure the starches are properly set and moisture has been driven off.
Baking times can vary significantly based on loaf size and oven calibration, so a thermometer is invaluable. If your bread is gummy, try baking it for an additional 5-15 minutes, checking the temperature periodically, until it reaches the target range.
Cooling Rye Bread Correctly
This is perhaps the most critical step in preventing a gummy rye crumb. Rye bread must be cooled completely on a wire rack before slicing. As the bread cools, residual heat continues to cook the interior slightly, and, more importantly, internal moisture redistributes evenly throughout the loaf. If you slice into a warm rye loaf, the steam escapes, leaving a dense, wet, and gummy band just below the crust.
Depending on the size and density of the loaf, this cooling period can take anywhere from 2 to 4 hours, sometimes even longer for very large, dense loaves like a 100% pumpernickel. Patience is key here; wait until the loaf is fully cooled to room temperature before slicing. This is a non-negotiable rye bread troubleshooting tip!
Avoiding Over-Proofing
While underbaking and improper cooling are the primary causes of gumminess, severe over-proofing can also contribute. An over-proofed rye dough loses some of its structural integrity. While it may still bake through, the resulting crumb can be denser and potentially more prone to retaining moisture in a way that leads to a slightly gummy texture, even if fully baked and cooled. Pay attention to the proofing stage as discussed in the section on density.
Problem 5: Flat Rye Bread
Another common disappointment is a rye loaf that spreads outwards more than it rises upwards, resulting in a flat, squat bread. This lack of vertical volume is usually due to insufficient leavening power or a dough structure that isn't strong enough to support the rise. Rye dough, being less elastic, is already predisposed to spreading, so ensuring everything is optimized for maximum lift is essential.
Flatness often stems from issues with the sourdough starter itself – if it's not active and vigorous, it won't produce enough gas to lift the heavy rye dough. Other causes include insufficient fermentation time (not allowing the yeast enough time to produce gas), or a dough that is too wet or hasn't been shaped with enough surface tension to hold its shape during proofing and baking. Effective rye bread troubleshooting tips for flatness focus on boosting leavening and structure.
Why Your Rye Bread Didn't Rise
The main reason rye bread turns out flat is inadequate gas production combined with a weak dough structure. Unlike wheat, rye doesn't form a strong gluten network to trap gas effectively. It relies more on the pentosans and the relatively weaker structure they provide, plus the gentle support from any wheat flour present.
If your sourdough starter is sluggish, or if the dough hasn't fermented long enough for the yeast to produce a significant amount of carbon dioxide, there simply isn't enough leavening power to overcome the dough's density. Furthermore, if the dough is too high in hydration without sufficient structure, or if it wasn't shaped properly to create surface tension, it will spread outwards instead of rising upwards when it hits the heat of the oven.
Solution: Maximizing Rye Bread Rise
Maximizing the rise in rye bread involves ensuring your leavening is strong and giving the dough the best possible chance to expand upwards.
Using a Strong Rye Starter
The health and activity of your sourdough starter are paramount for good rise in rye bread. Ensure your starter is vigorous, bubbly, and has at least doubled (or significantly increased) in volume after its last feeding before you use it. It should smell pleasantly fermented, not overly acidic or like acetone.
Using a starter that is past its peak activity or one that hasn't been fed regularly will result in poor leavening power and a flat loaf. Try feeding your starter with fresh rye flour 4-12 hours before you plan to mix your dough to ensure it's at peak activity. For example, if your starter peaks after 6 hours at room temp, use it when it's bubbly and active around that time frame.
Adding Vital Wheat Gluten (If Necessary)
For recipes with a high percentage of rye flour (e.g., 60% or more), adding a small amount of vital wheat gluten can significantly improve the dough's structure and its ability to trap gas and rise. Vital wheat gluten is a concentrated form of the protein found in wheat.
Adding just 1% to 3% of the total flour weight (e.g., 5-15g for a loaf using 500g total flour) can provide a noticeable boost in dough strength and loaf volume, helping to combat flatness, especially in more challenging, high-rye formulas. This is a powerful rye bread troubleshooting tip for increasing loaf height.
Optimizing Oven Spring
Oven spring is the final burst of rise that occurs in the first 10-15 minutes of baking as the yeast activity rapidly increases and trapped gases expand in the hot oven. To maximize this, ensure your oven is fully preheated to the correct temperature (often 450-475°F or 230-245°C) before you put the bread in. As mentioned in the crust section, using steam during this initial phase is also crucial.
The moist environment keeps the crust pliable, allowing the dough to expand freely upwards. A hot oven and proper steam are essential for achieving good oven spring and preventing flat rye bread.
Advanced Rye Bread Troubleshooting Tips
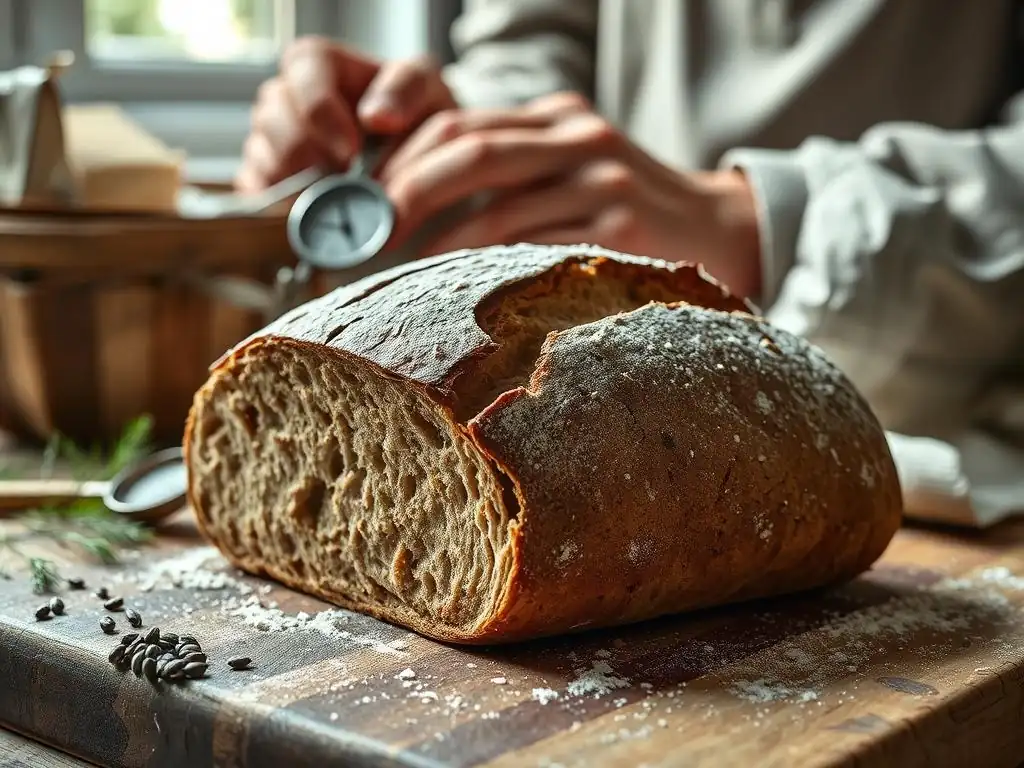
Dealing with Specific Rye Flour Issues
Working with different types of rye flour presents unique challenges. Light rye flour, for instance, behaves somewhat similarly to wheat flour and is often used in blended loaves for a lighter texture. However, it can still lead to density if not handled correctly, particularly regarding hydration and proofing sensitivity.
Dark rye flour and pumpernickel flour, on the other hand, contain more bran and germ, absorb significantly more water due to their high pentosan content, and result in naturally denser loaves with less potential for volume. Troubleshooting rye bread made with these flours requires understanding their higher hydration needs and gentler handling during mixing and shaping, as excessive manipulation can break down their fragile structure.
Furthermore, the grind of the flour matters. A finely ground dark rye will hydrate differently than a coarsely ground pumpernickel. A coarse pumpernickel might require a longer soaking period, perhaps overnight, or a scald (mixing a portion of the flour with hot liquid) to fully hydrate the starches and pentosans and prevent gumminess.
For example, a typical pumpernickel recipe might use 80% hydration or higher, plus a scald, whereas a light rye loaf might be closer to 65-70% hydration. Pay close attention to the recipe's specified flour type and hydration, and be prepared to make minor adjustments based on how the dough feels, as flour absorption can vary by brand and even batch.
Adjusting Recipes for Different Environments
Baking is highly sensitive to environmental factors like altitude, humidity, and ambient temperature. These factors significantly impact fermentation rates and hydration needs, making them crucial considerations in rye bread troubleshooting tips. At high altitudes (roughly 3,000 feet or 900 meters and above), atmospheric pressure is lower. This means dough rises faster, but also dries out more quickly, and liquids evaporate more readily. To compensate, you might need to slightly decrease the amount of liquid, increase the proofing time, or use a slightly cooler fermentation temperature.
In humid environments, flour absorbs moisture from the air, meaning you might need to use slightly less liquid in your dough. Conversely, in dry environments, dough dries out faster, and fermentation can be slower due to less optimal hydration; you might need slightly more liquid and perhaps a warmer spot for proofing. Ambient temperature directly affects fermentation speed: warmer temperatures accelerate yeast and bacterial activity, while cooler temperatures slow them down.
If your kitchen is warm (above 75°F or 24°C), fermentation times will be shorter; if it's cool (below 70°F or 21°C), they will be longer. Be prepared to adjust fermentation times based on your kitchen's temperature, watching the dough rather than strictly following recipe times.
Troubleshooting Specific Rye Bread Recipes - Example: Borodinsky Bread
Let's consider a specific example like Borodinsky bread, a classic Russian rye known for its dark color, dense, moist crumb, and unique flavor profile from coriander and malt. Troubleshooting Borodinsky involves addressing issues specific to its composition and method. A common problem is a sticky or gummy crumb, often due to the scald (a mix of rye flour, malt, and boiling water) not being properly prepared or the loaf being underbaked or cut too early. The scald needs time to cool and for enzymes (if diastatic malt is used) to work, often hours.
Another issue is insufficient flavor development or color. This could be due to using the wrong type of malt (roasted rye malt is traditional for color and flavor, not just diastatic malt for enzymatic activity) or not allowing the dough to ferment long enough for the dark, rich flavors to develop.
A weak rise in Borodinsky is often tied to a sluggish starter or not giving the complex dough enough time to rise, as the heavy scald and high percentage of rye slow fermentation. Rye bread troubleshooting tips for a recipe like Borodinsky emphasize verifying the scald process, using the correct malt, ensuring a long, potentially warm bulk fermentation (sometimes 3-5 hours), and confirming the internal temperature (around 205-210°F or 96-99°C) before cooling completely for many hours (often 6-12+).
Rye Bread Baking Best Practices: Prevention is Key
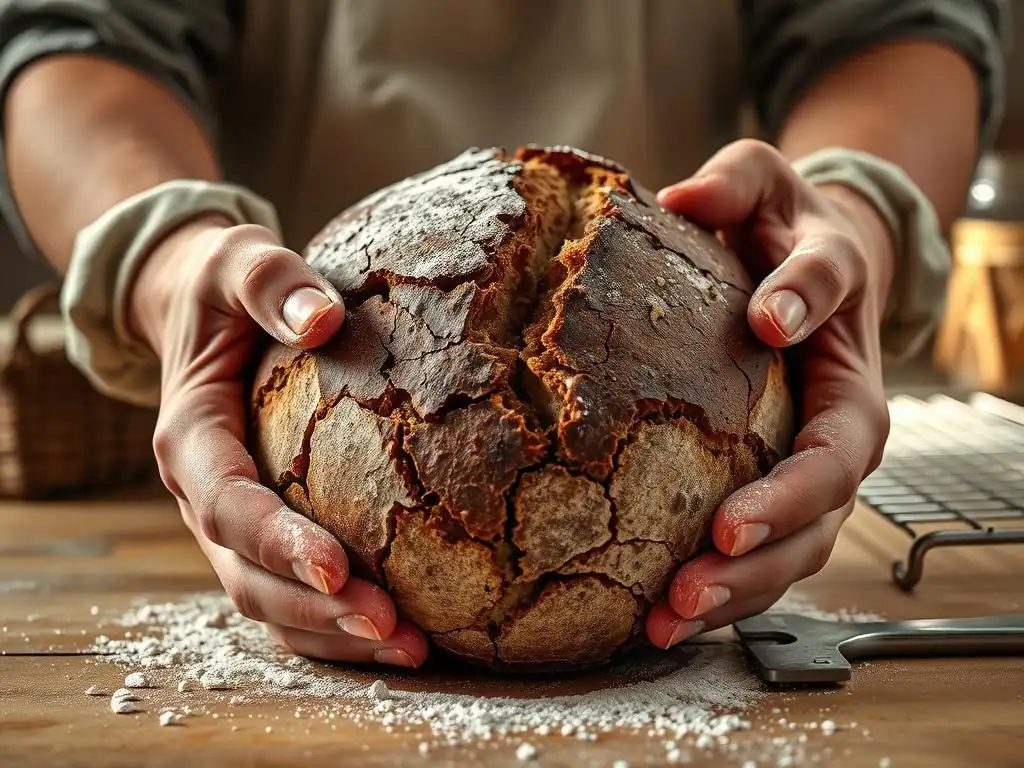
While troubleshooting rye bread problems is valuable, adopting best practices from the start is the surest path to consistent success. Many common issues can be avoided by focusing on foundational elements like ingredient quality, starter health, and precision in your technique. Building good habits in these areas will make your baking journey smoother and more rewarding.
Approaching rye baking with patience and attention to detail pays dividends. Unlike forgiving wheat doughs, rye demands a bit more understanding of its unique properties. By mastering the basics outlined below, you'll significantly reduce the likelihood of encountering disappointing results and increase your confidence in working with this rewarding grain.
Choosing High-Quality Rye Flour
The quality of your rye flour significantly impacts the outcome of your bread. Look for fresh, reputable brands of rye flour. Flour that has been sitting on a shelf for too long can lose potency and flavor. Different types of rye flour (light, medium, dark, pumpernickel) have varying protein, bran, and germ content, affecting hydration, fermentation, and final texture. For example, using a high-quality, freshly milled dark rye will yield a different result than a standard supermarket light rye.
Consider the source and milling process if possible. Stone-ground flours often retain more nutrients and flavor but may require slightly different hydration than roller-milled flours. Store your rye flour properly in an airtight container in a cool, dark place, or the refrigerator/freezer if you bake infrequently, to maintain freshness and prevent spoilage. Using fresh, appropriate flour is a fundamental rye bread troubleshooting tip for preventing issues before they start.
Mastering the Art of Rye Starter Management
A healthy, active sourdough starter is the engine for most artisan rye breads. Since rye flour is so fermentable, rye starters can be very vigorous, but they also require consistent care. Understand your starter's feeding schedule and hydration needs. A 100% hydration rye starter (equal weight flour and water) is common and often very active. Feed it regularly (daily if kept at room temperature, less often if refrigerated) to keep the yeast and bacteria populations balanced and strong.
Learn to recognize the signs of a healthy starter: consistent doubling (or significant increase) in volume after feeding, lots of bubbles, a pleasant, tangy aroma (not overly acidic or alcoholic), and the ability to pass a float test (a small piece floats in water, though this is less reliable for very heavy rye starters). Using your starter at its peak activity (typically a few hours after feeding, when it's most bubbly and before it starts to fall) is crucial for providing enough leavening power for rye dough.
Consistent starter management is perhaps the most important preventative rye bread troubleshooting tip.
Precise Measuring and Mixing Techniques
Accuracy in measuring ingredients is vital in baking, especially with rye where hydration is critical and the dough can be less forgiving. Using a digital scale to weigh ingredients (grams are most accurate) is highly recommended over volume measurements (cups). Small errors in flour or water amounts can significantly affect the dough's consistency and the final bread's outcome. For instance, an extra 20 grams of water per 500 grams of flour can change a manageable dough into a very sticky one.
Mixing rye dough is different from kneading wheat dough. As discussed earlier, excessive kneading won't develop a strong gluten network and can even damage the dough's structure. Mix until the ingredients are just combined and no dry flour remains.
Rye dough is often sticky; resist the urge to add too much extra flour during mixing or handling. Techniques like the autolyse or simply allowing the dough to rest for 20-30 minutes after initial mixing (before adding salt or starter) can help the flour hydrate more fully without extensive mixing. Gentle folding during bulk fermentation is usually sufficient to build the necessary structure for rye.
Conclusion: Enjoying Your Homemade Rye Bread
BakeWithEase: Your Partner in Rye Bread Success
Baking rye bread is a journey that offers unique rewards, from the earthy aroma filling your kitchen to the satisfying, distinctive flavor of a homemade loaf. While it presents its own set of challenges compared to baking with wheat, these challenges are entirely surmountable with a little knowledge and practice. At BakeWithEase, our goal is to empower you with the understanding and rye bread troubleshooting tips you need to tackle these issues head-on and turn potential failures into learning opportunities.
Don't be discouraged by a dense loaf or a cracked crust on your first few attempts. Every bake teaches you something about your ingredients, your starter, and your environment. Rye flour is sensitive and unique, and mastering it takes time and patience. By focusing on the quality of your ingredients, maintaining a healthy starter, being precise in your measurements, and understanding the nuances of proofing and baking rye, you are well on your way to consistent success. We're here to support you every step of the way as you refine your skills and gain confidence.
Resources for Further Rye Bread Baking Knowledge
Continue your rye bread baking education by exploring the wealth of information available. BakeWithEase offers numerous articles covering everything from sourdough starter maintenance to the specifics of working with different types of flour. Consider keeping a baking journal to record your process, observations, and results for each bake – noting details like room temperature, flour brand, fermentation times, and any adjustments made. This is an invaluable tool for identifying patterns and troubleshooting specific issues you encounter.
Practice is the best teacher. Try different rye recipes, experiment with varying percentages of rye and wheat, and observe how changes in hydration, fermentation time, and baking technique affect the final loaf. Engage with the baking community online or in person to share experiences and learn from others. The world of rye bread is vast and fascinating, encompassing everything from light deli rye to dark, complex pumpernickel and traditional European loaves. With dedication and the right knowledge, you'll soon be enjoying consistently delicious homemade rye bread.
Frequently Asked Questions
What are some common issues bakers face when making rye bread?
Common issues include a dense crumb, a lack of rise, and a sour or bitter taste. These can often be traced back to incorrect hydration, proofing, or starter activity.
Why is my rye bread so dense and heavy?
A dense rye bread is often caused by insufficient gluten development or over-proofing. Using too much rye flour without enough strong bread flour can also contribute.
My rye bread didn't rise properly. What went wrong?
A poor rise can result from an inactive starter, using expired yeast, or not allowing enough time for proofing. Temperature plays a crucial role in yeast activity.
How can I avoid a bitter or overly sour taste in my rye bread?
To avoid bitterness, ensure your rye flour is fresh and that your starter is properly fed and balanced. Over-fermentation can also lead to an overly sour flavor.
What are some essential ingredients for successful rye bread baking, besides rye flour?
Besides rye flour, essential ingredients include a strong bread flour (for gluten development), a healthy starter or yeast, and sometimes caraway seeds for flavor.
Final Reflection: The Enduring Allure of a Perfect Rye
The quest for the perfect rye loaf is a journey, not a destination, and its challenges reflect our own pursuit of mastery in any craft. From stubbornly dense crumb to an uncooperative rise, the hurdles encountered in rye bread baking mirror the complexities we face in life. This guide has explored common pitfalls and offered solutions, but the true reward lies not just in a flawlessly textured loaf, but in the process itself.
The art of baking rye, with its unique demands and rewarding outcomes, speaks to a deeper human need for connection – to tradition, to the earth, and to the satisfaction of creating something beautiful from simple ingredients. Bread is the staff of life,
a simple phrase, yet it captures the profound significance of this humble food, a symbol of sustenance and community throughout history. The struggles and triumphs in rye bread baking become microcosms of our larger life experiences, teaching patience, resilience, and the importance of attention to detail.
Now, consider your own "rye bread" – that challenge, project, or aspiration that seems to constantly test your limits. What adjustments can you make to your approach? What lessons from this guide can you apply to overcome your own obstacles? Embrace the process, learn from each failure, and savor the sweet taste of success when your "loaf" finally rises to meet your expectations. The journey towards mastery is a continuous one, and the rewards are immeasurable.
Unlock Your Rye Bread Potential!
Thanks for taking the time to delve into the world of rye bread baking! We hope you've gained valuable insights and newfound confidence in your baking skills. Now it's time to put that knowledge into action.
- Bake your perfect loaf: Use what you've learned to create your own delicious rye bread. Experiment with different flours and techniques! Don't be afraid to tweak the recipe and make it your own.
- Share your rye-bread journey: Post a picture of your creation on social media and tag us @BakeWithEase – we'd love to see your results!
- Join our baking community: Share your tips, tricks, and even your baking mishaps in the comments below. Let's learn from each other!
Ready to transform your baking? What unique ingredient will you add to your next rye loaf?