
Troubleshooting Meringue: Fix Weeping, Deflating, and Cracks Like a Pro

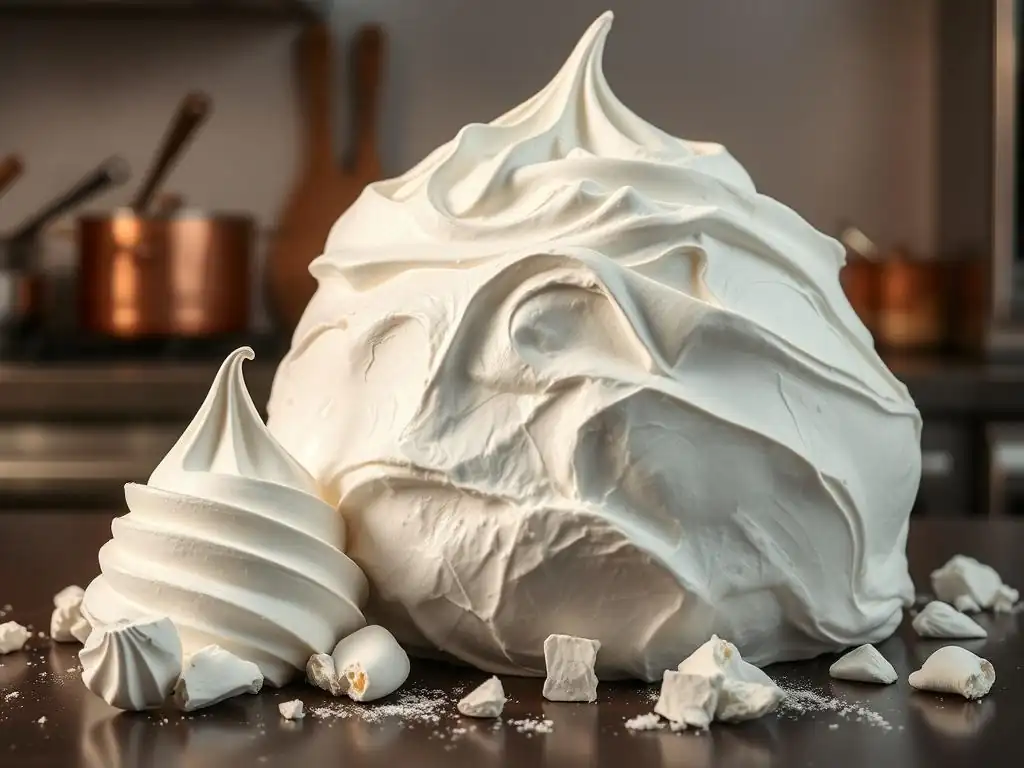
Welcome to BakeWithEase, your haven for baking mastery! Ever wrestled with a perfectly whipped meringue only to watch it weep, deflate, or crack before your eyes? This guide is your comprehensive lifeline. Dive in to discover proven techniques to fix meringue weeping, deflation, and cracking, unlocking the secrets to flawless, show-stopping desserts. Ready to conquer your meringue fears? Let's get baking!
- Introduction to Meringue Troubleshooting
- Understanding Meringue Problems: Weeping, Deflation, and Cracking
- Meringue Weeping Fix: Solutions for a Perfect Meringue
- Meringue Deflation Solutions: Maintaining Volume and Structure
- Fixing Meringue Cracking: Achieving a Smooth Surface
- Specific Meringue Types and Their Troubleshooting
- General Meringue Baking Tips for Perfect Results
- Advanced Meringue Techniques and Troubleshooting
- Conclusion: Mastering Meringue Troubleshooting
-
Frequently Asked Questions
- What causes meringue to weep?
- Why does my meringue deflate after baking?
- How can I prevent my meringue from cracking?
- What type of sugar is best for making meringue and avoiding issues like weeping or deflation?
- What are some common mistakes that lead to meringue problems like deflation, cracking, and weeping, and how can I avoid them?
- Final Reflection: Mastering the Delicate Art of the Meringue
- Unlock Your Perfect Meringue: Master the Art of Fluffy Peaks!
Introduction to Meringue Troubleshooting
Ah, meringue! That cloud-like confection of whipped egg whites and sugar, essential for everything from lemon meringue pie to delicate meringue kisses. When it works, it's pure magic – light, airy, and beautifully structured. But sometimes, meringue can be... well, temperamental. You might encounter the dreaded meringue weeping fix challenge, the disappointment of sudden deflation, or the frustration of a cracked surface.
Don't worry, these are common hurdles in the baking world! Understanding why these issues occur is the first step to preventing them and achieving consistently perfect results. This guide will walk you through the common problems of meringue weeping, deflation, and cracking, providing practical tips and techniques to fix them like a seasoned pro. Let's get those meringues looking and tasting their best!
Understanding Meringue Problems: Weeping, Deflation, and Cracking
Meringue, despite its simple ingredients, is a delicate balance of protein structure and sugar stability. When this balance is disrupted, common problems arise. Weeping, deflation, and cracking are the most frequent issues bakers face. Each points to a specific breakdown in the meringue's structure or an environmental factor that needs addressing. Learning to identify the symptoms and their root causes is key to mastering meringue and avoiding these pitfalls.
What Causes Meringue Weeping?
Meringue weeping, also known as syneresis, is when beads or puddles of liquid form on the surface of the baked meringue. This liquid is essentially sugar syrup that has separated from the egg white structure. It's a sign that the sugar hasn't been fully dissolved or properly incorporated, or that the meringue wasn't baked or dried sufficiently.
One primary cause is insufficient baking time or temperature. If the meringue doesn't bake long enough at a low temperature, the protein structure isn't adequately set, and the trapped moisture (from the egg whites and potentially undissolved sugar) leaches out as it cools. Another significant factor is humidity; high moisture in the air can prevent the meringue from drying out properly during baking and can even cause it to absorb moisture post-baking, leading to weeping. Using too little sugar relative to the egg whites can also contribute, as sugar helps stabilize the protein foam and holds onto moisture.
Why Does Meringue Deflate?
Meringue deflation is the sad collapse of that beautiful, airy structure you worked so hard to create. This usually happens after the meringue is baked or during cooling. It's a sign that the protein foam, which holds the air bubbles, wasn't strong enough or was somehow compromised.
Over-whipping egg whites can break down the protein structure, making them unstable and prone to collapse. Conversely, under-whipping means the foam isn't strong enough to hold its shape and volume. Adding sugar too quickly can also shock the egg whites and cause deflation by breaking down the air pockets. Furthermore, sudden temperature changes, like opening the oven door too early or cooling the meringue too quickly in a drafty area, can cause the trapped air to contract rapidly, leading to shrinking and deflation.
Meringue Cracking Explained
Cracks on the surface of a baked meringue can mar its appearance, although they don't always affect the taste. Cracking indicates that the outer layer of the meringue dried and set too quickly while the interior was still expanding or contracting at a different rate. It's often a sign of temperature issues during baking.
Baking meringue at too high a temperature is a common culprit. A high heat causes the outside to set rapidly into a rigid shell. As the moisture inside evaporates and the meringue structure shifts, this rigid shell can't flex, leading to cracks. Over-whipping the egg whites can also make the meringue more fragile and prone to cracking, as the cell walls of the air bubbles become too thin. Rapid cooling or exposing the hot meringue to a sudden draft of cold air can also cause the surface to contract too quickly, resulting in cracks.
Meringue Weeping Fix: Solutions for a Perfect Meringue
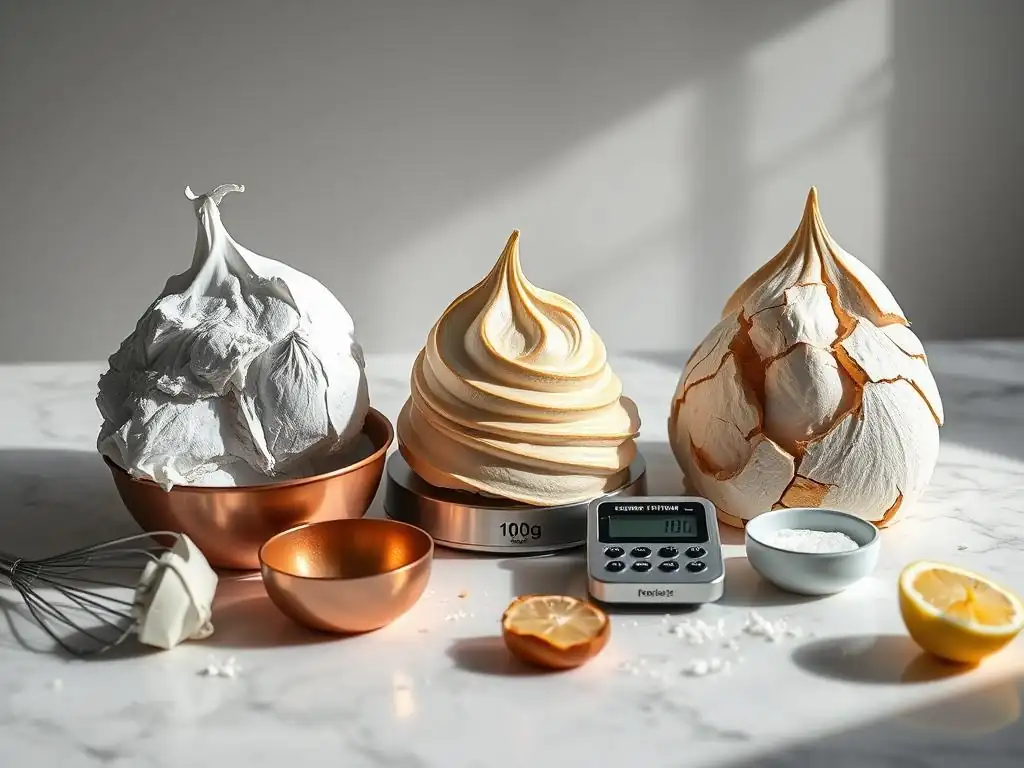
Tackling meringue weeping requires attention to detail at several stages: preparation, baking, and even the environment. By addressing these factors, you can significantly reduce the chances of your meringue "crying."
Reducing Humidity to Prevent Meringue Weeping
High humidity is a major enemy of dry meringues. Egg whites are hydrophilic, meaning they attract and hold onto water, and sugar is also hygroscopic. On a humid day, the meringue can absorb moisture from the air, leading to weeping.
To combat this, try to bake meringue on a low-humidity day if possible. If you must bake when it's humid, use a dehumidifier in your kitchen or run your air conditioning. Ensure your oven is properly calibrated, as consistent low heat is crucial for drying out the meringue structure without cooking it too fast. Some bakers find slightly extending the low-temperature drying time can help, ensuring the meringue is thoroughly dried through the center, making it less susceptible to absorbing moisture later.
The Role of Sugar: Using the Right Amount
Sugar plays a vital role in stabilizing meringue and preventing weeping. It binds with the egg white proteins, creating a stronger, more stable foam, and helps absorb moisture. Using the correct ratio of sugar to egg white is critical. A common ratio for stable meringue is roughly 2:1 sugar to egg white by weight, although this can vary slightly depending on the recipe and intended use.
More importantly, the sugar must be completely dissolved into the egg whites. Undissolved sugar crystals attract moisture and are a primary cause of weeping. Adding the sugar very slowly, a tablespoon at a time, while the mixer is running on medium-high speed, gives the sugar crystals time to dissolve. Rubbing a small amount of the whipped meringue between your fingers should feel smooth, not gritty. If it feels gritty, keep mixing until it's smooth before adding more sugar.
Baking Time and Temperature for Weeping Prevention
Proper baking (or drying) is perhaps the most critical step in preventing meringue weeping. Meringue isn't "baked" in the traditional sense; it's dried out at a very low temperature to set the protein structure and evaporate moisture. High temperatures cook the protein too fast, causing it to shrink and squeeze out liquid.
For most meringues meant to be crisp and dry (like meringue kisses or shells), a low oven temperature is essential, typically ranging from 200°F to 250°F (90°C to 120°C). The baking time will be long, from 1 to 3 hours or even longer, depending on the size and thickness of the meringue. The goal is for the meringue to feel light and dry all the way through.
If it feels heavy or soft in the center, it needs more drying time. A common test is to lift a meringue; if it peels easily off the parchment paper and feels light, it's likely done.
Stabilizing Meringue: Adding Cream of Tartar or Cornstarch
Adding a small amount of an acidic stabilizer like cream of tartar or a starch like cornstarch can significantly improve meringue's structure and resistance to weeping. Cream of tartar helps create a stronger, more stable foam by lowering the pH of the egg whites, which strengthens the protein bonds.
A typical ratio is about 1/8 teaspoon of cream of tartar per large egg white. It's usually added after the egg whites have become frothy but before the sugar is added. Cornstarch, on the other hand, works by absorbing moisture. About 1 teaspoon of cornstarch per two large egg whites, often whisked with the sugar before adding it to the egg whites, can help prevent weeping, especially in pie toppings which aren't dried as thoroughly as crisp meringues. These stabilizers provide extra insurance against the common causes of meringue weeping, deflation, cracking fix challenges.
Meringue Deflation Solutions: Maintaining Volume and Structure
Achieving and maintaining that beautiful volume in meringue is all about building a strong, stable foam. This starts with proper egg white preparation and continues through mixing, baking, and cooling.
Egg White Preparation: Achieving Stiff Peaks
The foundation of a voluminous meringue is properly whipped egg whites. They must be whipped to the correct consistency – typically stiff peaks. Room temperature egg whites whip up to a greater volume than cold ones because the proteins are more relaxed and can stretch further to trap air. Ensure your eggs are at room temperature before starting; letting them sit out for 30 minutes to an hour usually does the trick.
Whip the egg whites on medium speed until they are frothy, then increase the speed to medium-high or high. Continue whipping until they hold stiff peaks. Stiff peaks stand straight up when the whisk is lifted. Be careful not to over-whip, as this can cause the proteins to break down and the meringue to look curdled and lose volume. Under-whipping won't create a strong enough structure, leading to easy deflation.
Sugar Incorporation Techniques: Preventing Deflation During Mixing
Sugar is essential for stabilizing the whipped egg whites, but how you add it makes a big difference in preventing deflation. The key is to add the sugar gradually, allowing it time to dissolve and integrate into the protein structure without collapsing the foam.
Once your egg whites have reached soft peaks (they hold a shape but the tip curls over), begin adding the sugar, typically granulated sugar or superfine sugar. Add it one tablespoon at a time, whipping continuously on medium-high speed. Wait about 15-30 seconds between additions to give the sugar time to dissolve.
This slow process allows the meringue structure to strengthen progressively as more sugar is incorporated. Adding sugar too quickly, especially dumping it all in at once, can weigh down the foam and cause immediate deflation. Continue whipping until all the sugar is added and the meringue is glossy and holds stiff peaks.
Oven Temperature Control: Maintaining Meringue Volume During Baking
While we discussed low temperatures for preventing weeping, controlling the temperature is also crucial for maintaining volume and avoiding deflation during baking. Too high a temperature can cause the meringue to rise too quickly, creating large, unstable air pockets that are prone to collapsing.
Baking at a low, consistent temperature allows the meringue to dry out and set its structure slowly and evenly. For meringues requiring a crisp exterior, a temperature between 200°F and 250°F (90°C to 120°C) is ideal. For meringue pie toppings, which are typically baked at a higher temperature for a shorter time to brown the peaks, ensure the base pie filling is hot when the meringue is applied.
This helps set the bottom of the meringue quickly, providing a stable base before the top browns. Avoid opening the oven door frequently while the meringue is baking, as fluctuations in temperature can cause it to shrink.
Cooling Meringue Properly: Preventing Shrinking and Deflation
How you cool your meringue is just as important as how you bake it. Sudden temperature changes are a major cause of shrinking and deflation.
For dry, crisp meringues (like cookies or shells), the best method is often to turn off the oven once the baking time is complete and leave the meringue inside with the door slightly ajar. This allows the meringue to cool down very gradually with the oven, preventing a sudden shock. For meringue pie toppings, which are usually served warm or at room temperature, cooling should happen away from drafts.
Let the pie cool on a wire rack in a stable temperature environment. Avoid placing it directly in front of an open window or fan. This slow, gentle cooling process helps the meringue maintain its volume and prevents the structure from collapsing as it cools.
Fixing Meringue Cracking: Achieving a Smooth Surface
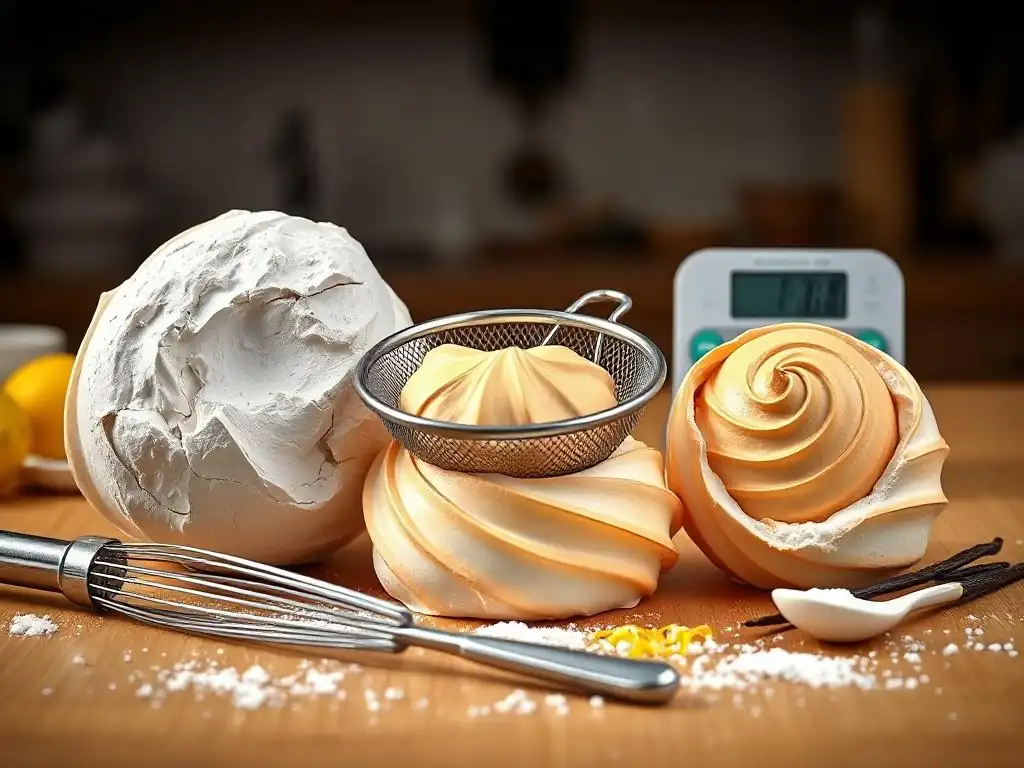
A smooth, unblemished meringue surface is often the goal, especially for decorative purposes. Preventing cracks involves careful handling, proper mixing, and controlled baking conditions.
Proper Mixing Techniques to Avoid Cracks
Over-mixing egg whites can make the meringue brittle once baked, increasing the likelihood of cracking. When egg whites are over-whipped, the protein network becomes too tight and rigid, and the air bubbles can become uneven in size, with some becoming very large and unstable.
Whip your egg whites only until stiff peaks are just achieved. The meringue should look glossy and smooth. If it starts to look dull, grainy, or curdled, it's likely over-whipped. While you can sometimes try to salvage slightly over-whipped meringue by gently folding in an extra egg white, it's best to avoid this stage altogether. Stop mixing as soon as the meringue holds its shape firmly. This creates a more pliable, less brittle structure that is more resistant to cracking during the drying process.
Controlling Oven Temperature for Crack-Free Meringue
As mentioned earlier, high temperatures cause the meringue surface to set too quickly, leading to cracks. Baking meringue low and slow is the most effective strategy for preventing cracks.
Maintain a consistent oven temperature between 200°F and 250°F (90°C to 120°C) for crisp meringues. This allows the meringue to dry out slowly and evenly from the inside out. The outer layer sets gradually, remaining flexible enough to accommodate the subtle shifts occurring within the meringue structure as moisture evaporates. For meringue pie toppings baked at higher heat, monitor them closely and remove the pie from the oven as soon as the peaks are golden brown. Over-baking at higher temperatures will guarantee a cracked surface.
Avoiding Rapid Temperature Changes
Sudden changes in temperature are particularly detrimental to meringue's surface integrity. Just like cooling too quickly can cause deflation, it can also lead to cracking as the outer layer contracts rapidly.
Once your meringue is baked, especially crisp meringues, avoid pulling them immediately out of a hot oven into a cool kitchen. This sudden shock can cause the surface to fracture. Instead, turn off the oven and leave the meringues inside to cool gradually with the oven, as recommended for preventing deflation. For meringue pie toppings, avoid placing the hot pie directly into the refrigerator or in a drafty area. Allow it to cool gradually at room temperature. This slow, controlled cooling minimizes stress on the baked meringue surface, helping it remain smooth and crack-free.
Humidity Control to Prevent Cracks
While less direct a cause than temperature issues, high humidity can indirectly contribute to cracking. In a very humid environment, the meringue may struggle to dry out properly, leading to an uneven setting process. The outer layer might try to set while the interior remains too moist.
Maintaining a dry environment during baking and cooling is beneficial not only for preventing meringue weeping but also for promoting even drying that helps avoid cracks. Using a dehumidifier or AC can help. Ensure your oven is properly vented, allowing moisture to escape during the drying process. A well-dried meringue with a uniformly set structure is far less likely to develop cracks than one that has dried unevenly due to excess moisture.
Specific Meringue Types and Their Troubleshooting
Meringue isn't just one thing; there are several types, each made with slightly different techniques and prone to unique issues. Understanding these differences helps with targeted meringue weeping, deflation, cracking fix approaches.
Italian Meringue Troubleshooting
Italian meringue is made by pouring hot sugar syrup (heated to the soft-ball stage, typically 240-245°F or 115-118°C) into whipping egg whites. This creates a very stable, glossy meringue that is cooked by the hot syrup. It's less prone to weeping than French meringue because the sugar is fully dissolved and the egg whites are partially cooked.
- Issue: Syrup crystallizing: If your sugar syrup crystallizes instead of staying liquid, it could be due to sugar crystals on the side of the pan or stirring the syrup while it boils. Avoid stirring once the sugar dissolves and wipe down the sides of the pan with a wet pastry brush.
- Issue: Meringue isn't stiff: The syrup wasn't hot enough. It needs to reach the soft-ball stage temperature to properly cook and stabilize the egg whites. Use a candy thermometer! Also, ensure the egg whites are whipped to soft peaks before adding the syrup.
- Issue: Meringue is lumpy: The syrup was added too quickly or directly onto the whisk attachment instead of down the side of the bowl. Pour the syrup in a slow, steady stream down the side of the bowl while the mixer is running on medium speed.
Swiss Meringue Troubleshooting
Swiss meringue is made by gently heating egg whites and sugar together over a double boiler (or bain-marie) while whisking, until the sugar is dissolved and the mixture reaches about 130-140°F (54-60°C). Then, it's whipped off the heat until stiff peaks form and it cools. Like Italian, it's more stable than French meringue due to the heating step.
- Issue: Sugar not dissolving: The mixture wasn't heated enough or whisked sufficiently over the heat. Ensure the water in the double boiler is simmering, not boiling rapidly, and whisk constantly until no sugar grittiness remains when rubbed between your fingers.
- Issue: Meringue isn't glossy or stiff: The mixture wasn't heated to the correct temperature, or it wasn't whipped long enough after heating. It needs sufficient heat to denature the proteins slightly and dissolve the sugar, and then enough whipping time off the heat to cool and build a strong structure.
- Issue: Grainy texture: Sugar wasn't fully dissolved over the heat. Go back to the double boiler stage if possible, or accept a slightly less smooth texture.
French Meringue Troubleshooting
French meringue is the simplest, made by whipping raw egg whites and gradually adding sugar. It's the least stable and most prone to weeping and deflation because the egg whites are raw and the sugar might not be fully dissolved. It's best used immediately or for meringues that will be baked low and slow until completely dry.
- Issue: Weeping (most common): Sugar not fully dissolved or insufficient drying time. Ensure sugar is added slowly and whipped until no grittiness remains. Bake at a very low temperature (200-225°F / 90-105°C) for a long time until completely dry.
- Issue: Deflation: Over-whipping or under-whipping the egg whites, or adding sugar too quickly. Whip only to stiff peaks and add sugar gradually.
- Issue: Grainy texture: Undissolved sugar. This is a frequent issue with French meringue if the sugar isn quickly incorporated and dissolved. Using superfine (caster) sugar can help, as it dissolves more easily than granulated sugar.
General Meringue Baking Tips for Perfect Results
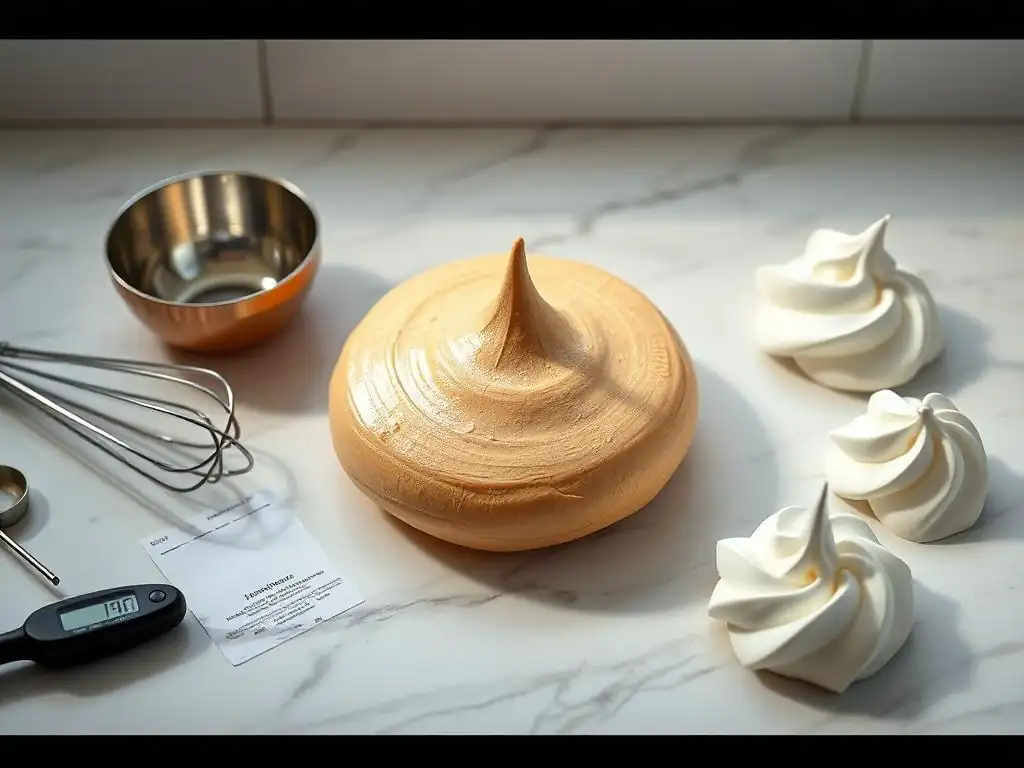
Beyond specific troubleshooting for meringue weeping, deflation, cracking fix scenarios, a few general practices can drastically improve your meringue success rate regardless of the type.
Ensuring Clean Equipment
Any trace of fat or egg yolk in your mixing bowl or on your whisk attachment will prevent egg whites from whipping properly. Fat interferes with the protein structure needed to build a stable foam.
- Task List:
- Use a clean, dry glass or metal mixing bowl (plastic bowls can harbor greasy residues).
- Wash your bowl and whisk thoroughly in hot, soapy water, then dry completely.
- Wipe down the bowl and whisk with a paper towel dipped in a little white vinegar or lemon juice, then dry again, for extra assurance.
- Carefully separate eggs, ensuring absolutely no yolk gets into the egg whites. Even a tiny drop is enough to ruin the meringue.
Using Fresh Eggs
While some bakers prefer slightly older eggs for easier separation, very fresh eggs (within a week or two of laying) tend to have stronger, thicker whites which can produce a more stable meringue foam.
Fresh egg whites have a higher protein content relative to water, which helps them whip up into a denser, more stable foam. Using room temperature fresh eggs is ideal for achieving maximum volume and stability. While carton egg whites can work, fresh eggs typically yield the best results for delicate meringues where structure is paramount.
Storing Meringue Properly
Baked meringues are highly susceptible to moisture from the air, which can cause them to become sticky, chewy, or even weep. Proper storage is key to maintaining their crisp texture.
Once completely cooled, store crisp meringues in an airtight container at room temperature. Avoid refrigerating them, as the humid environment of a refrigerator will cause them to absorb moisture and lose their crispness. If you live in a very humid climate, you might consider adding a moisture absorber packet (like silica gel, ensuring it's food-safe and separated from the meringue) to the container. Meringue pie toppings, of course, cannot be stored long-term and are best enjoyed the day they are made.
Advanced Meringue Techniques and Troubleshooting
Once you've mastered the basics and can tackle the common meringue weeping, deflation, cracking fix issues, you might want to explore more advanced aspects, like working with different sugars or adding flavors.
Working with Different Sugars
While granulated sugar is standard, using superfine (caster) sugar can make dissolving easier, especially in French meringue. Powdered sugar contains cornstarch, which acts as a stabilizer and can help prevent weeping, but it can also make the meringue slightly less crisp and more prone to cracking if over-mixed.
For Italian and Swiss meringues, the sugar is dissolved by heat, so granulated sugar works perfectly fine. However, for French meringue, if you consistently struggle with grittiness and weeping, switching to superfine sugar can be a helpful meringue weeping fix. Some recipes even call for a combination of sugars to achieve specific textures – for example, a mix of granulated and powdered sugar for a meringue that's crisp but less likely to weep. Experimenting with small batches can help you find the sugar type that works best for your needs and environment.
Adding Flavors to Meringue
Adding extracts or flavorings to meringue can enhance its taste, but it's important to add them correctly to avoid compromising the structure. Water-based extracts can sometimes weigh down the meringue if added too early or in too large a quantity.
Add liquid extracts (like vanilla or almond) after the sugar has been fully incorporated and the meringue has reached stiff peaks. Add them gently while the mixer is running on low speed, just enough to incorporate. Avoid adding too much liquid. For more intense flavors or colors, consider using powdered flavorings or gel-based food coloring, which introduce less moisture. Citrus zest can also be added, but ensure it's very finely zested to avoid large pieces that disrupt the smooth texture.
The ideal meringue consistency and baking method vary depending on its final use. Meringue for pie topping needs to be soft and marshmallowy inside with a golden exterior, while meringue cookies or kisses should be crisp and dry throughout.
- Pie Topping: Typically a Swiss or Italian meringue for stability. Spread it while the pie filling is hot, ensuring it touches the crust edges to prevent shrinking. Bake at a higher temperature (like 350-375°F or 175-190°C) for a short time (10-15 minutes) just to brown the peaks. Watch constantly to prevent burning.
- Cookies/Kisses: Usually French or Swiss meringue. Pipe onto parchment paper and bake at a very low temperature (200-250°F or 90-120°C) for a long time (1-3+ hours) until completely dry and easily lift off the paper. Cool completely in the oven.
- Pavlova: Often a French or Swiss meringue baked at a low temperature but for a shorter time, aiming for a crisp shell and a soft, marshmallowy interior.
Understanding these variations helps tailor your technique for the specific meringue application, leading to better results and fewer issues with meringue weeping, deflation, cracking fix scenarios.
Conclusion: Mastering Meringue Troubleshooting
Dealing with meringue problems like weeping, deflation, and cracking is a common part of the baking journey. By understanding the science behind meringue – the delicate balance of egg white proteins, sugar, air, and heat – you gain the power to anticipate and prevent these issues. Remember the key takeaways: ensure clean, fat-free equipment; use room temperature eggs; whip to the correct peak stage (usually stiff); add sugar gradually until fully dissolved; bake low and slow (for crisp meringues) or appropriately for the application; and cool gradually.
Don't be discouraged by imperfect batches; each one is a learning opportunity. With practice and attention to these tips, you'll master the art of troubleshooting meringue and consistently create beautiful, stable, and delicious results. Happy baking!
Frequently Asked Questions
What causes meringue to weep?
Meringue weeping, also known as sweating, is typically caused by undissolved sugar or high humidity. The sugar draws moisture out, and humidity prevents proper drying.
Why does my meringue deflate after baking?
Deflation often occurs due to under-whipping the egg whites, incorrect sugar ratio, or drastic temperature changes after baking. Properly whipped whites hold air, and the right sugar stabilizes them.
How can I prevent my meringue from cracking?
Cracking is usually a result of baking at too high a temperature or cooling the meringue too quickly. Lowering the oven temperature and allowing a gradual cool-down prevents this.
What type of sugar is best for making meringue and avoiding issues like weeping or deflation?
Granulated sugar is the most common, but superfine sugar dissolves more easily, reducing the risk of undissolved sugar causing weeping. Ensure it's fully incorporated.
What are some common mistakes that lead to meringue problems like deflation, cracking, and weeping, and how can I avoid them?
Common mistakes include using cold eggs (use room temperature!), introducing fat into the egg whites (ensure clean bowls/utensils!), and being impatient with the baking/cooling process.
Final Reflection: Mastering the Delicate Art of the Meringue
The seemingly simple meringue, a confection of whipped egg whites and sugar, reveals a surprising depth of complexity. Its fragility mirrors the delicate balance required in baking, where even slight variations in technique can lead to disastrous results. Understanding the science behind weeping, deflation, and cracking is not just about achieving picture-perfect meringues; it's about mastering a fundamental baking skill that translates to countless other recipes.
The journey of perfecting the meringue has been a fascinating exploration of patience, precision, and the unexpected joys of culinary experimentation. It's a reminder that even the most seemingly straightforward recipes hold hidden depths, demanding attention to detail and a willingness to learn from mistakes. The only true wisdom is in knowing you know nothing.
- Socrates. This quote, while seemingly unrelated to baking, perfectly encapsulates the ongoing learning process involved in mastering the meringue, and indeed, any culinary pursuit. Each failed batch brings a deeper understanding of the subtle factors at play.
Now, it's your turn. Don't be discouraged by a few cracked peaks or a weeping meringue. Embrace the challenge, experiment with different techniques, and most importantly, enjoy the process. The satisfaction of achieving a perfectly glossy, stable meringue, a testament to your dedication and skill, is a reward in itself. Remember the lessons learned here, and let them guide you as you continue to explore the wonderful world of baking. You have the power to transform a simple meringue into a culinary masterpiece.
Unlock Your Perfect Meringue: Master the Art of Fluffy Peaks!
Thanks for joining us on this meringue-making adventure! You've now got the knowledge to tackle even the trickiest meringue issues. Ready to put your new skills to the test?
- Whip up your dream meringue: Grab those egg whites and try a new recipe – you'll be amazed at the difference! Remember those tips on temperature and technique.
- Share your meringue masterpieces: Show off your fluffy creations on social media – tag us @BakeWithEase so we can celebrate your success!
- Explore our other baking guides: Discover more tips and tricks to elevate your baking game on BakeWithEase.com. (Note: We are omitting the link per the instructions.)
What incredible meringue creation will you bake next?