
Torching Meringue: Achieve That Beautiful Golden, Toasted Look Effortlessly

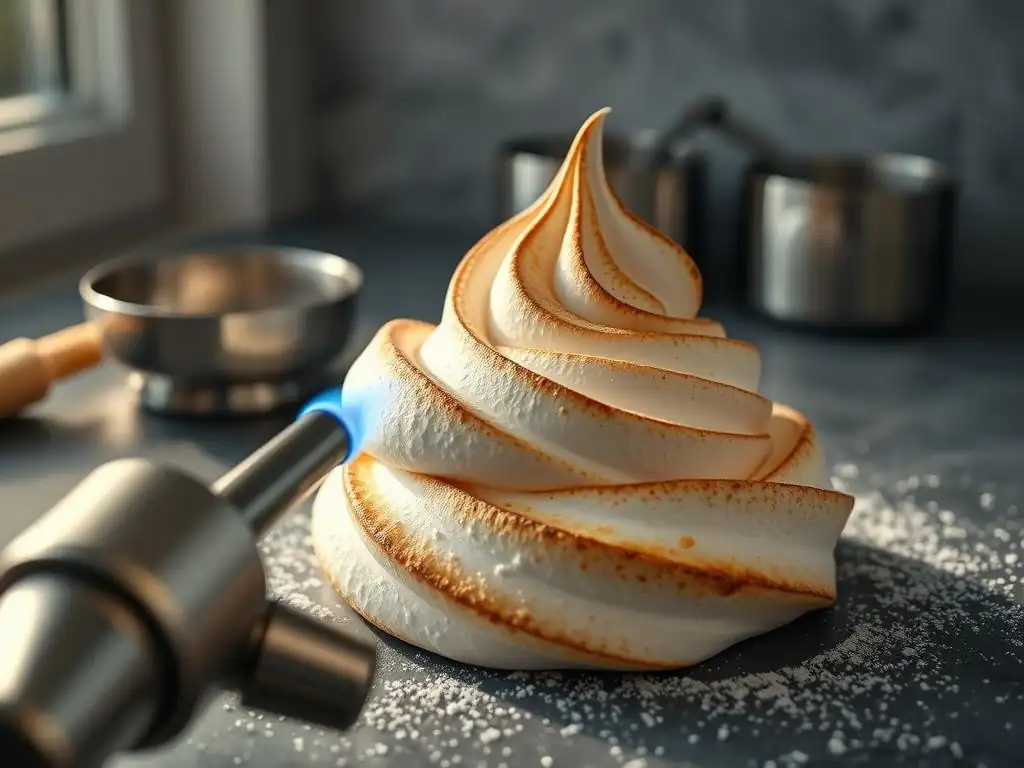
Welcome to BakeWithEase, where we unlock the secrets to effortless baking! Ever wondered how to achieve that perfectly golden, toasted meringue you see in professional bakeries? Prepare to be amazed. This article dives deep into perfecting meringue torching techniques, offering insider tips and tricks that will elevate your desserts from simply delicious to visually stunning. Get ready to impress with your newfound mastery!
- Achieving the Perfect Golden Toasted Meringue with a Kitchen Torch
- Introduction to Meringue Torching Techniques
- Essential Equipment for Meringue Torching
- Step-by-Step Guide to Achieving the Perfect Toasted Meringue
- Troubleshooting Common Meringue Torching Problems
- Tips and Tricks for Expert Meringue Torching
- Meringue Recipes to Showcase Your Torching Skills
- Advanced Meringue Torching Techniques
- Maintaining Your Kitchen Torch for Longevity
- Conclusion: Elevate Your Baking with Perfected Meringue Torching Techniques
-
Frequently Asked Questions
- How do I choose the right kitchen torch for perfecting meringue torching techniques?
- What's the best way to prepare my meringue for torching to ensure even browning?
- How far should I hold the torch from the meringue while torching?
- What's the most common mistake people make when torching meringue, and how can I avoid it?
- Can I use a regular lighter instead of a kitchen torch for browning meringue?
- Final Reflection: The Art and Science of the Perfectly Torched Meringue
- Unlock Your Meringue's Golden Potential!
Achieving the Perfect Golden Toasted Meringue with a Kitchen Torch
Introduction to Meringue Torching Techniques
Why Torch Your Meringue? Aesthetics, Flavor, and Texture
Torching meringue isn't just about making your dessert look pretty; it fundamentally changes the eating experience. The high heat from the torch caramelizes the sugar on the surface almost instantly. This creates a delicate, slightly crisp exterior shell that provides a wonderful textural contrast to the soft, airy meringue underneath. Imagine the satisfying crackle as you cut into a perfectly torched lemon meringue pie!
Beyond the visual appeal and texture, torching adds a subtle, sophisticated flavor. The caramelization process creates new flavor compounds, adding notes of toasted marshmallow and a gentle sweetness that differs from plain sugar. This slight depth of flavor complements the often tart or rich fillings found beneath meringue, like lemon curd or chocolate ganache, balancing the overall taste profile of the dessert beautifully.
Mastering Meringue Torching: A Comprehensive Guide
Achieving that ideal golden-brown finish on your meringue requires understanding a few key principles. It's a skill that, once mastered, elevates your baking from delicious to visually stunning and texturally exciting. This guide will walk you through everything from choosing the right equipment to troubleshooting common issues, ensuring you gain confidence in perfecting meringue torching techniques.
Perfecting meringue torching techniques involves more than just waving a flame around. It's about control, consistency, and understanding how heat interacts with sugar and egg whites. By focusing on proper preparation, selecting the right tool, and practicing a steady hand, you can consistently achieve professional-looking results right in your own kitchen, impressing friends and family with your baking prowess.
Essential Equipment for Meringue Torching
Choosing the Right Kitchen Torch: Butane vs. Propane
When it comes to kitchen torches, the two most common fuel types are butane and propane. Butane torches, often smaller and handheld, are generally preferred for delicate tasks like torching meringue. They produce a smaller, more controlled flame, which is less likely to accidentally scorch the entire surface or melt the meringue too deeply. Many come with adjustable flame settings, allowing for precise control over the heat intensity.
Propane torches, typically larger and often used for plumbing or soldering, produce a much hotter and larger flame. While they can be used for meringue, they require significantly more caution and a quicker hand to avoid burning. For home bakers focused on perfecting meringue torching techniques for desserts, a quality butane kitchen torch is usually the safer and more effective choice, offering better control for achieving an even, golden crust.
Safety First: Handling Butane Torches with Care
Safety is paramount when working with open flames in the kitchen. Always operate your butane torch in a well-ventilated area, away from flammable materials like curtains, paper towels, or aerosol cans. Ensure the torch is pointed away from yourself and others. Keep children and pets at a safe distance while torching.
Before lighting, check that the torch head is securely attached to the fuel canister. When lighting, follow the manufacturer's instructions precisely. After use, ensure the flame is completely extinguished and the torch has cooled down before storing it. Store butane canisters and the torch in a cool, dry place, away from direct sunlight or heat sources, following all safety guidelines provided by the manufacturer.
Preparing Your Meringue: Stiff Peaks and Proper Setting
The foundation of beautifully torched meringue is the meringue itself. Whether you're making French, Swiss, or Italian meringue, achieving stiff, glossy peaks is crucial. For French meringue, this means whisking egg whites and gradually adding sugar until the mixture holds firm peaks when the whisk is lifted. For Swiss and Italian meringues, the sugar is heated with liquid (Swiss involves heating over a double boiler, Italian involves a hot sugar syrup), resulting in a more stable structure that is less prone to weeping.
Equally important is allowing the meringue to set slightly, especially when topping pies or tarts. For a pie, chilling it in the refrigerator for at least 30 minutes, or ideally an hour or two, helps firm up the meringue's exterior. This setting period provides a more stable surface for torching, reducing the chance of the meringue collapsing or sliding off the filling under the heat of the torch, contributing significantly to perfecting meringue torching techniques.
Step-by-Step Guide to Achieving the Perfect Toasted Meringue
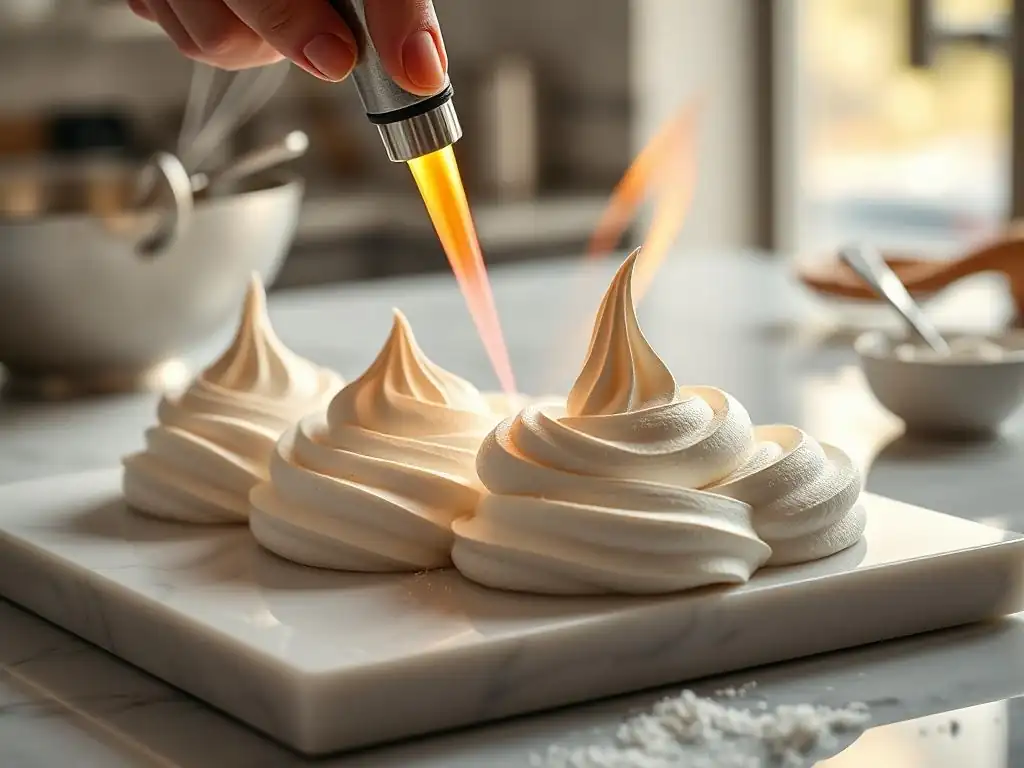
Step 1: Ensuring Meringue Stability Before Torching
Before you even think about lighting your torch, make sure your meringue is ready. If it's topping a pie or tart, the chilling step mentioned earlier is vital. This allows the outer layer of the meringue to slightly dry and firm up, creating a better surface for the flame to interact with without melting the underlying structure too quickly. A stable base is key to preventing drips or collapses during the torching process.
For individual meringue items like cookies or Baked Alaska, ensuring they are properly baked or frozen (in the case of Baked Alaska) is the priority. The meringue on these items should be set and firm. A meringue that is too soft or warm will quickly turn into a molten mess under the torch. A quick touch test can help; the surface should feel slightly tacky but not wet or overly fragile.
Step 2: Mastering the Torching Technique: Distance, Angle, and Movement
The art of perfecting meringue torching techniques lies in controlling the flame. Hold the torch tip about 2-4 inches (roughly 5-10 cm) away from the meringue surface. This distance allows the heat to gently toast the meringue rather than aggressively burning it. Too close, and you risk instant charring; too far, and it will take too long and might not toast evenly.
Use a continuous, sweeping motion, moving the torch back and forth across the meringue. Think of it like spray painting – you want overlapping passes to build up color gradually. Avoid holding the flame still in one spot. Keep the torch moving constantly to ensure even heat distribution and prevent hot spots, which are the main culprits behind patchy or burnt meringue.
Step 3: Achieving Even Color: Avoiding Hot Spots and Burns
Even color is the hallmark of expertly torched meringue. To achieve this, maintain a consistent distance and speed with your torching motion. Pay attention to the peaks and edges, as these areas are thinner and will brown faster than the valleys. You may need to adjust your angle slightly to get into crevices or around sculpted peaks.
If you notice a spot starting to brown too quickly, pull the torch away immediately and move to another area. You can always go back to lightly touch up areas that need more color after the rest is done. Patience is key; it's better to make multiple passes to build up the desired golden hue than to rush and end up with burnt patches, which are irreversible.
Troubleshooting Common Meringue Torching Problems
Problem: Meringue Burning Too Quickly
If your meringue is turning black almost instantly when the flame touches it, the most likely cause is holding the torch too close or moving too slowly. The intense heat is caramelizing the sugar too rapidly and then burning it. Another potential issue is a torch with too large or too intense a flame, especially if using a propane torch or a butane torch on its highest setting.
To fix this, increase the distance between the torch tip and the meringue surface to the recommended 2-4 inches. Speed up your sweeping motion significantly, moving the torch continuously across the surface. If your torch has an adjustable flame, reduce it to a lower setting. Practice on a small, inconspicuous area first to find the right distance and speed for your specific torch and meringue type.
Problem: Uneven Color and Patchy Torching
Patchy color often results from inconsistent movement or angle while torching. If you stop or slow down in certain spots, those areas receive more heat and brown faster, creating an uneven look. Not paying attention to the meringue's topography (peaks vs. valleys) can also lead to patchy results, as peaks brown faster.
The solution is to maintain a smooth, continuous sweeping motion, covering the entire surface evenly. Overlap your passes slightly to ensure no spots are missed. Adjust your angle to reach all areas, including the sides and any intricate swirls. Practice maintaining a steady hand and consistent speed across the entire dessert to achieve a uniform golden finish.
Problem: Meringue Weeping After Torching
Meringue weeping, where liquid beads or pools form on the surface or at the base, can occur after torching, especially with French meringue. This is often due to undercooked meringue (sugar not fully dissolved or egg whites not whipped to sufficient stiffness) or changes in temperature and humidity after torching. Torching itself can sometimes exacerbate weeping if the heat causes the sugar to melt and then recrystallize unevenly.
Using a more stable meringue type like Swiss or Italian meringue significantly reduces the likelihood of weeping because the sugar is fully dissolved and cooked into the egg whites during preparation. Ensuring your French meringue is whipped to very stiff, glossy peaks with all sugar completely dissolved is crucial. Serving the dessert relatively soon after torching, especially in humid conditions, can also help minimize weeping.
Tips and Tricks for Expert Meringue Torching
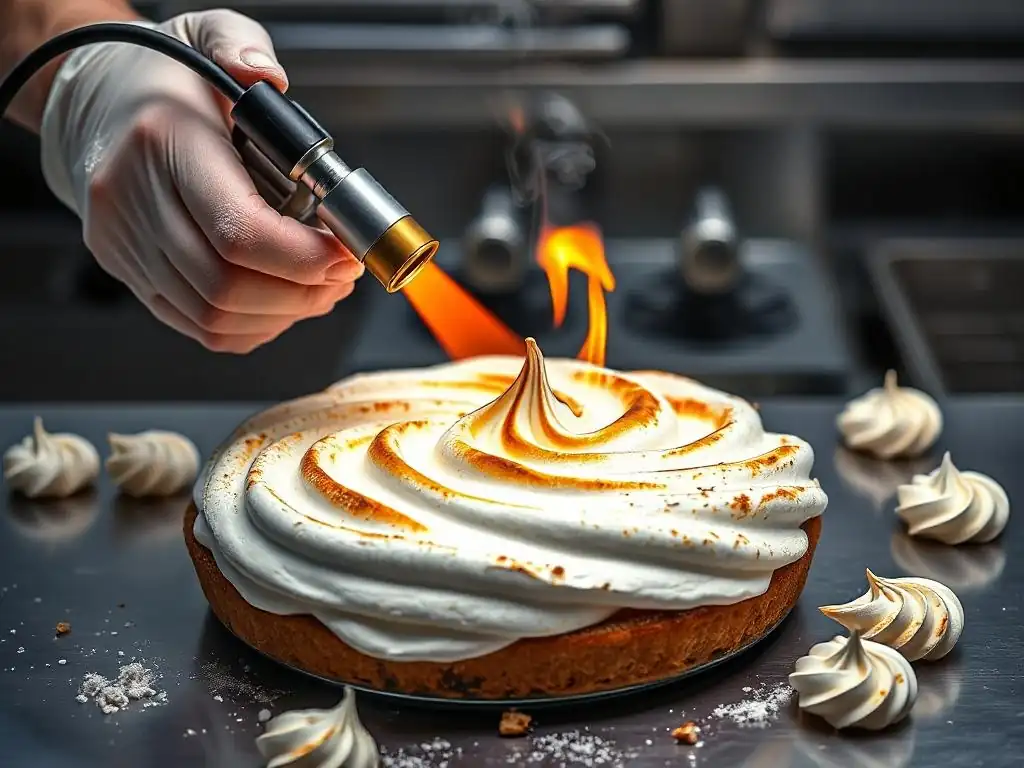
Achieving Different Shades of Brown: Understanding Caramelization
The color of your torched meringue depends on the degree of caramelization. A light golden color indicates minimal caramelization, resulting in a slightly sweet, toasted flavor. A deeper golden to light brown indicates more significant caramelization, bringing out richer, slightly bitter notes similar to caramel candy. Dark brown edges approach charring and can add a smoky, intensely bitter flavor.
By adjusting the distance of the flame and the speed of your movement, you can control the level of browning. Holding the torch slightly further away and moving faster will result in a lighter toast. Getting slightly closer (while still moving constantly) and making slightly slower passes will achieve a deeper color. Experiment on a test batch if possible to find your preferred shade and flavor profile.
Torching Different Types of Meringue: Adjusting for Stability and Sweetness
Different meringues react differently to torching due to their varying stability and sugar content. French meringue, being the least stable, requires a gentle touch and quick passes to avoid collapse. Its lower sugar content means it browns a bit slower than Swiss or Italian meringue.
Swiss and Italian meringues are much more stable and dense, making them more forgiving to torching. Their higher sugar content means they will caramelize and brown faster. You can be slightly more deliberate with your movements, but still must keep the torch moving to prevent burning. Understanding these differences is key to perfecting meringue torching techniques across various dessert applications.
Creative Meringue Torching Designs: Swirls, Peaks, and Textures
Beyond simply browning the surface, you can use the torch to highlight the shapes and textures you've created with your meringue. Focus the flame on the peaks of swirls to make them pop with a darker color, creating a dramatic contrast against the lighter valleys. You can even use the torch to slightly melt and re-shape small areas for artistic effect.
For a more uniform look, use a flat palette knife to create a smooth surface before torching. For a rustic look, leave the meringue in dramatic swirls and peaks. Experiment with how you pipe or spread the meringue before torching to see how different textures react to the flame and how you can enhance them through controlled browning.
Meringue Recipes to Showcase Your Torching Skills
Classic Lemon Meringue Pie: A Torching Masterpiece
Lemon Meringue Pie is arguably the most iconic dessert featuring torched meringue. The bright, tangy lemon filling provides a perfect counterpoint to the sweet, airy meringue. Torching the meringue adds that essential textural contrast with its slightly crisp, caramelized exterior and soft interior, beautifully finishing the dessert.
When torching a lemon meringue pie, ensure the pie is well-chilled. Start torching the meringue from the outer edge, working your way inwards. Pay special attention to the peaks and swirls you've created, using your torching skills to highlight their shape and volume with varying shades of golden brown.
Baked Alaska: A Showstopping Dessert
Baked Alaska is a dramatic dessert where meringue acts as an insulator for ice cream, briefly baked at a high temperature or, more commonly in modern kitchens, quickly torched. The dense, stable Italian meringue used for Baked Alaska is ideal for torching, holding its shape beautifully under intense heat.
For Baked Alaska, ensure the ice cream is frozen solid and the cake base is firm. Cover the entire ice cream dome with a thick layer of Italian meringue, swirling it decoratively. Then, use your torch to quickly brown the entire surface. The stability of the Italian meringue allows for slightly more aggressive torching than French meringue, creating a beautiful, toasted shell that protects the ice cream within.
Individual meringue cookies, often made from French meringue, can also be torched for added visual appeal and a hint of toasted flavor. After baking the cookies until crisp and dry, a quick pass with the torch can add lovely golden highlights to their peaks and edges.
Torching meringue cookies requires a very light touch, as they are delicate and can burn quickly. Use a low flame setting on your torch and move very swiftly, focusing only on the raised areas or edges you want to color. This technique is excellent for adding a final flourish to otherwise plain white meringues.
Advanced Meringue Torching Techniques
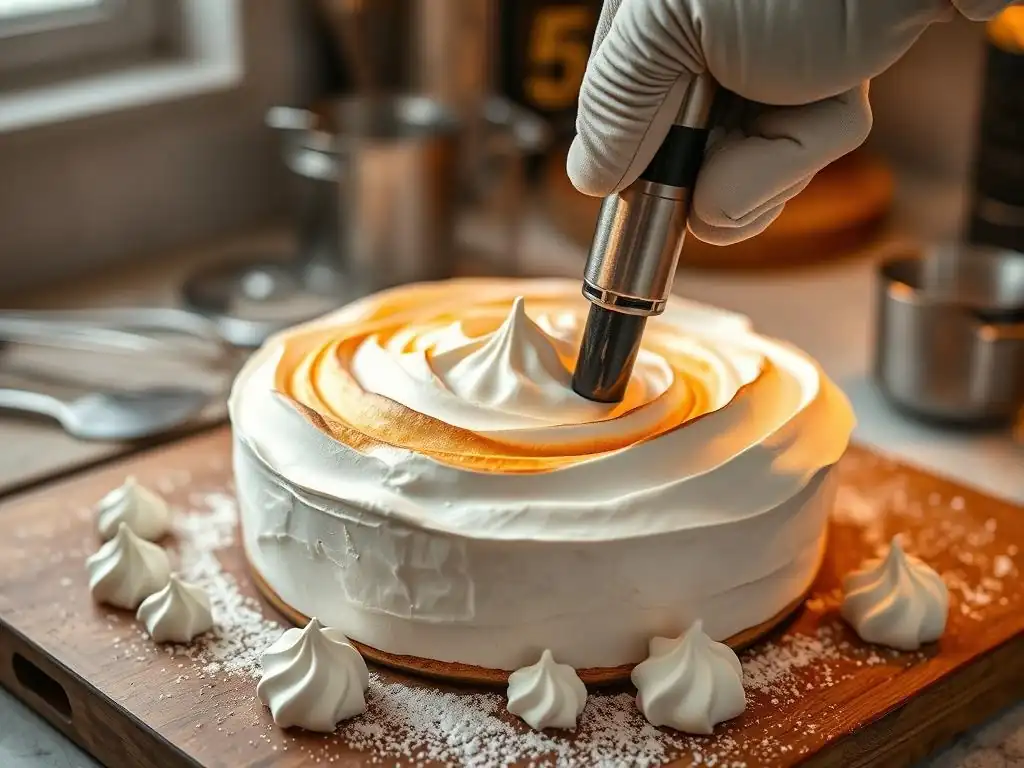
Creating Caramelized Meringue: Adding Depth of Flavor
Beyond just browning the surface, you can use the torch to create areas of more intense caramelization, adding deeper flavor notes. This involves focusing the heat slightly longer on specific points, allowing the sugar to reach a higher temperature and develop richer, more complex caramel flavors, sometimes bordering on toffee.
This technique works best with stable meringues like Swiss or Italian. Select specific peaks or sections where you want a more intense flavor burst. Hold the torch slightly closer to these areas for a moment longer than the rest of the surface, watching carefully for the sugar to turn a richer amber color before moving on. This adds visual interest and pockets of intense caramel flavor.
Using Stencils for Meringue Designs: Geometric Patterns and Logos
For truly unique designs, you can use heat-resistant stencils on your meringue before torching. Place a stencil over the chilled meringue surface, ensuring it lies flat. Then, lightly and quickly torch the exposed areas within the stencil's cutouts.
Carefully lift the stencil away to reveal a patterned design of torched meringue against the un-torched background. This technique allows for precise shapes, logos, or geometric patterns to be burned onto the meringue surface, adding a sophisticated and personalized touch to your desserts. Practice is needed to get clean lines and prevent the meringue from sticking to the stencil.
Torching Meringue for Savory Applications: Topping Soups and Dips
Meringue isn't just for sweets! A savory meringue, often made with less sugar or even none, can be a fantastic topping for rich soups or creamy dips. Torching adds a beautiful visual element and a slightly firm texture that contrasts with the soft dish below.
For savory applications, pipe or dollop the meringue onto the hot soup or dip just before serving. Use the torch to quickly brown the peaks. Since there's less or no sugar, the browning is primarily from the protein in the egg whites reacting to the heat (Maillard reaction), resulting in a savory, toasted flavor rather than caramelization. This unexpected use of meringue torching techniques can elevate a simple dish.
Maintaining Your Kitchen Torch for Longevity
Proper Cleaning and Storage of Your Kitchen Torch
Keeping your kitchen torch clean ensures it functions correctly and safely over time. After each use, allow the torch to cool completely. Wipe down the torch head and body with a clean, damp cloth to remove any sugar residue or grease. Avoid using abrasive cleaners or submerging the torch in water.
Store your kitchen torch in a safe place where it won't be knocked over or damaged. Many torches come with a stand or case; use it if available. Ensure the fuel valve is completely closed before storing. Proper cleaning and storage not only extend the life of your tool but are also crucial for safety.
Refilling Your Kitchen Torch with Butane Safely
Refilling your butane torch requires care. Always use high-quality butane fuel specifically designed for lighters and torches. Work in a well-ventilated area, away from open flames or sparks. Ensure the torch is completely cool and the flame is extinguished.
Hold the torch and the butane canister upright. Insert the nozzle of the butane canister into the refill valve on the bottom of the torch. Press down firmly for about 10-15 seconds until the torch's fuel reservoir is full. You may hear a hissing sound and see a bit of liquid butane escape – this is normal. Remove the canister, wait a few moments for the gas to stabilize, and then test the torch away from your workspace.
Conclusion: Elevate Your Baking with Perfected Meringue Torching Techniques
Mastering Meringue Torching: A Journey of Practice and Precision
Perfecting meringue torching techniques transforms a simple dessert topping into a culinary highlight. It's a skill that requires practice, patience, and attention to detail. By understanding the nuances of flame control, meringue stability, and the principles of caramelization, you can consistently achieve that stunning golden-brown finish that delights the eyes and the palate.
Embracing the art of meringue torching opens up a world of possibilities in your baking, from classic pies to innovative modern desserts. Each time you light the torch, you're refining your technique, learning how the heat interacts with your specific meringue, and gaining confidence. Continue to practice, experiment, and soon you'll be torching meringue like a pro, adding that perfect finishing touch to your sweet creations.
We love seeing what our BakeWithEase community creates! Once you've mastered the art of torching meringue, don't hesitate to show off your beautiful, golden-toasted desserts. Whether it's a sky-high lemon meringue pie, elegant Baked Alaska, or intricately torched meringue cookies, your creations are sure to inspire others.
Sharing your successes, and even your learning experiences, helps everyone grow. Take photos of your perfectly torched meringues and share them with fellow baking enthusiasts. Discuss your techniques, challenges, and triumphs in perfecting meringue torching techniques. Let's celebrate the sweet, slightly smoky victory of a beautifully torched meringue together!
Frequently Asked Questions
How do I choose the right kitchen torch for perfecting meringue torching techniques?
Choosing the right torch involves considering factors like flame control, fuel type (butane is common), and safety features. Opt for a torch specifically designed for culinary use for best results.
What's the best way to prepare my meringue for torching to ensure even browning?
Ensure your meringue is stable and fully set before torching. A Swiss or Italian meringue is often preferred due to its stability. Also, a smooth, even surface helps with consistent browning.
How far should I hold the torch from the meringue while torching?
The ideal distance is typically a few inches away (around 2-3 inches). This prevents burning and allows for even heat distribution, achieving a beautiful golden brown.
What's the most common mistake people make when torching meringue, and how can I avoid it?
Over-torching is a frequent error, leading to a burnt or bitter taste. Keep the torch moving constantly and use short bursts of heat to avoid scorching the delicate meringue.
Can I use a regular lighter instead of a kitchen torch for browning meringue?
While possible in a pinch, a regular lighter is not recommended. Kitchen torches provide a more controlled and even heat source, crucial for achieving the desired toasted effect without burning.
Final Reflection: The Art and Science of the Perfectly Torched Meringue
The pursuit of the perfect torched meringue is more than just a culinary quest; it's a testament to the power of precision and patience in achieving culinary artistry. The techniques outlined in this article—from understanding the ideal meringue consistency to mastering the nuances of flame control—are not merely steps in a recipe, but fundamental principles applicable to a wide range of cooking endeavors. The ability to delicately balance heat and timing translates far beyond the delicate peaks of a meringue, impacting everything from searing a steak to perfectly browning a crème brûlée.
The journey of mastering the torch has been a deeply satisfying one for me, revealing the surprising depth and complexity hidden within such a seemingly simple process. It's a journey of experimentation, of learning to read the subtle shifts in color and texture, and of embracing the occasional imperfection as a stepping stone to mastery. As the renowned chef Julia Child once said, If you're afraid of butter, use cream.
Similarly, don't be afraid to experiment with your torch, to adjust the flame, and to trust your instincts. The perfect torched meringue is not a destination, but a continuous process of refinement and discovery.
Now, it's your turn. Pick up your torch, gather your meringues, and embark on your own journey of culinary exploration. Don't be afraid to fail; embrace the learning process, and savor the sweet reward of a perfectly golden, toasted meringue. The beauty lies not just in the final result, but in the journey of mastering the technique and the satisfaction of creating something truly beautiful and delicious with your own hands. Let the gentle crackle of the flame guide you, and may your meringues always be perfectly torched.
Unlock Your Meringue's Golden Potential!
Thanks for taking the time to explore the art of torching meringues! We hope you now feel confident in achieving that perfect golden-brown finish. Ready to put your new skills to the test?
- Master the Torch: Practice your technique on a few small batches of meringue – experiment with distance and flame intensity to find your perfect method. Then, surprise your friends and family with your newfound meringue mastery!
- Share Your Success: Post a photo of your perfectly torched meringue on social media and tag us! Let's build a community of meringue perfectionists.
- Explore New Flavors: Try infusing your meringues with different extracts or spices – think cardamom, vanilla bean, or even a hint of rosewater!
What unexpected flavor combination will you create with your newly perfected torched meringues?