
Whip Up Wow: Getting Your Frosting Ready for Piping Success

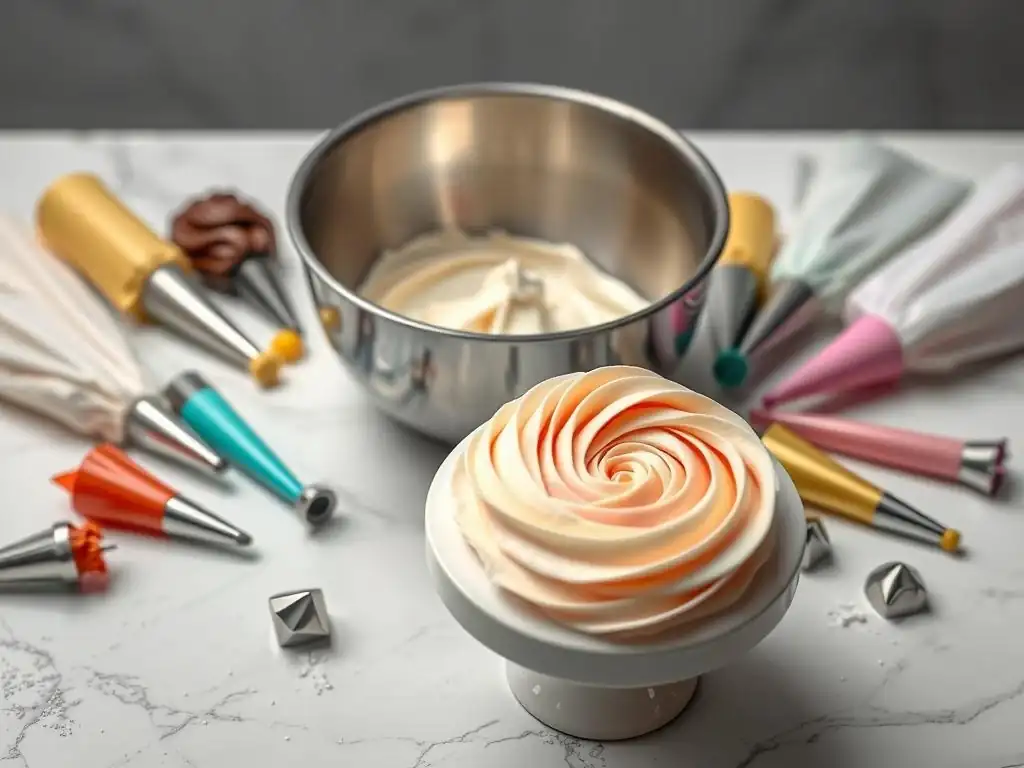
Welcome to BakeWithEase, your guide to baking brilliance! Ever wondered how to transform a simple cake into a stunning masterpiece? This week, we're unlocking the secrets to perfecting frosting piping techniques easily. Discover the tips and tricks that will elevate your decorating game from novice to pro, and prepare to impress with your next creation. Let's get piping!
- Mastering Frosting for Piping: A Baker's Guide
- Frosting Fundamentals: Achieving Piping Perfection
- Exploring Frosting Types for Intricate Piping
- Achieving Perfect Piping Consistency: The Key to Success
- Coloring Frosting: Creating Vibrant and Consistent Hues
- Preparing Piping Bags and Tips: A Seamless Workflow
- Troubleshooting Common Piping Challenges
- Storing Frosting: Preserving Quality for Future Use
-
Frequently Asked Questions
- How do I achieve the right frosting consistency for piping?
- What type of frosting is best for intricate piping designs?
- How do I prevent air bubbles from forming in my frosting while preparing it?
- What are some common mistakes people make when preparing frosting for piping?
- Where can I find easy-to-follow guides on frosting piping techniques?
- Final Reflection: The Sweet Science of Piping Perfection
- Unleash Your Inner Piping Artist!
Mastering Frosting for Piping: A Baker's Guide
Frosting Fundamentals: Achieving Piping Perfection
Elevate Your Baking: Techniques for Professional-Looking Designs
Achieving beautiful, professional-looking piped designs on your cakes and cupcakes starts long before you load frosting into a piping bag. It begins with understanding the fundamental properties of frosting itself. Think of your frosting as the artist's medium; its consistency, stability, and texture are paramount to creating crisp lines, defined swirls, and intricate details.
Without the right foundation, even the steadiest hand will struggle to produce impressive results. Mastering frosting preparation is arguably the most critical step in perfecting frosting piping techniques easily, laying the groundwork for all subsequent decorating efforts. It involves careful ingredient selection, precise mixing, and sometimes, strategic chilling or warming.
For instance, a classic American buttercream, while simple to make, requires careful mixing to avoid air bubbles that can disrupt smooth piping. Over-whipping can incorporate too much air, leading to a fluffy but less stable texture that might collapse under its own weight in complex designs. Conversely, not whipping enough can leave it dense and difficult to push through a fine tip.
A well-made batch, however, offers excellent structure for classic swirls (like using a 1M star tip) or simple borders. Taking the time to beat your buttercream on low speed after the initial whipping phase, often for 5-10 minutes, helps eliminate many of those pesky air pockets, resulting in a smoother finish perfect for achieving professional-looking results easily.
Exploring Frosting Types for Intricate Piping
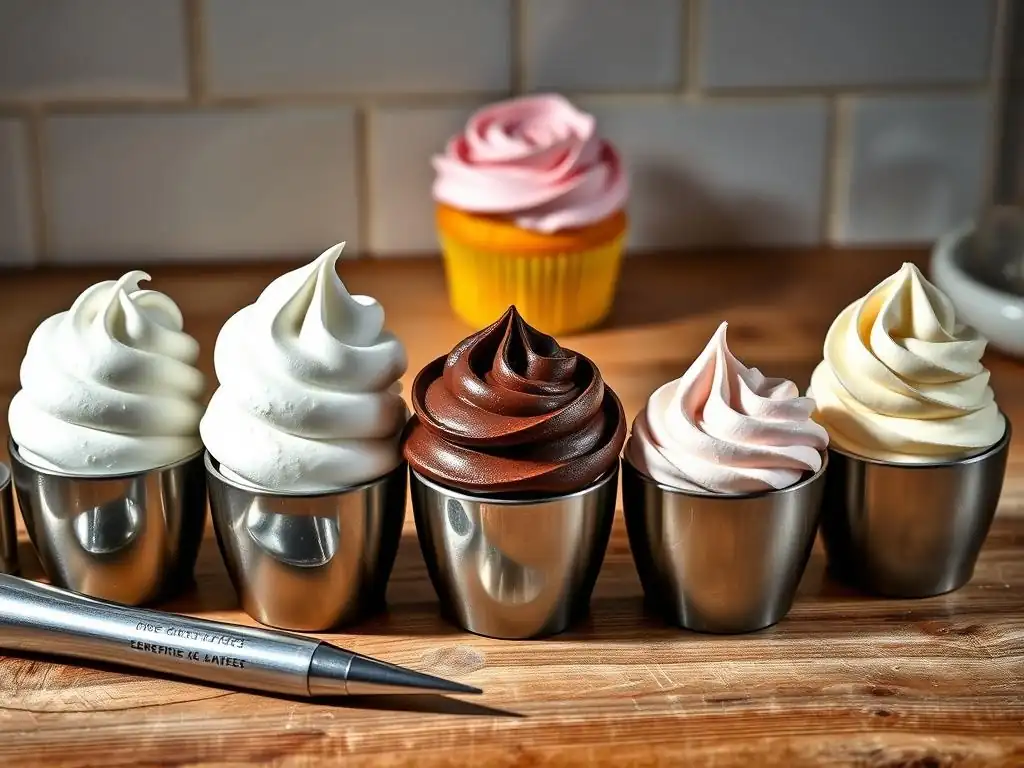
American Buttercream: Sturdy and Sweet for Beginners
American buttercream is often the first frosting bakers learn to make, and for good reason. It's incredibly simple, typically involving just butter, powdered sugar, a liquid (like milk or cream), and flavorings. Its high sugar content gives it a naturally firm structure, making it excellent for basic piping tasks such as swirls, stars, and simple borders.
If you're just starting out perfecting frosting piping techniques easily, this is a fantastic frosting to practice with. It holds its shape well, and any minor inconsistencies in your piping technique are often forgiven by its robust texture. A standard ratio might be 1 part butter to 2-3 parts powdered sugar by weight, though many recipes use volume measurements like 1 cup butter to 4 cups powdered sugar.
While its sweetness is a defining characteristic, American buttercream's sturdiness is its key advantage for entry-level piping. It sets up slightly as it dries, which helps maintain the definition of your piped shapes. This stability makes it ideal for decorating cupcakes that need to travel or cakes that will be displayed for some time.
However, its density can sometimes make piping very fine details challenging, and it can feel gritty if the powdered sugar isn't mixed in thoroughly. Ensuring your butter is at the correct room temperature (soft but not greasy) and sifting your powdered sugar can significantly improve its texture for easier piping and a smoother finish, contributing to perfecting frosting piping techniques easily right from the start.
Swiss Meringue Buttercream: Silky Texture for Delicate Designs
Swiss meringue buttercream offers a decidedly different experience compared to American buttercream. It's made by heating egg whites and sugar over a double boiler until the sugar dissolves (reaching about 130-140°F or 54-60°C), then whipping this mixture into a stiff, glossy meringue before gradually adding softened butter. The result is a frosting that is significantly less sweet, incredibly smooth, and remarkably silky.
This luxurious texture makes it perfect for piping more delicate designs, such as ruffles, smooth coverings, or intricate floral elements that require a finer touch and less pressure. Its stability comes from the meringue base, which provides a light yet sturdy framework.
This type of buttercream is favored by many professional bakers for its elegant finish and pleasant mouthfeel. While it requires a bit more technique and specific tools (like a thermometer) to make, the effort is rewarded with a frosting that pipes beautifully and isn't overly sweet. It's also less prone to crusting than American buttercream, maintaining its soft texture.
However, it can be more sensitive to temperature fluctuations; if it gets too warm, it can become soupy, and if too cold, it can become very firm. Learning to bring it back to the right consistency (often by warming or cooling small portions and re-whipping) is part of perfecting frosting piping techniques easily with this sophisticated medium.
Italian Meringue Buttercream: Stable and Luxurious for Advanced Piping
Italian meringue buttercream is similar to Swiss in that it uses a meringue base, but instead of heating egg whites with sugar, it involves pouring a hot sugar syrup (heated to the soft-ball stage, around 238-245°F or 114-118°C) into whipping egg whites. This cooking method creates an even more stable meringue, which results in a buttercream that is exceptionally smooth, light, and robustly stable, even in warmer conditions.
This stability makes Italian meringue buttercream a top choice for complex, gravity-defying piping work, sharp edges on cakes, and intricate details that need to hold their shape perfectly. While it's arguably the most challenging of the meringue buttercreams to master due to the hot sugar syrup step, its performance for advanced piping techniques is unparalleled.
The stability of Italian meringue buttercream makes it ideal for humid environments where other buttercreams might wilt. It can hold very fine details when piped through small tips and provides a smooth, non-greasy finish. It's also not overly sweet, allowing other flavors in the cake to shine.
Because of its structure, it can be colored vibrantly without becoming too soft, which is a common issue with less stable frostings when adding significant amounts of gel color. Mastering the hot sugar syrup technique is key here; ensuring the syrup reaches the correct temperature and is added slowly to the whipping egg whites while they are at the stiff peak stage is crucial for a successful batch, essential steps in perfecting frosting piping techniques easily with this advanced frosting.
Chocolate Ganache: Rich and Versatile for Elegant Finishes
Chocolate ganache, a simple mixture of chocolate and hot cream, offers a rich, intense flavor and a versatility that makes it suitable for both pouring and piping, depending on the ratio of chocolate to cream. A ratio of 1 part chocolate to 1 part cream (by weight) yields a pourable ganache, while a 2:1 or 3:1 ratio creates a thicker ganache that can be whipped once cooled to a peanut butter-like consistency, perfect for piping.
Whipped ganache is wonderfully stable and holds intricate shapes beautifully, providing a sophisticated alternative to traditional buttercreams. Its deep color also makes it a dramatic choice for elegant piped designs.
When using ganache for piping, the cooling process is critical. It needs to be cool enough to hold its shape but not so cold that it becomes too stiff to pipe smoothly. If it's too warm, your piped shapes will melt and lose definition; too cold, and it will be very difficult to push through the tip and may even crack.
Whipping the cooled ganache incorporates air, lightening its texture slightly while increasing its volume and making it pipeable. It’s important not to over-whip, or it can become grainy. This rich medium is excellent for piping shells, rosettes, or even intricate lace patterns, providing a luxurious finish that is truly special, contributing to perfecting frosting piping techniques easily for those who love chocolate.
Achieving Perfect Piping Consistency: The Key to Success
Determining the Ideal Frosting Consistency for Sharp Lines
The single most important factor for achieving sharp, well-defined piped designs is the consistency of your frosting. It needs to be firm enough to hold its shape once it leaves the piping tip, but soft enough to flow smoothly and consistently under gentle pressure. If your frosting is too stiff, it will be difficult to pipe, causing hand strain and potentially uneven lines or breaks.
It might also tear delicate tips. If it's too soft or runny, your piped shapes will spread, droop, or lose definition immediately upon exiting the tip, resulting in blurry or collapsed designs. Achieving the right balance is fundamental to perfecting frosting piping techniques easily.
The ideal consistency often feels like firm peanut butter or toothpaste. When you lift a spoon or spatula from the frosting, it should form a peak that stands up without flopping over, but the peak shouldn't be so stiff that it breaks off sharply. It should have some slight give.
This consistency allows the frosting to maintain the intricate shape dictated by the piping tip as it's extruded, ensuring that stars have sharp points, shells have defined ridges, and lines are crisp. Testing a small amount on a practice surface before decorating your final product is a simple but effective way to check if your frosting is ready for successful piping.
Adjusting Frosting Consistency: Troubleshooting Thickness and Thinness
Fortunately, frosting consistency is usually adjustable. If your frosting is too thick, you can thin it out by adding a small amount of liquid. The type of liquid depends on the frosting base: milk, cream, or water work for buttercreams, while a bit more warmed cream can thin ganache.
Add the liquid just a teaspoon at a time, mixing thoroughly after each addition until the desired consistency is reached. Be patient; adding too much liquid too quickly is a common mistake that makes it difficult to recover. For meringue-based buttercreams that seem too stiff from being too cold, gently warming a small portion or the whole bowl over a warm water bath for a few seconds can help loosen it up.
If your frosting is too thin, you need to thicken it. For American buttercream, the easiest way is to add more powdered sugar, again, a tablespoon at a time, mixing well. For meringue buttercreams, you can add more softened butter gradually, or if the issue is separation due to temperature, chilling the frosting briefly and then re-whipping can often bring it back together and thicken it.
For ganache, chilling it in the refrigerator for 10-15 minute intervals, stirring between chilling periods, will help it thicken significantly. Sometimes, simply letting the frosting sit at room temperature for a while can also help it firm up slightly, proving that troubleshooting consistency is a key skill in perfecting frosting piping techniques easily.
The Ribbon Test: A Reliable Method for Evaluating Consistency
A classic and reliable method for evaluating frosting consistency, especially for meringue buttercreams and sometimes American buttercream, is the "ribbon test." To perform this test, lift a spatula or spoon full of frosting about 6-8 inches above the bowl. Let the frosting fall back into the bowl. Ideally, the frosting should fall in a thick, continuous ribbon that piles up on itself for a moment before slowly melting back into the mass of frosting in the bowl. It should not drop off in clumps (too thick) nor should it run off the spatula like liquid (too thin).
If the ribbon breaks frequently or the frosting seems reluctant to fall, it is likely too stiff and needs to be thinned slightly. If it runs off the spatula immediately without forming any discernible ribbon or piling up, it is too thin and needs to be thickened. Practicing this test helps you develop an eye for the right consistency, which is crucial for achieving consistent pressure and flow when piping, thus greatly assisting in perfecting frosting piping techniques easily. This visual cue serves as a great indicator before you even load your piping bag.
Coloring Frosting: Creating Vibrant and Consistent Hues
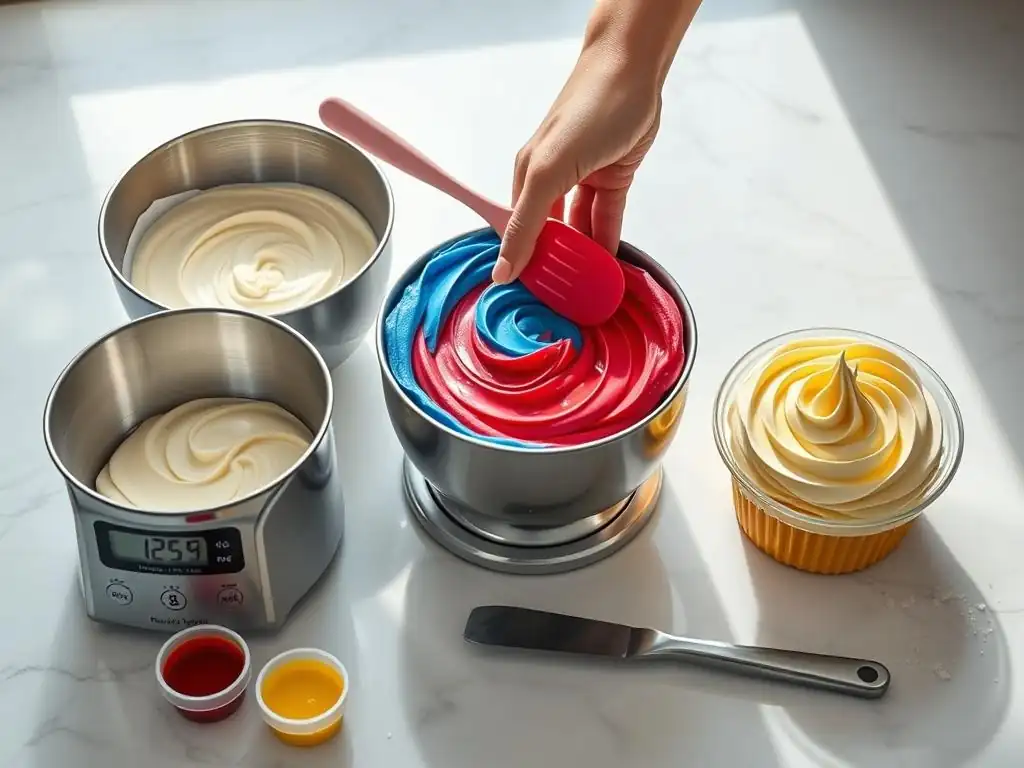
Selecting the Right Food Coloring: Gel vs. Liquid
When it comes to coloring frosting for piping, the type of food coloring you use makes a significant difference, particularly in achieving vibrant hues without compromising texture. Liquid food colorings, commonly found in grocery stores, are water-based. While easy to find, they can add too much moisture to your frosting, especially if you're trying to achieve deep, saturated colors. Adding excessive liquid can thin your frosting, making it unsuitable for piping intricate designs that require the frosting to hold its shape firmly. This is a common pitfall when aiming for intense colors while perfecting frosting piping techniques easily.
Gel or paste food colorings are highly concentrated and use a glycerin or corn syrup base instead of water. This means you need only a small amount to achieve vibrant colors, adding minimal extra liquid to your frosting. This is crucial for maintaining the desired piping consistency. They come in a wide spectrum of colors, including deep reds, blacks, and blues that are difficult to achieve with liquid colors without using an impractical amount. Using gel colors allows you to create rich, consistent hues necessary for visually striking piped decorations while keeping your frosting perfectly pipeable.
Achieving Rich, Deep Colors Without Affecting Texture
Achieving deep, rich colors like true red, black, or deep navy blue in frosting can be challenging without adding so much coloring that it impacts the texture. The key is using high-quality, concentrated gel or paste colors and adding them gradually. It's often best to add the coloring after your frosting has reached the correct piping consistency.
Start with a small amount (even just a toothpick dip for intense colors) and mix thoroughly. The color will often deepen slightly as it sits, so it's wise to mix to a shade slightly lighter than your target color and let it rest for 15-30 minutes before deciding if more color is needed.
For very deep colors, consider using a specific "no-taste red" or black coloring designed for frosting, as standard colors can impart an off-flavor when used in large quantities. Another technique is to make your colored frosting a day in advance; the colors will deepen overnight without you needing to add more coloring and risk altering the texture. This proactive approach helps in perfecting frosting piping techniques easily by ensuring your vibrant colors don't come at the cost of structural integrity.
Preventing Color Bleeding in Piped Designs
Color bleeding occurs when colors migrate into adjacent colors on your cake or cupcake, blurring the lines of your piped design. This is particularly common with dark or highly saturated colors next to white or light colors. While it's difficult to prevent entirely, especially in humid conditions or with certain frosting types, there are strategies to minimize it. Using high-quality gel colors known for stability is the first step. Ensuring your frosting is at the correct temperature and consistency also helps, as overly soft frosting is more prone to bleeding.
One effective technique is to pipe the lighter colors first and allow them to set slightly before piping darker colors next to them. Sometimes, chilling the decorated item briefly between piping different colors can also help create a slight barrier. If you know a design requires stark contrast between very dark and light colors, choosing a frosting type that crusts slightly, like American buttercream (once it has crusted), can offer better protection against bleeding than frostings that remain soft, like meringue buttercreams. Being mindful of these factors is part of perfecting frosting piping techniques easily for multi-colored designs.
Preparing Piping Bags and Tips: A Seamless Workflow
Selecting Piping Tips for Specific Design Elements
Choosing the right piping tip is fundamental to creating the desired design elements. Piping tips come in a vast array of shapes and sizes, each designed for a specific purpose. Star tips (like the popular 1M or 2D) are perfect for creating swirls, rosettes, and star shapes.
Round tips (numbered from very small like 1 or 2 for fine details and writing, up to large ones like 1A for smooth mounds) are used for dots, lines, and filling areas. Petal tips (like 104 or 125) are essential for piping ruffles, petals, and ribbons. Basketweave tips create flat or ridged stripes.
Understanding the numbering system and the output shape of common tips is a key step in perfecting frosting piping techniques easily. A quick online search or a tip manufacturer's guide can show you visual examples of what each tip creates.
For beginners, starting with a few versatile tips like a large open star (1M), a medium round (12), and a petal tip (104) allows you to practice a wide range of fundamental techniques before investing in a larger collection. The size of the tip opening also dictates the thickness of your lines or size of your shapes, so consider the scale of your cake or cupcake when selecting tips.
Assembling a Piping Bag for Optimal Control
Properly assembling your piping bag ensures a smooth workflow and optimal control while piping. If you're using a reusable bag, you'll likely need a coupler, especially if you plan to switch tips without changing the bag. Insert the larger part of the coupler into the bag, pushing it down towards the narrow end.
Mark the spot just below the screw threads on the outside of the bag and cut off the tip of the bag at that mark. The coupler base should fit snugly and not be able to slip through the opening. For disposable bags, you can often just cut the tip off according to the size needed for your tip, or use a coupler the same way.
Once the bag is cut and the coupler base is in place (or if not using a coupler, the tip is inserted directly), drop your chosen piping tip onto the coupler base on the outside of the bag. Then, screw the ring part of the coupler over the tip and onto the threads of the base inside the bag, securing the tip firmly.
If not using a coupler, the tip should fit snugly within the cut opening of the bag. Proper assembly prevents leaks and ensures the tip stays securely in place while you're applying pressure, which is vital for maintaining consistency and perfecting frosting piping techniques easily.
Filling a Piping Bag Efficiently and Minimizing Air Pockets
Filling a piping bag can be messy if not done efficiently, and trapped air pockets are a common source of frustration during piping, causing breaks in your lines. To fill the bag cleanly, fold down the top edge of the bag to create a cuff. Hold the bag with the cuffed opening around your hand, using your hand to support the bag and keep the opening wide.
Use a spatula or spoon to scoop frosting into the bag, pushing it towards the tip as you go. Only fill the bag about two-thirds full; overfilling makes it difficult to twist and control.
Once filled, unfold the cuff and gently push the frosting down towards the tip, encouraging any trapped air bubbles upwards. Twist the top of the bag just above the level of the frosting. This twisted section is where you'll apply pressure with your hand. Before you start piping on your cake, squeeze a small amount of frosting onto a plate or practice surface until the flow is smooth and consistent, free of air bubbles. This simple step ensures you start piping on your project with a perfect flow, contributing significantly to perfecting frosting piping techniques easily.
Troubleshooting Common Piping Challenges
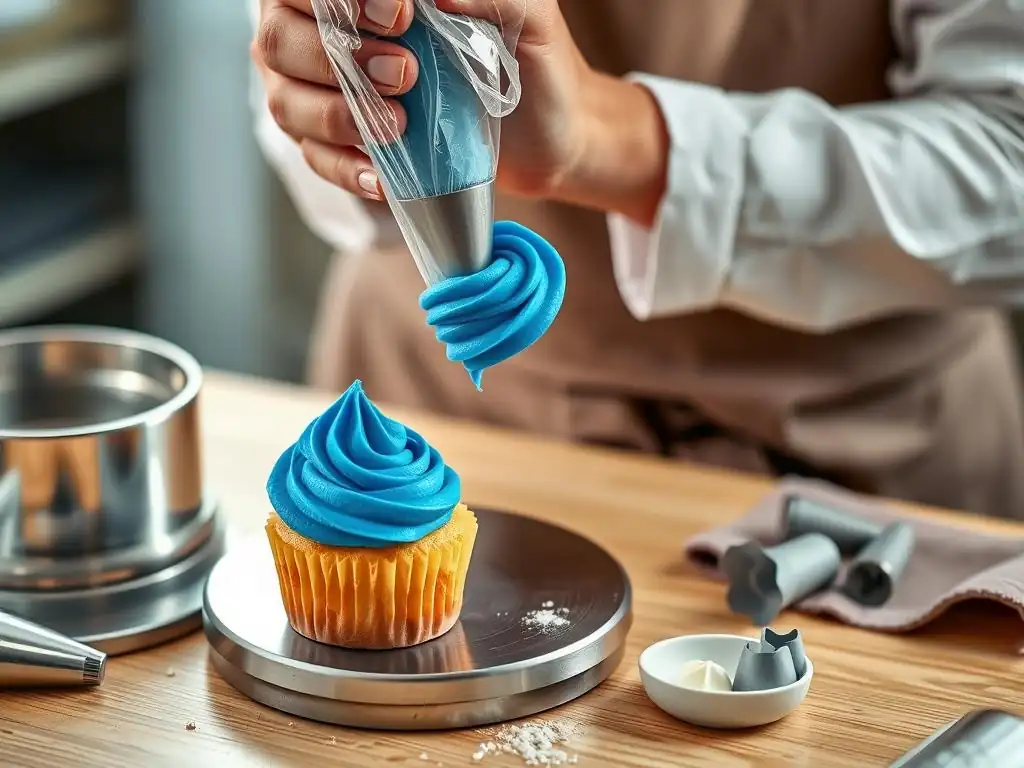
Eliminating Air Bubbles for Smooth, Consistent Lines
Air bubbles are the nemesis of smooth, consistent piped lines. They cause breaks and gaps in your design, ruining the clean look you're aiming for. As mentioned, pushing the frosting down in the bag after filling and squeezing a bit out onto a practice surface helps. If you encounter air bubbles while piping, you might hear a slight puffing sound or see a gap appear. Stop squeezing briefly, tap the tip gently on your surface to encourage the bubble out, or sometimes gently squeeze the bag above the bubble to move it along.
Another cause of air bubbles can be the frosting itself. Over-whipping certain buttercreams can incorporate too much air. If you suspect this is the issue, especially with American buttercream, beat the finished frosting on low speed for several minutes before filling the bag. This "low and slow" mixing helps push out trapped air. For meringue buttercreams that have been stored, re-whipping them briefly at low speed can also help smooth them out and remove bubbles before piping. Addressing air bubbles head-on is crucial for perfecting frosting piping techniques easily and getting those flawless lines.
Stabilizing Soft Frosting for Complex Designs
Sometimes, despite your best efforts, your frosting might be too soft for the intricate or gravity-defying design you want to create. This is particularly common with certain types of frosting in warm environments. If your American buttercream is too soft, adding a bit more sifted powdered sugar can help. For meringue buttercreams or ganache that are too warm, chilling the decorated item or the bag of frosting briefly in the refrigerator can firm it up. Even 5-10 minutes can make a difference.
For designs that require exceptional stability, like tall structures or detailed 3D elements, consider using a frosting specifically known for its firmness, such as a crusting American buttercream or a very stable Italian meringue buttercream. You can also add stabilizers like meringue powder (for American buttercream) or a small amount of cornstarch mixed into the powdered sugar, though these can sometimes affect texture or flavor.
For elaborate designs, piping in stages and chilling between layers can also provide the necessary support, allowing you to build complex structures even with slightly less firm frosting, proving adaptability is key to perfecting frosting piping techniques easily.
Clearing Clogged Piping Tips for Uninterrupted Flow
Piping tips can become clogged with bits of unincorporated sugar, lumps of butter, or dried frosting, interrupting your flow and potentially damaging your design. This is more common with frostings that contain solid particles or those that crust quickly. To prevent clogs, ensure all ingredients are well-mixed and smooth before filling the bag. Sifting powdered sugar is particularly important for American buttercream.
If a tip becomes clogged while you're piping, stop immediately. Do not try to force the frosting through, as this can cause the bag to burst or damage the tip. Gently tap the tip on a surface to try and dislodge the clog.
If that doesn't work, you may need to carefully use a toothpick or a thin skewer to clear the obstruction from the tip opening. For stubborn clogs, you might have to snip the end of the bag and remove the tip entirely to clean it before reattaching or using a new tip. Keeping your frosting smooth and free of debris is a proactive step towards perfecting frosting piping techniques easily without frustrating interruptions.
Storing Frosting: Preserving Quality for Future Use
Maintaining Frosting Quality Through Proper Storage
Properly storing leftover frosting is essential for preserving its quality and ensuring it's ready for your next baking project. Exposure to air is the primary enemy of frosting, as it can cause it to dry out, form a crust (unless that's desired, as with crusting buttercream), and absorb odors from the refrigerator. All types of frosting benefit from being stored in an airtight container. This simple step prevents surface drying and maintains moisture content, which is vital for re-whipping or bringing the frosting back to a pipeable consistency later.
Different frosting types have varying shelf lives in the refrigerator. American buttercream, with its high sugar content, can last for 1-2 weeks. Meringue-based buttercreams, containing egg whites, are generally best used within 5-7 days. Ganache can last 1-2 weeks, depending on the cream content and whether it contains other perishable ingredients. Always label your container with the type of frosting and the date it was made to keep track of freshness. Proper storage ensures you have quality frosting on hand, making spontaneous baking and perfecting frosting piping techniques easily whenever inspiration strikes possible.
Refrigerating and Freezing Frosting: Guidelines and Best Practices
Refrigeration is suitable for short-term storage, as mentioned above. For longer-term storage, most frostings can be frozen. Freezing is an excellent way to preserve large batches or save small amounts of specific colors. To freeze, transfer the frosting to an airtight container or a freezer-safe bag, pressing out as much air as possible before sealing. Properly stored, most frostings can last in the freezer for up to 2-3 months without significant loss of quality.
When you're ready to use frozen frosting, thaw it overnight in the refrigerator. Do not thaw at room temperature, as this can cause separation or bacterial growth, especially with buttercreams containing dairy or eggs. Once thawed, the frosting will likely need to be brought back to room temperature and re-whipped before use. This process is crucial for restoring its smooth texture and pipeable consistency. Freezing is a fantastic way to minimize waste and ensure you always have frosting ready for perfecting frosting piping techniques easily on demand.
Reviving Stored Frosting to its Original Piping Consistency
Frosting that has been refrigerated or frozen and thawed will almost always need some attention before it's ready for piping again. Cold temperatures cause butter and other fats in the frosting to firm up significantly, resulting in a stiff, sometimes grainy texture. The key to reviving it is to bring it back to the correct temperature and then re-whip it. For most buttercreams, this means letting the frosting sit at room temperature until it is soft and pliable, like the consistency of softened butter (around 68-72°F or 20-22°C).
Once the frosting is at the right temperature, transfer it to a mixing bowl and re-whip it on medium speed using the paddle attachment. This process re-incorporates any separated liquids and aerates the frosting, bringing back its smooth, fluffy, and pipeable texture.
For meringue buttercreams or ganache that still seem a bit stiff, you can gently warm the bowl over a warm water bath while mixing, or microwave a very small amount of the frosting until just softened and add it back to the main batch while mixing. This step-by-step revival process is essential for ensuring stored frosting performs just as well as fresh frosting, allowing for continuous practice and perfecting frosting piping techniques easily.
Frequently Asked Questions
How do I achieve the right frosting consistency for piping?
The ideal consistency for piping frosting is often described as "pipeable." This means it should be stiff enough to hold its shape but still smooth enough to flow easily through a piping bag. Adjust with small amounts of liquid or powdered sugar to reach that perfect balance.
What type of frosting is best for intricate piping designs?
While many frostings work, buttercream is generally considered the best choice for intricate designs. Its ability to hold its shape and its smooth texture make it ideal for creating detailed patterns and decorations.
How do I prevent air bubbles from forming in my frosting while preparing it?
Overmixing can introduce air bubbles. Mix your frosting on a low speed for a shorter period. If bubbles appear, gently tap the bowl on the counter several times to release them, or use a spatula to smooth the frosting.
What are some common mistakes people make when preparing frosting for piping?
One common mistake is using frosting that is too warm or too cold. Room temperature frosting is easiest to work with. Another mistake is over-whipping or under-whipping the frosting, which affects its consistency and ability to hold its shape.
Where can I find easy-to-follow guides on frosting piping techniques?
Websites like BakeWithEase.com offer step-by-step guides and tutorials on various frosting piping techniques. These resources often include videos and visual aids to help you perfect your skills easily.
Final Reflection: The Sweet Science of Piping Perfection
Mastering frosting piping isn't just about creating beautiful cakes; it's about unlocking a world of creative expression and bringing joy to others. The techniques detailed in this article—from achieving the ideal consistency to mastering various piping tips—are more than just steps; they're keys to unlocking your inner pastry artist. This isn't just about pretty pictures; it's about the tangible satisfaction of transforming simple ingredients into edible masterpieces.
The impact of beautifully decorated cakes extends far beyond the plate. It's about celebrating milestones, expressing love, and adding a touch of magic to everyday moments. A cake is a celebration of life, a symbol of joy and happiness.
This sentiment resonates deeply, as I've witnessed firsthand the transformative power of a perfectly piped rose or a flawlessly smooth swirl. The skill itself is rewarding, but the joy it brings to others is truly immeasurable.
Now, it's your turn. Don't be intimidated by the seemingly intricate world of piping. Take a deep breath, gather your ingredients, and experiment! Each attempt, whether perfectly executed or slightly imperfect, is a step towards mastering your craft and discovering the unique artistry you possess. Embrace the process, celebrate your successes, and learn from your "mistakes"—they're simply opportunities for growth. The journey to piping perfection is a sweet one, filled with delicious discoveries and the satisfaction of creating something truly beautiful.
Unleash Your Inner Piping Artist!
Thanks for joining us on this frosting journey! We hope you've gained some valuable tips and tricks to elevate your baking game. Now it's time to put your new knowledge into practice.
- Master the perfect swirl: Try out at least three different piping techniques from the article on your next cake, and share your results with us in the comments below! We'd love to see your creations.
- Experiment with different frosting flavors and colors. What unique combination will you dream up?
- Challenge a friend: Share this article with a fellow baking enthusiast and see who can create the most impressive piped design.
Ready to transform your cakes from ordinary to extraordinary? What's your favorite piping tip to share with fellow bakers?