
My Bread Didn't Brown: Troubleshooting Color Issues

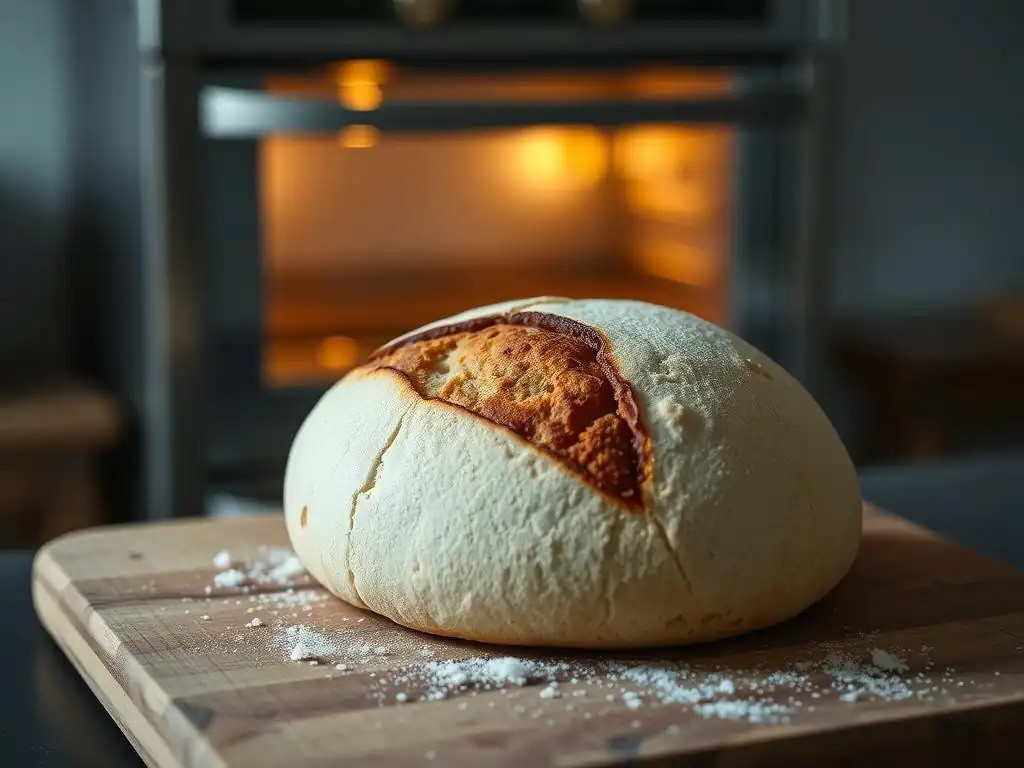
Welcome to BakeWithEase, your trusted guide to baking brilliance! Ever wondered why your bread isn't browning to that perfect golden hue? Uncover the secrets to achieving that desirable crust, from oven temperature nuances to the critical role of sugars. Dive in to troubleshoot common color issues and transform your bread baking from frustrating to fantastic. Let's get baking!
- My Bread Didn't Brown: Troubleshooting Color Issues on BakeWithEase.com
- Understanding Bread Browning: Achieving the Perfect Golden Crust
- Common Reasons Why Your Bread Isn't Browning Properly
- Troubleshooting Bread Browning Issues: Step-by-Step Solutions
- Advanced Techniques for Achieving a Deeper Bread Crust Color
- Preventing Future Bread Browning Problems: Best Practices
- Conclusion: Mastering Bread Browning on BakeWithEase.com
- Frequently Asked Questions
- Final Reflection: The Golden Crust and the Journey of Baking
- Unlock Your Baking Potential: Achieve Perfectly Browned Bread!
My Bread Didn't Brown: Troubleshooting Color Issues on BakeWithEase.com
Understanding Bread Browning: Achieving the Perfect Golden Crust
The Maillard Reaction: The Science Behind Bread Color
The beautiful golden-brown crust on a perfectly baked loaf isn't just for show; it's a sign of complex chemical reactions that contribute significantly to flavor and aroma. The most prominent of these is the Maillard reaction, a non-enzymatic browning process that occurs when amino acids and reducing sugars react under heat. This reaction kicks into high gear at temperatures typically above 280°F (140°C) on the surface of the dough, creating hundreds of different flavor compounds alongside the desirable brown pigments.
As your bread bakes, the surface temperature rises, reaching the point where the Maillard reaction can occur. The natural sugars present in the flour, along with any added sugars, interact with the proteins (amino acids) to form melanoidins, the complex polymers responsible for the brown color. This process is why bread isn’t browning if the surface doesn't reach a high enough temperature or if there isn't enough time for the reaction to complete. It's a delicate balance of heat, time, and ingredient composition that results in that appealing crust color and depth of flavor.
Caramelization: Another Key Player in Crust Color
While often discussed alongside the Maillard reaction, caramelization is a distinct process that also contributes to bread crust color, particularly in doughs with higher sugar content. Caramelization involves the browning of sugars themselves when heated to high temperatures, generally starting around 320°F (160°C). Unlike the Maillard reaction, caramelization doesn't require proteins; it's purely the thermal decomposition of sugars, producing compounds that lend nutty, buttery, and slightly bitter notes to the crust.
In bread baking, caramelization primarily affects the sugars on the surface of the dough once most of the surface moisture has evaporated and the temperature climbs. It works in concert with the Maillard reaction to build that rich, multi-faceted brown hue and complex flavor profile. Understanding both processes helps troubleshoot why bread isn’t browning – if the heat isn't high enough or sustained long enough, or if there aren't enough sugars available on the surface, you won't get the full effect of either the Maillard reaction or caramelization.
Common Reasons Why Your Bread Isn't Browning Properly
Oven Temperature Problems: Is Your Oven Accurate?
One of the most frequent culprits for why bread isn’t browning sufficiently is an inaccurate oven temperature. Home ovens can vary widely from the temperature set on the dial, sometimes by as much as 25°F to 50°F (15°C to 30°C) or even more. If your oven is running cooler than the recipe specifies, the surface of your bread may not reach the necessary temperatures (above 280°F for Maillard, above 320°F for caramelization) required for the browning reactions to occur effectively within the typical baking time.
Even a small temperature discrepancy can significantly impact crust development. A loaf baked at a true 375°F (190°C) will brown differently than one baked at an actual 350°F (175°C), even if the dial is set the same. This lack of sufficient heat energy means the chemical reactions responsible for color and flavor development simply don't happen at the required speed or intensity, leaving you with a pale, unappealing crust.
Calibrating Your Oven for Consistent Baking Temperatures
Investing in an inexpensive oven thermometer is the first step to understanding if your oven's internal temperature matches its setting. Place it in the center of your oven and check it after the oven has preheated for at least 20-30 minutes. You might be surprised to find it reads significantly higher or lower than the set temperature. Knowing the actual temperature allows you to adjust your baking accordingly – if your oven is consistently 25°F cool, you can set it 25°F higher for future bakes.
While true oven calibration might require a technician, simply knowing how far off your oven is allows you to compensate. If it runs cool, you'll need to increase the baking temperature or extend the baking time to give the crust enough exposure to heat for browning. This simple check can often solve the mystery of why bread isn’t browning as expected, providing the consistent heat needed for reliable results.
The Impact of Oven Rack Placement on Bread Browning
Where you place your loaf in the oven also plays a crucial role in how evenly and effectively it browns. Heat distribution isn't uniform; elements (especially bottom ones) are hotter, and air circulation patterns vary. Baking too close to a heating element, particularly early in the bake, can cause the bottom crust to set and potentially burn before the top or sides have a chance to brown properly.
Conversely, placing the bread too high might expose it to less direct heat, especially if your oven's main element is on the bottom. For most bread baking, the middle rack is considered the sweet spot. This position typically provides the most even heat distribution, allowing the entire loaf to bake and brown uniformly. Experimenting with rack position can help ensure all surfaces of your bread reach the temperatures needed for optimal browning.
Insufficient Baking Time: Patience is Key
Even if your oven temperature is accurate, simply not baking the bread for long enough is a common reason why bread isn’t browning adequately. Browning is a time-dependent process; the Maillard reaction and caramelization require sufficient exposure to heat to develop the desired color and flavor compounds. Pulling the loaf out too early, even if the internal temperature seems close, might mean the crust hasn't spent enough time at the high surface temperatures needed for deep browning.
Recipes provide estimated baking times, but these are always approximations. Factors like the bread's size and shape, the ingredients used, and even ambient kitchen humidity can affect the actual time needed. A large, dense loaf will require significantly more time in the oven than a smaller roll to bake through and develop a good crust color. Rushing the process will inevitably result in a pale, under-baked loaf.
Checking for Doneness: Beyond Visual Cues
Relying solely on visual cues to determine if your bread is done and sufficiently browned can be misleading. While a golden-brown crust is a good indicator, checking the internal temperature is the most reliable method for ensuring the loaf is fully baked. Most lean doughs (those without much sugar or fat) are done when the internal temperature reaches 190-210°F (88-99°C). Richer doughs might be done a bit higher, around 200-210°F (93-99°C).
Another classic test is tapping the bottom of the loaf; it should sound hollow. If the internal temperature is right and it sounds hollow, the bread is likely baked through. If the crust hasn't browned sufficiently by this point, it indicates an issue with temperature, steam, or dough composition, rather than just needing more time. However, if the internal temperature is still low, extending the baking time is necessary, which will also allow more time for browning.
Sugar and Fat Content: Their Role in Bread Color
The amount of sugar and fat in your bread dough significantly influences how readily the crust will brown. Sugars, as discussed with caramelization and the Maillard reaction, are direct participants in the browning process. Doughs with added sugar, like brioche, challah, or sweet rolls, will typically brown much faster and more deeply than lean doughs like a classic French baguette which relies primarily on the natural sugars in the flour.
Fats also play a role, though less directly in the browning reactions themselves. Fats can tenderize the crumb and crust, and they can also help retain moisture, affecting how the surface heats up. While not a primary browning agent like sugar, the presence of fat can influence the texture and development of the crust, indirectly affecting how it browns and how evenly it colors. Understanding the impact of these ingredients helps explain why bread isn’t browning the same way across different types of recipes.
Low Sugar Recipes: Adjusting for Browning
Lean bread doughs, such as those for sourdough, baguettes, or rustic loaves, contain very little to no added sugar or fat. They rely almost entirely on the natural sugars released from the starches in the flour by enzymes during fermentation and the Maillard reaction for crust color. Because the sugar content is low, these doughs will naturally brown less intensely than enriched doughs. Achieving a deep color requires sufficient baking time at the correct high temperature and often adequate steam.
If you're working with a low-sugar recipe and the crust is too pale, you might consider very slight adjustments in future attempts, though often the pale, crackly crust is characteristic of the style. Techniques like using a wash (discussed later) or ensuring maximum oven spring through proper steam can help promote better surface development and subsequent browning without significantly altering the dough's composition.
Fat's Influence on Crust Development
Fats, whether butter, oil, or eggs, contribute to the richness and tenderness of bread. While they don't caramelize like sugar, they can affect the texture of the crust and how quickly moisture evaporates from the surface. In some cases, fats can slightly inhibit gluten development, leading to a more tender crumb and a crust that might be less thick and crispy, potentially affecting how the browning appears.
However, fats also conduct heat, and their presence can influence how evenly the crust cooks and colors. In enriched doughs, the combination of higher sugar and fat content leads to a softer crumb and a crust that browns readily but may not develop the same hard, crisp texture as a lean loaf. The type and amount of fat will influence the final crust texture and appearance, playing a subtle role in the overall browning outcome.
Steam Issues: Too Much or Too Little?
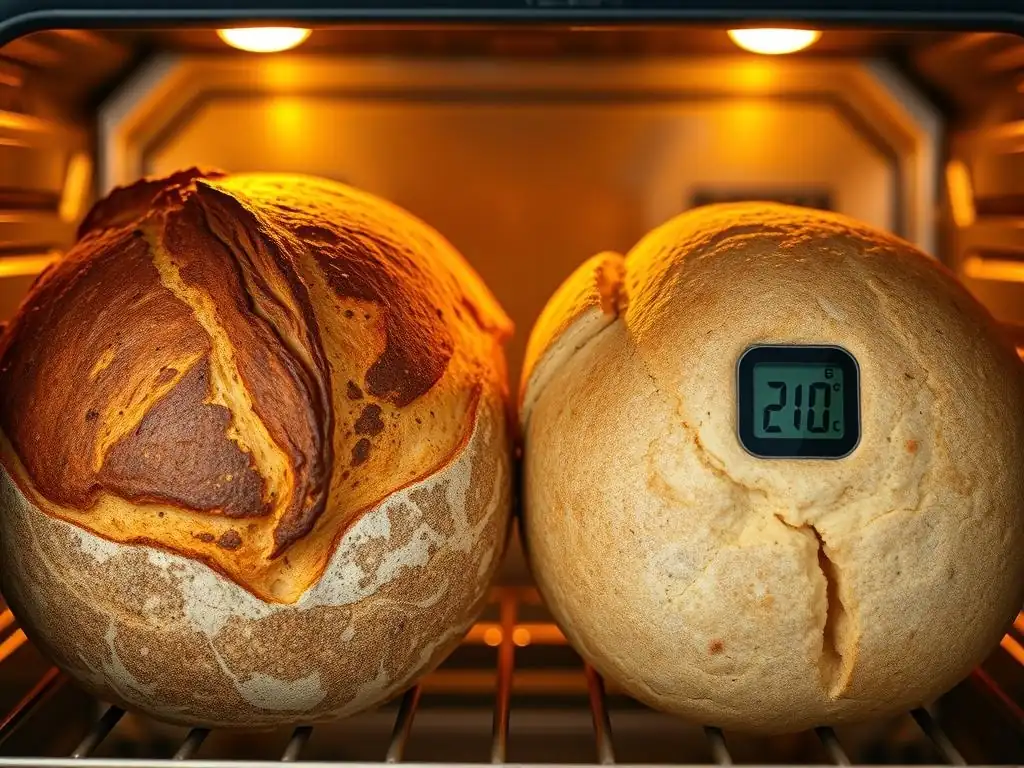
Proper steam in the oven during the initial phase of baking is critical for developing a good crust, and a good crust is essential for good browning. Steam keeps the surface of the dough moist and pliable for the first 10-20 minutes in the hot oven. This allows the loaf to expand fully (oven spring) before the crust sets. If the crust sets too early due to lack of steam, it restricts expansion and results in a thicker, tougher crust that may crack unevenly and often appears paler.
Too little steam is a common problem in home ovens, which are designed to vent moisture. Without sufficient steam, the dough's surface dries out rapidly upon entering the hot oven, the crust forms prematurely, and the potential for maximum oven spring is limited. This often leads to a dense loaf with a thick, pale crust. Ensuring adequate steam is present during the crucial initial baking period is a key factor in achieving a thin, crispy crust that can then brown beautifully.
The Importance of Steam for Crust Formation
Steam doesn't directly cause browning, but it creates the conditions for optimal browning. By keeping the surface moist and cool relative to the oven temperature, steam delays the setting of the crust. This delay allows the enzymes within the dough to remain active longer, breaking down starches into sugars, which are then available for the Maillard reaction and caramelization later. It also allows the loaf to achieve maximum volume before the crust hardens.
Once the crust sets (usually after 10-20 minutes when the steam is removed or dissipates), the surface temperature rises rapidly, and the browning reactions begin in earnest. A crust that developed properly with steam is thinner and more uniform, providing a better surface for even browning and crisping. This is why bread isn’t browning well if it doesn't get that initial steamy environment – the crust sets poorly, hindering both oven spring and subsequent color development.
Controlling Steam in Your Home Oven
Achieving a steamy environment in a home oven can be done through several methods. One popular technique is placing a cast iron pan or tray on the bottom rack while preheating and carefully pouring boiling water into it just as you load the bread. This creates a burst of steam. Another method is spraying the oven walls with water using a clean spray bottle, though this provides less sustained steam.
Using a Dutch oven or baking cloche is arguably the most effective method for trapping steam around the loaf. The dough is placed inside the preheated vessel with a lid, and the moisture evaporating from the dough itself creates a perfect steamy micro-environment. After 20-25 minutes, the lid is removed, allowing the crust to dry out and the temperature to rise, facilitating intense browning. This technique is often the secret behind those deeply colored, crackly crusts seen on many artisan loaves.
Dough Composition: Ingredients Affecting Browning
Beyond sugar and fat, other aspects of dough composition influence crust browning. The type of flour used, the hydration level, and even the presence of ingredients like milk or eggs affect the final outcome. These ingredients contribute different types and amounts of sugars, proteins, and moisture, all of which play a role in the complex interactions that lead to crust color.
Understanding how specific ingredients behave helps in predicting and troubleshooting browning issues. For example, substituting one type of flour for another without adjustment can drastically change the browning characteristics. Similarly, altering the water content affects the dough's texture and how heat is conducted through it, influencing crust development and color.
Flour Type and its Impact on Crust Color
Different flours contain varying amounts of protein and carbohydrates (including natural sugars). Whole wheat flour, for instance, contains more complex carbohydrates and fiber than refined white flour, as well as different enzymatic activity. These factors mean whole wheat doughs often brown more readily and achieve a deeper color than those made with solely refined flour, even in lean doughs.
Flours like rye also have unique browning properties due to their specific carbohydrate and protein composition. If you're using a flour type that typically results in a paler crust and you desire more color, you might need to employ techniques like washes or slightly longer baking times, keeping in mind the characteristic appearance of bread made with that specific flour.
Hydration Levels and Browning
The hydration level (the ratio of water to flour) in dough affects its texture, extensibility, and how heat penetrates it during baking. Higher hydration doughs (those with more water) often result in a more open crumb and can potentially develop a thinner, crispier crust if baked correctly with sufficient heat and steam. This thinner crust can sometimes brown more intensely once it sets.
Lower hydration doughs tend to form a thicker crust more quickly in the oven. While this crust will still brown, it might not achieve the same depth of color as a well-developed thin crust from a higher hydration dough, or it might require longer baking to brown through its thickness. Balancing hydration with baking technique is key to achieving the desired crumb and crust characteristics, including color.
Troubleshooting Bread Browning Issues: Step-by-Step Solutions
Verify Your Oven Temperature with an Oven Thermometer
If you're consistently experiencing pale crusts, the very first step is to check your oven's accuracy. Place a reliable oven thermometer in the center of your oven and let it preheat for at least 30 minutes at your typical bread-baking temperature (e.g., 400°F or 200°C). Note the actual temperature reading.
If the thermometer shows a significant difference (more than 15-20°F or 10°C) from your set temperature, you've likely found a major reason why bread isn’t browning. You can then adjust your oven setting accordingly in future bakes. For example, if your oven runs 25°F cool, set it 25°F higher than the recipe calls for.
Extend Baking Time Gradually, Monitoring Closely
If your oven temperature seems accurate, but the crust is still pale when the internal temperature is reached, the issue might be insufficient time at peak browning temperature or perhaps too much moisture lingering on the surface. Try extending the baking time by 5-10 minute increments after the internal temperature is reached, keeping a close eye on the crust.
Sometimes, just a few extra minutes in the hot oven after the loaf is technically "done" is all that's needed for the Maillard reaction and caramelization to finish their work and develop a richer color. Be careful not to burn the bottom crust while extending the overall baking time; you might need to shield the bottom with a baking sheet if necessary.
Increase Sugar or Fat (Carefully!) for Enhanced Browning
For recipes that consistently yield a pale crust and are low in sugar or fat, you could consider a very small adjustment in future batches. Adding just a teaspoon or two of sugar or a tablespoon of fat (like butter or oil) per loaf can sometimes noticeably improve browning because these ingredients directly contribute to the browning reactions.
- Consider:
- Adding 1-2 teaspoons of sugar to the dough ingredients.
- Adding 1 tablespoon of butter or oil to the dough.
Remember that increasing sugar or fat will also affect the crumb texture and flavor, so start with minimal adjustments. This approach is more suitable for troubleshooting why bread isn’t browning in recipes that aren't intended to be extremely lean.
Adjust Steam Levels for Optimal Crust Development
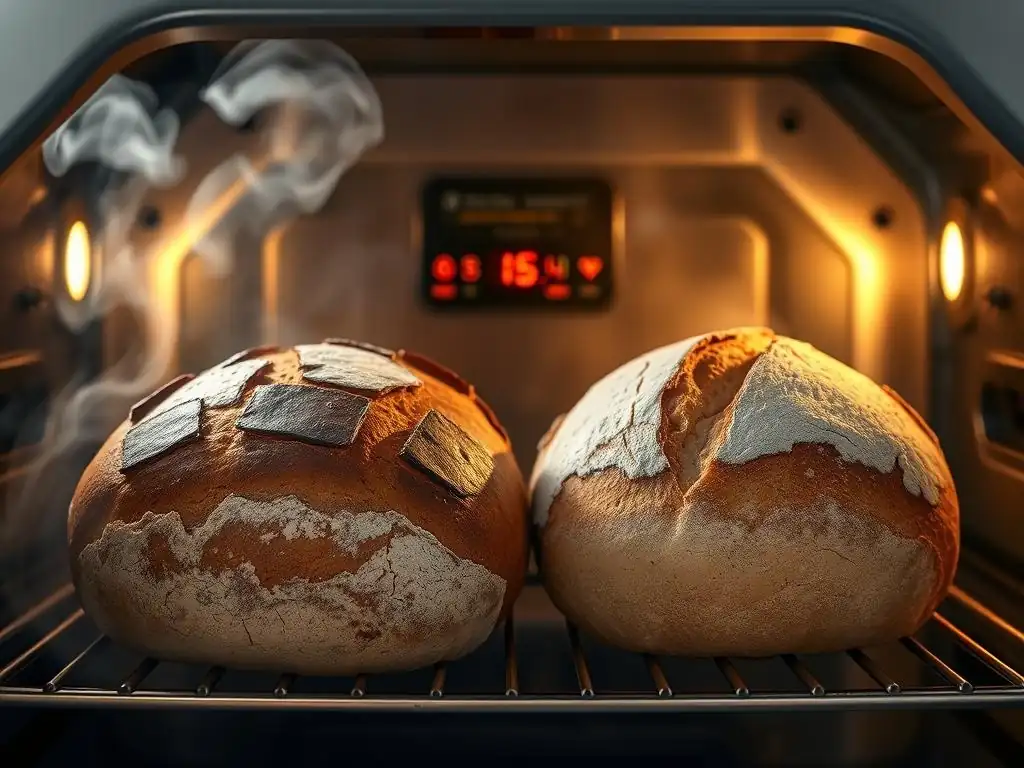
Ensuring adequate steam during the first portion of the bake (typically 10-20 minutes) is crucial for a thin, pliable crust that can brown well. If your crust is thick and pale, lack of steam is a likely cause.
- Try using a Dutch oven or baking cloche if you aren't already. This is often the most effective method.
- If using a regular oven, place a cast iron pan on the bottom rack while preheating and add boiling water when you load the bread. Use caution with hot water and steam.
Experimenting with steam methods can dramatically improve crust texture and color, addressing a key factor for why bread isn’t browning properly.
Experiment with Different Flour Types for Desired Color
If you are using a flour type that naturally produces a paler crust (like some refined white flours), and you want a darker color without adding sugar or fat, consider incorporating a percentage of whole wheat or rye flour into your blend. Even substituting 10-20% of the white flour with whole wheat can introduce more browning compounds.
Keep in mind that substituting flour types will also affect dough hydration and handling characteristics, so you may need to make other slight adjustments to your recipe. This is a good approach if you want to understand why bread isn’t browning with your current flour and explore options for a naturally deeper hue.
Advanced Techniques for Achieving a Deeper Bread Crust Color
Egg Wash: A Classic Browning Booster
Applying a wash to the surface of your bread dough just before baking is an excellent way to promote browning. An egg wash, made by whisking an egg with a tablespoon of water or milk, is a classic choice. The protein and sugars in the egg create a rich, shiny, golden-brown crust.
- Application: Brush a thin, even layer over the entire surface of the loaf just before placing it in the oven. Be careful not to let it pool at the base, which can glue the loaf to the baking surface.
Milk Wash: A Subtle Color Enhancer
A milk wash provides a softer, more matte finish than an egg wash, but still helps with browning. The lactose (milk sugar) and proteins in the milk participate in the Maillard reaction, leading to a lovely golden hue.
- Application: Brush milk (whole milk works best due to higher fat/sugar content) onto the dough surface before baking. This is a good option for rolls or softer bread where a very shiny crust isn't desired.
Sugar Wash: For a Sweet and Shiny Crust
For a sweet, deeply colored, and sometimes slightly sticky crust, a sugar wash can be used. This is essentially a simple syrup (sugar dissolved in water) brushed onto the dough. The high sugar content guarantees significant caramelization.
- Application: Dissolve 1-2 tablespoons of sugar in 1/4 cup of hot water. Let cool slightly and brush onto the dough before baking. Use sparingly, as too much sugar can burn. This is often used on sweet breads or buns.
Using a Baking Stone or Dutch Oven for Even Browning
A preheated baking stone or steel provides a burst of intense heat to the bottom of the loaf as soon as it's placed in the oven. This helps the bottom crust set and brown quickly and evenly. Similarly, a preheated Dutch oven provides radiant heat from all sides, ensuring uniform baking and browning.
Using these tools helps maintain a consistent high temperature around the bread, which is essential for the browning reactions. If you're finding that bread isn’t browning evenly, or the bottom is pale while the top is okay (or vice versa), a baking stone or Dutch oven can significantly improve heat transfer and overall crust color.
Preventing Future Bread Browning Problems: Best Practices
Accurate Measurements for Consistent Results
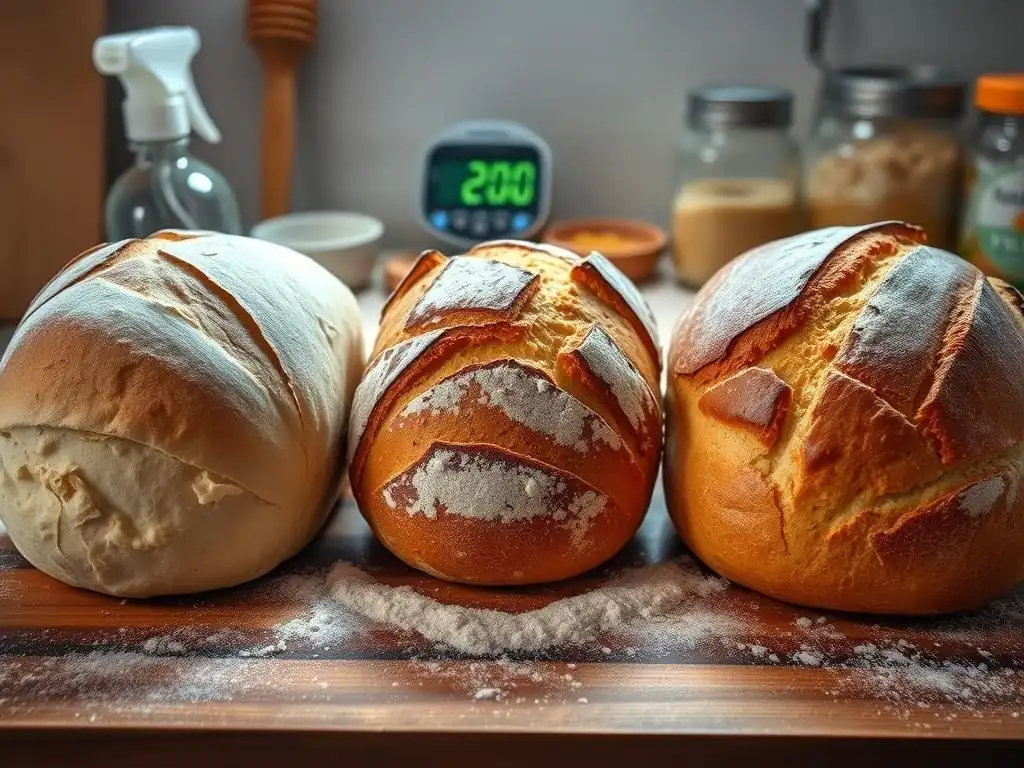
Precision in measuring ingredients, especially flour, water, sugar, and fat, is fundamental to consistent baking results, including crust browning. Using a kitchen scale for flour and water is highly recommended over volume measurements, as it's much more accurate.
Even slight variations in hydration or the amount of sugar can impact dough fermentation and how the crust develops and browns. Consistent measurements ensure that the dough composition is reliable batch after batch, making it easier to identify and troubleshoot other variables if your bread isn’t browning as expected.
Proper Dough Handling for Even Baking
Over-handling or under-handling dough can affect its structure and how it bakes. Properly developed gluten allows the dough to hold its shape and expand correctly during proofing and baking, leading to a more uniform loaf.
Shaping the loaf carefully also ensures an even thickness and surface tension, promoting uniform heat distribution and consistent browning across the entire crust. Avoid creating thin spots or uneven surfaces that might brown too quickly or remain pale.
Monitoring Baking Progress Regularly
Don't just set a timer and walk away. Check on your bread periodically, especially during the later stages of baking. Observe the color of the crust. If it's browning too quickly, you can loosely tent it with foil. If it's not browning enough as the internal temperature approaches readiness, you know you might need to extend the time slightly or consider temperature adjustments for future bakes.
Regular monitoring allows you to make minor adjustments or note issues in real-time, helping you learn what works best in your specific oven and with your recipes. It's key to understanding why bread isn’t browning or browning unevenly and preventing future problems.
Conclusion: Mastering Bread Browning on BakeWithEase.com
Achieving that perfect, deeply colored crust is one of the most satisfying aspects of bread baking. While it might seem like a simple visual cue, the color of your bread's crust is the result of complex scientific processes like the Maillard reaction and caramelization, influenced by a multitude of factors from oven temperature and steam to dough composition and baking time. Understanding why bread isn’t browning involves looking at these interacting elements.
By systematically troubleshooting common issues – verifying oven accuracy, adjusting baking time, controlling steam, and understanding your dough's ingredients – you can overcome pale crust problems. Incorporating advanced techniques like washes or using baking stones/Dutch ovens can further enhance your results. With practice and attention to detail, you'll consistently bake loaves with beautiful, flavorful golden-brown crusts, mastering the art of bread browning right here on BakeWithEase.com.
Frequently Asked Questions
What causes bread not to brown properly?
A lack of browning in bread can be due to insufficient oven temperature, not enough sugar, or using the wrong type of flour. Ensuring the right conditions can help achieve that perfect crust.
How can I enhance the browning of my bread?
To enhance browning, consider adding a bit of sugar or honey to your dough, and make sure to bake at the correct temperature. Additionally, using steam in the oven can also promote a better crust.
Is it possible to fix bread that hasn’t browned?
Yes, you can return the bread to the oven for a few minutes at a higher temperature. Keep an eye on it to avoid burning, as this can help develop the color without overcooking the inside.
What role does sugar play in bread browning?
Sugar caramelizes during baking, contributing to the color and flavor of the crust. If your recipe lacks sugar, the bread may not develop that desirable golden hue.
Can the type of pan affect bread browning?
Absolutely! The type of baking pan can impact browning. Dark pans absorb heat better, promoting browning, while shiny pans may reflect heat and result in lighter crusts.
Final Reflection: The Golden Crust and the Journey of Baking
The quest for that perfect, golden-brown crust is a universal struggle for home bakers, a testament to the delicate balance of ingredients, technique, and oven temperament. Understanding why bread isn't browning isn't just about aesthetics; it's about unlocking the secrets to a truly satisfying bake, one that speaks of both skill and deliciousness. This journey, from troubleshooting oven temperatures to mastering hydration levels, highlights the rewarding, yet sometimes frustrating, art of bread making.
The pursuit of the perfect loaf has profoundly shaped my own baking journey, teaching me patience, precision, and the importance of embracing imperfections. Each failed attempt, each pale crust, has been a valuable lesson, pushing me to refine my techniques and deepen my understanding of the process. The best bread is the bread you bake with love,
a wise baker once told me, and I've found that to be profoundly true. It's not just about the result, but the journey of learning and growth that accompanies it.
Now, it's your turn. Don't be discouraged by a pale crust; instead, see it as an invitation to explore, experiment, and refine your baking skills. Consider the factors we've discussed – oven temperature, hydration, baking time, and even the type of pan you use – and approach your next loaf with a renewed sense of curiosity and determination. The golden-brown crust awaits, a symbol of your dedication and a testament to the delicious rewards of perseverance in the kitchen.
Unlock Your Baking Potential: Achieve Perfectly Browned Bread!
Thanks for taking the time to explore the mysteries of bread browning with us! You now have the knowledge to troubleshoot those frustrating color issues and create consistently delicious loaves. Ready to put your newfound expertise to the test?
- Bake a test loaf using your newly refined technique: This is your chance to practice and perfect the art of achieving that golden-brown crust you've always dreamed of!
- Share your baking triumphs (and challenges!) on social media using #BakeWithEaseBrownedBread: Let's build a community of bakers who are mastering the art of the perfect crust. We'd love to see your results!
- Consider experimenting with different flours or oven temperatures to see how it impacts your results. You might discover your new favorite baking secret!
What unexpected factor do you think most influences bread browning, and how will you test your theory?