
Easy Herbed Focaccia: Fresh Flavors Unleashed

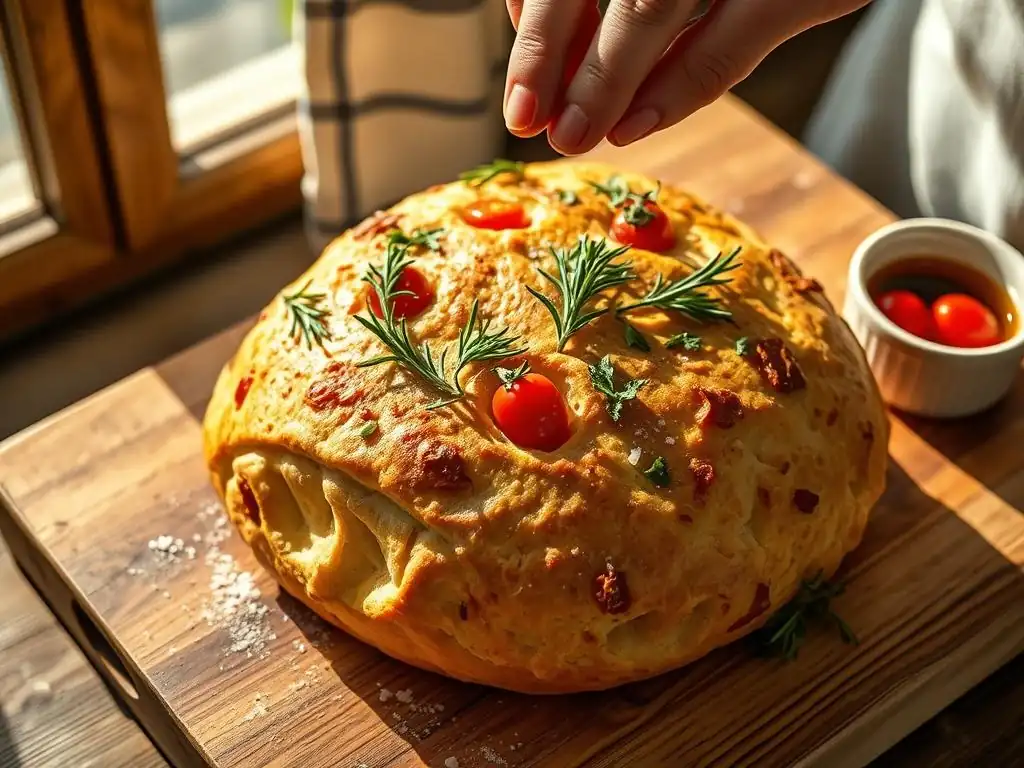
Welcome to BakeWithEase, where the aroma of freshly baked goodness is just a simple recipe away! Ever dreamt of effortlessly creating restaurant-worthy bread at home? Prepare to be amazed! Our Easy Herbed Focaccia recipe is your gateway to unlocking a world of flavor and texture with minimal fuss. But that's just the beginning... Discover the secrets to perfect pastries, craveable cakes, and so much more as you delve into the delicious world of baking with us. What other bread-baking breakthroughs await you? Let's find out!
- Bake Delicious Focaccia with Ease: An Introduction
- Why This Easy Herbed Focaccia Recipe is Perfect for Beginners
-
Step-by-Step Guide to Baking Your Best Herbed Focaccia
- Step 1: Preparing the Focaccia Dough
- Step 2: First Rise - Developing Focaccia Flavor
- Step 3: Preparing the Pan and Shaping the Focaccia
- Step 4: Second Rise - Achieving Focaccia's Signature Texture
- Step 5: Creating the Herbed Topping and Dimpling the Focaccia
- Step 6: Baking the Herbed Focaccia to Golden Perfection
- Step 7: Cooling and Serving Your Homemade Focaccia
- Tips for the Best Herbed Focaccia Every Time
- Herbed Focaccia Variations and Flavor Ideas
- Serving Suggestions: What to Enjoy with Your Freshly Baked Focaccia
- Storing Your Homemade Herbed Focaccia
- Enjoy Your Easy Homemade Herbed Focaccia!
- Frequently Asked Questions
- Final Reflection: The Simple Joy of Homemade Bread
- Unleash Your Inner Baker: Craft Your Perfect Focaccia!
Bake Delicious Focaccia with Ease: An Introduction
Welcome to BakeWithEase, where we believe that delicious baking should be accessible to everyone, regardless of experience level. Today, we're diving into the wonderful world of focaccia, a classic Italian flatbread known for its airy texture, crispy crust, and delightful flavor. While some breads can seem intimidating, our easy herbed focaccia recipe is specifically designed to guide you through the process with confidence, resulting in a beautiful and incredibly tasty loaf you'll be proud to share (or keep all to yourself! ).
This easy herbed focaccia is more than just a simple bake; it's an invitation to explore fresh flavors and enjoy the rewarding process of making bread from scratch. Imagine pulling a warm sheet of focaccia from your oven, the aroma of herbs filling your kitchen. It’s a fantastic base for sandwiches, a perfect companion to soups and salads, or simply wonderful dipped in olive oil. Get ready to unleash fresh flavors and discover just how easy and enjoyable baking truly can be with this straightforward focaccia recipe.
Why This Easy Herbed Focaccia Recipe is Perfect for Beginners
Baking bread might sound complicated, but this easy herbed focaccia recipe breaks it down into simple, manageable steps. Unlike some complex sourdoughs or enriched doughs that require extensive kneading or multiple long proofs, this focaccia dough is forgiving and requires minimal hands-on time. We focus on techniques that build flavor and texture without demanding expert skills, making it an ideal starting point for anyone new to bread baking or those looking for a reliable, quick win in the kitchen.
Furthermore, the beauty of this easy herbed focaccia lies in its flexibility. It doesn't require specialized equipment – just basic kitchen tools you likely already own. The process is designed to be intuitive, building your confidence with each step, from mixing the dough to creating those signature dimples. By the end, you'll have not only a delicious loaf but also a solid understanding of fundamental bread-making principles that you can apply to future baking adventures.
Simple Ingredients for Homemade Focaccia
One of the reasons this easy herbed focaccia recipe is so beginner-friendly is its reliance on common pantry staples. You won't need to hunt for obscure flours or specialty yeasts. A standard all-purpose flour works beautifully, providing a tender crumb and a sturdy structure. We'll also use instant dry yeast, which is incredibly reliable and doesn't require proofing in liquid beforehand, simplifying the process even further. Good quality olive oil is crucial, both for enriching the dough and for creating that desirable crispy crust and rich flavor.
Beyond the basics like salt and water, the star of this homemade focaccia is, of course, the herbs. Fresh herbs offer a vibrant flavor that dried herbs simply can't match in this context. Think robust rosemary, fragrant thyme, or delicate oregano. You'll need just a small amount, perhaps 2-3 tablespoons of chopped fresh herbs in total, depending on your preference and the intensity of the herbs you choose. This minimal list of ingredients means less time shopping and more time baking!
Quick and Easy Focaccia Dough Preparation
Preparing the dough for this easy herbed focaccia recipe is remarkably quick compared to many other bread types. There's no lengthy stand mixer kneading required, nor hours of stretching and folding. The dough comes together easily in a bowl, and while it does require some mixing to develop gluten, it's a relatively short process, maybe just 5-7 minutes of gentle kneading by hand or with a mixer's dough hook until it's mostly smooth.
The magic happens during the fermentation (rising) periods, which build flavor and structure with minimal effort from you. The hydration level is generous, contributing to the focaccia's characteristic airy crumb. Because the dough is quite wet, it's less about traditional kneading and more about simply bringing the ingredients together and letting time do the work. This low-stress approach makes the dough preparation phase a breeze, perfect for novice bakers tackling their first homemade focaccia.
Unleashing Flavor: The Herbed Topping
The herbed topping is where this easy herbed focaccia truly shines, transforming a simple flatbread into a fragrant masterpiece. The combination of fresh herbs, good olive oil, and flaky sea salt creates an explosion of flavor with every bite. The warmth of the oven amplifies the aromas of the herbs, infusing the entire loaf. This step is not just about adding flavor; it's also about creating that beautiful, rustic look that is characteristic of traditional focaccia.
Choosing your herbs is a fun part of the process. A classic choice is rosemary, known for its piney, aromatic notes. Thyme offers a slightly earthier, lemony profile, while oregano provides a more pungent, savory flavor. You can use a single herb or a combination. Approximately 1-2 tablespoons of chopped fresh herbs, mixed with a few tablespoons of olive oil, are pressed into the top of the dough before baking. Finishing with a sprinkle of flaky sea salt adds a crucial textural contrast and enhances all the other flavors.
Step-by-Step Guide to Baking Your Best Herbed Focaccia
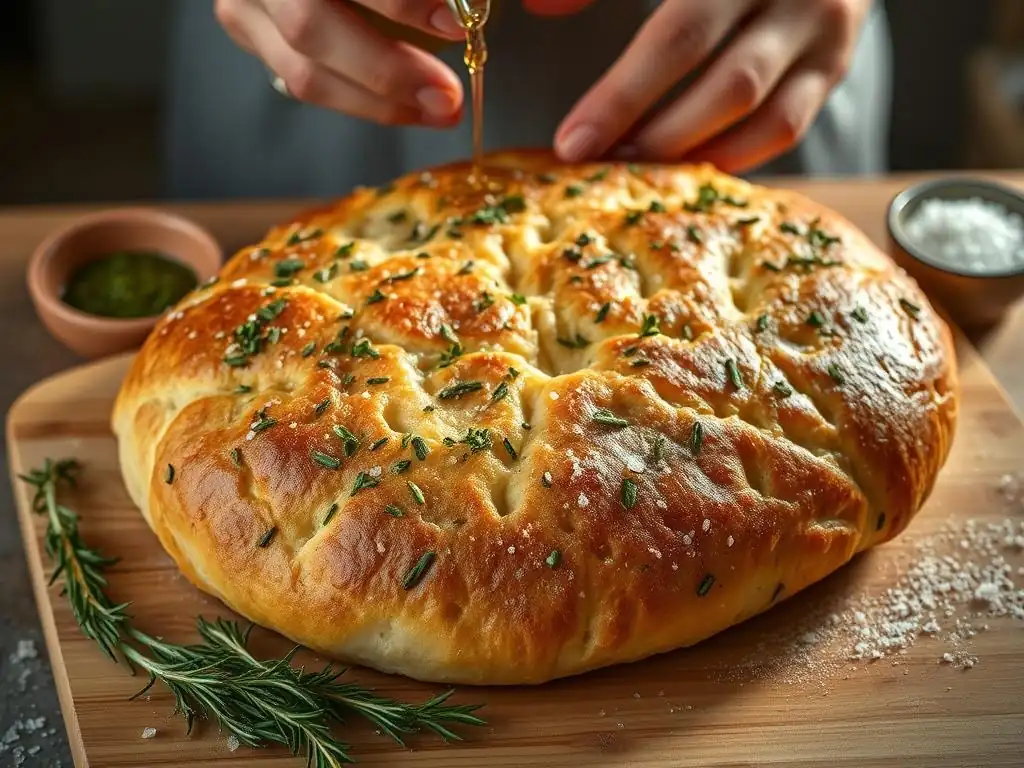
Baking your own easy herbed focaccia is a rewarding journey. Follow these simple steps to ensure a delicious result every time. This guide breaks down the process, making it approachable for even the most inexperienced baker.
Step 1: Preparing the Focaccia Dough
Getting the dough right is the foundation of a great focaccia. This step involves activating the yeast, combining the main ingredients, and bringing it together into a cohesive dough.
Activating the Yeast for Focaccia
While instant yeast doesn't strictly need to be activated, doing so can give you confidence that your yeast is alive and active, especially if you're new to baking or using a new packet of yeast. In a small bowl, combine about 1 ½ teaspoons of instant dry yeast with 1 ¼ cups of warm water (ideally between 105°F and 115°F or 40°C and 46°C) and a pinch of sugar (about ¼ teaspoon). Let it sit for 5-10 minutes.
You should see a foamy layer develop on the surface, indicating the yeast is active and ready to make your focaccia rise. If no foam appears, your yeast may be expired, and you should start with a fresh packet.
If you're using active dry yeast instead of instant, this activation step is essential. Use the same water temperature and sugar, and wait for the mixture to become bubbly and foamy before proceeding. This visual cue confirms that the yeast is viable and will properly leaven your easy herbed focaccia dough.
Combining Dry Ingredients for the Perfect Focaccia Base
In a large mixing bowl, whisk together 3 cups of all-purpose flour with 1 ½ teaspoons of fine sea salt. The salt is crucial for flavor and also helps control the yeast activity. Ensure the salt is evenly distributed throughout the flour. Using a whisk helps aerate the flour slightly and removes any lumps, contributing to a smoother dough later on.
This simple dry mix provides the structure for your homemade focaccia. While you can experiment with different flours later, starting with all-purpose flour makes this easy herbed focaccia recipe highly reliable. Make a well in the center of the dry ingredients, ready to receive the liquid components.
Adding Liquid and Kneading the Focaccia Dough
Pour the activated yeast mixture (or just the warm water and yeast if using instant without pre-activating) into the well in the dry ingredients. Add 2 tablespoons of good quality olive oil to the bowl. Using a wooden spoon or a rubber spatula, begin mixing from the center outwards, gradually incorporating the flour into the wet ingredients.
Mix until a shaggy, wet dough forms. This dough will be much wetter and stickier than typical bread doughs, which is key to the focaccia's texture. Once the ingredients are roughly combined, you can switch to a sturdy spoon or even use your hands. Mix for about 5-7 minutes, scraping down the sides of the bowl as needed, until the dough is somewhat smooth and elastic, pulling away from the sides of the bowl slightly. It will still be sticky, which is perfectly normal for this easy herbed focaccia dough.
Step 2: First Rise - Developing Focaccia Flavor
The first rise, also known as bulk fermentation, is a critical step where the yeast produces gases that cause the dough to expand and, importantly, develops complex flavors in your homemade focaccia.
Tips for a Successful First Proof
Transfer the sticky dough to a lightly oiled bowl, turning it once to coat the surface with oil. Cover the bowl tightly with plastic wrap or a damp kitchen towel. Place the bowl in a warm, draft-free spot. An oven with the light on (but the oven off) is an ideal environment, typically reaching about 75-80°F (24-27°C). Let the dough rise until it has roughly doubled in size. This usually takes between 1 ½ to 2 hours, depending on the temperature of your kitchen.
- Temperature Matters: Warmer temperatures speed up the rise, while cooler temperatures slow it down. Aiming for the recommended temperature range helps ensure a consistent rise time.
- Visual Cue: Don't rely solely on time; the visual cue of the dough doubling in volume is the most important indicator that it's ready for the next step in your easy herbed focaccia recipe.
- Gentle Handling: After the rise, the dough will be airy. Handle it gently to preserve the gas bubbles that contribute to the light texture of the finished focaccia.
Step 3: Preparing the Pan and Shaping the Focaccia
Proper pan preparation is essential for achieving a crispy bottom crust and preventing your easy herbed focaccia from sticking. Shaping is less about forming a perfect loaf and more about gently coaxing the dough into place.
Oiling the Pan for a Crispy Focaccia Crust
Generously coat the bottom and sides of a 9x13 inch baking pan (or a similar sized pan, like a 10-inch round or square) with olive oil. Use at least 3-4 tablespoons of olive oil, ensuring every corner and edge is well-coated. This generous amount of oil is not just for non-stick purposes; it's fundamental to achieving that signature golden, crispy crust on your homemade focaccia. You can use your fingers or a pastry brush to spread the oil evenly.
This oil layer effectively fries the bottom of the dough as it bakes, resulting in a wonderfully crunchy exterior that contrasts beautifully with the soft, airy interior. Don't be shy with the oil here – it's a key component of a truly authentic and delicious easy herbed focaccia.
Gently Stretching the Focaccia Dough
Carefully pour or scrape the risen dough into the prepared pan. It will be very soft and bubbly. Resist the urge to punch it down vigorously. With oiled hands, gently begin to press and stretch the dough towards the edges of the pan. The dough will be elastic and may resist stretching initially. If it springs back, let it rest for 5-10 minutes, then continue stretching. This resting period allows the gluten to relax, making it easier to work with.
Continue this gentle stretching process until the dough roughly fills the pan. It doesn't have to be perfectly even at this stage, as the dough will continue to relax and spread during the second rise. The goal is to handle the dough minimally to preserve the air bubbles developed during the first proof, which contribute to the light and airy texture of your easy herbed focaccia.
Step 4: Second Rise - Achieving Focaccia's Signature Texture
The second rise is shorter than the first and allows the dough to fully relax into the pan while developing further complexity in flavor and texture.
After gently stretching the dough into the pan, cover the pan loosely with plastic wrap or a light kitchen towel. Let the dough rise again in a warm, draft-free spot for about 30-45 minutes. During this time, the dough will relax, spread slightly to fill the pan more completely, and become noticeably puffier.
This second proof is crucial for developing the characteristic airy, open crumb structure of classic focaccia. When the dough looks visibly puffy and has spread to fill the pan, it's ready for the next step. It should feel soft and pillowy when gently touched.
Step 5: Creating the Herbed Topping and Dimpling the Focaccia
This is the fun part where you add the signature flavor and texture that makes this an easy herbed focaccia recipe!
Choosing Fresh Herbs for Your Focaccia
As mentioned earlier, fresh herbs are key. Popular choices include rosemary, thyme, oregano, or a mix. You'll need about 1-2 tablespoons of finely chopped fresh herbs. Mix these herbs with 2-3 tablespoons of good quality olive oil in a small bowl. This oil mixture will be drizzled and pressed into the dough.
Consider the flavor profile you desire. Rosemary offers a strong, aromatic flavor that pairs well with the richness of the olive oil. Thyme provides a more subtle, earthy note. Experiment with different combinations to find your favorite for your homemade focaccia.
Mastering the Art of Focaccia Dimples
This is the most iconic step! Generously drizzle the olive oil and herb mixture over the surface of the risen dough in the pan. Now, dip your fingers (keep them oiled for easy release) into the oil and firmly press them straight down into the dough, creating deep indentations (dimples) that go almost to the bottom of the pan. Space the dimples about an inch or two apart across the entire surface.
These dimples serve multiple purposes: they prevent large air bubbles from forming on the surface, they hold the olive oil and herbs, ensuring flavor penetrates the dough, and they create that beautiful, rustic appearance. Don't be afraid to press firmly! Finish by sprinkling generously with flaky sea salt over the entire surface.
Step 6: Baking the Herbed Focaccia to Golden Perfection
Baking transforms the dough into the delicious bread we've been working towards. Proper temperature and timing are key.
Oven Temperature and Baking Time for Focaccia
Preheat your oven to 400°F (200°C) with a rack in the center position. A hot oven is important for achieving a good rise and a crispy crust quickly. Once the oven is fully preheated and the dough has been dimpled and topped, carefully place the pan in the oven.
Bake for 20-30 minutes. The exact baking time will vary depending on your oven and the pan size. Begin checking around the 20-minute mark. The focaccia is ready when the top is golden brown and the bottom is crispy. You can carefully lift a corner with a spatula to check the color of the bottom crust.
Achieving a Golden Brown Crust
During the last 5-10 minutes of baking, keep an eye on the color. You want a beautiful golden-brown hue across the top and especially around the edges where the oil pools. If the top is browning too quickly but the bottom isn't yet golden or the interior isn't fully cooked, you can loosely tent the focaccia with foil. However, typically, at 400°F, the crust develops nicely within the suggested timeframe for this easy herbed focaccia recipe.
The high heat helps create that characteristic bubbly, slightly uneven surface texture. The olive oil on top contributes significantly to the golden color and crispiness.
Step 7: Cooling and Serving Your Homemade Focaccia
Patience is a virtue, especially when it comes to letting your freshly baked bread cool slightly before slicing.
Once the focaccia is baked to a beautiful golden brown, carefully remove the pan from the oven. The aroma of fresh herbs and baked bread will be incredible! Let the focaccia cool in the pan for just 5-10 minutes. This brief cooling period allows the structure to set slightly before you attempt to remove it.
After the initial cooling in the pan, carefully transfer the focaccia to a wire rack to cool completely. Using a spatula to gently loosen the edges can help. Cooling on a wire rack allows air to circulate around the bottom, preventing it from becoming soggy and ensuring that crispy bottom crust remains intact. While it's tempting to slice into it immediately, letting it cool for at least 20-30 minutes results in a better texture. Slice into squares or rectangles and serve warm. Enjoy your delicious, easy herbed focaccia!
Tips for the Best Herbed Focaccia Every Time
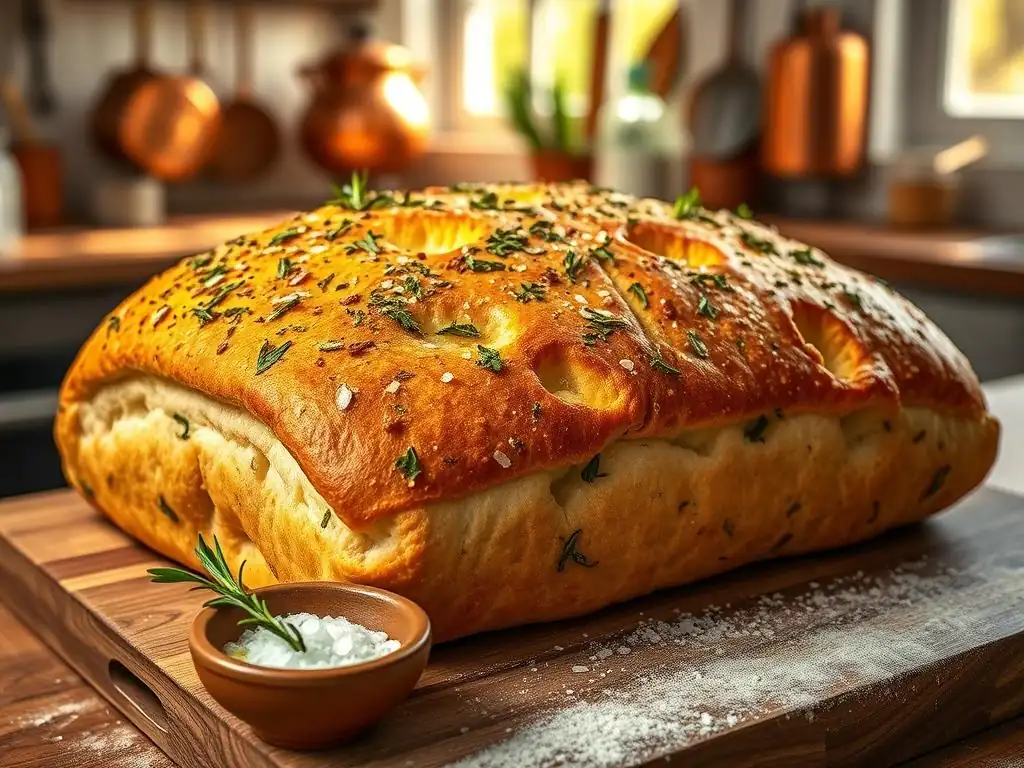
Even with a simple recipe, a few insider tips can elevate your easy herbed focaccia from good to absolutely fantastic.
Achieving the Perfect Focaccia Texture
The ideal focaccia has a light, airy interior with large, irregular holes (a sign of a well-hydrated dough and proper fermentation) and a wonderfully crispy exterior crust. To achieve this:
- Hydration is Key: Don't be tempted to add more flour to make the dough less sticky. The high hydration is essential for the airy crumb.
- Gentle Handling: Avoid overworking or deflating the dough during shaping and dimpling. Preserve those precious air bubbles.
- Generous Oil: Don't skimp on the olive oil in the pan or on top. It's vital for texture and flavor.
Troubleshooting Common Focaccia Problems
- Focaccia didn't rise: Ensure your yeast is fresh and the water temperature is correct for activating the yeast. Check that your rising environment is warm enough.
- Focaccia is dense: This is often due to not enough rising time, overworking the dough, or not enough hydration. Make sure the dough doubles in size during the first proof and is handled gently.
- Crust isn't crispy: Increase the amount of oil used in the pan and on top. Ensure your oven is fully preheated to the correct temperature.
Experimenting with Different Herb Combinations
While rosemary is a classic, the world of herbs offers endless possibilities for your easy herbed focaccia. Consider using a mix of rosemary and thyme for a balanced flavor. Oregano and marjoram together offer a more Mediterranean profile. For something different, try adding finely chopped chives or even a touch of fresh dill towards the end of the bake. About 1-2 tablespoons of total chopped herbs is a good starting point, but feel free to adjust based on the intensity of the herbs and your personal taste.
Herbed Focaccia Variations and Flavor Ideas
Once you've mastered the basic easy herbed focaccia recipe, you can explore exciting variations by adding different toppings and flavors before baking.
Rosemary and Sea Salt Focaccia Recipe
This is the quintessential classic and a perfect starting point. Simply use about 1-2 tablespoons of fresh rosemary needles, roughly chopped, mixed with olive oil for the topping. Finish with a generous sprinkle of flaky sea salt. The pungent rosemary and crunchy salt create a timeless combination that highlights the simple beauty of the focaccia itself.
Garlic and Herb Focaccia Recipe
For garlic lovers, adding finely minced garlic to the herb and olive oil mixture is a game-changer. Use 1-2 cloves of minced garlic mixed with your chosen herbs (like parsley, chives, or rosemary) and olive oil. Drizzle over the dimpled dough and bake. The garlic mellows and sweetens in the oven, adding a wonderful depth of flavor to your homemade focaccia.
Sun-Dried Tomato and Olive Focaccia
Elevate your easy herbed focaccia by adding other Mediterranean ingredients. Press oil-packed sun-dried tomatoes (drained and chopped) and pitted olives (like Kalamata or Castelvetrano) into the dimples along with your herbs and olive oil. This adds bursts of sweet, salty, and savory flavors throughout the bread, making it a more substantial and flavorful loaf.
Serving Suggestions: What to Enjoy with Your Freshly Baked Focaccia
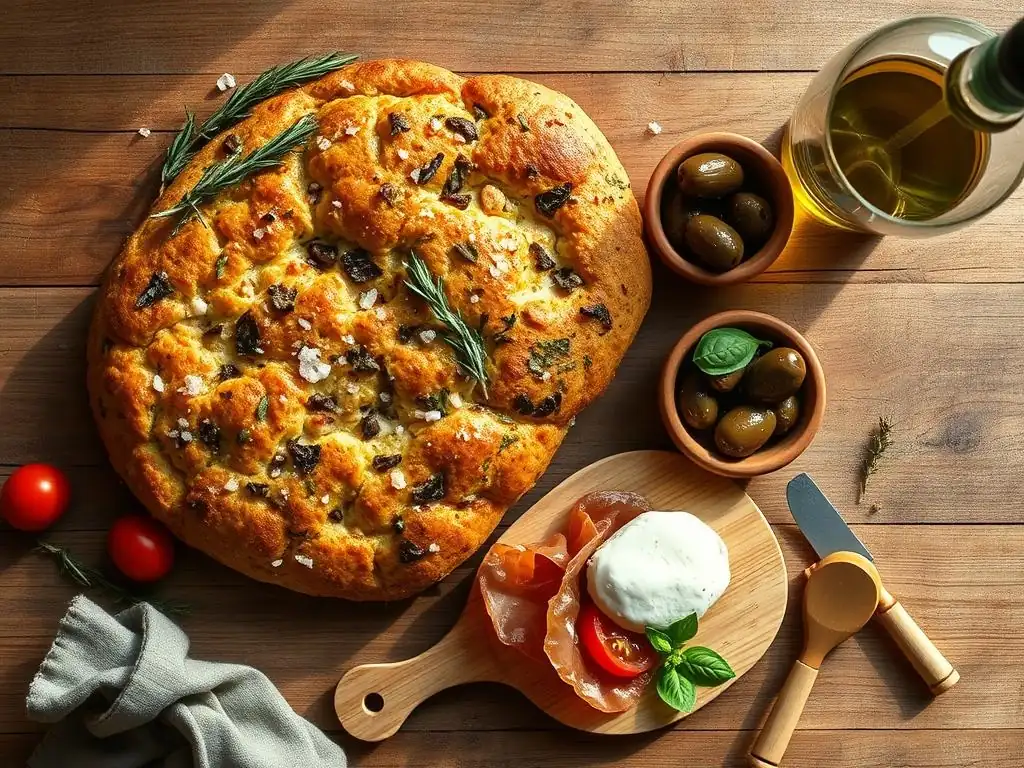
Your warm, fragrant easy herbed focaccia is incredibly versatile and can be enjoyed in numerous ways.
Focaccia as an Appetizer
Serve slices of your homemade focaccia warm with a small bowl of high-quality extra virgin olive oil for dipping. A sprinkle of balsamic glaze or a side of marinated olives also makes a wonderful accompaniment. It's the perfect way to start a meal or enjoy with drinks.
Focaccia as a Side Dish
Focaccia pairs beautifully with a variety of main courses. Its absorbent texture makes it ideal for soaking up sauces from pasta dishes, stews, or roasted meats. It's also a fantastic side for a simple green salad or a hearty soup, providing a satisfying textural contrast.
Focaccia as a Sandwich Bread
Slice the focaccia horizontally and use it to build delicious sandwiches. The airy crumb and sturdy crust hold up well to fillings. Try it with fresh mozzarella, tomatoes, and basil for a Caprese sandwich, or with roasted vegetables and pesto. Its built-in flavor means you need fewer ingredients to make a tasty sandwich.
Storing Your Homemade Herbed Focaccia
Proper storage helps keep your easy herbed focaccia fresh and delicious for as long as possible.
Keeping Focaccia Fresh
Once completely cooled, store your homemade focaccia at room temperature. Wrap it tightly in plastic wrap or aluminum foil, or place it in an airtight container. Stored this way, it will remain fresh for 1-2 days. For best texture, avoid refrigerating focaccia, as it can dry it out.
Freezing Focaccia for Later Enjoyment
Focaccia freezes exceptionally well. Once completely cooled, wrap individual slices or the entire loaf tightly in plastic wrap, then wrap again in aluminum foil or place in a freezer-safe bag. Frozen focaccia can be stored for up to 2-3 months. To reheat, thaw at room temperature, then warm in a 350°F (175°C) oven for 5-10 minutes until heated through and the crust crisps up again.
Enjoy Your Easy Homemade Herbed Focaccia!
Frequently Asked Questions
What makes this focaccia recipe "easy"?
This recipe emphasizes a simplified dough-making process and uses readily available ingredients. The goal is to provide a low-effort, high-reward baking experience.
What kind of herbs work best in this Easy Herbed Focaccia recipe?
Fresh herbs like rosemary, thyme, and oregano are highly recommended for their aromatic and flavorful contributions. You can also use dried herbs, but use less as they are more concentrated.
Can I make this focaccia ahead of time?
Yes, you can prepare the dough in advance and let it proof in the refrigerator overnight for enhanced flavor development. Just bring it to room temperature before baking.
What's the secret to getting that signature dimpled surface on focaccia?
Gently but firmly press your fingertips into the dough to create the dimples before baking. This not only looks appealing but also allows the olive oil and herbs to pool in the depressions.
What's the best way to store leftover focaccia?
Store leftover focaccia in an airtight container at room temperature for up to two days or in the freezer for longer storage. Reheat briefly to restore its texture and flavor.
Final Reflection: The Simple Joy of Homemade Bread
The aroma of freshly baked focaccia, infused with vibrant herbs, transcends mere sustenance; it's an invitation to savor the simple pleasures of life. This recipe, designed for ease and accessibility, aims to empower everyone to experience the joy of creating something delicious and beautiful from scratch. In a world increasingly dominated by convenience, taking the time to knead dough and nurture a loaf from its humble beginnings offers a powerful counterpoint, a reminder of the satisfaction found in mindful creation.
The enduring appeal of bread, particularly focaccia with its rustic charm and versatility, speaks to a deep-seated human connection to food and tradition. It's a canvas for creativity, allowing for endless variations in herbs, oils, and toppings. Bread is the staff of life,
a common saying, underscores its fundamental role in human history and culture, far beyond its nutritional value. This simple recipe, I hope, encourages a renewed appreciation for this timeless staple, fostering a connection to both the process and the product.
Now, I invite you to roll up your sleeves, gather your ingredients, and embark on this culinary adventure. Don't be intimidated by the seemingly complex process; the journey of making focaccia is as rewarding as the final taste. Let the fragrant herbs transport you, the warmth of the oven comfort you, and the sharing of this homemade bread enrich your connections with others. Remember the simple joy, the satisfaction of creation, and the deliciousness of the outcome – that's the true essence of this easy herbed focaccia recipe.
Unleash Your Inner Baker: Craft Your Perfect Focaccia!
Thanks for joining us on this flavorful journey! We hope you've gained the confidence to tackle homemade focaccia and discovered the joy of fresh herbs. Now it's time to get baking!
- Bake your own masterpiece: Try the recipe today – experiment with different herbs and toppings to personalize your focaccia. Let your creativity shine!
- Share your creation: Snap a photo of your finished focaccia and share it on social media using #BakeWithEaseFocaccia. We'd love to see your delicious results!
- Explore new flavor combinations: Browse our other recipes for more inspiration – from rustic sourdough to delicate pastries, we have something for every baker.
What unique herb blend will you try in your next focaccia creation?