
Layer Cake Assembly Mistakes to Avoid

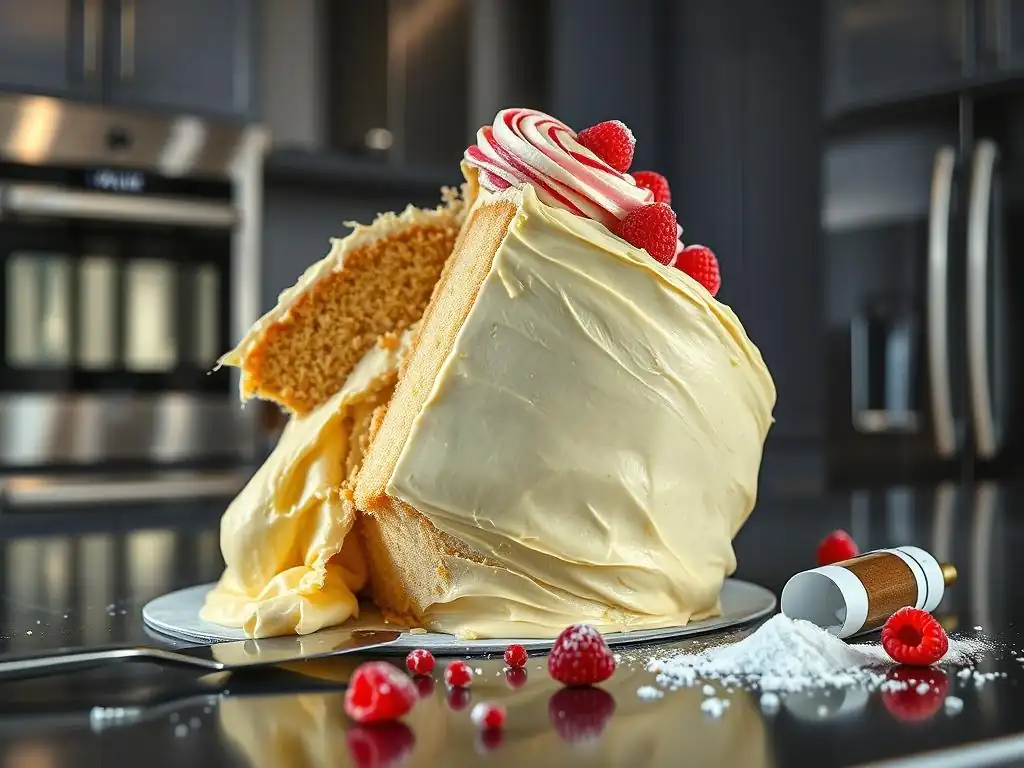
Welcome to BakeWithEase, your haven for all things baking! Are you ready to create stunning layer cakes without the stress? Discover the secrets to flawless creations and avoid common layer cake assembly problems that can turn a masterpiece into a mess. Uncover our expert tips and tricks below to elevate your pastry skills and achieve picture-perfect results every time. Intrigued? Let's get baking!
- Layer Cake Assembly Mistakes to Avoid: A BakeWithEase Guide
- Introduction: Achieving Perfect Layer Cakes with Ease
-
Common Layer Cake Assembly Problems and How to Fix Them
- Uneven Cake Layers: The Foundation of a Flawless Cake
- Dry Cake Layers: Preventing and Addressing Dryness
- Crooked Cake Layers: Ensuring Stability and Visual Appeal
- Frosting Issues: Achieving a Smooth and Even Finish
- Leaning Cake: Addressing Structural Instability
- Gaps Between Layers: Creating a Seamless Cake
- Overfilling: Avoiding Filling Overflow
- Cake Topping Issues: Achieving Professional Decoration
- Advanced Techniques for Avoiding Layer Cake Assembly Problems
- Troubleshooting Layer Cake Assembly: A Quick Reference Guide
- Conclusion: Mastering Layer Cake Assembly for Stunning Results
-
Frequently Asked Questions
- What are the most common Layer Cake Assembly Problems that beginners face?
- How important is chilling layers before assembling a Layer Cake?
- What techniques can prevent my Layer Cake from leaning or being uneven?
- What type of filling is best to avoid problems with Layer Cake Assembly?
- How can I ensure my Layer Cake stays moist during and after assembly?
- Final Reflection: Mastering the Art of the Layered Cake
- Unlock Your Inner Cake Artist: Perfect Layer Cakes Every Time!
Layer Cake Assembly Mistakes to Avoid: A BakeWithEase Guide
Introduction: Achieving Perfect Layer Cakes with Ease
Baking a beautiful layer cake is a rewarding experience, but assembling it can sometimes feel like navigating a minefield of potential layer cake assembly problems. From wobbly stacks to uneven frosting, a few common missteps can turn your masterpiece into a leaning tower of Pisa. Don't worry, though! At BakeWithEase, we believe that understanding these potential pitfalls is the first step to avoiding them. With the right techniques and a little patience, you can overcome these challenges and achieve stunning, stable layer cakes every time.
This guide will walk you through the most frequent layer cake assembly problems bakers encounter and provide practical, easy-to-follow solutions. We'll cover everything from preparing your cake layers to achieving that flawless final finish. By focusing on these key areas, you'll build confidence and skill, transforming potential frustrations into successful baking moments. Get ready to elevate your layer cake game and impress everyone with your perfectly stacked and decorated creations.
Common Layer Cake Assembly Problems and How to Fix Them
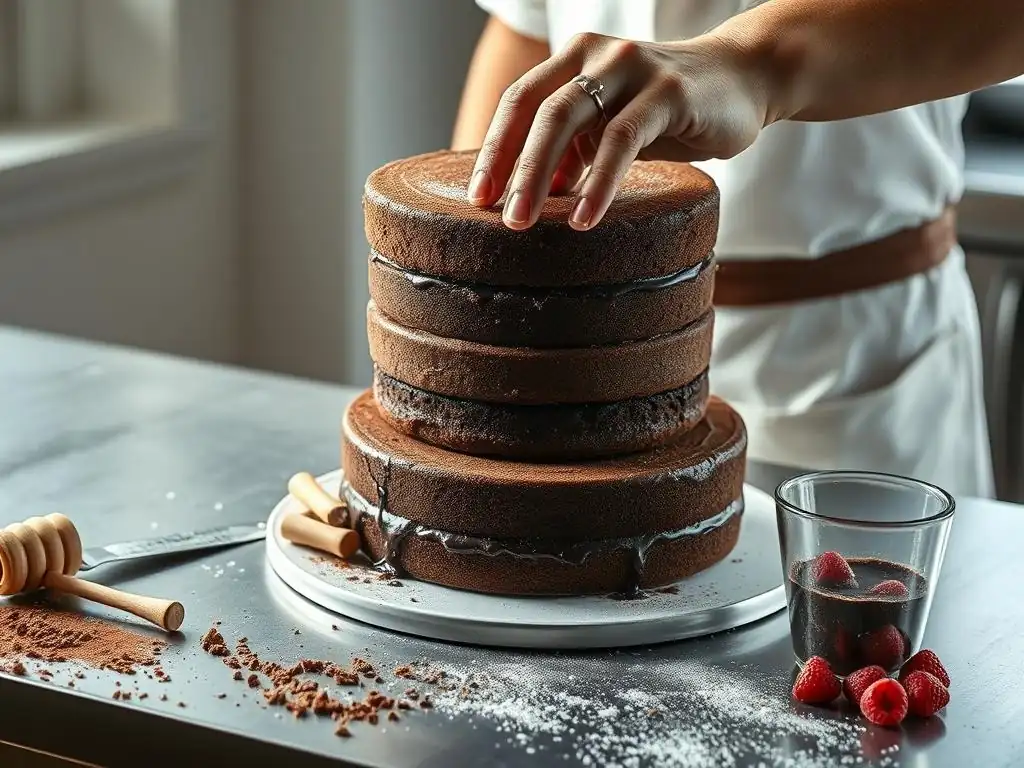
Uneven Cake Layers: The Foundation of a Flawless Cake
Problem: Baking Uneven Cake Layers
One of the most common layer cake assembly problems starts before assembly even begins: baking cakes that have a significant dome or are uneven in height. This often happens due to oven hot spots, inconsistent batter distribution, or the type of leavening agent used. A domed cake means that when you stack layers, the center will be higher than the edges, leading to an unstable and potentially lopsided structure. Trying to frost uneven layers also makes it incredibly difficult to achieve a smooth, professional finish, as the frosting will naturally follow the contours of the cake.
Uneven layers create gaps and instability, making the entire assembly process more challenging. If one layer is significantly thinner or thicker than others, the final cake can look amateurish and may even risk collapsing under its own weight, especially if you are stacking multiple layers. Addressing this issue head-on ensures you start with a level playing field, quite literally, for your cake construction.
Solution: Using a Serrated Knife and Leveling Guide
The most effective way to combat uneven layers and prevent one of the primary layer cake assembly problems is to level your cakes after they have cooled completely. A long serrated knife is your best friend here. Place the cake on a flat surface and, using a gentle back-and-forth sawing motion, carefully slice off the dome parallel to the cake's bottom. For extra precision, consider using a cake leveling guide or a simple ruler to ensure you slice at a consistent height across the entire layer.
Once the dome is removed, you are left with a flat, even layer. This creates a stable base for stacking and ensures that each layer sits flush against the next. Save the cake scraps – they are perfect for cake pops or trifle layers! Leveling all your layers guarantees uniform height throughout the cake, making frosting and stacking significantly easier and leading to a much more professional-looking final product.
Dry Cake Layers: Preventing and Addressing Dryness
Problem: Dryness due to Overbaking
Dry cake layers are another significant hurdle among common layer cake assembly problems. Overbaking is the primary culprit, often happening when a cake is left in the oven for just a few minutes too long. Different ovens behave differently, and relying solely on the time specified in a recipe without checking for doneness (like using a toothpick test) can easily lead to moisture loss. High baking temperatures or low-fat recipes can also contribute to dryness, resulting in crumbly, less palatable cake layers that are difficult to handle and stack without breaking.
Dry cakes not only affect the taste and texture but also make assembly harder. They tend to crumble when sliced or handled, and they don't absorb frosting or filling as well as moist layers do. A dry cake can feel dense or tough rather than tender and moist, detracting significantly from the overall enjoyment of your finished dessert. Preventing this dryness through careful baking is ideal, but there are ways to rescue slightly dry layers.
Solution: Applying a Vanilla Simple Syrup Soak
If your cake layers have turned out a little dry, don't despair! A simple syrup soak is a fantastic way to reintroduce moisture and add flavor, effectively solving this common layer cake assembly problem. A basic simple syrup is made by heating equal parts sugar and water (e.g., 1 cup sugar to 1 cup water) until the sugar dissolves. You can add flavorings like vanilla extract, lemon zest, or a splash of liqueur after removing it from the heat. Let the syrup cool completely before using.
Once your cake layers are cooled and leveled, gently brush or spoon the simple syrup over the cut surface of each layer. Use just enough to moisten the cake without making it soggy – the amount will depend on how dry the cake is. The syrup will soak into the cake crumb, making it softer, more moist, and more flavorful. This technique is particularly effective for denser cakes and ensures that even slightly overbaked layers contribute positively to the final cake's texture and taste.
Crooked Cake Layers: Ensuring Stability and Visual Appeal
Problem: Avoiding Slippage and Tilting
A crooked or leaning cake is a visible sign of layer cake assembly problems related to stability. This often occurs when layers aren't properly supported or secured as they are stacked, especially with taller cakes. Soft fillings or frostings can cause layers to slide, or uneven pressure during frosting can push layers out of alignment. Without adequate internal support, the weight of the upper layers can cause the entire structure to tilt, ruining the cake's appearance and potentially leading to a collapse.
This problem is exacerbated with multiple layers or heavier decorations on top. Gravity is not a baker's friend when dealing with unstable stacks. Even minor tilting at the base can become very noticeable by the time you reach the top layer, making it impossible to achieve a straight, professional-looking cake. Preventing slippage is crucial for maintaining vertical integrity throughout the assembly process.
Solution: Using Bubble Tea Straws as Dowels and a Cardboard Cake Board
To prevent crooked layers and address structural layer cake assembly problems, internal support is essential for cakes taller than two or three layers. Food-safe dowels provide this necessary support by transferring the weight of the upper layers directly down to the cake board, bypassing the lower cake layers and filling. A cost-effective and readily available option is using wide bubble tea straws, which are sturdy enough for most home baking projects.
Cut the straws to the exact height of the cake layer they will be supporting (including the filling/frosting). Insert several straws into the lower layer, spaced evenly, ensuring they are flush with the top surface.
Always assemble your cake on a sturdy cardboard cake board that is the same size or slightly larger than your bottom cake layer. This provides a stable base for stacking and makes transferring the finished cake much easier. For multi-tiered cakes, place separate cake boards under each tier and use longer dowels that go through the lower tier's board and cake, resting on the board below. This system of boards and dowels distributes weight and prevents layers from shifting or sinking into the layers below, ensuring your cake remains perfectly straight.
Frosting Issues: Achieving a Smooth and Even Finish
Problem: Frosting Too Thin or Too Thick
Frosting consistency is a critical factor in successful layer cake assembly and finishing. Frosting that is too thin will slide off the cake, fail to hold its shape, and can cause layers to slip. It won't create a stable barrier for fillings or provide a smooth surface for decoration. Conversely, frosting that is too thick can be difficult to spread smoothly, tear the cake layers, and result in a lumpy, uneven coating. Both extremes make achieving that coveted smooth, professional finish incredibly challenging and are common layer cake assembly problems.
The ideal frosting consistency is spreadable yet firm enough to hold its shape. It should glide onto the cake smoothly without pulling crumbs or feeling stiff. Getting the consistency right is vital for everything from applying a clean crumb coat to piping intricate designs and achieving sharp edges.
Solution: Adjusting Liquid and Powdered Sugar Ratios
Fortunately, adjusting frosting consistency is usually simple. If your frosting is too thick, gradually beat in a small amount of liquid, such as milk, cream, or water, one tablespoon at a time, until the desired consistency is reached. For buttercreams, a little extra softened butter can also help if it's too stiff.
If your frosting is too thin, gradually beat in more powdered sugar (confectioners' sugar), one quarter cup at a time, until it thickens. Ensure the powdered sugar is sifted to avoid lumps. For cream cheese frosting, sometimes chilling it for 20-30 minutes can also help firm it up without adding more ingredients. Always add adjustments slowly and mix thoroughly between additions to avoid over-correcting and creating new layer cake assembly problems.
Problem: Crumbs in Your Frosting
One of the most frustrating layer cake assembly problems is dealing with cake crumbs getting mixed into your beautiful frosting. As you spread frosting onto the cake layers, especially the initial coat, loose crumbs from the cut surfaces inevitably get picked up by your spatula. These crumbs then get dragged across the cake, creating unsightly streaks and preventing you from achieving a clean, smooth frosting layer. This is particularly challenging with moist or delicate cake textures.
Having crumbs in your final frosting layer makes the cake look messy and unfinished. It's nearly impossible to get a perfectly smooth surface when you're constantly battling crumbs. This issue is especially noticeable with lighter-colored frostings on darker cakes. Addressing this early in the frosting process is key to a professional result.
Solution: Applying a Thin Crumb Coat and Chilling Before Final Frosting
The solution to the crumb problem is the crumb coat – a thin layer of frosting applied specifically to trap all those loose crumbs. After stacking your leveled cake layers with filling, apply a very thin, almost translucent layer of frosting all over the top and sides of the cake. Don't worry about getting it perfectly smooth or catching every single crumb at this stage; the goal is just to adhere them to the cake surface. Use an offset spatula or bench scraper to apply and smooth this thin layer.
Once the crumb coat is applied, place the cake in the refrigerator for at least 20-30 minutes, or until the frosting is firm to the touch. This chilling process sets the crumb coat, effectively sealing all the loose crumbs beneath a solid layer of frosting. Once chilled, you can apply your final layer of frosting. This second layer will go on smoothly and crumb-free, allowing you to achieve sharp edges and a flawless finish without encountering layer cake assembly problems caused by wandering crumbs.
Leaning Cake: Addressing Structural Instability
Problem: Cake Layers Sliding or Shifting
A leaning cake, distinct from crooked layers which might be due to uneven stacking, often results from layers sliding or shifting over time or during handling. This is a significant layer cake assembly problem that can compromise the entire structure. Causes include soft or unstable fillings, warm cake layers, inadequate chilling between steps, or movement during transportation. If layers are warm, the frosting and filling can soften, allowing them to slide under the weight of the layers above. Without proper internal support or chilling, the stack becomes unstable.
This instability becomes more pronounced with taller cakes or those with heavy decorations. A slight shift at the bottom can lead to a dramatic lean at the top. Addressing this requires focusing on temperature control and structural reinforcement throughout the assembly process to prevent the layers from migrating once stacked.
Solution: Chilling Layers and Using Stacking Discs
Preventing a leaning cake involves ensuring stability at every stage. First, make sure your cake layers are completely cooled before you even think about frosting or stacking them. Warm layers will melt frosting and lead to a messy, unstable assembly. Chilling the cooled layers in the refrigerator for 30-60 minutes before stacking can also help firm them up and make them easier to handle.
For cakes with more than two or three layers, using internal support like dowels (as discussed earlier) is crucial. Additionally, using stacking discs (thin plastic or cardboard circles slightly smaller than your cake layers) between tiers in a multi-tiered cake provides a flat, stable surface for the tier above and helps distribute weight evenly. Always assemble your cake on a sturdy base and chill the cake periodically during the assembly process (e.g., after stacking two layers, after applying the crumb coat) to keep everything firm and prevent sliding, effectively mitigating these layer cake assembly problems.
Gaps Between Layers: Creating a Seamless Cake
Problem: Air Pockets and Uneven Frosting Distribution
Gaps between cake layers are another common visual layer cake assembly problem that detracts from a cake's professional appearance. These gaps, often visible when the cake is sliced, can be caused by uneven frosting or filling application, air pockets trapped during stacking, or layers that aren't perfectly level. If the frosting or filling isn't spread evenly to the edges of each layer, or if there are voids when stacking, these spaces will remain empty, creating noticeable gaps.
These gaps aren't just aesthetic issues; they can also affect the cake's texture and stability. Empty spaces don't provide the same support as continuous frosting or filling, and they can be areas where the cake dries out more easily. Achieving a seamless look where the cake and filling meet flush requires careful attention during the filling and stacking process.
Solution: Applying Even Pressure and Filling Gaps with Frosting
To avoid gaps, ensure your frosting or filling is spread evenly across the entire surface of each layer, going right to the edge. When stacking the next layer, center it carefully and apply gentle, even pressure across the top surface to help the layers settle into the frosting/filling and push out any trapped air pockets. Don't press too hard, or you might squeeze out too much filling.
If you notice small gaps around the sides after stacking, you can easily fill them in as you apply your crumb coat or final frosting layer. Use an offset spatula to push frosting into these gaps, smoothing it out as you cover the cake.
For larger gaps caused by uneven layers (which should ideally be fixed by leveling), you might need to pipe a bit more frosting into the void before applying the main frosting layer. This attention to detail ensures a seamless transition between cake and filling when the cake is sliced, resolving these particular layer cake assembly problems.
Overfilling: Avoiding Filling Overflow
Problem: Too Much Filling Between Layers
While generous filling might seem appealing, using too much can lead to significant layer cake assembly problems, primarily overflow. When you stack subsequent layers onto an overly filled layer, the weight and pressure can squeeze the excess filling out the sides of the cake. This creates a messy situation, wastes precious filling, and makes it difficult to get a clean frosting finish. Overflowing filling can also compromise the stability of the stack, as the layers might slide on the excess.
The amount of filling needed depends on the type of filling and the size of the cake, but generally, a layer of about 1/4 to 1/2 inch is sufficient for most cakes. Eyeballing the amount can easily lead to using too much, especially with softer fillings like mousse or whipped cream. Preventing overflow is key to a neat and stable assembly.
Solution: Using a Piping Bag for Controlled Filling Application
The best way to prevent overfilling and messy overflow is to use a piping bag (or a zip-top bag with a corner snipped off) to apply your filling. Pipe an even border (or 'dam') of frosting around the outer edge of the cake layer, about 1/2 inch in from the edge. This dam acts as a barrier to hold the softer filling within the center.
Then, fill the area inside the frosting dam with your desired filling. Using the piping bag allows for much more controlled and even distribution of the filling compared to just spreading it with a spatula. This method ensures you use just the right amount of filling, contain it neatly within the layer, and prevent it from squeezing out when you add the next cake layer, effectively eliminating these layer cake assembly problems related to overflow.
Cake Topping Issues: Achieving Professional Decoration
Problem: Uneven Decoration and Slipping Toppings
Once your cake is assembled and frosted, you move on to decoration, which can present its own set of layer cake assembly problems. Uneven application of sprinkles, drizzles, or piped designs can make a cake look amateurish. More significantly, decorative elements like fondant figures, chocolate pieces, or fresh fruit can slide off the frosting, especially on the sides or if the frosting isn't firm. This is particularly frustrating after spending time perfecting the assembly and frosting.
Slipping toppings can ruin the visual design and even damage the cake or frosting as they fall or shift. Ensuring that all decorative elements stay exactly where you place them is crucial for a professional and appealing final presentation. Simply placing items on frosting isn't always enough, especially if the cake needs to be transported or displayed for a while.
Solution: Using Edible Glue for Securing Decorations
To ensure your decorations stay put and avoid these final layer cake assembly problems, use a form of edible glue. For lighter elements like sprinkles or edible glitter, applying them while the frosting is still soft is often sufficient for them to adhere. However, for heavier items like fondant shapes, chocolate shards, or berries, you need something stronger.
Common edible "glues" include a tiny dab of melted chocolate (for chocolate or fondant decorations), a smear of piping gel, a small amount of corn syrup, or even just a bit of the frosting itself used sparingly. Apply a small amount of your chosen "glue" to the back of the decoration and gently press it onto the cake surface.
For items on the sides of the cake, hold them in place for a few seconds until the adhesive takes hold. This simple step guarantees your intricate decorations remain exactly where you intended, completing your cake without last-minute layer cake assembly problems.
Advanced Techniques for Avoiding Layer Cake Assembly Problems
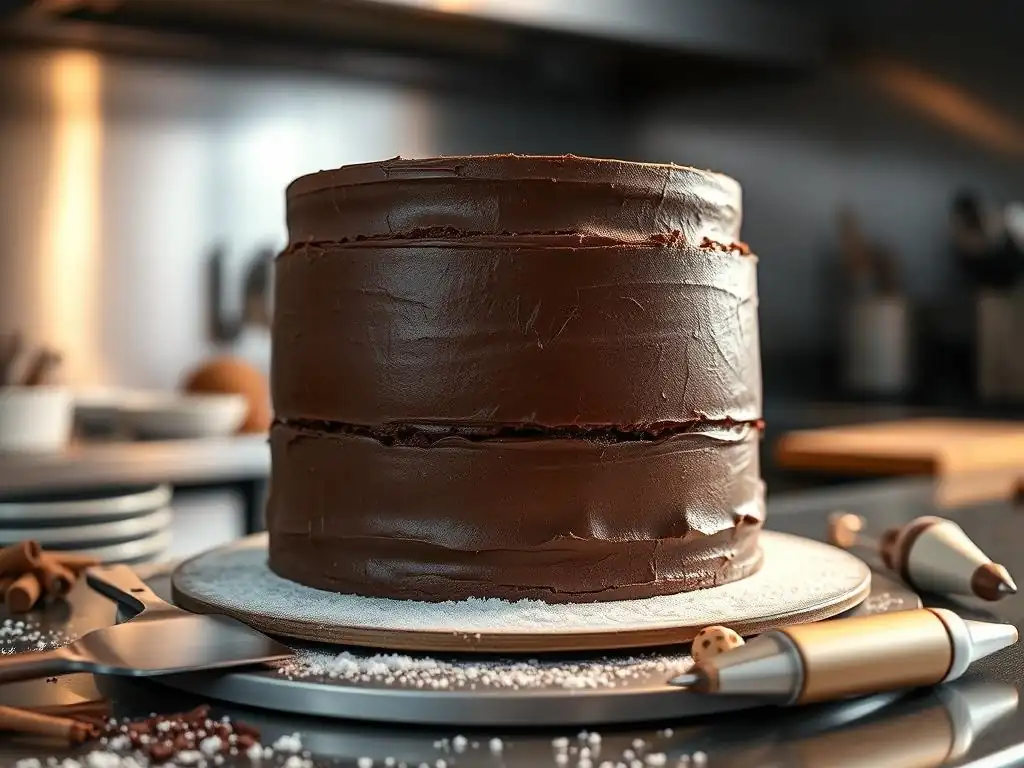
Beyond the basic fixes, incorporating some advanced techniques can significantly improve your layer cake assembly process and help you consistently achieve professional results, minimizing potential layer cake assembly problems before they even start.
Using a Turntable: Achieving a Smooth Frosting Finish
A cake turntable (or lazy Susan) is an invaluable tool for achieving a smooth, even frosting finish on your layer cakes. Placing your cake on a turntable allows you to easily rotate it while you apply and smooth the frosting with an offset spatula or bench scraper. This continuous motion helps create consistent thickness and a perfectly flat or smooth surface, eliminating the awkward stops and starts that can lead to ridges and unevenness when frosting a stationary cake.
Using a turntable also makes it much easier to apply a clean crumb coat and then build up your final layer of frosting evenly. You can hold your spatula or scraper steady against the cake while rotating the turntable with your other hand, allowing for precise control. This technique is fundamental for achieving sharp edges and flawlessly smooth sides or tops, elevating the look of your assembled cake and preventing many common frosting-related layer cake assembly problems.
Piping Rosettes and Borders for Professional Decoration
Once the cake is assembled and frosted, piping rosettes, shells, stars, or borders adds a professional touch and helps define the edges of your cake. Piping bags fitted with various tips allow for precise application of frosting in decorative patterns. Borders piped around the base and top edge of the cake can hide any minor imperfections where the cake meets the board or where the top layer meets the frosting.
Learning a few basic piping techniques, like the star tip for rosettes or the open star tip for shells, can transform a simple frosted cake into a visually stunning dessert. Piping also offers control over frosting placement for more intricate designs or writing. Practice on parchment paper before applying to the cake to build confidence and consistency, ensuring your final decorative touches enhance rather than create layer cake assembly problems.
Swiss Meringue Buttercream vs. American Buttercream: Choosing the Right Frosting
The type of frosting you choose can significantly impact the ease of assembly and the cake's final stability and texture. American buttercream, made primarily from butter and powdered sugar, is very sweet and sets quite firm, making it excellent for crumb coating, piping sturdy decorations, and creating sharp edges. However, it can be very sweet and sometimes has a slightly grainy texture if not made correctly.
Swiss meringue buttercream, made by whipping butter into a cooked sugar and egg white meringue, is less sweet, incredibly smooth, and has a light, silky texture. It's beautiful for smooth finishes and provides excellent stability for stacking when chilled. However, it can be trickier to make and is more sensitive to temperature fluctuations. Understanding the properties of different frostings allows you to choose the best one for your specific cake design and helps you avoid layer cake assembly problems related to frosting performance. For instance, a softer filling might pair better with a sturdier buttercream dam.
Troubleshooting Layer Cake Assembly: A Quick Reference Guide
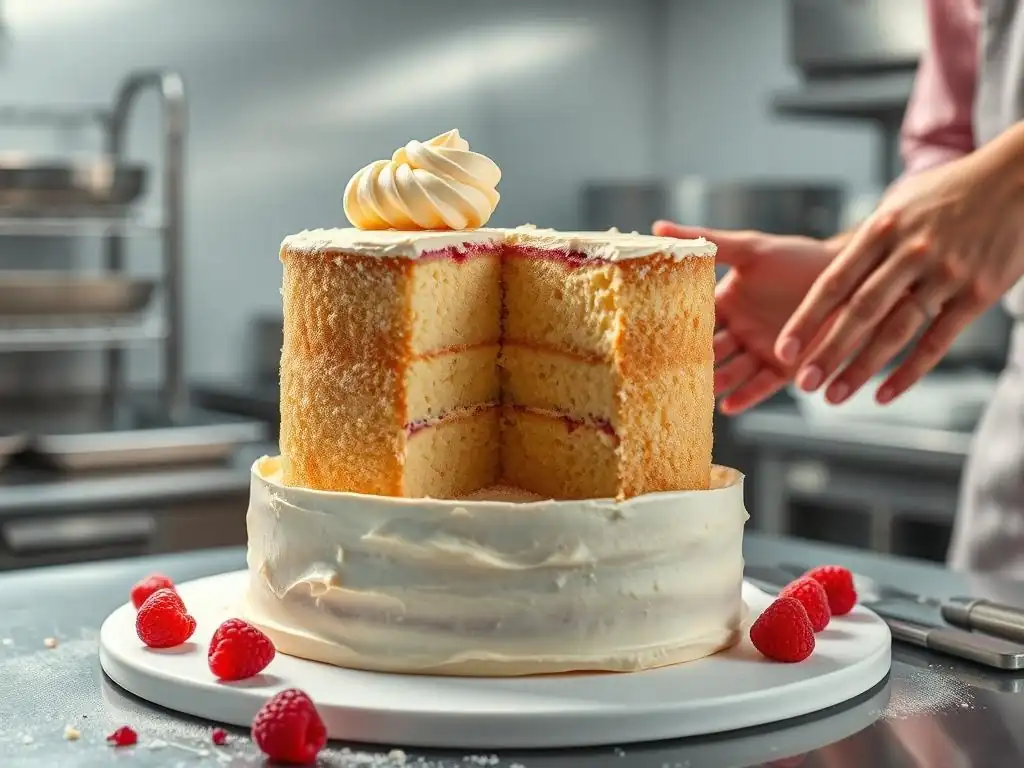
Here's a quick look at common layer cake assembly problems, their likely causes, and simple solutions to get you back on track.
| Problem | Common Cause(s) | Solution(s) |
|---|---|---|
| Uneven Layers | Domed cakes, uneven baking | Level layers with a serrated knife/leveler. |
| Dry Layers | Overbaking, low-fat recipe | Apply simple syrup soak to cooled layers. |
| Crooked/Leaning Cake | No support, soft filling, warm layers, slippage | Use dowels (straws), chill cake periodically, use cake boards. |
| Frosting Too Thin | Too much liquid | Add more sifted powdered sugar gradually. |
| Frosting Too Thick | Not enough liquid, too much powdered sugar | Add liquid (milk/cream) or softened butter gradually. |
| Crumbs in Frosting | Loose crumbs on cake surface | Apply a thin crumb coat and chill cake before final frosting. |
| Gaps Between Layers | Uneven frosting, air pockets, unlevel layers | Spread frosting evenly to edges, apply gentle pressure when stacking, fill gaps. |
| Overfilling | Too much filling applied | Use a piping bag to pipe a frosting dam and fill inside the dam. |
| Slipping Toppings | No adhesive, heavy decorations, soft frosting | Use edible glue (melted chocolate, piping gel) to secure decorations. |
Conclusion: Mastering Layer Cake Assembly for Stunning Results
Assembling a layer cake doesn't have to be a source of frustration. By understanding the common layer cake assembly problems we've discussed – from uneven layers and dryness to crooked stacks and frosting woes – you are well-equipped to tackle them head-on. Remember, patience and practice are your greatest allies in the kitchen.
Start with properly baked and cooled layers, use simple syrup if needed, and always level your cakes. Utilize techniques like crumb coating and chilling to ensure a smooth frosting finish. For taller cakes, don't underestimate the importance of internal support like dowels and sturdy cake boards to prevent layer cake assembly problems like leaning or sliding. With these tips and techniques from BakeWithEase, you'll be well on your way to mastering the art of layer cake assembly, creating beautiful, stable, and delicious cakes that look as good as they taste. Happy baking!
Frequently Asked Questions
What are the most common Layer Cake Assembly Problems that beginners face?
The most common issues involve uneven layers, sliding fillings, and a crooked final product. These problems often stem from inadequate chilling and uneven frosting application.
How important is chilling layers before assembling a Layer Cake?
Chilling is crucial. It allows the layers to firm up, making them easier to handle and preventing the filling from oozing out during assembly.
What techniques can prevent my Layer Cake from leaning or being uneven?
Using a cake leveler to ensure even layers and a turntable for even frosting are key. Also, use a crumb coat to seal in loose crumbs.
What type of filling is best to avoid problems with Layer Cake Assembly?
Fillings with a stable consistency, like buttercream or ganache, are generally easier to work with than runny fillings like jams or custards. Avoid overfilling the cake.
How can I ensure my Layer Cake stays moist during and after assembly?
Brushing the layers with simple syrup before frosting can help. Properly sealing the cake with frosting and storing it in an airtight container are essential.
Final Reflection: Mastering the Art of the Layered Cake
The seemingly simple act of assembling a layer cake is fraught with potential pitfalls, impacting not only the aesthetic appeal but also the overall enjoyment of this beloved dessert. A perfectly stacked, flawlessly frosted layer cake is a testament to patience and precision, a detail often overlooked until a disastrous collapse reveals the importance of proper technique. This article highlighted common mistakes, offering solutions to ensure your next creation is a masterpiece.
The journey of baking, particularly when tackling a multi-layered cake, is a microcosm of life itself. Each layer represents a stage, a step in a larger process, and the success of the final product hinges on the careful attention paid to each individual component. The details are not the details. They make the design.
- Charles Eames. This quote perfectly encapsulates the importance of meticulous attention to detail in cake assembly, mirroring the significance of careful planning and execution in all aspects of life. The seemingly small errors, like improper frosting application or uneven layers, can have a significant impact on the final result, just as minor setbacks can derail larger goals.
Now, consider your own "layers." What aspects of your life require the same precision and care as assembling a perfect layer cake? Where can you apply the principles of careful planning, steady execution, and attention to detail to achieve a more satisfying outcome? Take a moment to reflect on this, and I encourage you to embrace the challenges, learn from the mistakes, and strive for that perfect, flawlessly assembled masterpiece – whether it's a cake or something far more significant.
Unlock Your Inner Cake Artist: Perfect Layer Cakes Every Time!
Thanks for taking the time to level up your cake-decorating skills! You've now got the knowledge to avoid those frustrating layer cake mishaps. Ready to put your newfound expertise to the test?
- Master the perfect layer cake: Practice your frosting techniques and layer assembly on a smaller cake first before tackling that elaborate three-tiered masterpiece.
- Share your cake creations: Show off your beautiful, perfectly layered cakes on social media using #BakeWithEase and tag us! We’d love to see your results.
- Challenge yourself: Try a new flavor combination or a more complex design next time you bake!
What innovative flavor profile are you eager to try in your next layered cake?