
The Beginner's Guide to Gluten Development Basics

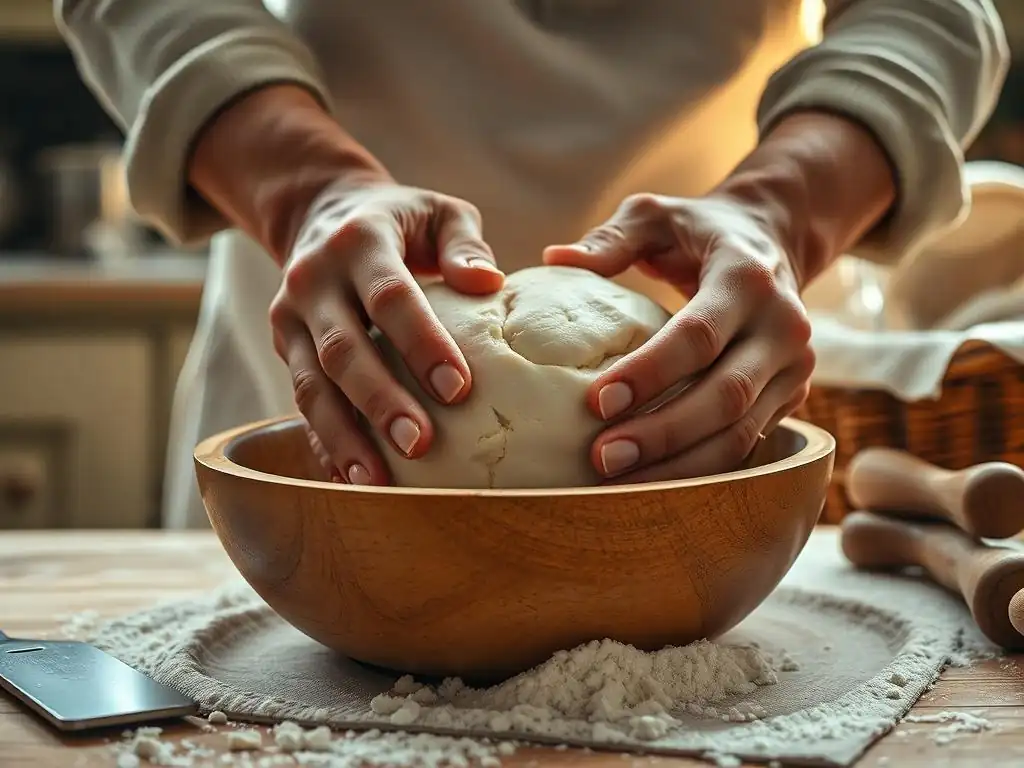
Welcome to BakeWithEase, your trusted companion on your baking journey! Ever wondered about the secret behind that perfect, chewy bread or the delicate crumb of your favorite cake? This week, we’re diving deep into the fascinating world of gluten development for beginners. Unlocking the mysteries of gluten is easier than you think, and understanding this fundamental process will elevate your baking from good to extraordinary. So, are you ready to transform your understanding of baking and create truly exceptional results? Let's get started!
- Mastering Gluten Development in Baking
- Understanding Gluten and Its Impact on Baked Goods
- Key Factors Affecting Gluten Development
- Stages of Gluten Development
- Common Gluten Development Mistakes
- Gluten Development Techniques by Application
- Tips for Consistent Gluten Development
- Troubleshooting Gluten Issues
- Resources for Advanced Learning
- Frequently Asked Questions
- Final Reflection: Unlocking the Power of Gluten: A Baker's Journey
- Unleash Your Inner Baker: Master Gluten Development!
Mastering Gluten Development in Baking
Gluten development is a fundamental concept for anyone looking to improve their baking skills, especially when working with wheat flour. Understanding how gluten forms and behaves is key to achieving the desired texture in everything from airy bread to tender cakes. This guide provides a beginner's look into the science and practice of gluten development, helping you unlock better results in your kitchen.
Understanding Gluten and Its Impact on Baked Goods
At its core, gluten is a protein network that forms when water is added to wheat flour and mixed. This network is responsible for the structure, elasticity, and chewiness of many baked goods. For beginners, grasping this basic principle is the first step towards mastering dough handling and achieving consistent results.
Gluten: The Protein Network - Glutenin and Gliadin
Wheat flour contains two primary proteins: glutenin and gliadin. In their dry state, these proteins are separate and inactive. However, when water is introduced, these proteins begin to hydrate and interact. Through the process of mixing or kneading, the glutenin and gliadin molecules link together, forming long, elastic strands known as the gluten network. Glutenin contributes strength and elasticity, while gliadin provides extensibility and flow.
The interaction of these proteins is crucial for gluten development for beginners. A typical all-purpose flour contains around 10-12% protein. When hydrated and worked, these proteins bond via disulfide bonds, creating a complex matrix. This matrix is capable of trapping gases produced by leavening agents like yeast or baking powder, allowing the dough or batter to rise and hold its shape during baking. Without this structure, baked goods would be dense and flat.
Gluten's Role in Bread, Pastries, and Cakes
The degree of gluten development required varies significantly depending on the type of baked good. In bread making, a strong, well-developed gluten network is essential. This network provides the structure needed to support the rise from yeast fermentation and creates the characteristic chewy texture and open crumb structure of loaves like sourdough or baguettes. Professional bread flours often have protein contents upwards of 12-14% to facilitate robust gluten formation.
Conversely, pastries and cakes typically require minimal gluten development for beginners. For delicate items like flaky pie crusts or tender cakes, you want to limit the formation of this elastic network. Too much gluten development in a cake can result in a tough, rubbery texture instead of a light, moist crumb. Recipes for these items often use lower-protein flours (like cake flour, around 7-9% protein), incorporate fat to interfere with gluten bonds, and call for gentle mixing techniques.
Key Factors Affecting Gluten Development
Several variables influence how gluten forms and strengthens in dough or batter. Controlling these factors is vital for achieving the desired outcome in your baking projects. Understanding the impact of hydration, mixing, flour type, salt, and fat is fundamental for successful gluten development for beginners.
Hydration: Achieving Optimal Dough Consistency
Water is the catalyst for gluten development. When water is added to flour, the glutenin and gliadin proteins begin to absorb it and swell. This hydration is the critical first step in allowing the proteins to interact and form the gluten network.
The amount of water used significantly impacts the dough's consistency and the ease with which gluten can develop. A dough with higher hydration (more water relative to flour) is often stickier but allows gluten to develop more easily with less mechanical work, as the proteins are more mobile. For example, a rustic no-knead bread recipe might use a hydration level of 75% or more (750g water per 1000g flour), resulting in a very wet dough where gluten develops largely through time and folding.
Conversely, a drier dough, like that for some pasta or pie crusts (perhaps 50-55% hydration), requires more mechanical effort (kneading) to encourage gluten formation because the proteins are less mobile in the limited water. Finding the optimal hydration level specified in a recipe is crucial for effective gluten development for beginners. Too little water means the proteins can't fully hydrate, hindering network formation. Too much water can make the dough difficult to handle, although it doesn't necessarily prevent gluten development; it just changes the technique required (like using stretch and folds instead of traditional kneading).
Mixing Techniques: From Folding to Kneading
The mechanical action of mixing or kneading brings the hydrated glutenin and gliadin proteins into contact, helping them link together and align into a structured network. Different techniques apply varying amounts of energy to the dough, leading to different levels of gluten development. Vigorous kneading, whether by hand or with a stand mixer's dough hook, is the most common method for developing strong gluten, particularly in bread doughs. This stretching and folding action physically aligns the protein strands and encourages the formation of more bonds.
Gentler techniques, like folding or mixing just until combined, minimize gluten development. For instance, muffin batter is typically mixed only until the dry and wet ingredients are just combined, often leaving small lumps. This minimal mixing prevents the formation of a strong gluten network, resulting in a tender crumb. Similarly, the 'stretch and fold' technique used in high-hydration doughs develops gluten more gently over time through repeated stretching and resting periods, allowing the network to form without intense mechanical action. Understanding which technique is appropriate for a specific recipe is key to controlling gluten development for beginners.
Flour Selection: Protein Content and Gluten Potential
The type of flour used is perhaps the most significant factor determining the potential for gluten development. Different flours have varying protein contents, directly impacting how much gluten can form. Higher protein flours have more glutenin and gliadin available to create the network. For example, bread flour typically contains 12-14% protein, making it ideal for strong, elastic doughs needed for yeast breads.
In contrast, cake flour has a much lower protein content, usually 7-9%. This lower protein level means less gluten can form, resulting in a softer, more tender crumb suitable for delicate cakes and pastries. Pastry flour falls in between, with around 9-10% protein, often used for pie crusts, biscuits, and softer rolls where some, but not excessive, gluten structure is desired. Choosing the flour specified in a recipe is crucial for achieving the intended level of gluten development for beginners.
High-Protein Flour: Bread Flour for Structure
Bread flour is specifically milled from hard wheat varieties, which are higher in protein. With a protein content typically ranging from 12% to 14%, it provides the abundant glutenin and gliadin necessary to form a strong, elastic network. This robust gluten structure is vital for trapping the carbon dioxide gas produced by yeast during fermentation, allowing bread dough to rise significantly and develop a chewy texture and open crumb.
Using bread flour is essential for achieving good volume and structure in yeast-leavened breads like artisan loaves, bagels, and pizza dough. The extra protein ensures that the dough can withstand extensive kneading and prolonged fermentation, leading to a well-developed gluten network that provides the characteristic chewiness and stability of good bread. Substituting lower-protein flours for bread flour in a yeast bread recipe will likely result in a flatter loaf with a denser, less chewy crumb.
Low-Protein Flour: Cake Flour for Tenderness
Cake flour is milled from soft wheat and undergoes a bleaching process that further weakens its protein structure. Its protein content is significantly lower than other flours, typically ranging from 7% to 9%. This low protein level means that when mixed with liquid, much less gluten can form.
The primary goal when using cake flour is to minimize gluten development to achieve a very tender, soft, and fine crumb texture. It's the flour of choice for delicate cakes like sponge cakes, angel food cakes, and some cupcakes, where a light, melt-in-your-mouth texture is desired. Recipes using cake flour often employ gentle mixing methods and incorporate ingredients like sugar and fat, which also help inhibit gluten formation, further contributing to tenderness. Using cake flour is a key technique for controlling gluten development for beginners when aiming for soft baked goods.
Salt's Effect: Strengthening Gluten Structure
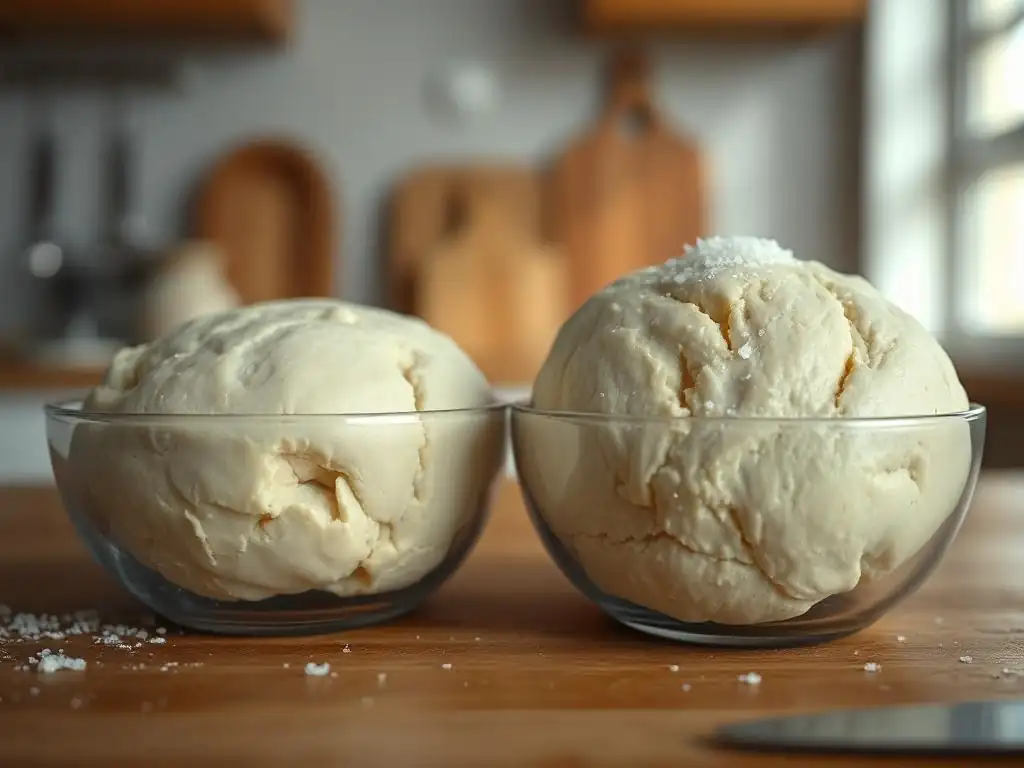
Salt plays a dual role in gluten development for beginners. Firstly, it tightens the gluten network, making it stronger and more elastic. It helps the gluten proteins align and bond more effectively, contributing to better structure and volume in doughs, especially in bread making. Think of salt as a stabilizer for the gluten matrix. Without salt, dough can feel slack and sticky, making it harder to work with.
Secondly, salt helps regulate yeast activity. While primarily known for flavor, salt slows down fermentation slightly, allowing for a more controlled rise and giving the gluten network more time to develop strength before being stretched too thin by gas production. A typical bread recipe might use salt at a concentration of 1.8% to 2% of the flour weight – enough to enhance gluten structure and control fermentation without inhibiting yeast completely. Omitting salt or adding too little can result in dough that is weak and spread out, leading to a bread with poor volume and an inferior texture.
Fat's Effect: Inhibiting Gluten for Tenderness
Fats, such as butter, oil, or shortening, act as tenderizers in baked goods by interfering with gluten development. Fat molecules coat the flour particles, preventing water from fully hydrating the glutenin and gliadin proteins. This physical barrier inhibits the proteins from linking together to form a strong network.
In recipes where tenderness is desired, like biscuits, scones, or pie crusts, fat is often cut into the flour. This creates layers of fat interspersed within the dough. During baking, the fat melts, leaving gaps that contribute to flakiness while the surrounding dough has minimal gluten development, resulting in a tender texture. Even in cakes, the fat (butter or oil) coats the flour, contributing to a soft crumb by limiting gluten formation. Understanding how fat inhibits gluten is essential for controlling gluten development for beginners in pastries and cakes.
Stages of Gluten Development
Gluten development isn't an instantaneous event; it occurs in stages as ingredients are combined and manipulated. Recognizing these stages helps bakers understand what is happening to their dough and how to achieve the desired outcome.
Hydration: Absorbing Water and Initiating Gluten Formation
The very first step in gluten development for beginners begins the moment water (or other liquids like milk or eggs) is added to flour. The dry glutenin and gliadin proteins within the flour particles start to absorb the liquid and swell. This hydration is crucial because the proteins must be hydrated to become mobile and interact with each other. Without sufficient hydration, the proteins cannot bond effectively to form a network, regardless of how much mixing is done.
Within minutes of hydration, if the mixture is left to rest (an autolyse period), some initial, weak gluten bonds will begin to form spontaneously. This resting period allows the water to penetrate the flour fully and initiates the protein interactions before mechanical mixing even begins. For example, a 20-30 minute autolyse for bread dough allows hydration to complete and kickstarts gluten formation, often reducing the subsequent kneading time required.
Kneading: Aligning and Strengthening Gluten Strands
Kneading is the primary mechanical process that builds a strong gluten network. Whether done by hand, stand mixer, or bread machine, the action of stretching and folding the dough physically aligns the hydrated glutenin and gliadin proteins. As they are worked, the proteins link together through disulfide bonds, forming long, elastic strands. Continued kneading causes these strands to become more organized and interconnected, creating a robust, three-dimensional network.
During kneading, the dough transitions from a shaggy, sticky mass to a smooth, elastic ball that can be stretched without easily tearing. This transformation is the visible sign of gluten development. The length and intensity of kneading depend on the recipe and desired outcome; a chewy baguette requires extensive kneading to build strong gluten, while a soft dinner roll needs less. This mechanical action is key to achieving sufficient gluten development for beginners in yeast doughs.
Resting and Fermentation: Gluten Relaxation and Flavor Development
Resting periods are vital for gluten development, particularly in bread making. After initial mixing or kneading, the gluten network is often tight and resistant to stretching. Resting allows the gluten strands to relax and become more extensible. This makes the dough easier to handle and shape. For example, a 10-15 minute bench rest after kneading allows the dough to relax before preshaping.
Fermentation, the process where yeast produces gases that make the dough rise, also contributes to gluten development over time. As the dough expands, the gluten network is gently stretched. This slow stretching further aligns and strengthens the gluten strands without the need for vigorous kneading. Longer, slower fermentation periods, like those used in cold proofing (refrigeration), allow for significant gluten development for beginners while also building complex flavors in the bread. The combination of initial kneading, relaxation during rests, and gentle stretching during fermentation builds a strong, yet extensible, gluten network.
Common Gluten Development Mistakes
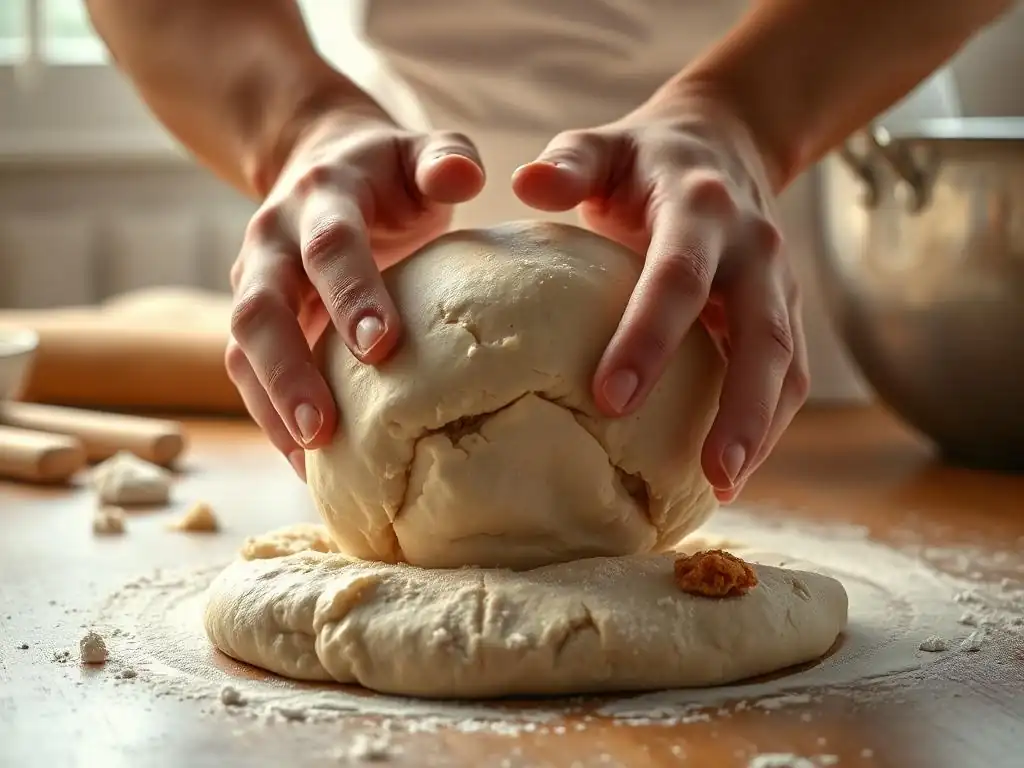
Even with a basic understanding, beginners can make mistakes that hinder proper gluten development. Recognizing these pitfalls can save frustration and improve baking results.
Over-Kneading: Resulting in Tough Dough
Over-kneading is a common mistake, especially when using a stand mixer. While kneading builds gluten, too much mechanical action can break down the protein network. When dough is over-kneaded, it becomes extremely tight, difficult to stretch, and may even appear wet and smeary as the structure degrades.
The result of over-kneading is typically a baked good with a tough, dense, or rubbery texture. For example, over-kneaded bread will have a tight crumb with little aeration, and over-mixed muffins will be chewy instead of tender. Recognizing the signs of fully developed gluten (like the windowpane test) and knowing when to stop kneading is crucial for controlling gluten development for beginners. It's often better to slightly under-knead than to over-knead, as gluten can continue to develop during resting and fermentation.
Under-Kneading: Leading to Weak Gluten Structure
Under-kneading is the opposite problem and is just as detrimental, particularly in bread. When dough is not kneaded enough, the gluten network does not fully form or strengthen. The dough will feel shaggy, sticky, and will tear easily when stretched instead of forming a thin membrane.
Dough with underdeveloped gluten lacks the structure needed to trap gases produced by yeast. This results in poor oven spring (the final rise in the oven), a dense crumb, and a lack of chewiness in bread. For gluten development for beginners, recognizing under-kneaded dough is important. If your dough feels weak or tears easily during shaping, it likely needed more kneading or a longer resting period.
Incorrect Hydration: Affecting Dough Consistency
Using the wrong amount of liquid relative to flour is a significant factor affecting gluten development and dough handling. If the dough is too dry (under-hydrated), the gluten proteins cannot fully absorb water and become mobile, severely limiting network formation even with extensive kneading. The dough will be stiff, crumbly, and difficult to work.
If the dough is too wet (over-hydrated for the intended technique), it can be extremely sticky and challenging to handle with traditional kneading methods. While gluten can develop in wet doughs, it requires different techniques like stretch and folds, which might not be intuitive for gluten development for beginners. Always measure liquids and flours accurately and be prepared to make slight adjustments based on environmental factors or flour type, as incorrect hydration directly impacts the ease and effectiveness of gluten development.
Gluten Development Techniques by Application
Different types of baked goods require different approaches to managing gluten development. The techniques used are tailored to achieve the desired texture.
Bread Making: Developing Strong and Elastic Dough
The primary goal in bread making is to develop a strong, elastic gluten network capable of capturing fermentation gases and providing structure. This is typically achieved through vigorous kneading, either by hand or machine, for a sufficient duration (often 8-15 minutes depending on the method and hydration). The dough should pass the windowpane test, indicating well-developed gluten.
Techniques like the autolyse (resting flour and water before adding other ingredients) and stretch and folds during bulk fermentation also contribute to developing strength and extensibility in the dough. The long fermentation times common in artisan bread also allow for significant gluten development for beginners over time, even with less intensive initial kneading. The focus is always on building a network that is both strong enough to hold its shape and elastic enough to expand.
Pastry Making: Minimizing Gluten for Flaky Layers
In pastry making, such as for pie crusts, biscuits, or scones, the aim is usually to minimize gluten development to achieve tenderness and flakiness. Techniques focus on inhibiting the interaction of gluten proteins. This is done by using lower-protein flour (pastry or all-purpose), keeping ingredients cold (especially fat and water), and using minimal mixing.
Fat is often cut into the flour, creating small pieces coated in flour that prevent hydration and gluten formation. The liquid is added sparingly and mixed just until the dough comes together. Overworking the dough is carefully avoided. For gluten development for beginners in pastry, the mantra is "mix as little as possible" to prevent toughness and ensure a flaky result where layers of fat separate thin sheets of dough.
Cake Making: Balancing Gluten for Tender Crumb
Cake making requires a delicate balance of gluten development. You need some structure to hold the cake's shape and support the rise from chemical leaveners (baking powder/soda), but not so much that the cake becomes tough. The goal is a soft, fine, and tender crumb. This is achieved by using low-protein flour (cake flour), incorporating significant amounts of sugar and fat (both inhibitors of gluten), and using gentle mixing methods.
The creaming method, common in butter cakes, involves beating butter and sugar together first. The sugar crystals physically interfere with gluten formation, and the fat coats the flour. Wet and dry ingredients are then added and mixed just until combined, often on low speed, minimizing the time the flour is exposed to liquid and mechanical agitation. This careful control of gluten development for beginners is key to achieving the characteristic soft crumb of a well-made cake.
Tips for Consistent Gluten Development
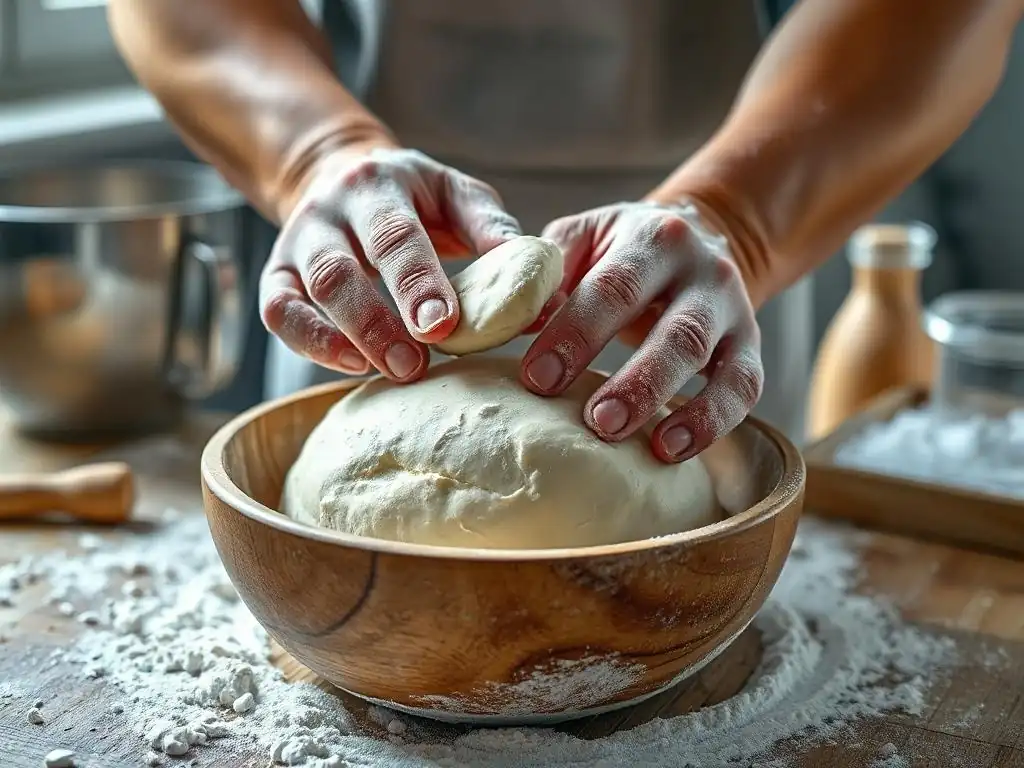
Achieving consistent results with gluten development comes with practice and attention to detail. Here are some tips to help beginners.
The Windowpane Test: Assessing Gluten Strength
The windowpane test is a classic method for assessing if bread dough has been sufficiently kneaded and the gluten is well-developed. To perform the test, take a small piece of dough (about the size of a golf ball). Gently stretch and pull the dough outwards with your fingers. If the dough can be stretched into a thin, translucent membrane (like a windowpane) without tearing easily, the gluten is well-developed.
If the dough tears quickly when stretched, it needs more kneading. This test provides a visual and tactile indicator of the dough's elasticity and strength, helping gluten development for beginners gauge their progress. It's important to note that very high hydration doughs might not pass a traditional windowpane test easily, but the principle of being able to stretch without immediate tearing still applies.
Using Stand Mixers Effectively
Stand mixers can be powerful tools for gluten development, especially for doughs requiring extensive kneading. However, they can also lead to over-kneading if not used correctly. Start on a low speed to combine ingredients, then increase to a medium speed (often 2-4 on a KitchenAid) for kneading.
Monitor the dough's texture and appearance as it mixes. It should eventually pull away from the sides of the bowl, become smooth, and elastic. Use the windowpane test periodically to check for sufficient gluten development for beginners. Be mindful that mixing times in recipes are often estimates; the actual time needed can vary based on the mixer's power, the amount of dough, and the flour used. Stop when the dough looks and feels right, not just when the timer goes off.
Adjusting Mixing Time Based on Flour and Recipe
Not all flours develop gluten at the same rate, and different recipes call for varying levels of development. A dough made with high-protein bread flour will typically require longer kneading than one made with lower-protein all-purpose flour to reach the same stage of development. Similarly, a dough for a light brioche might need less intensive kneading than a chewy ciabatta dough.
Always consider the type of flour specified and the desired texture described in the recipe. Recipes for soft rolls might call for kneading only until the dough is smooth, while artisan bread recipes often require longer kneading or incorporate alternative methods like stretch and folds over an extended period. For gluten development for beginners, learning to adjust mixing time based on these factors and visual/tactile cues (like the windowpane test) is key to consistent results.
Troubleshooting Gluten Issues
Even with careful attention, beginners might encounter problems related to gluten development. Knowing how to troubleshoot common issues can help salvage a batch of dough.
Dry Dough: Adding Water or Kneading Longer
If your dough feels stiff, crumbly, and isn't coming together after initial mixing, it's likely under-hydrated. This prevents proper gluten development for beginners. You can usually fix this by gradually adding small amounts of additional water (a teaspoon or tablespoon at a time) while mixing or kneading, until the dough reaches the desired consistency described in the recipe (e.g., soft and pliable, but not overly sticky).
Alternatively, sometimes dry-feeling dough just needs more kneading time. The mechanical action can help distribute the existing water more evenly and encourage hydration. Try kneading for a few more minutes before adding water, especially if you suspect you stopped too early. A bench scraper can be helpful for managing sticky dough during this process.
Sticky Dough: Adding Flour or Resting
Dough that is excessively sticky and won't form a cohesive ball can be frustrating. This might indicate over-hydration or insufficient gluten development. First, resist the urge to add a lot of flour immediately. While adding a small amount of flour (a tablespoon at a time) during kneading can help manage stickiness, too much flour will change the hydration ratio and result in a dry, tough baked good.
Often, sticky dough just needs more time for the flour to fully hydrate and the gluten to develop. Try resting the dough for 10-20 minutes; this allows the proteins to absorb more water and the gluten network to form more easily. After resting, resume kneading. The dough may become less sticky as gluten development for beginners progresses. If it remains unmanageably sticky after resting and further kneading, you may need to add a minimal amount of flour gradually.
Environmental Impact: Adjusting for Humidity and Temperature
Environmental factors like humidity and temperature can affect how flour absorbs water and how quickly gluten develops. In humid conditions, flour absorbs more moisture from the air, meaning you might need slightly less added liquid than a recipe specifies. Conversely, in dry conditions, flour might require slightly more water.
Temperature also plays a role; warmer temperatures can speed up hydration and fermentation, indirectly affecting gluten development and handling properties. Learning to make small adjustments to liquid amounts based on your environment is an advanced skill but something to keep in mind for consistent gluten development for beginners. Pay attention to how the dough feels rather than strictly adhering to exact measurements if conditions are significantly different from a typical environment.
Resources for Advanced Learning
Once you've mastered the basics of gluten development for beginners, you might want to delve deeper into the science and techniques.
Baking Science Books and Articles
Many excellent books and scientific articles explore the complex chemistry and physics of baking, including the intricate details of gluten formation. Resources like "On Food and Cooking" by Harold McGee or books specifically focused on bread science provide in-depth explanations of protein interactions, the impact of ingredients, and the science behind different techniques.
Reading these resources can significantly enhance your understanding of why certain steps are necessary and how variables affect outcomes. They offer a more technical perspective beyond basic recipes, providing valuable context for optimizing gluten development for beginners and beyond.
Online Baking Courses and Tutorials
Numerous online platforms offer structured baking courses and tutorials, many of which dedicate entire modules to understanding and manipulating gluten. Websites like King Arthur Baking, The Bread Baker's Guild of America, or platforms like Craftsy and Udemy offer courses ranging from fundamental techniques to advanced artisan bread making.
These resources often include video demonstrations, which can be incredibly helpful for visualizing techniques like kneading, stretching and folding, and performing the windowpane test. Learning from experienced instructors through these channels can accelerate your mastery of gluten development for beginners by seeing the processes in action.
Exploring Alternative Flour Types
While this guide focuses on wheat gluten, exploring alternative flour types opens up new avenues for baking. Flours like rye, spelt, or ancient grains contain different protein structures that result in different types of gluten networks, often less strong or elastic than wheat gluten.
Additionally, gluten-free baking requires understanding how to create structure without wheat gluten, using alternative binders like xanthan gum, psyllium husk, or starches. Experimenting with these flours expands your baking repertoire and deepens your understanding of how protein and structure function in baked goods beyond traditional gluten development for beginners with wheat flour.
Frequently Asked Questions
How does gluten development impact my baked goods?
Gluten development creates the structure and elasticity in dough, which is crucial for the texture of many baked goods. It helps trap gases, leading to a light and airy final product.
What are the key ingredients involved in gluten development?
The two main ingredients are glutenin and gliadin, which are proteins found in wheat flour. Water is also essential, as it allows these proteins to hydrate and form the gluten network.
How does kneading affect gluten development?
Kneading provides the mechanical energy needed to align and strengthen the gluten strands. This process creates a stronger and more elastic dough, especially important for breads.
Can I over-knead dough, and what happens if I do?
Yes, over-kneading can break down the gluten network, resulting in a tough and dense baked good. It's important to learn the signs of proper gluten development to avoid this.
What are some tips for beginners to ensure good gluten development?
Start with high-quality bread flour, use the correct amount of water, and knead for the recommended time. Observing the dough's texture and elasticity as you knead is crucial for learning.
Final Reflection: Unlocking the Power of Gluten: A Baker's Journey
Understanding gluten development is not just about following a recipe; it's about unlocking the potential within the flour itself. Mastering this fundamental skill transforms baking from a frustrating guessing game into a precise and rewarding art. The knowledge presented in this guide empowers you to create consistently delicious breads, pastries, and more, regardless of your skill level.
The journey of learning about gluten development has been a deeply personal one for me, revealing the intricate dance between science and artistry inherent in baking. It's a process that demands patience, observation, and a willingness to experiment. The subtle shifts in texture, the satisfying rise of the dough – these are the rewards that make the effort worthwhile. The best bread is made with love, and a little bit of science.
– Unknown This quote perfectly encapsulates the essence of what I've learned throughout this process. The understanding of gluten development allows you to channel that love into a tangible, delicious result.
Now, it's your turn. Take the knowledge you've gained here and apply it to your next baking project. Don't be afraid to experiment, to adjust techniques, and to learn from your mistakes. Each loaf, each pastry, is a step further on your baking journey. Embrace the process, celebrate the successes, and learn from the challenges. The world of gluten development is vast and exciting – go forth and bake!
Unleash Your Inner Baker: Master Gluten Development!
Thanks for diving into the world of gluten development with us! We hope you gained valuable insights into this crucial baking process. Now it's time to put your new knowledge into practice.
- Bake a test loaf: This is your chance to experiment with what you've learned – try adjusting hydration or kneading techniques to see the results firsthand! The best way to learn is by doing!
- Share your baking journey: Connect with other aspiring bakers on our social media channels and share your successes (and even your learning curves!). Let’s build a community of supportive bread lovers!
- Explore advanced techniques: Once you've mastered the basics, consider delving into more complex gluten development methods, like sourdough baking – the possibilities are endless!
Ready to transform your baking game? What’s the first recipe you’ll tackle to put your new gluten development skills to the test?