
The Chemistry of Cookie Edges: Maillard Reaction in Action

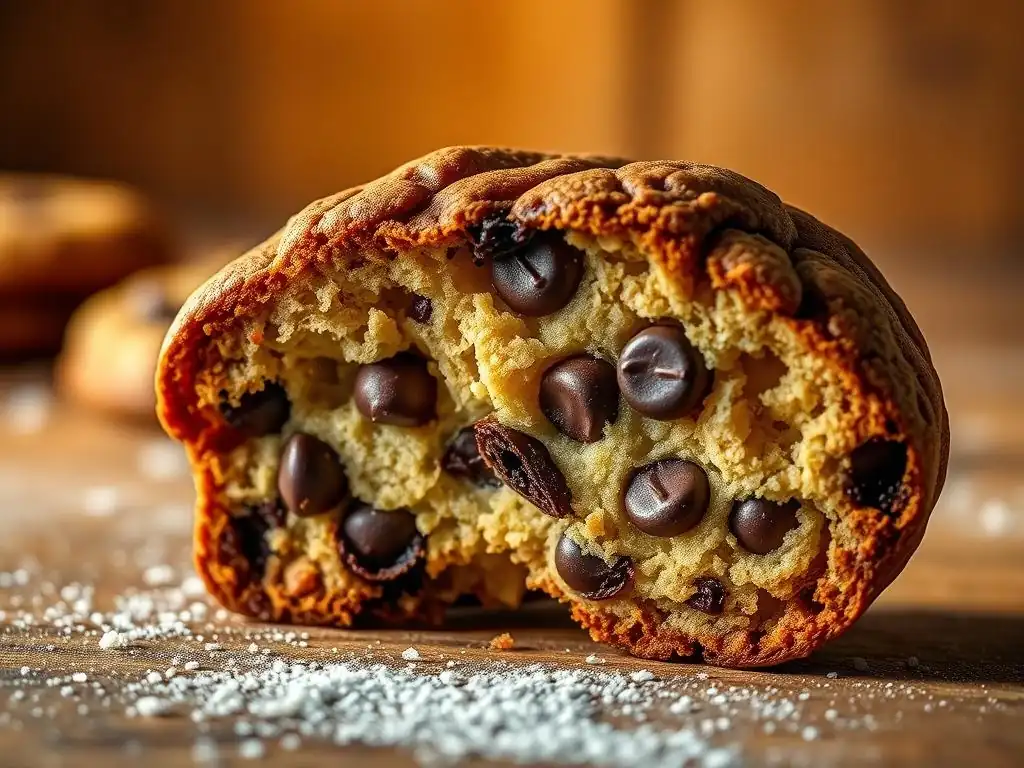
Welcome to BakeWithEase, your kitchen companion for conquering the world of baking! Ever wondered about the secrets behind those perfectly browned cookie edges? This week, we’re diving deep into the science behind baking, exploring the fascinating Maillard reaction and how it creates that irresistible color and flavor. Get ready to unlock the secrets to baking bliss – your journey to baking perfection starts now!
Baking cookies is a delightful experience, filling your kitchen with irresistible aromas. But beyond the simple mixing of ingredients lies a fascinating world of chemistry that dictates everything from texture to that sought-after golden hue on your cookie edges. Achieving perfectly browned cookie edges isn't just about guesswork; it's about understanding scientific processes like the Maillard reaction.
- Achieving Perfectly Browned Cookie Edges Through Chemistry
- Understanding the Maillard Reaction: The Science Behind Cookie Browning
- Mastering the Maillard Reaction for Perfect Cookie Edges
- Achieving the Ideal Browned Cookie Edge: Practical Tips
- Troubleshooting Common Cookie Browning Problems
- Beyond the Basics: Advanced Techniques for Cookie Edge Perfection
- Achieving Perfectly Browned Cookie Edges
-
Frequently Asked Questions
- What is the Maillard reaction and why is it important for perfectly browned cookie edges?
- How does the sugar content in a cookie recipe affect the browning of the edges?
- What role does oven temperature play in achieving perfectly browned cookie edges?
- Can I adjust my cookie recipe to promote better browning on the edges?
- What are some common mistakes that prevent cookies from having perfectly browned edges?
- Final Reflection: The Enduring Allure of the Perfectly Browned Edge
- Unlock the Secrets of Perfectly Browned Edges!
The pursuit of perfectly browned cookie edges is a common goal for home bakers. That crisp, slightly caramelized edge provides a delightful contrast to the softer center of the cookie. This beautiful browning and the depth of flavor that comes with it are primarily the result of a complex chemical reaction known as the Maillard reaction. It's not just about the heat; it's about the interaction between specific ingredients under controlled conditions.
Understanding the science behind this browning is key to consistent results. Factors like oven temperature, baking time, and even the specific types of sugar and leavening agents used in your dough all play a critical role. By manipulating these variables, you can influence how and when the Maillard reaction occurs, giving you greater control over achieving those desirable perfectly browned cookie edges every time you bake.
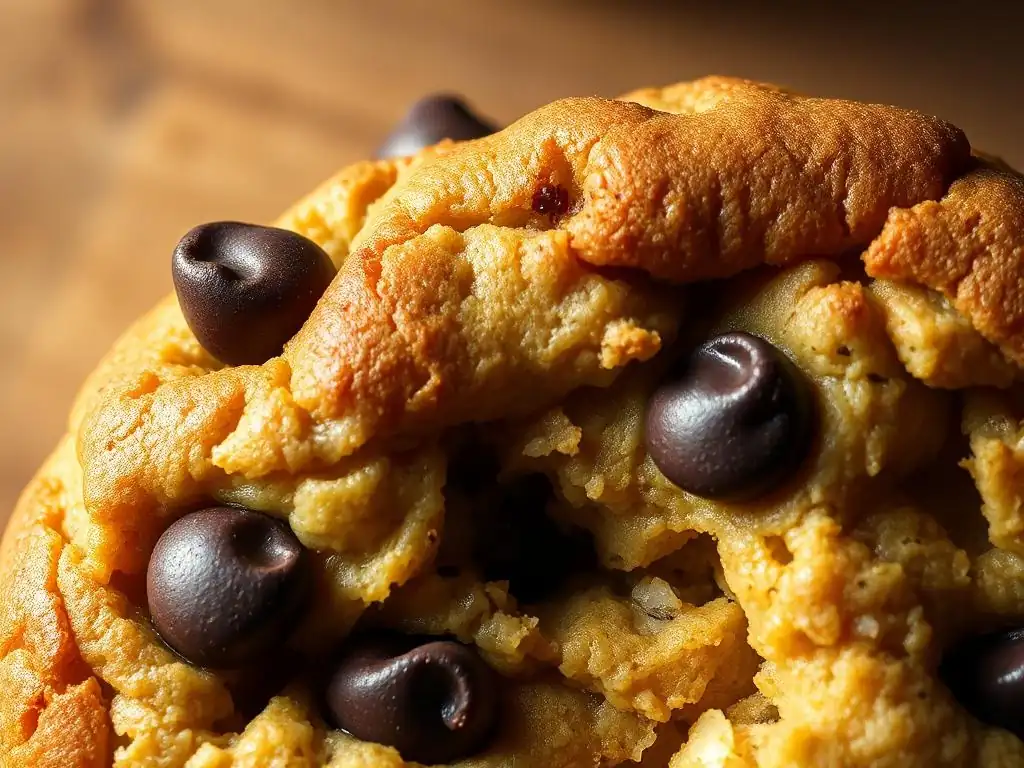
The Maillard reaction is a cornerstone of cooking, responsible for the browning and flavor development in everything from seared steaks to toasted bread and, of course, cookies. Named after French chemist Louis-Camille Maillard, who first described it in 1912, this reaction is a complex series of chemical transformations that occur when amino acids and reducing sugars are heated together. It's not caramelization, which is the browning of sugars alone; the Maillard reaction specifically requires the presence of both protein (amino acids) and certain types of sugars.
In the context of cookies, the Maillard reaction is what gives the crust its appealing brown color and contributes significantly to the complex aroma and flavor profile – those notes of toast, caramel, and nuts. Without it, cookies would remain pale and lack depth. Mastering the conditions that promote this reaction is essential for developing perfectly browned cookie edges and a delicious, well-rounded flavor throughout the cookie.
The Maillard reaction is a non-enzymatic browning process that occurs at temperatures typically above 280°F (140°C). It involves a cascade of reactions starting with the condensation of a reducing sugar and an amino acid, leading to the formation of intermediate compounds. These intermediates then undergo further transformations, including fragmentation and polymerization, ultimately producing hundreds of different flavor and aroma compounds (like pyrazines, melanoidins, and furanones) and the brown pigments characteristic of baked goods.
For cookies, the Maillard reaction is critical because it develops the appealing color and the complex, savory-sweet flavors that complement the sweetness from the sugar. While caramelization (browning of sugars alone) also happens, contributing sweet, slightly burnt notes, the Maillard reaction adds layers of nutty, roasty, and toasty flavors. The edges of a cookie, being thinner and exposed to higher temperatures for longer relative to the center, are where the Maillard reaction is most pronounced, resulting in perfectly browned cookie edges that are both visually appealing and flavor-rich.
Two main components are absolutely essential for the Maillard reaction to occur in cookie dough: reducing sugars and amino acids. Reducing sugars include glucose (dextrose), fructose, maltose, and lactose. Sucrose (common table sugar) is not a reducing sugar, but it breaks down into glucose and fructose when heated, especially in the presence of moisture and acid, allowing the reaction to proceed. Common sources in cookie dough include granulated sugar (which breaks down), brown sugar (contains molasses, rich in fructose and glucose), honey, and corn syrup.
Amino acids are the building blocks of proteins. While cookie dough isn't typically high in protein compared to, say, meat or bread dough made with high-protein flour, sources like eggs and milk solids (found in butter or added as milk powder) provide the necessary amino acids. Even the small amount of protein in all-purpose flour contributes. The interaction between these sugars and amino acids, facilitated by heat, is what drives the reaction responsible for perfectly browned cookie edges.
The specific types and amounts of amino acids and reducing sugars present significantly impact the rate and outcome of the Maillard reaction. For example, the amino acid lysine is particularly reactive in the Maillard process. Ingredients like milk powder are relatively high in lysine and lactose (a reducing sugar), making them potent promoters of browning, often used to enhance the color of baked goods like bread crusts and cookies.
Different reducing sugars also react at varying rates. Fructose, found abundantly in brown sugar and honey, reacts faster than glucose. This is one reason why using brown sugar can lead to quicker and more intense browning compared to using only granulated sugar.
The concentration of these reactants is also key; a dough with a higher ratio of sugar and protein relative to water will brown more readily. This explains why thinner cookies or the exposed edges of cookies tend to brown faster, as the water evaporates, concentrating the reactants and increasing the temperature at the surface, facilitating the reaction needed for perfectly browned cookie edges.
Achieving perfectly browned cookie edges requires a delicate balance of factors. It's not just about mixing ingredients; it's about creating the optimal environment for the Maillard reaction to flourish where you want it to – on the outer edges of your cookies. This involves careful control over temperature, time, and even the composition of your dough.
By understanding how each variable influences the reaction, you can troubleshoot common baking issues and consistently produce cookies with that ideal golden ring. It's a skill that develops with practice, but the underlying principles of chemistry remain constant.
Oven temperature is perhaps the most critical factor influencing the rate of the Maillard reaction. The reaction typically begins at temperatures above 280°F (140°C), but it accelerates significantly at higher temperatures, commonly between 300°F and 375°F (150°C - 190°C) for cookies. Baking at too low a temperature might result in cookies that are fully baked but pale, with underdeveloped flavor. Conversely, baking at too high a temperature can cause the edges to brown too quickly, potentially burning before the center is cooked through.
For consistently perfectly browned cookie edges, a common range is 325°F to 375°F (160°C to 190°C), depending on the recipe and desired outcome. A slightly lower temperature allows the cookie to spread and cook more evenly before the edges set and brown intensely. A higher temperature accelerates the reaction, leading to faster browning, which can be desirable for thin, crisp cookies but risky for thicker ones. Always ensure your oven thermostat is accurate – an oven thermometer is a great tool for this.
Baking time works in tandem with temperature to control the extent of the Maillard reaction. The longer cookies bake at a sufficient temperature, the more the reaction will progress, leading to darker browning and more intense flavor development. As a cookie bakes, moisture evaporates, especially from the thinner edges. This concentration of sugars and amino acids, combined with prolonged heat exposure, drives the Maillard reaction on the periphery.
Monitoring your cookies closely during the last few minutes of baking is crucial for achieving perfectly browned cookie edges without overdoing it. Look for the edges to turn a rich golden brown, while the center might still appear slightly soft or lighter in color. Removing the cookies at this point allows residual heat to complete the cooking process, resulting in that ideal balance of crisp edge and chewy or soft center. Typical baking times for standard drop cookies range from 8 to 12 minutes, but this varies greatly by size and thickness.
The composition of your cookie dough directly impacts its browning potential. Ingredients like the type of sugar, the presence of milk solids, and even the pH level can either accelerate or slow down the Maillard reaction. Small adjustments can make a noticeable difference in the final appearance and flavor of your cookies, helping you achieve those coveted perfectly browned cookie edges.
Consider experimenting with different recipes or ingredient ratios to see how they affect browning. A simple swap or addition can sometimes be the key to unlocking the desired color and flavor depth.
Using Milk Powder or Brown Sugar to Boost Maillard Reaction
Adding a small amount of dry milk powder to your cookie dough can significantly enhance the Maillard reaction. Milk powder contains both lactose (a reducing sugar) and milk proteins (rich in lysine amino acid), making it an excellent promoter of browning.
Just a tablespoon or two per batch can lead to more golden edges. For instance, adding 1-2 tablespoons of non-fat dry milk to a standard batch of chocolate chip cookies baked at 350°F (175°C) can result in noticeably deeper perfectly browned cookie edges compared to a batch without it, often shaving a minute or two off the total baking time needed to achieve the same color.
Similarly, using brown sugar instead of or in combination with granulated sugar provides fructose and glucose (from molasses), which are highly reactive reducing sugars. Recipes using a higher proportion of brown sugar, like classic chewy chocolate chip cookies, often develop richer color and more complex, caramel-like flavors on their edges due to the higher concentration of these reactive sugars and the slightly acidic nature of brown sugar, which also influences browning. A cookie recipe using 100% brown sugar might brown noticeably faster than one using 100% granulated sugar when baked under the same conditions.
The Effect of pH on Cookie Browning
The pH level of cookie dough also plays a role in the Maillard reaction. The reaction proceeds more rapidly in slightly alkaline environments (higher pH) and is slowed down in acidic environments (lower pH). Ingredients like baking soda (sodium bicarbonate) are alkaline and thus promote faster and more intense browning. This is why recipes using baking soda often result in cookies with darker, crisper edges compared to those using only baking powder (which contains acidic components).
For example, a standard sugar cookie recipe using baking soda might bake up with more pronounced perfectly browned cookie edges and a wider spread than an identical recipe using only baking powder. The baking soda increases the dough's pH, boosting the Maillard reaction rate on the surface. Cream of tartar, an acidic ingredient often paired with baking soda, can moderate this effect, leading to a slower, more controlled spread and browning. Understanding the leavening system's impact on pH helps predict and control cookie browning.
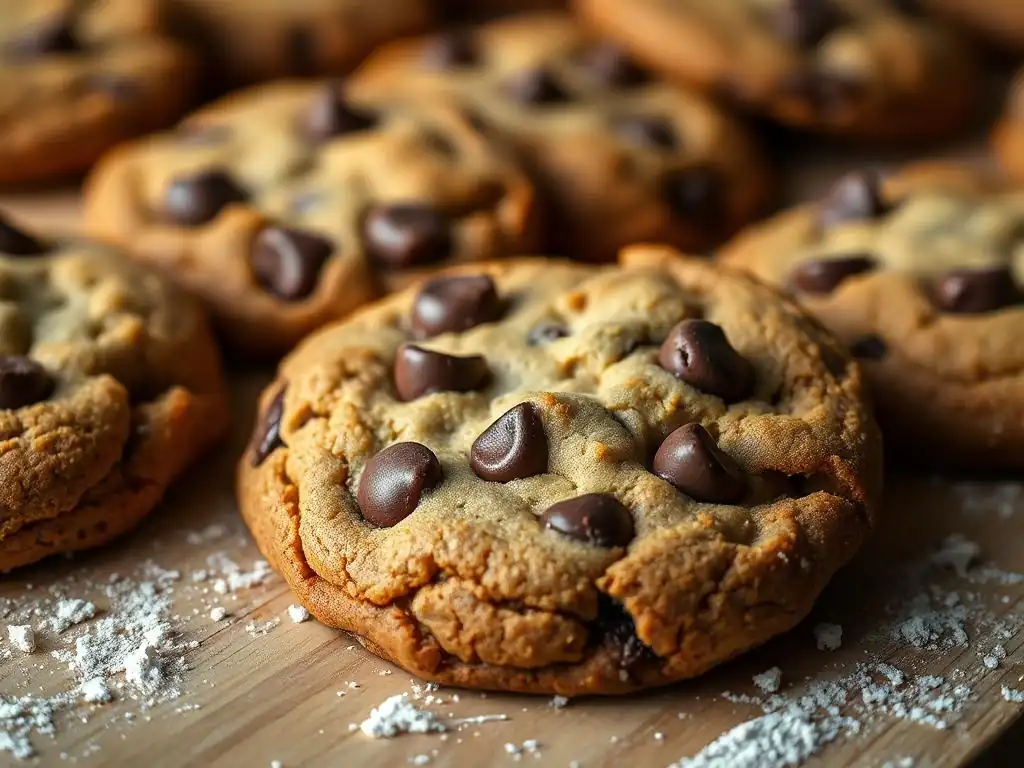
Beyond the science, practical techniques in preparing and baking your cookie dough can make a world of difference in achieving perfectly browned cookie edges. These tips focus on how you handle the dough, choose your ingredients, and manage the baking process.
Incorporating these simple steps into your baking routine can help ensure consistent results and elevate your cookie game.
The type of sugar you use has a significant impact on both the texture and the color of your cookies. As discussed, brown sugar (light or dark) contains molasses, which provides reducing sugars (fructose and glucose) that react readily in the Maillard process. This leads to faster and deeper browning, as well as a moister, chewier texture due to the hygroscopic nature of molasses. Granulated sugar, primarily sucrose, must first break down into glucose and fructose before it can fully participate in the Maillard reaction, resulting in slower browning but often contributing to a crispier texture.
For perfectly browned cookie edges with a rich flavor, a blend of granulated and brown sugar is often ideal. A common ratio, like 1:1 granulated to brown sugar in a chocolate chip cookie, provides a balance of spread, crispness, chewiness, and excellent browning potential. Using darker brown sugar will result in more pronounced color and flavor compared to light brown sugar due to the higher molasses content. Experimenting with these ratios allows you to fine-tune the browning and texture to your preference.
Chilling cookie dough is a step many recipes recommend, and it's crucial for developing flavor and achieving desired texture and browning on the edges. When dough is chilled, the fats solidify, which slows down the cookie's spread in the oven. Slower spread means the edges have more time to set and brown before the cookie becomes too thin. Chilling also allows flour proteins to hydrate and relax, leading to a better texture, and gives enzymes time to break down some of the sucrose into glucose and fructose, increasing the availability of reducing sugars for the Maillard reaction.
Additionally, cold dough enters the hot oven at a lower temperature, meaning it takes longer for the entire cookie to heat up. This differential heating allows the edges, which heat faster due to their direct contact with the hot baking sheet and exposure to oven air, to begin browning while the center remains cooler. This temperature gradient helps create distinct, perfectly browned cookie edges while maintaining a softer center. Chilling periods can range from 30 minutes to 72 hours, with longer chills often resulting in more complex flavors and better texture.
Using a cookie scoop is a simple yet effective technique for ensuring consistent results, including even browning. Scoops create uniform balls of dough, meaning each cookie on the baking sheet is the same size and thickness. This uniformity ensures that all cookies bake at the same rate.
When cookies are uniform in size, they will all reach the desired level of browning, including those perfectly browned cookie edges, at roughly the same time. This prevents some cookies from being overcooked or undercooked compared to others on the same tray. It's particularly helpful when baking multiple batches, as it helps maintain consistency from one batch to the next.
Even with a solid understanding of the science, baking isn't always perfect. Sometimes cookies brown too much, not enough, or unevenly. Knowing how to identify the problem and adjust your technique is key to consistently achieving perfectly browned cookie edges.
Here are some common issues and practical solutions.
If your cookie edges are turning dark brown or black before the centers are fully baked, they are browning too quickly. This is often a sign that the Maillard reaction and caramelization are happening too fast, likely due to excessive heat or too much baking time for the temperature used.
- Lower the oven temperature: Try reducing the oven temperature by 15-25°F (8-15°C). This slows down the browning rate, allowing the cookie to bake through more evenly. If baking at 375°F (190°C), drop to 350°F (175°C).
- Reduce baking time: Check your cookies a few minutes earlier than the recipe suggests. For instance, if a recipe calls for 10-12 minutes, start checking at 8 minutes. Remove them when the edges are golden brown, even if the centers look slightly underdone; they will continue to cook on the hot pan.
- Adjust rack position: If you're using the top rack, try moving your baking sheet to the middle or lower-middle rack, where the heat might be less intense or more even.
- Use parchment paper or a silicone mat: These can slightly insulate the bottom of the cookie, preventing the very bottom edge from burning while the top browns nicely.
If your cookies are pale and lack that appealing golden-brown edge even when fully baked, the Maillard reaction isn't progressing sufficiently. This could be due to insufficient heat, too little time, or ingredients that aren't promoting browning effectively.
- Increase oven temperature: Try increasing the oven temperature by 15-25°F (8-15°C) to accelerate the reaction, assuming your cookies aren't spreading excessively or burning in the center. If baking at 325°F (160°C), try 350°F (175°C).
- Increase baking time: Bake the cookies for an extra minute or two, watching carefully. This provides more time for the Maillard reaction to develop color on the edges.
- Check your ingredients: Ensure you're using the correct type and amount of sugar (brown sugar encourages more browning than granulated). Consider if your recipe uses only baking powder; adding a pinch of baking soda can increase pH and boost browning.
- Add milk powder: As mentioned earlier, incorporating 1-2 tablespoons of dry milk powder can provide extra reactants for the Maillard reaction.
Uneven Browning: Ensuring Consistent Heat Distribution in Your Oven
Unevenly browned cookies – where some edges are dark and others are pale on the same tray – often point to inconsistent heat distribution within your oven. Ovens can have hot spots, leading to varying baking rates.
- Rotate your baking sheet: Halfway through the baking time (e.g., after 5 minutes in a 10-minute bake), rotate your baking sheet 180 degrees. This exposes all sides of the cookies to different areas of the oven, promoting more even browning and helping achieve consistent perfectly browned cookie edges across the batch.
- Avoid overcrowding: Don't place too many cookies on a single baking sheet. Leave adequate space between them (typically 2-3 inches) to allow for even airflow around each cookie. Overcrowding can hinder heat circulation.
- Use the middle rack: Baking on the middle rack generally provides the most even heat distribution in most ovens. Avoid baking on the very top or bottom racks unless specifically instructed by the recipe.
- Check oven calibration: If unevenness is a persistent problem, your oven's thermostat might be inaccurate or the heating elements might be uneven. An oven thermometer can help verify the temperature, and professional calibration might be necessary for severe issues.
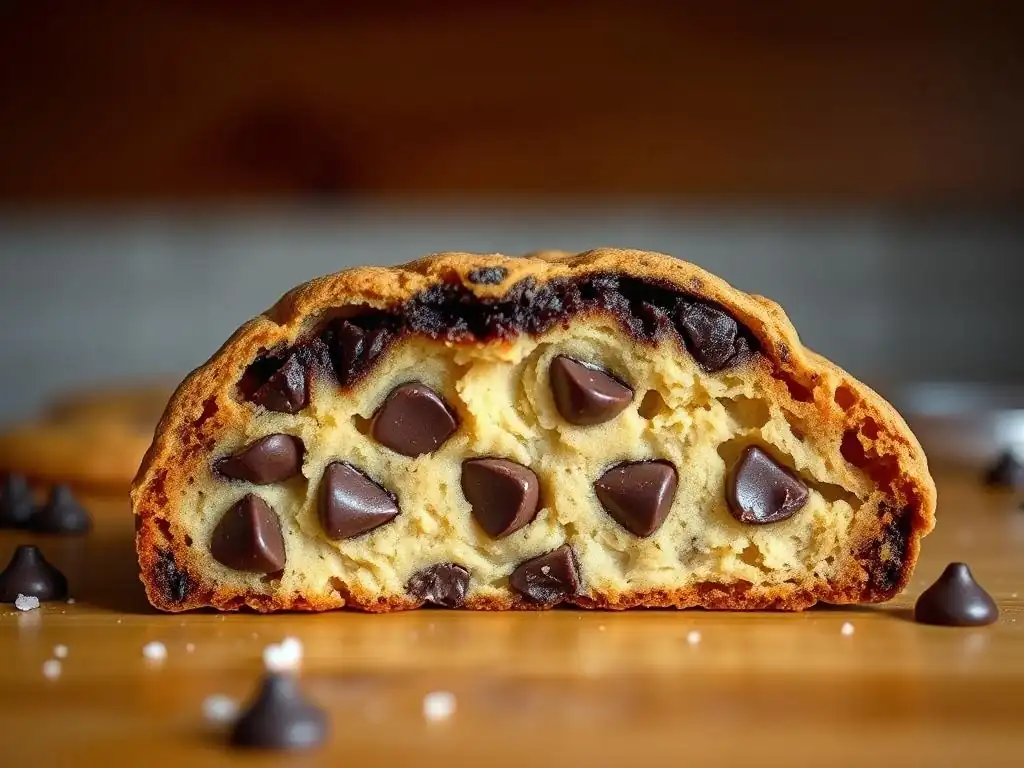
Once you've mastered the fundamental techniques for achieving perfectly browned cookie edges, you might want to explore more advanced concepts. Understanding how different ingredient properties and baking surfaces interact with the Maillard reaction can further refine your cookie-baking skills.
These factors delve deeper into the nuances of cookie chemistry and physics.
Beyond the basic granulated and brown sugars, experimenting with other sugar types can yield unique flavors and browning characteristics. For instance, using muscovado sugar (a less refined brown sugar) provides a deeper molasses flavor and promotes even more intense browning due to its higher molasses content compared to standard brown sugar. Using a recipe with muscovado might yield cookies with edges that are significantly darker and richer in flavor than those made with light brown sugar, even when baked identically.
Conversely, using sugars like confectioners' sugar (powdered sugar) or certain liquid sweeteners can alter browning. While confectioners' sugar is just finely ground sucrose (often with cornstarch), it behaves differently in dough and can sometimes lead to less spread and different browning patterns. Exploring how sugars like honey (rich in fructose and glucose, promotes faster browning) or maple syrup (contains various sugars and compounds that influence flavor and color) impact the Maillard reaction in specific cookie recipes can open up a world of flavor possibilities beyond just achieving perfectly browned cookie edges.
Fat, typically butter, plays a crucial role in cookie structure and spread, which in turn affects how the edges form and brown. Butter contributes to tenderness and flavor, but its melting point dictates how quickly the cookie spreads in the oven. A cookie dough with a higher fat content will generally spread more. This spread influences the thickness of the cookie, particularly the edges. Thinner edges heat up and dry out faster, accelerating the Maillard reaction and caramelization, leading to crispier, more intensely browned edges.
Consider two hypothetical cookie doughs with the same sugar content but different butter ratios – Dough A with a lower butter ratio might spread less, resulting in thicker cookies that brown slower on the edges. Dough B with a higher butter ratio might spread more thinly, leading to edges that become crisp and perfectly browned cookie edges much faster. The state of the butter (melted, softened, cold) also impacts spread and thus edge formation; using melted butter typically results in wider, thinner, chewier cookies with more pronounced edge browning.
Using Different Baking Sheets: Aluminum vs. Parchment Paper for Even Browning
The material and color of your baking sheet significantly affect how heat is transferred to the cookie dough, impacting browning, especially on the bottom edges. Shiny, light-colored aluminum baking sheets reflect heat, leading to slower, more even browning on the bottom. Dark-colored or non-stick baking sheets absorb heat more readily, which can cause the bottoms and edges of cookies to brown faster and potentially burn.
Using parchment paper or a silicone baking mat on any baking sheet provides a layer of insulation and promotes more even heat distribution, helping to prevent the bottoms of the cookies from browning too quickly while the tops and edges catch up. For consistently perfectly browned cookie edges without overly dark bottoms, a light-colored aluminum sheet lined with parchment paper is often recommended. This combination allows the heat to reach the cookie edges primarily through convection (air circulation) rather than direct conduction from a hot, dark surface.
Mastering the art of the cookie edge is a journey that blends baking skill with an understanding of basic chemistry. By focusing on the Maillard reaction – the star of the show when it comes to browning and flavor – you can consistently bake cookies with that coveted crisp, golden ring.
It's about controlling temperature, timing, and ingredients to create the optimal conditions for this fascinating chemical process to occur right where you want it.
To consistently achieve perfectly browned cookie edges, remember these key points:
- The Maillard reaction requires heat, reducing sugars (like glucose, fructose, lactose), and amino acids (from protein).
- Oven temperature is critical; typically, 325°F-375°F (160°C-190°C) is needed, with higher temps accelerating browning.
- Baking time directly controls the extent of browning; watch edges closely during the final minutes.
- Ingredients matter: Brown sugar and milk powder enhance browning due to their composition. Baking soda (alkaline) promotes faster browning than baking powder (acidic).
- Chilling dough slows spread, allowing edges more time to set and brown before the cookie is fully cooked.
- Uniform cookie size (using a scoop) ensures even baking and browning across the batch.
- Troubleshooting involves adjusting time, temperature, ingredients, or oven position/rotation based on whether browning is too fast, too slow, or uneven.
- Baking surface affects bottom browning; light-colored pans with parchment paper offer the most even results.
Achieving perfectly browned cookie edges is within reach with practice and attention to these details.
Recipes for Mastering the Maillard Reaction in Baking
While this article focuses on the science, the best way to master the Maillard reaction is through hands-on baking. Try a classic chocolate chip cookie recipe that uses both granulated and brown sugar and eggs – it's a perfect example where the Maillard reaction (and some caramelization) creates those signature perfectly browned cookie edges and chewy centers.
Another great recipe to explore is one that incorporates milk powder or uses a high proportion of brown sugar, like a chewy ginger molasses cookie. Pay close attention to how changes in temperature or baking time affect the color and flavor of the edges. Experiment with chilling times to see how it impacts spread and browning.
By actively observing the results of different variables, you'll build an intuitive understanding of how to manipulate the Maillard reaction to bake the cookies you desire. Remember, every oven is different, so slight adjustments to temperature and time are often necessary to find your sweet spot for perfectly browned cookie edges.
Frequently Asked Questions
The Maillard reaction is a chemical process between amino acids and reducing sugars that occurs when heated. It's crucial for developing flavor and color, including the coveted perfectly browned cookie edges.
Higher sugar content, especially reducing sugars like fructose and glucose, generally leads to more pronounced browning due to the Maillard reaction. It creates caramelization which enhances the browned edges.
A higher oven temperature accelerates the Maillard reaction, resulting in faster and more intense browning. However, it's important to monitor closely to prevent burning the edges before the center is cooked.
Yes, you can. Consider adding a touch of honey or molasses (both rich in reducing sugars) or using brown butter which already has a browned flavor profile.
Overcrowding the baking sheet reduces airflow, leading to uneven baking and browning. Also, using old or stale baking powder can affect the cookie's spread and browning ability.
Final Reflection: The Enduring Allure of the Perfectly Browned Edge
The quest for the perfectly browned cookie edge is more than just a pursuit of aesthetic perfection; it's a testament to the power of chemistry in everyday life. Understanding the Maillard reaction, as explored throughout this article, unlocks not only the secrets to achieving that coveted golden hue but also a deeper appreciation for the intricate processes that transform simple ingredients into culinary delights. The seemingly simple act of baking cookies becomes a fascinating journey into the world of molecular gastronomy.
The Maillard reaction's influence extends far beyond the humble cookie; it's the foundation of countless flavors and aromas in our food, shaping our culinary heritage and cultural experiences. It's a silent, yet powerful, force that binds us to traditions passed down through generations. The Maillard reaction is the magic behind so many of our favorite foods, a testament to the artistry of nature and the ingenuity of human cooking.
This simple truth underscores the profound impact of seemingly small chemical processes on our lives and our shared human experience.
Consider the next time you bake cookies, or even simply enjoy one. Remember the intricate dance of sugars and amino acids, the precise temperature control, and the subtle nuances that contribute to that perfect browned edge. Let this knowledge empower you to experiment, to explore, and to appreciate the science behind the seemingly simple pleasures of life. Embrace the chemistry, and unlock the potential for even more perfectly browned cookie edges – and a deeper understanding of the world around you.
Unlock the Secrets of Perfectly Browned Edges!
Thanks for joining us on this delicious journey into the world of Maillard reactions! We hope you've gained a deeper appreciation for the science behind those perfectly browned cookie edges. Now it's time to put your new knowledge into practice!
- Bake a batch of cookies using your newfound knowledge! Experiment with different sugars and baking times to see how the Maillard reaction impacts the flavor and color. This is your chance to become a cookie-baking master!
- Share your baking triumphs (and even your flops!) with our community on social media using #BakeWithEaseMaillard. Let's learn from each other!
- Explore our other articles on baking science – discover the secrets behind fluffy cakes and crispy crusts!
Ready to transform your baking game? What unique ingredient will you try to enhance the Maillard reaction in your next batch?