
The Crystallizing Truth About Hard Candy Texture

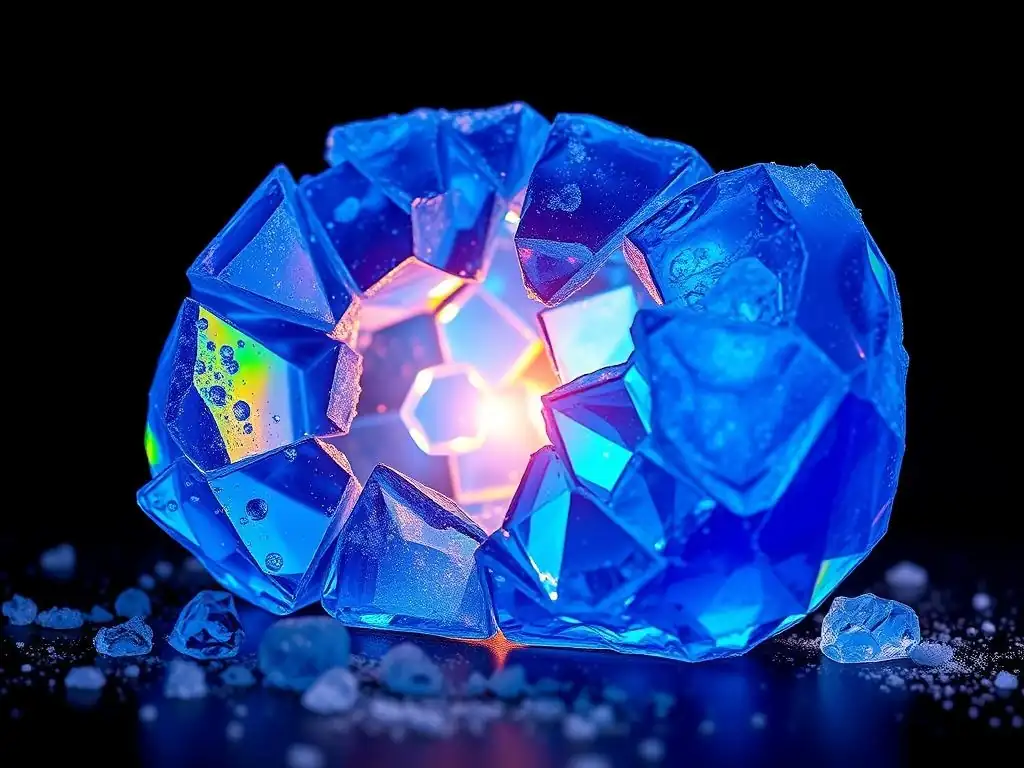
Welcome to BakeWithEase, where we unlock the secrets to baking success! Ever wondered why your hard candy sometimes comes out perfectly smooth and other times... well, not so much? Join us as we delve into the fascinating science behind achieving the ideal hard candy crystal texture. Prepare to uncover the crystallizing truth and master the techniques for perfectly clear, melt-in-your-mouth confections. Let's get baking!
- The Crystallizing Truth About Hard Candy Texture: A Bake With Ease Guide
- Understanding Hard Candy Crystallization: A Baker's Perspective
- Factors Influencing Hard Candy Crystal Texture
- Achieving the Perfect Hard Candy Texture: Techniques and Tips
- Troubleshooting Common Hard Candy Texture Problems
- Advanced Techniques for Unique Hard Candy Textures
- Hard Candy Crystal Texture: Recipe Variations and Inspiration
- Storing Hard Candy to Maintain Its Texture
- Conclusion: Mastering Hard Candy Texture for Baking Success
-
Frequently Asked Questions
- What causes hard candy to develop a grainy or crystalized texture?
- How can I prevent hard candy from becoming grainy?
- What is the ideal temperature for making clear, smooth hard candy?
- What ingredients can I add to hard candy to improve its texture and clarity?
- Is it possible to fix hard candy that has already crystalized?
- Final Reflection: The Enduring Allure of the Perfect Crunch
- Unlock the Secrets of Perfectly Textured Candy!
The Crystallizing Truth About Hard Candy Texture: A Bake With Ease Guide
Understanding Hard Candy Crystallization: A Baker's Perspective
What is Crystallization in Hard Candy?
Crystallization in hard candy refers to the process where sugar molecules, primarily sucrose, revert from a smooth, amorphous (non-crystalline) state back into their structured, crystalline form. Ideally, hard candy should have a glass-like, transparent, and smooth texture. This is achieved by heating a sugar syrup to a very high temperature – typically the "hard crack" stage, which is around 300-310°F (149-154°C). At this temperature, the sugar concentration is extremely high, and the water content is minimal, usually less than 2%. When cooled rapidly without disturbance, the sugar solidifies into a non-crystalline solid.
However, if conditions aren't just right, these sugar molecules can begin to link back together in an ordered lattice structure. This results in the formation of sugar crystals within the candy mass. Even tiny seed crystals, perhaps from an undissolved sugar grain or dust particle, can trigger a chain reaction, causing the entire batch to become cloudy and grainy. This undesirable hard candy crystal texture significantly impacts both the appearance and mouthfeel of the finished product, turning a clear, brittle treat into a crumbly or sandy one.
Why Does Hard Candy Crystallize?
Hard candy crystallizes primarily because the sugar molecules are constantly seeking to return to their most stable state, which is a crystalline structure. When sugar syrup is heated to the hard crack stage, the sugar molecules are dispersed in a high-energy, disordered state. As it cools, they want to re-align. Disturbances or imperfections in the syrup can easily initiate this process. For instance, sugar crystals clinging to the sides of the pan, stirring the syrup after it reaches a high temperature, or even tiny dust particles falling into the mixture can act as nucleation sites for crystallization.
Furthermore, factors like insufficient cooking temperature, too much moisture, or exposure to high humidity after cooling can also contribute to unwanted crystallization. If the syrup doesn't reach a high enough temperature, too much water remains, allowing sugar molecules more freedom to move and find each other to form crystals. Similarly, absorbing moisture from the air can dissolve the surface of the candy, creating a saturated solution from which crystals can readily form, spreading inward and ruining the smooth hard candy crystal texture.
The Science Behind Sugar Crystals in Hard Candy
The science behind sugar crystals in hard candy centers on the concept of supersaturation and molecular structure. When sugar (sucrose) is dissolved in water and heated, the water evaporates, and the concentration of sugar increases dramatically. Heating to the hard crack stage creates a highly supersaturated solution – meaning it contains more dissolved sugar than it normally could at room temperature.
As this solution cools, it becomes even more supersaturated and unstable. The goal is to cool it so quickly and smoothly that the sugar molecules don't have time to arrange themselves into their regular crystalline pattern before the mixture solidifies into an amorphous glass.
Sucrose molecules, when given the chance, naturally align themselves in a specific, repeating three-dimensional structure, forming visible crystals. This process is exothermic, releasing a small amount of heat. In hard candy making, we intentionally prevent this natural alignment through rapid cooling and by introducing interfering substances like corn syrup. Without these controls, even a single stray sugar crystal can act as a template, attracting other sucrose molecules and initiating a cascade of crystallization throughout the candy, resulting in the dreaded grainy hard candy crystal texture.
Factors Influencing Hard Candy Crystal Texture
Sugar Type and Its Impact on Hard Candy Texture
The type of sugar used is fundamental to the final hard candy crystal texture. Standard granulated sugar, which is nearly pure sucrose, is the primary ingredient in most hard candy recipes. Sucrose is a disaccharide, meaning it's composed of two simpler sugar units (glucose and fructose) linked together. While sucrose is essential for structure, its strong tendency to crystallize is what causes graininess if not managed correctly. Using sugars other than sucrose exclusively, like glucose or fructose, would result in a different product, as they have different melting points and crystallization tendencies.
However, variations in the purity or crystal size of sucrose can subtly affect the process. Very fine sugar might dissolve faster, reducing the chance of undissolved grains acting as seed crystals. Some recipes might call for specific types of sugar like isomalt, a sugar alcohol. Isomalt is often favored by confectioners for its very low tendency to crystallize and its ability to resist moisture absorption, leading to exceptionally clear and stable hard candies, though it has a slightly different sweetness profile and requires higher cooking temperatures (around 320-340°F or 160-171°C).
The Role of Corn Syrup in Preventing Crystallization
Corn syrup is a crucial ingredient in achieving a smooth, non-grainy hard candy crystal texture. Chemically, corn syrup is a mixture of glucose, maltose, and other longer-chain polysaccharides (dextrins). When added to a sucrose solution, these various molecules interfere with the ability of sucrose molecules to find each other and link up to form crystals. Think of them as molecular "spacers" or "roadblocks." By physically getting in the way, they disrupt the ordered structure that sucrose molecules attempt to build as the syrup cools.
Typically, hard candy recipes use a ratio of sugar to corn syrup, often around 2:1 or 3:1 sugar to corn syrup by weight or volume. This amount of corn syrup is usually sufficient to inhibit crystallization effectively. Without an interfering agent like corn syrup (or glucose syrup, which serves a similar purpose), it would be extremely difficult to prevent crystallization during the cooling process, almost guaranteeing a grainy outcome regardless of temperature control. This is why traditional recipes often include it – it's a baker's best friend for a smooth, clear finish.
Temperature Control: Critical for Smooth Hard Candy
Precise temperature control is arguably the single most critical factor in determining the final hard candy crystal texture. The sugar syrup must be heated to the "hard crack" stage, which falls within a specific temperature range, typically 300°F to 310°F (149°C to 154°C). Reaching this high temperature ensures that almost all the water has evaporated, concentrating the sugar to a level where it will solidify into a hard, brittle state upon cooling. Using a reliable candy thermometer is non-negotiable for accuracy.
Cooking the syrup below this temperature range means too much water remains. This excess moisture allows the sugar molecules more mobility, making them much more prone to forming crystals as the syrup cools. The resulting candy will likely be sticky, chewy, or soft, and highly susceptible to crystallization. Conversely, overheating the syrup above 310°F can cause the sugar to caramelize excessively or even burn, resulting in a dark color, bitter flavor, and potentially a different, often more brittle and sometimes slightly porous, texture, though it might still avoid graininess due to the breakdown of sugar molecules.
Moisture Levels and Their Effect on Crystal Formation
Initial moisture levels (the amount of water added to the sugar) are important for dissolving the sugar thoroughly at the start, but the final moisture level after cooking is paramount for hard candy crystal texture. As mentioned, reaching the hard crack stage ensures minimal water remains (typically 1-2%). This low moisture content is what forces the sugar into an amorphous, non-crystalline state upon rapid cooling. If the syrup is undercooked and retains more moisture, the sugar molecules are in a less concentrated, more mobile environment, making crystallization much easier.
Beyond the cooking stage, the ambient humidity plays a significant role. Hard candy is hygroscopic, meaning it readily absorbs moisture from the air. Even after cooling and solidifying, exposing hard candy to humid conditions can cause the surface to become slightly sticky as it absorbs water. This thin layer of dissolved sugar solution on the surface is highly concentrated and prone to crystallization. Once surface crystals form, they can spread throughout the piece of candy, turning a smooth, clear texture into a cloudy, grainy one. Proper storage in airtight containers is essential to protect the candy from humidity.
Achieving the Perfect Hard Candy Texture: Techniques and Tips
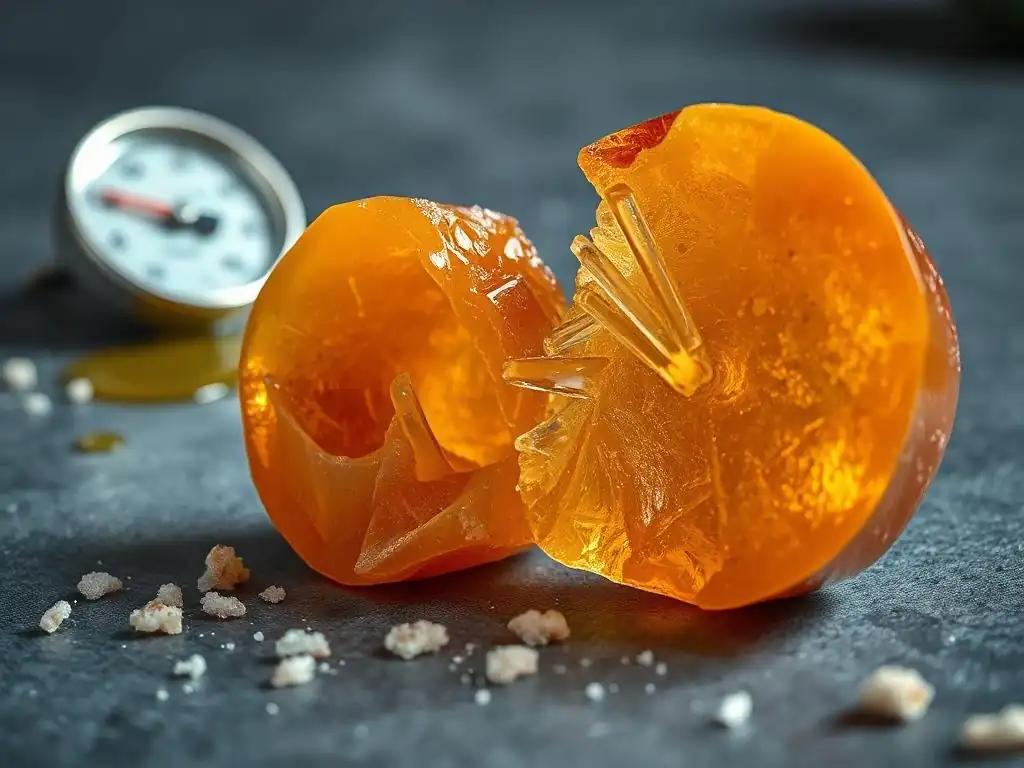
Essential Equipment for Making Crystal-Clear Hard Candy
To consistently achieve that sought-after smooth and clear hard candy crystal texture, having the right tools is key. A heavy-bottomed saucepan is essential because it distributes heat evenly and helps prevent scorching, which can introduce impurities that encourage crystallization. Stainless steel is often preferred because its light color makes it easier to monitor the color change of the syrup. A reliable candy thermometer is absolutely non-negotiable; guesswork on temperature will almost certainly lead to inconsistent results or failure to reach the necessary hard crack stage (300-310°F).
Other helpful tools include measuring cups and spoons for accurate ingredient ratios, a heat-resistant spatula or wooden spoon for initial stirring (before the syrup gets too hot), and potentially a pastry brush and water to wash down sugar crystals from the sides of the pan during cooking. For pouring, a sturdy baking sheet lined with a silicone mat or parchment paper (lightly oiled for easy removal) is needed. Molds, if using, should also be prepared beforehand. Having everything measured and ready before you start heating the sugar is crucial, as the process moves quickly once high temperatures are reached.
Mastering the Cooking Process for Optimal Texture
Mastering the cooking process is central to controlling hard candy crystal texture. Begin by combining your sugar, corn syrup, and water in the heavy saucepan. Stir gently over medium heat just until the sugar is dissolved.
It's critical to stop stirring once the syrup comes to a boil and the sugar is fully dissolved. Any stirring after this point can introduce air bubbles or cause any tiny undissolved sugar crystals on the sides of the pan to fall into the syrup, triggering premature crystallization. If sugar crystals splash onto the sides of the pan during boiling, use a wet pastry brush to carefully wash them back down into the syrup.
Allow the syrup to boil undisturbed, monitoring the temperature with your candy thermometer. The temperature will rise steadily as water evaporates. Be patient; the temperature rises slowly initially, but accelerates as it gets higher. Cook the syrup precisely to the hard crack stage (300-310°F or 149-154°C). Remove the pan from the heat immediately once the target temperature is reached. Any residual heat in the pan will continue to cook the sugar slightly, so removing it promptly prevents overheating and potential burning.
Cooling Techniques to Prevent Unwanted Crystallization
Proper cooling is just as vital as cooking for a smooth hard candy crystal texture. Once the syrup reaches the hard crack stage and is removed from the heat, avoid disturbing it as much as possible. This means no stirring, swirling, or shaking the pan. Pour the hot syrup carefully and steadily onto your prepared surface (silicone mat or oiled parchment paper) or into molds. Try to pour in one continuous motion if possible, rather than scraping the pan, which can encourage crystallization.
Allow the candy to cool completely and naturally at room temperature. Do not try to speed up the cooling process by placing it in the refrigerator or freezer. Rapid, uneven cooling can stress the sugar structure and potentially lead to cloudiness or brittleness issues that aren't related to graininess but still affect desired texture. Once poured, let the candy sit undisturbed until it is hard and cool to the touch, which might take 20-60 minutes depending on the thickness and ambient temperature. Only break or remove from molds once fully hardened.
Adding Flavor and Color While Maintaining Texture Integrity
Adding flavor and color is typically done after the sugar syrup has been removed from the heat but before it starts to cool and thicken significantly. This timing is crucial to avoid introducing anything that could trigger crystallization while the syrup is at its most vulnerable high-temperature state. Flavor extracts or oils (like peppermint oil or fruit flavors) and food coloring should be added carefully. Use concentrated candy-specific flavorings, as water-based extracts can add too much moisture.
Add the flavor and color by gently stirring them in with a heat-resistant utensil. Stir as little as possible – just enough to incorporate them evenly. Excessive stirring at this stage can introduce air bubbles, leading to cloudy candy, and can also increase the risk of initiating crystallization by disturbing the cooling syrup. Work relatively quickly, as the syrup will begin to set as it cools. A good practice is to have the flavor and color measured out and ready to add the moment the pan comes off the heat.
Troubleshooting Common Hard Candy Texture Problems
Identifying and Fixing Grainy Hard Candy
Grainy hard candy is the most common and frustrating texture issue, directly related to unwanted crystallization. You'll recognize it by its cloudy appearance and a sandy, rough feel on the tongue instead of smooth glassiness. The primary cause is often the formation of sugar crystals during cooking or cooling. This can happen if undissolved sugar crystals remain on the sides of the pan and fall back in, if the syrup is stirred while boiling, if the hard crack temperature wasn't reached, or if the cooling candy is disturbed.
Unfortunately, once a batch of hard candy has turned grainy, you cannot simply "fix" it back into a smooth, clear state in its solid form. However, you can sometimes rescue the batch by reheating it. Carefully return the grainy candy to a clean saucepan, add a little extra water (just enough to dissolve the sugar, maybe 1/4 to 1/2 cup per batch), and slowly bring it back up to a boil, stirring gently only until all the crystals are dissolved.
Wash down the sides of the pan with a wet pastry brush. Then, cook the syrup again to the hard crack stage (300-310°F), following all the precautions about not stirring and proper cooling. This process essentially gives you a second chance to create the desired smooth hard candy crystal texture.
Preventing Cloudiness in Your Hard Candy Creations
While graininess is about crystal formation, cloudiness in hard candy is often due to trapped air bubbles or sometimes not reaching a high enough temperature. A perfectly made hard candy should be clear and transparent. If your candy is opaque or milky, it's likely because air was incorporated into the syrup. This usually happens from stirring the syrup too vigorously after it has started to thicken or cool, or from pouring it in a way that whips air into the stream.
To prevent cloudiness and achieve a clear hard candy crystal texture, avoid stirring the syrup once it's boiling and you've washed down the sides. When adding flavor and color off the heat, stir gently and minimally. When pouring the syrup, pour it smoothly and steadily without scraping the bottom or sides of the pan excessively, and avoid pouring from too high a distance into molds, which can trap air.
Cooking to the full hard crack stage also helps, as the very low water content results in a less viscous syrup initially, allowing any small bubbles to escape more easily before it sets. Allowing the candy to cool undisturbed also helps prevent introducing air.
Addressing Sticky Hard Candy Issues
Sticky hard candy is typically a sign that the sugar syrup did not reach a high enough temperature – specifically, it didn't reach the hard crack stage of 300-310°F (149-154°C). If cooked to, say, the soft crack or hard ball stage, the candy will have a chewy or brittle-but-soft texture rather than being truly hard and glass-like. With too much residual moisture, the candy remains pliable and, crucially, much more susceptible to absorbing moisture from the environment, which makes it even stickier.
To avoid sticky candy and ensure the correct hard candy crystal texture (hard and brittle), always use a reliable candy thermometer and cook the syrup precisely to the hard crack temperature range. Do not rely on visual cues or the cold water test alone. If your finished candy is sticky, it cannot be hardened further after it has cooled.
Your best option is to break it up, return it to a saucepan with a little water, redissolve it, and recook it to the correct temperature, just as you would with grainy candy. Proper storage in very dry, airtight conditions is also essential to prevent finished candy from becoming sticky due to humidity absorption.
Advanced Techniques for Unique Hard Candy Textures
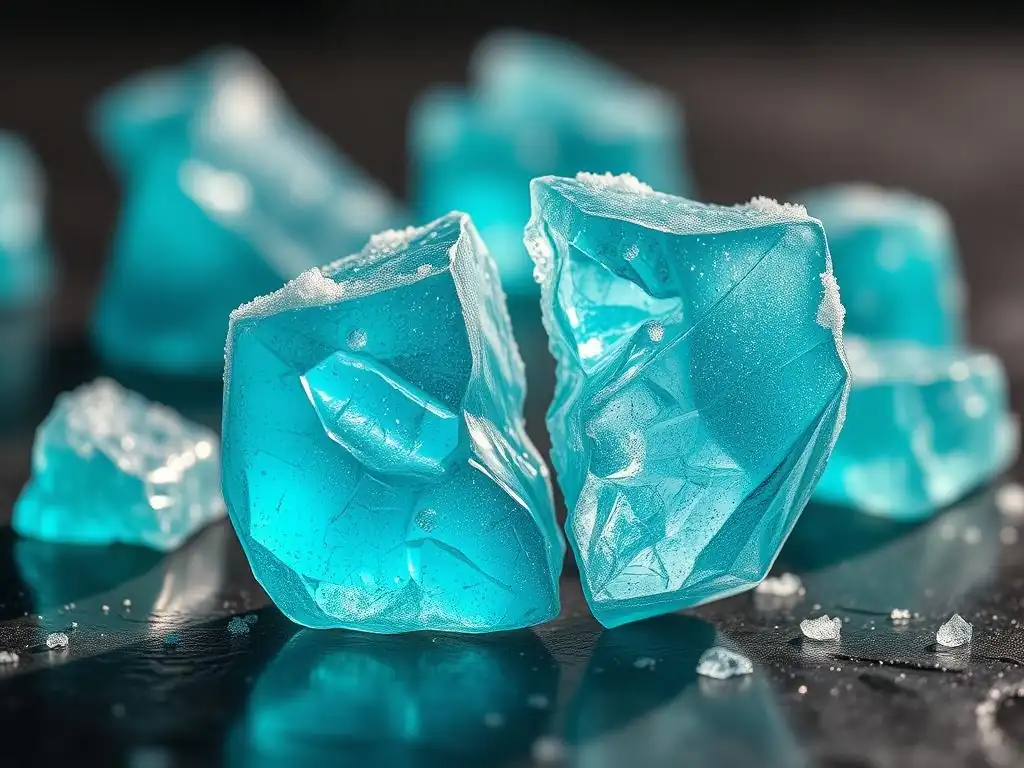
Creating Layered Hard Candy with Different Textures
Creating layered hard candy, like classic ribbon candy or layered drops, involves making multiple batches of syrup, often with different colors or flavors, and combining them while they are still pliable but starting to set. While the core texture of each layer is the standard hard candy glassiness (achieved by cooking each batch to the hard crack stage), the combination creates a unique eating experience. For instance, you might layer a standard clear batch with a slightly pulled batch, which introduces tiny air bubbles for a satiny, less transparent texture.
Executing layered candy requires working quickly and often involves pulling and folding the cooling candy. Pulling introduces air, changing the texture from clear glass to opaque satin or even porous. This technique requires careful timing – the candy must be cool enough to handle but still warm and pliable. Combining layers with slightly different compositions (perhaps one with more corn syrup for slightly less brittleness) or incorporating air into one layer while keeping another clear allows for fascinating variations in the overall hard candy crystal texture within a single piece.
Incorporating Inclusions Without Affecting Texture
Adding inclusions like nuts, seeds, dried fruit pieces, or sprinkles to hard candy can be tricky because these additions can introduce moisture, fats, or even tiny particles that act as nucleation sites for crystallization, potentially ruining the smooth hard candy crystal texture. The key is timing and preparation. Inclusions should typically be added after the syrup has been removed from the heat and has started to cool slightly, but while it is still liquid enough to suspend them.
Adding inclusions too early while the syrup is boiling can cause them to burn or break down. Adding them too late when the candy is too cool will make it difficult to distribute them evenly without excessive stirring, which can introduce air bubbles or trigger crystallization. Some inclusions, like nuts, benefit from being lightly toasted beforehand to reduce their moisture content and enhance flavor without negatively impacting the candy texture. Always fold inclusions in gently and minimally after adding flavor and color, just before pouring or shaping.
Exploring Different Sugar Cooking Methods for Varying Results
While stovetop cooking is the most traditional method, exploring alternative methods can sometimes influence the subtle nuances of hard candy crystal texture. Microwave hard candy, for example, is a quicker method that involves heating the sugar, corn syrup, and water in a microwave-safe container. The rapid, internal heating can sometimes lead to a slightly different texture or clarity compared to stovetop methods, although reaching the precise hard crack temperature is still essential.
Another method involves using different types of sugar or sugar substitutes that behave differently. As mentioned, isomalt yields a very stable, clear candy that is less prone to crystallization and stickiness due to its chemical structure and higher working temperature. Exploring recipes that use a higher ratio of corn syrup can result in a slightly less brittle, chewier hard candy texture, while minimizing the risk of graininess. Each method or ingredient variation offers a path to experimenting with and understanding how to manipulate the final hard candy crystal texture.
Hard Candy Crystal Texture: Recipe Variations and Inspiration
Classic Clear Hard Candy Recipe
Achieving the perfect, smooth hard candy crystal texture starts with a reliable base recipe. A standard formula often involves:
- 2 cups granulated sugar
- 2/3 cup light corn syrup
- 3/4 cup water
Combine the ingredients in a heavy-bottomed saucepan. Stir over medium heat until the sugar is completely dissolved. Stop stirring and bring the mixture to a boil. Wash down any sugar crystals from the sides of the pan with a wet pastry brush dipped in water. Insert a candy thermometer. Boil, undisturbed, until the temperature reaches 300-310°F (149-154°C) for the hard crack stage.
Remove from heat. Carefully stir in desired flavor and color (usually 1-2 teaspoons flavor oil/extract and a few drops of color). Pour immediately onto a prepared surface (silicone mat or oiled parchment) or into molds. Let cool completely before breaking or handling. This basic ratio provides a solid foundation for practicing technique and understanding the role of temperature.
Fruity Flavored Hard Candy Recipes
Fruity flavored hard candies are popular and showcase the desired clear hard candy crystal texture beautifully when made correctly. Using the classic clear hard candy base recipe is the starting point. Once the syrup reaches the hard crack stage and is removed from the heat, you'll incorporate fruit flavors. This is best done using concentrated candy flavoring oils or extracts, as they provide intense flavor without adding significant moisture that could compromise the texture or encourage crystallization.
Popular fruit flavors include cherry, strawberry, lemon, lime, orange, and blue raspberry. Add the flavoring oil (typically 1 to 2 teaspoons per batch of the classic recipe) and corresponding food coloring (liquid or gel) immediately after removing the pan from the heat and stopping the boil. Stir gently and minimally to combine. The vibrant colors and intense flavors stand out against the backdrop of the smooth, clear hard candy crystal texture, making them visually appealing and delicious. Pour and cool as instructed in the classic recipe.
Spiced Hard Candy for the Holidays
Spiced hard candies, like cinnamon, clove, or gingerbread flavors, are wonderful variations, especially during the holiday season. The process for making spiced hard candy for a smooth hard candy crystal texture is very similar to fruity versions, starting with the basic sugar, corn syrup, and water recipe cooked to the hard crack stage. The key difference lies in the flavorings used.
Cinnamon oil or extract is a popular choice, providing a warm, intense spice. Other options include clove oil, anise oil, or even a blend of spices using concentrated extracts designed for candy making. Be cautious with the amount of spice oils, as they can be very potent. Add the spice extract (usually 1-2 teaspoons) and optionally some red or brown food coloring (depending on the spice) after removing the pan from the heat. Stir gently to incorporate. The deep, rich flavors of spiced hard candy complement the brittle, satisfying hard candy crystal texture. Cool and break as usual.
Storing Hard Candy to Maintain Its Texture
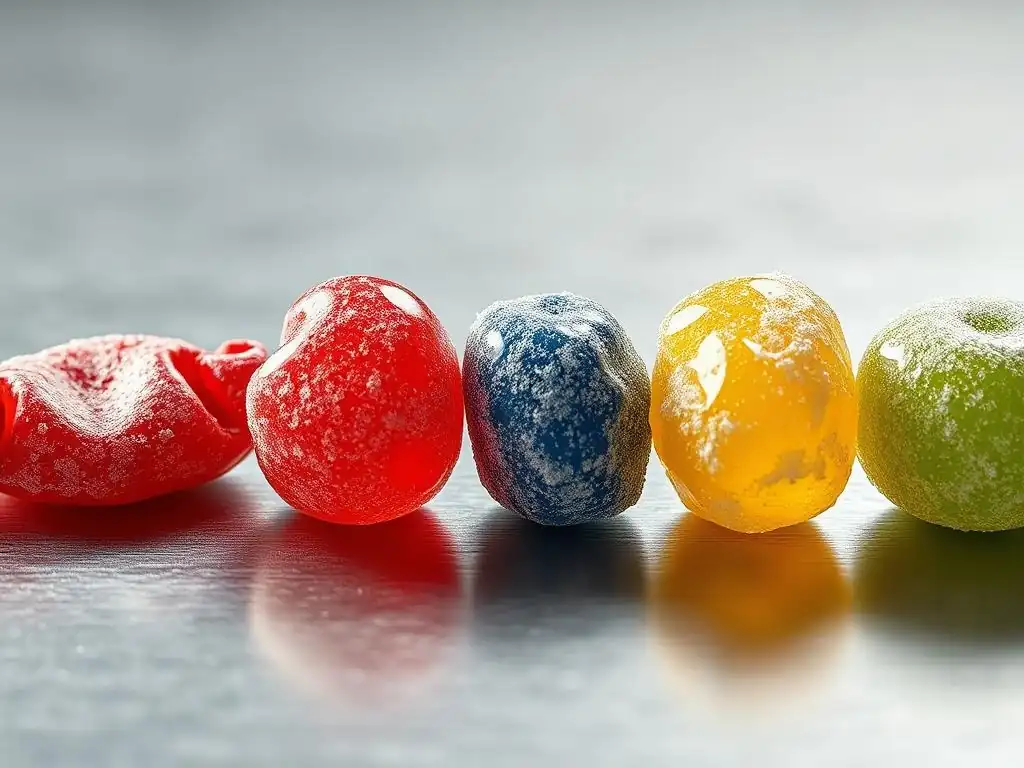
Proper Storage Techniques to Prevent Moisture Absorption
Maintaining the smooth, clear hard candy crystal texture after it's made is entirely dependent on proper storage. Hard candy is extremely sensitive to moisture. Exposing it to humidity will cause the surface to become sticky as it absorbs water, leading to surface dissolution and subsequent recrystallization, which ruins the texture. The absolute best way to prevent this is to store the candy in a completely airtight container.
Use glass jars with tight-fitting lids, metal tins with secure closures, or heavy-duty resealable plastic bags. Ensure the container is completely dry before adding the candy. For extra protection, especially in humid environments, you can include a desiccant packet (like the small silica gel packets found in packaging) inside the container. Individually wrapping pieces of hard candy in cellophane or twist wrappers before placing them in the airtight container offers another layer of defense against moisture and prevents pieces from sticking together.
Extending the Shelf Life of Your Hard Candy
When stored correctly, hard candy has a relatively long shelf life, often several months or even up to a year, primarily because its low moisture content inhibits microbial growth. However, the enemy of longevity for hard candy crystal texture is exposure to air, heat, and especially humidity. Proper storage techniques directly contribute to extending this shelf life by preserving the candy's intended texture and preventing degradation.
Keep stored hard candy in a cool, dry place away from direct sunlight and heat sources like stoves or ovens. Pantry shelves or cabinets are ideal. Avoid storing it in the refrigerator, as the temperature fluctuations and potential for condensation can introduce moisture. By using airtight containers and potentially desiccants, you protect the candy from the environmental factors that cause stickiness, cloudiness, and graininess, ensuring that the smooth hard candy crystal texture you worked hard to achieve lasts as long as possible.
Conclusion: Mastering Hard Candy Texture for Baking Success
Achieving the perfect hard candy crystal texture is a rewarding skill in the world of confectionery and baking science. It requires understanding the delicate balance between sugar, water, temperature, and interfering agents like corn syrup. By mastering precise temperature control, minimizing disturbances during cooking and cooling, and employing proper storage techniques, you can consistently create hard candies that are beautifully clear, perfectly brittle, and wonderfully smooth, free from unwanted graininess or stickiness.
While troubleshooting issues like graininess or cloudiness can be frustrating, they offer valuable learning opportunities. Each batch provides insight into the subtle factors influencing crystallization. With practice and attention to detail, you'll develop the intuition needed to manage the sugar's behavior and produce professional-quality hard candy. Embrace the science, follow the steps carefully, and enjoy the process of making delightful treats with that ideal hard candy crystal texture that everyone loves.
Frequently Asked Questions
What causes hard candy to develop a grainy or crystalized texture?
Hard candy crystal texture is primarily caused by sugar recrystallization. This happens when sugar molecules clump together during the cooling process, forming larger, noticeable crystals. It's often due to improper ratios of sugar to water, or insufficient boiling time.
How can I prevent hard candy from becoming grainy?
Preventing grainy hard candy involves ensuring complete sugar dissolution and reaching the correct temperature. Adding an acid, like cream of tartar or lemon juice, can also help by interfering with sugar crystallization. Proper cooling techniques are also crucial.
What is the ideal temperature for making clear, smooth hard candy?
The ideal temperature for hard candy is typically between 300°F and 310°F (149°C and 154°C), often referred to as the "hard crack stage." Using a candy thermometer is highly recommended for accurate results.
What ingredients can I add to hard candy to improve its texture and clarity?
Adding a small amount of corn syrup can help prevent crystallization by interfering with the sugar molecules. An acid like cream of tartar or lemon juice can also help. Consider using filtered water for optimal clarity.
Is it possible to fix hard candy that has already crystalized?
Sometimes, yes. You can try dissolving the crystalized candy in a small amount of water and re-boiling it to the correct temperature. However, this may not always work, and the final product's texture might still be compromised.
Final Reflection: The Enduring Allure of the Perfect Crunch
The quest for the ideal hard candy texture isn't just about sweetness; it's about the perfect interplay of science and sensory experience. Understanding the crystalline structure of hard candy directly impacts its appeal, from the satisfying snap to the melt-in-your-mouth finish. This knowledge, far from being a niche interest, holds the key to unlocking a deeper appreciation for the artistry and precision involved in candy making.
The evolution of hard candy, from simple folk remedies to sophisticated confectionery, reflects our enduring fascination with texture. The subtle differences in crystal size and distribution, often overlooked, dramatically alter the overall sensory experience. This connection between craftsmanship and consumer satisfaction is profoundly impactful, shaping not only our culinary preferences but also our expectations of quality and precision in other areas of life. The details are not the details. They make the design.
- Charles Eames. This quote perfectly encapsulates the importance of understanding the seemingly minor details, like crystal structure, in achieving a truly exceptional product.
Consider the next time you savor a piece of hard candy. Pause to appreciate the intricate dance of sugar crystals on your tongue, the satisfying crunch, and the lingering sweetness. This seemingly simple pleasure is a testament to the power of understanding the fundamental principles of material science and their impact on our daily lives.
Let the crystalline truth of hard candy inspire you to appreciate the subtle nuances and hidden complexities in the world around you. The perfect crunch is more than just a texture; it's a testament to the beauty of precision and the enduring power of sensory experience.
Unlock the Secrets of Perfectly Textured Candy!
Thanks for taking the time to explore the fascinating world of hard candy texture with us! You've now gained the knowledge to create truly exceptional sweets. Ready to put your newfound expertise into practice?
- Craft your dream candy: Experiment with different sugar types and cooking techniques to achieve your ideal texture – from shatteringly crisp to luxuriously chewy. This is your chance to perfect your signature candy recipe!
- Share your candy creations: Post a picture of your perfectly textured candy on social media and tag us! Let's inspire each other with stunning results.
- Join our candy-making community: Leave a comment below and share your favorite tip for achieving the perfect candy texture. Let's learn from each other!
What unique texture will you create today?