
Working with Cold Dough: Essential for Shaping Brioche and Babka

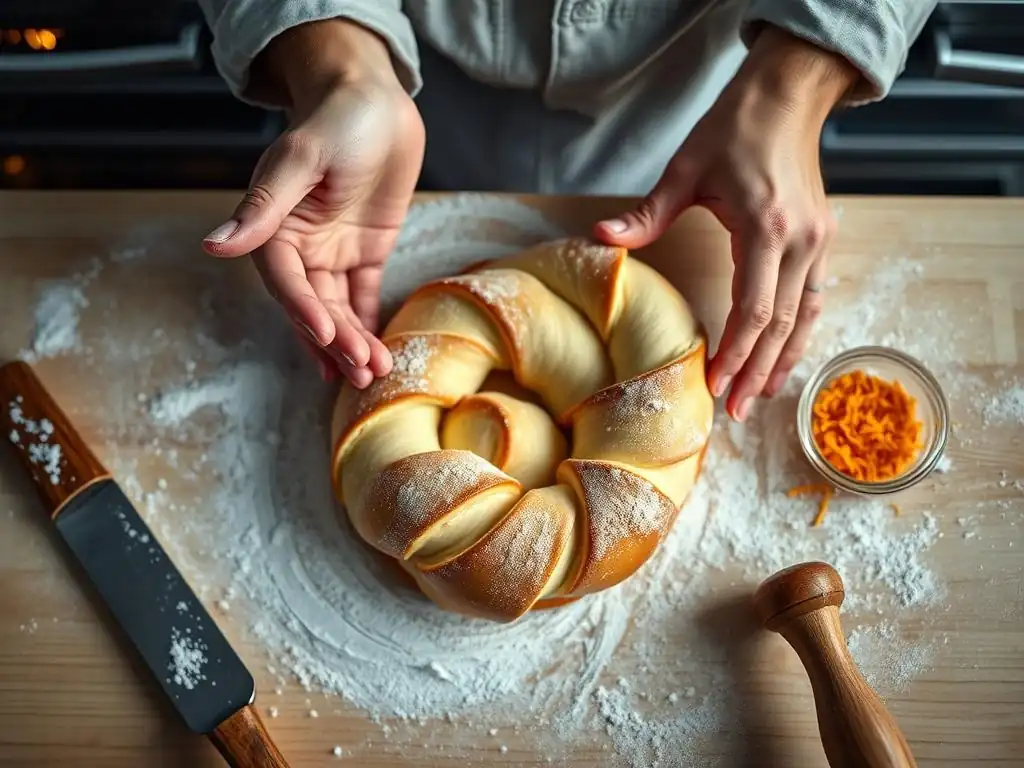
Welcome to BakeWithEase, where mastering the art of baking becomes a delightful journey! Ever wondered how professional bakers achieve those perfectly sculpted brioche loaves? The secret often lies in understanding the transformative power of cold dough. In this article, we'll unlock the essential techniques for cold dough shaping brioche, revealing how chilling your dough can dramatically improve its workability and final texture. Prepare to elevate your baking game – the secrets to flawless brioche and babka are just a scroll away!
- Introduction to Cold Dough Shaping for Enriched Breads
- The Importance of Temperature Control in Brioche and Babka Baking
- Step-by-Step Guide to Working with Cold Dough
- Troubleshooting Common Issues When Shaping Cold Dough
- Tips and Tricks for Perfect Cold Dough Shaping
- Advanced Techniques for Cold Dough Shaping
- Storing and Baking Shaped Cold Dough
- Conclusion: Mastering Cold Dough Shaping for Brioche and Babka
-
Frequently Asked Questions
- What are the advantages of using cold dough when shaping brioche?
- How long should I chill my brioche dough before shaping?
- What happens if my brioche dough is too warm when I try to shape it?
- Can I re-chill brioche dough if it starts to get too warm during shaping?
- What are some tips for keeping brioche dough cold while shaping?
- Final Reflection: The Cool Power of Cold Dough
- Unlock Your Inner Baker: Master the Art of Cold Dough!
Introduction to Cold Dough Shaping for Enriched Breads
Why Cold Dough is Crucial for Brioche and Babka Success
Working with cold dough is not just a professional baker's trick; it's a fundamental technique that significantly impacts the outcome of enriched breads like brioche and babka. These doughs are rich in butter and eggs, which makes them notoriously soft and sticky at room temperature. Trying to shape a warm, slack brioche dough into a tight braid or a babka into a neat roll is incredibly difficult, often resulting in a messy, misshapen loaf.
Chilling the dough solidifies the fat content, transforming the sticky mass into a firm, pliable material that holds its shape beautifully during the intricate shaping process required for these breads. This firm texture allows for precise handling, sharper edges on shapes, and a much cleaner working experience.
Beyond ease of handling, cold dough contributes significantly to the final texture and flavor. Chilling allows for a slow, controlled fermentation, which develops more complex flavors than a rapid rise at room temperature. The solidified butter within the cold dough also creates distinct layers during baking, contributing to the tender, rich crumb characteristic of well-made brioche and the distinct swirl patterns in babka. For anyone aiming for professional-looking and tasting brioche or babka, mastering the art of shaping cold dough is absolutely essential. It makes complex shapes achievable and elevates the overall quality of the bake.
Understanding the Science Behind Chilling Dough
The science behind chilling dough for enriched breads like brioche and babka involves several key factors. Firstly, chilling significantly slows down yeast activity. While yeast continues to ferment at cold temperatures, it does so at a much reduced rate compared to room temperature. This slower fermentation leads to the production of organic acids and other compounds that contribute to a deeper, more nuanced flavor profile in the final bread. Think of it like slow-cooking; the longer, slower process builds more complex taste.
Secondly, and perhaps most importantly for shaping, chilling solidifies the fats – primarily butter – incorporated into the dough. At room temperature, butter is soft or even melted, making the dough slack and sticky. When chilled to temperatures typically between 4°C and 8°C (40°F to 46°F), the butter becomes firm.
This firmness provides structure and stability to the dough, making it much easier to roll, fold, and shape without it tearing or sticking excessively to surfaces and hands. Furthermore, the cold temperature increases the viscosity of the dough, reducing its tendency to spread and allowing it to maintain the intricate shapes common to brioche and babka. The interaction between the developed gluten network and the solidified fat is key to achieving the desired structure and ease when shaping cold dough.
The Importance of Temperature Control in Brioche and Babka Baking
Achieving the Ideal Dough Temperature for Shaping
Achieving the correct temperature is paramount when preparing to shape brioche or babka. The ideal range for cold dough shaping typically falls between 4°C and 8°C (roughly 40°F to 46°F). Below this range, the dough can become excessively stiff and brittle, making it difficult to roll or stretch without tearing. Above this range, the butter begins to soften, and the dough becomes progressively stickier and more challenging to handle, losing the benefits of chilling. To check the temperature, an instant-read thermometer is the most accurate tool; simply insert it into the center of the dough mass after chilling.
If your dough is too cold and stiff directly from the refrigerator, allow it to sit at room temperature for 10-20 minutes before shaping. This brief period allows it to become slightly more pliable without the butter melting. Conversely, if it feels too soft or warm, return it to the refrigerator for another 30-60 minutes. Pay attention to the ambient temperature of your kitchen, as a warm room can quickly heat the dough during shaping. Working efficiently and perhaps chilling the dough in stages if you're making multiple loaves can help maintain the optimal temperature throughout the shaping process.
How Temperature Affects Dough Consistency and Handling
The temperature of the dough directly dictates its consistency and how easily it can be handled. Dough straight from a deep chill (below 4°C) will be quite firm, almost hard. While this stiffness prevents stickiness, it can also make the dough resistant to stretching and folding, potentially leading to tears in the gluten structure if forced. This is why a slight warm-up to the 4-8°C range is often beneficial; it provides enough firmness for clean shaping while allowing for necessary elasticity.
As the dough warms towards room temperature (above 8-10°C), the butter within it starts to soften significantly. This causes the dough to become increasingly slack, sticky, and difficult to manipulate. Attempts to roll or braid warm, enriched dough often result in it sticking to surfaces, losing its shape, and collapsing. The gluten network, while developed, struggles to hold the form against the weight and softness of the warm, butter-rich dough. Therefore, maintaining a consistently cold temperature throughout the shaping process is key to achieving the intricate designs characteristic of brioche and babka with minimal frustration and maximum success.
Step-by-Step Guide to Working with Cold Dough
Preparing Your Brioche or Babka Dough for Chilling
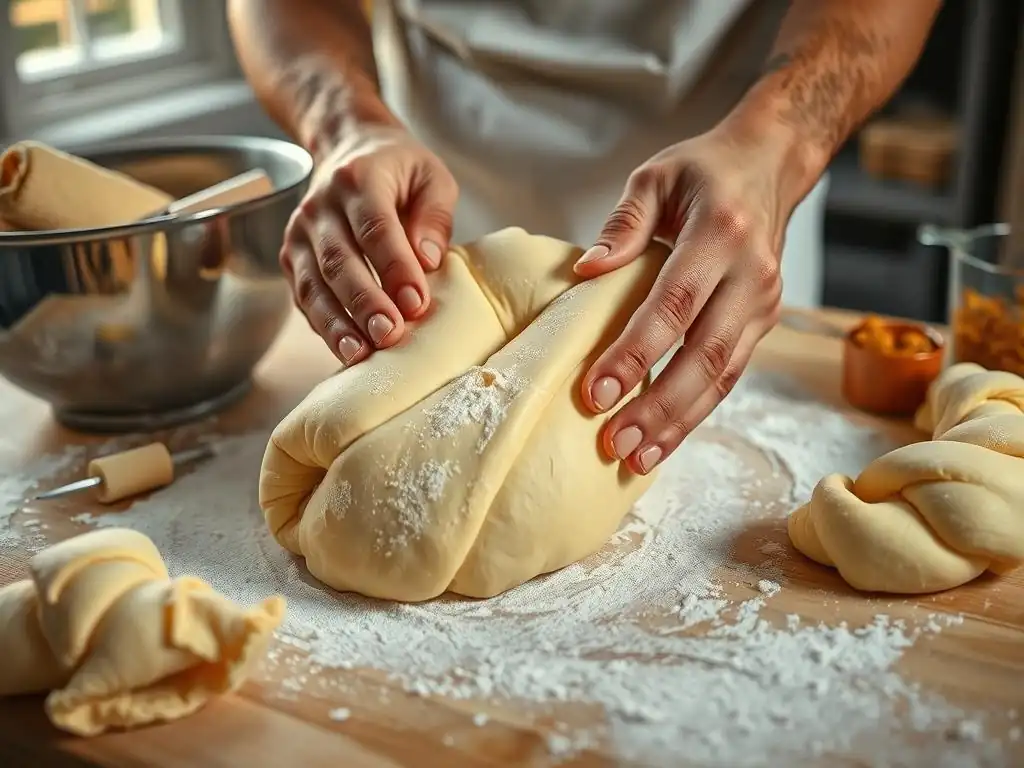
Preparing your brioche or babka dough for chilling is a simple yet crucial step that sets you up for successful shaping. After the initial mixing and kneading phase, the dough typically undergoes a first rise, or bulk fermentation. This can happen at room temperature or, for enhanced flavor development, in the refrigerator from the start. If doing a room temperature bulk fermentation, allow the dough to roughly double in size, which might take 1-2 hours depending on your recipe and kitchen temperature.
Once the first rise is complete, gently deflate the dough by turning it out onto a lightly floured surface and folding it a few times or pressing down lightly. This step, sometimes called 'punching down,' helps redistribute the yeast and gases. Then, form the dough into a relatively smooth ball or rectangle, depending on the primary shape you plan to create later.
Place the dough into a clean bowl or container that provides some room for a slight expansion, and cover it tightly with plastic wrap or a lid to prevent a skin from forming. Refrigerate the dough for the recommended chilling time, usually a minimum of 4-6 hours, but often overnight (8-12 hours) or even up to 2-3 days for maximum flavor development and ease of handling when shaping cold dough.
The Optimal Chilling Time for Enhanced Flavor and Structure
Determining the optimal chilling time for your brioche or babka dough depends on your goals regarding flavor development and ease of shaping. For basic handling improvement, a minimum of 4-6 hours in the refrigerator is usually sufficient to firm up the butter and make the dough manageable. This allows the dough to cool down thoroughly to the target temperature range of 4-8°C (40-46°F).
However, for deeper flavor complexity and even better handling properties, chilling the dough overnight (8-12 hours) or even up to 2-3 days is highly recommended. During this extended cold fermentation, enzymes break down starches into simpler sugars, and yeast produces aromatic compounds that contribute to a more nuanced taste profile. The gluten structure also continues to relax and develop strength slowly, resulting in a dough that is both pliable and elastic when cold.
Many bakers find that dough chilled for 18-24 hours offers the perfect balance of flavor development and ease for cold dough shaping brioche and babka. Always ensure the dough is well-wrapped to prevent drying during this long chill.
Techniques for Shaping Cold Brioche Dough
Shaping cold brioche dough is a pleasure compared to working with warm dough, thanks to its firm, manageable texture. The chilled state makes it ideal for forming classic brioche shapes with clean lines. Before you begin, lightly flour your work surface – lightly is key, as too much flour can dry out the dough. Have your bench scraper and rolling pin ready.
Shaping Techniques for Braided Brioche
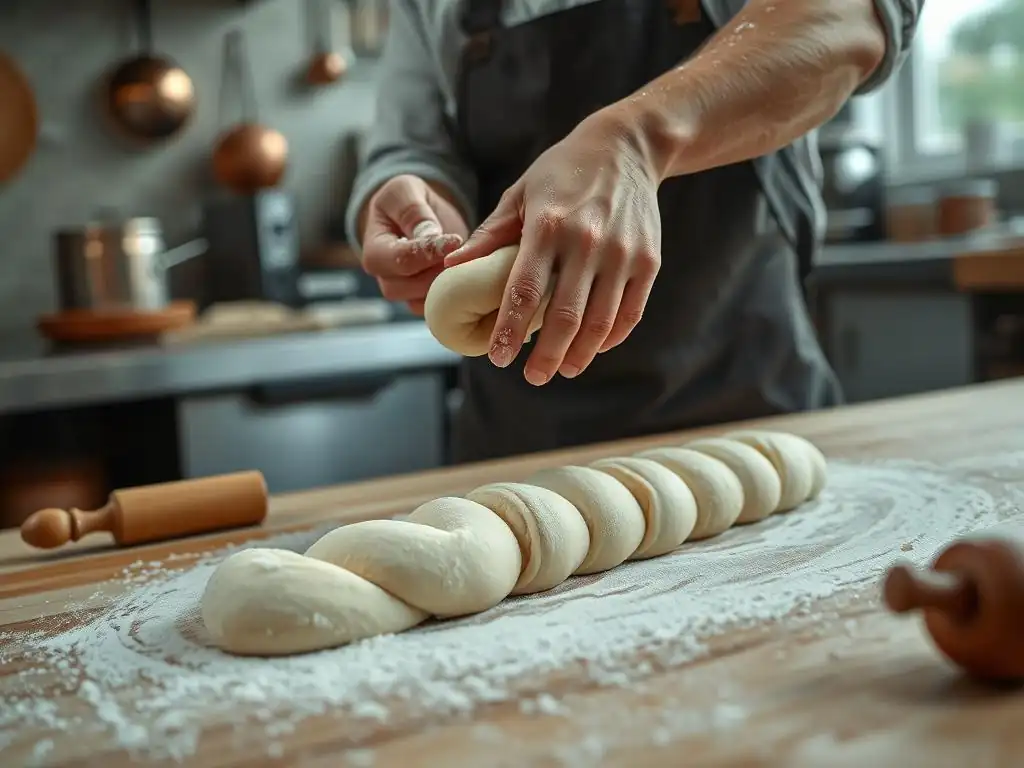
Creating a braided brioche loaf is straightforward with cold dough. Start by dividing your dough into equal portions, typically three or four, depending on the desired braid size. Roll each portion into a long, even strand, aiming for a consistent thickness along the length. The cold dough will resist stretching initially but will become more pliable as you work it; avoid forcing it.
Once you have your strands (perhaps 30-40 cm long for a standard loaf), lay them parallel to each other and pinch one end together firmly. Proceed to braid them loosely, keeping the strands relatively flat rather than round, which helps create a beautiful, open crumb structure. Pinch the other end to seal the braid. The firmness of the cold dough prevents the strands from sticking together prematurely and allows for a clean, defined braid pattern.
Shaping Techniques for Brioche à Tête
Shaping the classic 'Parisian' brioche à tête (meaning 'with a head') is significantly easier with cold dough. Start with a portion of dough, typically around 60-80g for a standard mold. Divide off a small piece, about one-fifth of the total weight, for the 'head'.
Shape the larger piece into a smooth ball and place it into a greased brioche mold. Using your finger, make a deep indentation in the center of the large ball, pushing down to the bottom of the mold. Shape the smaller piece into a tear-drop or pear shape.
Gently insert the pointed end of the small piece into the indentation in the large piece, ensuring it's securely seated. The cold dough maintains its ball and tear-drop shapes without slumping and allows you to make the indentation cleanly without the dough collapsing. This precision is crucial for achieving the distinctive 'head' shape that rises above the main body of the brioche during proofing and baking.
Techniques for Shaping Cold Babka Dough
Shaping cold babka dough leverages its firm texture to create the stunning swirled interior that defines this rich loaf. Babka dough is typically rolled flat, spread with a filling, and then rolled up before being sliced or twisted. The cold state is essential for preventing the filling from squeezing out and allowing for tight, even rolling and precise cutting.
Shaping Techniques for Traditional Chocolate Babka
For traditional chocolate babka, after chilling, roll the rectangular piece of dough out onto a lightly floured surface. Aim for a rectangle roughly 30-40 cm wide and 40-50 cm long, about 3-4 mm thick. Spread your cooled chocolate filling evenly over the dough, leaving a small border along one long edge. Roll the dough up tightly from the long edge opposite the border, creating a log. The cold dough resists stretching and helps maintain the rectangular shape and even thickness of the roll. Using a sharp knife or bench scraper, slice the log lengthwise down the center. Turn the cut sides up and gently twist the two halves together, keeping the cut sides exposed to showcase the layers of dough and filling. The firmness of the cold dough is critical here; it prevents the log from collapsing as you slice and allows the twist to hold its shape before proofing.
Shaping Techniques for Nutella Babka
Shaping Nutella babka follows a similar process to chocolate babka, but working with Nutella requires the dough to be particularly cold, as Nutella is softer than many chocolate fillings. Roll the chilled dough into the desired rectangle (e.g., 35x45 cm, 3-4 mm thick). Gently warm the Nutella slightly if it's too stiff to spread, but avoid making it runny. Spread a generous layer of Nutella over the dough, again leaving a border.
You can add chopped nuts or chocolate chips on top of the Nutella for extra texture and flavor. Roll the dough up tightly from the long side into a log. The cold dough is essential here to keep the soft Nutella contained within the roll.
Slice the log lengthwise and twist the two halves together, cut sides up, just as you would for chocolate babka. The cold dough structure ensures the layers remain distinct and the twist maintains its form, resulting in those beautiful swirls after baking. The firmness gained from cold dough shaping brioche and babka is invaluable for these filled loaves.
Troubleshooting Common Issues When Shaping Cold Dough
Dough Too Stiff: Warming Techniques and Adjustments
Occasionally, dough straight from the refrigerator might be excessively stiff, especially if it's been chilled for a long period or if your refrigerator is very cold (e.g., below 4°C / 40°F). Attempting to roll or stretch overly stiff dough can lead to tearing of the gluten structure, resulting in a less desirable texture in the final bread. The best solution is to allow the dough to warm up slightly before you begin shaping.
Take the dough out of the refrigerator and let it rest on the counter, still covered, for 15-30 minutes. The exact time will depend on the ambient temperature of your kitchen. Gently press the dough periodically; it should yield slightly to pressure but still feel very cold and firm. You want it to reach that optimal 4-8°C range.
Avoid placing it near a heat source or in direct sun, as this can cause uneven warming and melt the butter too quickly. If you've started shaping and find the dough is becoming too resistant, cover it and let it rest for 5-10 minutes to allow the gluten to relax slightly before continuing. No flour adjustments are typically needed for stiff dough; it's purely a temperature issue.
Dough Too Soft: Further Chilling and Flour Adjustments
If your dough feels too soft, slack, or sticky when you remove it for shaping, it likely hasn't been chilled sufficiently, the kitchen is too warm, or it's been left out too long. Shaping soft, enriched dough is frustrating as it lacks structure and definition. The primary solution is to return the dough to the refrigerator to firm up.
Place the dough back in its covered container and chill it for another 30-60 minutes, or until it reaches the desired firm, pliable consistency (4-8°C). If your kitchen is warm, consider working in shorter bursts, returning the dough to the fridge periodically if it starts to soften. As a last resort, if the dough is only slightly too soft and you're mid-shaping, you can dust your work surface and hands with a minimal amount of flour.
However, adding too much flour can dry out the dough and negatively affect the final texture, so chilling is always the preferred first step. Avoid relying on flour to fix overly soft dough; proper chilling is key for successful cold dough shaping brioche and babka.
Preventing Tears and Breaks During Shaping
Even with perfectly chilled dough, tears and breaks can occur during shaping, especially when rolling thinly or stretching. This often happens if the dough is slightly too cold and stiff, or if the gluten hasn't had enough time to develop and relax during the bulk fermentation and chilling process. To prevent tears, ensure your dough is within the optimal temperature range (4-8°C) – not too cold, not too warm.
Work gently and patiently. Instead of forcing the dough to stretch or roll quickly, use gradual pressure. When rolling, apply even pressure with your rolling pin and lift and turn the dough frequently to prevent sticking and encourage even stretching.
If you encounter resistance, stop and let the dough rest for 5-10 minutes, covered. This allows the gluten strands to relax, making the dough more pliable. For babka, ensure your filling is cooled before spreading, as warm filling can soften the dough rapidly.
If a small tear does occur, you can often pinch it back together gently. For larger tears, especially in babka logs before slicing, you might need to gently press the dough back together or even trim the damaged section if it's severe. Proper dough development before chilling is also crucial; ensuring adequate kneading and bulk fermentation builds a strong yet elastic gluten network capable of withstanding the stresses of shaping cold dough.
Tips and Tricks for Perfect Cold Dough Shaping
Using Cold Tools and Work Surfaces
An often-overlooked trick for successful cold dough shaping is to use cold tools and work surfaces. Just as the cold dough benefits from a cool environment, keeping your tools and surfaces cool helps maintain the dough's ideal temperature throughout the shaping process. If you have a marble or granite countertop, this is naturally cool and an excellent surface to work on. If not, even a standard counter can be cooled down by wiping it with a damp cloth and letting it air dry just before use.
Consider placing your rolling pin, bench scraper, and even your hands under cold water (and drying them thoroughly) before you start. Some bakers even chill their flour briefly before dusting their surface, though this is less critical. The goal is to minimize the transfer of warmth from your environment and tools to the cold dough. This simple step helps prevent the butter in the dough from softening prematurely, ensuring the dough remains firm and easy to handle for precise shaping, especially when creating intricate designs like those in babka swirls or brioche braids.
The Importance of Gentle Handling
While cold dough is much more robust and less sticky than warm dough, gentle handling is still paramount. The gluten network, though strong, can be damaged by rough treatment, especially when the dough is cold and slightly less elastic than at room temperature. Avoid pulling or stretching the dough aggressively. Instead, use smooth, even pressure when rolling and folding.
When shaping brioche à tête, gently ease the 'head' into the indentation rather than forcing it. When braiding brioche or twisting babka, manipulate the strands or logs with care, avoiding overtightening which can tear the dough or create uneven layers. Think of guiding the dough into shape rather than forcing it. Gentle handling preserves the delicate layers created by the solidified butter and maintains the integrity of the gluten structure, contributing to a lighter, more tender crumb in the final baked good. Patience and a gentle touch are key companions to cold dough shaping brioche and babka.
Achieving a Professional Finish with Cold Dough
Working with cold dough inherently helps achieve a professional finish due to the precision it allows during shaping. Firm dough means sharper edges on cut pieces, tighter rolls for babka swirls, and more defined braids for brioche. To enhance this further, ensure your cuts (like slicing the babka log) are made with a sharp knife or bench scraper. Clean cuts prevent smearing of the layers.
For brioche à tête, ensure the 'head' is securely seated in the indentation; a slight twist as you insert it can help. For braided brioche, try to keep the tension in your braid even. After shaping, allow the dough to proof properly in a warm, humid environment until it is visibly expanded and soft to the touch (but not fragile).
This final rise fills out the shape created with the cold dough. Finally, an egg wash applied before baking adds a beautiful, glossy brown crust, completing the professional look. The foundation for this polished appearance, however, is laid during the cold shaping phase, where precision is made possible.
Advanced Techniques for Cold Dough Shaping
Laminating Cold Dough for Enhanced Texture
While not strictly traditional for all brioche and babka recipes, laminating cold enriched dough is an advanced technique borrowed from pastry making that creates an exceptionally light, flaky texture. Laminating involves incorporating a block of cold butter into the dough through a series of rolling and folding steps, similar to making croissants or puff pastry. The dough and the butter must both be very cold and of similar consistency to prevent the butter from breaking through the dough.
Typically, an enriched dough is made, chilled, and then rolled out. A cold butter block is placed on top and enclosed by the dough. The dough is then rolled out and folded into thirds or quarters (a 'turn'). This process is repeated multiple times, with chilling periods in between each turn (e.g., 30-60 minutes between turns) to keep the butter firm.
Each turn creates more layers of dough separated by butter. When baked, the butter melts and creates steam, pushing the layers apart. While more labor-intensive, laminating results in a brioche with hundreds of flaky layers or a babka with an incredibly tender, layered crumb structure, offering a different dimension to cold dough shaping brioche techniques.
Working with High-Hydration Cold Doughs
Working with high-hydration enriched doughs (those with a higher ratio of liquid to flour, say 70% hydration or more) presents unique challenges, even when cold. These doughs are inherently stickier and slacker than lower-hydration doughs due to the increased water content. While chilling helps firm them up, they remain less structured than standard brioche doughs.
When shaping high-hydration cold dough, minimize the use of flour on your surface, relying instead on a bench scraper to help manipulate the dough and prevent sticking. Work quickly but gently. Techniques like stretch and folds during the initial bulk fermentation can help build strength.
For shaping, simpler forms might be more manageable than complex braids or twists. Using slightly damp hands can sometimes help manage stickiness without adding dry flour. High-hydration doughs offer a very open, moist crumb, and mastering their cold shaping requires practice, patience, and an acceptance that they will always be a bit more challenging to handle than their lower-hydration counterparts, even when benefiting from the firmness provided by the cold.
Storing and Baking Shaped Cold Dough
Proofing Cold Dough for Optimal Rise
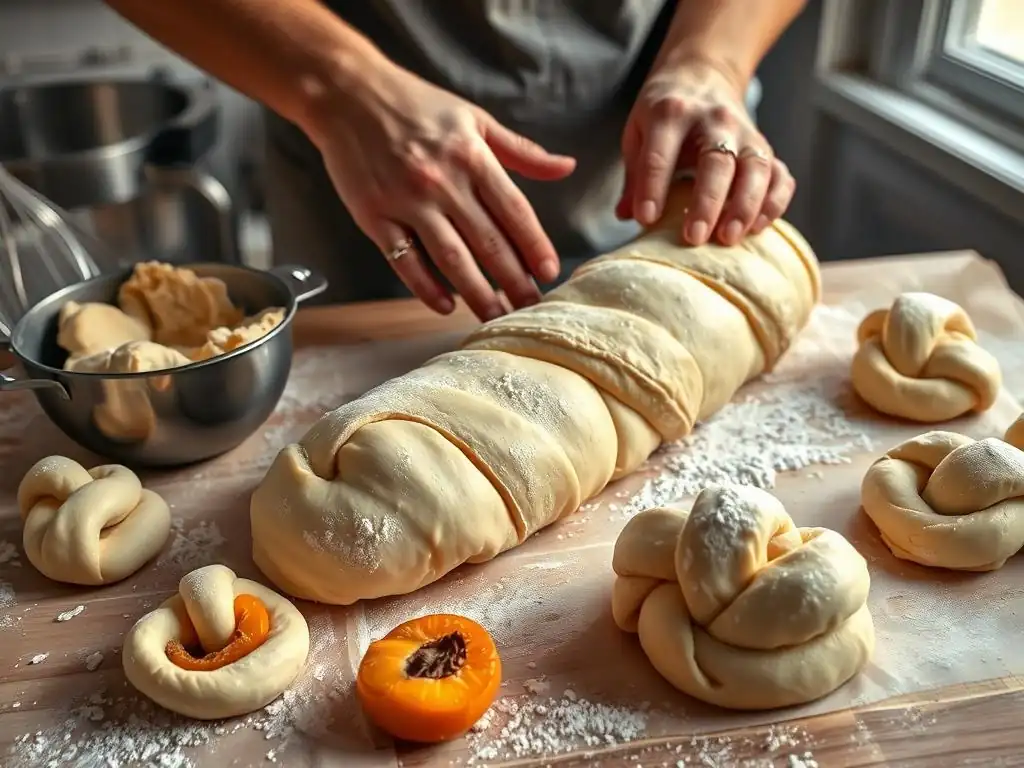
After shaping your brioche or babka with cold dough, the next critical step is proofing. Since the dough is cold and yeast activity has been slowed, proofing will take significantly longer than with dough shaped at room temperature. This secondary rise allows the yeast to become active again and the dough to double in size, becoming light and airy before baking.
Place your shaped loaves in their pans or on baking sheets, cover them loosely but securely with plastic wrap (lightly oiled to prevent sticking), and place them in a warm, draft-free environment. An oven with the light on is a common spot, or a proofing box if you have one. Proofing times can vary greatly depending on the dough temperature when shaped and the ambient proofing temperature, but typically range from 2 to 4 hours, sometimes even longer for very cold dough.
The dough is ready when it has increased significantly in volume and feels soft and slightly springy when gently poked, leaving a slight indentation that slowly springs back. Do not rush this stage; proper proofing is essential for a light, tender crumb, especially after the long cold fermentation and shaping process.
Baking Cold Dough to Perfection: Temperature and Time Guidelines
Baking shaped cold dough requires attention to temperature and time to ensure a beautiful crust and a fully cooked interior. Brioche and babka are typically baked at moderate oven temperatures, generally between 180°C and 190°C (350°F to 375°F). Baking at too high a temperature can result in a dark crust before the interior is cooked, while too low a temperature might yield a pale crust and dense texture.
Preheat your oven thoroughly before placing the loaves inside. Baking times vary significantly based on the size and shape of the loaf. A standard brioche à tête might bake for 25-35 minutes, while a large braided brioche or babka loaf could take 40-60 minutes.
The bread is done when it is deeply golden brown on the outside and registers an internal temperature of around 90-93°C (195-200°F) when measured with an instant-read thermometer inserted into the thickest part of the loaf (avoiding any filling in babka). If the crust is browning too quickly, you can loosely tent the loaf with foil. Allowing the bread to cool completely on a wire rack before slicing is also crucial for the crumb structure to set properly after the heat of the oven.
Conclusion: Mastering Cold Dough Shaping for Brioche and Babka
The Key to Consistent and Beautiful Results
Mastering the technique of working with cold dough is undeniably the key to achieving consistent, beautiful, and delicious brioche and babka. The simple act of chilling transforms a sticky, challenging dough into a firm, pliable material that is a joy to shape. This firmness allows for the precise formation of intricate shapes, from the classic brioche à tête to the stunning swirls of babka, which would be nearly impossible to execute cleanly with warm dough. The cold also facilitates better handling of the butter and enriched components, contributing to a superior crumb structure and a more tender final product.
Furthermore, the extended cold fermentation that often accompanies chilling enhances the flavor profile, adding complexity and depth that cannot be achieved with a rapid room-temperature rise. By understanding the science behind chilling, controlling the dough temperature, and employing gentle, precise shaping techniques, bakers can overcome the common frustrations associated with enriched doughs. The results speak for themselves: loaves with defined shapes, beautiful interiors, and exceptional taste and texture.
Elevate Your Baking Skills with Cold Dough Techniques
Incorporating cold dough techniques into your baking repertoire is a significant step towards elevating your skills, particularly when tackling enriched breads like brioche and babka. It moves you beyond simply following a recipe to understanding how temperature and time manipulate dough properties for optimal results. Learning to work with cold dough provides greater control over the shaping process, allowing you to confidently attempt more complex designs and achieve bakery-quality aesthetics at home.
The benefits extend beyond just shaping; the improved flavor and texture resulting from cold fermentation will enhance the overall quality of your bakes. As you become more comfortable with cold dough, you'll find that other enriched doughs and pastries also benefit from similar chilling techniques. Embracing cold dough shaping brioche and babka is an investment in your baking journey, opening up a world of possibilities for creating truly exceptional homemade breads that are as impressive to look at as they are delicious to eat.
Frequently Asked Questions
What are the advantages of using cold dough when shaping brioche?
Working with cold dough is crucial because it's easier to handle. Chilling the dough solidifies the butter and prevents it from melting, making it less sticky and more manageable during shaping. This results in a cleaner, more defined final product.
How long should I chill my brioche dough before shaping?
Typically, brioche dough needs to be chilled for at least 2-4 hours in the refrigerator, or even overnight. The aim is to get the dough cold enough to be firm but not frozen solid. This allows for easier shaping and prevents over-proofing.
What happens if my brioche dough is too warm when I try to shape it?
If the dough is too warm, the butter melts, making it sticky and difficult to handle. This can lead to a misshapen final product and a greasy texture. It's crucial to maintain the dough's cold temperature for successful shaping.
Can I re-chill brioche dough if it starts to get too warm during shaping?
Yes, if your dough becomes too warm and sticky, you can return it to the refrigerator for 15-30 minutes to firm up again. This helps re-solidify the butter and makes it easier to work with, preventing the dough from spreading.
What are some tips for keeping brioche dough cold while shaping?
Work quickly and in a cool environment. Cut the dough into smaller portions and only work with one portion at a time, keeping the rest chilled. Consider using a cold work surface, like marble, to prevent the dough from warming up too quickly.
Final Reflection: The Cool Power of Cold Dough
Mastering the art of cold dough shaping is not merely a technical skill; it's the key to unlocking the airy, ethereal textures that define truly exceptional brioche and babka. The seemingly simple act of working with chilled dough profoundly impacts the final product, transforming a potentially dense pastry into a masterpiece of delicate layers and tender crumb. This understanding is more relevant than ever in a world increasingly focused on artisanal baking and the pursuit of perfect texture.
The journey of working with cold dough has been a revelation, not just in terms of technique, but also in appreciating the patience and precision required in baking. It's a process that mirrors life itself – requiring careful planning, attention to detail, and the willingness to let things unfold at their own pace. Patience is a virtue, and in baking, it's the secret ingredient to success.
This quote, while not directly about cold dough, perfectly encapsulates the mindset needed to master this crucial step in brioche and babka making. The subtle nuances of handling cold dough, the way it responds to gentle pressure, the satisfaction of seeing it transform – these are experiences that resonate far beyond the kitchen.
Now, I invite you to consider your own baking journey. Have you experienced the transformative power of cold dough? Perhaps you've wrestled with a sticky, warm dough, only to be amazed by the ease and control offered by its chilled counterpart. Take this knowledge, this newfound appreciation for the subtle power of temperature, and apply it to your next baking adventure. Embrace the cool, embrace the control, and unlock the potential for truly magnificent brioche and babka. The reward? A pastry so exquisite, it will leave you breathless.
Unlock Your Inner Baker: Master the Art of Cold Dough!
Thanks for taking the time to explore the fascinating world of cold dough – a crucial step to achieving perfectly shaped brioche and babka! You've gained valuable insights into its importance, and now it's time to put that knowledge to the test.
Here's how you can take the next step:
- Try it out! This is your chance to experiment with cold dough. Choose your favorite brioche or babka recipe and give this technique a try. Document your experience – you'll be surprised at the difference!
- Share your success (or even your struggles!): Let’s build a community of bakers! Share your results and any questions on our social media channels. We'd love to see your creations!
- Challenge yourself: Try adapting this technique to other enriched doughs. What amazing results will you discover?
So, what incredible bake will you create with your newfound cold dough mastery?