
The Hot Knife Technique for Silky Smooth Buttercream Tops

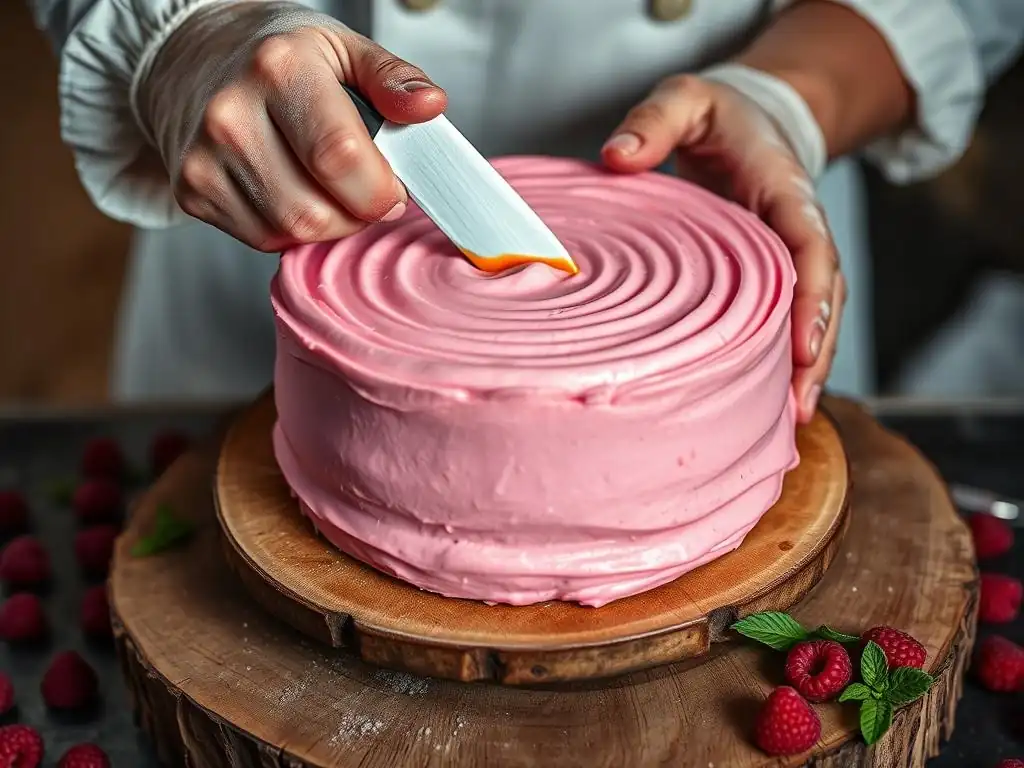
Welcome to BakeWithEase, where baking becomes a joy, not a chore! Ever wondered how professional bakers achieve that flawless, almost ethereal finish on their cakes? Get ready to unlock the secret! Today, we're diving into the hot knife technique for achieving a silky smooth buttercream frosting, a game-changer even seasoned bakers will appreciate. Curious to learn how a little heat can transform your frosting game? Let's get started and say goodbye to imperfections forever!
- The Hot Knife Technique for Silky Smooth Buttercream: Achieve Perfection
- Introduction: Mastering a Flawless Buttercream Finish
- Understanding Buttercream and Heat
- The Hot Knife Technique: A Step-by-Step Guide
- Tips and Tricks for Flawless Smoothing
- Alternative Smoothing Methods
- Maintaining Your Tools
- Conclusion: Achieve Professional Results
- Frequently Asked Questions
- Final Reflection: The Enduring Pursuit of Perfect Buttercream
- Unlock Your Dream Buttercream: Silky Smooth Frosting Awaits!
The Hot Knife Technique for Silky Smooth Buttercream: Achieve Perfection
Introduction: Mastering a Flawless Buttercream Finish
Achieving a perfectly smooth finish on your buttercream-frosted cakes is often considered the hallmark of a skilled baker. While traditional spatulas and bench scrapers can get you close, there's a technique that takes smoothness to another level: the hot knife method. This approach leverages the gentle application of heat to create a surface so flawless it almost looks poured, elevating your baked goods from homemade to professional showstoppers.
This article will guide you through the process of mastering the hot knife technique, explaining the science behind it, detailing the steps involved, and offering practical tips to ensure success. Whether you're preparing a cake for a special occasion or simply want to refine your skills, learning this method is a valuable addition to your baking repertoire. It's a surprisingly simple trick that yields dramatic results, helping you achieve that coveted silky smooth buttercream finish.
Elevate Your Cakes: Why a Smooth Surface Matters
The visual presentation of a cake is paramount, often setting the expectation for how it will taste. A cake with a beautifully smooth buttercream surface looks professional, clean, and inviting. It demonstrates attention to detail and skill, making your creation instantly more appealing. This polished look is essential for celebration cakes, wedding cakes, or any cake where presentation is key.
Beyond aesthetics, a smooth surface provides an ideal canvas for further decoration. Drip cakes, stenciled patterns, sharp edges, or intricate piping all rely on a perfectly smooth base layer of buttercream. Trying to apply these techniques to a bumpy, uneven surface is challenging and often results in a messy or amateurish look. Mastering the silky smooth buttercream frosting technique ensures your subsequent decorating efforts are set up for success.
Advantages of the Hot Knife Method
The hot knife technique offers several distinct advantages over solely relying on cold tools. Firstly, it significantly reduces drag and potential tearing of the buttercream, especially beneficial for softer frostings or when working with delicate cake layers. The heat melts only the outermost layer of buttercream, allowing the knife to glide effortlessly across the surface.
Secondly, this method is exceptionally effective at minimizing crumbs and achieving a truly glass-like, silky smooth buttercream finish. While a crumb coat is always recommended, microscopic crumbs can still sometimes be pulled through with a cold scraper. The hot knife seals these in and smooths over any tiny imperfections, creating a flawless canvas faster and often with less effort than repeated scraping. It's a game-changer for achieving that professional-level smoothness.
Understanding Buttercream and Heat
Buttercream, at its core, is an emulsion of fat (usually butter) and sugar, often stabilized with egg whites or milk. The behavior of this emulsion is highly sensitive to temperature. Understanding how heat interacts with the butter component is key to successfully employing the hot knife technique for achieving silky smooth buttercream.
When butter is cold, its fat crystals are solid and tightly packed. As it warms, these crystals begin to soften and melt. By applying gentle heat to the surface of the buttercream with a hot knife, you temporarily melt just the very top layer of butter, transforming it into a liquid state that can be easily smoothed and leveled before it quickly cools and re-solidifies.
Temperature's Role: Impact on Texture
Temperature profoundly influences buttercream's workability. Buttercream that is too cold (e.g., straight from the refrigerator) will be stiff and prone to tearing when spread or smoothed. Buttercream that is too warm will be soft, potentially greasy, and difficult to build up structure or achieve sharp edges. The ideal temperature for applying buttercream to a cake is typically around room temperature, approximately 68-72°F (20-22°C), where it is pliable but still holds its shape.
The hot knife technique capitalizes on this temperature sensitivity. The knife's heat, ideally warmed to around 120-140°F (50-60°C) – just hot enough to be uncomfortable to the touch but not scalding – momentarily warms the immediate surface of the buttercream. This brief warming allows the surface tension to relax and minor imperfections to melt away, creating a smooth, even plane before the heat dissipates and the buttercream firms up again. This controlled melting is what creates the silky smooth buttercream surface.
Importance of Buttercream Consistency
The consistency of your buttercream is just as crucial as the temperature. For effective smoothing, especially with a hot knife, the buttercream should be soft enough to spread easily but firm enough to hold its shape without slumping. Think of the texture of soft-serve ice cream. If it's too stiff, it will be difficult to apply and smooth, and the hot knife might drag rather than glide.
If the buttercream is too soft or runny, the hot knife technique can exacerbate the problem by causing it to melt too much and lose structure. Different types of buttercream (American, Swiss Meringue, Italian Meringue, French, German) have varying consistencies and melting points due to their composition (e.g., fat-to-sugar ratio, presence of egg whites). American buttercream, being primarily butter and powdered sugar, tends to be firmer and melts faster than meringue-based buttercreams. Adjusting your technique slightly based on the buttercream type is part of mastering this silky smooth buttercream frosting technique.
The Hot Knife Technique: A Step-by-Step Guide
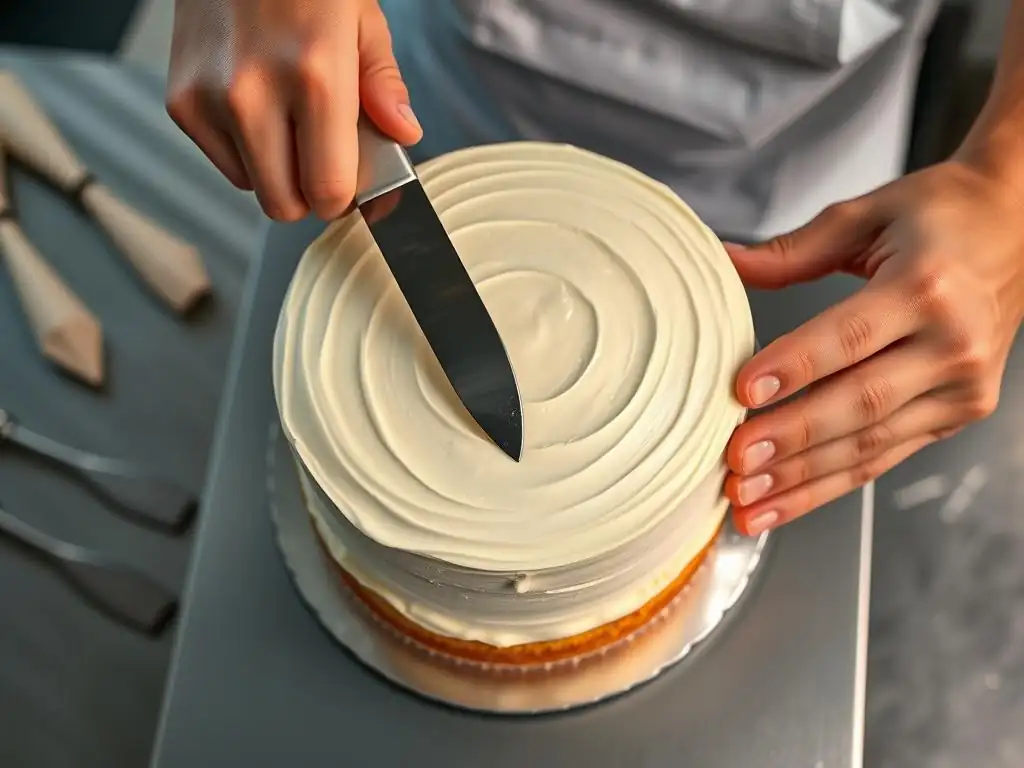
Mastering the hot knife technique requires practice, but following these steps will set you on the right path to achieving a professional, silky smooth buttercream finish on your cakes.
Step 1: Preparing Your Buttercream
Before you even think about the hot knife, ensure your buttercream is properly prepared and applied to the cake. It should be the correct consistency (soft-serve ice cream texture) and free of large air bubbles. Mix it on low speed for a few minutes to help remove air pockets.
Apply an even layer of buttercream to your chilled cake using an offset spatula or piping bag. Aim for a relatively smooth application initially; perfection comes in the next steps. Ensure the cake is covered completely, with no bare spots.
Achieving the Ideal Consistency
The ideal consistency for smoothing is crucial. If your buttercream is too stiff, add a tablespoon of milk or cream at a time and mix until smooth and pliable. If it's too soft, you can try chilling it briefly in the refrigerator for 10-15 minutes, then re-whipping it. Avoid adding too much liquid, as this can make the buttercream too runny for smoothing.
Consistency can vary depending on the temperature of your kitchen. On a warm day, your buttercream might soften quickly. On a cool day, it might remain quite firm. Learning to recognize and adjust the consistency is a key skill for any baker aiming for a silky smooth buttercream finish.
Step 2: Selecting the Right Knife
The best tool for this technique is typically a long, flat metal spatula or bench scraper, rather than a traditional kitchen knife with a thick blade. An offset spatula or a metal bench scraper with a straight edge works well. The key is a smooth, flat surface that can hold heat briefly and make even contact with the buttercream.
Metal is essential because it conducts and retains heat better than plastic. Stainless steel spatulas are commonly used and effective. Choose a tool that is long enough to cover a significant portion of your cake's height or width in one pass, minimizing the number of strokes needed.
Knife Material Considerations
While most metal spatulas will work, the thickness and material can slightly affect heat retention. A thicker stainless steel spatula will hold heat longer than a thin one. However, even a standard thin offset spatula is perfectly adequate for smaller cakes or practicing the silky smooth buttercream frosting technique.
Avoid using serrated knives or tools with textured surfaces, as these will not create the smooth finish you are aiming for. The goal is a completely flat, polished surface, which requires a smooth, flat tool edge.
Step 3: Heating the Knife
The most common and safest way to heat your knife or spatula is by dipping it into a container of hot water. Use a tall container or a baking sheet filled with hot water. The water should be hot but not boiling – think hot tap water or just below a simmer, roughly 120-140°F (50-60°C).
Submerge the blade of your tool in the hot water for 10-15 seconds. This allows the metal to absorb enough heat. Have a clean towel ready to immediately wipe the tool completely dry before touching the buttercream. Any water droplets will create marks on your smooth surface.
Safe and Effective Heating Methods
Using hot water is preferred because it provides even, gentle heat and is safe. Avoid using direct flame or extremely hot surfaces, as this can overheat the metal unevenly and potentially damage the tool or the buttercream.
Keep your hot water bath nearby so you can reheat the knife frequently. You will likely need to reheat it after every pass or two, depending on the size of the cake and how quickly your tool loses heat. Consistent heating is key to a consistent, silky smooth buttercream finish.
Step 4: Applying the Technique
With your buttercream-covered cake chilled (see Pro Tip 1) and your hot, dry knife ready, it's time to smooth. Hold the knife at a shallow angle, almost parallel to the cake's surface – perhaps 15-30 degrees. Start at the bottom edge of the cake and, using light, even pressure, draw the knife smoothly upwards or across the surface in one continuous motion.
Allow the heat from the knife to do the work; you shouldn't need to press hard. The buttercream surface will visibly melt and smooth out as the knife passes. Wipe your knife clean of any excess buttercream after each pass before reheating it.
Angle and Pressure for a Flawless Finish
The shallow angle is critical. A steeper angle will dig into the buttercream. The light pressure ensures you are only affecting the surface layer. Too much pressure will drag the buttercream and potentially expose cake crumbs. Practice finding the right angle and pressure – it should feel like the knife is gliding effortlessly.
If working on the sides, draw the knife upwards from the bottom to the top edge. For the top, work from the outside edge towards the center. Overlap your strokes slightly to ensure full coverage and blend the smoothed areas seamlessly.
Achieving Ultimate Smoothness Through Multiple Passes
One pass with the hot knife might not be enough, especially if your initial buttercream application wasn't perfectly even. Reheat and wipe your knife, then make another pass. You can repeat this process multiple times, refining the surface with each stroke.
Each subsequent pass will smooth out any minor lines or imperfections left by the previous one. Be patient and take your time. The goal is a mirror-like, silky smooth buttercream finish. As you get closer to the desired smoothness, use even lighter pressure.
Step 5: Troubleshooting
Even with the correct technique, you might encounter issues. Don't get discouraged; most problems have simple solutions. Identifying the problem is the first step to correcting your silky smooth buttercream frosting technique.
Dealing with Air Bubbles
Small air bubbles can sometimes appear on the surface, even after initial mixing. The hot knife can help pop tiny bubbles and smooth over the resulting pinholes. For larger bubbles, you may need to gently prick them with a toothpick and then smooth the area with your hot knife.
Sometimes, persistent bubbles indicate that the buttercream wasn't mixed enough on low speed initially to remove trapped air. If this is a recurring issue, consider mixing your buttercream longer at the end of the process.
Preventing Buttercream Melting
If the buttercream is melting too much, becoming soft and messy rather than just smoothing on the surface, several factors could be at play. Your knife might be too hot, the buttercream itself might be too warm, or your kitchen environment is too warm.
Try heating your knife slightly less or for a shorter duration. Ensure your cake is adequately chilled before starting (see Pro Tip 1). If your kitchen is very warm, consider working in a cooler room or running air conditioning if possible. A slightly firmer buttercream consistency can also help prevent excessive melting when using the hot knife technique.
Tips and Tricks for Flawless Smoothing
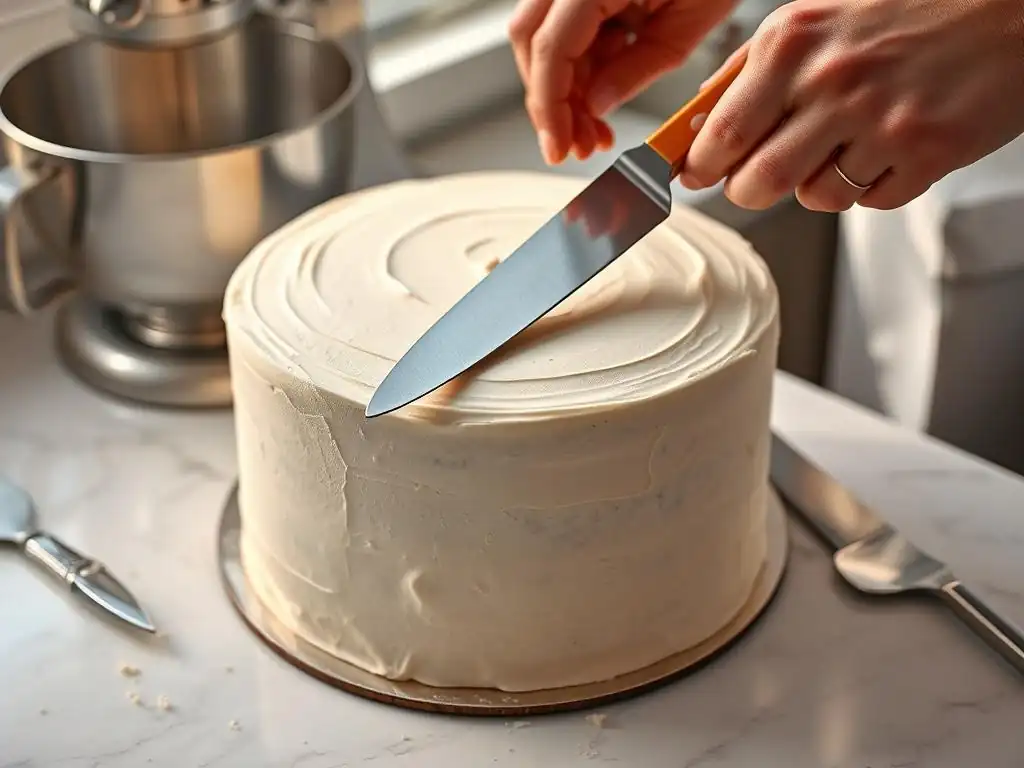
Beyond the basic steps, a few extra tips can significantly improve your results when using the hot knife technique to achieve that silky smooth buttercream finish.
Pro Tip 1: Chill Your Cake
Before applying the hot knife, ensure your buttercream-covered cake is well-chilled. A cold cake with firm buttercream provides a stable base. Chill the cake in the refrigerator for at least 30 minutes, or until the buttercream is firm to the touch but not frozen solid.
Working on a chilled cake prevents the heat from the knife from penetrating too deeply and melting the entire layer of buttercream. It allows just the surface to soften momentarily, which is exactly what you want for this silky smooth buttercream frosting technique.
Pro Tip 2: Use a Turntable
A cake turntable is an invaluable tool for smoothing, especially the sides of the cake. Place your chilled cake on a non-slip mat on the turntable. This allows you to easily rotate the cake while holding the hot knife steady, making long, continuous passes much easier and more consistent.
Rotating the cake slowly and smoothly while applying the hot knife technique to the sides helps ensure an even application of heat and pressure around the entire circumference, contributing significantly to a flawless, silky smooth buttercream finish.
Pro Tip 3: Practice
Like any baking technique, achieving perfection with the hot knife method takes practice. Don't expect your first attempt to be absolutely flawless. Try the technique on a practice cake or even just on a bowl of leftover buttercream.
Pay attention to how the buttercream responds to different knife temperatures, angles, and pressures. The more you practice, the better you'll become at judging these factors and consistently producing a beautiful, silky smooth buttercream finish on all your cakes.
Alternative Smoothing Methods
While the hot knife technique is excellent for achieving a specific level of smoothness, it's not the only way to smooth buttercream. Understanding how it compares to other common methods helps you choose the best approach for your needs.
Hot Knife vs. Spatula
Traditional smoothing often involves using a cold offset spatula or bench scraper. This method relies on mechanical action – physically scraping and leveling the buttercream. It requires a steady hand and multiple passes to fill in gaps and scrape away excess.
The hot knife method adds heat into the equation. Instead of just scraping, it melts the surface, allowing the buttercream to settle into a level plane. This often results in a smoother, more polished surface than a cold spatula alone can achieve, especially for achieving that ultimate silky smooth buttercream frosting technique result. However, it requires careful temperature control to avoid melting the buttercream too much.
Hot Knife vs. Other Tools
Other tools like cake combs (for textured finishes), flexible scrapers, or even paper towels (for certain effects) serve different purposes. Cake combs are designed to create patterns, not a flat smooth surface. Flexible scrapers can be useful for curved surfaces but don't leverage heat.
Some bakers use the "Viva paper towel" method (pressing a paper towel against chilled buttercream to smooth) or acetate sheets. These can achieve a degree of smoothness, but the hot knife technique often provides a superior, more glass-like finish, particularly on the top surface, by physically melting and leveling the fat crystals for a truly silky smooth buttercream result.
Maintaining Your Tools
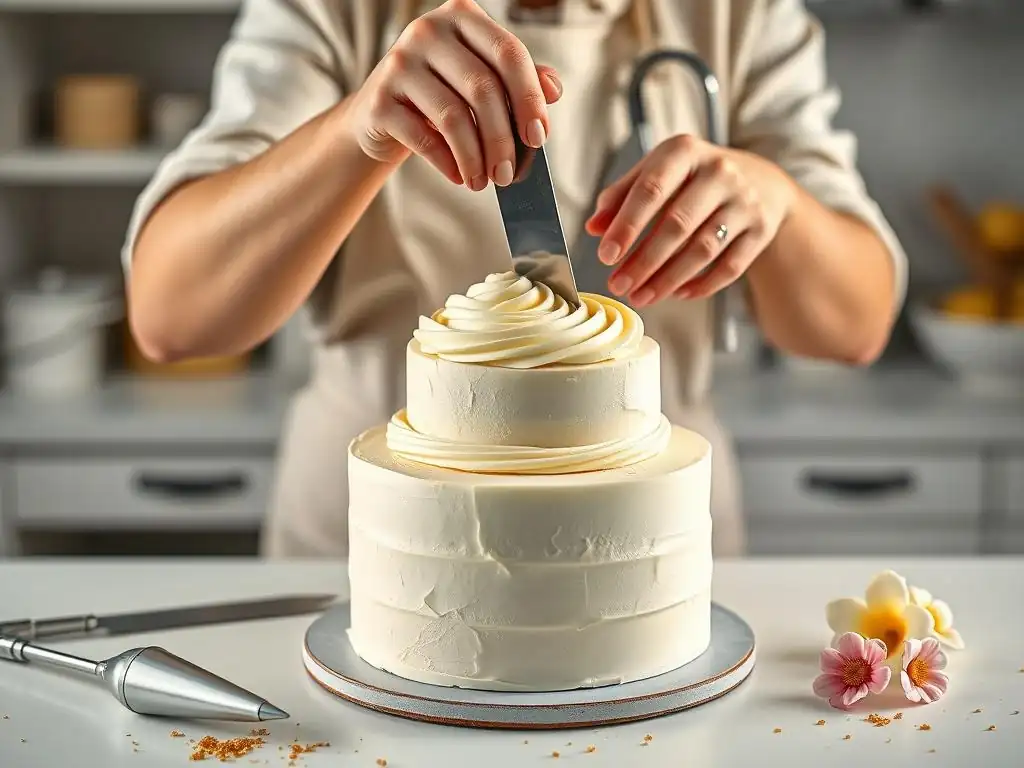
Proper care of your tools ensures they last and perform optimally for your baking endeavors, including your quest for silky smooth buttercream.
Cleaning and Storage
Immediately after use, clean your hot knife or spatula. Wash it in warm, soapy water to remove all buttercream residue. Buttercream, especially if left to dry, can be difficult to clean.
Ensure the tool is thoroughly dried after washing to prevent rust, particularly if it's not stainless steel. Store your spatulas and scrapers in a clean, dry place, perhaps in a drawer or tool caddy dedicated to your baking equipment, ready for the next time you need to employ the silky smooth buttercream frosting technique.
Conclusion: Achieve Professional Results
Mastering the art of cake decorating involves several techniques, and achieving a perfectly smooth buttercream finish is one of the most impactful. The hot knife method, while requiring a little practice, is an incredibly effective way to elevate your cakes from homemade to professional-looking.
By understanding how heat interacts with buttercream, preparing your tools correctly, and applying the technique with patience and precision, you can consistently achieve a beautiful, silky smooth buttercream surface that is ready for any additional decoration you envision.
Mastering Smooth Buttercream Frosting
The silky smooth buttercream frosting technique using a hot knife is a valuable skill for any baker aspiring to create polished, professional-quality cakes. It minimizes common issues like drag marks and crumbs, resulting in a flawless finish that impresses.
With the steps and tips outlined here, you have the knowledge to start practicing this rewarding technique. Embrace the process, be patient, and enjoy the satisfaction of achieving that coveted silky smooth buttercream finish on your next baking project. Your cakes (and your guests) will thank you!
Frequently Asked Questions
What exactly is the hot knife technique for buttercream frosting?
It's a method where you use a heated knife to gently smooth buttercream frosting, creating a flawless, glossy finish. The heat melts the top layer, eliminating imperfections.
Why is the hot knife technique better than other smoothing methods?
The hot knife technique provides superior results because it melts the buttercream slightly, eliminating air bubbles and imperfections more effectively than traditional spatulas or scrapers. This creates a silky smooth surface.
What kind of knife should I use for this technique?
A thin, flat-bladed knife works best. Think a palette knife or an offset spatula. Avoid serrated knives as they will tear the buttercream.
How hot should the knife be?
The knife should be warm, not scorching. You can heat it by dipping it in hot water or using a culinary torch briefly. Test the temperature before applying it to the frosting.
What if my buttercream is melting too much?
Your knife might be too hot, or your buttercream might be too soft. Let the buttercream chill slightly in the refrigerator, and make sure to wipe the knife clean between each pass to remove excess melted frosting.
Final Reflection: The Enduring Pursuit of Perfect Buttercream
The quest for silky smooth buttercream frosting transcends mere aesthetics; it's a testament to the power of precision and patience in baking. Achieving that flawlessly smooth surface, free from peaks and valleys, elevates a simple cake into a masterpiece, a visual delight that speaks volumes before a single bite is taken. This pursuit, as detailed in this article's exploration of the hot knife technique, remains as relevant today as it ever was, proving that even in the age of readily available pre-made frostings, the desire for handcrafted perfection endures.
The hot knife technique, while seemingly simple, represents a deeper connection to the craft of baking. It's a reminder that the details matter, that the seemingly insignificant act of smoothing the frosting can transform the entire presentation. The difference between ordinary and extraordinary is that little extra.
This quote, while not specifically about baking, perfectly encapsulates the impact of mastering techniques like this one. It's about taking pride in the process, understanding the nuances of ingredients, and striving for excellence in every aspect of the creation. The pursuit of that perfect, mirror-like surface is a reflection of our own desire for perfection and attention to detail in other areas of our lives.
Now, consider your own baking journey. Have you ever felt the frustration of a lumpy frosting surface? Remember the satisfaction of achieving that flawless finish? This article has hopefully provided you with a new tool, a new technique to add to your baking arsenal. But more importantly, it's a reminder to embrace the process, to find joy in the details, and to strive for excellence in all that you do. So, grab your hot knife, your favorite buttercream recipe, and embark on your own journey towards creating truly unforgettable cakes. The pursuit of silky smooth perfection awaits.
Unlock Your Dream Buttercream: Silky Smooth Frosting Awaits!
Thanks for taking the time to explore the hot knife technique! We hope you now feel confident in achieving that perfectly smooth buttercream finish. Ready to put your new skills to the test?
- Master the Hot Knife Method: Practice your newfound technique on your next cake – the results will speak for themselves! Imagine the compliments you'll receive!
- Share Your Success: Show off your beautifully frosted creations on social media using #BakeWithEaseHotKnife. Let's inspire other bakers!
- Experiment with Flavors: Try this technique with different buttercream flavors and fillings – what exciting new combinations can you create?
What delicious cake are you going to frost first using this amazing technique? Let's hear about it in the comments!