
Golden Pie Crust: Right Temperature RampUp and Bake Duration

Welcome to BakeWithEase, your trusted guide to baking bliss!
Ever dreamt of achieving that perfect, golden pie crust that's both flaky and flavorful? You're in the right place! Unlock the secrets to our golden pie crust recipe and discover how a simple temperature ramp-up and precise bake duration can transform your pies from good to unforgettable. Curious to know the key? Let's get baking!
- Achieving a Golden Buttery Pie Crust: Temperature and Technique
- Introduction: The Art of the Perfect Pie Crust
- The Science of Browning and Flakiness in Pie Crust
- Temperature's Impact on Pie Crust Development
- Initial High Heat: Setting the Structure and Promoting Browning
- Determining Optimal Bake Duration for a Golden Hue
- Fine-Tuning Your Oven for Consistent Results
- Enhancing Crust Color and Texture: Advanced Techniques
- Common Pie Crust Problems and Solutions
- Recipe: Classic All-Butter Pie Crust
- Tips for Consistently Golden and Flaky Crusts
- Troubleshooting Guide: FAQs and Solutions
- Conclusion: Mastering the Art of Pie Baking
-
Frequently Asked Questions
- What is the most important factor in achieving a golden pie crust?
- How does BakeWithEase's "Golden Pie Crust" recipe differ from other recipes?
- What type of flour is recommended for the "Golden Pie Crust" recipe?
- Can I use a pre-made pie crust instead of making my own?
- What are some common mistakes people make when baking pie crust, and how does this recipe address them?
- Final Reflection: The Alchemy of a Golden Crust
- Unlock Your Perfect Pie Crust: Let's Get Baking!
Achieving a Golden Buttery Pie Crust: Temperature and Technique
Introduction: The Art of the Perfect Pie Crust
Creating a truly exceptional pie involves more than just a delicious filling; the crust is equally vital. A truly perfected golden pie crust recipe is the foundation, providing that satisfying crunch and buttery flavor that elevates every bite. Achieving that ideal golden-brown color and flaky texture can seem like a mystery, but it largely comes down to understanding and controlling temperature throughout the process, from chilling the dough to the final moments in the oven. This article will guide you through the critical temperature stages and baking duration needed for perfecting golden pie crust recipes.
The Science of Browning and Flakiness in Pie Crust
Maillard Reaction and Caramelization: Developing Flavor and Color
The beautiful golden-brown hue and rich flavor of a perfectly baked pie crust are primarily the result of two chemical processes: the Maillard reaction and caramelization. The Maillard reaction occurs when amino acids and reducing sugars are heated together, typically starting at temperatures around 280°F (140°C). This complex series of reactions creates hundreds of different flavor compounds and is responsible for the browning of many foods, including baked goods. As the crust heats up, the surface moisture evaporates, allowing the temperature to rise above 212°F (100°C), enabling the Maillard reaction to proceed vigorously.
Caramelization, on the other hand, is the browning of sugars themselves, which begins at higher temperatures, around 320°F (160°C) for sucrose. While pie dough contains some sugar, the Maillard reaction plays a more significant role in the initial stages of browning and flavor development in a typical savory or lightly sweetened crust. The combination of these two processes, facilitated by adequate heat and time in the oven, transforms the pale, raw dough into a flavorful, golden masterpiece. Understanding these reactions helps explain why sufficient baking time at the right temperature is crucial for perfecting golden pie crust recipes.
Fat Content and Distribution: Keys to a Flaky Texture
Flakiness in a pie crust is achieved through the proper incorporation and melting of cold fat within the dough. As the dough bakes, the pieces of cold fat (like butter or shortening) melt and release steam. This steam pushes apart the layers of dough, creating small pockets and contributing to the characteristic flaky layers. The amount and type of fat used significantly impact this process; a higher fat content generally leads to a flakier crust, assuming the fat is kept cold and properly distributed.
The method of incorporating fat is just as important as the amount. Cutting cold fat into the flour until it forms pea-sized or even larger pieces ensures that distinct pockets of fat remain throughout the dough. If the fat is overworked and fully blended into the flour, the resulting crust will be more tender or crumbly rather than flaky. Maintaining the cold temperature of the fat and dough until it hits the oven is paramount, as premature melting will hinder the formation of those crucial steam pockets needed for flakiness alongside the golden color.
Temperature's Impact on Pie Crust Development
Gradual Heat: Promoting Even Baking and Preventing Soggy Bottoms
Controlling the oven temperature throughout the baking process is key to achieving a perfectly baked crust with a golden hue and no soggy bottom. Often, pie recipes call for starting at a higher temperature and then reducing it. This initial burst of heat helps to quickly set the structure of the crust, particularly the bottom, before the filling has a chance to seep in and make it soggy. A common starting temperature might be around 400°F to 425°F (200°C to 220°C) for the first 15-20 minutes.
After this initial period, the temperature is typically reduced to a moderate range, like 350°F to 375°F (175°C to 190°C), for the remainder of the baking time. This lower temperature allows the crust to finish baking through evenly without burning the edges, and it also gives the filling time to cook or set properly. This gradual approach ensures that the crust develops a uniform golden color from edge to center and cooks completely, preventing the dreaded pale, underbaked layer at the bottom of the pie.
The Role of Cold: Maintaining Fat Integrity for Flakiness
The temperature of your ingredients and dough before it enters the oven is just as critical as the oven temperature itself for perfecting golden pie crust recipes. Using very cold butter (or other fat) and ice water is fundamental. Cold fat is solid and can be cut into distinct pieces within the flour. As mentioned earlier, these pieces are what create the flaky layers during baking. If the fat is too warm, it melts and is absorbed by the flour, leading to a more cookie-like or tough texture instead of flakiness.
Furthermore, keeping the mixed dough cold, often requiring refrigeration for at least 30 minutes (and ideally longer, up to 2 days), serves multiple purposes. It allows the gluten developed during mixing to relax, which prevents shrinkage during baking. More importantly, it ensures the fat remains solid and distinct within the dough matrix. When this cold dough hits a hot oven, the thermal shock causes the fat to melt rapidly and produce steam, maximizing the lift between layers and contributing significantly to the desired flaky structure alongside the development of a beautiful golden color.
Initial High Heat: Setting the Structure and Promoting Browning
Benefits of a High-Temperature Start
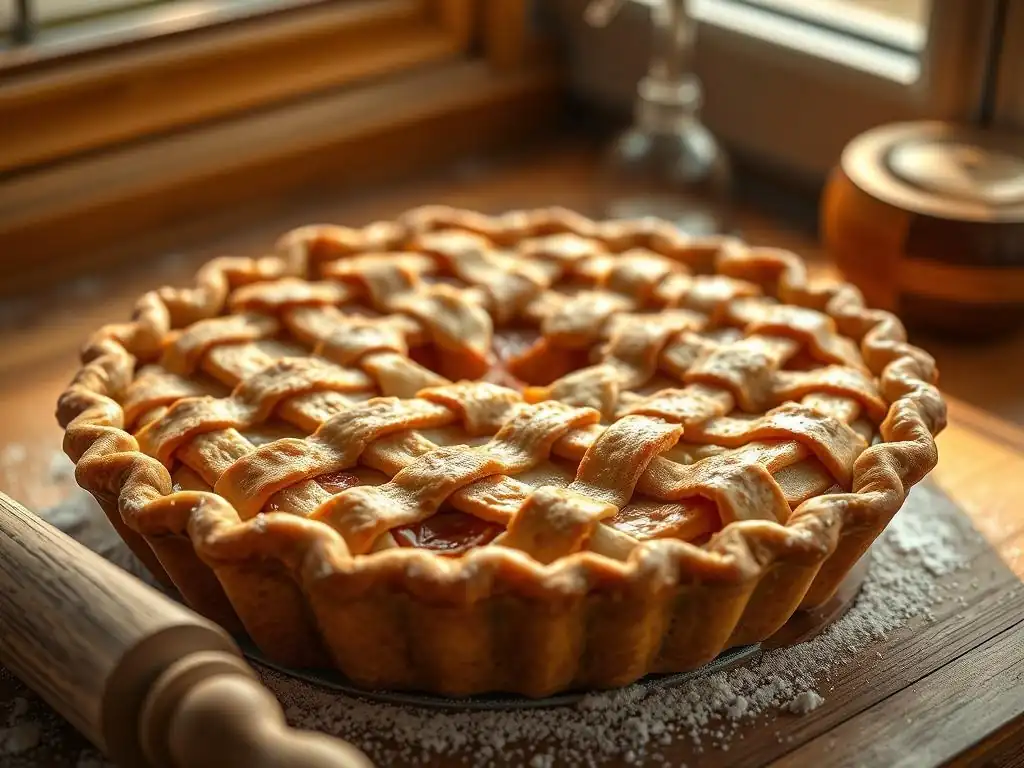
Beginning the baking process at a higher temperature, typically between 400°F and 425°F (200°C and 220°C), offers several key advantages for perfecting golden pie crust recipes. First, it helps to quickly set the structure of the dough. The intense heat causes the outer layer to firm up rapidly, preventing the crust from slumping, particularly around the edges and up the sides of the pie plate. This initial heat also promotes rapid steam production from the cold fat, contributing significantly to flakiness right from the start.
Secondly, the high temperature kickstarts the browning process (Maillard reaction and caramelization) on the surface of the crust. This rapid surface browning helps to seal the crust, creating a barrier that can be particularly useful in preventing wet fillings from soaking into the bottom crust. While this initial temperature is crucial for setting and initial browning, it's usually maintained only for a relatively short period, often 15 to 20 minutes, before the temperature is reduced to prevent the edges from burning before the rest of the pie is cooked.
Gluten Development and its Impact on Crust Texture
Gluten is a protein network formed when flour is mixed with water and agitated. While gluten provides structure to bread, too much gluten development in pie crust can lead to a tough texture. The goal in pie making is to minimize gluten development to ensure a tender, flaky crust. Using a low-protein flour (like pastry flour or all-purpose flour), minimizing mixing, and using cold water all help to inhibit excessive gluten formation.
The initial high heat affects gluten primarily by quickly setting the structure before significant gluten relaxation can occur during baking. However, the handling of the dough before it goes into the oven is where gluten management is most critical for perfecting golden pie crust recipes. Overworking the dough during mixing or rolling will develop more gluten, resulting in a tough crust regardless of baking temperature. Resting the dough in the refrigerator allows the minimal gluten developed to relax, further contributing to a tender and flaky result when baked at the correct temperatures.
Determining Optimal Bake Duration for a Golden Hue
Adjusting Baking Time Based on Pie Filling Type
The total bake duration for a pie crust depends significantly on whether you are blind baking the crust (baking it empty before adding a filling) or baking it with a filling, and if so, what type of filling. For blind baking, a typical timeframe might be 15-20 minutes with pie weights (to prevent shrinkage and bubbling) at a higher temperature (like 400°F/200°C), followed by another 10-15 minutes without weights at a slightly lower temperature (like 375°F/190°C) to achieve a fully baked, golden crust.
When baking with a filling, the time required is dictated by the filling's needs, which in turn affects how long the crust is exposed to heat. A fruit pie, for example, might bake for 45-60 minutes or even longer at temperatures starting high (400-425°F/200-220°C) and then reduced (350-375°F/175-190°C).
Custard pies, which need to set, might bake for a similar duration but often require careful monitoring to prevent the crust edges from burning before the center is set. The key is to ensure the crust has enough time at sufficient temperature to achieve that desired golden brown color and crispness without overbaking the filling.
Visual Cues: Identifying a Perfectly Baked Crust
Knowing when your pie crust is perfectly baked for that ideal golden hue relies heavily on visual cues, as relying solely on time can be misleading due to oven variations. A perfectly baked crust should be uniformly golden brown across the top and, importantly, on the bottom. You should be able to see rich brown tones, not just pale yellow. The edges should be crisp and firm, not soft or doughy.
For pies baked with filling, you can often check the bottom crust by carefully lifting the pie slightly with a spatula and peeking underneath, or by checking the color through a glass pie plate if you're using one. The filling should also show signs of being done – bubbling juices for fruit pies, a set center for custard pies.
If the top crust or edges are browning too quickly while the rest of the pie needs more time, you can use foil shields or a pie crust protector to cover just the edges, allowing the rest of the crust and filling to continue baking until everything reaches perfection for your perfected golden pie crust recipe.
Fine-Tuning Your Oven for Consistent Results
Oven Calibration: Ensuring Accurate Temperature Readings
Even the most precise recipe for perfecting golden pie crust relies on an oven that heats accurately. Unfortunately, many home ovens can be off by as much as 25°F to 50°F (15°C to 30°C) from the temperature they indicate. This discrepancy can significantly impact baking time and the development of that sought-after golden color. An oven that runs too cool will result in pale, potentially underbaked crusts, while one that runs too hot can cause edges to burn before the center is cooked or the bottom crust is properly browned.
Using an inexpensive oven thermometer placed in the center of your oven is the easiest way to check its accuracy. Set your oven to a specific temperature (e.g., 350°F or 175°C) and wait at least 20-30 minutes for it to stabilize, then check the thermometer reading. If there's a consistent difference, you'll know to adjust your dial accordingly in the future (e.g., if your oven reads 350°F but the thermometer says 325°F, you'll need to set your oven to 375°F for recipes calling for 350°F). Some ovens can also be professionally calibrated.
Addressing Uneven Browning: Top vs. Bottom
Uneven browning is a common challenge, with the top often browning faster than the bottom crust, or one side of the pie browning more than the other. This is frequently due to hot spots in the oven or the heating elements themselves. Electric ovens often have the primary heating element on the bottom, which can sometimes lead to faster bottom browning, while gas ovens may have it exposed, creating different heat patterns.
To combat uneven browning and achieve a uniform golden color essential for perfecting golden pie crust recipes, rotating the pie halfway through the baking time is highly effective. If the top is browning too fast, you can tent the entire pie loosely with foil.
If the edges are browning before the center, foil shields designed for pie crusts or strips of foil molded around the edge can protect them. If the bottom crust is consistently pale, try baking the pie on a pizza stone or preheated baking sheet placed on the lowest oven rack to give the bottom an extra boost of heat.
Enhancing Crust Color and Texture: Advanced Techniques
Egg Wash: Achieving a Glossy, Golden Finish
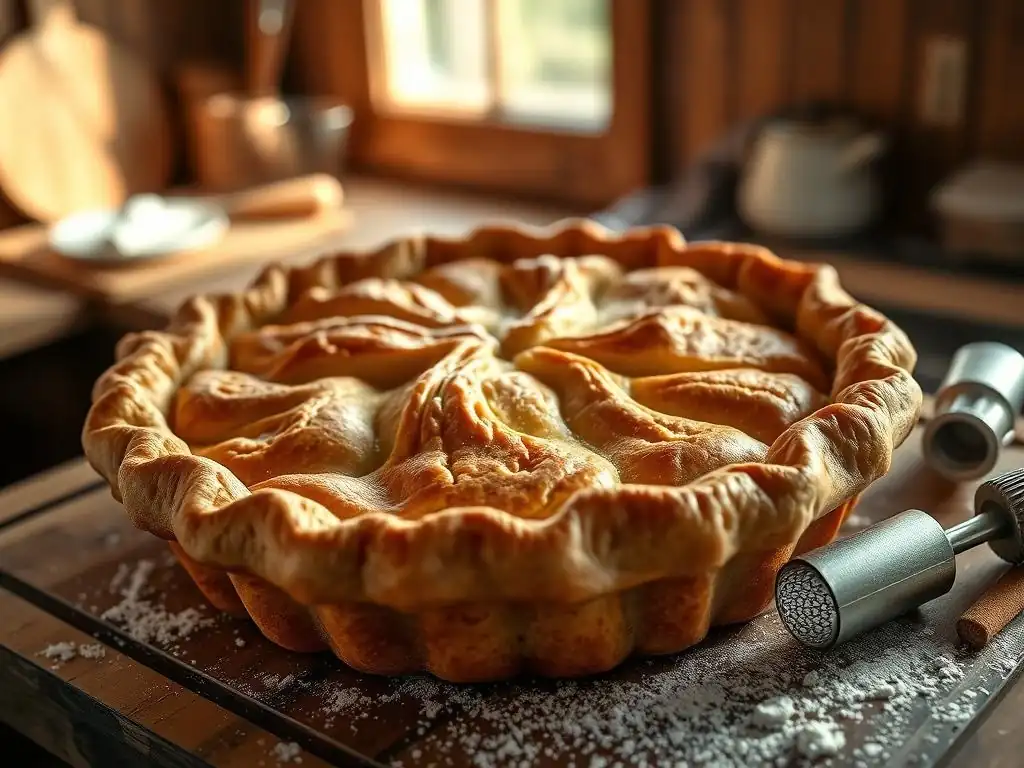
An egg wash is a classic technique used to give pie crusts a beautiful, glossy, and deeply golden finish. A simple egg wash is typically made by whisking one egg with a tablespoon or two of water or milk. Brushing this mixture lightly over the top crust (or blind-baked bottom crust) just before baking provides proteins and sugars that brown beautifully in the oven, contributing to both color and a slightly crispier surface texture.
For variations in finish, using only the egg yolk mixed with a liquid will result in a richer, deeper golden color and more shine. Using only the egg white mixed with liquid yields a lighter, glossier finish. A whole egg wash is a good standard for a balanced result. Apply the wash evenly with a pastry brush, being careful not to let it pool around the edges or drip down the sides, which could glue the crust to the pie plate. This simple step significantly enhances the visual appeal of your perfected golden pie crust recipe.
Butter Wash: Adding Richness and Promoting Browning
While an egg wash contributes gloss and color through protein, a butter wash enhances richness and promotes browning through fat and milk solids. A butter wash is typically made by simply melting butter and brushing it onto the crust. The fat helps conduct heat, encouraging browning, and the milk solids within the butter will also undergo the Maillard reaction.
Brushing melted butter onto the crust, particularly towards the end of the baking time or after blind baking, can add a lovely depth of color and a richer flavor. It's a less common technique than an egg wash for overall coverage but can be effective for specific applications or for adding extra richness to a blind-baked shell before filling. It contributes to achieving that desired golden hue, albeit with a different kind of shine than an egg wash.
Sugar Wash: Caramelizing for Sweetness and Color
A sugar wash is another method for adding color and a touch of sweetness to a pie crust through caramelization. This can involve brushing the crust with milk or cream and then sprinkling sugar over it, or making a simple syrup (sugar dissolved in water) and brushing that on. The sugar on the surface will caramelize at higher temperatures, creating brown spots and a slightly crisp, sweet coating.
This technique is particularly effective on pies where a slightly sweeter, more caramelized crust is desired, such as apple or pecan pies. The type of sugar used matters; granulated sugar will create distinct sparkly points of caramelization, while superfine sugar or brushing with simple syrup will create a more even, glazed effect. Applying a sugar wash adds another layer of complexity to perfecting golden pie crust recipes, enhancing both visual appeal and flavor.
Common Pie Crust Problems and Solutions
Preventing Sogginess: Blind Baking and Dough Preparation
A soggy bottom crust is one of the most frustrating pie problems, ruining an otherwise perfect dessert. This occurs when moisture from the filling seeps into an underbaked bottom crust. Preventing it starts with proper dough preparation: ensuring the fat is cold and the dough isn't overworked.
The most effective method for preventing sogginess, especially with wet fillings like fruit or custard, is blind baking the bottom crust before adding the filling. This involves partially or fully baking the empty crust. To blind bake, line the chilled dough in the pie plate, prick the bottom with a fork (docking), line it with parchment paper or foil, and fill it with pie weights, dried beans, or rice.
Bake at a relatively high temperature (e.g., 400°F/200°C) for 15-20 minutes to set the structure. Remove the weights and liner and continue baking for another 5-15 minutes until the bottom is lightly golden and dry. For very wet fillings, bake until the bottom is fully golden brown.
Avoiding Burning: Crust Shields and Temperature Management
While striving for a golden crust, burning the edges is a common pitfall, especially since the thinner edges tend to cook faster than the rest of the pie. This is where temperature management and physical barriers come into play for perfecting golden pie crust recipes. As soon as you notice the edges beginning to brown sufficiently (often 20-30 minutes into baking), they need protection.
The simplest solution is to use a pie crust shield, a reusable ring that fits over the edge of the pie plate. Alternatively, you can create your own shields by folding strips of aluminum foil and crimping them gently around the pie edge. Apply the shield when the edges are the color you want them to be before they burn.
If the entire top is browning too quickly, you can loosely tent the whole pie with foil. Reducing the oven temperature after the initial high-heat phase is also critical for allowing the pie to finish baking without the edges becoming too dark.
Minimizing Shrinkage: Dough Handling and Resting Time
Pie crust shrinkage during baking can result in a shallow crust that doesn't hold the filling properly. Shrinkage is primarily caused by gluten development and the dough being too warm or not adequately relaxed before baking. Overworking the dough when mixing or rolling develops more gluten, which then contracts in the heat of the oven.
To minimize shrinkage and achieve a stable, perfectly shaped crust, handle the dough gently. Mix only until the ingredients are just combined and the dough comes together. When rolling, avoid stretching the dough; roll it evenly and transfer it to the pie plate carefully.
Crucially, give the dough sufficient resting time in the refrigerator, both after mixing and after lining the pie plate (at least 30 minutes, ideally longer). This chilling period allows the gluten to relax and the fat to firm up, ensuring the crust holds its shape better when it hits the hot oven, contributing to a beautiful, perfected golden pie crust recipe result.
Recipe: Classic All-Butter Pie Crust
This recipe provides a foundation for a flaky, golden crust, focusing on technique and temperature control.
Ingredient List for a Flaky, Golden Crust
- 2 1/2 cups (315g) all-purpose flour, chilled
- 1 teaspoon salt
- 1 cup (2 sticks or 227g) unsalted butter, very cold, cut into 1/2-inch cubes
- 1/2 cup (120ml) ice water, plus more if needed
Detailed Step-by-Step Baking Instructions
- In a large bowl, whisk together the chilled flour and salt.
- Cut in the very cold butter using a pastry blender, fork, or your fingertips until the mixture resembles coarse meal with some pea-sized pieces of butter remaining. Keeping the butter cold and in distinct pieces is key to flakiness.
- Gradually add the ice water, one tablespoon at a time, mixing gently with a fork until the dough just starts to come together. Add only enough water so that when you squeeze a small amount, it holds its shape. Be careful not to add too much water, which can make the crust tough.
- Divide the dough in half, form each half into a disk, wrap tightly in plastic wrap, and refrigerate for at least 1 hour, or up to 2 days. Chilling is crucial for relaxing gluten and firming the fat.
- On a lightly floured surface, roll out one disk of dough into a 12-inch circle. Carefully transfer the dough to a 9-inch pie plate. Trim and crimp the edges as desired. Refrigerate the lined pie plate for at least 30 minutes (or freeze for 15 minutes) before filling and baking. This final chill helps prevent shrinkage.
- Preheat oven to 425°F (220°C). If blind baking, follow steps in the "Preventing Soggy Bottoms" section. If baking with a filling, add the filling to the chilled crust.
- Place the pie on a baking sheet (to catch drips and help brown the bottom) and bake at 425°F (220°C) for 15-20 minutes, or until the edges begin to turn golden.
- Reduce oven temperature to 375°F (190°C). Continue baking for 30-40 minutes (or longer, depending on the filling) until the crust is uniformly golden brown and the filling is cooked. Use foil shields on the edges if they brown too quickly.
- Allow the pie to cool on a wire rack before slicing.
Tips for Consistently Golden and Flaky Crusts
Using Ice Water and Cold Butter for Maximum Flakiness
The temperature of your ingredients is non-negotiable for achieving that coveted flaky texture and contributes indirectly to even browning by ensuring the crust structure is sound. Always use butter that is straight from the refrigerator and cut into pieces. The colder the butter, the better it will hold its shape during mixing, creating those crucial pockets. Similarly, use ice water (water with ice cubes, then measure the water) because it helps keep the butter cold and minimizes gluten development. Warm ingredients will melt the fat and activate gluten, leading to a tough, less flaky crust.
Resting the Dough: Relaxing Gluten and Preventing Shrinkage
Patience is a virtue in pie making, especially when it comes to resting the dough. After mixing, the dough needs to rest in the refrigerator for at least an hour. This period allows the minimal gluten developed during handling to relax. Relaxed gluten is less elastic and less likely to contract when exposed to heat, significantly reducing shrinkage during baking. Resting also gives the fat a chance to firm up again, which is essential for flakiness. Don't skip this step if you want a stable, beautifully shaped, perfected golden pie crust recipe result.
Even Thickness: Ensuring Uniform Baking
Rolling your pie dough to an even thickness, typically about 1/8 inch, is vital for uniform baking and consistent color. If the dough is thicker in some spots and thinner in others, the thinner parts will brown and potentially burn before the thicker sections are fully baked.
Uneven thickness also leads to an inconsistent texture – some parts might be tender and flaky, while others are tough or undercooked. Take the time to roll the dough carefully, lifting and rotating it as you go, to ensure an even sheet that will bake up into a uniformly golden and flaky crust.
Troubleshooting Guide: FAQs and Solutions
Why isn't my pie crust browning sufficiently?
Insufficient browning can be due to several factors. The oven temperature might be too low (check with an oven thermometer), or the baking time might be too short. The crust needs sufficient time at temperatures typically above 350°F (175°C) for the Maillard reaction and caramelization to occur effectively. Ensure you're baking for the full recommended time or until visual cues indicate it's done. Using an egg or butter wash can also help promote browning. Sometimes, the type of fat used can affect browning; all-butter crusts tend to brown beautifully.
How can I prevent my pie crust from shrinking during baking?
Shrinkage is usually a result of overworking the dough (developing too much gluten) or not chilling it sufficiently. To prevent it, handle the dough minimally when mixing and rolling. Ensure your butter and water are very cold. Most importantly, refrigerate the dough disks for at least an hour before rolling, and then chill the formed crust in the pie plate for another 30 minutes (or freeze for 15) before baking. This allows the gluten to relax and the fat to firm up, helping the crust hold its shape in the heat.
What causes a tough pie crust, and how do I avoid it?
A tough pie crust is typically caused by over-developing the gluten. This happens when you add too much water to the dough, mix it too vigorously or for too long, or handle the dough roughly when rolling and transferring. To avoid a tough crust, use the minimum amount of ice water needed for the dough to just come together. Mix gently with a fork or your hands just until combined. Roll the dough without stretching it, and allow it to rest adequately in the refrigerator as described above. Using a lower-protein flour can also help.
Conclusion: Mastering the Art of Pie Baking
Key Takeaways for Achieving a Golden, Buttery Crust
Mastering the art of perfecting golden pie crust recipes hinges on a few critical principles centered around temperature and technique. Remember the importance of keeping ingredients, especially the fat and dough, very cold until they hit the oven. Understand that the initial high heat sets the crust structure and kickstarts browning, while a reduced temperature allows for even cooking through to the center without burning the edges. Pay close attention to visual cues – a truly golden brown color on the top and bottom is your indicator of perfection.
Further Resources: Exploring Advanced Pie Baking Techniques
Perfecting your pie crust is a journey, and there's always more to explore. Delving into techniques like using different types of fat (shortening, lard), experimenting with alternative flours, or trying different decorative crimping methods can further elevate your pie-baking skills. Understanding how different fillings interact with the crust and require adjustments in baking time and temperature will also make you a more confident pie baker. Continue practicing, and soon you'll be creating consistently beautiful, flaky, and perfectly golden pie crusts.
Frequently Asked Questions
What is the most important factor in achieving a golden pie crust?
The most important factor is controlling the oven temperature and bake duration. A proper temperature ramp-up helps the crust develop its color evenly.
How does BakeWithEase's "Golden Pie Crust" recipe differ from other recipes?
Our recipe focuses on a specific temperature ramp-up, ensuring the crust bakes evenly from the bottom up, resulting in the perfect golden color and texture, as detailed on BakeWithEase.com.
What type of flour is recommended for the "Golden Pie Crust" recipe?
We recommend using all-purpose flour for its versatility and ability to create a tender, yet sturdy, crust. You can find the exact measurements on BakeWithEase.com.
Can I use a pre-made pie crust instead of making my own?
While you can use a pre-made crust, the best results for a golden crust are achieved with our homemade recipe, as it allows for precise control over ingredients and baking.
What are some common mistakes people make when baking pie crust, and how does this recipe address them?
Common mistakes include using too much water or overworking the dough, leading to a tough crust. Our recipe on BakeWithEase.com emphasizes gentle handling and precise measurements to avoid these issues.
Final Reflection: The Alchemy of a Golden Crust
The pursuit of the perfect golden pie crust transcends mere baking; it's a quest for culinary mastery, a testament to precision and patience that resonates deeply with both seasoned bakers and enthusiastic novices alike. The seemingly simple act of creating a flaky, golden crust is, in reality, a delicate dance of temperature control and timing, as this article has explored. Understanding the nuances of a proper ramp-up and bake duration is key to unlocking that coveted, visually stunning, and deliciously crisp result.
The impact of a perfectly executed pie crust extends far beyond the individual pie itself. It's a symbol of comfort, tradition, and the enduring power of homemade goodness in a world increasingly dominated by convenience. It speaks to the satisfaction of creating something beautiful and delicious from simple ingredients, a feeling that connects us to generations of bakers past. The best things in life are homemade,
a sentiment that rings particularly true when considering the golden perfection of a well-baked pie crust. This simple act of baking can be a powerful reminder of the importance of slowing down, paying attention to detail, and finding joy in the process.
Now, consider your own baking journey. Have you ever experienced the frustration of a soggy bottom or a stubbornly pale crust? Remember the feeling of triumph when you finally achieved that perfect golden hue? This article provides a framework, a guide, but the true mastery lies in your hands. Embrace the experimentation, learn from your mistakes, and savor the journey towards perfecting your own golden pie crust. The reward – a slice of pure, golden deliciousness – is well worth the effort.
Unlock Your Perfect Pie Crust: Let's Get Baking!
Thanks for taking the time to explore the secrets of a flawlessly golden pie crust! We hope you now feel confident in mastering the temperature ramp-up and bake duration. Ready to put your new skills to the test?
- Bake your dream pie: Grab your ingredients and try out the techniques you just learned! Experiment with different fillings and share your creations with us.
- Share your success (or even your delicious fails!): Post a picture of your pie on social media using #BakeWithEasePieCrust – we'd love to see your results!
- Explore other baking tips and tricks on BakeWithEase.com – we have a whole library of helpful guides waiting for you.
What delicious pie filling will you choose for your first perfectly golden crust?