
Baking Times and Temperatures for Puff Pastry Perfection

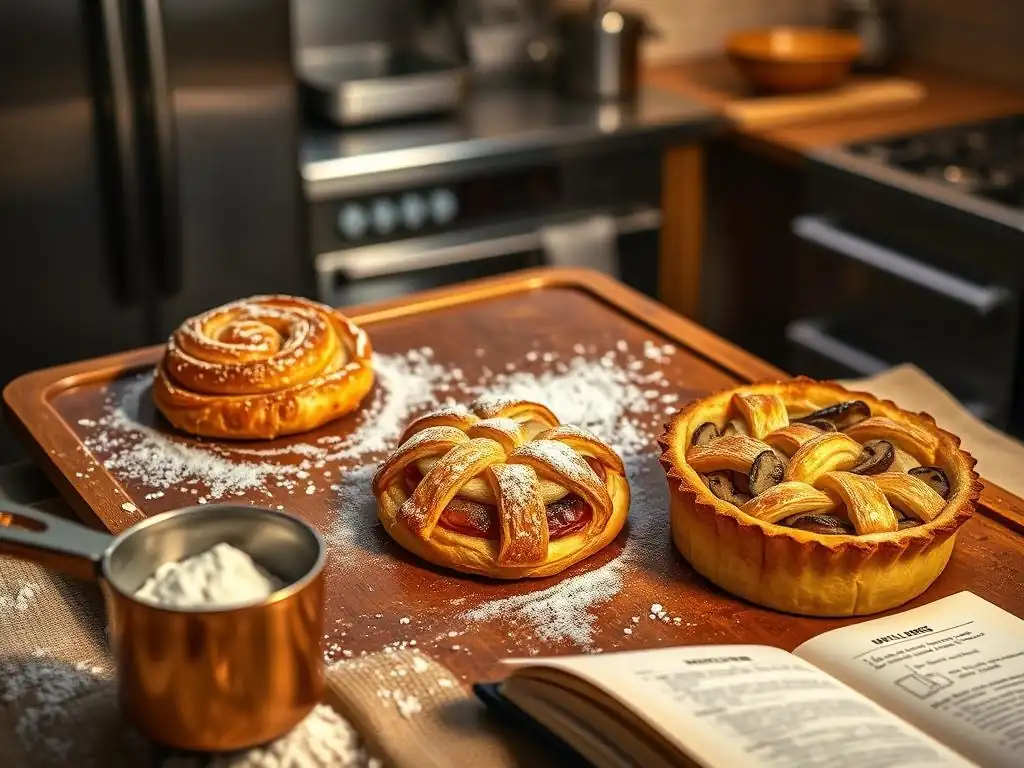
Welcome to BakeWithEase, your kitchen companion for all things baking! Ever wondered if you're really getting the most out of your puff pastry? This guide delves into the crucial details of puff pastry baking times and temperatures, unlocking layers of flaky perfection. Are you ready to transform your baking game? Let's get started and discover the secrets to consistently golden and delicious results.
- Understanding Puff Pastry Baking: Achieving Golden Perfection
- Optimal Oven Temperatures for Puff Pastry
- Puff Pastry Baking Times: A Comprehensive Guide
- Factors Affecting Puff Pastry Baking Times
- Troubleshooting Common Puff Pastry Baking Issues
- Mastering Puff Pastry Baking: A Step-by-Step Approach
- Puff Pastry Baking Times and Temperatures Chart
- Advanced Puff Pastry Baking Techniques
- Conclusion: Achieving Puff Pastry Perfection Every Time
- Frequently Asked Questions
- Final Reflection: The Sweet Science of Puff Pastry Perfection
- Unlock Your Inner Pastry Chef!
Understanding Puff Pastry Baking: Achieving Golden Perfection
Baking puff pastry is a fascinating process where layers of dough and butter transform into a light, airy, and incredibly flaky treat. This transformation relies heavily on the precise interaction of heat and time. As the butter melts, it creates steam, forcing the thin layers of dough apart. Simultaneously, the dough bakes and sets around these steam pockets, resulting in the characteristic 'puff'. Getting this balance right is key to avoiding common pitfalls like soggy bottoms or burnt edges.
Achieving that perfect golden-brown color and crisp texture isn't just about following a recipe; it's about understanding the science behind the bake. Too low a temperature, and the butter might melt out before creating steam, leading to a greasy, flat result. Too high, and the outside could burn before the inside layers have a chance to fully expand and cook. Mastering puff pastry baking times and temperatures is arguably the most critical skill for consistent success.
The Importance of Accurate Puff Pastry Baking Times
Accurate puff pastry baking times are absolutely critical for achieving the desired texture and rise. Unlike some doughs where a few extra minutes might just mean a slightly darker crust, with puff pastry, timing is everything. Under-baking leaves the inner layers raw and dense, collapsing the structure and resulting in a doughy, unappetizing mess. Over-baking, on the other hand, can lead to excessive drying, a tough texture, and a burnt flavor, especially around thinner edges or points.
Consider a standard batch of puff pastry turnovers filled with apple. Typically, these might require 18-22 minutes at around 400°F (200°C). If you pull them out at 15 minutes, the apple filling might still be cool and the bottom crust pale and soft.
Leave them in for 25 minutes, and while the top might look beautifully golden, the edges could be brittle and the bottom potentially over-browned or even starting to burn, especially if the filling is moist and prolongs the bake slightly. Precise puff pastry baking times ensure the layers are fully cooked, the butter has done its work, and the pastry is crisp from top to bottom.
Temperature's Role in Perfect Puff Pastry Lamination
Temperature plays a dual role in the perfection of puff pastry lamination – both the temperature of the dough before baking and the oven temperature during baking are vital. Before baking, the dough and butter must be kept very cold. This ensures the butter remains in distinct layers between the dough. If the butter is too warm and soft, it will integrate into the dough rather than staying separate, hindering the steam creation process that causes the puff. Many recipes recommend chilling assembled pastries for at least 15-30 minutes before baking.
During baking, a high initial temperature is typically used, often in the range of 400-425°F (200-220°C). This intense heat causes the cold butter layers to melt rapidly and produce a burst of steam, forcing the dough layers apart quickly before the structure sets. After the initial rapid rise (often within the first 10-15 minutes), some recipes may recommend reducing the temperature slightly, perhaps to 375°F (190°C), to allow the inner layers to fully cook and dry out without the exterior burning. This controlled temperature transition ensures maximum lift and a uniformly crisp texture throughout the puff pastry.
Optimal Oven Temperatures for Puff Pastry
Setting the correct oven temperature is paramount when working with puff pastry. The high fat content and delicate layering require a specific thermal environment to achieve maximum rise and flakiness. An oven that is not properly preheated or is set to the wrong temperature can completely derail the baking process, leading to poor lift, uneven browning, and a less-than-ideal texture. It's always a good idea to use an oven thermometer to verify your oven's actual temperature, as they can often be off by 25-50°F (15-30°C).
The high heat helps to rapidly solidify the dough's gluten structure while simultaneously vaporizing the water in the butter, creating steam. This steam is trapped between the layers of dough, causing them to separate and expand dramatically. If the temperature is too low, this process happens too slowly, and the butter may simply melt and leak out before sufficient steam is generated, resulting in a flatter, greasy pastry. Achieving the right oven temperature ensures this critical initial 'spring' happens effectively.
The Ideal Temperature Range for Baking Puff Pastry
The ideal temperature range for baking most puff pastry items typically falls between 375°F and 425°F (190°C and 220°C). Many bakers start at the higher end of this range, say 400-425°F (200-220°C), for the first 10-15 minutes to maximize the initial puff. This rapid heat helps set the layers quickly and create maximum lift.
After this initial phase, some recipes suggest lowering the temperature to 375-400°F (190-200°C) for the remainder of the baking time. This allows the inside of the pastry to finish cooking and dry out without the outside becoming too dark or burning.
For instance, baking larger items like a beef Wellington wrapped in puff pastry might start at 425°F (220°C) for 15 minutes, then drop to 375°F (190°C) for another 20-30 minutes or until the internal temperature of the filling is reached and the pastry is golden and crisp. This two-stage temperature approach is a common technique for ensuring both great lift and thorough cooking.
Adjusting Oven Temperature for Different Puff Pastry Items
The specific item you are baking dictates how you might adjust the oven temperature within that ideal range. Smaller, thinner items require less time and might tolerate a slightly higher consistent temperature, while larger or thicker items benefit from a higher initial temperature followed by a lower one to ensure the center cooks through without the exterior burning. Fillings also play a significant role, as moist fillings can lower the temperature of the pastry around them, requiring longer bake times or slight temperature adjustments.
For example, small, unfilled puff pastry shells (like those for vol-au-vents) benefit from a consistently high temperature to ensure they puff dramatically and hold their shape. Larger turnovers or parcels with substantial fillings, like a thick fruit compote or a meat mixture, need that initial high heat for lift but then require a reduced temperature to allow the heat to penetrate the filling and cook the inner layers of pastry thoroughly. Always consider the size and composition of your pastry when setting your oven temperature.
Baking Vol-au-vents: Specific Temperature Guidance
When baking vol-au-vents, those lovely hollow puff pastry cases, the goal is maximum puff and a dry, stable interior. These are typically baked unfilled, allowing for optimal steam expansion. A common approach is to bake them at a relatively high temperature, often 400-425°F (200-220°C), for their entire baking time.
The high heat ensures the layers separate quickly and the cases hold their shape rigidly as they cool. Baking time for small vol-au-vent cases (about 2-3 inches in diameter) is usually around 12-18 minutes. You're looking for a deep golden-brown color and for the centers to be clearly hollow and dry. If they look pale or feel heavy, they likely need a few more minutes to finish cooking and drying out properly in the center.
Baking Palmiers: Temperature Considerations
Palmiers, often called 'elephant ears', are relatively thin puff pastry cookies made from sugared dough rolled into a heart shape. Due to their thinness and sugar content, they require careful temperature management to caramelize the sugar without burning the pastry. A typical temperature range for palmiers is 375-400°F (190-200°C).
Baking time is quite quick, usually 10-15 minutes per batch, often requiring flipping halfway through to ensure even caramelization and browning on both sides. The sugar can burn quickly at higher temperatures, so monitoring is key. If baking at 400°F (200°C), they might be done in 10-12 minutes, while 375°F (190°C) might take closer to 15 minutes. Look for a rich golden-brown color and crispy edges.
Baking Apple Turnovers: Temperature Tweaks
Apple turnovers, being filled pastries, require a temperature strategy that balances puffing the layers with cooking the filling. A good starting point is often 400°F (200°C) for the first 10-15 minutes to get a good lift and set the structure.
After the initial puff, reducing the temperature to 375°F (190°C) for the remaining 10-15 minutes allows the heat to penetrate the apple filling and cook the inner layers of pastry thoroughly without over-browning the exterior. Total baking time for a medium-sized apple turnover is typically 20-25 minutes. If the apple filling is particularly wet, it might take a few extra minutes. You want the pastry to be golden-brown all over and the filling hot and bubbling slightly.
Puff Pastry Baking Times: A Comprehensive Guide
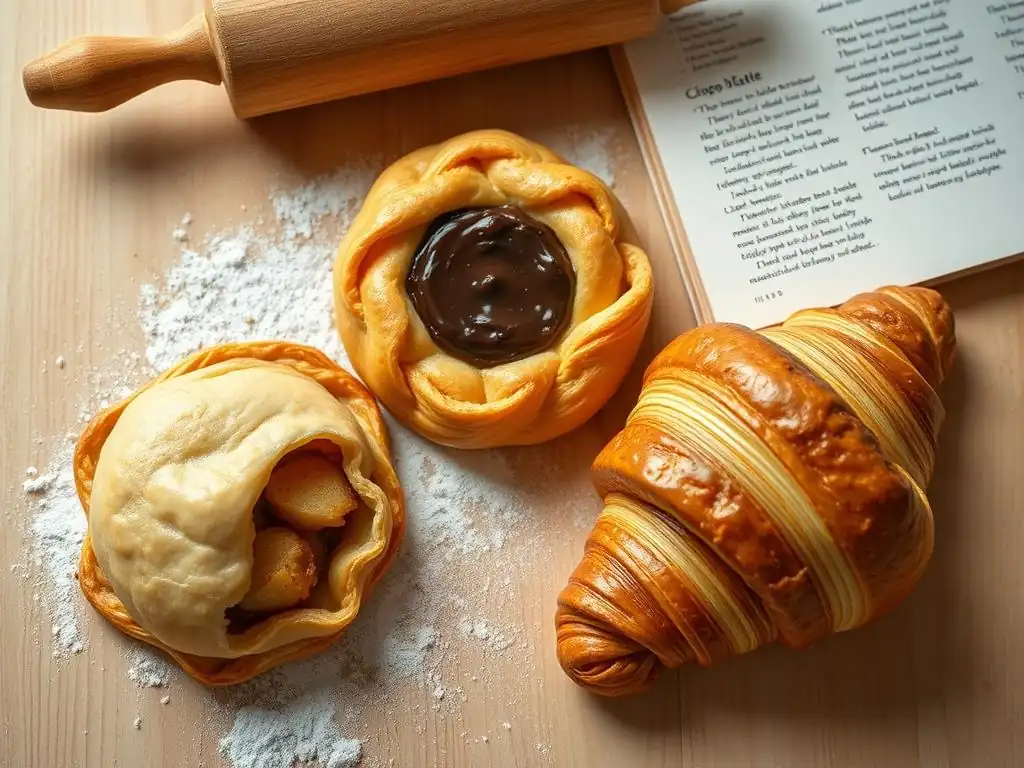
Understanding general guidelines for puff pastry baking times is essential, but it's equally important to recognize that these are estimates. The actual time required will vary based on several factors we'll discuss later, including the size and thickness of the pastry, the type and amount of filling, and your specific oven's calibration. Always use visual cues as your primary indicator of doneness, using time as a guide.
General Puff Pastry Baking Time Guidelines
Here are some approximate puff pastry baking times for common items baked at typical temperatures (e.g., starting at 400-425°F / 200-220°C, potentially reducing later):
- Small, unfilled shells (Vol-au-vents): 12-18 minutes
- Small cookies (Palmiers): 10-15 minutes (often flipped halfway)
- Medium turnovers (fruit/savory): 20-25 minutes
- Larger parcels (e.g., beef Wellington): 35-50 minutes (often with temperature reduction)
- Thin sheets for toppings (e.g., pie tops): 15-20 minutes
These are just starting points. Always check your specific recipe's recommended puff pastry baking times and keep a close eye on the pastry as it bakes, especially towards the end of the suggested time range.
Visual Cues for Doneness: Identifying Perfectly Baked Puff Pastry
Visual cues are the most reliable indicators of perfectly baked puff pastry. The most obvious sign is the color. You are looking for a rich, deep golden-brown hue across the entire surface, not just the edges. Pale puff pastry is almost certainly under-baked.
Another key cue is the puff itself. The layers should be clearly separated and significantly risen, showing distinct flakes. If the pastry looks flat or dense, it likely hasn't baked long enough for the layers to fully expand and set. Finally, check the bottom. Carefully lift one corner (use tongs or a spatula!) to ensure the bottom crust is also golden-brown and feels firm and crisp, not pale or soft.
How to Avoid Under-baked Puff Pastry
Avoiding under-baked puff pastry comes down to patience and observation. The most common mistake is removing the pastry from the oven too soon because the top looks done. To prevent this:
- Trust the clock, but verify visually: Use the recipe's recommended puff pastry baking times as a guide, but always check the visual cues (deep golden color, good puff, crisp bottom).
- Check the bottom: This is often the last part to fully cook. If the top is golden but the bottom is pale, the pastry needs more time.
- Listen: Perfectly baked puff pastry, when gently tapped on the bottom, should sound hollow.
- Consider temperature reduction: If the top is browning too quickly, reduce the oven temperature slightly (e.g., by 25°F or 15°C) and continue baking until the interior is cooked and the bottom is golden.
How to Prevent Over-baked Puff Pastry
Preventing over-baked puff pastry requires vigilance, especially in the final minutes of baking. Puff pastry can go from perfectly golden to burnt quite rapidly.
- Monitor closely: Stay near the oven in the last 5-10 minutes of the suggested puff pastry baking times.
- Use foil if needed: If the edges or tips of your pastry (like palmiers or points of turnovers) are browning too quickly, you can gently tent them with small pieces of aluminum foil.
- Know your oven: If your oven has hot spots, rotate the baking sheet halfway through the baking time to ensure even browning.
- Adjust for size/thickness: Thinner pastries will finish faster. If you're baking items of varying sizes, separate them onto different trays.
Factors Affecting Puff Pastry Baking Times
While general guidelines for puff pastry baking times are helpful, several factors can significantly alter how long your pastry needs in the oven. Understanding these variables allows you to make necessary adjustments and ensures a successful bake every time. Ignoring these factors is a common cause of unexpected results.
Puff Pastry Thickness and Its Impact on Baking Time
The thickness of your rolled-out puff pastry is one of the most significant factors influencing puff pastry baking times. Thicker pastry takes longer for the heat to penetrate all the layers and cook the interior thoroughly. Conversely, very thin pastry will bake much faster but may not achieve as dramatic a rise.
For example, if a recipe calls for rolling puff pastry to 1/8 inch (approx. 3mm) thickness and suggests 20 minutes of baking time for turnovers, rolling it to 1/4 inch (approx. 6mm) might require 5-10 minutes longer, perhaps 25-30 minutes total. This is because the heat has to travel further through the dough and butter layers to create steam and cook the center. Always aim for consistent thickness as specified in your recipe for predictable results and consistent puff pastry baking times.
Filling Composition and Its Influence on Baking Duration
The type and amount of filling used in your puff pastry items have a substantial impact on puff pastry baking times. Wet fillings, like fruit compotes, creams, or juicy meats, introduce moisture which can lower the internal temperature of the pastry around the filling and prolong the baking time needed for the dough to cook through.
A dry filling, such as cheese or cooked, relatively dry meat, will have less impact on baking time compared to a very wet one. For instance, a savory turnover filled with a dry mushroom mixture might take 20-25 minutes, similar to an apple turnover.
However, a turnover generously filled with a very wet cherry compote might need 25-30 minutes or even slightly longer to ensure the bottom crust beneath the filling is fully cooked and not soggy. You may also need to adjust the oven temperature slightly downwards towards the end to prevent the top from burning while the center finishes.
Oven Calibration: Ensuring Accurate Baking Temperatures
Oven calibration is a factor that is often overlooked but critically affects puff pastry baking times and results. Most home ovens are not perfectly calibrated and can run hotter or cooler than the temperature displayed on the dial. A difference of 25-50°F (15-30°C) is not uncommon.
If your oven runs cool, your puff pastry baking times will likely be longer than specified in recipes, and the pastry might not puff as well initially. If it runs hot, baking times will be shorter, and you risk burning the exterior before the interior is cooked. Using an inexpensive oven thermometer placed near your pastry is the best way to know your oven's true temperature and adjust accordingly. If your oven consistently reads 25°F (15°C) cooler than set, you might need to set it 25°F (15°C) higher to compensate.
Troubleshooting Common Puff Pastry Baking Issues
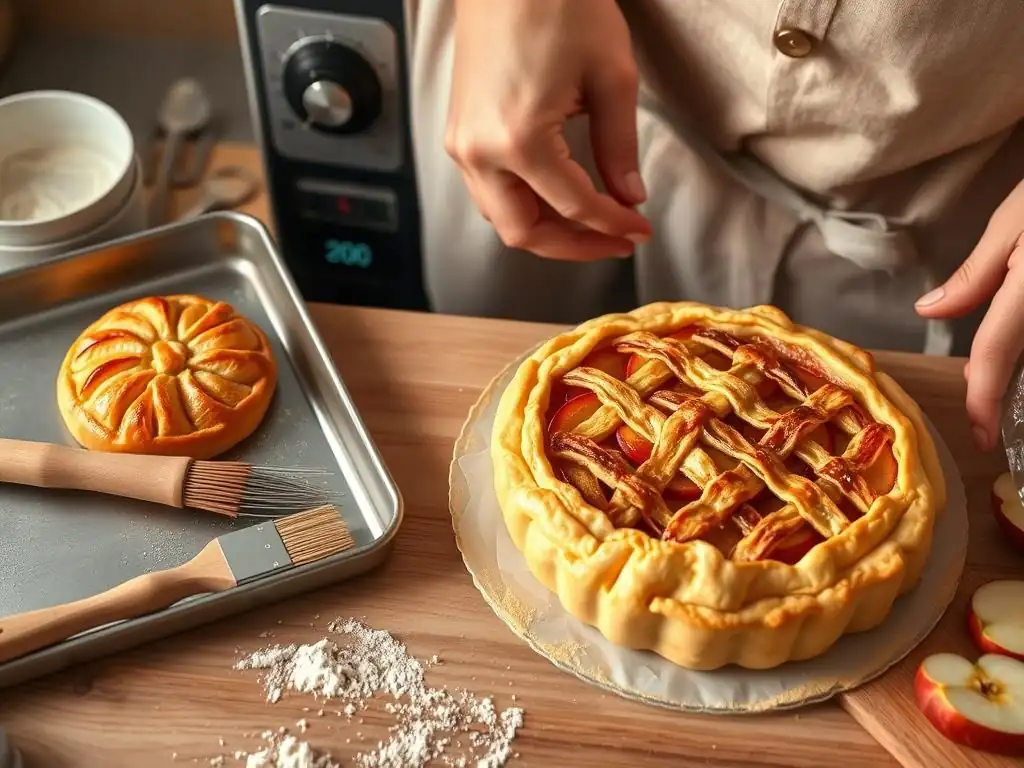
Even with the best intentions and careful adherence to recipes, you might encounter issues when baking puff pastry. Knowing how to diagnose and fix these common problems can save your bake and help you learn for next time.
Puff Pastry Not Rising Properly: Potential Causes and Solutions
If your puff pastry doesn't achieve that signature impressive rise, several factors could be at play:
- Butter too warm: If the butter layers melted into the dough before baking (e.g., dough wasn't kept cold enough), steam production is hindered.
- Solution: Ensure dough is very cold before baking. Chill assembled pastries for 15-30 minutes.
- Oven temperature too low: Insufficient heat means the butter melts slowly and leaks out rather than creating a burst of steam.
- Solution: Verify oven temperature with a thermometer and ensure it's adequately preheated to the recommended high temperature (e.g., 400-425°F / 200-220°C).
- Layers not distinct: If the folding (lamination) process wasn't done correctly, the butter layers might be uneven or integrated into the dough.
- Solution: Practice your folding technique, ensuring sharp turns and chilling between folds.
- Edges sealed too tightly: If you press the edges together too firmly when assembling, you can seal the layers together, preventing them from separating and puffing.
- Solution: Use a light touch when sealing edges. An egg wash is often sufficient to seal without crushing the layers.
Soggy Puff Pastry Bottom: Prevention and Remedies
A soggy bottom is a common and frustrating issue, especially with filled pastries. It usually means the base hasn't cooked or dried out properly.
- Excessive moisture from filling: Very wet fillings are a primary culprit.
- Prevention: Reduce liquid in fillings where possible. Pre-cook wet fillings to thicken them. Use a thicker layer of pastry on the bottom if possible.
- Oven temperature too low or baking time too short: The bottom needs sufficient heat and time to crisp up.
- Prevention/Remedy: Ensure adequate initial high heat. If the top is done but the bottom is pale, try moving the baking sheet to a lower rack in the oven for the last few minutes (watch carefully! ).
- Baking sheet material: Darker baking sheets absorb more heat and can help crisp the bottom better than light-colored ones.
- Prevention: Use a dark or non-stick baking sheet. Some bakers even preheat the baking sheet briefly before placing the pastry on it (handle with extreme caution! ).
Uneven Baking: Tips for Consistent Results
Uneven baking can result in some pastries being perfect while others are under- or over-baked on the same sheet.
- Oven hot spots: Most ovens have areas that are hotter than others.
- Solution: Rotate your baking sheet halfway through the puff pastry baking times.
- Crowding the pan: Placing pastries too close together restricts airflow.
- Solution: Give pastries ample space on the baking sheet, allowing heat to circulate evenly around each piece.
- Uneven pastry thickness: If parts of your rolled dough are thicker or thinner than others, they will bake at different rates.
- Solution: Practice rolling dough to a consistent thickness across the entire sheet.
- Uneven filling: If some pastries have significantly more or wetter filling than others, their baking times will differ.
- Solution: Try to portion fillings as evenly as possible.
Mastering Puff Pastry Baking: A Step-by-Step Approach
Baking perfect puff pastry consistently involves more than just setting the temperature and time. It's a process that starts before the pastry even hits the oven. Following a step-by-step approach ensures you cover all the critical points for success.
Step 1: Preheating the Oven for Puff Pastry Success
This step is non-negotiable for puff pastry. Always preheat your oven fully to the required temperature before putting the pastry in. This means allowing the oven to come to temperature and then waiting an additional 15-20 minutes to ensure the heat is stable and the oven walls are hot.
- [ ] Set oven to required initial temperature (e.g., 400-425°F / 200-220°C).
- [ ] Allow oven to reach temperature.
- [ ] Wait an additional 15-20 minutes after the oven signals it's ready.
- [ ] Use an oven thermometer to verify the actual temperature.
Putting puff pastry into a cool or inadequately preheated oven is a recipe for poor puff and greasy results, as the butter will melt out slowly instead of creating steam.
Step 2: Preparing Puff Pastry for Baking: Docking and Egg Wash
Proper preparation just before baking can significantly impact the final result. Depending on what you are making, you might need to dock the pastry or apply an egg wash.
- Docking: For items like vol-au-vent shells or flat pastry sheets where you want even puff without one large bubble, you'll use a fork to prick holes in the dough. This allows steam to escape in a controlled manner. For turnovers or filled items where you want significant puff, do not dock the areas you want to rise.
- Egg Wash: Brushing the top surface with an egg wash (usually a beaten egg mixed with a little water or milk) provides a beautiful golden sheen and helps with browning. Apply it lightly, avoiding letting it drip down the sides, as this can glue the layers together and inhibit puff.
Example Egg Wash:
1 large egg
1-2 teaspoons water or milk

Whisk together until well combined. Brush a thin, even layer onto the pastry surface using a pastry brush.
Step 3: Monitoring the Baking Process for Optimal Results
Once the pastry is in the oven, monitoring is key, especially during the initial puffing phase and towards the end of the puff pastry baking times.
- Initial Phase (first 10-15 mins): Watch for the pastry to begin rising dramatically. Avoid opening the oven door during this critical phase unless absolutely necessary, as a rush of cold air can collapse the delicate structure.
- Mid-Bake: If your recipe calls for it, reduce the oven temperature. Rotate the baking sheet if you know your oven has hot spots or if you notice uneven browning.
- Final Phase: Begin checking for doneness using visual cues (color, puff, bottom crispness) as you approach the minimum recommended puff pastry baking times. Be prepared to remove the pastry as soon as it looks done or tent areas that are browning too quickly.
Step 4: Cooling Puff Pastry to Maintain Crispness
Cooling is the final, often overlooked, step to ensuring your puff pastry stays crisp. Hot pastry releases steam as it cools. If left on a solid tray, this steam can condense on the bottom, making it soggy.
- [ ] Once removed from the oven, immediately transfer the baked puff pastry items to a wire cooling rack.
- [ ] Allow them to cool completely on the rack. This allows air to circulate around all sides, preventing steam from condensing and keeping the bottom crisp.
Cooling on a wire rack is essential for maintaining the flaky texture achieved through careful puff pastry baking times and temperatures.
Puff Pastry Baking Times and Temperatures Chart
Having a quick reference guide can be incredibly helpful when tackling various puff pastry recipes. Remember that these are general guidelines, and your specific oven and ingredients may require slight adjustments. Always use visual cues to confirm doneness.
Quick Reference Guide for Common Puff Pastry Recipes
| Item Type | Approx. Thickness | Typical Temp Range | Typical Baking Time (Approx.) | Key Visual Cues |
|---|---|---|---|---|
| Vol-au-vents (shells) | 1/8 inch (3mm) | 400-425°F (200-220°C) | 12-18 minutes | Deep golden, fully puffed, hollow interior |
| Palmiers (cookies) | 1/8 inch (3mm) | 375-400°F (190-200°C) | 10-15 minutes (flip halfway) | Golden-brown, caramelized sugar, crisp |
| Turnovers (filled) | 1/4 inch (6mm) | 400°F (200°C) -> 375°F (190°C) | 20-25 minutes | Golden-brown all over, filling bubbling slightly |
| Flat Sheets (for tops) | 1/8 inch (3mm) | 400°F (200°C) | 15-20 minutes | Golden-brown, evenly puffed |
| Larger Parcels | 1/4-1/3 inch (6-8mm) | 425°F (220°C) -> 375°F (190°C) | 35-50 minutes | Deep golden, well-puffed, filling cooked through |
This chart provides a starting point for understanding typical puff pastry baking times and temperatures. Always refer to your specific recipe and adjust based on observation and the factors discussed earlier.
Advanced Puff Pastry Baking Techniques
Once you've mastered the basics of puff pastry baking times and temperatures, you might want to explore techniques that can further enhance your results or adapt the pastry to different applications. These methods build upon the foundational principles of heat and time management.
Baking Puff Pastry with Different Fillings: Savory vs. Sweet
The main difference when baking puff pastry with savory versus sweet fillings often lies in managing moisture and potential sugar caramelization. Savory fillings are less likely to burn on the surface due to sugar, but moist savory fillings (like meat sauces or creamy mixtures) still pose the risk of a soggy bottom. Sweet fillings, especially those high in sugar, require careful monitoring to prevent the sugar from burning before the pastry is fully cooked.
For sweet fillings, you might start with a slightly lower temperature or reduce the temperature sooner to allow the pastry to cook through without the sugar on the surface or edges burning. For very moist fillings, either sweet or savory, ensuring sufficient initial high heat and potentially finishing on a lower rack can help crisp the bottom. You might also slightly increase the overall puff pastry baking times compared to drier fillings. Consider pre-baking the bottom crust briefly for extremely wet fillings, though this isn't always necessary if temperatures and times are managed correctly.
Achieving Extra Flaky Puff Pastry: Advanced Tips
To push your puff pastry to achieve maximum flakiness and height, consider these advanced tips that impact how the layers separate during puff pastry baking times:
- Excellent Lamination: This starts with perfect folding technique, ensuring distinct, even layers of butter and dough. More precise turns (e.g., a book fold followed by a single fold) can yield more layers.
- Very Cold Dough: Ensure the dough is intensely cold before it enters the oven. This maximizes the explosive steam release from the butter. Freezing the shaped pastry for 15-30 minutes before baking can enhance the puff.
- High Initial Heat: Confirm your oven is accurately preheated to the upper end of the recommended range (e.g., 425°F / 220°C) for the first crucial minutes. This rapid heat shock sets the layers and maximizes lift.
- Don't Overwork: Handle the dough gently. Overworking develops gluten, which can make the pastry tougher and less flaky.
Advanced Flakiness Checklist:
[ ] Dough and butter are very cold.
[ ] Lamination layers are distinct and even.
[ ] Oven is accurately preheated to a high temperature.
[ ] Pastry is handled gently during shaping.
Baking Puff Pastry in Different Types of Ovens: Convection vs. Conventional
The type of oven you use significantly impacts puff pastry baking times and temperatures.
- Conventional Ovens: These ovens use radiant heat from elements at the top and bottom. Hot spots are common, and baking sheets may need rotation. General puff pastry baking times and temperatures are typically given for conventional ovens.
- Convection Ovens: These ovens use a fan to circulate hot air, resulting in more even heating and faster cooking. For convection ovens, you generally need to reduce the temperature by 25°F (15°C) and/or reduce the puff pastry baking times by 10-20% compared to conventional oven instructions. For example, if a conventional oven recipe calls for 400°F (200°C) for 20 minutes, a convection oven might require 375°F (190°C) for 16-18 minutes. Convection is excellent for achieving even browning and crispness.
Always start checking for doneness earlier when using a convection oven.
Conclusion: Achieving Puff Pastry Perfection Every Time
Mastering puff pastry baking times and temperatures is a journey that combines precise technique with attentive observation. While recipes provide essential guidance, understanding the 'why' behind the recommended temperatures and durations allows you to adapt and troubleshoot effectively. The interaction of cold butter, heat, and time is a delicate dance that results in one of baking's most celebrated textures.
Key Takeaways for Successful Puff Pastry Baking
Remember these core principles to consistently achieve perfect puff pastry:
- Temperature is paramount: Start with very cold dough and bake in a properly preheated, hot oven (typically 375-425°F / 190-220°C).
- Time is a guide, visuals are key: Use recommended puff pastry baking times as an estimate, but rely on visual cues like deep golden color, significant puff, and a crisp bottom to determine doneness.
- Adjust for variables: Account for the thickness of your pastry, the moisture content of your filling, and the specifics of your oven when estimating baking time.
- Monitor closely: Especially towards the end of the bake, keep a close eye on your pastry to prevent burning or under-baking.
- Cool correctly: Always cool baked puff pastry on a wire rack to maintain crispness.
By paying attention to these details, you'll be well on your way to baking consistently beautiful, flaky, and delicious puff pastry creations.
Frequently Asked Questions
What is the ideal baking temperature for puff pastry?
The ideal baking temperature for puff pastry is generally between 400°F (200°C) and 425°F (220°C). This high heat helps create steam, which is crucial for the pastry to puff up properly.
How long should I bake puff pastry?
Baking times vary depending on the recipe and size, but typically puff pastry bakes for 15 to 25 minutes. Look for a golden brown color and a fully puffed texture.
Why isn't my puff pastry puffing up?
Several factors can prevent puffing, including too low of an oven temperature, not enough moisture, or overworking the dough. Ensure your oven is preheated and avoid handling the dough excessively.
Can I bake puff pastry from frozen?
Yes, you can bake puff pastry from frozen! However, it may require a slightly longer baking time. Always follow the specific instructions on the package or recipe.
How do I prevent my puff pastry from burning?
To prevent burning, keep a close eye on the pastry during the last few minutes of baking. You can also lower the oven temperature slightly or tent the pastry with foil if it's browning too quickly.
Final Reflection: The Sweet Science of Puff Pastry Perfection
Mastering puff pastry baking times and temperatures isn't just about achieving a golden-brown crust; it's about unlocking the potential for culinary artistry. The seemingly simple act of baking puff pastry holds within it a complex interplay of heat, time, and ingredient interaction, directly impacting the final texture and flavor. Understanding these nuances elevates baking from a task to a precise and rewarding craft.
The pursuit of the perfect puff pastry has captivated bakers for centuries, its delicate layers and airy texture a testament to both skill and patience. The journey to mastering this technique, as explored in this article, reveals a deeper appreciation for the historical context and the ongoing evolution of baking practices. The proof of the pudding is in the eating,
as the saying goes, and the same holds true for puff pastry: the satisfaction of a flawlessly baked creation is its own reward. This pursuit, however, extends beyond personal gratification; it connects us to a rich culinary heritage and encourages continuous learning and refinement.
Now, consider your own baking journey. What have you learned about precision and patience from this exploration of puff pastry? I encourage you to experiment, to embrace the slight variations in your oven and ingredients, and to discover the unique nuances that make your puff pastry truly your own. Don't be afraid to deviate from the guidelines, to adjust temperatures and times, and to develop your own "secret" techniques. The path to puff pastry perfection is a personal one, filled with delicious discoveries along the way.
Unlock Your Inner Pastry Chef!
Thanks for joining us on this delicious journey into the world of puff pastry! We hope you’ve gained the confidence to tackle even the flakiest creations. Now it's time to put your newfound knowledge into practice.
- Master a New Recipe: Try baking one of your favorite puff pastry recipes, paying close attention to the temperature and timing guidelines discussed. This is your chance to shine!
- Share Your Success: Snap a photo of your masterpiece and share it on social media using #BakeWithEase – let's see those golden-brown layers!
- Explore More Techniques: Dive deeper into our archives for more baking tips and tricks – you might discover your next favorite pastry!
Ready to create puff pastry perfection? What delicious treat will you bake first?