
Beyond the Spatula: Mastering Basic Piping for Stunning Bakes

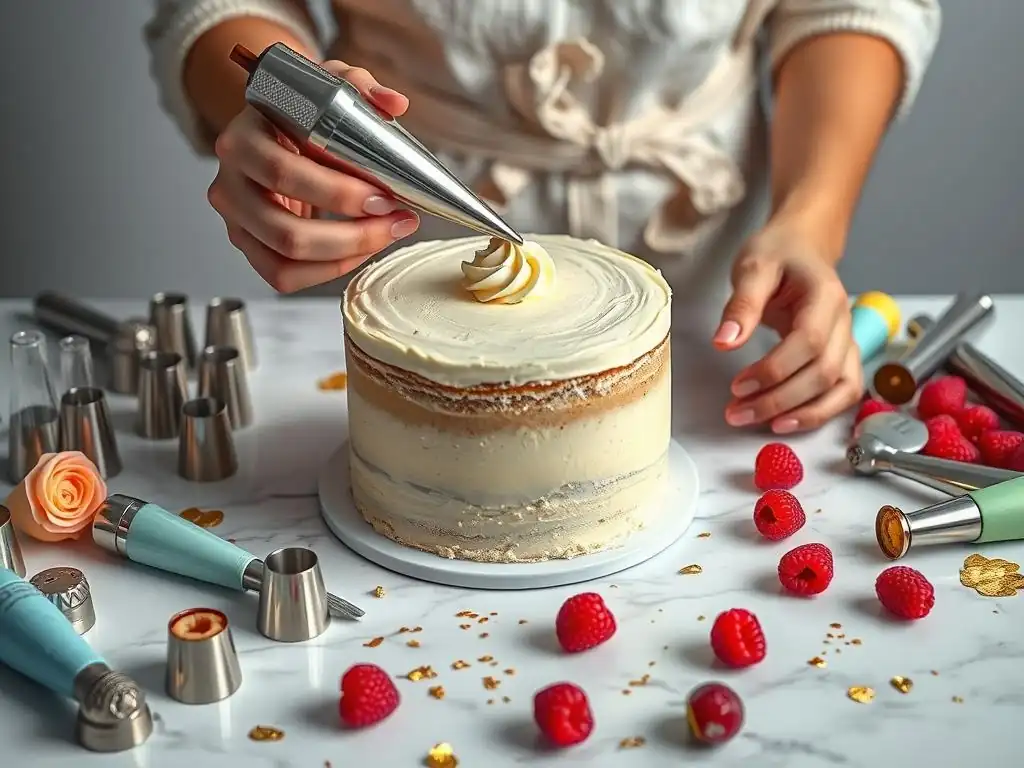
Welcome to BakeWithEase, your passport to a sweeter world! Ever dreamt of transforming your homemade cakes into edible masterpieces? You're in the right place. Dive into "Beyond the Spatula: Mastering Basic Piping for Stunning Bakes" and unlock the secrets to easy buttercream piping techniques. Discover how simple swirls and rosettes can elevate your baking from ordinary to extraordinary, and prepare to impress with your newfound skills. But first, what if there was a way to create even more intricate designs? Let's explore!
- Introduction to Easy Buttercream Piping Techniques
- Essential Tools for Buttercream Piping Success
- Preparing Your Buttercream for Piping
- Mastering Basic Buttercream Piping Techniques: Step-by-Step
- Troubleshooting Common Buttercream Piping Problems
- Buttercream Piping Ideas and Inspiration for Stunning Bakes
- Maintaining and Cleaning Your Piping Tools
- Conclusion: Unleash Your Creativity with Easy Buttercream Piping Techniques
-
Frequently Asked Questions
- What are the essential tools needed for easy buttercream piping techniques?
- How do I prepare my buttercream for piping?
- What's the best way to fill a piping bag without making a mess?
- Can I practice piping before using buttercream on my cake?
- What are some simple piping techniques a beginner can start with?
- Final Reflection: The Sweet Art of Accessible Piping
- Unleash Your Inner Pastry Artist: Master Piping Today!
Introduction to Easy Buttercream Piping Techniques
Why Learn Buttercream Piping? Elevating Your Baking Game
Mastering buttercream piping is like unlocking a secret level in your baking journey. It's the skill that transforms a simple, delicious cake or cupcake into a visually stunning centerpiece, adding that professional touch that wows friends and family. Think about the difference between a plain frosted cake and one adorned with elegant borders or beautiful rosettes – the visual appeal significantly enhances the overall baking experience, both for the baker and the recipient. It allows you to personalize your creations for holidays, birthdays, or just because, making every bake feel special.
Beyond just aesthetics, learning easy buttercream piping techniques gives you incredible creative control over your desserts. You can add texture, dimension, and intricate details that are impossible to achieve with just a spatula. It opens up possibilities for writing messages, creating floral designs, or applying decorative patterns. While it might seem intimidating at first glance, focusing on fundamental easy buttercream piping techniques makes it accessible for anyone, regardless of their current skill level. It's a rewarding skill that adds immense value to your baking repertoire.
Understanding the Essentials for Successful Piping
Successful buttercream piping hinges on three core elements: having the right tools, preparing buttercream with the correct consistency, and consistent practice. Ignoring any one of these can lead to frustration. The tools provide the means to shape the frosting, the consistency ensures the shapes hold, and practice builds the muscle memory and control needed for clean, beautiful designs. It’s a synergy where each part supports the others to achieve impressive results.
The consistency of your buttercream is arguably the most critical factor after having basic tools. If the buttercream is too soft, your carefully piped stars will slump into blobs, and lines will lose their definition. If it's too stiff, it will be incredibly difficult to squeeze through the tip, potentially causing the bag to burst, and the piped frosting might look dry or broken. Understanding how to adjust your buttercream to that perfect, pipeable state is fundamental to mastering easy buttercream piping techniques.
Essential Tools for Buttercream Piping Success
Piping Bags: Choosing the Right Type for Your Needs
Piping bags come in several varieties, each with its own advantages. Disposable plastic bags are incredibly popular, especially for beginners or when using multiple colors, because they offer easy cleanup – simply use and discard. They are typically made from food-safe plastic and come in various thicknesses; thicker bags are less likely to burst under pressure. A standard size like a 12-inch or 16-inch bag is versatile for most projects involving easy buttercream piping techniques.
Reusable bags, made from silicone or canvas, are more durable and environmentally friendly. They require thorough washing after each use, which can be a bit more effort, especially with greasy buttercream. Silicone bags are flexible and easy to handle, while canvas bags are sturdy. For small, intricate details or piping with melted chocolate, parchment paper cones are a traditional, disposable option that can be customized in size. Choosing the right bag often comes down to personal preference, project type, and how much you value convenience versus reusability.
Piping Tips: A Beginner's Guide to Essential Shapes
Piping tips are the small nozzles inserted into the piping bag that give the buttercream its shape as it's squeezed out. They are usually made of metal (stainless steel is common for durability and rust resistance) or plastic and are identified by numbers. For those just starting with easy buttercream piping techniques, you don't need dozens of tips. A small set of basic shapes will allow you to create a wide variety of designs.
Starting with a few essential tips – a couple of round tips, a couple of star tips, and maybe a leaf tip – is a smart approach. These basic shapes form the foundation of many decorative elements. Quality tips produce cleaner, more defined shapes. While plastic tips are inexpensive, metal tips tend to be more durable and hold their shape better under pressure, which is beneficial as you practice and refine your easy buttercream piping techniques.
Round Tips: Versatility for Lines, Dots, and Outlines
Round piping tips have a smooth, circular opening and are incredibly versatile. They are perfect for piping simple lines, outlining shapes, filling in areas with frosting, writing messages on cakes or cookies, and creating dots of various sizes. The size of the tip's opening dictates the thickness of the line or the size of the dot.
Common round tip sizes range from very fine (like #1, #3 for delicate writing or details) to medium (like #10, #12 for dots and thicker lines) to very large (like #1A for large dots and smooth cupcake swirls). For example, a #3 tip is excellent for piping intricate patterns or script on a cookie, while a #12 tip is ideal for creating uniform dots around the base of a cake. A large #1A tip is a go-to for quickly topping cupcakes with a substantial, smooth swirl, demonstrating effective easy buttercream piping techniques.
Star Tips: Creating Stars, Shells, and Borders
Star tips have a serrated opening and are essential for creating classic decorative effects. They are used to pipe individual star shapes, create elegant shell borders along the edges of cakes, form textured rope borders, and produce the popular swirled topping on cupcakes. Star tips come in 'open star' and 'closed star' variations, with open stars producing more defined ridges and closed stars creating a slightly more ruffled effect.
Popular star tip sizes include #18, #21 (great for small stars, shells, and borders), and larger tips like #1M or #2D (excellent for cupcake swirls, large stars, and bold borders). The #21 tip is a staple for its ability to create quick, attractive shell borders on cakes. The #1M tip is perhaps one of the most widely used tips for cupcakes, allowing you to pipe a beautiful, textured swirl with ease – a prime example of effective easy buttercream piping techniques.
Leaf Tips: Mastering Realistic Leaf Designs
Leaf tips are specifically designed to pipe shapes that resemble leaves. They typically have a V-shaped opening, sometimes with a small indentation to create a vein effect down the center of the piped leaf. While not used for every design, they are invaluable when adding floral elements to your bakes, providing realistic foliage to complement piped flowers.
The technique for piping leaves involves varying pressure and movement as you pipe. Common leaf tip sizes include #67, #69, and #352. A #352 tip is a popular choice for creating delicate leaves that pair well with medium-sized piped flowers on cakes or cookies. Mastering the pressure required to create a wide base and a tapered tip is key to achieving realistic leaf shapes, adding another dimension to your easy buttercream piping techniques.
Couplers: Enabling Easy Tip Changes
A coupler is a simple yet ingenious two-part plastic device that allows you to change piping tips on a piping bag without emptying the buttercream. This is particularly useful when you are using the same color of buttercream but want to pipe different designs (like a border with a star tip and then writing with a round tip) or if you realize you need a different size tip midway through decorating.
To use a coupler, the larger base piece is inserted into the piping bag before filling, with about half an inch protruding from the cut end of the bag. The piping tip is then placed over the outside of the coupler base, and the plastic ring screws on to secure the tip in place. It's important to note that very large tips (like #1A or #1M) often do not fit standard couplers and are typically used without one. Using couplers streamlines your decorating process and makes practicing various easy buttercream piping techniques much more efficient.
Other Helpful Tools: Spatulas, Parchment Paper, and Turntables
Beyond the bags and tips, a few other tools can significantly aid your buttercream piping efforts. Offset spatulas are essential for applying a smooth base layer of buttercream onto cakes before you begin piping borders or other decorations. Their angled blade helps keep your knuckles clear of the cake surface.
Parchment paper is invaluable for practicing your easy buttercream piping techniques before applying them to your actual bake. You can pipe designs onto parchment, scrape the buttercream back into the bag, and reuse it. Small squares of parchment paper are also used as a base for piping delicate items like buttercream flowers, which can then be chilled and transferred to the cake. A cake turntable (even a basic plastic one) is also highly recommended, allowing you to rotate your cake smoothly while piping borders, ensuring they are even and continuous.
Preparing Your Buttercream for Piping
Achieving the Perfect Buttercream Consistency for Piping
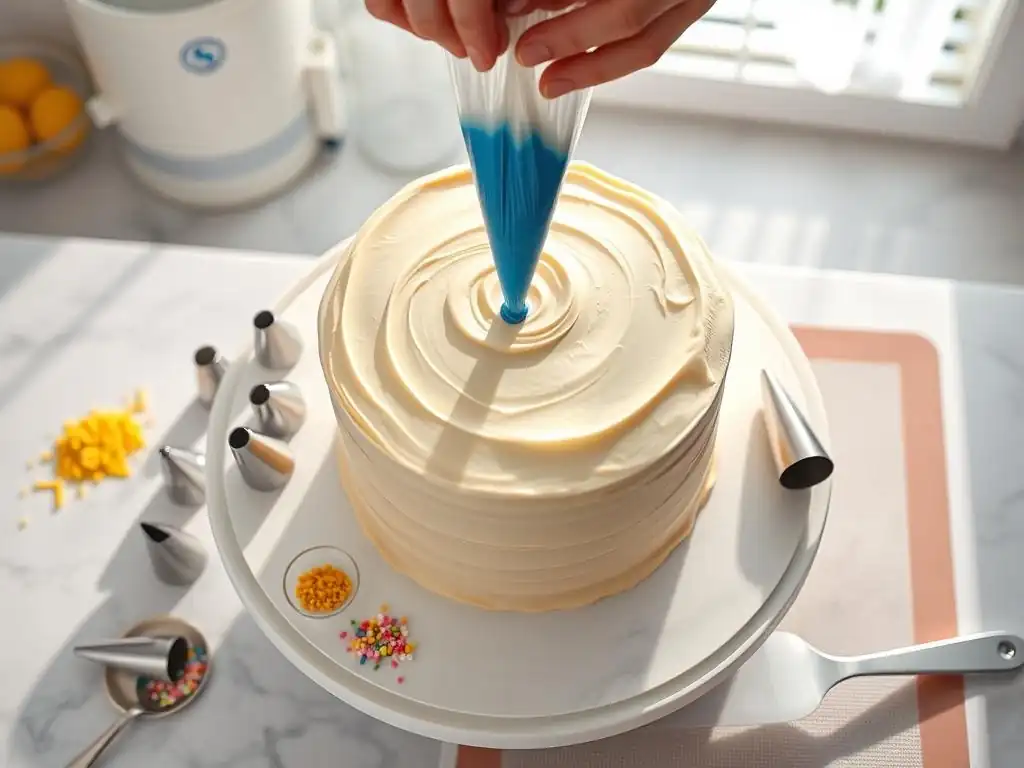
The single most important factor for successful buttercream piping is achieving the correct consistency. Buttercream that is too stiff will be difficult to squeeze, potentially causing the bag to split, and the piped designs will look rough or broken. Conversely, buttercream that is too soft will not hold its shape, causing piped swirls to slump and detailed work to blur. The ideal consistency is smooth, pliable, and firm enough to maintain sharp edges when piped.
Adjusting consistency is simple. If your buttercream is too stiff, add a very small amount of liquid (like milk, cream, or even water), about half a teaspoon to a teaspoon at a time, and mix thoroughly until the desired consistency is reached. If it's too soft, which can happen in warm environments or if too much liquid was added, beat in a tablespoon or two of extra powdered sugar until it stiffens up, or chill the buttercream in the refrigerator for 10-15 minutes, stirring well afterward. Finding this sweet spot is crucial for executing easy buttercream piping techniques cleanly.
Coloring Your Buttercream: Gel vs. Liquid Food Coloring
When coloring buttercream for piping, the type of food coloring you use matters. Liquid food colorings, commonly found in supermarkets, are water-based and less concentrated. While fine for lightly tinting buttercream, using large amounts to achieve vibrant colors can add too much liquid, thinning the buttercream and making it unsuitable for piping techniques that require the frosting to hold its shape.
Gel food colorings are highly concentrated and come in a thick, gel-like or paste form. They produce vibrant colors with only a small amount of product, meaning they won't significantly alter the consistency of your buttercream. This makes gel colors the preferred choice for piping, especially for detailed work or when deep, rich colors are desired. Add gel color gradually, mixing thoroughly after each addition, until you reach the desired shade. Remember that colors can deepen slightly as they sit.
Filling Your Piping Bag: A No-Mess Method
Filling a piping bag can seem messy, but a simple technique makes it much cleaner. First, if using a coupler, assemble it inside the bag. If using a tip without a coupler, insert the tip and push it firmly into the end of the bag before cutting off the tip of the bag. Then, place the piping bag, tip down, inside a tall glass or cup and fold the top edge of the bag down over the rim of the glass. This holds the bag open and stable.
Use a spatula or spoon to scoop the prepared buttercream into the bag, filling it about half to two-thirds full. Avoid overfilling, as this makes the bag difficult to handle and control pressure. Once filled, lift the bag out of the glass, unfold the top edge, and twist the top of the bag tightly just above the buttercream. Push the buttercream down towards the tip, squeezing out any large air bubbles. This method ensures your hands stay clean and the buttercream goes where it's supposed to, ready for easy buttercream piping techniques.
Mastering Basic Buttercream Piping Techniques: Step-by-Step
Technique 1: Piping Simple Borders with Star Tips
Borders add a polished, finished look to cakes and can hide imperfections along the edges. Using star tips like the #21 (medium open star) or #1M (large open star) allows you to create classic, decorative borders with relative ease. The key to consistent borders is maintaining a steady hand, even pressure, and a consistent angle relative to the cake surface (often 45 degrees).
Practice piping borders on parchment paper first to get a feel for the pressure and movement required. Two fundamental star tip borders are the shell border and the rope border. Both are excellent easy buttercream piping techniques to start with and provide a strong visual impact.
Creating a Shell Border: A Classic Design
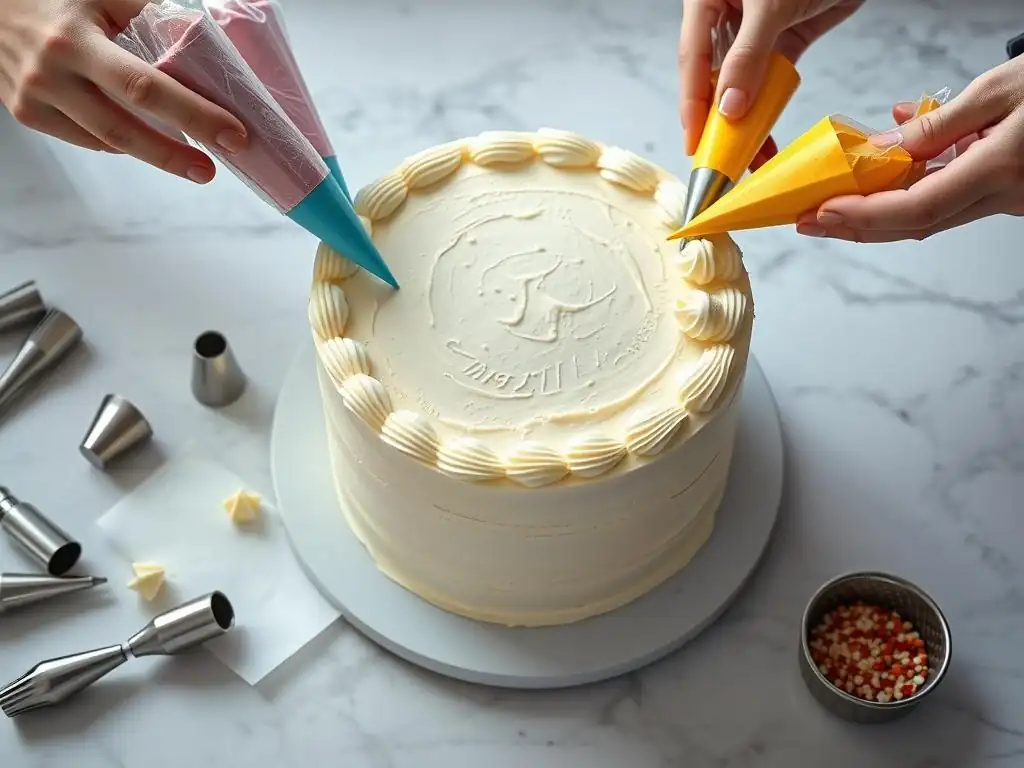
The shell border is one of the most recognizable and popular piped borders, created using a star tip (like #21 or #1M). To pipe a shell, hold the piping bag at about a 45-degree angle to the surface. Squeeze the bag firmly to build up a base of buttercream, then, while maintaining pressure, slowly move the tip away from the base, gradually decreasing pressure as you pull to form a tapered tail.
To create a continuous border, pipe the next shell so that its base slightly overlaps the tail of the previous shell. This creates a flowing, scalloped effect. The size of your shell depends on the tip size and how much pressure you apply at the start. Consistent pressure and overlapping are vital for a neat, uniform shell border, making it a foundational easy buttercream piping technique.
Piping a Rope Border: Adding Texture and Dimension
A rope border offers a braided or twisted look and adds lovely texture to the edge of a cake. It is also created using a star tip, often a slightly larger one like the #1M. Start by piping a shape similar to the beginning of a shell, building a small mound.
Instead of pulling straight away for a tail, pipe the next segment alongside the first, slightly overlapping its tail and pushing gently into the side of the first segment's base. Continue this process, alternating sides slightly with each new segment, to create the twisted "rope" effect. It requires a bit more coordination than a simple shell but is still achievable with practice and adds a sophisticated touch using easy buttercream piping techniques.
Technique 2: Piping Rosettes with Round Tips
Rosettes are beautiful, swirling mounds of buttercream that resemble roses. While star tips (#1M, #2D) are frequently used for their defined texture, large round tips like the #1A can create softer, smoother rosettes. These are perfect for topping cupcakes or creating clusters of decorative elements on a cake surface.
The size of the round tip you use will directly influence the size of the rosette. A #1A tip creates a substantial, bold rosette perfect for a standard-sized cupcake, while a smaller round tip could create mini-rosettes for detailing. Piping rosettes is one of the most satisfying and popular easy buttercream piping techniques for decorating cupcakes quickly and beautifully.
The Swirl Technique: Creating Beautiful Rosettes
To pipe a rosette using a round tip (like #1A), hold the piping bag perpendicular to the surface (90 degrees). There are two common methods: starting in the center or starting at the edge. For the center-start method, squeeze firmly to create a central point, then, while maintaining pressure, spiral outwards in a circular motion, overlapping the previous layer slightly until you reach the desired size.
For the edge-start method, begin at the outer edge of where you want the rosette to be. Squeeze firmly while spiraling inwards towards the center, overlapping as you go. Stop squeezing before you lift the bag cleanly away to avoid a messy peak. Experiment with both methods and the number of spirals to find the technique and look you prefer for these easy buttercream piping techniques.
Varying Rosette Sizes for Visual Appeal
Using only one size of rosette can look uniform, but incorporating rosettes of different sizes adds visual interest and depth to your decorated bake. You can achieve this in a couple of ways: by using different size round tips (e.g., a #1A for large rosettes and a #12 for smaller ones) or by varying the pressure and the number of spirals you pipe with a single tip.
On a cake, you could pipe a few large rosettes as focal points and surround them with smaller ones. On a platter of cupcakes, topping some with large #1A swirls and others with smaller #12 swirls creates a dynamic presentation. Varying sizes is a simple way to elevate your easy buttercream piping techniques.
Technique 3: Piping Dots and Lines with Round Tips
Dots and lines are fundamental building blocks in piping and are among the easiest buttercream piping techniques to master. Round tips are used for these elements, with the tip size determining the thickness of the line or the size of the dot. These basic shapes can be used for outlining, filling areas, creating patterns, or adding simple decorative elements.
From tiny pearl-like dots to thick borders and straight or wavy lines, these techniques are foundational. Practicing consistent pressure is key to achieving uniform dots and smooth lines, which are essential skills for more complex piping down the line.
Creating Evenly Spaced Dots
Piping dots is straightforward but requires consistent pressure and a clean stop. Hold the piping bag with a round tip (e.g., #3 for small, #12 for medium, #1A for large) perpendicular to the surface (90 degrees). Squeeze the bag firmly until the dot reaches the desired size.
Crucially, stop squeezing completely before lifting the bag straight up. This helps create a clean, rounded dot without a peak. Practice applying the same pressure each time for uniform dot sizes. For even spacing, you can lightly mark your surface beforehand or simply practice eyeballing the distance between dots – another step in refining your easy buttercream piping techniques.
Piping Straight and Wavy Lines
Piping lines requires maintaining steady pressure and movement. Hold the piping bag with a round tip (size depending on desired thickness) at a slight angle to the surface (around 45 degrees). Squeeze the bag consistently to start the flow of buttercream.
While maintaining that steady pressure, move the bag smoothly in the desired direction – in a straight line across the surface or in a wavy motion. To end the line cleanly, stop squeezing slightly before you reach the end point and gently lift the bag away. Practicing straight and wavy lines helps build control and consistency, foundational for many easy buttercream piping techniques.
Technique 4: Piping Leaves with Leaf Tips
Adding piped leaves with a leaf tip can significantly enhance the realism of floral arrangements on your bakes. Leaf tips (like #352) are specifically shaped for this purpose. While slightly more nuanced than basic dots or lines, piping leaves is still relatively easy to learn and adds a lovely touch of nature to your designs.
The technique involves a combination of pressure and movement to shape the buttercream into a leaf form. Leaves are excellent for filling in gaps between piped flowers or adding a decorative element on their own, demonstrating a slightly more advanced but still achievable easy buttercream piping technique.
Achieving Realistic Leaf Shapes
To pipe a realistic leaf using a leaf tip (such as #352), hold the piping bag so the tip's slit is perpendicular to the surface. Squeeze the bag firmly to create the wider base of the leaf. While maintaining some pressure, begin pulling the bag away from the base and simultaneously decrease the pressure while wiggling the bag gently from side to side.
This combination of decreasing pressure and wiggling creates the tapered, pointed end of the leaf and can add a slight vein-like texture. Practice varying the initial pressure and the speed of your pull and wiggle to create different leaf shapes and sizes. Piping leaves next to piped flowers instantly makes the arrangement look more complete and natural.
Varying Leaf Sizes and Angles
Just like rosettes, varying the size and angle of your piped leaves adds to the natural look of your decorations. You can use different size leaf tips, or with a single tip, vary the amount of pressure applied at the start and the distance you pull the bag to create larger or smaller leaves. More pressure and a longer pull will create a larger leaf.
Piping leaves at different angles (holding the tip slightly tilted instead of strictly perpendicular) makes them look like they are growing in different directions, adding dynamic movement to your design. Combining different sizes and angles helps create a more organic and less uniform appearance, further enhancing your easy buttercream piping techniques.
Troubleshooting Common Buttercream Piping Problems
Buttercream Too Stiff: How to Soften It
One common issue when piping is buttercream that is too stiff. This makes it hard to squeeze the bag, can cause hand fatigue, results in broken or dry-looking piped lines, and can even lead to the piping bag splitting under pressure. This often happens if too much powdered sugar was added or if the buttercream is too cold.
To soften stiff buttercream, add a very small amount of liquid – milk, cream, or even water works – starting with just half a teaspoon or a teaspoon. Mix it into the buttercream thoroughly. If it's still too stiff, add another tiny amount and mix again. Repeat until the desired smooth, pliable consistency is achieved. Be cautious not to add too much liquid at once, as it's easier to add more than to fix overly soft buttercream.
Buttercream Too Soft: How to Thicken It
Conversely, buttercream can sometimes be too soft, especially in warm kitchens or if too much liquid was added during mixing or coloring. Soft buttercream won't hold its shape when piped; swirls will slump, dots will flatten, and defined borders will blur.
To thicken overly soft buttercream, the simplest solution is to add more powdered sugar, a tablespoon at a time, mixing it in completely until the buttercream reaches a pipeable consistency. Alternatively, especially if the softness is due to warmth, you can chill the buttercream in the refrigerator for 10 to 20 minutes. After chilling, be sure to stir the buttercream well with a spatula to make it smooth again before attempting to pipe.
Air Bubbles in Your Piping Bag: Prevention and Solutions
Air bubbles trapped in your piping bag can cause frustrating gaps or bursts in your piped lines or shapes, ruining the smooth flow of buttercream. This often happens if air is incorporated during mixing or if the bag isn't filled properly.
To prevent air bubbles, push the buttercream down towards the tip after filling the bag and twist the top of the bag tightly to create pressure and prevent air from entering from the top. When filling, try to scoop buttercream into the bag smoothly rather than whipping it in. If you notice an air bubble while piping, untwist the bag, squeeze the buttercream down towards the tip, and re-twist. Sometimes gently kneading the bag can help work the bubble out.
Uneven Piping: Tips for Consistent Pressure
Uneven piping, where lines or shapes are thicker or thinner in different spots, is usually a result of inconsistent pressure on the piping bag. Developing consistent pressure is a key aspect of mastering easy buttercream piping techniques.
Hold the piping bag correctly: use one hand to guide the tip and the other hand (the dominant one) to apply steady, even pressure from the twisted top of the bag. Practice on parchment paper, focusing solely on maintaining the same squeeze pressure while moving the bag at a constant speed. This focused practice helps build the necessary muscle memory for uniform piping, leading to cleaner, more professional-looking results.
Buttercream Piping Ideas and Inspiration for Stunning Bakes
Simple Cake Decorations for Beginners
You don't need to be an expert to add beautiful piping to a cake. Even basic techniques can make a big difference. A simple shell border piped around the base and top edge of a cake using a #21 star tip adds a classic, finished look. Piping uniform dots with a #12 round tip can create a playful polka-dot pattern on the sides.
Using a large star tip like the #1M, you can quickly cover the top of a cake with piped stars for a textured "grass" effect or pipe simple zig-zags or wavy lines across the surface for an easy decorative pattern. These easy buttercream piping techniques are perfect for building confidence on larger projects.
Cupcake Piping Designs: From Simple Swirls to Elaborate Flowers
Cupcakes are fantastic canvases for practicing and showcasing easy buttercream piping techniques. The classic, ever-popular cupcake swirl is achievable with just a #1M star tip or a #1A round tip. A #1M gives a ridged swirl, while a #1A provides a smooth, rounded dome.
Once you're comfortable with basic swirls, try piping a few rosettes (#1M or #2D) on top of a cupcake for a more elegant look. Combine techniques by piping a small border around the edge of the cupcake liner before adding the top swirl. You can also practice piping simple buttercream flowers directly onto the cupcake surface using star or round tips arranged in floral patterns.
Piping buttercream onto cookies adds a delightful texture and taste, offering an alternative to royal icing. Use smaller round tips (#3, #5) to outline shapes and then fill them in, smoothing the surface with a small offset spatula if needed.
Pipe decorative borders, add accent dots, or create simple geometric patterns. Small star tips (#16, #18) can create mini rosettes or starbursts on cookies. Piping buttercream provides a charming, homemade look and allows for quick decoration of batches of cookies, making it a versatile application of easy buttercream piping techniques.
Maintaining and Cleaning Your Piping Tools
Proper Cleaning Techniques for Piping Bags and Tips
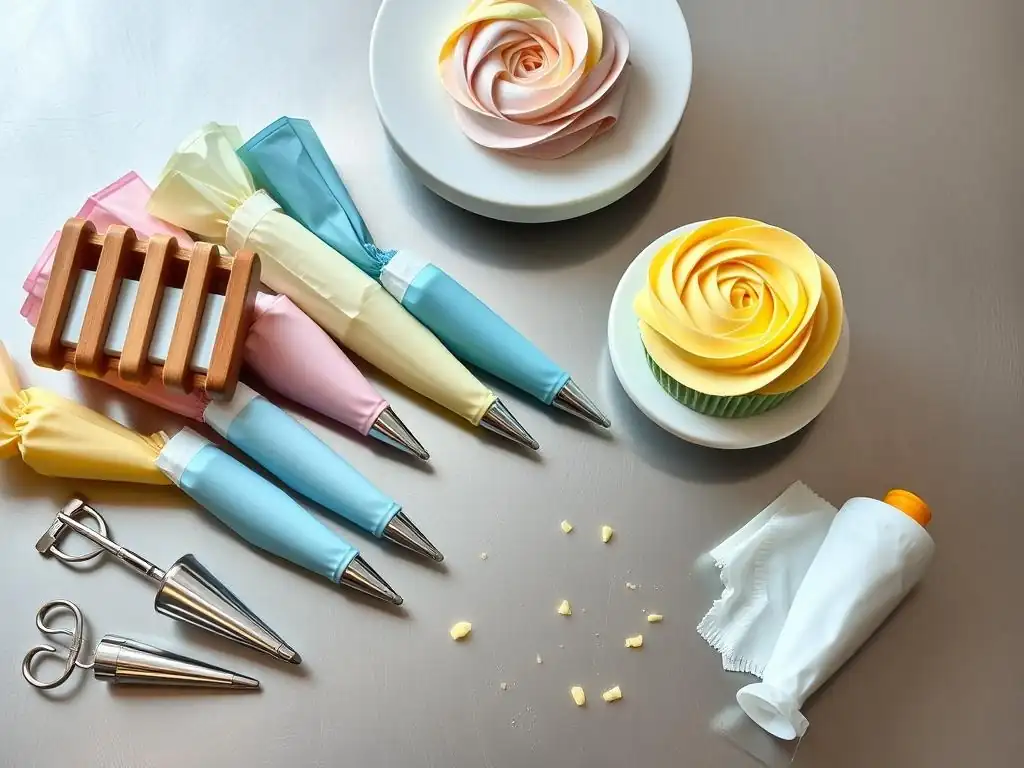
Proper cleaning is essential for the longevity of your piping tools and for hygiene. Immediately after use, scrape out as much excess buttercream from the piping bag and tips as possible. For disposable bags, simply discard them. For reusable bags and tips, rinse them thoroughly under warm running water to remove most of the residue.
Wash reusable bags and tips in hot, soapy water. Use a small brush (like a pastry brush cleaner or even an old toothbrush) to scrub inside the tips and along the seams of the bags, where buttercream can hide. Rinse again with clean water to remove all soap residue. Ensuring tools are clean prevents bacterial growth and keeps your metal tips from getting clogged or corroded.
Storing Your Piping Tools for Longevity
Once cleaned, it's crucial to ensure your piping tools are completely dry before storing them. Metal tips, in particular, can rust if put away damp. Allow reusable bags to air dry completely; hanging them upside down can help.
Store piping tips in a way that keeps them organized and protected. Dedicated tip storage containers with compartments are ideal, preventing tips from getting scratched or bent. Alternatively, you can store them in small jars or containers. Reusable bags should be stored dry and can be folded or rolled neatly. Proper storage protects your investment and keeps your tools ready for your next session of easy buttercream piping techniques.
Conclusion: Unleash Your Creativity with Easy Buttercream Piping Techniques
The Journey to Buttercream Piping Mastery: Practice Makes Perfect
Learning easy buttercream piping techniques is a skill that significantly enhances your ability to decorate baked goods, transforming them from simple treats into stunning visual delights. Like any skill, mastery comes with practice. Don't be discouraged if your first attempts aren't perfect; uneven lines, wobbly shells, or squashed dots are part of the learning process. The buttercream can always be scraped off, put back in the bag, and piped again!
Dedicate time to practicing on parchment paper before moving to your actual cakes or cupcakes. Experiment with different tips, vary your pressure, and try different movements. Start with the basic techniques – dots, lines, shells, and simple swirls – and gradually build your confidence. With consistent practice, you'll develop the control and precision needed to execute beautiful designs reliably. Embracing these easy buttercream piping techniques opens up a world of creative possibilities for stunning bakes.
Frequently Asked Questions
What are the essential tools needed for easy buttercream piping techniques?
You'll need piping bags, piping tips (various sizes and shapes), and a coupler (optional, for easy tip switching). A turntable is also very helpful for even frosting.
How do I prepare my buttercream for piping?
Ensure your buttercream is at the right consistency – smooth and creamy, not too stiff or too soft. Whipping it well will help achieve this.
What's the best way to fill a piping bag without making a mess?
Fold the top of the bag over your hand to create a cuff, then spoon the buttercream into the bag. Avoid overfilling the bag for better control.
Can I practice piping before using buttercream on my cake?
Absolutely! Use shortening or mashed potatoes to practice your techniques. This saves on buttercream and allows you to refine your skills without wasting ingredients.
What are some simple piping techniques a beginner can start with?
Begin with basic techniques like rosettes, stars, and simple borders. Focus on consistent pressure and movement for clean lines.
Final Reflection: The Sweet Art of Accessible Piping
Mastering basic piping techniques isn't just about creating aesthetically pleasing cakes; it's about unlocking a world of creative expression for every baker. The ease with which even simple piping skills can elevate a humble cake into a showstopper is truly remarkable. This accessibility, demystifying a skill often perceived as intimidating, is what makes this journey so rewarding.
The impact of accessible baking techniques extends far beyond the kitchen. It fosters a sense of accomplishment and empowers individuals to create personalized treats, strengthening connections with loved ones through shared experiences. The joy of crafting something beautiful with your own hands is undeniable. Baking is at once child's play and adult joy. And love, of course.
– Alma Flor Ada. This quote perfectly encapsulates the emotional resonance of baking, amplified by the ability to add those beautiful, personalized touches through piping.
Now, it's your turn. Don't let the fear of imperfection hold you back. Pick up a piping bag, experiment with different tips, and embrace the process. The journey of mastering buttercream piping is as fulfilling as the stunning results. Let your creativity flow, and discover the sweet satisfaction of transforming ordinary bakes into extraordinary works of art. You might surprise yourself with what you can achieve.
Unleash Your Inner Pastry Artist: Master Piping Today!
Thanks for joining us on this piping adventure! You've just unlocked a world of creative baking possibilities. Now it's time to put your new skills to the test.
- Practice your favorite piping technique: Start with a simple design and gradually increase the complexity. Don't be afraid to experiment! Think swirling roses or elegant borders - the possibilities are endless.
- Share your creations: Show off your beautiful bakes on social media using #BakeWithEasePiping and inspire others.
- Challenge a friend to a piping duel: Friendly competition can be a fun way to refine your skills and learn new tricks.
Ready to transform your baking from good to gourmet? What amazing piped design will you create first?