
The Art of Painting on Cakes & Cookies: Food Coloring Techniques

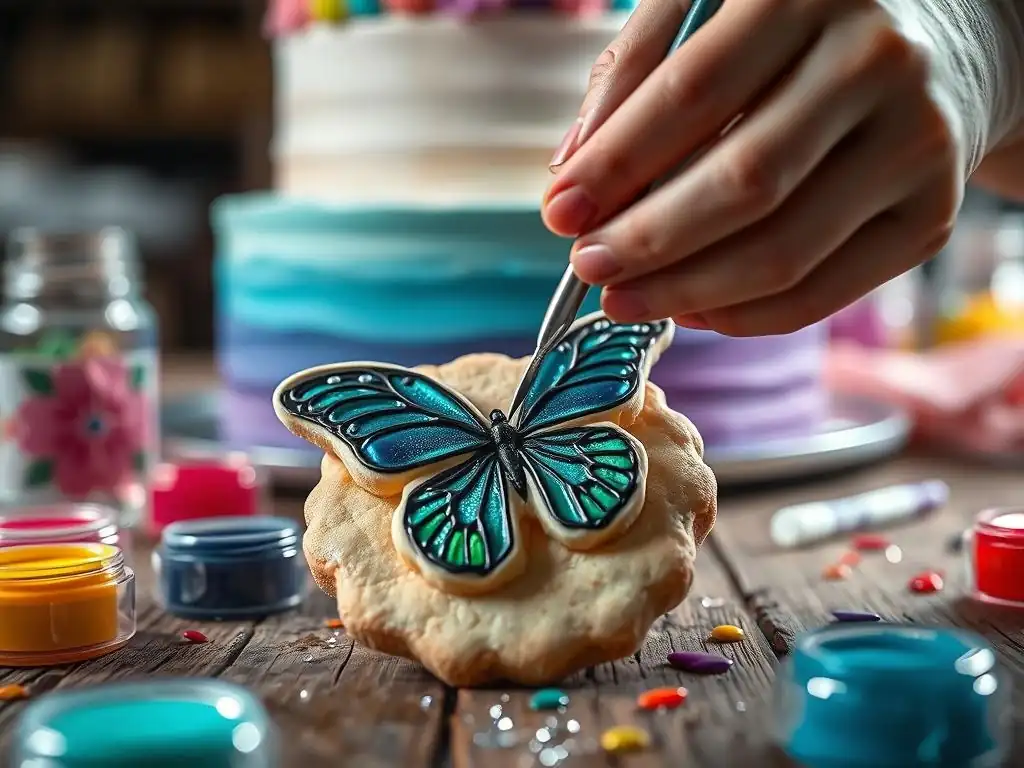
Welcome to BakeWithEase, your guide to unlocking the secrets of the baking world! Ever wondered how to transform a simple cake into a breathtaking masterpiece? This article dives deep into the fascinating world of food coloring cake decorating techniques. Discover how to use color to create stunning visual effects, from subtle gradients to bold, vibrant designs. Ready to elevate your baking game? Let's explore the art of painting on cakes and cookies!
- Introduction to Food Coloring Cake Decorating Techniques
- Essential Food Coloring Types for Cake & Cookie Art
- Preparing Your Canvas: Cake & Cookie Surfaces for Painting
- Mastering Food Coloring Techniques for Cake and Cookie Decorating
- Troubleshooting Common Food Coloring Issues in Baking
- Food Coloring Cake Decorating Ideas & Inspiration
- Tips for Maintaining Food Safety with Food Coloring
- Conclusion: Unleash Your Creativity with Food Coloring Cake Decorating
-
Frequently Asked Questions
- What types of food coloring are best for cake decorating?
- Can I use regular paintbrushes for food coloring on cakes and cookies?
- How do I prevent food coloring from bleeding on my cake or cookies?
- What techniques can I use to blend food coloring on cakes?
- Where can I find food coloring cake decorating techniques tutorials?
- Final Reflection: The Enduring Sweetness of Creative Expression
- Unleash Your Inner Cake Artist: Master Food Coloring Today!
Introduction to Food Coloring Cake Decorating Techniques
Hand-painted designs offer a level of artistry and personalization that is difficult to achieve with other decorating methods. Unlike piped designs or molded shapes, painting allows for nuanced shading, intricate details, and a truly unique finish. This makes hand-painted cakes and cookies highly sought after for special occasions like weddings, significant birthdays, or corporate events where a bespoke touch is desired. The ability to translate almost any image or artistic style onto a baked good makes this a versatile and expressive food coloring cake decorating technique.
Furthermore, the increasing popularity of social media platforms dedicated to baking and cake decorating has showcased stunning examples of edible art, inspiring home bakers and professionals alike. Seeing a flat cookie transformed into a miniature portrait or a simple cake tier become a canvas for a landscape encourages experimentation. This visual appeal and the perceived complexity of the technique contribute to its popularity, making hand-painted treats stand out in a crowded market of baked goods. Mastering these food coloring cake decorating techniques opens up a world of creative possibilities.
The Importance of Choosing the Right Food Coloring for Baking
Selecting the appropriate type of food coloring is fundamental to achieving vibrant, stable, and food-safe results when painting on cakes and cookies. Using the wrong type can lead to issues such as bleeding colors, faded hues, or colors that don't adhere properly to the surface. For instance, using water-based liquid colors on a fondant surface might cause it to become sticky or dissolve slightly, ruining the smooth finish needed for painting.
Different mediums require different color formulations. Painting directly onto a dry royal icing cookie is different from coloring melted chocolate or tinting buttercream. Understanding the properties of gel, liquid, oil-based, and powdered food colorings – their concentration, base ingredient (water, glycerin, oil), and intended use – is the first crucial step in successful food coloring cake decorating techniques. This knowledge ensures your colors perform as expected and contribute positively to the final artistic outcome.
Gel Food Coloring: The Baker's Workhorse
Gel food coloring is arguably the most popular choice for painting and coloring doughs, batters, and icings. It's a concentrated form of food dye suspended in a gel or glycerin base, offering intense color with minimal moisture addition. This high concentration means you need only a small amount – often just a drop or two – to achieve a vibrant hue, which is crucial when you don't want to alter the consistency of your medium, whether it's buttercream, royal icing, or fondant.
Its thick consistency makes gel coloring ideal for painting when diluted slightly with a compatible liquid (like clear alcohol or an extract for quick drying, or water for a slower drying time on some surfaces). The colors are typically stable and less prone to fading during baking or drying compared to traditional liquid colors. For anyone serious about food coloring cake decorating techniques, gel colors are an indispensable part of their toolkit due to their versatility and potency.
Advantages of Gel Food Coloring in Cake Decorating
Gel food coloring provides significant advantages for cake and cookie artists. Its high pigment concentration means colors are bright and true without needing to add large volumes of liquid, which can thin icings or batters excessively. A tiny container of gel color can tint a large batch of dough or icing vibrantly, making it very economical in the long run.
Furthermore, the gel base allows for easier mixing and less mess compared to powders, and they are much more stable and vibrant than standard liquid colors. They are excellent for deep, rich colors like reds, blacks, and blues, which can be challenging to achieve with less concentrated options. When practicing food coloring cake decorating techniques, gel colors are often the starting point for creating intense hues or for painting when mixed with a suitable solvent.
Tips for Using Gel Food Coloring Effectively
To use gel food coloring effectively, always start with a very small amount – you can always add more color, but you can't take it away. Use a clean toothpick or a small spoon to transfer color from the pot to your mixing bowl or painting palette. This prevents cross-contamination between colors.
When painting, dilute gel colors sparingly with a medium that suits your surface. For painting on dry royal icing or fondant, a clear alcohol like vodka or lemon extract works well as it evaporates quickly, leaving the pigment behind without making the surface sticky. For softer surfaces like crusted buttercream, a tiny amount of water might suffice. Mix your colors on a palette (a small ceramic dish or even a piece of parchment paper works) to test shades before applying them to your baked good, mastering your food coloring cake decorating techniques.
Liquid Food Coloring: When to Use It (and When to Avoid It)
Traditional liquid food coloring, typically found in small squeeze bottles in supermarkets, is a water-based dye. It's useful for tinting large quantities of liquid or semi-liquid substances where adding extra moisture isn't detrimental, such as Easter egg dyes, or adding a touch of color to drinks or clear glazes. It's often the most accessible type for beginners.
However, for precise food coloring cake decorating techniques, especially painting or achieving intense colors in sensitive mediums like royal icing or buttercream, liquid coloring is generally less suitable. Its low concentration means you need to use a significant amount to get a bright color, which can add too much liquid, altering the texture of your icing or batter, making it runny or unstable.
Understanding the Limitations of Liquid Food Coloring
The primary limitation of liquid food coloring for detailed cake and cookie painting is its low pigment-to-liquid ratio. Achieving deep or vibrant colors requires adding a substantial amount of the watery dye, which can destabilize delicate mediums like royal icing (making it too thin to hold shape) or buttercream (making it greasy or separating).
Additionally, the colors achieved with liquid dyes can sometimes appear less vibrant or more pastel compared to gel or powdered options. They can also be more prone to fading, especially when exposed to light. While they have their place in general kitchen use, they are not the go-to choice for advanced food coloring cake decorating techniques requiring precision and intensity.
Oil-Based Food Coloring: For Chocolate and Candy Melts
Oil-based food coloring is specifically formulated for coloring fat-based mediums like chocolate, candy melts, and some types of buttercream that have a high-fat content. Unlike water-based or gel colors, which will cause chocolate to seize (harden and become lumpy), oil-based colors disperse smoothly within the fat, providing even and vibrant coloration.
These colors are pigments suspended in an oil or fat base. They are essential when working with confectionery coatings or true chocolate, as any contact with water can ruin the texture. If you plan to create painted chocolate details or color melted candy for drips or molds, oil-based colors are non-negotiable for successful food coloring cake decorating techniques involving these mediums.
Why Oil-Based Colors are Crucial for Fat-Based Mediums
Chocolate and candy melts are sensitive to water. Introducing even a tiny amount of water-based liquid or gel color can cause the cocoa solids or sugar crystals to clump together, resulting in a thick, unusable mass known as seizing. Oil-based colors bypass this issue entirely because their base is compatible with the fat structure of chocolate and candy melts.
Using oil-based colors ensures that the melted chocolate or candy remains smooth, fluid, and easy to work with. This is vital for achieving smooth coatings, detailed molds, or vibrant painted effects on chocolate surfaces without compromising the texture or finish. When your food coloring cake decorating techniques involve chocolate, oil-based colors are the only way to go for consistent, beautiful results.
Powdered Food Coloring: Concentrated Color and Versatility
Powdered food coloring is the most concentrated form of food dye available. It contains pure pigment with no liquid or filler base, offering incredibly intense and true colors. Powdered colors can be used in various ways in food coloring cake decorating techniques: they can be mixed directly into dry ingredients, dissolved in a small amount of liquid (like clear alcohol, water, or extract) to create a paint, or dusted dry onto surfaces.
Their dry nature makes them excellent for coloring delicate items like macarons or meringue cookies where added moisture is problematic. When dissolved, they create paints with exceptional intensity. They are also fantastic for dusting techniques, allowing you to add subtle shading or vibrant pops of color directly onto dry surfaces like fondant or royal icing.
Exploring the Benefits of Powdered Food Coloring
The primary benefit of powdered food coloring is its extreme concentration, leading to very vibrant and deep colors with minimal product usage. Since they are dry, they are perfect for coloring items that are sensitive to moisture, ensuring textures remain correct. This makes them ideal for coloring things like cocoa butter for chocolate work or dusting onto delicate sugar flowers.
When mixed with a small amount of liquid, they create a highly pigmented paint that is excellent for fine details, bold lines, and achieving intense shades when painting on cakes and cookies. They offer a different level of control and intensity compared to gels, making them a valuable addition to an artist's palette for advanced food coloring cake decorating techniques.
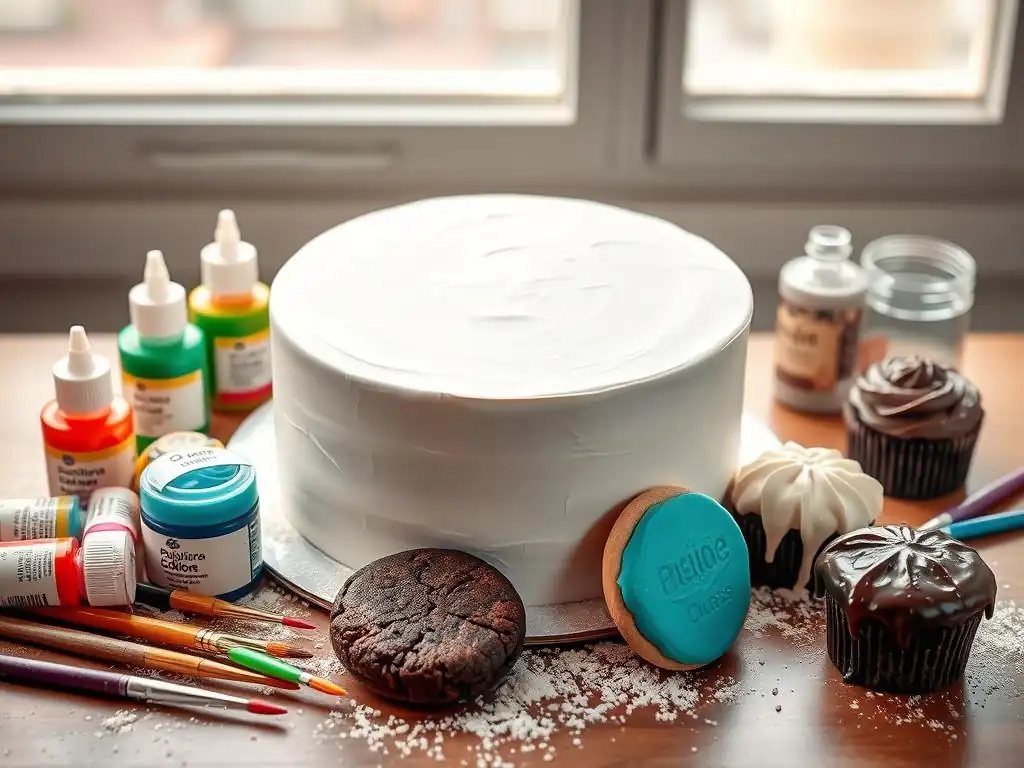
Successful food coloring art depends heavily on the surface you are painting on. Just like a traditional artist prepares their canvas, a baker must ensure their cake or cookie surface is ready to accept the paint. The choice of surface – fondant, royal icing, or even certain types of buttercream – will dictate the type of food coloring to use and the techniques that are most effective.
Each surface presents unique challenges and opportunities. A perfectly smooth fondant provides an almost blank sheet, while the hard, dry finish of royal icing is excellent for detailed work and dusting. Buttercream, being softer, requires different handling. Understanding how each surface interacts with different types of food coloring is key to mastering food coloring cake decorating techniques.
Achieving a Smooth Fondant Finish for Cake Painting
Fondant provides an excellent, non-porous surface for painting with food coloring. To prepare fondant for painting, it must be rolled out evenly and applied smoothly to the cake, free of wrinkles, bulges, or air bubbles. Achieving this smooth finish often involves kneading the fondant until pliable, rolling it to a consistent thickness (usually about 1/8 inch), and carefully draping it over a crumb-coated cake.
Once on the cake, use fondant smoothers to eliminate any imperfections and create sharp edges. Allow the fondant to sit for several hours, or even overnight, to develop a slight crust. This drying process makes the surface less prone to dents and stickiness, providing a firmer base for applying paint using food coloring cake decorating techniques. A well-prepared fondant surface is crucial for achieving clean lines and smooth color application.
Royal icing is a popular choice for decorating cookies, and once it dries hard, it creates a perfect, smooth canvas for painting. To prepare a cookie for painting, first flood the cookie with royal icing, ensuring an even layer that covers the surface. Allow the flooded icing to dry completely until it is hard and dry to the touch – this can take anywhere from 4 to 12 hours or more, depending on humidity levels.
A completely dry royal icing surface is essential. Painting on icing that is still soft or wet will cause the colors to bleed and the brush to damage the surface. The hard, non-porous nature of dried royal icing allows for detailed brushwork, fine lines, and even dusting with powdered colors, making it an ideal surface for intricate food coloring cake decorating techniques on cookies.
Working with Buttercream as a Painting Surface
Painting directly onto buttercream is more challenging than on fondant or royal icing due to its soft and potentially greasy nature. American buttercream, being softer, can absorb colors differently and is prone to showing brushstrokes or melting if handled too much. Some bakers prefer to let buttercream crust slightly in the refrigerator before attempting to paint on it.
Using a firmer buttercream, like Swiss or Italian meringue buttercream, can offer a slightly more stable surface, but it still requires a delicate touch. Alternatively, some techniques involve painting onto a thin layer of crusted buttercream or applying painted fondant panels to a buttercream cake. When using buttercream, it's often best to use highly concentrated paints mixed with minimal liquid and apply them with a light hand to avoid digging into the frosting, adapting your food coloring cake decorating techniques accordingly.
Once your canvas is prepared and your colors selected, it's time to apply the food coloring cake decorating techniques to bring your vision to life. Painting on cakes and cookies involves many of the same principles as traditional art, such as understanding color mixing, brush control, and layering. However, the medium is edible, which requires specific considerations.
From creating soft watercolor washes to painting intricate details and realistic shading, there are various techniques to master. Each technique requires different consistencies of paint and specific tools. Experimentation is key to understanding how the colors behave on your chosen surface and achieving the desired artistic effect.
The Watercolor Effect: Creating Delicate Washes
The watercolor effect in cake and cookie decorating mimics the look of traditional watercolor paintings, characterized by soft, translucent washes of color and gentle blending. This technique is achieved by diluting gel or powdered food coloring significantly with a clear liquid, typically clear alcohol (like vodka or everclear) or lemon extract, which evaporates quickly.
The key is to use a relatively large amount of liquid compared to the coloring, creating a thin, translucent paint. This watery mixture is then applied to a dry surface, usually fondant or royal icing, using soft brushes. Multiple layers of wash can be applied once the previous layer is dry to build up depth and intensity, creating a beautiful, ethereal effect using food coloring cake decorating techniques.
Achieving the Perfect Watercolor Consistency with Food Coloring
To create food coloring watercolor paint, start with a small amount of gel or powdered color on a palette. Gradually add drops of clear alcohol or extract, mixing with a brush or toothpick until you reach a consistency similar to liquid watercolor paint – it should be quite thin and flow easily. Test the consistency and color intensity on a spare piece of fondant or royal icing.
The amount of liquid needed will vary depending on the concentration of your food coloring and the desired intensity of the wash. For very light washes, use more liquid; for slightly more opaque washes, use less. Remember that clear alcohol or extract is preferred over water on most surfaces as it dries much faster, reducing the risk of damaging the surface or causing colors to bleed during your food coloring cake decorating techniques.
Detailed Painting: Brushstrokes and Fine Lines
Detailed painting involves using food coloring to create intricate designs, fine lines, small patterns, or text on cakes and cookies. This technique requires a steady hand, fine-tipped brushes, and a slightly thicker paint consistency than watercolor. Gel or powdered colors mixed with just enough clear alcohol or extract to create an opaque, paint-like consistency are best.
The paint should be fluid enough to flow smoothly off the brush but not so thin that it spreads or bleeds. Practice controlling the pressure on your brush and the amount of paint you load onto it to achieve consistent lines and details. This method is used for outlining designs, adding small elements like dots or stars, or painting specific images with precision when applying food coloring cake decorating techniques.
Choosing the Right Brushes for Detailed Food Coloring Work
Selecting the correct brushes is crucial for detailed food coloring cake decorating techniques. You'll need a variety of small, fine-tipped brushes, similar to those used for miniature painting or fine art. Look for brushes with synthetic bristles, as they are durable, easy to clean, and maintain their shape well.
Essential brushes include round brushes in sizes 0, 1, and 2 for fine lines and details, and possibly a tiny detail brush (size 000 or 00) for extremely intricate work. A small flat brush might be useful for blocking in small areas of color. Ensure your brushes are designated only for food use and are kept meticulously clean to prevent contamination and ensure smooth paint application.
Blending and Shading Techniques for Realistic Effects
Blending and shading are advanced food coloring cake decorating techniques used to create depth, dimension, and realism in painted designs, such as petals on a flower or folds in fabric. Blending involves smoothly transitioning between two or more colors, while shading adds darker tones to suggest shadows and form.
These effects are often achieved using slightly diluted gel or powdered colors. Techniques include wet-on-wet blending (applying colors next to each other while still wet and gently swirling them), wet-on-dry layering (applying translucent washes over a dry base layer to build depth), or dry brushing (using a brush with very little paint to add subtle texture or shading). Practice is key to mastering the subtlety required for realistic effects.
Creating Depth and Dimension with Food Coloring
To create depth and dimension using food coloring, think about light sources and how they would naturally interact with the object you are painting. Apply lighter shades to areas where light would hit and darker shades (or a mix with a complementary color for shadows) to areas that would be in shadow.
Using translucent layers of color, similar to watercolor techniques, allows you to build up intensity gradually and create soft transitions. For example, when painting a rose petal, you might start with a base color, then add slightly darker shades towards the base of the petal and lighter shades towards the edges, blending them while the paint is still wet or layering washes once dry. This thoughtful application of color is fundamental to advanced food coloring cake decorating techniques.
Stenciling and Airbrushing with Food Coloring
Stenciling and airbrushing are food coloring cake decorating techniques that allow for applying color evenly over a surface or creating repetitive patterns quickly and precisely. Stencils are cut-out designs placed on the cake or cookie surface, and color is applied over them, leaving the design behind when the stencil is removed.
Airbrushing involves using a small air compressor and airbrush gun to spray a fine mist of diluted food coloring onto the surface. This allows for smooth gradients, even coverage over large areas, and quick application of color through stencils. Both methods offer ways to achieve effects that are difficult or time-consuming with traditional brush painting.
Using Stencils for Precise Designs on Cakes and Cookies
Stencils are excellent tools for adding repetitive patterns, intricate lace designs, or specific images quickly and consistently to cakes and cookies. To use a stencil with food coloring paint, place the dry stencil firmly against the surface (fondant or dry royal icing works best). You can hold it in place or use pins or an edible adhesive spray lightly.
Mix your gel or powdered food coloring to a paint consistency that is not too wet – a thicker paint or even a paste works well to prevent bleeding under the stencil edges. Apply the paint using a small offset spatula, scraper, or even a dense brush (like a stencil brush), ensuring the paint is pushed into the stencil openings. Scrape off any excess paint, then carefully peel the stencil away to reveal the design. This is a precise food coloring cake decorating technique.
Airbrushing Food Coloring: Achieving Smooth Transitions and Vibrant Colors
Airbrushing provides a quick way to cover large areas with smooth, even color or create seamless color gradients. It requires specialized airbrush food colors, which are typically liquid but formulated specifically for airbrush machines to prevent clogging. Alternatively, you can dilute standard gel colors significantly with clear alcohol or a specialized airbrush cleaner/diluent.
Pour the diluted color into the airbrush gun's reservoir. Practice on paper towels first to get a feel for the pressure and distance needed to achieve the desired spray pattern. Hold the airbrush gun a few inches away from the cake or cookie surface and move it in smooth, overlapping passes for even coverage. For gradients, spray more color in one area and less in another, blending the transition with careful movement. Airbrushing is a powerful food coloring cake decorating technique for achieving professional-looking results.
Troubleshooting Common Food Coloring Issues in Baking
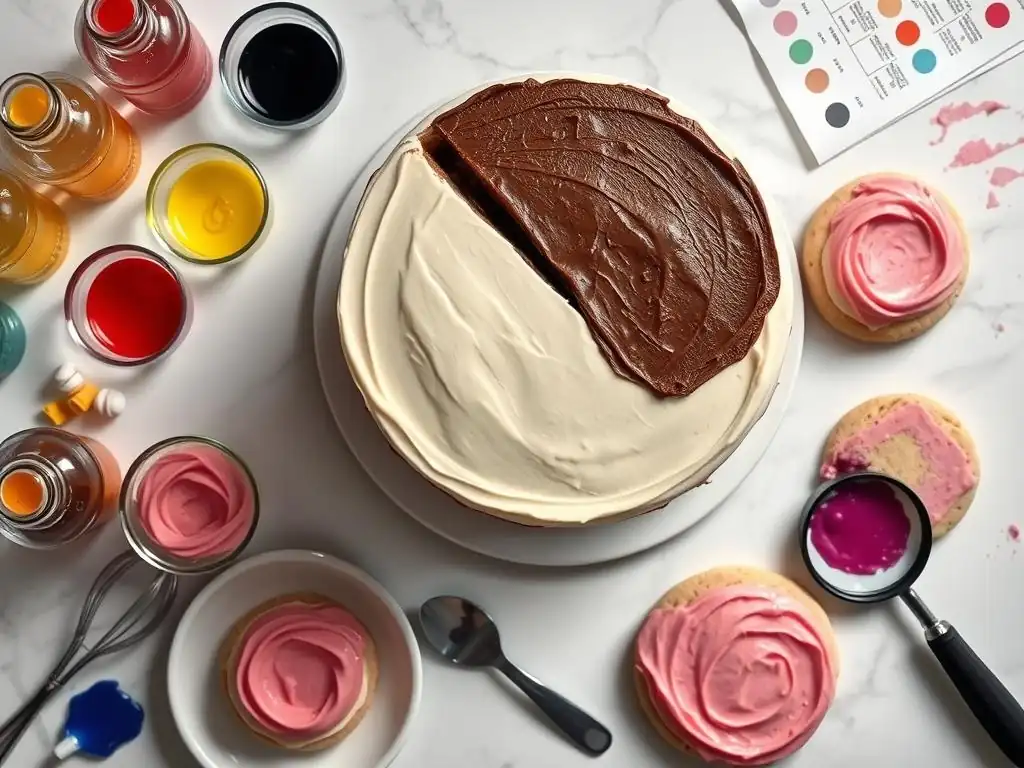
Even with the right tools and techniques, you might occasionally encounter issues when working with food coloring. Understanding common problems and how to address them is part of mastering food coloring cake decorating techniques. Issues like bleeding colors, uneven application, or fading can be frustrating but are often preventable or fixable.
Common culprits include using the wrong type of coloring for the surface, improper surface preparation, or high humidity. Knowing how to react when these issues arise can save your project and improve your skills for future endeavors.
Preventing Food Coloring Bleeding
Color bleeding occurs when the food coloring spreads unintentionally beyond the lines of your design, often due to excess moisture or the wrong type of coloring on a porous or damp surface. To prevent bleeding, always ensure your surface (fondant, royal icing) is completely dry before painting.
Use minimal liquid when diluting colors for painting, opting for quick-drying options like clear alcohol or extract over water, especially on moisture-sensitive surfaces. Avoid applying paint too thickly in one go; build up color with thin layers, allowing each to dry slightly. If painting different colors next to each other, let the first color dry completely before applying the adjacent one. This is a key aspect of precise food coloring cake decorating techniques.
Fixing Uneven Color Distribution
Uneven color distribution can happen when mixing colors into batters or icings, or when painting. When mixing into a medium, ensure you scrape down the sides and bottom of the bowl thoroughly to distribute the color evenly. For painting, unevenness might be due to inconsistent paint consistency, uneven surface texture, or applying the paint too quickly.
To fix uneven painted areas, you can often apply another thin layer of paint over the patchy area once the first layer is dry. Ensure your paint is mixed to a smooth, lump-free consistency and use consistent brushstrokes. For large painted areas using food coloring cake decorating techniques, consider airbrushing for the smoothest possible finish.
Addressing Color Fading Over Time
Color fading can occur due to exposure to light, particularly sunlight, or improper storage. Some colors, especially certain reds and blues, are more prone to fading than others. While complete prevention is difficult, you can minimize fading.
Use high-quality, concentrated food colorings known for their lightfastness. Store finished decorated cakes and cookies away from direct sunlight or strong artificial light. If possible, store them in a cool, dark place until just before display. While not a perfect solution, these steps can help preserve the vibrancy of your food coloring cake decorating techniques for longer.
Food Coloring Cake Decorating Ideas & Inspiration
The world of food coloring cake decorating techniques is vast and limited only by your imagination! Once you understand the basics of color types, surface preparation, and application methods, you can explore countless creative avenues. Looking at examples and trying different themes can spark new ideas and help you develop your own style.
Popular themes range from replicating nature's beauty with florals and landscapes to bringing beloved characters to life or creating modern, abstract art. Don't be afraid to combine painting with other decorating methods like piping or stenciling for layered effects.
Floral Designs: Creating Realistic Flowers and Leaves
Painting realistic flowers and leaves is a very popular application of food coloring cake decorating techniques. You can paint delicate rose petals with soft, blended washes of pink and red, or create vibrant green leaves with detailed veins using fine brushes.
Start by sketching a light outline of your design directly onto the dry surface using an edible marker or by lightly etching with a scribe tool. Then, build up the colors using blending and shading techniques to add depth and form. For example, paint the base of a petal darker and lighten towards the edges, or add fine lines for leaf veins. Practice painting simple shapes first before attempting complex arrangements.
Bringing beloved characters from movies, books, or cartoons to life on cakes and cookies is a rewarding use of food coloring cake decorating techniques. This often involves outlining the character and then filling in the details and colors using a variety of paint consistencies and fine brushes.
Start with a clear reference image of the character. You can transfer the outline using edible tracing paper or by lightly sketching. Use opaque paints for solid areas of color and finer brushes for facial features and outlines. Pay attention to shading and highlights to give the character depth and personality. Popular choices include Disney princesses, superheroes, or cartoon animals, providing endless possibilities for fun and detailed food coloring cake decorating techniques.
Geometric Patterns: Modern and Abstract Food Coloring Designs
For a more contemporary look, explore geometric patterns and abstract designs using food coloring cake decorating techniques. This can involve painting crisp lines, shapes, and repeating motifs onto a smooth surface. Stencils can be incredibly useful for creating precise geometric shapes and patterns quickly.
Alternatively, you can freehand abstract designs using washes, splatters (if appropriate for the design and surface), or layered brushstrokes. Experiment with color combinations and brushwork to create unique textures and visual interest. Metallic food colorings can also be incorporated for added sparkle and modern flair in geometric food coloring cake decorating techniques.
Tips for Maintaining Food Safety with Food Coloring
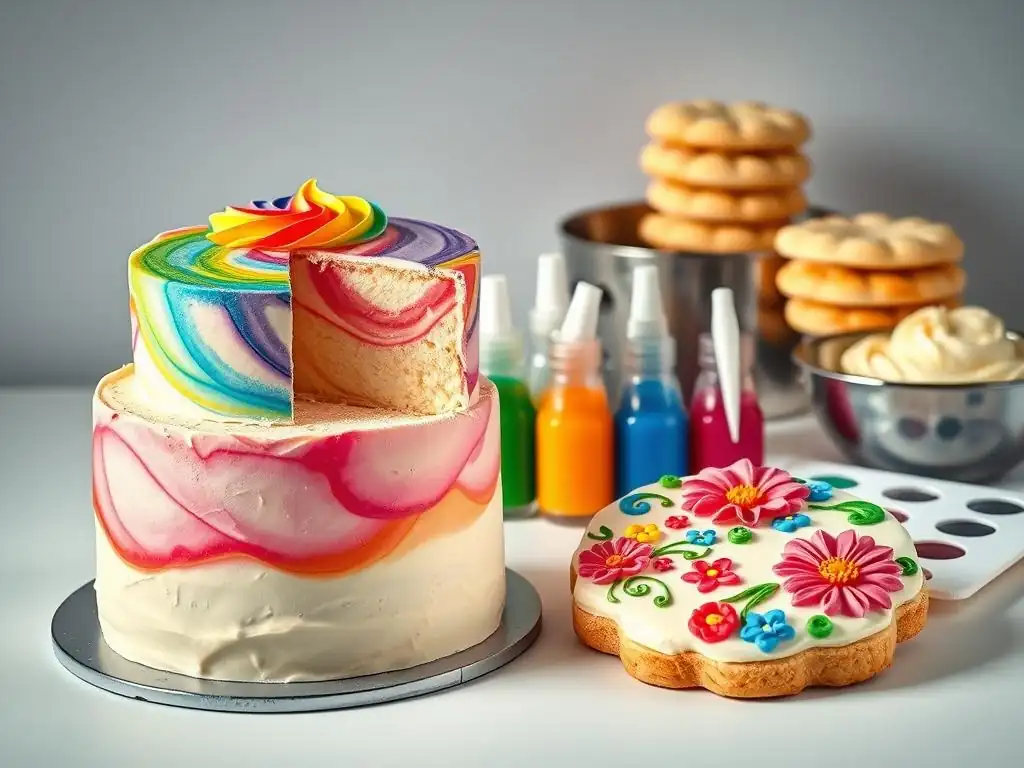
While food coloring is designed for consumption, maintaining food safety practices is paramount when using them in cake and cookie decorating. This involves proper handling, storage, and awareness of the products you are using. Always treat your edible art supplies with the same care as your food ingredients.
Cross-contamination is a significant concern when working with multiple colors and brushes. Ensuring your tools and workspace are clean is not just about achieving a good artistic result; it's essential for the health and safety of those who will consume your baked goods.
Safe Handling and Storage of Food Coloring
Always handle food coloring with clean hands and clean tools. Use separate brushes and palettes for different colors, or clean them thoroughly between uses, especially when switching from dark to light colors. Store food coloring in a cool, dry place, away from direct sunlight, and ensure lids are tightly sealed to prevent drying out and contamination.
Never dip a used brush directly back into the main container of food coloring; instead, transfer a small amount to a palette. Avoid using food coloring past its expiration date if one is provided, and discard any color that appears moldy, has an off smell, or shows signs of separation that don't resolve with stirring. These simple steps are crucial for safe food coloring cake decorating techniques.
Understanding Food Coloring Regulations and Guidelines
Food coloring used in baking must be food-grade and approved for consumption in your region. In many countries, this means using colors certified by regulatory bodies like the FDA in the United States or the EFSA in Europe. Look for labeling that indicates the color is "food grade" or specifically intended for use in food.
Be aware that some colorings, particularly very vibrant or dark shades, might require higher concentrations of dye. While approved for food use, excessive consumption should generally be avoided. Always purchase food coloring from reputable suppliers who adhere to food safety standards. Understanding these guidelines is an important part of responsible food coloring cake decorating techniques.
Conclusion: Unleash Your Creativity with Food Coloring Cake Decorating
The Endless Possibilities of Food Coloring Art
Mastering food coloring cake decorating techniques opens up a world of artistic expression on edible canvases. From creating delicate watercolor effects to painting intricate portraits or bold abstract designs, the potential is truly endless. Food coloring allows you to add vibrant hues, subtle shading, and fine details that can transform a simple cake or cookie into a stunning piece of edible art.
Whether you're painting a floral wreath for a wedding cake, illustrating a favorite character on a birthday cookie, or adding a modern geometric pattern, food coloring provides the tools to bring your creative visions to life. The ability to mix custom shades and apply color with precision makes this a highly versatile and rewarding decorating method.
Encouragement to Experiment and Develop Your Own Style
The best way to improve your food coloring cake decorating techniques is through practice and experimentation. Don't be afraid to try new brushes, different color combinations, or explore how colors behave on various surfaces. Start with simple designs and gradually work your way up to more complex projects.
Experiment with diluting your colors differently, practicing brushstrokes, and trying out blending techniques. Over time, you'll develop a feel for the medium and discover what works best for you. Embrace the learning process, enjoy the journey of creating edible art, and develop your unique style in the wonderful world of food coloring cake and cookie decorating!
Frequently Asked Questions
What types of food coloring are best for cake decorating?
The best types are gel food coloring and powdered food coloring, as they are more concentrated and won't alter the consistency of your frosting or batter. Liquid food coloring can sometimes make things too watery.
No, you should only use food-safe paintbrushes specifically designed for decorating. Regular paintbrushes may contain materials that are not safe for consumption.
Allow the base layer of frosting or icing to fully dry before adding any painted details. Also, avoid over-saturating your brush with food coloring.
What techniques can I use to blend food coloring on cakes?
You can use a dry-brush technique for subtle blending, or a wet-on-wet technique for more dramatic effects. Experiment with different brush strokes and color combinations.
Where can I find food coloring cake decorating techniques tutorials?
BakeWithEase.com offers a variety of step-by-step guides and tutorials on food coloring techniques for cakes and cookies, catering to all skill levels.
Final Reflection: The Enduring Sweetness of Creative Expression
The vibrant world of cake and cookie decorating, once a niche hobby, has exploded into a mainstream art form. The techniques explored in this article – from achieving perfect color blends to mastering intricate airbrushing – are not merely decorative flourishes; they are the building blocks of a creative language spoken through edible masterpieces. This accessibility, fueled by readily available supplies and online tutorials, empowers anyone to transform a simple baked good into a stunning work of art.
The impact of food coloring techniques extends far beyond the kitchen table. It's a testament to the human desire for beauty and self-expression, a way to personalize celebrations and connect with others through shared experiences. The artistry involved fosters a sense of accomplishment and joy, reminding us of the simple pleasures found in creating something beautiful with our own hands. The most beautiful things in the world cannot be seen or even touched - they must be felt with the heart.
– Helen Keller. This quote, while not directly about cake decorating, perfectly captures the emotional resonance of creating something beautiful and sharing it with others.
Now, it's your turn. Consider the techniques discussed within this article, and let them inspire your own creative journey. Don't be afraid to experiment, to push boundaries, and to let your imagination run wild. The next masterpiece you create might just be waiting for you to unleash its vibrant potential. Pick up your brushes (or piping bags! ), choose your colors, and let the sweetness of creation begin.
Unleash Your Inner Cake Artist: Master Food Coloring Today!
Thanks for exploring the wonderful world of cake and cookie painting with us! We hope you’ve gained valuable insights into the art of food coloring and are ready to create edible masterpieces. Now it's time to put your new skills to the test!
- Dive into your first project: Choose a simple design – maybe stripes or polka dots – and practice your new techniques on some cookies. See how easy it is to transform ordinary treats into edible works of art!
- Share your creations: Post a picture of your painted masterpiece on social media and tag us – we’d love to see your baking journey!
- Explore advanced techniques: Check out our other articles on BakeWithEase.com for more in-depth tutorials on advanced food coloring methods.
Ready to transform your baking game? What's the first design you'll attempt?