
Tempering Chocolate Without a Thermometer? A Practical Guide.

Welcome to BakeWithEase, your companion on the journey to baking brilliance! Ever wondered if achieving that perfect, glossy shine on your chocolates without the fuss of a thermometer was possible? It is! Dive into our guide and unlock the secrets of easy chocolate tempering no thermometer. Prepare to be amazed at how simple it can be to master this essential technique, even if you're venturing into the realm of advanced baking. Ready to ditch the thermometer and create stunning chocolate creations? Let's get started!
- Introduction: Easy Chocolate Tempering No Thermometer for Home Bakers
- Mastering Chocolate Tempering Without a Thermometer: The Seeding Method
- Step-by-Step Guide: Tempering Chocolate Without a Thermometer Using the Seeding Method
- Alternative Techniques: No Thermometer Chocolate Tempering Options
- Troubleshooting Common Chocolate Tempering Problems (No Thermometer Edition)
- Tips and Tricks for Successful No-Thermometer Chocolate Tempering
- Using Your Tempered Chocolate: Creative Applications
- Conclusion: Enjoy Perfectly Tempered Chocolate at Home, No Thermometer Needed!
-
Frequently Asked Questions
- How can I temper chocolate without a thermometer?
- What are the key signs that my chocolate is properly tempered?
- What kind of chocolate is best suited for tempering without a thermometer?
- What are some common mistakes to avoid when tempering chocolate without a thermometer?
- How long does tempered chocolate typically stay in temper?
- Final Reflection: The Sweet Science of Thermometer-Free Tempering
- Unlock Your Inner Chocolatier: Mastering Tempering Without a Thermometer!
Introduction: Easy Chocolate Tempering No Thermometer for Home Bakers
Mastering chocolate can feel like a magical feat, especially when it comes to tempering. Achieving that perfect, glossy finish and satisfying snap is the hallmark of professional chocolate work. Many recipes and guides emphasize the critical role of precise temperatures, often requiring a digital thermometer to hit narrow ranges like 88-91°F (31-33°C) for dark chocolate or 84-86°F (29-30°C) for milk and white chocolate. This focus on exact measurements can be intimidating for home bakers who might not have specialized tools.
But what if you could achieve beautifully tempered chocolate without relying on a thermometer? It's absolutely possible! While a thermometer offers precision, understanding the process of tempering and learning to recognize the correct visual and textural cues allows you to achieve excellent results using simple kitchen equipment. This guide will walk you through an easy chocolate tempering no thermometer method, focusing on the reliable seeding technique.
Why Temper Chocolate? Understanding the Importance of Tempering
Tempering chocolate isn't just about making it look pretty; it's a crucial step that stabilizes the cocoa butter crystals within the chocolate. Cocoa butter contains several types of crystals, but only one type, known as Beta V crystals, gives chocolate its desired properties: a smooth, glossy surface, a firm texture, a clean snap when broken, and resistance to melting at room temperature. Untempered chocolate, or chocolate that has bloomed (developed grey streaks or a dull surface), contains unstable crystal forms that melt easily and lack structure.
Properly tempered chocolate maintains its structure and appearance for extended periods, even at room temperature. For example, a chocolate bar made with tempered chocolate will stay shiny and firm on a store shelf, whereas an untempered one would become soft and possibly streaky. This process is essential for making molded candies, dipping fruits, or creating decorations, ensuring they look professional and have the correct mouthfeel. A well-tempered chocolate bunny can withstand being handled much better than an untempered one.
The Challenge: Tempering Chocolate the Traditional Way (and Why It's Tricky)
The traditional method of tempering, often called the tabling method, involves melting chocolate to a high temperature to eliminate all crystal forms (typically 115-120°F or 46-49°C for dark chocolate), then cooling it down significantly while agitating it on a cool surface like marble until stable crystals begin to form (around 82°F or 28°C for dark). Finally, it's gently reheated slightly to the working temperature (88-91°F or 31-33°C for dark) to melt any unstable crystals while keeping the desirable ones intact.
This process requires precise temperature control at each stage, which is where a thermometer becomes invaluable. Overheating the chocolate during the final reheat can destroy the stable crystals you just formed, requiring you to start over. Conversely, not cooling it enough or not reheating it sufficiently means you won't have enough stable crystals, resulting in chocolate that doesn't set properly. The need to monitor these specific temperature points is the primary reason why many find traditional tempering challenging without a thermometer.
Mastering Chocolate Tempering Without a Thermometer: The Seeding Method
The seeding method offers a much more accessible way to achieve tempered chocolate, especially for easy chocolate tempering no thermometer. Instead of relying solely on temperature cycles, this technique introduces pre-formed stable Beta V crystals from solid, untempered chocolate into melted chocolate.
What is the Seeding Method for Tempering Chocolate?
The seeding method works by melting the majority of your chocolate to a point where all crystal structures are gone, similar to the initial step in traditional tempering. However, instead of cooling it down drastically on a surface, you incorporate finely chopped pieces or callets of solid, untempered chocolate into the melted batch. These solid pieces, if the original chocolate was properly manufactured and stored, contain the stable Beta V crystals you need.
As you stir the melted chocolate and the added "seed" chocolate, the heat from the liquid chocolate melts the seed chocolate. During this process, the stable Beta V crystals from the solid pieces act as templates, encouraging the cocoa butter in the melted chocolate to crystallize into the desired form as the mixture cools. This process effectively guides the crystallization without needing to hit exact temperature points, making easy chocolate tempering no thermometer a reality.
Equipment You'll Need: Tempering Chocolate Without Special Tools
One of the great advantages of the seeding method for easy chocolate tempering no thermometer is that it requires only basic kitchen equipment. You don't need a marble slab, a specialized tempering machine, or even a thermometer! The essential tools are likely already in your kitchen drawers and cupboards.
You'll need two bowls, preferably glass or stainless steel – one larger and one smaller that fits snugly over the larger one to create a double boiler setup, or a microwave-safe bowl if you opt for that method. A sturdy spatula or whisk is essential for continuous stirring. A clean, dry surface or a piece of parchment paper will be useful for testing the temper. That's it! Simple tools for a surprisingly effective technique.
Ingredients for Easy Chocolate Tempering at Home
The most critical ingredient, of course, is the chocolate itself. For best results when attempting easy chocolate tempering no thermometer, it's highly recommended to use high-quality couverture chocolate. Couverture chocolate has a higher percentage of cocoa butter (often 32% or more, compared to 25-30% in standard baking chocolate), which is essential for creating stable crystals and achieving that desirable snap and sheen. Avoid using chocolate chips, as they often contain stabilizers that prevent them from melting smoothly and tempering properly.
You'll need enough chocolate for your project, divided into two portions: about 70-80% for melting and 20-30% to use as the "seed" chocolate. For example, if you need 10 ounces of tempered chocolate, you would melt approximately 7-8 ounces and use 2-3 ounces of finely chopped solid chocolate or callets as your seed. Ensure the seed chocolate is in small pieces to help it melt quickly and evenly into the larger batch.
Step-by-Step Guide: Tempering Chocolate Without a Thermometer Using the Seeding Method
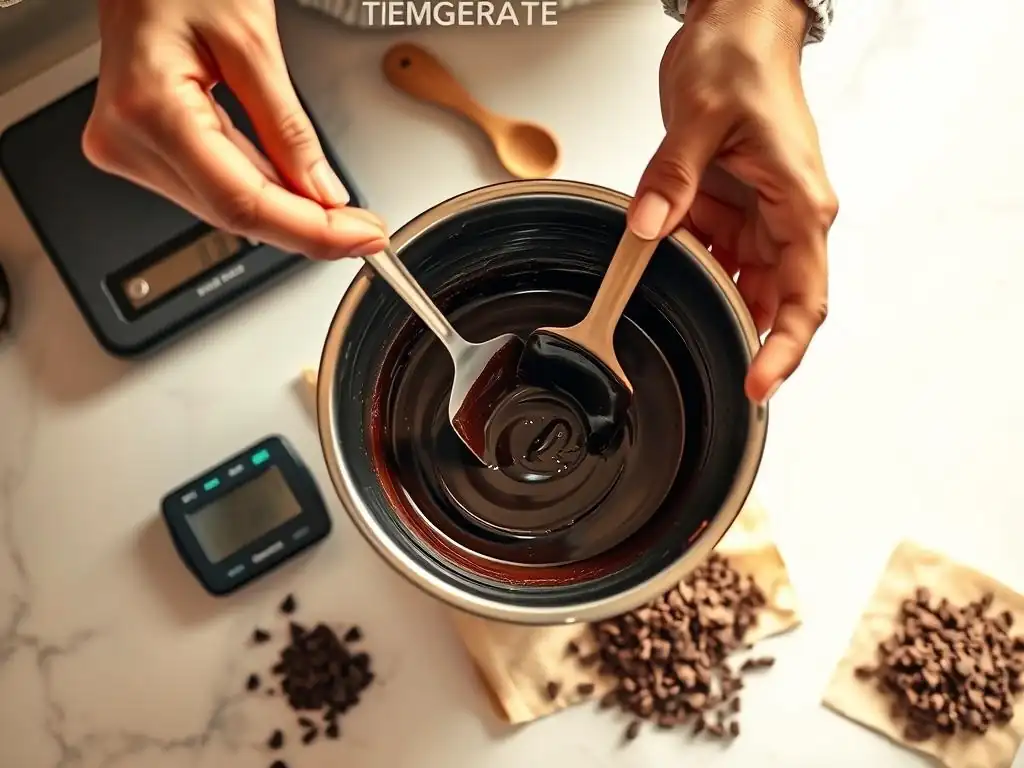
Achieving tempered chocolate without a thermometer is quite achievable with the seeding method. It relies on careful observation and continuous stirring rather than strict temperature readings. Follow these steps for easy chocolate tempering no thermometer.
Step 1: Melting the Chocolate (The Right Way)
Begin by gently melting the larger portion (70-80%) of your finely chopped or callet chocolate. The best way to do this without a thermometer is using a double boiler. Fill the larger bowl with a few inches of water and bring it to a gentle simmer – do not let it boil vigorously. Place the smaller bowl with the chocolate over the larger one, ensuring the bottom of the smaller bowl does not touch the water. Stir the chocolate constantly as it melts.
Alternatively, you can use a microwave. Place the chocolate in a microwave-safe bowl and heat it in very short intervals (e.g., 30 seconds for the first interval, then 15-20 seconds thereafter). Stir thoroughly after each interval, even if the chocolate doesn't look melted. Chocolate holds its shape even when melted, and stirring helps distribute the heat and prevents burning. Stop heating when the chocolate is mostly melted but still has a few small lumps; the residual heat will melt these as you stir. Avoid overheating, as this can make tempering more difficult.
Step 2: Seeding the Melted Chocolate with Untempered Chocolate
Once your chocolate is melted and smooth (or mostly smooth with a few lumps if microwaving), remove it from the heat source (either off the double boiler or out of the microwave). Now, add the finely chopped "seed" chocolate (the remaining 20-30%) to the melted chocolate. This is the critical step for easy chocolate tempering no thermometer.
Ensure the seed chocolate is very finely chopped or use callets, as this helps it melt quickly and evenly. Stir continuously with your spatula. The goal is for the heat from the melted chocolate to melt the added seed chocolate while simultaneously cooling the overall mixture down. As the seed chocolate melts, it releases its stable Beta V crystals into the liquid chocolate, encouraging proper crystallization.
Step 3: Stirring and Cooling: Achieving the Perfect Temper
Continue stirring the chocolate mixture constantly. As the seed chocolate melts, the overall temperature of the batch will drop. You will notice the chocolate starting to thicken slightly and possibly become less transparent. This thickening is a sign that stable crystals are forming. Keep stirring until all the seed chocolate has melted and the mixture is smooth and slightly cooled.
You are looking for a consistency that is still fluid enough to work with but noticeably thicker than just melted chocolate. If the chocolate cools too much and becomes too thick to work with before all the seeds melt, you can briefly place it back over the warm (not hot) water of your double boiler or give it a very short 5-10 second burst in the microwave, stirring continuously, just until it becomes workable again. The key is to keep stirring and allow the chocolate to cool down gradually while the seed crystals propagate.
Step 4: Testing the Temper: Is Your Chocolate Properly Tempered?
Before using your chocolate for dipping or molding, it's crucial to test if it is properly tempered. This is how you verify easy chocolate tempering no thermometer success. Dip the tip of a clean, dry spatula, a spoon, or a piece of parchment paper into the chocolate. Pull it out and set it aside at room temperature (ideally around 68-70°F or 20-21°C).
A small amount of properly tempered chocolate should set quickly and evenly within 3-5 minutes. It should harden, have a smooth, glossy surface, and feel firm to the touch. If it sets slowly, remains soft, or develops streaks or a dull appearance, it is not properly tempered. In that case, you'll need to re-temper it by gently reheating it slightly and adding a bit more seed chocolate, stirring until it thickens and passes the test.
Alternative Techniques: No Thermometer Chocolate Tempering Options
While the seeding method is highly reliable for easy chocolate tempering no thermometer, other approaches can also yield good results. These methods often involve melting the chocolate in a controlled manner to avoid overheating and relying on the inherent stability of the chocolate itself or adding seed crystals indirectly.
The Microwave Method: Quick and Easy Chocolate Tempering
A variation of the seeding method particularly suited for small quantities is microwave tempering. This is perhaps the fastest way to attempt easy chocolate tempering no thermometer. Chop your chocolate finely and place it in a microwave-safe bowl. Heat on 50% power in 30-second intervals, stirring thoroughly after each interval.
Continue heating and stirring until the chocolate is about two-thirds melted. Remove from the microwave and stir continuously. The residual heat in the bowl and the melted chocolate will continue to melt the remaining pieces. Keep stirring until the chocolate is completely smooth and has cooled slightly. This method relies on the idea that if you don't overheat the chocolate beyond its working temperature range (e.g., keeping it below 90°F or 32°C for dark), you might retain enough stable crystals from the original chocolate to achieve temper. Testing the temper is crucial here.
The Double Boiler Method: A Classic Approach to Tempering
The double boiler setup itself lends itself well to controlled, gentle melting, which is key for easy chocolate tempering no thermometer. While we used it for the seeding method, you can also attempt tempering by simply melting the chocolate carefully over a warm water bath. Chop your chocolate finely and place it in the bowl over a gentle simmer.
Stir constantly as it melts. Once about two-thirds melted, remove the bowl from the heat. Continue stirring vigorously. The goal is to melt the remaining solid pieces using the residual heat while the mixture cools down. If done carefully, avoiding overheating initially, you might retain enough stable crystals to achieve temper. Again, testing is essential. This method is less reliable than seeding but can work with practice and careful heat management. Ensure no water or steam comes into contact with the chocolate, as even a drop can cause it to seize.
Troubleshooting Common Chocolate Tempering Problems (No Thermometer Edition)
Even with the best techniques for easy chocolate tempering no thermometer, sometimes things don't go perfectly. Understanding common issues and how to address them is key to success. Don't get discouraged if your first few attempts aren't flawless; it's part of the learning process.
Chocolate Seizing: How to Fix It
Chocolate seizing is perhaps the most frustrating issue. It occurs when even a tiny amount of water or steam comes into contact with melted chocolate, causing it to instantly transform from a smooth liquid into a thick, lumpy, unworkable paste. This happens because sugar crystals in the chocolate attract the water, forming a syrup that binds the cocoa solids together.
If your chocolate seizes, unfortunately, it cannot be used for tempering purposes as the crystal structure is destroyed. However, you can often salvage the chocolate for other uses. Stir in a tablespoon or two of a neutral vegetable oil or melted cocoa butter until the mixture becomes smooth again. It will no longer be tempered but can be used as a sauce, ganache base, or for baking where temper isn't required. Ensure all your equipment is completely dry when working with chocolate.
Chocolate Not Setting Properly: Identifying the Issue
If you've dipped or molded chocolate and it remains soft, sticky, or doesn't harden with a snap after cooling, it means it wasn't properly tempered. This is usually because the chocolate was either not cooled sufficiently during the tempering process or didn't have enough stable Beta V crystals formed (or they were destroyed by overheating). The result is chocolate with unstable crystal forms that melt easily and lack structure.
The solution is to re-temper the chocolate. Gently reheat the entire batch using the double boiler or microwave method until it's fully melted again. Then, begin the seeding method from Step 2, adding fresh, finely chopped seed chocolate and stirring until it cools and thickens, then test again. Sometimes, adding a bit more seed chocolate than you did the first time can help ensure sufficient stable crystals are introduced.
Streaky or Dull Chocolate: Achieving a Glossy Finish
A dull surface or greyish streaks (known as bloom) indicates that the chocolate wasn't properly tempered or cooled incorrectly. Sugar bloom occurs from moisture, while fat bloom (grey streaks) is caused by unstable cocoa butter crystals migrating to the surface. Both result in an unappealing finish and a softer texture.
Achieving a glossy finish relies on both proper tempering and correct cooling. Once your chocolate is tempered, cool your finished items (dipped fruits, molded candies) relatively quickly but evenly at room temperature (ideally 68-70°F or 20-21°C) or in a cool spot. Avoid refrigerating tempered chocolate for extended periods, as condensation can cause sugar bloom. If your chocolate consistently comes out streaky or dull despite following the steps, try re-tempering and ensure you are using high-quality couverture chocolate and cooling the finished products correctly.
Tips and Tricks for Successful No-Thermometer Chocolate Tempering
Mastering easy chocolate tempering no thermometer comes down to practice, patience, and paying attention to the chocolate's behavior. Here are some additional tips to help you succeed.
Choosing the Right Chocolate for Tempering
The type and quality of chocolate significantly impact tempering success, especially when working without a thermometer. As mentioned earlier, couverture chocolate with a high cocoa butter content is your best friend. Look for chocolate specifically labeled "couverture" or check the ingredients list for a high percentage of cocoa butter. This provides the best foundation for forming stable crystals.
Avoid using baking chips or compound chocolate (often labeled "chocolatey" or "confectionery coating"), which contain vegetable oils instead of cocoa butter. These products melt easily but do not contain the cocoa butter crystals necessary for true tempering and will never achieve the same snap or sheen. Investing in good quality couverture chocolate, even for easy chocolate tempering no thermometer, makes a big difference in the final result.
Maintaining the Ideal Temperature (Without a Thermometer!)
While you're not tracking exact degrees, you still need to work with the chocolate within a certain temperature range for it to remain in temper. Once you've tempered your chocolate using the seeding method and it has cooled and thickened slightly, you need to keep it warm enough to remain fluid for dipping or molding, but not so warm that you melt the stable crystals you just created.
If your tempered chocolate starts to thicken too much as you work, you can gently warm it. Place the bowl over a larger bowl filled with warm (not hot) tap water for a few seconds, stirring continuously. Or, give it a very brief 5-second burst in the microwave on low power, stirring well. The goal is to make it just fluid enough to work with without letting it get hot. You're aiming for a working temperature where it flows but still feels relatively cool compared to freshly melted chocolate.
Practice Makes Perfect: Don't Give Up!
Tempering chocolate, even with easy chocolate tempering no thermometer methods, is a skill that improves with practice. Your first attempt might not be perfect, and that's okay! Pay attention to how the chocolate looks and feels at each stage. How quickly does it melt? How does it thicken as you stir in the seeds? How does the test piece set?
Each type of chocolate (dark, milk, white) has slightly different working temperatures and behaviors due to varying cocoa solid and fat content. Learning to read these cues takes time. Don't be afraid to re-temper a batch if it doesn't work out. The chocolate can be melted and tempered multiple times. With persistence, you'll develop an intuitive feel for when your chocolate is ready to use.
Using Your Tempered Chocolate: Creative Applications
Once you've mastered easy chocolate tempering no thermometer, a world of delicious possibilities opens up. Tempered chocolate is essential for many classic confections and decorations due to its stability and beautiful finish.
Making Chocolate Candies and Bonbons
Tempered chocolate is the foundation for creating professional-looking molded chocolates and bonbons. Pouring tempered chocolate into clean, dry polycarbonate molds allows it to set with a crisp shell that easily releases from the mold, resulting in shiny, perfectly shaped candies.
You can fill these shells with various ganaches, caramels, or other fillings. The tempered chocolate shell provides structure and prevents softer fillings from leaking. For example, you can make elegant dark chocolate bonbons filled with raspberry ganache or milk chocolate cups filled with salted caramel, knowing they will hold their shape and have a satisfying bite.
Dipping Fruits and Nuts in Tempered Chocolate
Dipping items like fresh strawberries, dried apricots, or roasted nuts in tempered chocolate creates delightful treats that set quickly and aren't messy to handle. Unlike untempered chocolate, which would remain soft and melt on your fingers, the tempered coating hardens firmly at room temperature.
Imagine dipping juicy strawberries into glossy dark tempered chocolate, or coating crunchy almonds in smooth milk tempered chocolate. The tempered chocolate provides a stable, appealing shell that enhances the texture and flavor of the dipped item. They are perfect for gifting or serving at parties as they hold up well at room temperature.
Creating Chocolate Decorations for Cakes and Desserts
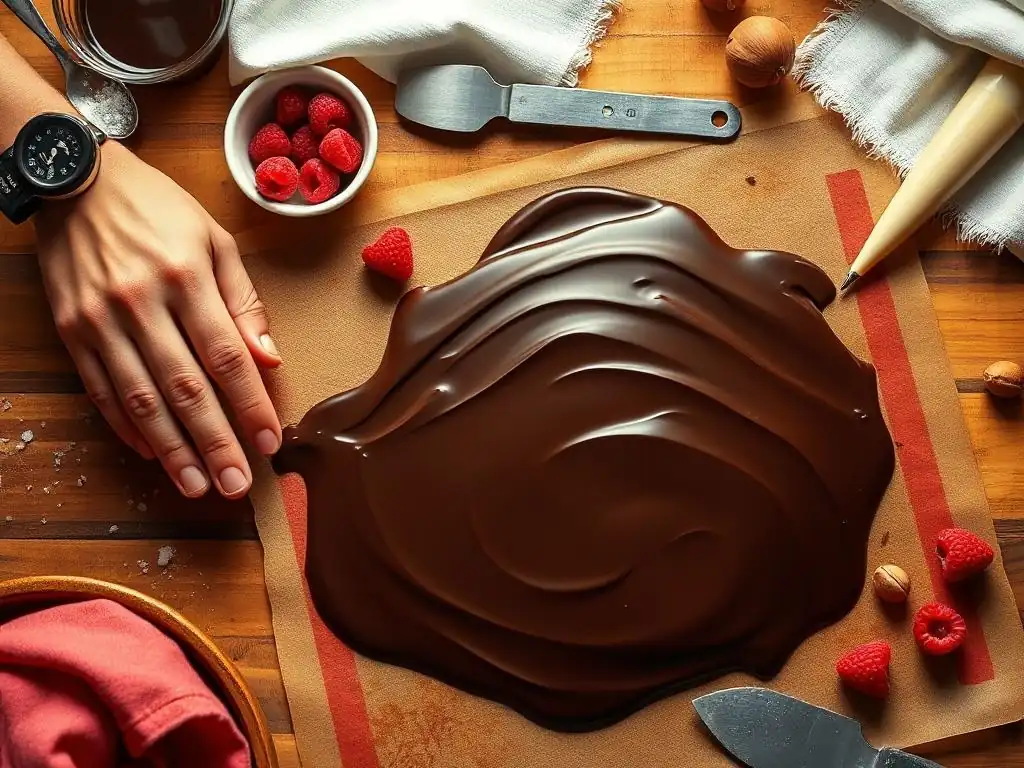
Tempered chocolate is ideal for crafting elegant and stable decorations for cakes, pastries, and desserts. You can spread tempered chocolate thinly on parchment paper and create chocolate shards or curls. You can pipe intricate designs onto parchment paper – once set, these designs can be carefully peeled off and used to adorn cakes.
For instance, you could pipe delicate tempered chocolate filigree to top a mousse cake or create bold geometric shapes to stand upright on a frosted layer cake. The tempered chocolate will hold its shape at room temperature and maintain its shine, adding a professional and beautiful touch to your baked creations.
Conclusion: Enjoy Perfectly Tempered Chocolate at Home, No Thermometer Needed!
Achieving beautifully tempered chocolate might seem daunting at first, especially with the emphasis on precise temperatures. However, as this guide demonstrates, easy chocolate tempering no thermometer is entirely within reach for the home baker using the reliable seeding method. By understanding the principles of crystallization and learning to read the visual and textural cues of the chocolate, you can bypass the need for specialized equipment.
With a little practice and patience, you'll be able to create professional-looking chocolate candies, dipped treats, and elegant decorations that boast that desirable snap and glossy finish. So gather your chocolate, your bowls, and your spatula, and give it a try. You might be surprised at how successful you can be at tempering chocolate without a thermometer, unlocking new possibilities in your baking adventures.
Further Reading: Advanced Chocolate Techniques and Recipes
Ready to dive deeper into the world of chocolate? Exploring advanced techniques can elevate your skills even further. Consider learning how to make different types of ganache for fillings, work with cocoa butter colors, or explore single-origin chocolates and how their unique properties affect tempering and flavor. There are countless recipes for bonbons, truffles, and chocolate sculptures that utilize tempered chocolate.
Frequently Asked Questions
How can I temper chocolate without a thermometer?
You can temper chocolate without a thermometer using the seeding method. This involves melting most of the chocolate and then adding unmelted chocolate (seeds) to help stabilize the cocoa butter crystals.
What are the key signs that my chocolate is properly tempered?
Properly tempered chocolate will have a smooth, glossy sheen, a good snap when broken, and will not bloom (develop white streaks). It will also set quickly at room temperature.
What kind of chocolate is best suited for tempering without a thermometer?
Good quality dark chocolate is generally easier to temper without a thermometer. Chocolate with a higher cocoa butter content tends to be more forgiving during the process.
What are some common mistakes to avoid when tempering chocolate without a thermometer?
Avoid getting any water or steam into the chocolate, as this can cause it to seize. Also, ensure the melted chocolate doesn't overheat during the melting process.
How long does tempered chocolate typically stay in temper?
Tempered chocolate can stay in temper for several hours if kept at a consistent, cool temperature (around 65-68°F or 18-20°C). Avoid significant temperature fluctuations to maintain the temper.
Final Reflection: The Sweet Science of Thermometer-Free Tempering
Mastering chocolate tempering without a thermometer isn't just a kitchen hack; it's a gateway to unlocking the potential of truly exceptional chocolate. This guide has explored the surprisingly accessible techniques that allow even novice chocolatiers to achieve a beautifully glossy, snappable finish on their creations, proving that precision doesn't always require expensive tools. The ease and affordability of these methods democratize the art of chocolate making, opening it up to a wider audience.
The journey of learning to temper chocolate without a thermometer has been a personal revelation. It's a testament to the power of observation and patience, skills that extend far beyond the kitchen. The best things in life are worth waiting for,
and this certainly holds true for the rewarding process of achieving perfectly tempered chocolate. The subtle nuances of texture and shine, achieved through careful attention to detail, are a constant source of satisfaction. This process encourages a mindful approach to cooking, reminding us to slow down and appreciate the craft.
Now, it's your turn. Don't be intimidated by the seemingly complex world of chocolate tempering. Experiment with the techniques outlined in this guide, trust your senses, and embrace the learning process. The satisfaction of creating flawlessly tempered chocolate, without relying on specialized equipment, is a truly rewarding experience. The next time you crave that perfect chocolate snap, remember the power you hold to create it yourself. Go forth and temper!
Unlock Your Inner Chocolatier: Mastering Tempering Without a Thermometer!
Thanks for diving into the world of chocolate tempering with us! We hope you now feel confident tackling this seemingly complex technique. Ready to put your newfound skills to the test?
- Your first masterpiece: Try tempering a small batch of chocolate using the seeding method – you’ll be surprised how easy it is! Then, use it to coat some pretzels or fresh fruit.
- Share your success: Post a picture of your perfectly tempered creation on social media and tag us – we'd love to see it! Use #BakeWithEaseTempering.
- Explore further: Consider experimenting with different types of chocolate to see how the tempering process varies.
What delicious treat will you create with your perfectly tempered chocolate?