
What is Tempering? Unlock the Secret to Professional Chocolate.

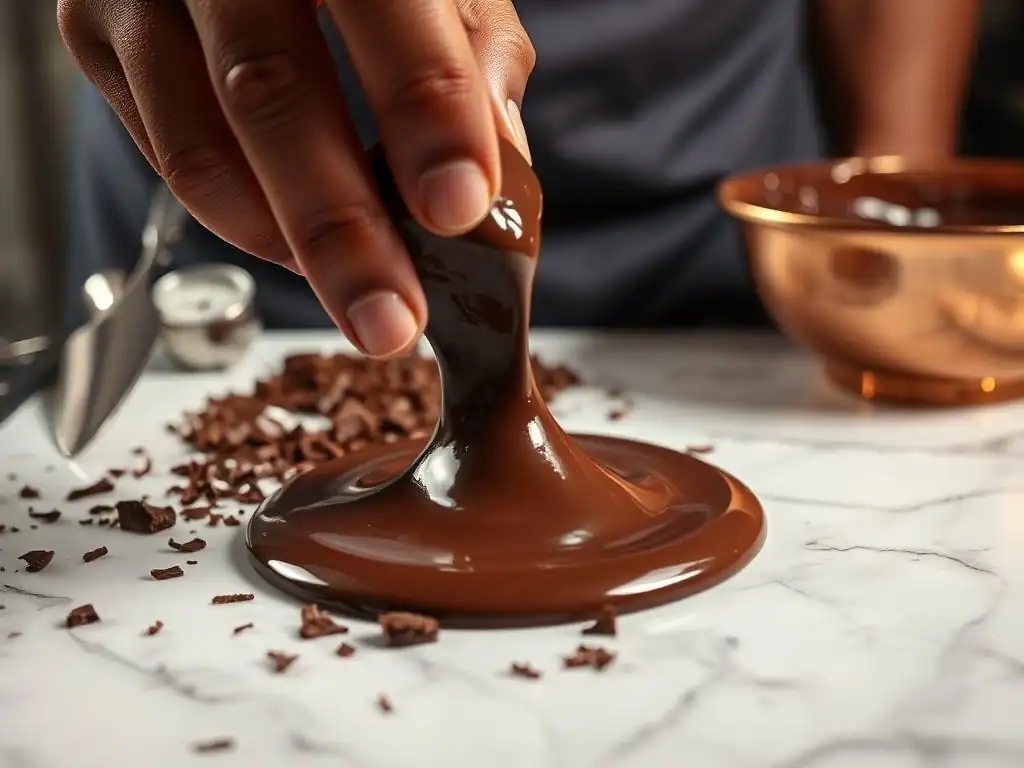
Welcome to BakeWithEase, where we transform baking dreams into delicious realities! Ever wondered how professional chocolatiers achieve that perfect shine and snap? This isn't just about melting chocolate; it's about mastering the art of tempering. Unlock the secret to professional chocolate and discover how this essential technique elevates your creations from amateur to artisan. Intrigued? Let's dive into the science and secrets behind perfect chocolate tempering!
- Tempering Chocolate for Professionals: Introduction to the Art
- Understanding Chocolate Tempering: A Deep Dive
- The Different Methods of Tempering Chocolate: Choosing the Right Technique
- Step-by-Step Guide: Mastering Chocolate Tempering for Professionals
- Troubleshooting Common Chocolate Tempering Problems
- Applications of Perfectly Tempered Chocolate in Professional Baking
- Advanced Tempering Techniques for Professional Bakers
- Tips and Tricks for Successful Chocolate Tempering
- Conclusion: Elevate Your Baking with Perfect Chocolate Tempering
-
Frequently Asked Questions
- What exactly is tempering chocolate, and why is it so important?
- What are the main methods used for tempering chocolate as outlined by BakeWithEase?
- What problems can occur if I don't temper chocolate correctly?
- Are there specific types of chocolate that are easier or harder to temper?
- What key piece of equipment would BakeWithEase recommend for those looking to temper chocolate effectively?
- Final Reflection: The Enduring Art of Chocolate Tempering
- Unlock Your Inner Chocolatier: Master the Art of Tempering!
Tempering Chocolate for Professionals: Introduction to the Art
Why is Tempering Chocolate Important for Professional Results?
Mastering the art of tempering chocolate is absolutely crucial for anyone aiming for professional-level results in baking and confectionery. Untempered chocolate, while perfectly edible, lacks the desirable characteristics that elevate a treat from homemade to high-quality. When chocolate isn't properly tempered, it often sets with a dull, streaky appearance, known as bloom, which is aesthetically unappealing. Furthermore, it melts too easily in the hand, lacks a satisfying snap when broken, and has a softer, less appealing texture.
For professional bakers and chocolatiers, these imperfections are simply unacceptable. Achieving a glossy finish, a firm texture, a clean snap, and resistance to melting are hallmarks of expertly crafted chocolate products. Proper tempering chocolate for professionals ensures consistency across batches, extends the shelf life of chocolate confections by preventing bloom, and provides the stable structure needed for intricate molds, thin coatings, and delicate decorations. It's the fundamental technique that unlocks the full potential of chocolate as a working medium, transforming it from a simple ingredient into a versatile tool for creating stunning and delicious treats.
BakeWithEase Explains: The Science Behind Perfectly Tempered Chocolate
At its core, tempering chocolate is a process of controlling the crystallization of cocoa butter, the fat component in chocolate. Cocoa butter is polymorphic, meaning its molecules can crystallize into several different forms, or polymorphs, each with a unique melting point and structure. There are six known forms, labeled I through VI. Forms I and II are unstable and melt well below room temperature. Forms III, IV, and V are more stable, but only form V provides the desired characteristics: a smooth texture, a high melting point (around 31-32°C for dark chocolate), a glossy shine, and a firm snap.
The goal of tempering chocolate for professionals is to encourage the formation of these stable Form V crystals while discouraging the formation of unstable forms. This is achieved through a precise heating, cooling, and agitation process. By melting the chocolate completely, you destroy all existing crystal structures.
Then, by cooling it to a specific temperature range and agitating it, you promote the nucleation of Form V crystals. Finally, a slight rewarming melts any remaining unstable crystals, leaving behind a network of stable Form V crystals that give the chocolate its desirable properties. Understanding this scientific basis is key to troubleshooting and consistently achieving perfect temper.
Understanding Chocolate Tempering: A Deep Dive
The Role of Cocoa Butter in Chocolate Tempering
Cocoa butter is the star player in the tempering process. It's a unique fat because of its polymorphic nature, which dictates how chocolate behaves when it solidifies. The way cocoa butter crystallizes directly impacts the final texture, appearance, and stability of the chocolate. Without controlling these crystal structures, chocolate would simply harden into a brittle, crumbly, or greasy mass, susceptible to melting at low temperatures and developing unsightly bloom.
When tempering chocolate for professionals, you are essentially manipulating the temperature to guide the cocoa butter molecules into forming the correct crystal structure. The specific fatty acid composition of cocoa butter (primarily stearic, palmitic, and oleic acids) allows it to solidify into these distinct crystal forms. The precision required in heating and cooling is all about activating and stabilizing the Form V crystals, which are the most desirable for creating high-quality, marketable chocolate products that hold their shape and appeal.
Chocolate Crystal Formation: Alpha, Beta, and the Desired Beta Crystal
As mentioned, cocoa butter can form several types of crystals. The most relevant forms in tempering are often simplified into Alpha (Forms I, II, III, IV) and Beta (Forms V, VI). The Alpha forms are unstable and melt at lower temperatures, leading to soft, dull, and bloomed chocolate. For example, Form I melts around 17°C, far too low for practical use.
Form V, the desirable Beta crystal, melts around 31-32°C for dark chocolate, slightly lower for milk (approx. 30-31°C) and white chocolate (approx. 29-30°C). Form VI is the most stable but forms slowly over time in solid chocolate and isn't typically targeted during the initial tempering process.
The key to successful tempering chocolate for professionals is creating a high concentration of Form V crystals. This is achieved by cooling the melted chocolate to a specific working temperature range where Form V crystals readily form and stabilize, while unstable forms are discouraged. Agitation during cooling helps distribute these seed crystals and ensures even crystallization throughout the chocolate mass. Once the chocolate is seeded with enough stable crystals, it's slightly warmed to melt away any remaining unstable crystals, leaving behind a dominant structure of Form V crystals ready to solidify into perfect chocolate.
The Different Methods of Tempering Chocolate: Choosing the Right Technique
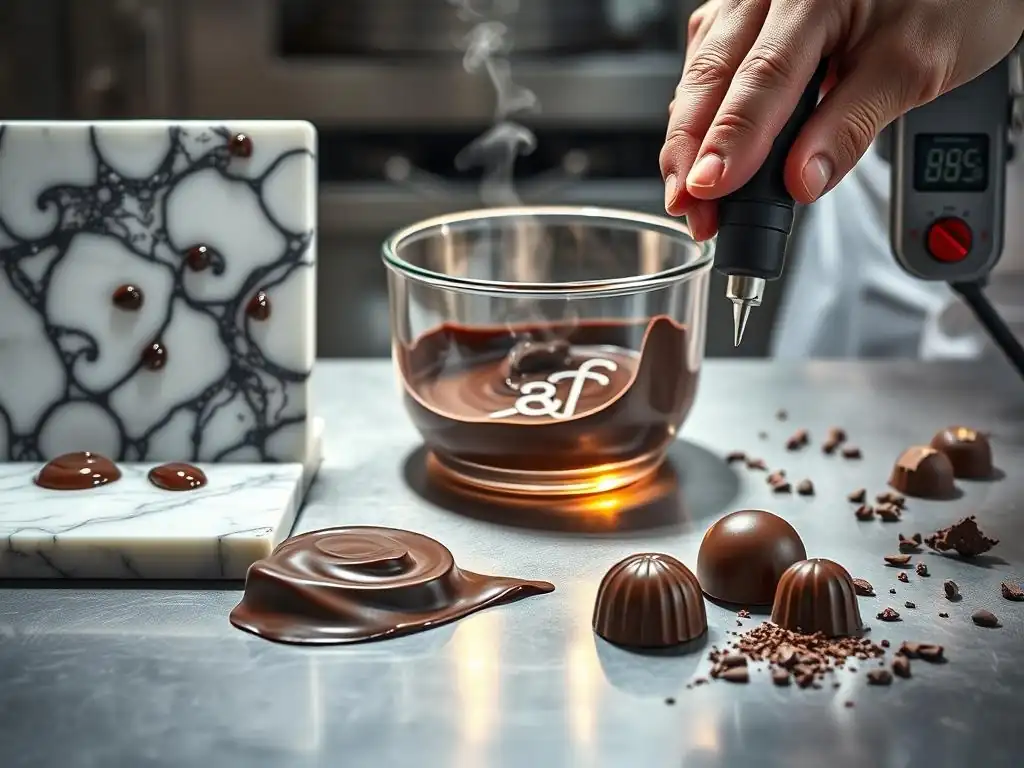
Tablier Method (Marble Slab Tempering): A Classic Approach
The tablier method, also known as marble slab tempering, is a traditional and highly effective technique, particularly suited for tempering chocolate for professionals working with larger quantities. This method relies on rapidly cooling a portion of the melted chocolate on a cool surface, typically a marble or granite slab, while continuously working it with a scraper or palette knife. About two-thirds of the fully melted chocolate is poured onto the clean, cool surface.
As the chocolate is spread thinly and scraped back together, its temperature drops quickly. The constant movement encourages the formation of stable Form V crystals. Once the chocolate thickens slightly and reaches the target working temperature (e.g., 27-28°C for dark chocolate), it is scraped back into the bowl with the remaining one-third of warm, melted chocolate.
This mixing process raises the overall temperature slightly, melting any unstable crystals that may have formed while leaving the stable Form V crystals intact. The resulting chocolate is perfectly tempered and ready for use. This method requires skill and practice but offers excellent control over the cooling process.
Seed Method: Tempering with Pre-Tempered Chocolate
The seed method is arguably one of the simplest and most accessible ways to temper chocolate for professionals, especially when dealing with moderate amounts. It involves melting the majority of the chocolate and then adding solid, finely chopped, already-tempered chocolate (the "seed") to cool it down and introduce stable Form V crystals. This method works because the seed chocolate contains a stable crystal structure that encourages the melted chocolate to crystallize in the desired form.
Start by melting about two-thirds to three-quarters of your chocolate gently until it reaches its initial melting temperature (around 45-50°C for dark chocolate). Remove it from the heat and stir in the remaining one-third to one-quarter of finely chopped, solid tempered chocolate. Stir continuously. The warmth of the melted chocolate will melt some of the seed, while the unmelted seed will cool the overall mass and provide nucleation points for new Form V crystals.
Continue stirring until all the seed is melted and the chocolate reaches the correct working temperature (e.g., 31-32°C for dark chocolate). If it's too cool and thick, gently warm it slightly to the working temperature. This technique is relatively foolproof and requires minimal specialized equipment beyond a thermometer and a bowl.
Microwave Tempering: A Quick and Convenient Technique
Microwave tempering is a popular method for tempering chocolate for professionals needing to work with smaller quantities quickly, or for home bakers looking for convenience. It's often referred to as a variation of the seed method. The key is to melt the chocolate very gently and gradually, avoiding overheating. Start with finely chopped chocolate in a microwave-safe bowl. Heat in 30-second intervals on medium power (around 50%), stirring thoroughly after each interval.
Continue heating and stirring until the chocolate is mostly melted, with just a few small lumps remaining. Remove from the microwave and stir continuously. The residual heat will melt the remaining lumps, and the stirring will help cool the chocolate and distribute the existing Form V crystals within the unmelted portions.
The goal is to reach the correct working temperature (e.g., 31-32°C for dark chocolate) through stirring without needing to add extra seed chocolate or cool it on a slab. This method requires careful attention to avoid overheating, which can easily destroy the temper. It's less precise for large batches but excellent for quick, small-scale work.
Sous Vide Tempering: Precision Tempering for Consistent Results
Sous vide tempering offers unparalleled temperature control, making it an excellent method for tempering chocolate for professionals who prioritize consistency and precision, especially with larger volumes. This technique utilizes a water bath held at a precise temperature using a sous vide immersion circulator. The chocolate is typically placed in a sealed bag or container, submerged in the water bath.
First, melt the chocolate in a sealed bag in a water bath set to a temperature that fully melts the chocolate (e.g., 45-48°C for dark chocolate). Once melted, lower the water bath temperature to the target working temperature for your type of chocolate (e.g., 31.5°C for dark chocolate). Leave the bag of chocolate in the water bath at this precise temperature for a period of time, usually 30-60 minutes, agitating occasionally.
This method allows the chocolate to equilibrate at the exact temperature required for Form V crystal formation and stability. It minimizes the risk of overheating or undercooling, leading to highly reliable results, although it is slower than other methods.
Step-by-Step Guide: Mastering Chocolate Tempering for Professionals
Step 1: Melting the Chocolate Properly
The first critical step in tempering chocolate for professionals is melting it correctly. You need to completely melt all existing crystal structures in the chocolate, including any unstable ones that may have formed over time. This is typically done by heating the chocolate to a specific temperature range, which varies depending on the type of chocolate: around 45-50°C (113-122°F) for dark chocolate, 40-45°C (104-113°F) for milk chocolate, and 35-40°C (95-104°F) for white chocolate. Exceeding these temperatures, especially for milk and white chocolate, can scorch the chocolate or cause it to seize.
The best methods for melting are using a double boiler (a bowl set over simmering, not boiling, water) or a microwave on low power with frequent stirring. Direct heat should be avoided as it can easily burn the chocolate. Ensure no water comes into contact with the chocolate, as even a tiny drop can cause it to seize into a thick, unworkable paste. Stir the chocolate gently as it melts to ensure even heating and prevent hot spots. Once fully melted and smooth, it's ready for the next stage of tempering chocolate for professionals.
Step 2: Cooling the Chocolate to the Ideal Temperature
After melting, the next crucial step in tempering chocolate for professionals is cooling it down to a specific temperature range where stable Form V crystals begin to form. This target cooling temperature is lower than the final working temperature and also varies by chocolate type: approximately 27-28°C (81-82°F) for dark chocolate, 26-27°C (79-81°F) for milk chocolate, and 25-26°C (77-79°F) for white chocolate. The cooling method used will depend on the tempering technique chosen (e.g., spreading on a marble slab, adding seed chocolate).
Regardless of the method, the goal is to bring the temperature down relatively quickly while agitating the chocolate. Agitation is key because it helps distribute the cooling effect evenly and promotes the nucleation of those desired Form V crystals throughout the mass. Using a reliable chocolate thermometer is essential during this phase to monitor the temperature accurately. Cooling too slowly or without sufficient movement can result in poor crystallization or the formation of unstable crystals.
Step 3: Working the Chocolate to Encourage Beta Crystal Formation
This step is intertwined with the cooling process and is vital for successful tempering chocolate for professionals. As the chocolate cools to the target temperature range (e.g., 27-28°C for dark chocolate), it enters a zone where Form V crystals are most likely to form and proliferate. The action of working the chocolate – whether by scraping and folding on a marble slab, stirring in seed chocolate, or continuous stirring in a bowl – provides the necessary energy and contact points for these crystals to grow and spread.
Without sufficient working or agitation during this cooling phase, the chocolate may either fail to crystallize properly, leading to a soft set, or it might form an insufficient number of Form V crystals. The physical movement helps align the cocoa butter molecules and encourages them to lock into the stable crystal lattice of Form V. You will notice the chocolate starting to thicken slightly as more crystals form. This thickening is a visual indicator that the tempering process is progressing correctly.
Step 4: Testing the Temper of the Chocolate
Before using your tempered chocolate for professional applications, it's absolutely essential to test its temper. This simple test confirms whether you have successfully created a stable crystal structure. The most common method is the "spatula test" or "parchment paper test." Dip the tip of a clean knife, spatula, or a strip of parchment paper into the tempered chocolate. Remove the excess chocolate by scraping one side clean.
Set the test piece aside at room temperature (ideally around 20-22°C or 68-72°F). Perfectly tempered chocolate should begin to set and become firm within 3-5 minutes. Once set, it should be glossy and smooth, with no streaks or dull spots. If the chocolate remains liquid, sets slowly, looks dull, or shows streaks (bloom) as it sets, it is not properly tempered and will need to be re-tempered from Step 1. This test is a non-negotiable part of tempering chocolate for professionals to ensure quality results.
Troubleshooting Common Chocolate Tempering Problems
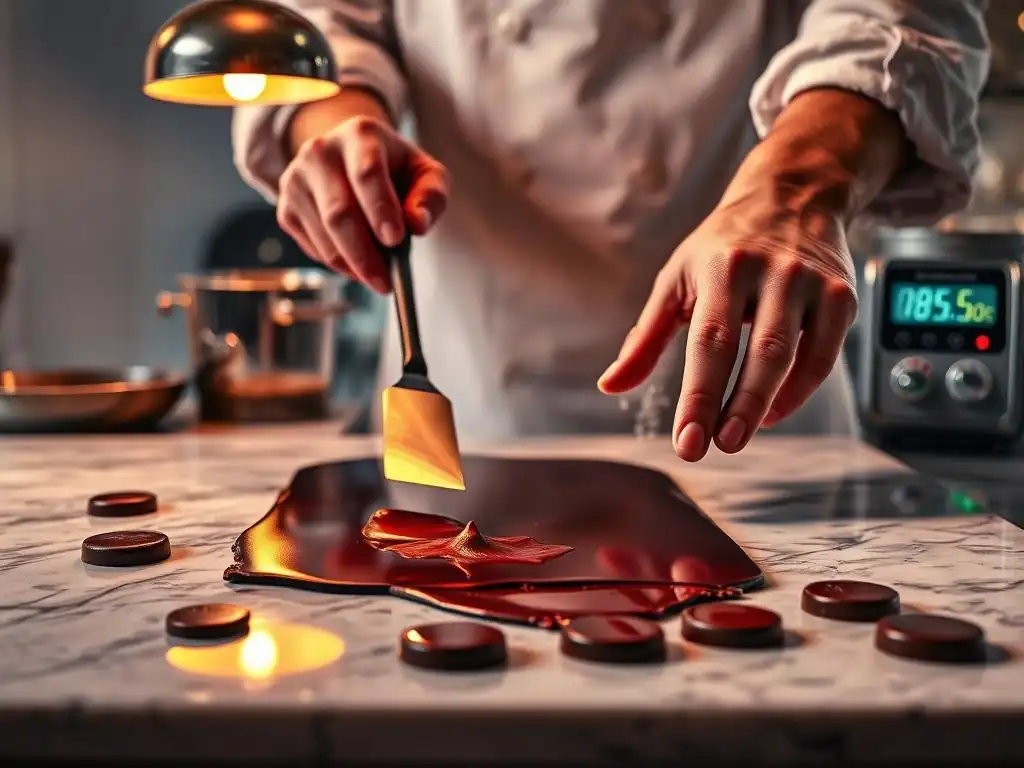
Chocolate Blooming: Causes and Prevention
Chocolate bloom is one of the most common issues encountered when tempering chocolate for professionals and home bakers alike. There are two main types: fat bloom and sugar bloom. Fat bloom appears as a dull, grayish, or streaky surface and is caused by unstable cocoa butter crystals (Forms I-IV) melting and recrystallizing on the surface, typically due to improper tempering or storage at fluctuating temperatures (above 25°C). Sugar bloom appears as a grainy, white surface and is caused by moisture dissolving sugar on the surface, which then recrystallizes when the water evaporates.
Preventing bloom starts with proper tempering, ensuring a high percentage of stable Form V crystals are formed. For fat bloom, always temper your chocolate correctly and store finished products at a consistent, cool temperature (ideally 15-18°C or 59-64°F) away from direct sunlight and heat sources. For sugar bloom, avoid exposing chocolate to humidity or condensation. Ensure your workspace and equipment are completely dry when working with chocolate. While bloomed chocolate is safe to eat, its appearance is undesirable for professional products; it can often be re-melted and re-tempered.
Grainy or Dull Chocolate: Fixing Over-Crystallization
If your tempered chocolate sets with a grainy texture or appears dull rather than glossy, it is likely a sign of over-crystallization. This happens when too many crystals, or the wrong types of crystals (like Form IV), are allowed to form and grow too large during the cooling and working phase. It can occur if the chocolate is cooled too quickly, worked too aggressively, or cooled to too low a temperature, especially when using the seed or marble slab methods.
To fix grainy or dull chocolate caused by over-crystallization, you typically need to gently warm it up slightly to melt the excess or undesirable crystals. If using the seed method, you might add a little more warm, melted chocolate. If using the marble slab method, scrape the chocolate back into the bowl and gently warm it over a double boiler or with a heat gun (carefully!)
while stirring, until it reaches the correct working temperature range (e.g., 31-32°C for dark chocolate). The goal is to melt the unstable crystals while leaving the stable Form V crystals intact. If the problem persists, you may need to start the tempering process over from the beginning by fully melting the chocolate.
Chocolate Seizing: Understanding and Avoiding Moisture Issues
Chocolate seizing is a common and frustrating problem where smooth, melted chocolate suddenly transforms into a thick, lumpy, unworkable paste. This occurs when even a tiny amount of water or moisture comes into contact with melted chocolate. Chocolate is an emulsion of cocoa solids, sugar, and cocoa butter. The sugar particles are hydrophilic, meaning they attract water. When water is introduced, it preferentially binds to the sugar particles, causing them to clump together rapidly. This disrupts the smooth coating of cocoa butter around the particles, leading to the seized, grainy texture.
Avoiding seizing requires absolute vigilance regarding moisture. Ensure all equipment – bowls, spatulas, thermometers, etc. – is perfectly dry before it touches the chocolate.
If melting chocolate over a double boiler, make sure the bottom of the bowl does not touch the simmering water, and prevent any steam or condensation from getting into the chocolate. If working in a humid environment, consider using a dehumidifier or choosing a less humid day for tempering chocolate for professionals. If chocolate does seize, it can sometimes be rescued by stirring in a small amount of hot liquid fat (like vegetable oil, melted cocoa butter, or even hot cream if the final product allows for it), but it will no longer be temperable and is best used for ganaches or sauces rather than molded or coated items.
Applications of Perfectly Tempered Chocolate in Professional Baking
Creating Shiny Chocolate Coatings and Decorations
One of the primary reasons for tempering chocolate for professionals is to achieve a flawless, glossy finish on coated items and intricate decorations. Properly tempered chocolate sets quickly and shrinks slightly as it hardens, pulling away from molds or surfaces to create a smooth, reflective exterior. This is essential for coating truffles, dipping fruits or cookies, creating chocolate shards, curls, or piping delicate designs.
When chocolate is tempered correctly, the Form V crystals align densely, creating a stable structure that reflects light evenly, resulting in that coveted mirror-like shine. Untempered chocolate, with its haphazard crystal structure, sets unevenly and scatters light, resulting in a dull or streaky appearance. Achieving this professional sheen requires maintaining the chocolate within its working temperature range throughout the coating or decorating process, as it can fall out of temper if it gets too cool or too warm.
Making Chocolate Bonbons and Truffles with a Snap
The satisfying "snap" when you bite into a chocolate bar, bonbon, or truffle shell is a direct result of proper tempering chocolate for professionals. This crisp breakability is due to the dense, stable structure of Form V cocoa butter crystals. These crystals create a solid, brittle matrix that fractures cleanly when pressure is applied.
For bonbons with thin shells, tempering is crucial not only for the snap but also for easy demolding and preventing fat bloom that can leach from the filling. A properly tempered chocolate shell provides a stable barrier. Truffles dipped in tempered chocolate gain a firm, snappy coating that contrasts beautifully with a soft ganache center. Achieving this snap is a hallmark of quality chocolate confectionery and a key indicator that the chocolate was correctly tempered.
Tempering Chocolate for Molded Chocolates
Molding chocolate is a technique heavily reliant on perfectly tempered chocolate for professionals. Whether creating solid chocolate figures, hollow shells for bonbons, or intricate shapes, the chocolate must be in temper to set correctly, achieve a glossy surface, and release easily from the mold. The slight contraction of tempered chocolate as it sets helps it pull away from the mold's surface, making demolding simple.
Untempered chocolate, conversely, will stick to the mold, set unevenly, lack shine, and likely develop bloom. For detailed molds, the fluidity of properly tempered chocolate at its working temperature allows it to flow into all the intricate crevices, capturing fine details. Maintaining the correct working temperature throughout the molding process is vital. For example, pouring dark chocolate into molds at approximately 31-32°C ensures optimal flow and crystal formation for a perfect molded piece.
Advanced Tempering Techniques for Professional Bakers
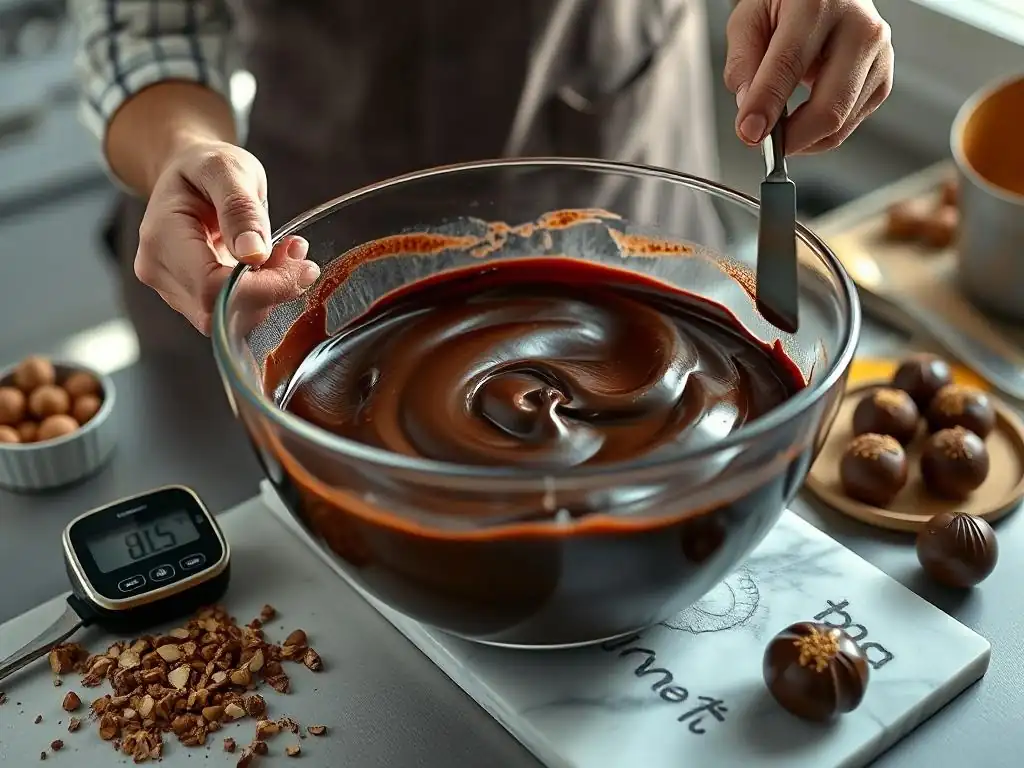
Working with Different Types of Chocolate (Dark, Milk, White)
Tempering chocolate for professionals involves understanding that different types of chocolate require different temperature ranges due to their varying compositions, particularly the amount of cocoa butter, milk solids, and sugar. Dark chocolate, with the highest percentage of cocoa solids and typically more cocoa butter, has the highest melting and working temperatures. Milk chocolate contains milk solids and less cocoa butter, requiring slightly lower temperatures. White chocolate, made only from cocoa butter, sugar, and milk solids (no cocoa solids), has the lowest tempering temperatures.
Approximate key temperatures:
- Dark Chocolate: Melt: 45-50°C; Cool: 27-28°C; Work: 31-32°C
- Milk Chocolate: Melt: 40-45°C; Cool: 26-27°C; Work: 30-31°C
- White Chocolate: Melt: 35-40°C; Cool: 25-26°C; Work: 29-30°C
Mastering tempering chocolate for professionals means being able to adjust these temperatures precisely based on the specific chocolate brand and type being used, as slight variations in cocoa butter content can affect the ideal range. Always refer to manufacturer recommendations if available.
Tempering Chocolate with Additives (Nuts, Flavors)
Incorporating additives like nuts, dried fruit pieces, or flavorings into chocolate requires careful consideration when tempering chocolate for professionals. Additives can affect the viscosity of the melted chocolate and potentially introduce moisture, which can cause seizing. If adding inclusions like nuts, it's often best to temper the chocolate first and then stir in the warmed additives just before use. Warming the nuts prevents them from cooling the chocolate too rapidly and knocking it out of temper.
Liquid flavorings (like extracts) should be oil-based, not water-based, to avoid seizing. Even oil-based flavors should be added sparingly and stirred in thoroughly after the chocolate is tempered. Powdered flavorings or colorings should be fat-soluble and mixed with a small amount of melted cocoa butter or oil before being incorporated into the tempered chocolate to ensure smooth dispersion without introducing lumps or affecting the temper. Working with additives adds another layer of complexity, demanding careful temperature management and ingredient preparation.
Maintaining Temper During Production
Once chocolate is tempered, maintaining that temper throughout its use is crucial for tempering chocolate for professionals in a production environment. Tempered chocolate is only in temper when it is within its specific working temperature range (e.g., 31-32°C for dark). If it cools too much, it will become too thick and start to set, losing its fluidity. If it heats too much, the stable Form V crystals will melt, and it will fall out of temper.
Maintaining temper often involves using a warming unit, such as a chocolate tempering machine, a heated holding tank, or even a carefully controlled double boiler set to the working temperature. These units gently keep the chocolate at the ideal temperature for dipping, molding, or coating over extended periods.
Agitation within the holding unit is also beneficial to prevent the chocolate from starting to set and to maintain even temperature distribution. For smaller batches, intermittent gentle warming (e.g., brief stints in a microwave on low power or over a double boiler) while constantly stirring can help maintain fluidity, but requires constant vigilance.
Tips and Tricks for Successful Chocolate Tempering
Using a Chocolate Thermometer for Accuracy
A reliable thermometer is perhaps the single most important tool for tempering chocolate for professionals. Eyeballing temperatures is simply not precise enough to consistently achieve the correct crystal structure. Different tempering methods rely on hitting specific temperature points (melting, cooling, working), and being off by even a degree or two can mean the difference between perfect temper and failure.
Use a quick-read digital thermometer or an infrared thermometer specifically designed for chocolate. Ensure the thermometer is clean and dry before inserting it into the chocolate. Stir the chocolate before taking a reading to ensure the temperature is uniform throughout the mass, not just on the surface or edges. Accurate temperature readings are the foundation of successful tempering chocolate for professionals.
The Importance of Clean Equipment
Cleanliness is paramount when tempering chocolate for professionals. Any residual chocolate from previous batches, especially if it's untempered, can introduce unstable crystals that disrupt the tempering process. Even worse, any trace of moisture or fat (other than the cocoa butter already in the chocolate) can cause the chocolate to seize or prevent proper crystallization.
Ensure all bowls, spatulas, thermometers, molds, and surfaces are spotlessly clean and thoroughly dried before you begin. Avoid using plastic bowls if possible, as they can retain fat residues. Stainless steel or glass bowls are preferred. A clean workspace free from water splashes or steam is also essential. Starting with pristine equipment eliminates common variables that can lead to tempering failures.
Storing Tempered Chocolate Properly
Once chocolate has been successfully tempered and used in a product, proper storage is key to maintaining its quality and preventing bloom. Tempered chocolate products should be stored in a cool, dry place with a consistent temperature, ideally between 15-18°C (59-64°F). Fluctuating temperatures are a major cause of fat bloom, as they allow unstable crystals to melt and recrystallize on the surface.
Humidity should also be controlled, as high humidity can lead to sugar bloom. Storing chocolate in airtight containers can help protect it from moisture and odors, which chocolate readily absorbs. Avoid refrigeration if possible, as the cold temperature can cause condensation when the chocolate is brought back to room temperature, leading to sugar bloom. If refrigeration is necessary, place the chocolate in an airtight container before refrigerating and allow it to come to room temperature slowly inside the container to minimize condensation. Proper storage is the final step in ensuring the longevity and appeal of your tempered chocolate creations.
Conclusion: Elevate Your Baking with Perfect Chocolate Tempering
Mastering tempering chocolate for professionals is a skill that transforms good chocolate work into great chocolate work. It's the difference between a dull, soft coating and a stunningly glossy, snappy finish. While it may seem intimidating at first, understanding the science of cocoa butter crystallization and practicing the various techniques will build your confidence and consistency.
By paying close attention to temperature, using clean equipment, and testing your results, you can reliably achieve perfectly tempered chocolate every time. Whether you prefer the classic marble slab, the convenient seed method, or the precision of sous vide, the payoff is the ability to create beautiful, stable, and delicious chocolate confections that meet professional standards. Embrace the challenge, and unlock the secret to working with chocolate like a true expert.
Frequently Asked Questions
What exactly is tempering chocolate, and why is it so important?
Tempering chocolate is the process of stabilizing the cocoa butter within the chocolate. This gives it a smooth, glossy finish and a satisfying snap. Without tempering, chocolate can become dull, streaky, and prone to blooming.
What are the main methods used for tempering chocolate as outlined by BakeWithEase?
BakeWithEase likely covers methods like seeding, where you add already-tempered chocolate to melted chocolate, and tabling, which involves cooling and working the chocolate on a marble slab. Both methods aim to achieve the correct crystal structure.
What problems can occur if I don't temper chocolate correctly?
Untempered chocolate can suffer from chocolate bloom, a whitish coating that appears on the surface. It will also be soft and melty at room temperature and lack that desirable snap.
Are there specific types of chocolate that are easier or harder to temper?
Generally, high-quality dark chocolate is considered easier to temper than milk or white chocolate due to the higher cocoa butter content. However, practice makes perfect with any type!
What key piece of equipment would BakeWithEase recommend for those looking to temper chocolate effectively?
A reliable thermometer is absolutely essential for accurately monitoring the chocolate's temperature throughout the tempering process. A double boiler or microwave is also helpful for melting chocolate gently.
Final Reflection: The Enduring Art of Chocolate Tempering
Mastering chocolate tempering isn't just a technical skill; it's the key to unlocking the full potential of this exquisite ingredient. The precise control over crystallization, as detailed throughout this article, directly translates to the superior shine, snap, and melt-in-your-mouth texture that defines truly professional chocolate work. This isn't merely about aesthetics; it's about elevating the entire chocolate experience for the consumer.
The impact of proper tempering extends far beyond the individual chocolate bar or confection. It shapes the perception of quality within the entire industry, influencing everything from high-end chocolatiers to everyday baking. The beauty of chocolate lies not only in its taste, but in its texture and appearance; tempering is the bridge between raw ingredient and a truly memorable experience.
This quote encapsulates the artistry and precision involved, highlighting the profound effect tempering has on the final product and, consequently, the consumer's perception of the craft.
Now, consider your own approach to chocolate work. Are you ready to elevate your skills and consistently deliver the exceptional quality that only perfectly tempered chocolate can provide? Take the knowledge gained here, practice diligently, and watch as your creations transform. Embrace the challenge, refine your technique, and unlock the secrets to crafting truly unforgettable chocolate experiences. The journey to mastering tempering is a rewarding one, leading to a deeper appreciation for this timeless art form.
Unlock Your Inner Chocolatier: Master the Art of Tempering!
Thanks for diving into the world of chocolate tempering! You've now got the knowledge to create flawlessly smooth, shiny chocolate—a game-changer for your baking adventures. Ready to put your new skills to the test?
- Craft your masterpiece: Try tempering a small batch of chocolate using your preferred method from the article. Challenge yourself to create a simple treat, like chocolate-covered pretzels or a few bonbons! This is your chance to practice and perfect your technique.
- Share your success (or challenges!): Let us know in the comments how your tempering experiment went. We love hearing your stories and learning from your experiences!
- Explore new recipes: Browse our website for more delicious chocolate recipes that put your newfound tempering skills to the test.
What incredible chocolate creation will you make first?