
Meringue Kisses: An Easy Recipe for Delightful, BiteSized Treats

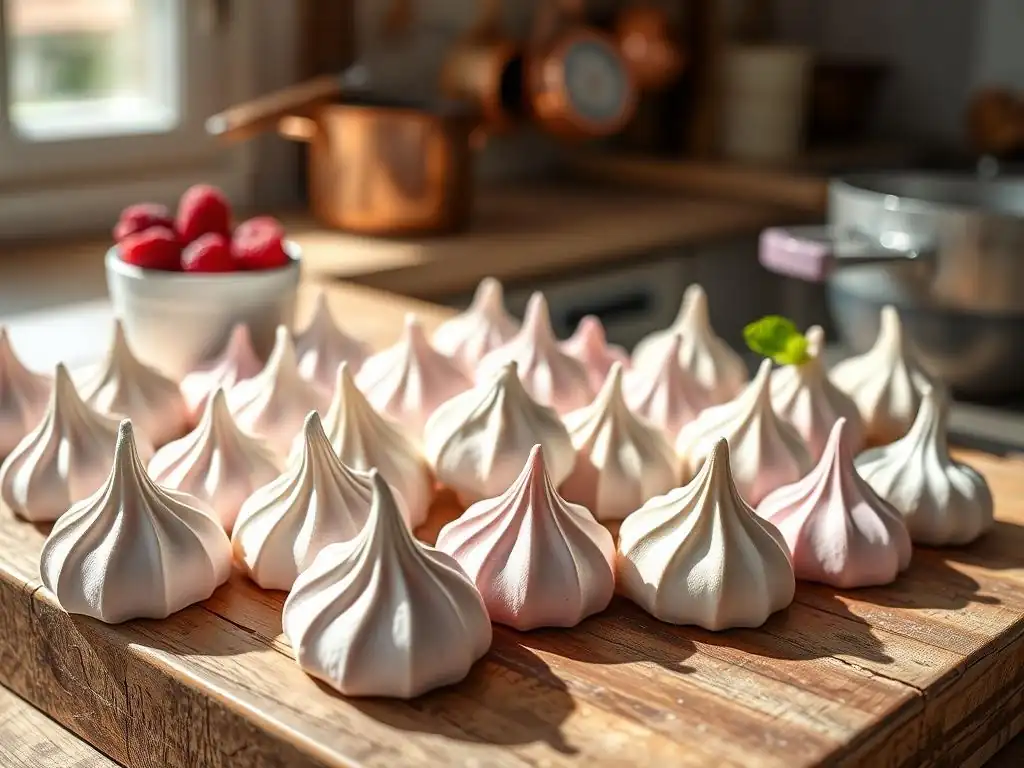
Welcome to BakeWithEase, your trusted guide to baking brilliance! Ever dream of creating delicate, melt-in-your-mouth meringue kisses? Our Easy Meringue Kisses Recipe unveils the secrets to achieving these delightful treats, even if you thought advanced baking was out of reach. Discover the simple steps and techniques that transform basic ingredients into stunning confections and unlock a world of baking possibilities. Intrigued? Let's bake!
- Introduction to Meringue Kisses: A Bite-Sized Baking Project
- The Easy Meringue Kisses Recipe: A Step-by-Step Guide
- Mastering the Meringue: The Key to Perfect Kisses
- Baking Your Meringue Kisses: Low and Slow is the Way to Go
- Cooling and Storing Your Homemade Meringue Kisses
- Troubleshooting Common Meringue Kisses Problems
- Meringue Kisses Recipe Variations: Exploring Different Flavors
- Conclusion: Enjoy Your Homemade Meringue Kisses!
-
Frequently Asked Questions
- What makes this meringue kisses recipe "easy"?
- What are the key ingredients I need for this meringue kisses recipe?
- What's the secret to achieving perfectly crisp meringue kisses?
- Can I customize the flavor and color of these meringue kisses?
- How should I store meringue kisses to maintain their crispness?
- Final Reflection: The Sweetness of Simplicity and Shared Moments
- Unlock Your Inner Pastry Chef: Make Your Own Meringue Kisses!
Introduction to Meringue Kisses: A Bite-Sized Baking Project
Discover the Joy of Making Perfect Meringue Kisses at Home
Embarking on the journey to create meringue kisses can be a truly rewarding experience. These delicate, airy confections, often referred to as forgotten cookies due to their low-temperature, long bake time, offer a delightful crunch and a sweet, melt-in-your-mouth texture. Mastering this simple meringue kisses recipe opens up a world of possibilities, allowing you to customize flavors and colors for any occasion. It's a project that requires patience but rewards you with charming, elegant treats that are surprisingly simple to execute once you understand the basic principles.
Learning to make meringue kisses is also a fantastic way to build foundational baking skills. The process relies heavily on precise measurements and careful technique, particularly when whipping egg whites. Successfully achieving stiff peaks and incorporating sugar correctly are skills transferable to many other desserts, from soufflés to mousses. This easy meringue kisses recipe is designed to guide you through each step, ensuring that even novice bakers can achieve beautiful, professional-looking results right from their own kitchen.
Why Meringue Kisses are the Perfect Treat for Any Occasion
Meringue kisses possess a unique charm that makes them suitable for a wide variety of events and gatherings. Their small size makes them ideal for party platters, dessert tables, or simply as a light snack with coffee or tea. Because they are naturally gluten-free (assuming no cross-contamination and using appropriate ingredients), they are a thoughtful option for guests with dietary restrictions. Their ethereal appearance also lends itself well to decoration, easily colored and flavored to match holiday themes, baby showers, or wedding favors.
Furthermore, the simplicity of the base easy meringue kisses recipe means they can be prepared ahead of time, as they store well when kept in an airtight container away from moisture. This makes them a stress-free addition to your baking repertoire, allowing you to focus on other aspects of entertaining. Whether you're looking for a delicate addition to a holiday cookie box, a charming treat for a child's birthday, or just a simple pleasure for yourself, homemade meringue kisses fit the bill perfectly.
The Easy Meringue Kisses Recipe: A Step-by-Step Guide
Ingredients for Light and Airy Meringue Kisses
Essential Ingredients for Meringue Success: Egg Whites, Sugar, and Cream of Tartar
The core of any successful meringue, including this easy meringue kisses recipe, lies in just a few fundamental ingredients: egg whites, sugar, and often, a stabilizer like cream of tartar. Egg whites, when whipped, trap air, forming the structure of the meringue. It's crucial that your egg whites are at room temperature, as this allows them to whip up to a greater volume compared to cold egg whites. For a typical batch yielding around 4-5 dozen small kisses, you might start with 3 large egg whites.
Sugar plays a dual role: it sweetens the meringue and stabilizes the whipped egg whites, giving them a glossy, firm structure. Granulated sugar is commonly used in this easy meringue kisses recipe, but superfine sugar (caster sugar) dissolves more quickly, reducing the risk of a grainy texture. A common ratio is approximately 1/2 cup to 3/4 cup of granulated sugar per large egg white. Cream of tartar, a powdered acid, helps stabilize the egg foam and prevents the proteins from collapsing, ensuring your meringue holds its shape and achieves those desirable stiff peaks. Just a small amount, like 1/4 teaspoon per 3 egg whites, is usually sufficient.
Optional Flavor Enhancements: Vanilla Extract, Peppermint Extract, and Gel Food Coloring
While the basic easy meringue kisses recipe is delicious on its own, adding flavor and color can elevate them significantly. Extracts are the simplest way to infuse flavor. Pure vanilla extract is a classic choice, adding a warm, familiar sweetness. For a festive touch, especially around holidays, peppermint extract works wonderfully. Remember that extracts are potent, so start with a small amount, perhaps 1/2 teaspoon to 1 teaspoon per batch, and add more to taste if desired. Avoid oil-based flavorings, as fat can deflate the meringue.
Gel food coloring is preferred over liquid food coloring for meringues because it's highly concentrated and adds very little moisture to the mixture. Just a tiny drop can produce vibrant colors. You can marble the meringue by swirling different colors together in the piping bag or color the entire batch uniformly. Consider pairing colors and flavors – red or green with peppermint, brown with espresso, or pastel colors with vanilla for a spring theme. These simple additions make customizing your homemade meringue kisses a breeze.
Equipment Needed for Your Meringue Kisses Baking Session
Must-Have Tools: Stand Mixer, Piping Bag, and Parchment Paper
To successfully execute this easy meringue kisses recipe, having the right tools is key. A stand mixer is highly recommended, though a hand mixer can also work. Whipping egg whites to stiff peaks takes time (often 5-10 minutes or more in a stand mixer), and a stand mixer allows you to focus on other tasks while it works. Ensure the mixer bowl and whisk attachment are spotlessly clean and free of any grease, as even a tiny amount of fat can prevent the egg whites from whipping properly.
Piping bags are essential for creating the signature kiss shape. You can use disposable or reusable silicone piping bags. Pairing the bag with a suitable piping tip allows for consistent shapes. Parchment paper or a silicone baking mat is crucial for lining your baking sheets. Meringues are sticky when wet and delicate when baked, and parchment paper prevents them from sticking to the pan, making cleanup and removal easy. Never grease the pan directly for meringues, as fat is their enemy.
Tips for Choosing the Right Piping Tip for Meringue Kisses
The choice of piping tip significantly impacts the appearance of your meringue kisses. For the classic, ridged kiss shape, a star tip is the most popular choice. Tips like the Wilton 1M (a large open star) or Ateco 826 work well for creating substantial, well-defined swirls. Smaller star tips, such as Wilton 21 or Ateco 1M, will produce smaller, more delicate kisses.
If you prefer a smooth, rounded look, a large round tip (like Wilton 1A or Ateco 808) can be used. Experimenting with different tips can be fun and allows you to create a variety of shapes and sizes from one easy meringue kisses recipe batch. Consider the size of the finished kiss you desire – larger tips yield bigger kisses, while smaller tips create dainty, bite-sized treats. Whatever tip you choose, ensure it fits snugly within your piping bag.
Mastering the Meringue: The Key to Perfect Kisses
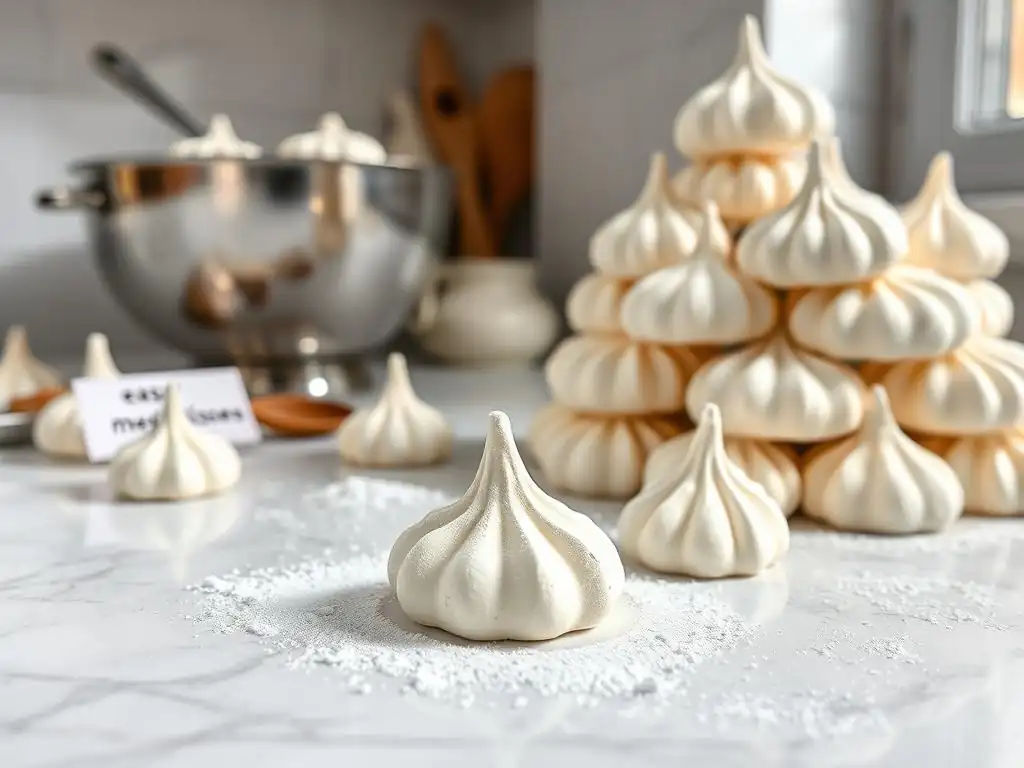
Step 1: Whipping the Egg Whites to Stiff Peaks
Achieving Stiff Peaks: The Visual Cues for Meringue Perfection
Whipping egg whites to stiff peaks is perhaps the most critical step in any easy meringue kisses recipe. This stage is reached when the egg whites are opaque, voluminous, and hold their shape firmly. When you lift the whisk attachment, the meringue should stand straight up without drooping or curling at the tip.
A good visual test is to gently invert the bowl (carefully, over your head if you're brave, or just over the counter to be safe); if the meringue stays put, you've likely reached stiff peaks. Under-whipped meringue will result in flat, sad kisses, while over-whipped meringue can become dry and grainy.
The process begins by whipping room-temperature egg whites on medium speed until they become frothy. Then, add the cream of tartar (if using). Increase the speed to medium-high and continue whipping until soft peaks form – this is when the meringue holds a peak but the tip curls over. Keep whipping, watching closely, until the meringue is glossy and reaches stiff peaks. This transition can happen quickly, so pay attention to the visual cues.
Troubleshooting: What to Do if Your Egg Whites Won't Whip
Sometimes, despite your best efforts, egg whites just refuse to whip up properly. The most common culprit is fat. Even a trace amount of egg yolk in your egg whites, or grease residue on your mixing bowl or whisk, can prevent the proteins from aerating. Ensure your equipment is scrupulously clean and dry. If you've accidentally gotten some yolk in, it's best to start over with fresh egg whites and clean equipment.
Another factor can be moisture or humidity. Egg whites absorb moisture from the air, which can make it harder to achieve stiff peaks, especially on a rainy day. While harder to control, choosing a dry day for meringue making can help.
If your egg whites seem sluggish to whip, ensure they are truly at room temperature. Cold egg whites take much longer and may not reach the same volume. If you've checked these factors and they're still not whipping, it might be an issue with the age of the eggs (very old eggs can sometimes be problematic) or simply needing more whipping time – keep going!
Step 2: Gradually Adding Sugar for a Glossy Meringue
The Importance of Granulated Sugar in Meringue Making
Sugar is not just for sweetness in this easy meringue kisses recipe; it's a structural component. When sugar is gradually added to whipped egg whites, it dissolves and forms a syrup that coats the air bubbles, strengthening the foam structure. This process results in a stable, glossy meringue that holds its shape beautifully when piped and baked. Using granulated sugar is standard, but ensuring it dissolves fully is key to avoiding a grainy texture in the finished kisses.
The gradual addition is crucial. Dumping all the sugar in at once can deflate the egg whites. Instead, add the sugar very slowly, about 1-2 tablespoons at a time, while the mixer is running on medium-high speed. Allow each addition to dissolve completely before adding the next. You can test for dissolved sugar by rubbing a tiny bit of the meringue between your fingers; it should feel smooth, not gritty. This slow process typically takes several minutes, but it's essential for creating a stable, glossy meringue base for your homemade meringue kisses.
Achieving a Smooth and Stable Meringue Texture
As you add the sugar gradually, you'll notice the meringue transforming. It will become incredibly thick, smooth, and shiny – almost like marshmallow cream. This is the stage where the sugar has fully dissolved and bonded with the egg white proteins, creating a stable matrix. Continue whipping until all the sugar is incorporated and the meringue is very stiff and glossy. It should look like bright white satin.
A stable meringue is paramount for successful meringue kisses. It needs to be firm enough to hold the intricate shapes created by piping tips and stable enough not to weep or collapse during the long, low-temperature bake. The glossy appearance is a good indicator of stability; dull meringue often means the sugar hasn't fully dissolved or it's been over-whipped. Take your time with the sugar addition; it's a small step that makes a huge difference in the final texture and appearance of your delightful treats.
Step 3: Adding Flavor and Color to Your Meringue Mixture
Incorporating Extracts and Food Coloring for Unique Meringue Kisses
Once your meringue has reached stiff, glossy peaks with all the sugar dissolved, it's time to add your chosen flavorings and colors. For extracts like vanilla or peppermint, gently fold them in using a spatula. Avoid using the mixer at this stage, as over-mixing can deflate the meringue. Add the extract and fold just until it's evenly distributed, usually no more than 5-10 gentle folds.
For gel food coloring, you have a couple of options. You can add a few drops directly to the meringue and gently fold until the desired color is achieved. Start with a tiny amount, as gel colors are very concentrated.
Alternatively, for a marbled effect, you can paint stripes of gel color inside your piping bag before filling it with plain meringue. As you pipe, the meringue will pick up the color stripes, creating beautiful swirls. Remember, liquid food coloring can add too much moisture, so stick to gel or powder colors for the best results with this easy meringue kisses recipe.
Achieving Consistent Color Throughout Your Meringue
Whether you're aiming for a solid color or a marbled effect, consistency is key for visually appealing homemade meringue kisses. If coloring the entire batch, ensure you fold the color in thoroughly but gently. Check the color by scraping the bottom and sides of the bowl to make sure no streaks of plain white meringue remain. You might need to add a tiny bit more coloring to achieve a vibrant hue, as the color can sometimes lighten slightly during baking.
For marbled meringues, the consistency comes from how you prepare the piping bag. Paint even stripes of gel color along the inside length of the bag. When you fill the bag with meringue and start piping, the color will naturally swirl. The first few kisses might have less defined marbling, but as you continue piping, the pattern should become more consistent. Practice makes perfect with piping, but even imperfect marbling adds a unique, charming look to your easy meringue kisses recipe creations.
Baking Your Meringue Kisses: Low and Slow is the Way to Go
Step 4: Piping the Meringue Kisses onto the Baking Sheet
Perfect Piping Techniques for Uniform Meringue Kisses
Piping is where your easy meringue kisses recipe takes its final form. Using a piping bag fitted with your chosen tip, hold the bag perpendicular to the parchment-lined baking sheet. Apply steady, even pressure to the bag, allowing the meringue to form the desired shape. For the classic kiss, squeeze while holding the tip in place, then stop squeezing and lift straight up to create a peak. Practice on a piece of parchment paper beforehand if you're new to piping.
Aim for consistent size and shape to ensure even baking. This makes your homemade meringue kisses look professional and helps prevent some from overcooking while others are still soft. Don't worry if the first few aren't perfect; you'll quickly get the hang of it. Focus on maintaining consistent pressure and lifting straight up for those classic peaks. Remember that the meringue will not spread much during baking, so the shape you pipe is essentially the shape you'll get.
Spacing Your Meringue Kisses for Even Baking
Proper spacing on the baking sheet is important for this easy meringue kisses recipe. While meringues don't spread horizontally like cookies, they do release moisture during the very slow baking process. Placing them too close together can trap this moisture, potentially leading to sticky or weeping meringues.
Leave at least 1 inch (2.5 cm) of space between each meringue kiss on the baking sheet. This allows for adequate air circulation around each piece, promoting even drying and crisping. Depending on the size of your kisses and baking sheet, you can usually fit 20-30 small kisses per standard half-sheet pan. Maximize the space on your pans, but don't overcrowd them – patience with spacing pays off with uniformly crisp results.
Step 5: Baking Your Meringue Kisses to Crispy Perfection
Optimal Baking Temperature for Light and Airy Meringue Kisses
Meringue kisses aren't truly "baked" in the traditional sense; they are dried out at a very low temperature. This slow drying process is key to achieving that characteristic crisp texture all the way through without browning them. The optimal temperature for this easy meringue kisses recipe is typically between 200°F and 225°F (90°C to 105°C). Baking them at a higher temperature will cause the sugar to caramelize, resulting in a brown color and potentially a chewy or sticky interior.
The exact temperature and time can vary slightly depending on your oven and the size of your kisses. For small kisses (about 1 inch in diameter), baking for 1 to 1.5 hours at 200°F (90°C) is a common guideline. Larger kisses may require 1.5 to 2 hours or even longer. The goal is to slowly draw out the moisture until they are completely dry and crisp. Using an oven thermometer can help ensure your oven is maintaining the correct low temperature.
Checking for Doneness: The "Tap Test"
Knowing when your meringue kisses are perfectly done is crucial for this easy meringue kisses recipe. They should feel completely firm and dry to the touch. A good way to test for doneness is the "tap test." Gently lift one meringue from the baking sheet (they should release easily from the parchment if done). Tap the bottom; it should sound hollow.
Break one open. The inside should be completely dry and brittle, with no soft or sticky center. If the inside is still soft or chewy, they need more drying time. Don't be afraid to put them back in the oven for another 15-30 minutes if needed. They should also be pure white or only very lightly tinted on the bottom, not browned. Once they pass the tap test and look dry inside, turn off the oven and proceed to the cooling step.
Cooling and Storing Your Homemade Meringue Kisses
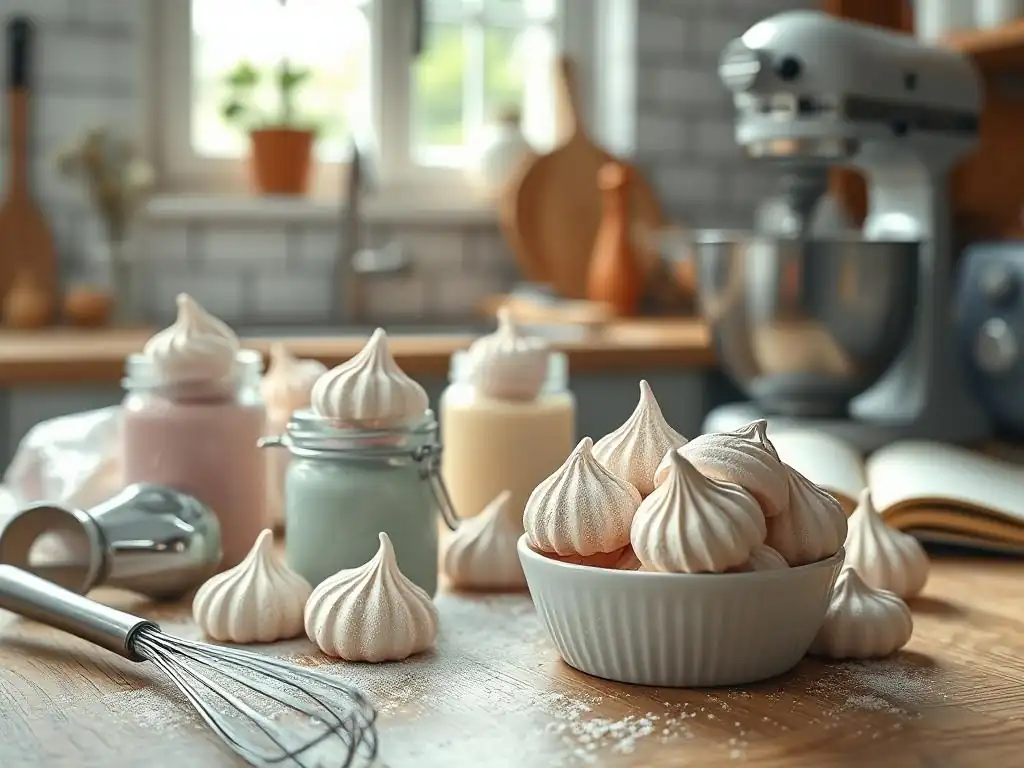
Step 6: Cooling the Meringue Kisses Completely
Preventing Cracking and Sticking During the Cooling Process
Proper cooling is just as important as baking for this easy meringue kisses recipe. Once the meringues are done baking (dry and crisp), turn off the oven. It's best to leave the meringues inside the oven with the door slightly ajar for at least one hour, or even until the oven is completely cool. This slow cooling process helps prevent thermal shock, which can cause the meringues to crack. It also allows any residual moisture to escape slowly, ensuring they stay crisp.
Resist the urge to remove them from the oven too soon. Sudden changes in temperature can cause the delicate structure to fracture. Once the oven is cool, gently transfer the meringues from the baking sheet to a wire rack to finish cooling completely at room temperature. They should lift off the parchment paper easily. If any are sticking, they likely needed more drying time in the oven.
Step 7: Storing Your Meringue Kisses for Optimal Freshness
Best Storage Practices for Maintaining Meringue Crispness
Meringue kisses are highly susceptible to moisture. Humidity is their nemesis, and even a little bit can turn them sticky or chewy. To maintain the crisp texture of your homemade meringue kisses from this easy meringue kisses recipe, proper storage is essential. The best way to store them is in an airtight container at room temperature.
Choose a container with a tight-fitting lid. You can place parchment or wax paper between layers to prevent them from sticking together, although if they are properly dried and cooled, they shouldn't stick. Avoid storing them in the refrigerator, as the humid environment inside a fridge will quickly make them sticky and soft. Keep the container in a cool, dry place away from direct sunlight or heat sources.
Shelf Life Guidelines
When stored correctly in an airtight container at room temperature, homemade meringue kisses from this easy meringue kisses recipe can last for quite a while. They will typically maintain their crisp texture and quality for 2-3 weeks. Beyond that, they may start to absorb ambient moisture, even in a container, and could lose their desired texture.
While they don't necessarily "go bad" in a way that makes them unsafe to eat for a longer period, their texture degrades significantly. For the best eating experience, aim to consume them within three weeks of baking. If you notice they have become soft or sticky, unfortunately, there's no easy way to restore their crispness. Planning to make a batch when you know they'll be enjoyed relatively soon is the best approach.
Troubleshooting Common Meringue Kisses Problems
Why are My Meringue Kisses Cracking?
Cracking is a common issue when making meringue kisses using an easy meringue kisses recipe. One primary reason is baking at too high a temperature. If the oven is too hot, the outside of the meringue dries and sets too quickly, while the inside is still expanding and releasing moisture. This uneven drying causes the outer shell to crack. Ensure your oven temperature is accurately calibrated using an oven thermometer and stick to the low temperature range ( 200-225°F / 90-105°C).
Another cause of cracking is cooling them too quickly. Removing meringues from a hot oven directly into a cooler room can cause them to contract rapidly and crack. Always cool them gradually inside the turned-off oven with the door slightly ajar for at least an hour, allowing the temperature to decrease slowly. Over-whipping the meringue can also sometimes lead to a more fragile structure prone to cracking. Stop whipping once stiff, glossy peaks are achieved.
My Meringue Kisses are Sticky, What Went Wrong?
Sticky or chewy meringue kisses are usually a sign that they haven't been dried out completely. This can happen for a few reasons when following an easy meringue kisses recipe. The most common is insufficient baking time or temperature. If the oven temperature is too low, or the baking time is too short, the inside of the meringue won't fully dry out, leaving it soft and sticky. Try extending the baking time by 30-60 minutes at the low temperature, or ensure your oven temperature is accurate.
High humidity in the environment can also cause meringues to become sticky, even after proper baking. Meringues are hygroscopic, meaning they readily absorb moisture from the air. If it's a particularly humid day, it might be challenging to achieve a perfectly crisp texture. Storing them improperly in a non-airtight container or in a humid environment (like the refrigerator) will also lead to stickiness. Ensure they are stored in a truly airtight container immediately after they are fully cooled. If they are sticky right out of the oven, they definitely needed more drying time.
Meringue Kisses Recipe Variations: Exploring Different Flavors
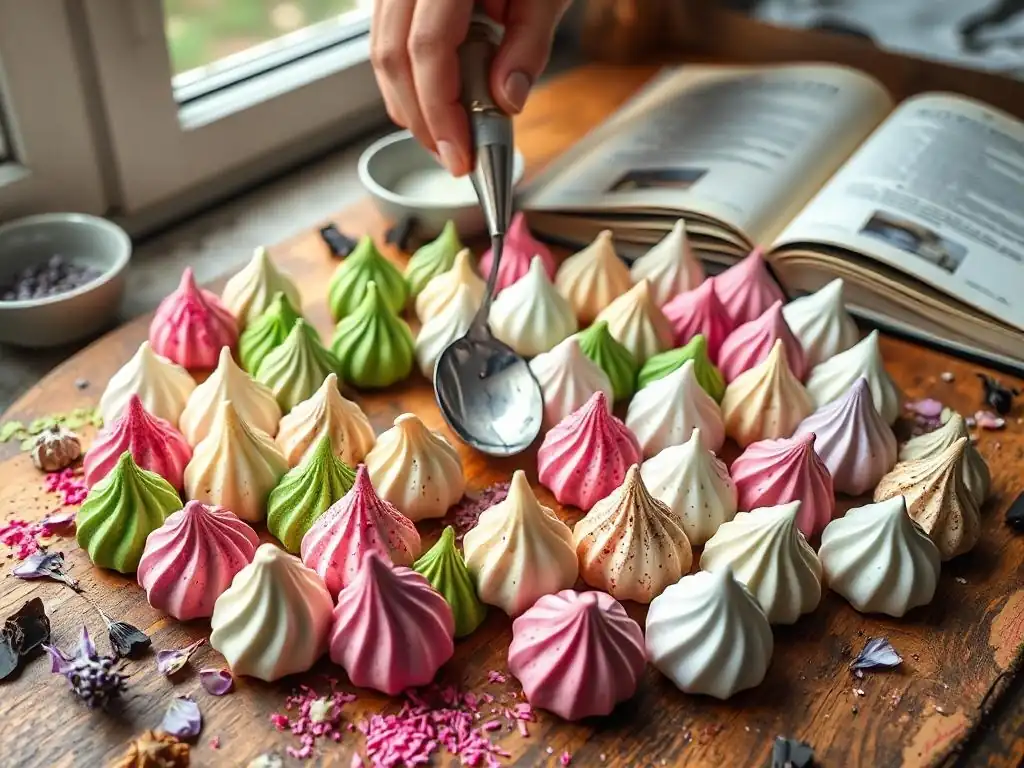
Espresso Meringue Kisses Recipe
Adding coffee flavor to your easy meringue kisses recipe creates a sophisticated treat perfect for coffee lovers. To make espresso meringue kisses, prepare the meringue base as usual. Once you have stiff, glossy peaks, gently fold in 1-2 teaspoons of espresso powder or finely ground instant coffee. Be careful not to add too much liquid if using brewed espresso, as this can affect the meringue's stability.
Alternatively, you can dissolve the espresso powder in a tiny amount of hot water (just enough to make a paste) and let it cool completely before folding it in. For a stronger coffee flavor, you can also use a coffee extract. You might notice the meringue takes on a light brown or speckled appearance depending on the type of coffee product used. Pipe and bake as directed in the main recipe for a delightful coffee-flavored twist on homemade meringue kisses.
Raspberry Meringue Kisses Recipe
Infusing your easy meringue kisses recipe with fruity flavor is simple using freeze-dried fruit. Freeze-dried raspberries are ideal because they are intensely flavored and, when ground into a powder, add flavor without introducing excess moisture. To make raspberry meringue kisses, process about 1/4 cup of freeze-dried raspberries in a food processor or blender until they form a fine powder.
Once your meringue has reached stiff peaks and the sugar is fully incorporated, gently fold in the raspberry powder. The powder will likely tint the meringue a lovely pink color and add tiny specks of raspberry. Be gentle when folding to avoid deflating the meringue. Pipe and bake according to the standard instructions. The result is a sweet, crisp kiss with a burst of tart, natural raspberry flavor, a beautiful variation on this easy meringue kisses recipe.
Conclusion: Enjoy Your Homemade Meringue Kisses!
Congratulations on mastering this easy meringue kisses recipe and creating your own batch of delightful, bite-sized treats! We hope this guide has made the process approachable and enjoyable. Baking is a wonderful way to express creativity and share joy with others. Your homemade meringue kisses are perfect for gifting, bringing to potlucks, or simply enjoying yourself.
We love seeing what our community bakes! Share photos of your beautiful meringue kisses on social media and tag BakeWithEase. Tell us about any flavor variations you tried or challenges you overcame. Connecting with other bakers is part of the fun, and your creations might inspire others to try this simple meringue kisses recipe themselves. Happy baking!
Next Steps in Your Meringue Mastery Journey.
Making meringue kisses is a fantastic introduction to the world of meringue. Having successfully tackled this easy meringue kisses recipe, you now have the foundational skills to explore more advanced meringue-based desserts. Consider trying your hand at larger meringue cookies, pavlovas topped with cream and fruit, or even elaborate baked Alaska where meringue insulates ice cream.
You can also experiment further with flavors and colors in your kisses, perhaps trying lemon zest, cocoa powder, or different extracts. Understanding how to whip egg whites to stiff peaks and create a stable meringue opens doors to numerous other recipes. Keep practicing, keep experimenting, and continue your journey of meringue mastery with confidence, one delightful kiss at a time!
Frequently Asked Questions
What makes this meringue kisses recipe "easy"?
This recipe focuses on simple ingredients and clear, step-by-step instructions, making it accessible even for beginner bakers. We prioritize a straightforward process over complex techniques.
What are the key ingredients I need for this meringue kisses recipe?
You'll primarily need egg whites, granulated sugar, and optionally, flavor extracts like vanilla. Some recipes may include cream of tartar for stabilization.
What's the secret to achieving perfectly crisp meringue kisses?
Properly whipping the egg whites to stiff peaks and baking at a low temperature for an extended period are crucial. Also, ensuring no fat contaminates the egg whites is essential.
Can I customize the flavor and color of these meringue kisses?
Absolutely! You can add various extracts (vanilla, almond, lemon) for flavor and use food coloring gel to create colorful meringue kisses.
How should I store meringue kisses to maintain their crispness?
Store them in an airtight container at room temperature. Avoid storing them in the refrigerator, as the humidity can make them sticky and less crisp.
The seemingly simple act of whipping egg whites into airy peaks holds a surprising power; it's a testament to the magic found in everyday ingredients and the joy of creating something beautiful from scratch. Meringue kisses, despite their delicate nature, represent a potent symbol of achievable culinary success, a reminder that even the most impressive treats can be within everyone's reach. This ease of creation, however, is only part of their charm.
The enduring appeal of meringue kisses extends far beyond the kitchen; they're a nostalgic treat, evocative of childhood memories and shared moments with loved ones. The simple act of baking and sharing these little confections fosters connection and creates lasting memories. The best things in life are simple,
a sentiment perfectly encapsulates the essence of these delightful treats and the joy they bring. Their delicate sweetness mirrors the simple pleasures that often hold the most profound meaning.
Now, I invite you to consider the power of simplicity in your own life. Don't underestimate the impact of small acts of creation, whether it's baking a batch of meringue kisses, tending a garden, or simply taking a moment to appreciate the beauty around you. Embrace the ease of creation, share your creations with others, and savor the sweetness of the simple moments that make life truly delightful. The recipe for happiness, much like the recipe for perfect meringue kisses, is often surprisingly simple.
Unlock Your Inner Pastry Chef: Make Your Own Meringue Kisses!
Thanks for joining us on this sweet journey into the world of meringue kisses! We hope you’ve gained the confidence to tackle this delightful treat. Now it's time to put your new skills to the test!
- Whip up a batch of meringue kisses: Use our recipe as a guide, but don't be afraid to experiment with flavors! Think: a dash of vanilla, a sprinkle of cocoa, or even a vibrant food coloring.
- Share your creations: Post a picture of your meringue masterpieces on social media using #BakeWithEaseMeringues and tag us—we'd love to see them!
- Challenge a friend to a meringue-making contest: Turn this into a fun, friendly competition – who can create the most impressive (and delicious) kisses?
So, what unique flavor combination will you try first for your meringue kisses? Let us know in the comments below!