
Achieve Crispy Bases: Baking Puff Pastry Tart Shells

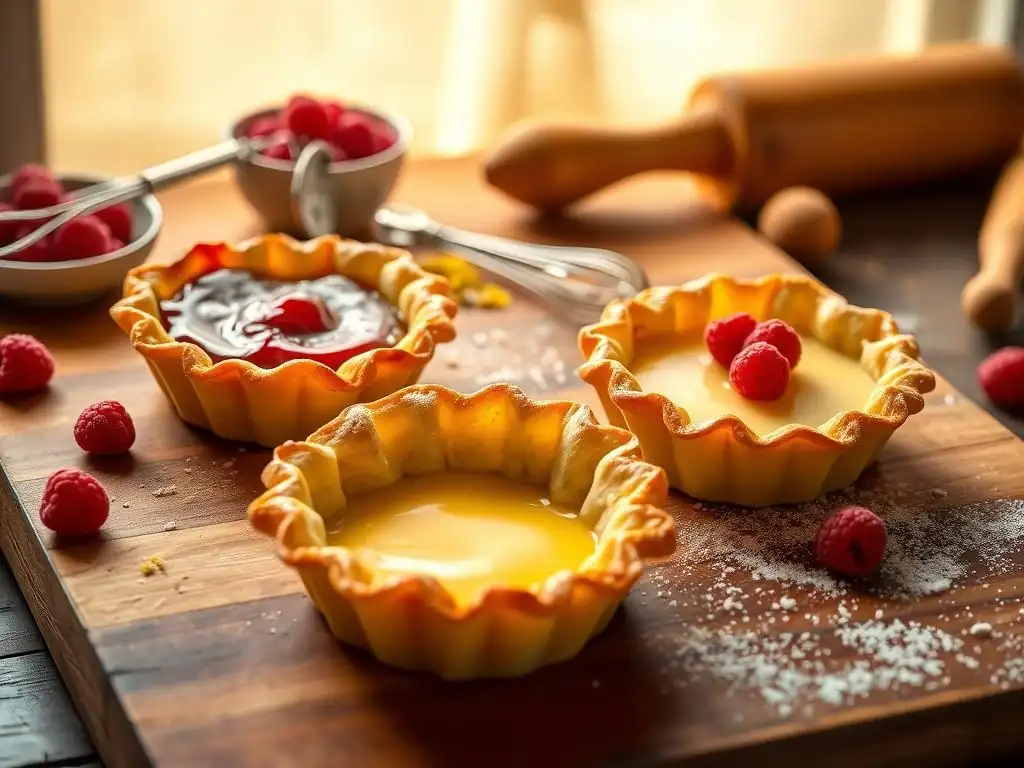
Welcome to BakeWithEase, where baking becomes a joy! Ever dreamed of creating picture-perfect pastries? Our guide to baking crispy puff pastry tart shells unlocks the secrets to achieving that coveted golden-brown, flaky base. Intrigued? Discover the techniques and tips that elevate your tart game from good to unforgettable. Let's get baking!
- Achieve Crispy Bases: Baking Perfect Puff Pastry Tart Shells
- Introduction to Crispy Puff Pastry Tart Shells
- Understanding Puff Pastry for Tart Shells
- Step-by-Step Guide: Baking Crispy Puff Pastry Tart Shells
- Troubleshooting Common Puff Pastry Tart Shell Problems
- Flavor Variations and Filling Ideas for Your Crispy Tart Shells
- Advanced Techniques for Perfect Puff Pastry Tart Shells
- Tips and Tricks for Baking with Puff Pastry
- Conclusion: Enjoy Your Perfect Crispy Puff Pastry Tart Shells
-
Frequently Asked Questions
- How do I prevent my puff pastry tart shells from becoming soggy?
- What's the best temperature for baking puff pastry tart shells to achieve maximum crispness?
- Can I use store-bought puff pastry for making tart shells?
- How can I ensure the puff pastry doesn't shrink too much during baking?
- What kind of fillings work best with crispy puff pastry tart shells?
- Final Reflection: The Pursuit of the Perfect Crisp
- Unlock Your Inner Pastry Chef: Mastering the Perfect Tart Shell
Achieve Crispy Bases: Baking Perfect Puff Pastry Tart Shells
Introduction to Crispy Puff Pastry Tart Shells
Why Mastering Puff Pastry Tart Shells is Essential for Baking
Achieving the perfect crispy puff pastry tart shell is a cornerstone skill for any baker looking to elevate their creations. A well-baked shell provides a delightful contrast to sweet or savory fillings, offering that satisfying crunch that defines a professional-quality tart. Without a properly crispy base, even the most exquisite filling can fall flat, resulting in a soggy or heavy texture that detracts from the overall experience. Understanding the nuances of baking these delicate shells is crucial for creating tarts that are not only delicious but also structurally sound and visually appealing.
Mastering the art of baking crispy puff pastry tart shells opens up a world of possibilities in both sweet and savory baking. From elegant fruit tarts bursting with seasonal berries to hearty quiches perfect for brunch, the flaky foundation is key.
A successful crispy puff pastry tart shell ensures your efforts in preparing fillings are rewarded with a harmonious final product, where every bite offers a balance of textures – the crisp, airy layers of the pastry giving way to the smooth or rich filling within. This fundamental technique is a stepping stone to more complex pastry work, building confidence and skill in handling laminated doughs.
The Secret to Achieving a Perfectly Crispy Tart Base
The secret to achieving a perfectly crispy puff pastry tart base lies primarily in managing moisture and heat during the baking process. Puff pastry's characteristic flakiness comes from layers of dough separated by butter. As the pastry bakes, the water in the butter turns to steam, pushing the layers apart and creating hundreds of delicate, airy sheets. To ensure these layers become crispy rather than just flaky, the heat needs to be sufficient to rapidly evaporate moisture, and the baking time must be long enough to fully cook and brown the pastry without burning it.
Another critical factor for a crispy puff pastry tart shell is proper preparation before baking. This often involves chilling the dough adequately to keep the butter solid before it hits the hot oven, maximizing the steam lift. Additionally, techniques like blind baking or using pie weights can prevent the base from puffing up excessively and ensure even heat distribution, leading to a uniformly golden and crispy result across the entire surface of the tart shell. Controlling these variables is paramount to avoiding the dreaded soggy bottom and achieving that coveted crispness.
Understanding Puff Pastry for Tart Shells
Choosing the Right Puff Pastry: Store-Bought vs. Homemade
When it comes to baking crispy puff pastry tart shells, deciding between store-bought and homemade puff pastry is a common consideration. Homemade puff pastry, while requiring significant time and effort due to the intricate process of folding and chilling, offers unparalleled flavor and control over the ingredients. A well-executed homemade dough can yield exceptionally flaky and crispy layers because you control the quality of butter and the precision of the laminating process. This is often the choice for professional bakers or those seeking the ultimate pastry experience.
However, high-quality store-bought puff pastry is a fantastic and often more practical option for achieving great results, especially for busy home bakers. Modern commercial brands have perfected the lamination process, producing doughs that rise beautifully and bake into satisfyingly crispy shells. Look for all-butter varieties if possible, as butter contributes significantly to both flavor and crispness compared to those made with vegetable fats. Using store-bought pastry saves hours of labor and can still produce wonderfully crispy puff pastry tart shells suitable for a wide range of fillings.
Key Ingredients for Optimal Puff Pastry Crispness
The crispness of puff pastry is fundamentally linked to its core ingredients: flour, butter, water, and salt. The flour provides the structure, typically a medium-protein flour that develops enough gluten to hold the layers but isn't so strong it becomes tough. The butter is perhaps the most crucial element for crispness and flakiness; its high-fat content creates distinct layers during baking as the water turns to steam. Using cold, high-quality butter with a good fat percentage (around 80-82%) is essential.
Water is necessary to hydrate the flour and form the initial dough, but controlling its amount is key. Too much water can lead to a tougher dough and hinder crispness. Cold water is preferred to keep the butter solid during mixing and rolling. Salt adds flavor but also plays a small role in dough structure. The magic truly happens with the interaction of these ingredients through the laminating process – repeatedly folding dough around butter – which creates the hundreds of layers that expand in the oven, resulting in those airy, crispy puff pastry tart shells we all love.
Step-by-Step Guide: Baking Crispy Puff Pastry Tart Shells
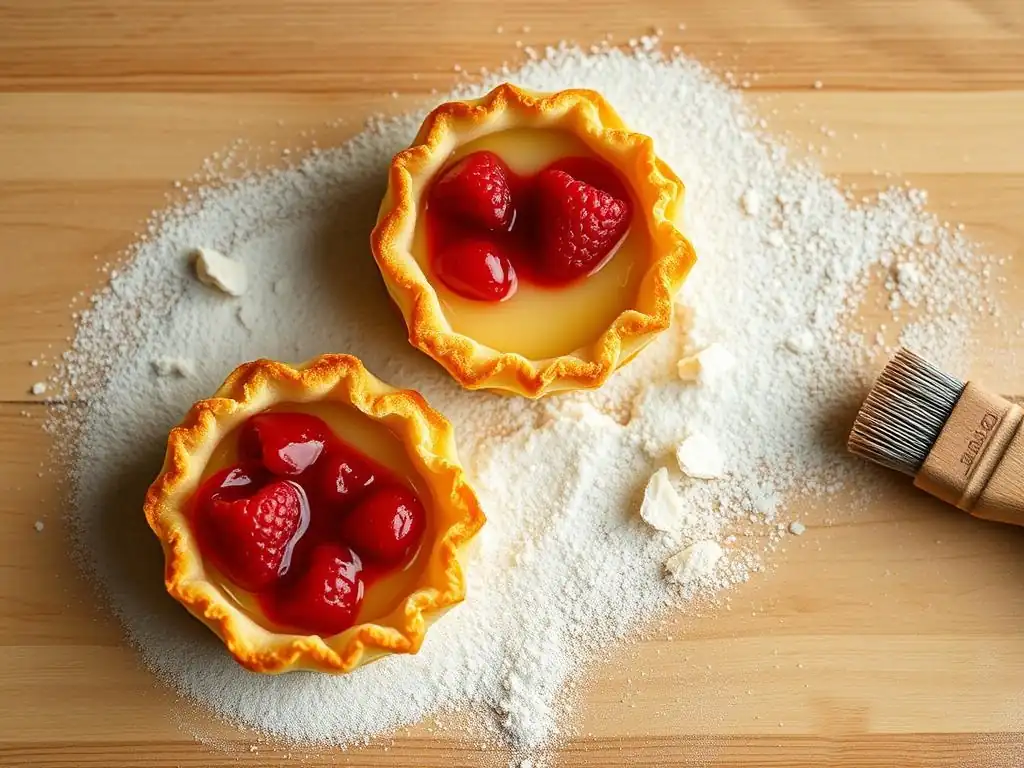
Preparing Your Puff Pastry for Baking: Temperature is Key
Proper preparation of your puff pastry is the first critical step towards achieving crispy puff pastry tart shells. If using frozen store-bought pastry, ensure it is thawed correctly in the refrigerator according to package instructions – typically overnight. Avoid thawing at room temperature or in the microwave, as this can cause the butter layers to melt and compromise the lamination, leading to less rise and crispness. Once thawed, the pastry should be cold but pliable enough to roll without cracking.
Working with cold puff pastry is absolutely essential. The butter needs to be firm when the pastry enters the hot oven so it melts slowly and creates steam, pushing the layers apart. If the dough is warm, the butter will melt prematurely, resulting in greasy, flat, and less crispy puff pastry tart shells. Allow the thawed dough to sit at room temperature for just 5-10 minutes before rolling, enough to make it workable but still very cold to the touch.
Assembling Your Puff Pastry Tart Shells: Cutting and Shaping
Once your puff pastry is properly chilled and slightly relaxed, it's time to cut and shape your tart shells. Gently unfold or roll out the dough on a lightly floured surface to your desired thickness, usually around 1/8 to 1/4 inch (3-6 mm). Avoid overworking the dough, which can develop gluten and make the shells tough.
Use a sharp knife, pastry wheel, or cookie cutter to cut out the shapes for your tart shells. For individual shells, use round cutters slightly larger than your tart molds. For a large tart, cut a shape to fit your tart pan with a slight overhang.
Carefully transfer the cut pastry shapes to your prepared baking sheet or tart molds. If using tart molds or rings, gently press the dough into the contours, ensuring there are no air pockets. Prick the base of the pastry shells all over with a fork (docking) to prevent the bottom from puffing up excessively during baking. This step is vital for a flat, stable base, especially if you plan to fill the shells after baking. For smaller shells, a few pricks suffice; for larger bases, dock more thoroughly.
Baking Puff Pastry Tart Shells: Temperature and Time
Baking puff pastry tart shells requires a high initial temperature to create that crucial steam lift and rapid puff. Preheat your oven to a hot temperature, typically between 400°F and 425°F (200°C to 220°C). Place the prepared tart shells (on a baking sheet or in molds) into the preheated oven. The high heat will cause the butter to melt and create steam almost instantly, forcing the layers to expand dramatically.
Bake at this high temperature for the first 10-15 minutes, or until the pastry has significantly puffed and started to turn golden brown. Then, you may need to reduce the oven temperature slightly, perhaps to 375°F (190°C), to allow the pastry to bake through and crisp up without burning the exterior.
The total baking time will vary depending on the size and thickness of your shells, but typically ranges from 15 to 25 minutes for individual shells and up to 30-40 minutes for larger tart bases. The shells are done when they are deeply golden brown and feel firm and crispy to the touch.
Achieving Even Baking: Tips for a Uniformly Golden Crust
Achieving a uniformly golden and crispy crust on your puff pastry tart shells requires attention to detail during baking. One key tip is to use a preheated baking sheet or even a pizza stone placed in the oven while it preheats. Placing the tart shells directly onto a hot surface helps conduct heat quickly to the base, promoting even puffing and crisping from the bottom up. This is particularly useful for preventing soggy bottoms.
Another tip is to rotate your baking sheet or tart pan halfway through the baking time. Ovens often have hot spots, and rotating ensures that all sides of the tart shells receive equal heat exposure, leading to consistent browning and crispness across the entire batch. If certain edges or spots are browning too quickly, you can loosely tent those areas with aluminum foil. Keep a close eye on the shells during the final minutes of baking, as puff pastry can go from perfectly golden to burnt very quickly.
Cooling and Storing Your Baked Puff Pastry Tart Shells
Once your puff pastry tart shells are baked to a beautiful golden brown and are wonderfully crispy, it's crucial to cool them properly. Carefully remove the baking sheet or tart molds from the oven. If using molds, allow them to cool for a few minutes before gently removing the shells. Transfer the baked shells to a wire rack immediately. Cooling on a wire rack allows air to circulate around the entire surface, preventing condensation from forming on the bottom and preserving that desirable crispness.
Allow the tart shells to cool completely before filling them. Filling warm or hot shells will trap steam and moisture, which can quickly turn your crispy puff pastry tart shells into a soggy mess. Once fully cooled, baked shells can be stored in an airtight container at room temperature for 1-2 days. For longer storage, they can be frozen for up to 2-3 weeks. To reheat frozen shells and restore their crispness, place them on a baking sheet in a preheated oven at 350°F (175°C) for 5-10 minutes until crisp again.
Troubleshooting Common Puff Pastry Tart Shell Problems
Preventing Soggy Bottoms in Puff Pastry Tarts
Soggy bottoms are a common frustration when baking puff pastry tarts, especially with wet fillings. The primary cause is moisture from the filling seeping into the pastry base before or during baking. To prevent this when baking filled tarts, ensure your filling isn't excessively wet. For very moist fillings, consider partially or fully blind baking the puff pastry shell first to create a barrier (see "Blind Baking Puff Pastry" section).
Another effective strategy is to brush the base of the partially baked or fully baked crispy puff pastry tart shell with a thin layer of egg white or melted chocolate (for sweet tarts) or even a sprinkle of fine breadcrumbs or ground nuts before adding the filling. This creates a moisture-resistant layer. Baking the tart at a sufficiently high temperature initially, especially on a hot baking surface, also helps set the base quickly, making it less susceptible to absorbing moisture.
Avoiding Shrinkage and Warping During Baking
Puff pastry can sometimes shrink or warp during baking, resulting in misshapen tart shells. This is often caused by the dough being overworked, rolled too thinly, or not adequately relaxed or chilled before baking. Overworking develops gluten, causing the dough to spring back when heated. Rolling too thin makes the structure fragile and prone to distortion. Insufficient chilling means the butter is too soft, leading to uneven melting and structure collapse.
To avoid shrinkage and warping, handle the puff pastry gently. Roll it evenly to the recommended thickness (around 1/8 to 1/4 inch). After cutting and shaping the shells, always chill them thoroughly in the refrigerator for at least 20-30 minutes (or even in the freezer for 10-15 minutes) before baking. This firms up the butter and relaxes the gluten, allowing the shells to hold their shape better in the oven. Using tart molds or rings also provides structural support during baking.
Dealing with Uneven Rising in Puff Pastry
Uneven rising in puff pastry tart shells can lead to some areas being thick and doughy while others are thin and crispy. This often stems from inconsistent rolling, meaning the dough has varying thickness across the sheet, or uneven temperature distribution within the oven. If the dough isn't rolled evenly, thin spots will bake and crisp faster, while thicker areas may not cook through properly.
Ensure you roll the puff pastry to a consistent thickness across the entire sheet. Use a ruler if necessary. Make sure your oven is properly preheated and calibrated; an oven thermometer can help verify the actual temperature. As mentioned before, rotating the baking sheet halfway through baking helps mitigate oven hot spots. If you notice a specific area puffing much higher than others, you can gently press it down with the back of a spoon early in the baking process (within the first 5-7 minutes) before the layers fully set, though this is a delicate maneuver.
Flavor Variations and Filling Ideas for Your Crispy Tart Shells
Sweet Filling Suggestions for Puff Pastry Tarts
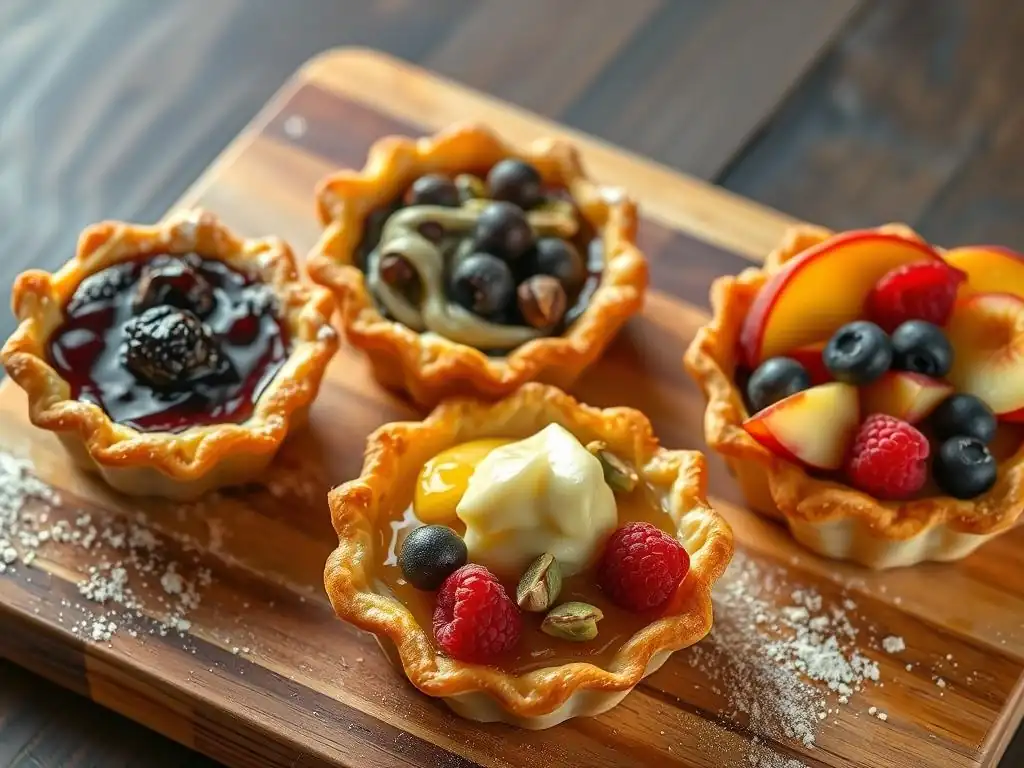
Crispy puff pastry tart shells are a wonderful base for a myriad of sweet fillings. Their buttery, flaky texture pairs beautifully with fruit, cream, and chocolate.
- Classic fruit tarts: Fill with pastry cream and top with fresh berries, sliced kiwi, or segments of citrus fruit. A light glaze of melted apricot jam adds shine.
- Lemon tarts: A tangy lemon curd baked or simply spooned into a crispy shell is a delightful contrast.
- Chocolate ganache tarts: Pour smooth, rich chocolate ganache into the shells and chill until set. Top with sea salt or fresh raspberries.
- Caramelized apple or pear tarts: Sautéed fruit with butter and sugar creates a warm, comforting filling. Bake the fruit slightly in the shell or add it after blind baking.
Consider seasonal fruits for the freshest flavors. For example, in summer, a crispy puff pastry tart shell filled with strawberries and cream is perfect. In the fall, pumpkin or spiced apple fillings shine.
Beyond sweet treats, crispy puff pastry tart shells excel as the foundation for savory dishes, from appetizers to main courses. Their richness complements a wide range of savory flavors.
- Quiche Lorraine: A classic savory tart filling featuring bacon, cheese (like Gruyère), and a custard made from eggs and cream. Bake the filling inside a partially blind-baked shell.
- Spinach and Feta Tarts: Sautéed spinach mixed with crumbly feta cheese and perhaps some caramelized onions makes a simple yet flavorful filling.
- Mushroom and Thyme Tarts: Earthy mushrooms sautéed with garlic and fresh thyme are delicious, often bound with a little cream or cheese.
- Roasted Vegetable Tarts: Roasted seasonal vegetables like bell peppers, zucchini, and cherry tomatoes, perhaps with goat cheese or balsamic glaze, work wonderfully.
Savory crispy puff pastry tart shells can be served warm or at room temperature, making them versatile for picnics, parties, or light meals. Experiment with different cheese and herb combinations to find your favorites.
Elevating Your Tart Shells with Glazes and Toppings
To give your crispy puff pastry tart shells a professional finish and enhance their visual appeal, consider applying glazes or simple toppings before or after baking. A classic egg wash (beaten egg mixed with a little water or milk) brushed over the pastry before baking promotes a beautiful, glossy golden-brown color. This not only looks good but can also add a subtle richness to the crust.
After baking and cooling, sweet tart shells can be brushed with a light sugar syrup, a clear glaze made from powdered sugar and liquid, or melted apricot jam (strained for smoothness). This adds shine and can help prevent the shell from absorbing moisture from the filling too quickly. For savory shells, a sprinkle of flaky sea salt, black pepper, or sesame seeds before baking adds flavor and visual texture. A light brush of melted butter after baking can also enhance richness.
Advanced Techniques for Perfect Puff Pastry Tart Shells
Blind Baking Puff Pastry for Extra Crispness
Blind baking is a technique where the pastry shell is partially or fully baked before adding the filling. This is particularly useful for achieving extra crispy puff pastry tart shells, especially when the filling is wet or doesn't require much baking itself (like pastry cream or fresh fruit). Blind baking helps set the base and sides, creating a barrier against moisture absorption.
To blind bake, line the raw, chilled puff pastry shell (in its mold or on a baking sheet) with parchment paper and fill it with pie weights, dried beans, or rice. These weights keep the base from puffing up excessively and the sides from slumping. Bake at a relatively high temperature (around 375-400°F / 190-200°C) for 15-20 minutes, or until the edges are lightly golden. Remove the weights and parchment, then continue baking for another 5-10 minutes until the base is golden brown and crisp. For very wet fillings, bake until the base is fully cooked and deeply golden.
Using Tart Rings for Precision and Shape
Using tart rings instead of standard tart pans can help achieve perfectly shaped, crispy puff pastry tart shells with clean edges. Tart rings are bottomless metal rings placed directly on a baking sheet. The pastry is pressed inside the ring. Because the sides are exposed to direct heat on all sides, it often results in more even baking and crisping of the vertical walls of the tart shell.
When using tart rings, ensure the baking sheet is lined with parchment paper or a silicone baking mat to prevent sticking. Cut the puff pastry slightly larger than the ring diameter and gently press it into the ring, ensuring it fits snugly against the sides. Trim any excess pastry from the top edge. Chill the assembled shells in the rings before baking. The open bottom allows for excellent heat circulation, contributing to a wonderfully crispy base.
Egg Washing for a Golden-Brown Finish
An egg wash is a simple yet effective technique for giving your puff pastry tart shells a beautiful, professional, golden-brown finish. It also helps seal the surface slightly, which can contribute to crispness and a pleasant texture. A standard egg wash is made by whisking one whole egg with a tablespoon of water or milk.
Brush a thin, even layer of the egg wash over the surface and edges of the chilled puff pastry shells just before placing them in the oven. Be careful not to let the wash drip down the sides and onto the cut edges of the pastry layers, as this can glue them together and inhibit the puff. The protein in the egg wash browns and glazes as it bakes, resulting in that desirable rich color that signifies a perfectly baked, crispy puff pastry tart shell.
Tips and Tricks for Baking with Puff Pastry
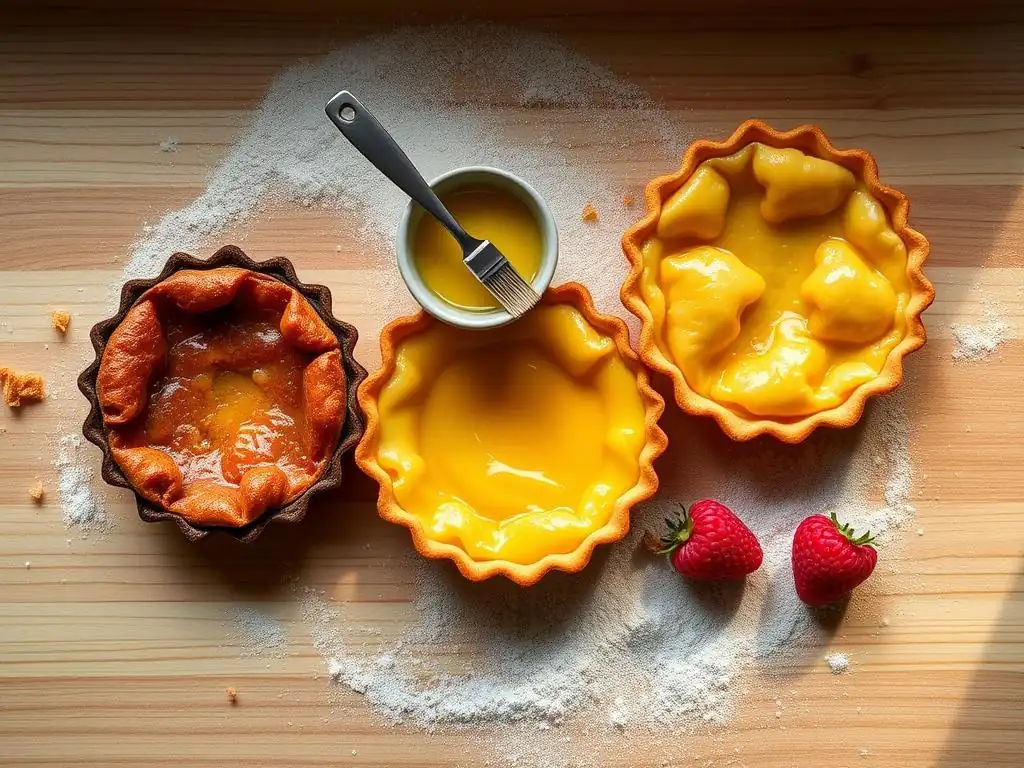
Working with Frozen Puff Pastry: Thawing and Handling
Properly handling frozen puff pastry is key to achieving crispy puff pastry tart shells without the hassle of making dough from scratch. Always thaw frozen pastry in the refrigerator; this slow thawing method keeps the butter layers intact. A standard 10 or 12-ounce package of frozen sheets typically takes about 4-6 hours to thaw in the fridge. Avoid leaving it at room temperature for too long, as the butter will soften excessively.
Once thawed, the pastry should be cold and firm but pliable enough to unfold or roll without cracking. If it's too stiff, let it sit at room temperature for just a few minutes (5-10 max). If it becomes too soft or sticky, wrap it and pop it back into the refrigerator for 15-20 minutes to firm up. Handle the dough gently to avoid compressing the layers, which would hinder the puff and crispness.
Avoiding Overworking the Puff Pastry Dough
Overworking puff pastry dough is a common mistake that can lead to tough, less flaky, and less crispy puff pastry tart shells. Puff pastry relies on distinct layers of dough and butter. Excessive handling, rolling, or stretching develops gluten in the flour, making the dough elastic and prone to shrinking. It also can mash the butter layers into the dough, reducing the separation needed for a good rise.
When rolling, use smooth, even strokes and avoid pressing down too hard. Roll just enough to reach the desired thickness and size. When cutting shapes, use a sharp cutter or knife and press straight down rather than dragging, which can seal the edges and prevent layers from separating. Handle the cut pieces gently when transferring them. The less you manipulate the dough, the better the layers will separate and bake into wonderfully crispy shells.
Ensuring Proper Layering for Maximum Flakiness
The inherent flakiness and crispness of puff pastry come directly from the hundreds (sometimes thousands) of layers created by the lamination process. Each layer of butter, when heated, creates steam that pushes apart the thin sheets of dough. Proper layering is achieved through repeated folding and rolling of the dough. For store-bought pastry, trust the manufacturing process. For homemade, meticulous folding and chilling are essential.
To maximize flakiness and ensure crispy puff pastry tart shells, always start with cold dough and work quickly. Keep the dough chilled between steps. If the dough becomes soft, refrigerate it. Ensure your butter is evenly distributed within the dough layers. When rolling, try to maintain even thickness. These steps protect the integrity of the layers, allowing them to puff beautifully in the oven and develop that signature light, airy, and crispy texture.
Conclusion: Enjoy Your Perfect Crispy Puff Pastry Tart Shells
Frequently Asked Questions
How do I prevent my puff pastry tart shells from becoming soggy?
To avoid soggy tart shells, ensure your oven is hot enough and pre-bake the shells blind with pie weights or beans. This helps the base set before adding the filling.
What's the best temperature for baking puff pastry tart shells to achieve maximum crispness?
Baking at a high temperature, typically around 400-425°F (200-220°C), is crucial. The intense heat helps the puff pastry layers separate and crisp up quickly.
Can I use store-bought puff pastry for making tart shells?
Yes, store-bought puff pastry is perfectly acceptable and convenient. Just ensure it's thawed properly but still cold before using it for best results.
How can I ensure the puff pastry doesn't shrink too much during baking?
Docking the puff pastry (poking holes with a fork) helps prevent excessive puffing and shrinking. Also, chilling the tart shells before baking can minimize shrinkage.
What kind of fillings work best with crispy puff pastry tart shells?
A wide variety of fillings work well! Consider fruit fillings that are not overly watery, or savory fillings like quiche mixtures or cream cheese-based spreads.
Final Reflection: The Pursuit of the Perfect Crisp
The quest for a flawlessly crisp puff pastry tart shell is more than just a baking challenge; it's a testament to the power of precision and patience in achieving culinary excellence. The techniques explored in this article – from chilling the dough meticulously to blind baking with the right weight – are not merely steps in a recipe, but fundamental principles applicable to a wide range of baking endeavors. Mastering these techniques unlocks a world of possibilities, transforming simple ingredients into truly exceptional pastries.
The pursuit of that perfect crisp, that satisfying shatter under the tooth, speaks to a deeper human desire for sensory perfection. It's a journey that connects us to generations of bakers who have strived for the same goal. The most beautiful thing we can experience is the mysterious. It is the source of all true art and science.
- Albert Einstein. This quote, while seemingly unrelated to baking at first glance, speaks to the wonder and artistry involved in mastering the seemingly simple act of creating a perfectly crisp pastry shell. The process itself, with its careful attention to detail and its rewarding outcome, is a testament to the beauty of culinary precision.
Now, I invite you to take what you've learned and apply it to your own baking adventures. Don't be afraid to experiment, to adjust techniques based on your own oven and ingredients. The journey to the perfect crisp is a personal one, filled with both triumphs and lessons learned. Embrace the process, savor the results, and most importantly, enjoy the delicious reward of your perfectly crisp puff pastry tart shell. The satisfaction is truly unparalleled.
Unlock Your Inner Pastry Chef: Mastering the Perfect Tart Shell
Thanks for joining us on this baking adventure! We hope you've gained the confidence to create flawlessly crispy tart shells. Ready to put your new skills to the test?
- Bake your dream tart: Use your newfound knowledge to craft that stunning tart you’ve always envisioned. Experiment with different fillings and flavors – the possibilities are endless!
- Share your success: Post a picture of your masterpiece on social media and tag us @BakeWithEase – we’d love to see your creation!
- Challenge a friend: Dare a fellow baking enthusiast to tackle this recipe and share their results.
What unique flavor combination will you create with your perfectly crispy tart shell?