
Troubleshooting Uneven Cake Layers During Assembly

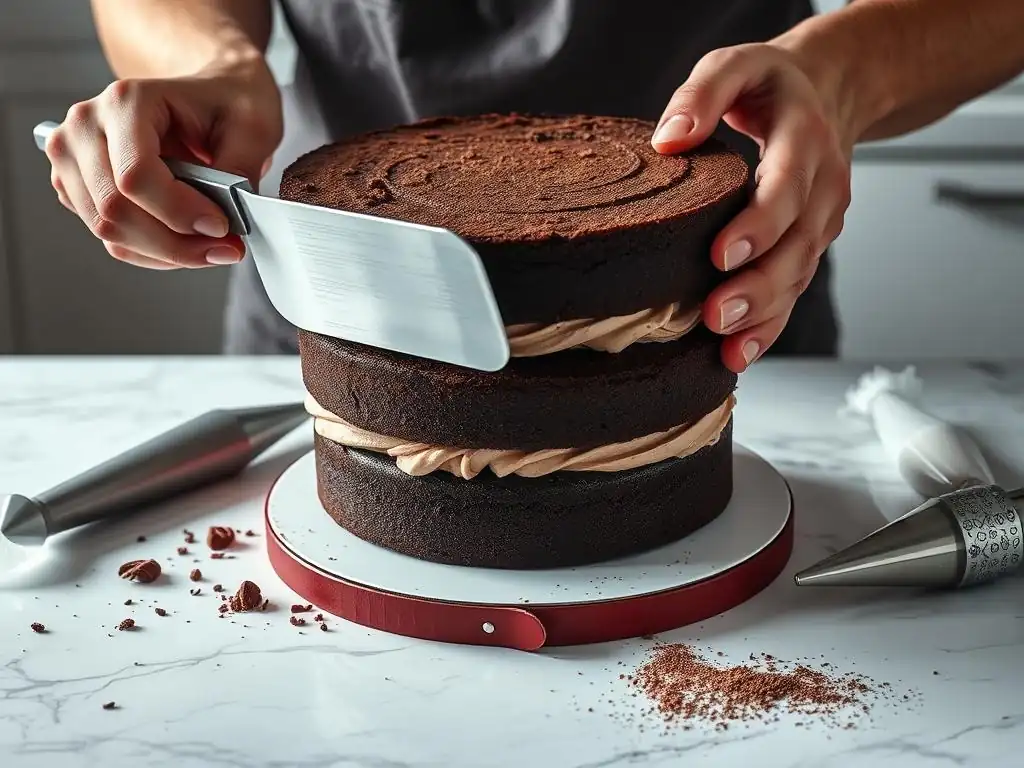
Welcome to BakeWithEase, your companion in the delightful world of baking! Ever faced the frustration of uneven cake layers ruining your perfect vision? Don't despair! Dive into our guide on troubleshooting uneven cake layers during assembly and unlock the secrets to flawlessly stacked cakes. Discover simple yet effective fixes that will transform your baking game and ensure every cake is a masterpiece. Intrigued? Let's get started!
- Troubleshooting Uneven Cake Layers During Assembly: BakeWithEase Guide
- Understanding Uneven Cake Layers: Common Causes
- Pre-Assembly Fixes for Uneven Cake Layers
- Assembling a Cake with Uneven Layers: Practical Solutions
- Advanced Techniques for Fixing Uneven Cake Layers
- Preventing Uneven Cake Layers in the Future: Baking Best Practices
- Troubleshooting Specific Uneven Layer Scenarios
- Post-Assembly Solutions for Minor Unevenness
-
Frequently Asked Questions
- How can I prevent uneven cake layers from happening in the first place?
- What's the best way to level cake layers that are already uneven?
- Can I fix uneven cake layers after frosting has been applied?
- What if my cake layers are drastically uneven? Is it still salvageable?
- Does the type of cake recipe affect how prone it is to uneven layers?
- Final Reflection: The Pursuit of Perfectly Level Cakes
- Level Up Your Cake Decorating Game!
Troubleshooting Uneven Cake Layers During Assembly: BakeWithEase Guide
Understanding Uneven Cake Layers: Common Causes
Why Are My Cake Layers Uneven? Exploring Root Causes
Uneven cake layers can be one of the most frustrating challenges for any baker, turning a planned perfect stack into a leaning tower of Pisa. Understanding the root causes is the first step in applying effective uneven cake layers fix tips. One common culprit is uneven heat distribution in your oven.
Ovens often have hot spots, meaning one side or corner is significantly hotter than others. This causes the batter in that area to rise and set faster, leading to a lopsided layer. For example, if the back of your oven is hotter, the cake might dome excessively towards the back while staying flatter at the front.
Another frequent issue contributing to unevenness is improper batter distribution in the pan. If you pour the batter into the pan and it settles more heavily on one side, or if the top isn't smoothed out evenly before baking, the cake will likely bake with a tilt.
Additionally, opening the oven door too early or too frequently can cause temperature fluctuations that interfere with the cake's setting process, sometimes leading to collapses or uneven rising in certain areas. Even simple things like placing the cake pan directly against the oven wall can block heat circulation and result in uneven baking.
The Impact of Uneven Baking on Cake Assembly
When you're ready to stack and decorate, uneven cake layers present significant structural challenges. A layer that's significantly higher on one side or domed in the center makes it difficult to create a stable base for subsequent layers. The weight of the upper layers and frosting will naturally push down on the highest point, potentially causing the cake to lean or even crack. This instability is a major headache during assembly and can compromise the final appearance and structure of your beautiful creation.
Furthermore, uneven layers make achieving clean, professional-looking frosting challenging. If the layers aren't level, applying an even layer of filling and buttercream becomes an exercise in frustration. You'll find yourself using excessive amounts of frosting to try and compensate for the dips and bumps, which can alter the cake's flavor balance and texture. Applying uneven cake layers fix tips before or during assembly is crucial for a smooth decorating process and a visually appealing, stable finished cake.
Pre-Assembly Fixes for Uneven Cake Layers
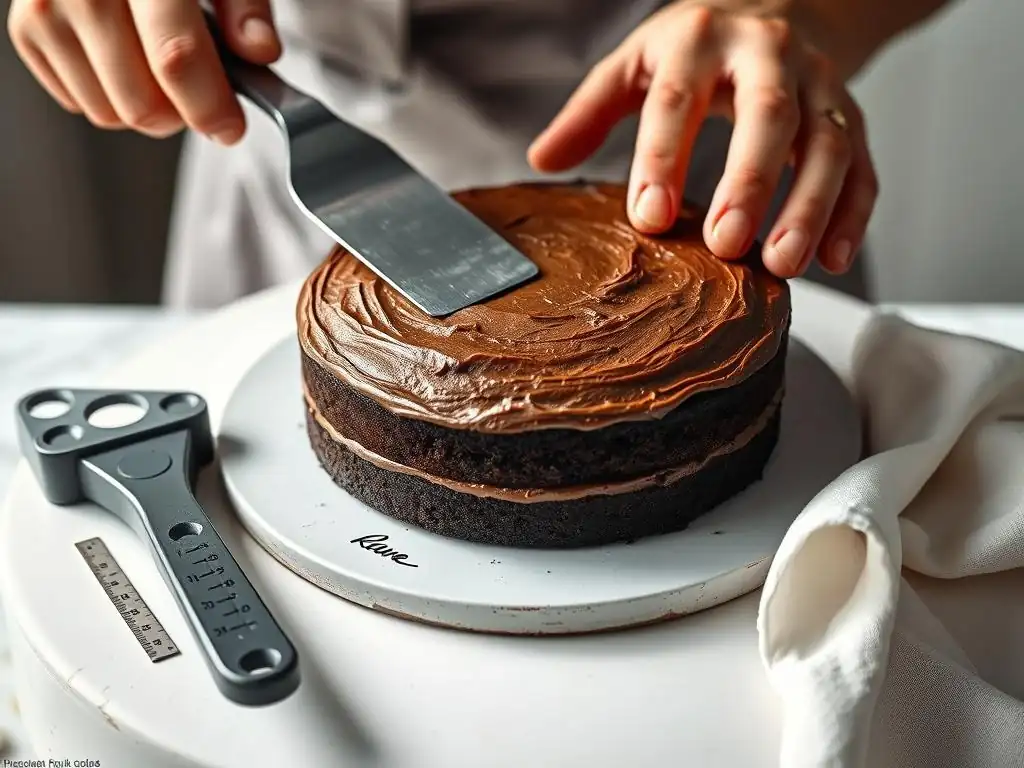
Leveling Uneven Cake Layers: Essential Tools & Techniques
Before you even think about frosting, leveling is your best friend when dealing with uneven cake layers. This involves carefully trimming off the high spots to create a flat, stable surface. The most common tool for this is a serrated knife, preferably a long one like a bread knife. Place the cake layer on a flat surface and, holding the knife parallel to the surface, gently saw back and forth to slice off the dome or the higher side. Aim for a steady hand and keep your eye level with the cake to ensure you're cutting straight.
For more precision, especially if you bake frequently, consider investing in a cake leveler tool. These gadgets typically have adjustable wires that allow you to set the exact height you want to trim. Simply place the cake leveler over the layer and gently saw through, letting the wires guide your cut. Trimming off even just half an inch (about 1-1.5 cm) from a significant dome can transform an unstable layer into a perfectly flat one, providing a much better starting point for your uneven cake layers fix tips during assembly.
The Importance of Consistent Cake Pan Preparation
While this is a preventative measure, consistent cake pan preparation is so vital that addressing it here helps understand why you might have unevenness and how to avoid it in the future. Properly greasing and flouring (or using a non-stick spray with flour) ensures that the cake releases cleanly and, importantly, allows the cake to rise evenly. If one part of the pan is sticky, the batter might cling to it, preventing uniform expansion during baking and leading to an uneven top or sides.
Using parchment paper rounds on the bottom of your pans is another layer of protection that promotes even baking and easy release. A perfectly prepared pan allows the cake batter to expand upwards and outwards uniformly as it bakes. Taking an extra minute to ensure your pans are consistently prepped can significantly reduce the likelihood of ending up with uneven cake layers that require fixing later, saving you time and frustration during assembly.
Adjusting Oven Temperature for Even Cake Baking
Oven temperature accuracy is paramount for even baking. Many home ovens have thermostats that are off by as much as 25-50 degrees Fahrenheit (about 15-30 degrees Celsius). Baking at an inaccurate temperature can lead to cakes that bake too fast on the outside (causing a hard crust and uneven rise) or too slow. Using an inexpensive oven thermometer placed in the center of your oven is a simple but highly effective uneven cake layers fix tip for the baking stage.
Once you know how accurate your oven is, you can adjust the temperature accordingly. If your oven reads 350°F but an external thermometer shows it's actually 375°F, bake at 325°F instead to compensate. Also, avoid placing cake pans on the very top or bottom racks, as these are often closer to the heating elements and more prone to temperature fluctuations. The middle rack is usually the sweet spot for the most even heat distribution, promoting a uniform rise across your cake layers.
Assembling a Cake with Uneven Layers: Practical Solutions
Compensating for Uneven Layers During Filling
If you have slightly uneven cake layers that you haven't fully leveled, you can use your filling to help compensate during assembly. Instead of applying a uniform layer of filling, apply a little extra filling to the lower areas of the cake layer before placing the next layer on top. This essentially "fills in the gap" and helps to create a more level surface for the next tier. For example, if a layer dips slightly on one side, add an extra tablespoon or two of buttercream or ganache to that specific area.
This technique works best for minor unevenness. It requires a gentle hand and careful observation as you stack. Place the next layer on top, centered, and lightly press down, observing if the filling is distributing to help level the stack. This is a practical uneven cake layers fix tip that uses your existing ingredients creatively, rather than requiring extra steps or tools.
Using Extra Frosting to Correct Unevenness
Buttercream or other sturdy frostings can be a powerful tool for camouflaging and correcting uneven cake layers during the crumb coating and final frosting stages. After stacking your potentially uneven layers (hopefully having leveled them somewhat), apply a crumb coat. This thin layer of frosting traps crumbs and provides a base. This is where you can start building up frosting on the lower sides or dips of the cake to create a more cylindrical or even shape.
Once the crumb coat is chilled and firm (typically 20-30 minutes in the refrigerator), apply your final layer of frosting. Use an offset spatula or bench scraper to smooth the sides. As you smooth, you'll naturally add more frosting to the areas that are recessed due to the uneven layers. This technique essentially sculpts the outside of the cake with frosting to make it appear perfectly straight and level from the exterior. It's one of the most common uneven cake layers fix tips used by decorators.
Strategic Placement of Cake Layers for Stability
When stacking multiple layers, especially if some have a slight dome or tilt that wasn't completely removed, strategic placement can improve stability. If you have a layer with a slight dome, it's often best to place it dome-side down on the layer below (after leveling, of course). The flat, cut surface then becomes the top of that layer, providing a more stable base for the next one.
If you have layers with a noticeable tilt to one side, try to stack them so that the tilts counteract each other. For example, if layer one tilts slightly left and layer two tilts slightly right, stacking them carefully might result in a more overall level stack. However, this requires careful balancing and is best used when unevenness is minimal. For significant issues, proper leveling is always the preferred first step among effective uneven cake layers fix tips.
Advanced Techniques for Fixing Uneven Cake Layers
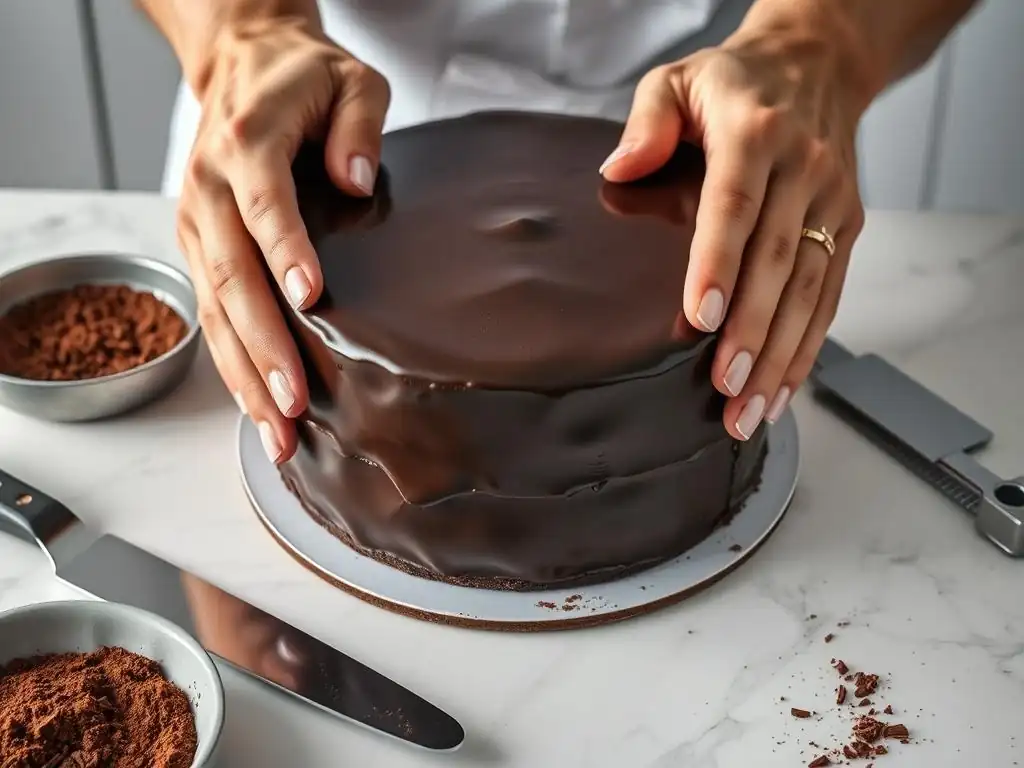
The "Cake Collar" Method for Consistent Height
The "cake collar" method, often used with acetate strips or parchment paper, is an advanced uneven cake layers fix tip primarily for creating perfectly straight sides once the cake is stacked and filled. While it doesn't fix the internal unevenness of the layers themselves, it forces the exterior of the cake to be straight during chilling, resulting in a professional finish. After stacking and applying filling, wrap the cake tightly with a strip of acetate or parchment paper cut slightly taller than your cake. Secure it with tape.
Then, fill the gap between the cake layers and the collar with frosting or ganache, smoothing it against the collar. Chill the cake thoroughly (at least 1-2 hours, or until firm). When you remove the collar, you'll have perfectly straight sides, regardless of minor internal wobbles from uneven layers. This technique is particularly useful for delicate fillings or when aiming for sharp edges on your frosting.
Carving and Reshaping Cake Layers Before Frosting
For significantly uneven layers that weren't adequately leveled initially, carving and reshaping before applying any frosting can be necessary. This is similar to the initial leveling step but might involve more substantial trimming to remove severe domes, dips, or sloped edges. Use a long serrated knife or a cake leveler to carefully sculpt the layers into more uniform shapes.
You might need to trim off more than you initially wanted, potentially reducing the overall height of your cake, but it's essential for stability. Think of it like sculpting – remove small amounts at a time, stepping back to check the shape. This allows you to create a level base for stacking. While it results in more cake scraps, it's a crucial uneven cake layers fix tip when dealing with layers that are severely askew.
Creating a Stable Cake Foundation Despite Imperfections
Even with leveling and careful stacking, some unevenness might persist, especially in taller cakes. Creating a stable foundation involves using dowels or cake supports. For cakes three layers or taller, inserting dowels into the lower layers prevents the upper layers from crushing the ones below and helps distribute the weight evenly, mitigating issues caused by slight unevenness.
Typically, you'd insert 3-5 food-safe dowels cut to the height of the bottom layer (minus the top frosting). Place a cake board cut to the size of the layer above on top of the dowels, then stack the next layer. This transfers the weight of the upper tiers onto the dowels and down to the cake board, bypassing the cake itself. This structural support is key to preventing leaning and collapse, effectively providing an uneven cake layers fix tip from a stability perspective.
Preventing Uneven Cake Layers in the Future: Baking Best Practices
Accurate Measuring Techniques for Consistent Results
One of the most fundamental ways to prevent uneven cake layers is by using accurate measuring techniques. Baking is a science, and ingredient ratios matter. Using too much or too little leavening agent (baking powder or soda) can affect how the cake rises, potentially leading to domes or uneven textures. Always use the spoon-and-level method for flour: gently spoon flour into your measuring cup until it overflows, then level it off with a straight edge. Avoid scooping directly from the bag, which compacts the flour and results in too much being used.
Similarly, accurately measuring liquids and fats ensures the batter has the correct consistency. A batter that is too thick or too thin may not spread evenly in the pan, contributing to uneven baking. Using a kitchen scale for dry ingredients is even more accurate than volume measurements and is a best practice for consistent results, significantly reducing the chances you'll need uneven cake layers fix tips later on.
Proper Mixing Methods for Even Batter Distribution
Overmixing or undermixing batter can also lead to uneven cake layers. Overmixing develops too much gluten, resulting in a tough cake that might dome excessively and crack on top. Undermixing can leave pockets of unmixed ingredients (like baking powder), leading to uneven rising and texture throughout the layer. Follow recipe instructions carefully regarding mixing times and speeds.
Often, creaming butter and sugar until light and fluffy is a crucial first step, followed by adding eggs one at a time. Then, alternate adding dry and wet ingredients, mixing just until combined. Avoid the temptation to keep mixing "to be sure." A few small lumps of flour are often fine and will disappear during baking. Proper mixing ensures that leavening agents and other ingredients are evenly distributed throughout the batter, promoting a uniform rise in the oven.
Choosing the Right Cake Pans for Uniform Baking
The type and color of your cake pans can influence how evenly your cake bakes. Dark metal pans absorb more heat than light-colored or shiny pans, which can cause the edges of the cake to set and brown faster than the center, sometimes leading to a pronounced dome. Using light-colored aluminum pans generally promotes more even heat distribution and results in a more level cake.
Using good quality pans that are not warped or dented is also important. A warped pan will not sit flat in the oven, leading to uneven heat exposure. Using the same size and type of pan for all layers in a single cake project is also critical for consistent baking times and results. Investing in a few good quality, light-colored pans is a simple preventative uneven cake layers fix tip.
Troubleshooting Specific Uneven Layer Scenarios
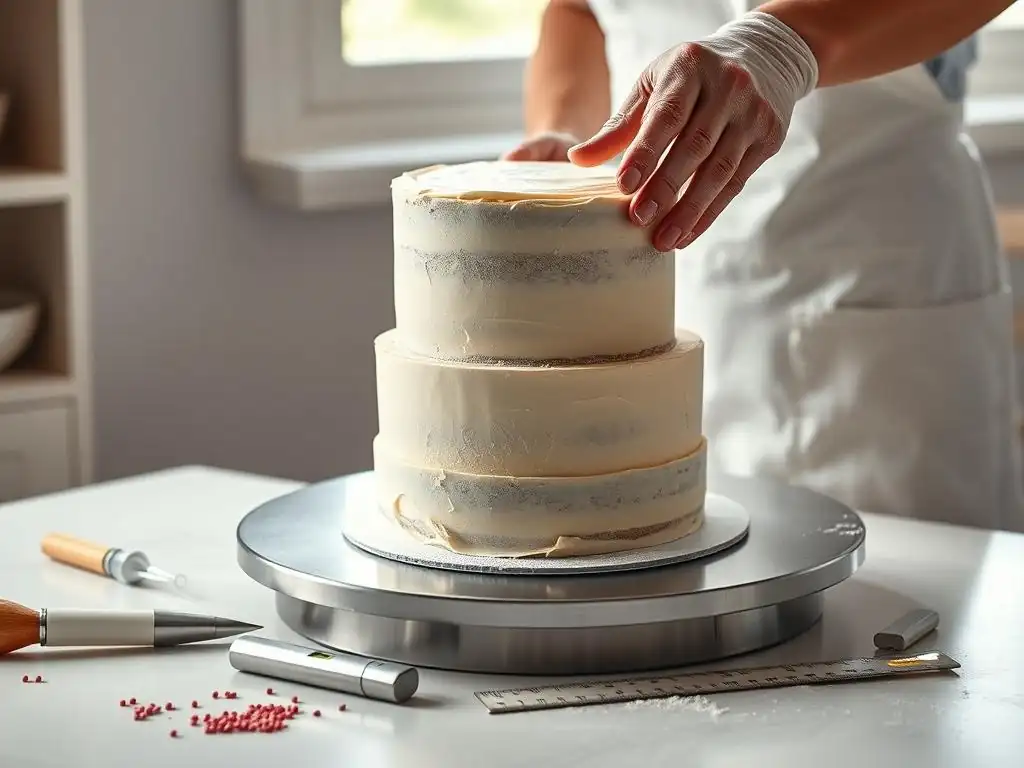
Fixing a Cake Layer That's Higher in the Center
A cake layer that's significantly higher in the center (a dome) is a classic sign of the oven being too hot, the pan being too close to the heating element, or the batter being overmixed. To fix this for assembly, the primary method is leveling. Place the cake on a flat surface and use a long serrated knife or cake leveler to carefully slice off the dome, making the top surface flat. Aim to remove only the domed part.
Once the dome is removed, you have a flat surface to work with. The removed cake scraps (often called "cake tops" or "cake guts") are perfect for making cake pops or trifles, so don't discard them! Leveling the dome is perhaps the most common uneven cake layers fix tip applied before stacking.
Addressing Uneven Cake Layers Around the Edges
If your cake layer is uneven around the edges, perhaps higher on one side than the other, this often points to uneven heat in the oven or the pan not being placed centrally. To fix this, you'll need to level the entire top surface by slicing. Identify the highest point on the cake (it might be one side or corner) and, using a serrated knife or leveler, carefully slice across the entire top of the cake, keeping the knife parallel to your work surface, until you've removed the highest part and the surface is level.
This might mean you remove a wedge shape from the top if one side is much higher than the other. Again, precision is key here. Taking your time to make a clean, level cut will make stacking and frosting significantly easier. This uneven cake layers fix tip is essential when the unevenness is a slope rather than just a central dome.
Dealing with a Cake Layer That's Significantly Thicker Than Others
Occasionally, one cake layer might bake up significantly thicker than the others, even if you used the same amount of batter. This could be due to slight variations in pan fill level, oven hot spots affecting rise, or even a slight difference in how the pan was prepped. If the layer is simply too thick but relatively level, you might choose to use it as the bottom layer, as it can support more weight.
However, if you need layers of uniform thickness for aesthetic reasons or stable stacking, you'll need to slice the thick layer horizontally into two thinner layers (a process called torting). Use a long serrated knife, keeping your hand steady and parallel to the surface, or use a cake splitting tool. Mark the side of the cake with toothpicks as a guide before you start cutting. This uneven cake layers fix tip allows you to turn one thick, uneven layer into two thinner, more manageable ones.
Post-Assembly Solutions for Minor Unevenness
Using Decorations to Mask Imperfections
If your cake has minor unevenness that wasn't completely corrected during assembly, strategic decoration can be a great uneven cake layers fix tip. Borders around the base of the cake or between layers can hide slight gaps or uneven lines. Piping swirls or rosettes vertically up the sides can draw the eye away from imperfections in the frosting surface or layer alignment.
Using sprinkles, chocolate shavings, or nuts applied to the sides can also create texture that disguises unevenness. A drip effect can likewise distract from wobbly sides. Essentially, creative decoration allows you to add visual elements that make minor structural imperfections unnoticeable to the casual observer.
The "Refrigeration Trick" for Solidifying Frosting and Stabilizing Structure
After assembling and applying a crumb coat (and ideally the final frost layer), refrigerating the cake is a simple yet effective uneven cake layers fix tip for stability. Chilling the cake allows the butter or fat in the frosting to firm up, essentially "gluing" the layers together and solidifying the structure. A well-chilled cake is much more stable and less likely to lean or shift than a room-temperature one.
Chill your assembled cake for at least 30-60 minutes, or until the frosting is firm to the touch. This makes it easier to apply subsequent layers of frosting or fondant and helps lock in the shape you've created, compensating for minor internal unevenness. Ensure your refrigerator is cold enough, typically around 4°C (40°F).
When to Consider Re-Baking: Assessing the Severity of the Problem
While there are many uneven cake layers fix tips, sometimes the unevenness is so severe that trying to salvage the layers will compromise the final cake's quality, appearance, or stability beyond repair. If a layer is drastically sloped, cracked significantly, or has a large tunnel or hole, attempting to level or patch it might result in a crumbly, unstable mess.
Assess the severity: Can the layer be made relatively level with reasonable trimming (say, less than 1 inch off the top)? Can structural issues be addressed with dowels and frosting? If the answer is no, or if fixing it would result in a cake that's too short or structurally unsound, it might be less frustrating and ultimately more successful to re-bake that specific layer or even the entire batch. It's a tough call, but sometimes starting fresh is the best uneven cake layers fix tip of all.
Frequently Asked Questions
How can I prevent uneven cake layers from happening in the first place?
Prevention is key! Ensure your oven is properly preheated and use an oven thermometer for accuracy. Also, carefully measure your batter into pans of the same size and weight, ensuring even distribution.
What's the best way to level cake layers that are already uneven?
A serrated knife is your best friend. Use it to carefully trim the higher parts of the cake layer to match the lower parts, creating a flat, even surface.
Can I fix uneven cake layers after frosting has been applied?
It's much harder, but not impossible. You can try to carefully add more frosting to the thinner areas to even them out. However, it's best to address the issue before frosting.
What if my cake layers are drastically uneven? Is it still salvageable?
Yes, it likely is! You might need to trim off a significant portion of the thicker layer(s). Consider using the trimmed pieces to make cake pops or trifle.
Does the type of cake recipe affect how prone it is to uneven layers?
Yes, certain recipes are more prone to unevenness. Recipes with a lot of leavening agents or those that require vigorous mixing can sometimes result in uneven baking.
Final Reflection: The Pursuit of Perfectly Level Cakes
The quest for flawlessly level cake layers isn't just about aesthetics; it's about achieving baking mastery and creating a truly professional-looking dessert. A seemingly small detail like uneven layers can significantly impact the overall presentation, potentially overshadowing even the most delicious flavor combinations. This article has explored various techniques to address this common baking challenge, offering solutions ranging from simple adjustments in baking technique to creative fixes during assembly.
The impact of perfectly level cake layers extends beyond the individual baker; it speaks to a broader cultural appreciation for precision and detail in culinary arts. The pursuit of perfection, even in something as seemingly trivial as cake assembly, reflects a deeper human desire for craftsmanship and artistry. The details are not the details. They make the design.
– Charles Eames. This quote perfectly encapsulates the importance of seemingly minor details in achieving a truly exceptional result. The frustration of uneven layers, and the satisfaction of overcoming that challenge, is a shared experience amongst bakers of all skill levels.
Now, consider your own baking journey. Have you encountered the frustration of uneven layers? What techniques resonated most with you from this article? I encourage you to experiment with these tips and tricks, to embrace the learning process, and to find joy in the pursuit of baking perfection. Remember, even the most experienced bakers encounter challenges; it's how we learn and adapt that truly defines our skill. So, grab your spatulas, embrace the process, and let's create some truly stunning, level cakes together!
Level Up Your Cake Decorating Game!
Thanks for taking the time to learn how to conquer those frustrating uneven cake layers! You've now got the tools to create perfectly stacked cakes every time. Ready to put your new skills to the test?
- Bake a show-stopping cake this weekend! Use your newfound knowledge to create a masterpiece and impress your friends and family. Think outside the box – what flavor combination will you try?
- Share your baking triumph on social media! Use #BakeWithEase and tag us – we'd love to see your perfectly leveled cakes.
- Leave a comment below and tell us: What's your biggest cake-decorating challenge, and how will you tackle it now?