
Piping Chocolate Ganache: Getting the Right Consistency

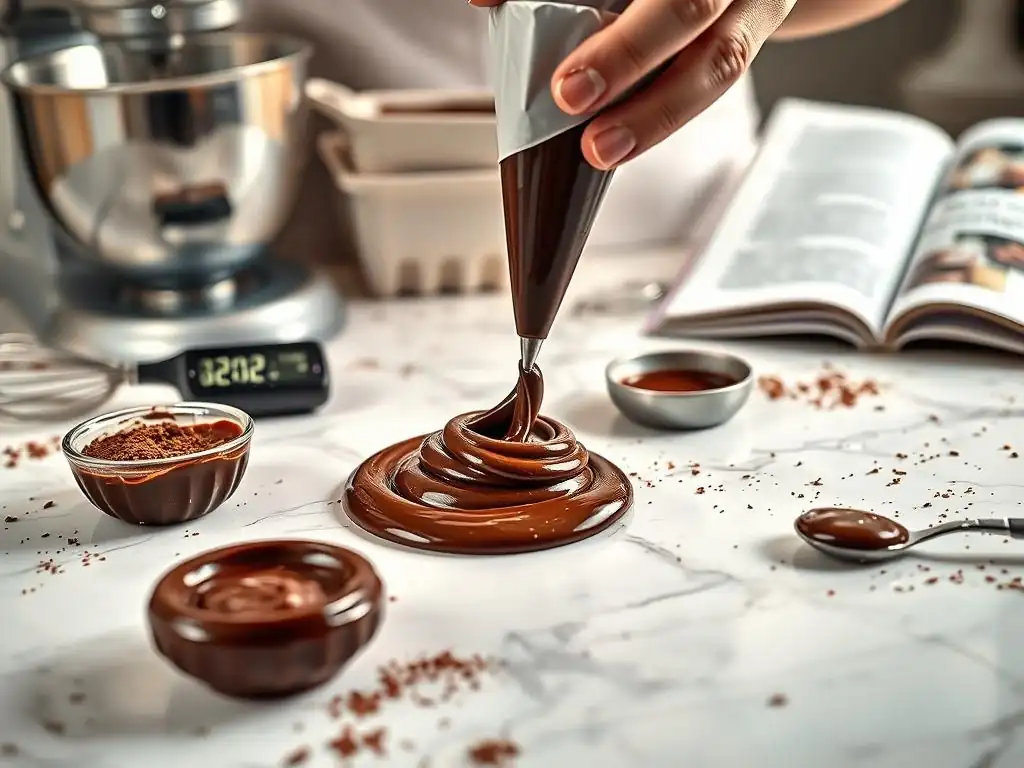
Welcome to BakeWithEase, where your baking journey becomes a delightful adventure! Are you ready to achieve that perfect swirl, drizzle, or decorative flourish with your chocolate ganache? Achieving the ideal chocolate ganache consistency can be tricky, but fear not! We're diving deep into the secrets that will transform your ganache from lumpy to luscious. Discover the insider tips that separate a good ganache from a truly exceptional one, and unlock the secrets to piping perfection. Curious to learn more? Let's get started!
- Piping Chocolate Ganache: Getting the Right Consistency for Perfect Designs
- Introduction to Chocolate Ganache and Piping
- Understanding Chocolate Ganache Ratios for Piping
- Achieving the Perfect Chocolate Ganache Consistency: A Step-by-Step Guide
- Troubleshooting Common Chocolate Ganache Piping Problems
- Essential Piping Tips and Techniques with Chocolate Ganache
- Chocolate Ganache Piping: Expert Consistency Tips and Tricks
- Conclusion: Mastering the Art of Chocolate Ganache Piping
- Frequently Asked Questions
- Final Reflection: Mastering the Art of Chocolate Ganache
- Unlock Your Inner Chocolatier: Master Ganache Consistency Today!
Piping Chocolate Ganache: Getting the Right Consistency for Perfect Designs
Introduction to Chocolate Ganache and Piping
Why Chocolate Ganache is Ideal for Piping
Chocolate ganache is a versatile and beloved staple in the baking world, particularly for its suitability in decorative work. Its rich, creamy texture, when prepared correctly, makes it an excellent medium for piping. Unlike buttercreams which can sometimes be overly sweet or firm, ganache offers a smooth, melt-in-your-mouth experience that pairs beautifully with cakes, cupcakes, and pastries. The inherent stability of chocolate, once cooled, allows piped designs to hold their shape remarkably well, whether you're creating simple swirls or intricate patterns. This stability is directly linked to achieving the perfect chocolate ganache consistency for your specific piping needs.
Furthermore, ganache provides a luxurious finish that elevates any baked good. Its deep flavor profile complements a wide range of cakes, from classic vanilla to decadent chocolate or even fruit-flavored sponges. The ability to control the richness and sweetness by adjusting the chocolate type and ratio makes it highly adaptable. For anyone looking to add a professional touch to their bakes, mastering the nuances of chocolate ganache consistency tips is a fundamental skill that unlocks a world of decorative possibilities, providing both visual appeal and exquisite taste.
The Importance of Proper Ganache Consistency for Piping Success
Achieving the correct chocolate ganache consistency is paramount for successful piping. If your ganache is too thin, it will be runny, fail to hold any defined shape, and likely drip or spread uncontrollably. This makes intricate designs impossible and even simple swirls look sloppy. Conversely, if it's too thick, it will be difficult to pipe smoothly, requiring excessive pressure on the piping bag, potentially causing it to burst, and resulting in stiff, uneven, or lumpy decorations that lack the desired smooth finish.
The ideal chocolate ganache consistency for piping should be firm enough to hold a crisp shape when extruded from a piping tip, yet soft enough to flow smoothly without resistance. Think of it like soft peanut butter or firm frosting – it holds its peak but isn't stiff or crumbly. Understanding the factors that influence this consistency, such as the chocolate-to-cream ratio and temperature, is key. Paying close attention to these chocolate ganache consistency tips ensures your decorative efforts are rewarding and your finished product looks professional and appealing.
Understanding Chocolate Ganache Ratios for Piping
The Role of Chocolate-to-Cream Ratio in Ganache Consistency
The ratio of chocolate to cream is the single most critical factor determining your ganache's final consistency. Chocolate provides the structure and firmness due to its cocoa butter content, while cream adds liquid and fat, contributing to smoothness and fluidity. A higher proportion of chocolate relative to cream results in a firmer ganache, whereas a higher proportion of cream yields a softer, more liquid ganache. This fundamental principle is the cornerstone of all chocolate ganache consistency tips.
For instance, a ratio with significantly more chocolate than cream, like 3:1 or 4:1 (chocolate to cream by weight), will produce a very firm ganache suitable for rolling into truffles or creating dense fillings. Conversely, a 1:2 or 1:3 ratio (chocolate to cream) will be quite liquid, perfect for glazes or sauces. For piping applications, we typically work with ratios that fall somewhere in the middle, balancing structure with pipe-ability. Mastering these ratios is essential for achieving the desired outcome, whether it's delicate swirls or sturdy borders.
Different Ratios for Different Piping Applications: A Guide
Understanding how different ratios translate to different piping capabilities is crucial for selecting the right consistency. Here's a general guide, keeping in mind that the type of chocolate also plays a significant role (more on that later):
Soft Ganache for Drip Cakes and Delicate Piping
- Ratio: Often around 1:1 (chocolate to cream) for dark chocolate, or slightly less chocolate (e.g., 1:1.2) for milk or white chocolate which are softer due to lower cocoa solids.
- Consistency: Pourable when warm, sets to a soft, fudgy texture when cooled.
- Use Cases: Ideal for creating controlled drips down the side of a cake, filling macarons or delicate pastries, or piping very soft, flowing lines or dots that don't need to hold a sharp edge. A popular drip recipe might use 100g dark chocolate to 100g heavy cream.
Medium Ganache for General Piping and Borders
- Ratio: Typically 2:1 (chocolate to cream) for dark chocolate, or 2.5:1 to 3:1 for milk or white chocolate.
- Consistency: Spreads easily when warm, sets to a firm but pliable texture when cooled.
- Use Cases: This is a highly versatile consistency. Excellent for covering cakes smoothly (like under fondant), piping sturdy borders (like shell borders), creating simple swirls on cupcakes, or filling layer cakes. A common example is using 200g dark chocolate with 100g heavy cream. This ganache holds its shape well but is still smooth enough to pipe without excessive effort, embodying a great balance for many chocolate ganache consistency tips.
Firm Ganache for Detailed Decorations and Flowers
- Ratio: Usually 3:1 or even 4:1 (chocolate to cream) for dark chocolate, or 3.5:1 to 4.5:1 for milk or white chocolate.
- Consistency: Very thick and fudgy when cool, holds very sharp edges.
- Use Cases: Perfect for piping intricate details, sharp rosettes, complex borders requiring significant structure, or even forming chocolate flowers. This ganache requires more effort to pipe but offers maximum definition. For example, 300g dark chocolate to 100g heavy cream would yield a very firm ganache suitable for detailed work.
Achieving the Perfect Chocolate Ganache Consistency: A Step-by-Step Guide
Step 1: Choosing the Right Chocolate for Ganache
The type and quality of chocolate you use significantly impact the final chocolate ganache consistency. Different types (dark, milk, white) have varying amounts of cocoa solids and cocoa butter, which are the structural components. Dark chocolate, with a higher percentage of cocoa solids (often 50-70% or more), will yield a firmer ganache at the same ratio compared to milk or white chocolate. Milk chocolate contains milk solids and less cocoa mass, making it softer. White chocolate contains no cocoa solids, only cocoa butter, sugar, and milk solids, making it the softest and most prone to seizing if overheated.
Using high-quality chocolate, often referred to as "couverture" chocolate, is recommended. These chocolates typically contain a higher percentage of cocoa butter (often 32-39% or more) and are formulated to melt smoothly and create stable emulsions. While you can use chocolate chips or baking bars, they often contain stabilizers or lower cocoa butter content, which can result in a less smooth texture or a different set consistency than expected. For reliable chocolate ganache consistency tips, starting with good quality chocolate is key.
Understanding the Impact of Chocolate Type (Dark, Milk, White)
- Dark Chocolate: Generally the easiest to work with for piping due to its higher cocoa solid content providing good structure. Ratios like 2:1 or 3:1 work well for medium to firm piping. A 60% cocoa dark chocolate will yield a firmer ganache than a 50% chocolate at the same ratio.
- Milk Chocolate: Softer than dark chocolate. Requires a higher chocolate-to-cream ratio (e.g., 3:1 or 3.5:1) to achieve a medium piping consistency similar to a 2:1 dark ganache.
- White Chocolate: The softest and sweetest. Requires the highest ratio of chocolate to cream (e.g., 3.5:1 or 4:1) for a medium piping consistency. It's also the most sensitive to heat and prone to becoming grainy.
Step 2: Heating the Cream Properly
Heating the cream is a crucial step in the ganache-making process. The goal is to heat the heavy cream (also known as double cream or whipping cream, typically with 30-36% fat content) until it's hot but not boiling vigorously. Gentle simmering is acceptable, but full, rolling boils should be avoided as they can reduce the water content too quickly and potentially scald the milk proteins, leading to off-flavors or a less smooth ganache.
Using a medium heat and stirring occasionally helps ensure the cream heats evenly. Once you see small bubbles forming around the edges of the saucepan and wisps of steam rising, the cream is generally hot enough. This temperature, typically around 180-190°F (82-88°C), is sufficient to melt the chocolate without scorching it. Proper cream temperature is a vital component of achieving the desired chocolate ganache consistency.
Avoiding Scorching and Overheating
Scorching the cream gives it a burnt taste that will ruin the entire batch of ganache. To avoid this, use a heavy-bottomed saucepan that distributes heat more evenly. Keep the heat at medium or medium-low, and do not leave the cream unattended. Stirring helps prevent the cream from sticking to the bottom. If you see any browning or smell a burnt odor, discard the cream and start over. Overheating the cream doesn't necessarily cause scorching but can make the chocolate seize or become grainy when added. Aim for hot, not boiling.
Step 3: Combining Chocolate and Cream: The Emulsification Process
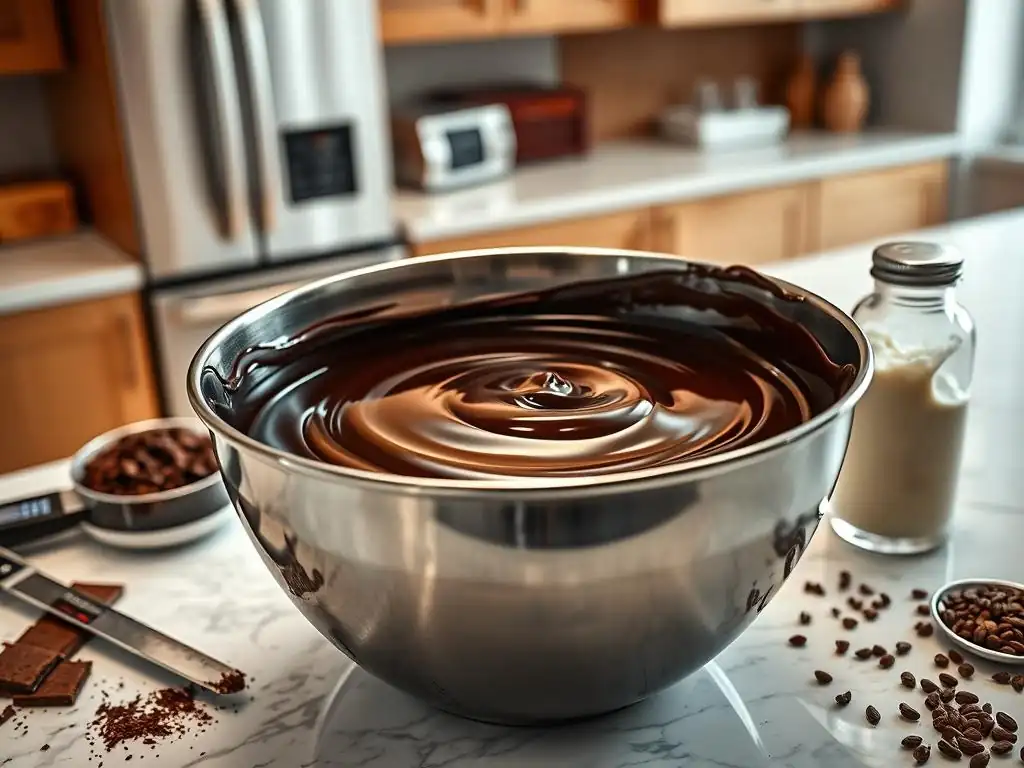
Emulsification is the magical process where the fat from the chocolate and cream combines with the water in the cream to form a stable, smooth mixture. To achieve this, finely chop your chocolate and place it in a heatproof bowl. Pour the hot cream over the chopped chocolate, ensuring all the chocolate is submerged. Let it sit undisturbed for 5-10 minutes. This resting period allows the heat from the cream to gently melt the chocolate from the outside in.
After the resting period, start stirring gently from the center of the bowl, working your way outwards in expanding circles. Use a whisk or a spatula. Initially, it might look separated or lumpy, but as you continue stirring, the mixture will come together into a glossy, smooth, and homogenous ganache. Avoid vigorous whisking or incorporating too much air at this stage, as this can lead to air bubbles later. Gentle, consistent stirring is key to a perfect emulsion and smooth chocolate ganache consistency.
Tips for a Smooth and Silky Ganache
- Finely Chop Chocolate: Smaller pieces melt faster and more evenly, reducing the risk of unmelted lumps.
- Use Hot, Not Boiling, Cream: As mentioned, excessively hot cream can cause the chocolate to seize.
- Allow Resting Time: Don't stir immediately after pouring the cream. Let the heat do its work first.
- Stir Gently: Avoid aggressive whisking. Gentle stirring promotes a smooth emulsion without incorporating excess air.
- Troubleshooting: If the ganache looks oily or separated after stirring, it has likely broken (the emulsion failed). Try adding a tablespoon of warm milk or cream and stirring vigorously from the center to bring it back together. Sometimes, gently heating it over a double boiler while stirring can also help.
Step 4: Letting the Ganache Set (and Why it's Crucial)
Once the ganache is emulsified and smooth, it will be quite liquid (unless you used an extremely high chocolate ratio). It must set to achieve the proper chocolate ganache consistency for piping. Setting allows the cocoa butter in the chocolate to crystallize and firm up the mixture. This process takes time and temperature control. Trying to pipe ganache before it has set will result in a runny mess that won't hold any shape.
The setting time varies greatly depending on the ratio, the ambient temperature of your kitchen, and whether you set it at room temperature or in the refrigerator. This waiting period is perhaps the most challenging but necessary step in mastering chocolate ganache consistency tips. Patience is key here; rushing the setting process will compromise the final texture and pipe-ability.
Room Temperature vs. Refrigeration: Which is Best?
- Room Temperature Setting: This is generally preferred for the smoothest and most pliable ganache for piping. Place the bowl of ganache uncovered at cool room temperature (around 68-72°F or 20-22°C). Stir it occasionally (every 30-60 minutes) with a spatula as it cools to ensure even setting and maintain smoothness. This can take anywhere from 2-4 hours for a medium consistency ganache, or even longer for softer ratios or warmer rooms. The benefit is a very smooth, easy-to-pipe consistency once set.
- Refrigeration Setting: Refrigeration speeds up the setting process. Cover the surface of the ganache with plastic wrap pressed directly against it (to prevent a skin from forming) and place it in the fridge. Check and stir it every 15-30 minutes. Be careful not to let it get too hard; it can firm up very quickly in the fridge. If it becomes too firm, you'll need to gently warm it slightly to make it pliable again. Refrigeration is faster (often 1-2 hours) but can sometimes result in a slightly firmer or less smooth texture if not stirred frequently during cooling.
Step 5: Testing the Ganache Consistency for Piping
Once the ganache has cooled and appears to have thickened, it's time to test its readiness for piping. You need a consistency that is firm enough to hold a peak when stirred but soft enough to be easily pushed through a piping tip. This is where your understanding of chocolate ganache consistency tips comes together in practice.
Testing involves both visual cues and a simple practical test. Look at the texture as you stir it; it should be thick and creamy, not liquid or overly stiff. When you lift the spatula, the ganache should hold its shape briefly before slowly slumping.
Visual Cues for Perfect Piping Consistency
- Opacity: The ganache should no longer be translucent or shiny like liquid chocolate. It should be opaque and duller in appearance.
- Body: When you tilt the bowl, the ganache shouldn't pour or flow easily. It should move slowly and hold its form.
- Stiffness: As you stir, you should feel some resistance. If it stirs as easily as warm pudding, it needs more time to set. If it's very difficult to stir, it might be too firm.
The Spoon Test: Checking for Hold and Stiffness
A simple and effective test is the spoon test. Dip a spoon or spatula into the ganache and lift it out. Observe how the ganache drips or holds onto the spoon.
- If it drips off quickly and thinly, it's too thin.
- If it holds its shape on the spoon and forms a soft peak that slumps slowly, it's likely ready for piping (medium consistency).
- If it stands up very stiffly on the spoon and doesn't slump at all, it might be too firm for easy piping, though possibly suitable for very detailed work depending on your strength and the tip size.
Another test is to scoop a small amount and try to make a simple swirl on a plate with a spoon or piping bag. If the swirl holds its shape without spreading, the consistency is probably good. If it slumps immediately, it needs more setting time.
Troubleshooting Common Chocolate Ganache Piping Problems
Ganache Too Thin: How to Thicken It
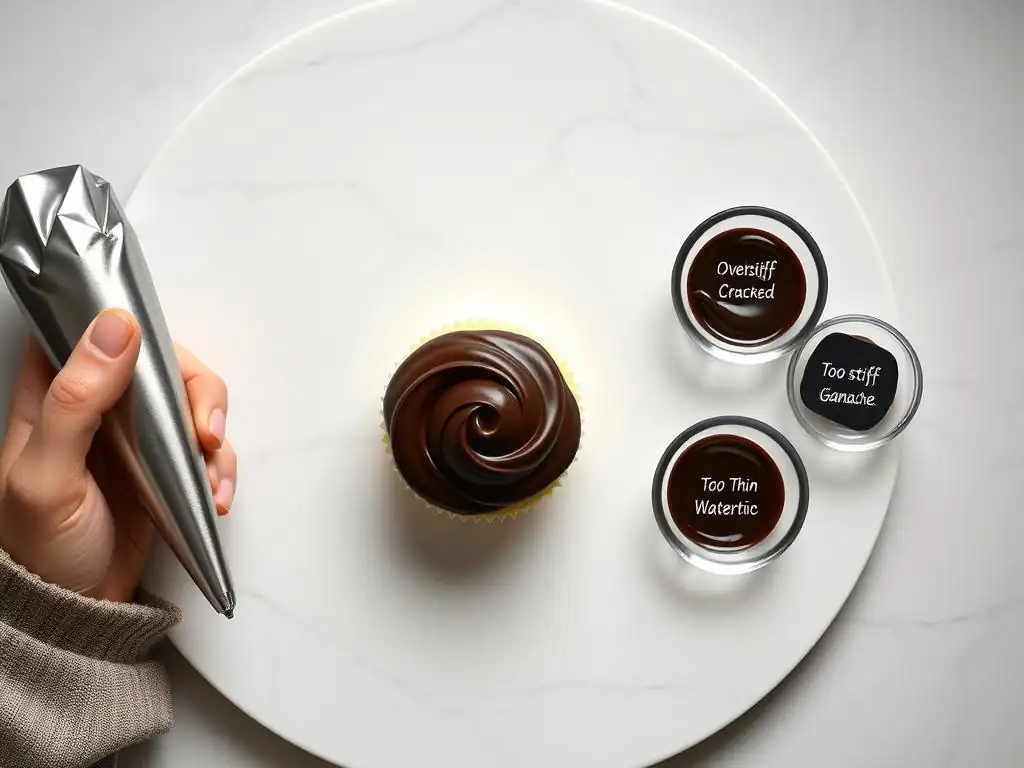
If your ganache is too thin after it has fully cooled and set, don't despair! You have a few options. The most common reason is too much cream or not enough chocolate for the desired consistency.
- Add More Melted Chocolate: Gently melt more of the same type of chocolate you used (using a double boiler or short bursts in the microwave, stirring frequently). Stir the melted chocolate into your thin ganache. Start with a small amount, like 25-50g per 200g of ganache, stir until combined, and let it cool slightly before testing the consistency again. Repeat if necessary.
- Gentle Cooling: Sometimes it just needs more time to cool. Ensure your kitchen isn't too warm. If it's warm, refrigerate it, stirring frequently, but be very careful not to let it get too hard.
- Whipping (for filling/frosting, not smooth piping): If you don't need a perfectly smooth surface (like for filling cupcakes or frosting a cake), you can whip the cooled, thin ganache with an electric mixer. This incorporates air, lightens the color and texture, and makes it much firmer and pipeable. However, it will no longer be a smooth, dense ganache suitable for sharp details.
If your ganache has set too hard and is difficult to stir or pipe, it's too thick. This often happens if you used too high a chocolate ratio or over-refrigerated it.
- Gentle Warming: The easiest way is to gently warm it. You can do this by placing the bowl over a pan of warm (not boiling) water (a double boiler setup) and stirring constantly until it softens to the desired consistency. Alternatively, microwave it in very short bursts (5-10 seconds) on low power, stirring thoroughly after each burst, until it becomes pliable. Be extremely careful not to overheat it, which can cause it to break or become oily.
- Add More Warm Cream: If gentle warming isn't enough, or if you want to adjust the ratio slightly, you can stir in a tablespoon or two of warm heavy cream. Add the cream gradually, stirring until fully incorporated and the desired consistency is reached. This method directly adjusts the ratio, making it softer.
Ganache Grainy or Separated: How to Fix It
Grainy or separated ganache (where the fat seems to have split out) is usually a sign of the emulsion breaking. This can happen due to overheating, cooling too quickly, or stirring too vigorously initially.
- Gentle Warming and Stirring: Often, gently warming the ganache over a double boiler while stirring continuously can bring it back together. Stir until it becomes smooth and glossy again. Do not overheat; remove from the heat as soon as it looks like it's coming together.
- Adding a Warm Liquid: If warming doesn't work, try adding a tablespoon of warm milk, cream, or even clear spirit (like vodka, which evaporates) and whisking vigorously from the center outwards. This can sometimes help re-emulsify the mixture.
- Using a Stick Blender: For stubborn cases, a stick blender (immersion blender) can often save a broken ganache. Insert the blender at an angle so the blade is fully submerged, turn it on low speed, and move it gently up and down until the ganache becomes smooth and emulsified. This is a powerful tool for fixing chocolate ganache consistency issues.
Air Bubbles in Ganache: Prevention and Removal
Air bubbles occur when too much air is incorporated during the stirring process, especially if you whisk vigorously or whip the ganache. While minor bubbles might not matter, large ones can ruin the smooth finish of piped decorations.
- Prevention: The best approach is prevention. Stir gently and avoid whisking when making the initial emulsion. When stirring the ganache as it cools, use a spatula and fold rather than beating air into it.
- Removal: If you have air bubbles before piping, you can try pressing the ganache through a fine-mesh sieve using a spatula. This helps break up bubbles and ensures a smooth texture. Alternatively, once the ganache is in the piping bag, twist the top tightly and gently squeeze the bag towards the tip a few times; this pressure can sometimes force smaller bubbles out or consolidate them. Rest the filled piping bag on the counter for a few minutes before piping, sometimes bubbles rise to the top.
Essential Piping Tips and Techniques with Chocolate Ganache
Preparing Your Piping Bag and Nozzle
Proper preparation of your piping bag and nozzle is key to a smooth piping experience with chocolate ganache, regardless of your chocolate ganache consistency. First, select the appropriate piping tip (also called a nozzle) for your desired design. Common tips include round tips for dots and lines, star tips for swirls and borders, and specialty tips for leaves or petals.
Place the tip inside the piping bag, pushing it down firmly so the narrow end is at the bottom. If using a coupler (recommended for changing tips easily), place the inner part of the coupler in the bag, push the tip over it from the outside, and screw the outer ring of the coupler on tightly. Then, use scissors to snip off the end of the piping bag, just enough so the tip or coupler slightly pokes through.
Fold down the top edge of the bag to create a cuff; this makes it easier to fill without getting ganache all over the outside. Use a spatula to fill the bag about two-thirds full with your perfectly set ganache.
Mastering Basic Piping Techniques: Lines, Dots, and Swirls
Once your bag is filled with ganache at the right chocolate ganache consistency, you can practice basic techniques. Hold the twisted top of the bag firmly in your dominant hand, using your other hand to guide the bag. Apply even pressure with your dominant hand.
- Dots: Hold the bag perpendicular to the surface. Apply pressure until the dot is the desired size, then stop pressure and lift straight up.
- Lines: Hold the bag slightly above the surface at a consistent angle. Apply steady pressure and move the bag smoothly along your desired path. Maintain consistent speed and pressure for an even line.
- Swirls: For cupcake swirls, hold the bag perpendicular to the center of the cupcake top (using a star tip). Start piping from the center outwards, then pipe a layer on top of the first, moving inwards, and finish by pulling up sharply in the center to create a peak. The key is consistent pressure and smooth movement.
Advanced Piping Techniques: Flowers, Leaves, and Borders
With practice, you can move on to more complex designs using firmer ganache consistencies.
- Flowers (like Rosettes): Using a star tip and medium-firm ganache, start in the center and pipe in a circular motion outwards, or start from the outside and swirl inwards, creating a rose effect.
- Leaves: Use a leaf tip (shaped like a V). Hold the tip with the point facing outwards, apply pressure, and pull the bag slightly towards you while decreasing pressure to form a leaf shape.
- Borders: Use star, shell, or specialty tips to create decorative edges around cakes. Techniques like shell borders involve piping a shape, dragging the tip slightly into the tail of the previous shape, lifting, and repeating. Achieving clean, sharp borders relies heavily on using a ganache with the correct, often firmer, chocolate ganache consistency.
Storing Leftover Ganache for Future Piping Projects
Properly stored ganache can be kept for future use. Place leftover ganache in an airtight container. Press plastic wrap directly onto the surface of the ganache to prevent a skin from forming and absorb any odors. Store in the refrigerator for up to 1-2 weeks.
When you're ready to use it again, the ganache will be quite firm. You'll need to bring it back to a pipeable consistency. The best way is to let it sit at cool room temperature for several hours until it's soft enough to stir. Then, stir it thoroughly with a spatula until smooth and pliable. If it's still too firm, you can gently warm it using a double boiler or microwave in very short bursts, stirring frequently, until the desired chocolate ganache consistency is achieved. Avoid overheating, as this can make it greasy.
Chocolate Ganache Piping: Expert Consistency Tips and Tricks
Using a Double Boiler for Precise Temperature Control
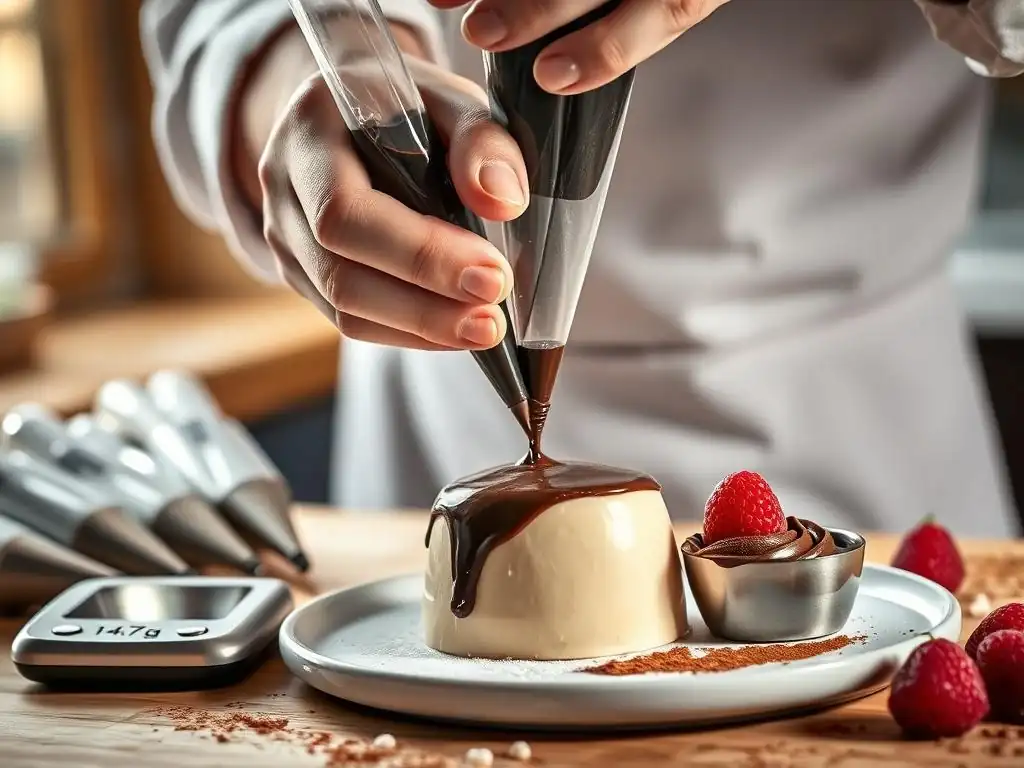
While microwaving can be convenient, using a double boiler (a bowl set over a pot of simmering water) offers much more precise and gentle temperature control, especially when melting chocolate or gently warming ganache to adjust consistency. This method prevents scorching and ensures the chocolate melts smoothly without overheating. When making ganache, melt the chocolate in the bowl over simmering water, then pour the hot cream over the melted chocolate.
When adjusting ganache consistency, place the bowl of firm ganache over warm water and stir gently until pliable. This level of control is invaluable for achieving the perfect chocolate ganache consistency reliably.
Incorporating Flavor Extracts and Additives
Flavor extracts and additives can enhance your ganache but should be added carefully as they can sometimes affect consistency. Liquid extracts (like vanilla, almond, or peppermint) should be stirred in after the ganache has emulsified and cooled slightly but is still warm enough to incorporate evenly. Add them gradually, tasting as you go. Be mindful that adding too much liquid extract can slightly thin the ganache, potentially requiring a bit more setting time.
Solid additives like coffee powder, spices (cinnamon, chili), or citrus zest should also be stirred in after emulsification. Ensure they are finely ground or grated for a smooth texture. When considering chocolate ganache consistency tips alongside flavor, remember that additions might necessitate minor ratio or cooling adjustments.
Achieving Consistent Color in Ganache
The color of your ganache is determined by the type of chocolate used. Dark chocolate produces dark brown ganache, milk chocolate a lighter brown, and white chocolate an off-white or ivory color. To achieve consistent color throughout a batch or across multiple batches, ensure you use the same brand and type of chocolate measured accurately by weight each time.
For pure white ganache, using high-quality white chocolate is essential; some cheaper white chocolates can have a yellowish tint. Avoid adding food coloring to ganache if possible, as it can sometimes affect the texture or cause it to break. If coloring is necessary, use oil-based or powder food coloring specifically designed for chocolate or fat-based products, adding sparingly after emulsification and stirring until the color is uniform.
Adjusting Ganache Consistency Based on Ambient Temperature
Ambient temperature significantly affects how quickly ganache sets and how it behaves when piped. In a warm kitchen (above 75°F or 24°C), ganache will set more slowly and soften faster while piping, potentially losing its shape. In a cool kitchen (below 65°F or 18°C), it will set much faster and can become too firm, making it hard to pipe. Awareness of your environment is a key chocolate ganache consistency tip.
- Warm Environment: You might need to use a slightly higher chocolate-to-cream ratio or chill the ganache for a bit longer (stirring frequently) to achieve the desired piping consistency. Consider keeping the ganache in the fridge between filling piping bags or breaks.
- Cool Environment: The ganache might set faster than expected. You might need to let it sit at room temperature for longer, or gently warm it slightly before piping to make it pliable. If it becomes too stiff while piping, gently warm the bag in your hands or briefly near a warm (not hot) surface.
Conclusion: Mastering the Art of Chocolate Ganache Piping
Recap of Key Consistency Tips
Mastering the art of piping chocolate ganache hinges primarily on achieving the correct consistency. We've explored the critical factors: the chocolate-to-cream ratio, the type and quality of chocolate used, precise heating of the cream, careful emulsification, and proper cooling and setting. Remember that a higher chocolate ratio yields a firmer ganache, essential for detailed piping, while a lower ratio results in a softer ganache suitable for drips and fillings. Choosing quality chocolate impacts both flavor and structure.
Patience during the setting process, whether at room temperature or in the fridge with careful monitoring, is non-negotiable. And finally, knowing how to troubleshoot common issues like ganache being too thin or too thick ensures you can salvage a batch and achieve the perfect texture for your decorative ambitions. These chocolate ganache consistency tips provide a solid foundation for success.
Encouragement for Practice and Experimentation
Like any baking skill, mastering chocolate ganache consistency and piping techniques requires practice. Don't be discouraged if your first attempt isn't perfect. Experiment with different ratios, chocolate types, and setting methods to see how they affect the outcome. Try piping simple shapes on parchment paper – you can even scrape the ganache off and reuse it for practice!
Pay attention to how the ganache feels in the bag and how it behaves as it comes through the tip. With each attempt, you'll gain a better intuition for what constitutes the right chocolate ganache consistency for various applications. Embrace the learning process, have fun experimenting with flavors and designs, and soon you'll be piping beautiful, delicious chocolate ganache decorations with ease and confidence.
Frequently Asked Questions
What is chocolate ganache, and why is consistency so important for piping?
Chocolate ganache is a mixture of chocolate and cream, used for frosting, filling, and glazing. Consistency is crucial for piping because it determines the stability and definition of the piped design.
What factors affect the consistency of chocolate ganache?
The ratio of chocolate to cream is the primary factor. Also, the type of chocolate used (dark, milk, or white) and the ambient temperature can significantly impact the final consistency.
How can I thicken chocolate ganache that is too thin for piping?
Add more melted chocolate in small increments, mixing well after each addition. Alternatively, refrigerate the ganache for a short period, checking its consistency frequently until it reaches the desired thickness.
Add a small amount of warm cream to the ganache, mixing thoroughly until it reaches a smoother, more pliable consistency. Be careful not to add too much, as this can make the ganache too runny.
What are some common mistakes to avoid when making chocolate ganache for piping?
Overheating the cream or chocolate can cause the ganache to seize or become grainy. Also, using low-quality chocolate can affect the texture and flavor of the final product. Always use a thermometer and good quality chocolate.
Final Reflection: Mastering the Art of Chocolate Ganache
The pursuit of the perfect chocolate ganache is more than just a culinary quest; it's a testament to precision, patience, and the transformative power of simple ingredients. Achieving the ideal consistency—whether it's a luscious pouring ganache for a decadent cake or a firm, moldable mixture for truffles—requires understanding the delicate balance between cream and chocolate. This understanding, as detailed throughout this article, is crucial for any baker looking to elevate their desserts.
The journey of mastering ganache consistency is a microcosm of the larger culinary world, where attention to detail and a willingness to experiment are paramount. The subtle shifts in texture, from a thick, pourable liquid to a smooth, spreadable paste, are a constant reminder of the dynamic interplay between heat and fat. This process, for me, is deeply satisfying; it's about embracing the unexpected and learning from each attempt. The most important thing is to try and inspire people to be creative and to not be afraid of making mistakes.
- Julia Child. This quote perfectly encapsulates the spirit of ganache-making and, indeed, of cooking in general.
Now, I invite you to take what you've learned here and apply it to your own culinary creations. Don't be afraid to experiment with different ratios of cream and chocolate, to adjust the heating process, and to trust your senses. The path to the perfect ganache is a journey of discovery, and the reward—that rich, decadent, perfectly textured chocolate—is well worth the effort. Go forth, and create something truly delicious!
Unlock Your Inner Chocolatier: Master Ganache Consistency Today!
Thanks for joining us on this chocolatey adventure! We hope you now feel confident in achieving the perfect ganache consistency for your next baking masterpiece. Ready to put your new skills to the test?
- Whip up your dream ganache: Use the techniques we've outlined to create a ganache that's exactly right for your recipe – whether it's a rich, luscious filling or a stunning, glossy topping. Don't be afraid to experiment!
- Share your ganache creations: Show off your perfectly piped ganache by sharing a picture on social media using #BakeWithEaseGanache – let's inspire each other!
- Explore more chocolate techniques: Dive deeper into our chocolate-making section for more tips and tricks on working with this decadent ingredient.
What delicious creation will your perfectly consistent ganache grace?