
Baking with Alternative Flours: Tips for Texture and Flavor Success

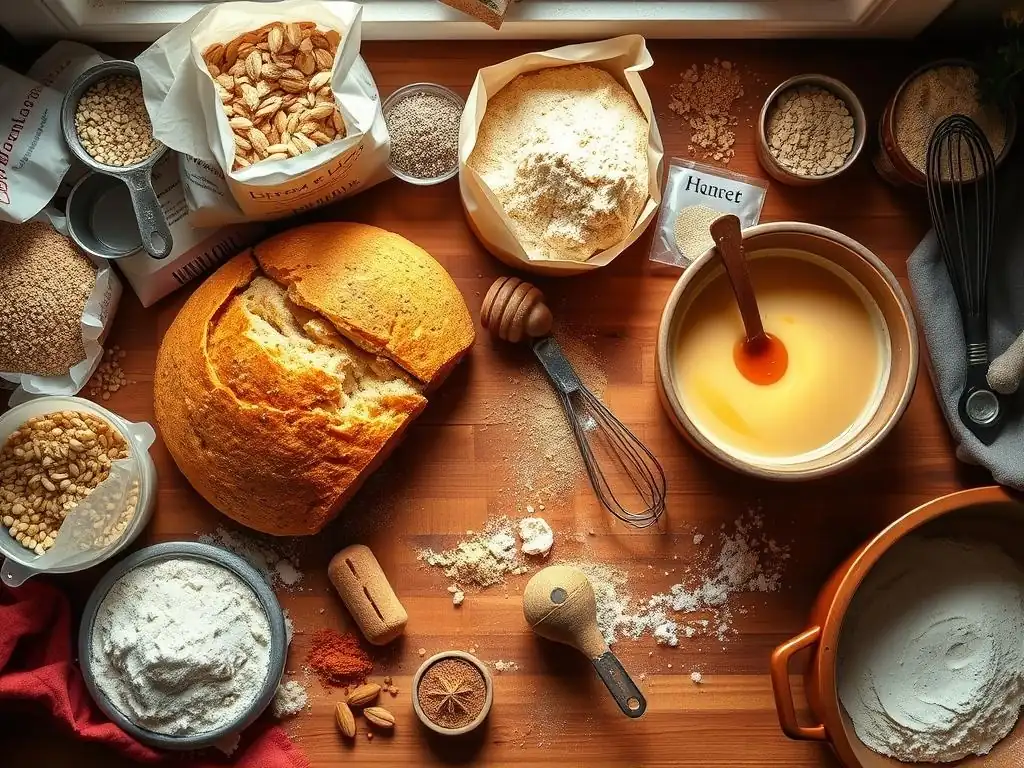
Welcome to BakeWithEase, your haven for unlocking baking brilliance! Ever wondered how to achieve that perfect rise and crumb with gluten-free flour? Dive into our latest article, "Baking with Alternative Flours: Tips for Texture and Flavor Success," where we reveal insider secrets to transforming your gluten-free baking from frustrating to fantastic. Prepare to be amazed by how simple adjustments can unlock a world of delicious, texture-perfect possibilities. Ready to bake with confidence? Let's get started!
- Baking with Alternative Flours: A Guide to Texture and Flavor on BakeWithEase
- Introduction to Baking with Alternative Flours
- Key Considerations for Successful Baking with Alternative Flours
- Baking Tips for Improved Texture
- Enhancing Flavor
- Troubleshooting Common Issues
- Recipe Adaptations
- Advanced Techniques
- Conclusion: Mastering the Art of Baking with Alternative Flours
-
Frequently Asked Questions
- What are some common challenges when baking with gluten-free flour?
- How can I improve the texture of gluten-free baked goods?
- What are some gluten-free flour alternatives that work well in baking?
- How do I adjust baking times when using gluten-free flour?
- What are some tips for enhancing the flavor of gluten-free baked goods?
- Final Reflection: The Flour Power of Possibility
- Unlock Your Gluten-Free Baking Potential!
Baking with Alternative Flours: A Guide to Texture and Flavor on BakeWithEase
Introduction to Baking with Alternative Flours
Why Explore Baking with Alternative Flours?
Exploring baking with alternative flours opens up a world of possibilities, especially for those navigating dietary restrictions or simply seeking new flavors and textures. For individuals with celiac disease or gluten sensitivity, mastering gluten-free flour baking tips is not just a culinary adventure but a necessity for enjoying beloved baked goods. Beyond gluten avoidance, many alternative flours offer unique nutritional profiles, such as higher fiber content, healthy fats, or lower glycemic index compared to traditional wheat flour.
Furthermore, incorporating alternative flours allows bakers to experiment with distinct tastes and aromas. Almond flour lends a rich, slightly sweet, and nutty flavor, while coconut flour offers a subtle tropical hint. Oat flour provides a wholesome, earthy taste, and buckwheat flour adds a robust, slightly bitter note. This variety enables the creation of unique recipes that go beyond standard wheat-based baking, making your treats stand out and catering to a wider audience with diverse preferences and needs.
Understanding the Challenges of Baking with Alternative Flours
Baking with alternative flours presents unique challenges primarily because they lack gluten, the protein network found in wheat that provides structure, elasticity, and chewiness to baked goods. Without gluten, doughs can be difficult to work with, often crumbly or overly wet, and finished products may lack the desired rise and texture, resulting in dense or fragile results. Mastering gluten-free flour baking tips involves understanding how different flours behave and how to compensate for the absence of gluten.
Another significant challenge is the varying absorption rates of alternative flours. Coconut flour, for instance, is notoriously absorbent, requiring significantly more liquid than wheat flour, while almond flour is less absorbent and higher in fat. Incorrect hydration is a common pitfall, leading to dry or gummy textures. Successful gluten-free flour baking requires careful measurement, often by weight rather than volume, and adjustments to liquid ratios, binding agents, and baking times to achieve a desirable outcome.
Key Considerations for Successful Baking with Alternative Flours
Understanding Different Alternative Flour Types and Their Properties
Mastering gluten-free flour baking tips begins with understanding the fundamental properties of the flours you're working with. Each alternative flour behaves differently in recipes due to variations in protein, fat, carbohydrate, and fiber content, as well as particle size and absorption rate. Knowing these characteristics helps predict how they will perform and how to best use them or combine them in blends for optimal results.
For example, some flours like almond and coconut are high in fat and fiber but low in carbohydrates, making them suitable for low-carb baking. Others, like rice or tapioca flour, are primarily starches and provide structure but lack protein and fiber. Combining different flours often yields the best results, mimicking some of the properties of wheat flour by balancing structure, tenderness, and binding capabilities. This foundational knowledge is crucial for successful gluten-free flour baking.
Almond Flour: Characteristics and Best Uses
Almond flour is made from ground blanched almonds, giving it a fine texture and a slightly sweet, nutty flavor. It is high in fat (around 50-60% by weight) and protein (about 20-25%), but relatively low in carbohydrates compared to wheat flour. Due to its fat content, it creates tender, moist baked goods and browns nicely. However, it lacks binding properties because it contains no gluten and very little starch.
Almond flour is excellent for cookies, muffins, cakes, and quick breads where a tender crumb is desired. It's also frequently used for pie crusts and as a coating for fried foods. Because it doesn't absorb as much liquid as many other gluten-free flours, recipes often require fewer wet ingredients than those using wheat flour. It's generally recommended to store almond flour in the refrigerator or freezer to prevent spoilage due to its high fat content.
Coconut Flour: Characteristics and Best Uses
Coconut flour is derived from dried, defatted coconut meat and is exceptionally high in fiber (around 40-50%) and protein (about 18-20%) while being relatively low in carbohydrates and fat. Its most notable characteristic is its extreme absorbency; it can soak up liquids like a sponge, often requiring 3-4 times the amount of liquid compared to wheat flour. This absorbency means a little goes a long way, and using too much will result in dry, dense baked goods.
Coconut flour imparts a subtle coconut flavor and aroma. It is often used in small quantities in combination with other flours or requires a high ratio of eggs to provide structure and moisture. It works well in recipes like pancakes, muffins, and dense loaves. Due to its high fiber content, it can create a slightly gritty texture if not properly hydrated. Successful gluten-free flour baking with coconut flour relies heavily on precise measurement and adequate liquid.
Oat Flour: Characteristics and Best Uses
Oat flour is simply ground oats. It's a whole grain flour, high in soluble fiber (specifically beta-glucan), protein (around 13-15%), and offers a slightly sweet, nutty, and earthy flavor. While oats themselves are gluten-free, cross-contamination can occur during processing, so it's essential to use certified gluten-free oat flour for strict gluten-free baking. Oat flour absorbs a moderate amount of liquid, less than coconut flour but often more than wheat flour.
Oat flour contributes to a moist crumb and works well in recipes like muffins, cookies, pancakes, and some quick breads. It can also be used to thicken sauces or as a binder in savory dishes. Because it doesn't contain gluten, baked goods made solely with oat flour can sometimes be crumbly or spread excessively. Combining it with other flours or using binding agents can improve structure.
Buckwheat Flour: Characteristics and Best Uses
Despite its name, buckwheat is not related to wheat; it's a pseudocereal that is naturally gluten-free. Buckwheat flour has a strong, earthy, and slightly bitter flavor and a dark color. It's high in fiber and protein (about 11-13%) and contains complex carbohydrates. It absorbs a moderate amount of liquid and can create a somewhat dense texture if used alone in large quantities.
Buckwheat flour is traditionally used for pancakes (like French galettes), noodles, and some rustic breads. Its distinct flavor pairs well with strong ingredients like molasses, chocolate, or spices. In gluten-free flour baking, it's often used in blends with lighter flours to add nutritional value and a unique flavor profile without overpowering the dish. Using a mix can help manage its strong taste and potential for density.
Tapioca Starch/Flour: Characteristics and Best Uses
Tapioca starch, often labeled as tapioca flour, is a starchy white powder extracted from the cassava root. It is primarily composed of carbohydrates (nearly 90%) and is very low in protein and fat. Its main function in gluten-free baking is as a thickener and binder. When heated, it becomes gummy and provides chewiness and structure, helping to bind other ingredients together.
Tapioca starch is frequently used in gluten-free flour blends to improve texture, add chewiness (like in pizza crusts or bagels), and help ingredients hold together. It can also be used to thicken pie fillings, sauces, and puddings. Using too much can result in a gummy or slimy texture. It's best used in combination with other flours rather than as the sole flour in a recipe for successful gluten-free flour baking.
Potato Starch: Characteristics and Best Uses
Potato starch is another pure starch extracted from potatoes, similar in function to tapioca starch. It's also very high in carbohydrates and low in protein and fat. Potato starch provides lightness and tenderness to baked goods and helps create a crispy exterior. It absorbs liquid and forms a gel-like structure when heated, contributing to binding.
Potato starch is commonly used in gluten-free flour blends to provide a light, fluffy texture to cakes, muffins, and pastries. It helps prevent baked goods from becoming too dense or heavy. Like tapioca starch, using too much potato starch can lead to a gummy texture. It works best when combined with other gluten-free flours that provide more structure and flavor, playing a key role in balancing textures in gluten-free flour baking.
Gluten-Free Flour Blends: Convenience and Customization
Pre-made gluten-free flour blends are a convenient option, especially for beginners, as they are formulated to mimic the baking properties of wheat flour by combining various flours and starches (like rice flour, sorghum flour, potato starch, tapioca starch, etc.) and sometimes a binder like xanthan gum. Different brands have different ratios, which can affect the outcome of your baking.
Customizing your own blend allows you to tailor the flour mix to specific recipes or dietary needs, offering more control over flavor, texture, and nutrition. A common starting point for a versatile all-purpose blend might be a mix of wholegrain flour (like brown rice or sorghum), a starchy flour (like white rice or millet), and a starch (like tapioca or potato starch), perhaps in a ratio like 40% wholegrain, 30% starchy, 30% starch. Experimentation is key to finding the perfect blend for your gluten-free flour baking needs.
Baking Tips for Improved Texture
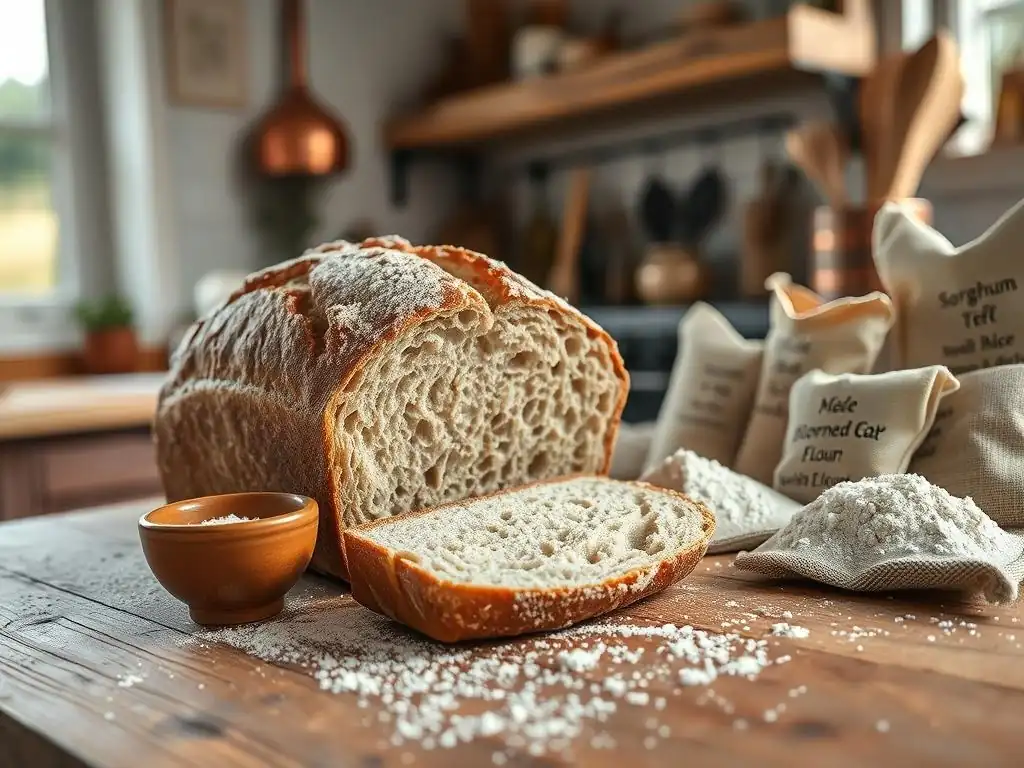
Achieving the right texture is often the biggest challenge in gluten-free flour baking. Without the gluten network, baked goods can easily become dense, crumbly, or gummy. Implementing specific techniques and adding appropriate ingredients can significantly improve the outcome, resulting in light, airy, and well-structured treats.
These gluten-free flour baking tips focus on replacing the functions of gluten, ensuring proper hydration, and handling batters and doughs correctly. Understanding how to use binding agents, adjust liquid levels, and modify mixing methods are fundamental skills for successful gluten-free baking.
Hydration: The Key to Moist Baked Goods
Proper hydration is critical when working with alternative flours, as their absorption rates vary wildly. Using the correct amount of liquid prevents dryness and ensures ingredients bind together effectively. Coconut flour, as mentioned, requires a large amount of liquid, often necessitating extra eggs or oil for moisture and structure, perhaps needing up to 1 cup of liquid per 1/4 cup of flour in some recipes. In contrast, almond flour is higher in fat and needs less liquid, often requiring adjustments downwards compared to wheat flour recipes.
It's often helpful to let gluten-free batters and doughs rest for 10-15 minutes before baking. This allows the flours and starches ample time to absorb the liquid fully, preventing a gritty texture and ensuring a more uniform consistency. This resting period is a simple yet effective gluten-free flour baking tip that significantly impacts the final texture and moisture of your baked goods.
Binding Agents: Replacing Traditional Structure
Since alternative flours lack gluten, binding agents are essential to hold ingredients together, provide structure, and prevent crumbling. These ingredients mimic some of the properties of gluten, creating a network that traps air and helps the baked good rise and maintain its shape. Choosing the right binder depends on the recipe and the desired outcome.
Common binding agents include xanthan gum, psyllium husk, chia seeds, and flaxseed meal. The amount needed is usually small but crucial. Too little and the baked good will fall apart; too much and it can become gummy or dense. Precision in measuring these potent ingredients is vital for successful gluten-free flour baking.
Using Xanthan Gum
Xanthan gum is a polysaccharide produced by fermentation, widely used in gluten-free baking as a stabilizer and thickener. It provides elasticity and viscosity to doughs and batters, helping to mimic the role of gluten. A little goes a long way; typically, 1/4 teaspoon per cup of gluten-free flour blend is used for cakes and muffins, while 1/2 to 1 teaspoon per cup is needed for breads and pizza doughs that require more structure.
Xanthan gum should generally be whisked into the dry ingredients before adding wet ingredients to ensure even distribution. Overuse can lead to a gummy or slimy texture, so it's important to measure accurately. It's a powerful tool in your gluten-free flour baking arsenal for improving structure and preventing crumbling.
Using Psyllium Husk
Psyllium husk, derived from the seeds of the Plantago ovata plant, is a soluble fiber that forms a gel when mixed with liquid. This gel provides excellent binding and structure, particularly in yeast-leavened breads, helping them achieve a better rise and crumb structure often lacking in gluten-free loaves. It also adds valuable fiber to your baked goods.
Whole psyllium husk and psyllium husk powder are available, with the powder being more potent. A common ratio is about 1-2 tablespoons of whole psyllium husk (or 1-1.5 tablespoons of powder) per cup of gluten-free flour blend for bread recipes. Like xanthan gum, mixing it thoroughly with dry ingredients or creating a gel with water beforehand can improve results. Psyllium husk can give baked goods a slightly darker color and earthy flavor.
Using Chia Seeds or Flaxseed Meal
Ground chia seeds or flaxseed meal (ground flaxseeds) are natural alternatives to commercial gums. When mixed with liquid (usually water or plant-based milk) and allowed to sit for 5-10 minutes, they form a gel that can replace eggs or act as a binder. A common substitution is 1 tablespoon of chia seeds or flaxseed meal mixed with 3 tablespoons of liquid to replace one egg.
These binders work well in muffins, cookies, and quick breads, adding fiber and omega-3 fatty acids. While they provide binding, they don't offer the same elasticity as gluten or xanthan gum, so they are less effective in recipes requiring significant rise, like yeast breads. They also impart their own flavor and can leave visible specks in the finished product.
Mixing Techniques for Doughs and Batters
Mixing techniques differ significantly when working with alternative flours compared to wheat flour. Since there's no gluten to develop, vigorous kneading, typical for wheat bread doughs, is unnecessary and can actually harm the texture by making it dense. For most gluten-free batters (cakes, muffins), gentle mixing until just combined is sufficient to prevent toughness.
For yeast-leavened gluten-free bread doughs, the consistency is often more like a thick batter than a traditional elastic dough. Instead of kneading, a stand mixer with a paddle attachment or a sturdy spoon can be used to beat the dough for a few minutes. This helps distribute the binding agents and incorporates air. Over-mixing can still be detrimental, potentially breaking down the structure provided by binders.
Adjusting Baking Times and Temperatures
Alternative flours can affect baking times and temperatures. Baked goods made with high-fat flours like almond flour may brown faster on the outside before the inside is fully cooked. Conversely, items made with highly absorbent flours might take longer to bake through. It's crucial to monitor your baked goods closely, especially when adapting a wheat-based recipe using gluten-free flour baking tips.
Lowering the oven temperature slightly (by 15-25°F or 10-15°C) and increasing the baking time can help ensure even cooking and prevent the exterior from burning before the interior is done. Tent the baked goods loosely with foil if the tops are browning too quickly. Use visual cues (like golden brown color, pulling away from the sides of the pan) and the toothpick test to check for doneness, as relying solely on the clock can be misleading.
Enhancing Flavor
While texture is paramount, flavor is what makes a baked good truly enjoyable. Alternative flours have their own distinct flavors, which can be leveraged or complemented. Successfully enhancing flavor in gluten-free flour baking involves balancing the natural taste of the flours with other ingredients like extracts, spices, fruits, and sweeteners.
The goal is to create a harmonious flavor profile where the unique notes of the alternative flours contribute positively to the overall taste, rather than tasting simply "gluten-free." This requires thoughtful ingredient selection and creative combinations, another key aspect of effective gluten-free flour baking tips.
Balancing Flavors
The natural flavors of alternative flours, such as the nuttiness of almond flour or the slight sweetness of coconut flour, can be prominent. Balancing these flavors involves pairing them with complementary ingredients. For example, almond flour pairs beautifully with vanilla, chocolate, and berries. Coconut flour works well with tropical flavors like lime or pineapple, and also with chocolate.
Using ingredients like a pinch of salt, a touch of acidity (lemon juice or vinegar), or a bit of bitterness (cocoa powder or coffee) can help round out the flavors and prevent the baked goods from tasting flat or overwhelmingly of the alternative flour. This careful balancing act is crucial for creating delicious gluten-free treats.
Adding Extracts and Spices
Extracts and spices are powerful tools for adding depth and complexity to gluten-free baked goods. Vanilla extract is a universal enhancer, complementing almost any flavor profile. Almond extract can intensify the nutty flavor when using almond flour, while coconut extract can boost the tropical notes of coconut flour. Citrus zests or extracts add brightness.
Spices like cinnamon, nutmeg, ginger, cardamom, and cloves can transform simple recipes. For instance, adding cinnamon and nutmeg to an oat flour muffin recipe enhances its wholesome flavor. Cocoa powder or chocolate chips can mask or complement the flavors of various alternative flours, making them less noticeable if desired. Be generous with flavorings, as alternative flours can sometimes mute other tastes.
Incorporating Fruits, Nuts, and Seeds
Adding fruits, nuts, and seeds not only contributes flavor and texture but also helps improve moisture and structure in gluten-free baked goods. Fresh or dried fruits add sweetness and moisture; berries, apples, bananas, and dates are popular choices. The moisture from fruits can help prevent dryness, a common issue in gluten-free flour baking.
Nuts and seeds provide crunch, healthy fats, and nutty flavors that often complement alternative flours well. Chopped walnuts, pecans, almonds, pumpkin seeds, or sunflower seeds can be folded into batters or sprinkled on top. They also add structure and prevent crumbling, particularly in recipes like muffins or quick breads.
Sweeteners: Choosing the Right Sweetener
The type and amount of sweetener used can impact both the flavor and texture of gluten-free baked goods. Some alternative flours, like almond and coconut flour, are naturally slightly sweet, which might allow you to reduce the overall amount of sweetener. Different sweeteners also interact differently with alternative flours.
Granulated sugars (like cane sugar or coconut sugar) provide sweetness and contribute to browning and spread. Liquid sweeteners (like maple syrup, honey, or agave) add moisture but can make baked goods denser if used in large quantities. Using a blend of sweeteners can sometimes yield the best results, balancing sweetness, moisture, and texture. Consider the glycemic index if that's a factor for your dietary needs.
Troubleshooting Common Issues

Even with the best gluten-free flour baking tips, you might encounter challenges. Understanding the common issues and their causes is key to successfully adapting and perfecting your recipes. Don't be discouraged by initial failures; they are part of the learning process in gluten-free baking.
Here are some frequent problems and practical solutions to help you refine your techniques and improve your results. Tackling these issues head-on will build your confidence in gluten-free flour baking.
Dense or Gummy Textures: Causes and Solutions
Dense or gummy textures are common frustrations in gluten-free flour baking. This can happen for several reasons:
- Too much starch: Using an overly high ratio of starches (like tapioca or potato starch) in your flour blend can lead to a gummy result.
- Insufficient leavening: Not enough baking powder, baking soda, or yeast can result in a heavy, dense crumb.
- Incorrect hydration: Too little liquid can make the batter/dough too stiff and dense; too much can lead to gumminess, especially with starches.
- Over-mixing: While gluten-free doughs don't develop gluten, over-mixing can still compact the batter and prevent a light texture.
- Underbaking: Not baking long enough means the structure hasn't fully set, leading to a dense or wet interior.
To remedy this:
- Adjust your flour blend to include more whole-grain flours and less pure starch.
- Ensure your leavening agents are fresh and used in appropriate amounts for the recipe's size and type.
- Carefully measure liquids, perhaps adding slightly less initially and adding more only if the batter is too thick.
- Mix batters and doughs only until the ingredients are just combined.
- Bake for the full recommended time, checking for doneness with a toothpick. Consider baking at a slightly lower temperature for longer.
Crumbly Baked Goods: Causes and Solutions
Crumbly textures are another frequent problem, indicating a lack of binding. Potential causes include:
- Insufficient binding agent: Not using enough xanthan gum, psyllium husk, eggs, or other binders.
- Too much high-fat flour: Using too much almond flour or other high-fat, low-binding flours without adequate support from binders or other flours.
- Incorrect hydration: Too little liquid means the dry ingredients aren't properly hydrated and bound together.
- Overbaking: Baking for too long or at too high a temperature can dry out the baked goods, making them brittle and crumbly.
To remedy this:
- Increase the amount of binding agent slightly, following recommended ratios for your specific recipe type (e.g., bread vs. cake).
- Adjust your flour blend to include more naturally binding flours (like oat flour) or use a blend specifically designed to be less crumbly.
- Ensure you are using enough liquid; the batter or dough should feel moist but not overly wet.
- Monitor baking time closely and remove from the oven as soon as they are done.
When cakes sink in the middle or cookies spread too much and end up flat, it's often related to structural issues or leavening problems. Causes might be:
- Too much leavening: Excessive baking powder or soda can cause a rapid rise followed by a collapse.
- Insufficient structure: Not enough binding agent or using a flour blend that lacks structural integrity.
- Oven temperature issues: An oven that's too cool won't set the structure quickly enough; opening the oven door too early can cause a temperature drop and collapse.
- High altitude: Baking at high altitudes often requires adjustments to leavening, liquid, and temperature.
- Over-creaming fat and sugar: Incorporating too much air initially can lead to collapse if the structure isn't strong enough to support it.
To remedy this:
- Measure leavening agents precisely using level measurements.
- Ensure you are using the recommended amount of binding agent for the recipe type.
- Verify your oven temperature with an oven thermometer. Avoid opening the oven door until the minimum baking time has passed.
- Research specific high-altitude gluten-free flour baking tips if you live at elevation.
- Cream fat and sugar until just combined and light, but avoid excessive whipping.
Recipe Adaptations
Adapting traditional wheat-based recipes to be gluten-free requires more than just a one-to-one flour substitution. Understanding how to adjust ingredients and techniques is a crucial gluten-free flour baking tip. Success lies in recognizing the function of each ingredient and finding suitable gluten-free alternatives.
This section provides guidance on how to approach adapting recipes, focusing specifically on calculating flour substitutions and understanding the impact on other ingredients.
Calculating Flour Substitutions
Substituting alternative flours for wheat flour is rarely a simple cup-for-cup swap. Different flours have different weights per volume, absorption rates, and structural properties. A cup of almond flour, for example, weighs significantly less than a cup of all-purpose wheat flour (around 90-100g vs. 120-130g) and absorbs much less liquid. A cup of coconut flour weighs even less (around 60-80g) but absorbs vastly more liquid.
When adapting recipes, it's often best to use a reputable gluten-free flour blend specifically designed for that type of baking (e.g., a blend for cakes vs. a blend for bread) or follow recipes already developed for alternative flours. If substituting individual flours, start by substituting by weight rather than volume, and be prepared to adjust the liquid content significantly based on the flour's absorbency. As a rough guideline, you might use about 75-80% the weight of wheat flour when substituting with a general gluten-free blend, but this varies greatly. Always add liquid gradually and observe the batter consistency.
Advanced Techniques
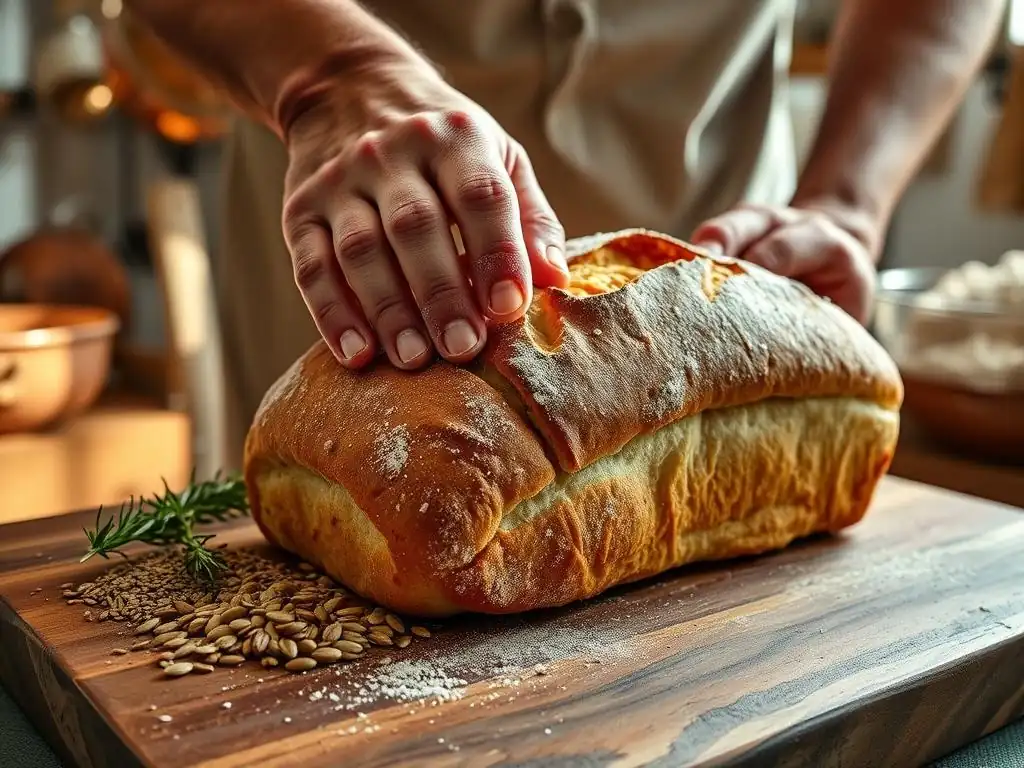
For those looking to deepen their gluten-free flour baking skills, exploring advanced techniques can open up new possibilities. While complex methods might seem daunting, mastering them allows for even greater control over texture, flavor, and rise, particularly in challenging areas like yeast baking.
One such technique involves working with sourdough starters using alternative flours, a rewarding process for experienced gluten-free bakers.
Working with Sourdough Starters Using Alternative Flours
Creating and maintaining a gluten-free sourdough starter involves using a blend of gluten-free flours (often brown rice, sorghum, or millet flour) and water. The process is similar to a wheat starter, relying on wild yeasts and bacteria present in the environment and flours to ferment. However, gluten-free starters tend to be less robust and may require more careful feeding and warmer temperatures to become active.
Baking with a gluten-free sourdough starter requires specific recipes designed to work with the unique properties of gluten-free flours and the starter's leavening power. You'll still likely need binding agents like psyllium husk to provide structure, as the starter itself doesn't create a gluten network. The fermentation process imparts a characteristic tangy flavor and can improve the texture and digestibility of the final loaf, making it a worthwhile pursuit for advanced gluten-free flour baking enthusiasts.
Conclusion: Mastering the Art of Baking with Alternative Flours
Embarking on the journey of baking with alternative flours can be incredibly rewarding. It allows you to create delicious treats that cater to specific dietary needs, explore new culinary horizons, and enjoy a wider variety of flavors and textures. While it presents unique challenges compared to traditional wheat baking, understanding the properties of different flours, implementing smart gluten-free flour baking tips, and being willing to experiment are key to success.
From managing hydration and using effective binding agents to enhancing flavors and troubleshooting common issues, each step refines your skills. With practice and patience, you can confidently adapt recipes, create your own blends, and consistently produce beautifully textured and flavorful baked goods using alternative flours. Embrace the learning process, celebrate your successes, and keep exploring the exciting world of gluten-free flour baking on BakeWithEase!
Frequently Asked Questions
What are some common challenges when baking with gluten-free flour?
Gluten-free flours often lack the binding properties of gluten, resulting in crumbly textures. Moisture balance is also critical, as they tend to absorb more liquid. The flavor profile can also differ significantly, affecting the overall taste.
How can I improve the texture of gluten-free baked goods?
Using a blend of gluten-free flours is crucial for achieving a better texture. Adding binding agents like xanthan gum or psyllium husk helps mimic gluten. Also, proper hydration is key.
What are some gluten-free flour alternatives that work well in baking?
Almond flour and rice flour are common choices, providing different textures. Coconut flour adds sweetness but requires more liquid. Oat flour is a good option for a slightly nutty flavor, if certified gluten-free.
How do I adjust baking times when using gluten-free flour?
Gluten-free baked goods often cook faster because they brown more quickly. Keep a close eye on them and use a toothpick test to check for doneness. You may need to reduce the oven temperature slightly.
What are some tips for enhancing the flavor of gluten-free baked goods?
Experiment with flavor enhancers like vanilla extract, spices (cinnamon, nutmeg), or citrus zest. Using high-quality ingredients is even more important. Also, consider adding nut flours for a richer taste.
Final Reflection: The Flour Power of Possibility
The rise of gluten-free baking isn't just a trend; it's a testament to the growing need for inclusive and adaptable culinary practices. More and more people are seeking delicious and satisfying alternatives to traditional wheat flour, and understanding the nuances of alternative flours is key to unlocking a world of baking possibilities. This shift reflects a broader societal awareness of dietary needs and a desire for greater control over what we consume.
Exploring the diverse world of alternative flours—from almond and coconut to rice and tapioca—has been a deeply rewarding journey. It's highlighted the creativity and resourcefulness of bakers worldwide, constantly innovating and adapting to create delicious and healthy alternatives. The best things in life are unexpected,
a sentiment perfectly encapsulating the delightful surprises found in experimenting with different gluten-free flours. Each flour brings its unique character, demanding a nuanced approach to achieve optimal results, and the learning process is both challenging and immensely satisfying.
Consider the impact of this knowledge on your own baking journey. Don't be afraid to experiment! Embrace the challenges, celebrate the successes, and most importantly, savor the delicious results. The next time you reach for a bag of flour, remember the potential held within each grain, the stories they tell, and the possibilities they unlock. The world of gluten-free baking is vast and waiting to be explored – your culinary adventure begins now.
Unlock Your Gluten-Free Baking Potential!
Thanks for exploring the world of alternative flours with us! We hope you’ve gained valuable insights into achieving delicious and textured baked goods without gluten. Now it's time to put your newfound knowledge into practice.
- Experiment with a new flour blend this week: Try substituting one of the flours discussed in a favorite recipe. Document your results – you might discover your new go-to blend!
- Share your baking triumphs (and challenges!) on social media: Use #BakeWithEase and tag us – we love seeing your creations!
- Join our online baking community: Connect with other bakers to share tips, recipes, and support each other on your flour-power journey.
What unique flavor combination will you create with your new flour knowledge?