
Simple GlutenFree Challah Bread Recipe

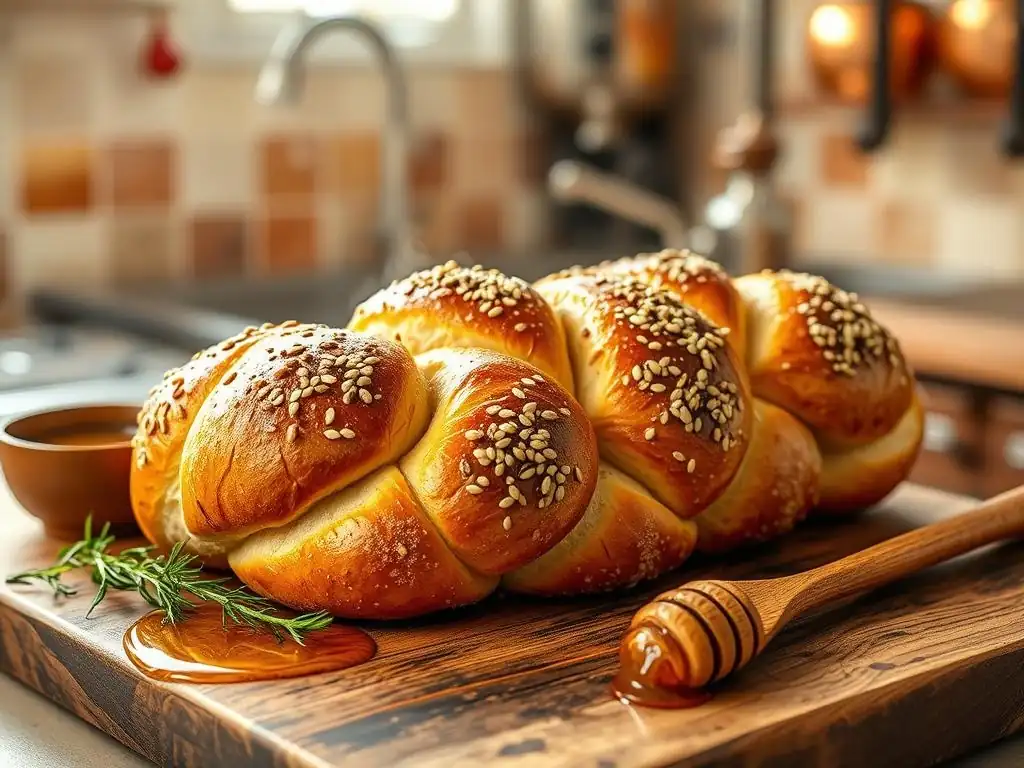
Welcome to BakeWithEase, your partner in creating delicious moments! Ever dreamt of perfectly braided, golden-brown challah, but thought gluten-free was too challenging? Think again! Our latest article unveils a simple GlutenFree Challah Bread Recipe that will transform your baking game. Discover the secrets to a soft, flavorful loaf, and prepare to impress with this surprisingly easy twist on a classic. Intrigued? Let's get baking!
- Gluten-Free Challah Bread Recipe
- Introduction: Enjoying Gluten-Free Challah Bread
- Gathering Your Gluten-Free Challah Ingredients
-
Step-by-Step Guide to Baking Gluten-Free Challah
- Step 1: Activating the Yeast - The Foundation of Your Challah
- Step 2: Combining Dry Ingredients for Optimal Texture
- Step 3: Adding Wet Ingredients and Mixing the Dough
- Step 4: First Rise: The Importance of Gluten-Free Dough Resting Time
- Step 5: Braiding Your Gluten-Free Challah - Visual Guide
- Step 6: Second Rise: Proofing the Braided Challah for a Light and Airy Result
- Step 7: Baking to Golden Perfection: Temperature and Time
- Tips for Perfect Gluten-Free Challah Bread
- Serving and Storing Your Gluten-Free Challah
- Variations and Adaptations for Your Gluten-Free Challah
- Further Gluten-Free Baking
- Conclusion: Savoring the Taste of Homemade Gluten-Free Challah
-
Frequently Asked Questions
- How difficult is this Gluten-Free Challah Bread Recipe for a beginner baker?
- What are the key ingredients that make this challah bread gluten-free?
- Can I substitute any of the gluten-free flours listed in the recipe?
- How does gluten-free challah differ from traditional challah bread?
- What tips can ensure a successful rise for my gluten-free challah dough?
- Final Reflection: The Enduring Comfort of Gluten-Free Challah
- Unleash Your Inner Baker: Bake This Challah Today!
Gluten-Free Challah Bread Recipe
Introduction: Enjoying Gluten-Free Challah Bread
Why Gluten-Free Challah? A Delicious Option for Dietary Needs
Challah, with its beautiful braided structure and slightly sweet, enriched crumb, is a beloved bread often associated with celebrations and special meals. Traditionally made with wheat flour, it presents a challenge for those following a gluten-free diet. However, adapting this classic into a delicious gluten-free challah bread recipe is entirely possible, opening up opportunities for everyone to enjoy this wonderful bread, regardless of dietary restrictions. A well-executed gluten-free challah can possess a tender interior and a lovely golden crust, capturing much of the essence of its conventional counterpart.
For individuals with celiac disease or gluten sensitivity, finding high-quality, satisfying gluten-free bread can sometimes be difficult. Many commercially available gluten-free options can be dense or lack the desired texture. Baking your own gluten-free challah bread recipe allows you to control the ingredients, ensuring freshness and achieving a superior texture and flavor that store-bought versions often cannot match. It provides a comforting, homemade option that can be enjoyed fresh from the oven.
Recipe Overview
This gluten-free challah bread recipe provides a step-by-step guide to creating a beautiful and delicious loaf. We'll cover everything from selecting the right gluten-free flour blend to mastering the braiding technique and achieving the perfect bake. The process involves activating yeast, mixing the dough, allowing for crucial rise times, and finally baking the bread to a beautiful golden brown.
While the process shares similarities with traditional challah baking, there are key differences when working with gluten-free flours, particularly concerning dough consistency and handling. This recipe is designed to navigate these unique aspects, ensuring success for bakers of all levels. By following these instructions, you can create a wonderful gluten-free challah bread that is perfect for holidays, special occasions, or simply enjoying with your favorite meal.
Gathering Your Gluten-Free Challah Ingredients
Essential Gluten-Free Flour Blend for Challah
The foundation of any good gluten-free challah bread recipe is the flour blend. Unlike wheat flour, which contains gluten protein to provide structure and elasticity, gluten-free blends rely on a combination of different flours and starches to mimic these properties. A high-quality all-purpose gluten-free flour blend that is specifically designed for baking is crucial for achieving a good texture in your challah. Using a blend that already contains a binder like xanthan gum is highly recommended, as it helps hold the dough together and prevents it from crumbling.
Choosing the right blend significantly impacts the final result. Some blends might be too starchy, leading to a gummy texture, while others might absorb too much liquid, resulting in a dry loaf. Look for blends that list ingredients like rice flour (white and brown), sorghum flour, tapioca starch, and potato starch in their composition. The balance of protein from flours like sorghum or brown rice and starches provides structure and tenderness.
Recommended Gluten-Free Flour Blend: King Arthur Measure for Measure
For this gluten-free challah bread recipe, a reliable, commercially available all-purpose gluten-free flour blend is highly recommended. A popular and often successful choice is King Arthur Baking Company's Gluten-Free Measure for Measure Flour. This blend is specifically formulated to substitute traditional wheat flour cup-for-cup in most recipes, simplifying the adaptation process. It contains a balanced mix of rice flour, sorghum flour, tapioca starch, and potato starch, along with cellulose gum and xanthan gum as binders.
Using a blend like King Arthur Measure for Measure typically yields consistent results, producing a challah with a good rise and a relatively tender crumb. While other blends can work, their performance can vary, sometimes requiring adjustments to the liquid content. Starting with a well-regarded, reliable blend like this one minimizes variables and increases the likelihood of success when baking your gluten-free challah bread.
Other Necessary Ingredients: Yeast, Sweetener, and Binding Agents
Beyond the flour blend, several other key ingredients are essential for a successful gluten-free challah bread recipe. Yeast is the leavening agent responsible for the bread's rise; either active dry yeast or instant yeast can be used, though instant yeast is often preferred for its convenience as it can be mixed directly with dry ingredients. Sweetener is traditionally used in challah to give it a slightly sweet flavor and contribute to browning; options include sugar, honey, or maple syrup.
Binding agents are particularly important in gluten-free baking to provide structure in the absence of gluten. While many flour blends include binders like xanthan gum or guar gum, sometimes an additional binder or ingredient like psyllium husk powder or an egg is incorporated to improve dough elasticity and prevent crumbling. Eggs also add richness and help create a tender crumb and golden crust, which are desirable characteristics for this gluten-free challah bread.
Step-by-Step Guide to Baking Gluten-Free Challah
Step 1: Activating the Yeast - The Foundation of Your Challah
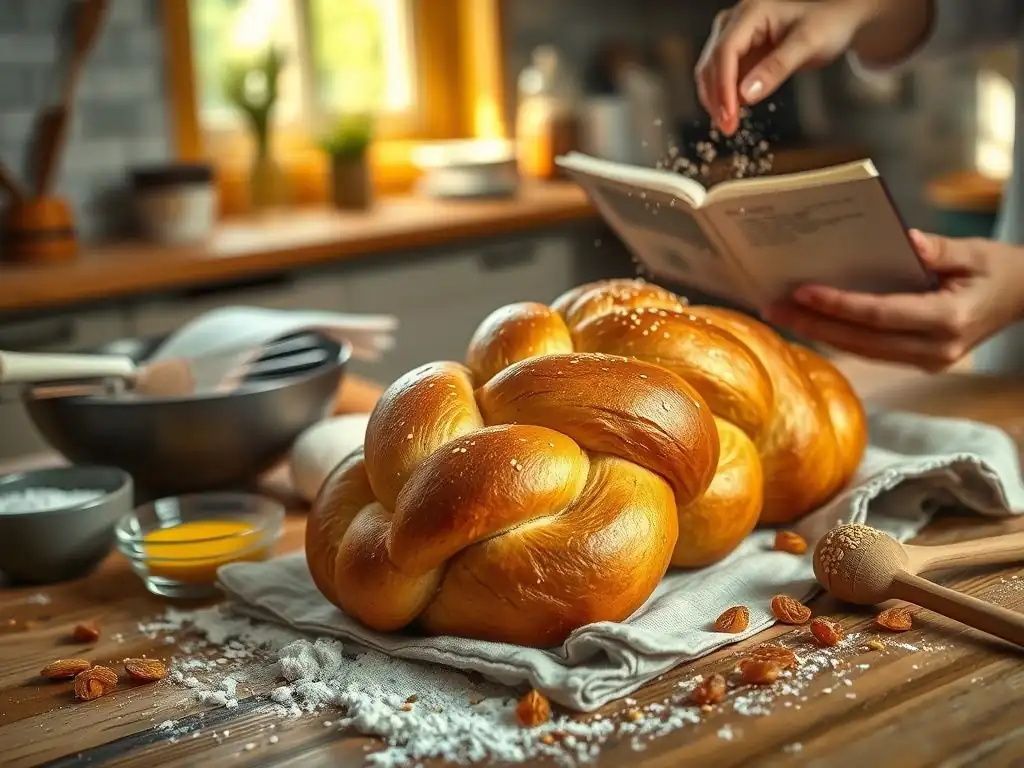
The first critical step in this gluten-free challah bread recipe is activating the yeast. This ensures your yeast is alive and active, ready to produce the carbon dioxide needed to make your bread rise. If using active dry yeast, you'll typically need to dissolve it in a small amount of warm liquid (usually water or milk, specified in the recipe) and a pinch of sweetener. The ideal temperature for the liquid is typically between 105°F and 115°F (40°C-46°C). Water that is too cool won't activate the yeast, while water that is too hot can kill it.
After combining the yeast, liquid, and sweetener, let the mixture stand for about 5-10 minutes. You should see foam or bubbles forming on the surface, indicating that the yeast is active and healthy. If no foam appears, your yeast may be old or the liquid temperature was incorrect, and you should discard the mixture and start again with fresh yeast. If using instant yeast, this separate activation step is often not strictly necessary as it can be mixed directly with the dry ingredients, but blooming it first can still be a good way to verify its viability.
Step 2: Combining Dry Ingredients for Optimal Texture
Once your yeast is confirmed active (or you're ready to combine instant yeast), the next step in baking this gluten-free challah bread is to combine the dry ingredients. In a large mixing bowl, whisk together the gluten-free flour blend, any additional binders (like psyllium husk powder if using), sugar or other dry sweetener, and salt. Salt is crucial as it not only enhances flavor but also helps control the yeast's activity, preventing the dough from rising too quickly.
Thoroughly whisking the dry ingredients ensures that the salt, sweetener, and binders are evenly distributed throughout the flour blend. This helps create a uniform dough consistency later on and ensures that the leavening power of the yeast is applied consistently throughout the loaf. If your recipe calls for additional dry ingredients like spices or seeds, incorporate them at this stage.
Step 3: Adding Wet Ingredients and Mixing the Dough
With the dry ingredients combined, it's time to add the wet components to your gluten-free challah bread mixture. This typically includes the activated yeast mixture (if using active dry), eggs, oil (such as vegetable oil or olive oil), and any remaining liquid (like water or milk). Pour the wet ingredients into the bowl with the dry ingredients.
Begin mixing, either by hand with a sturdy spoon or spatula, or using a stand mixer with a paddle attachment. Gluten-free dough tends to be quite different from wheat dough – it will likely be stickier and less cohesive. Mix until all the ingredients are well combined and a wet, somewhat sticky dough forms. Unlike wheat dough, there's no need for extensive kneading to develop gluten; the goal is simply to ensure everything is uniformly mixed.
Step 4: First Rise: The Importance of Gluten-Free Dough Resting Time
Allowing the dough to rest and rise is a vital step in any bread recipe, including this gluten-free challah bread. Cover the bowl loosely with plastic wrap or a damp kitchen towel and place it in a warm, draft-free spot. The ideal temperature for rising is typically around 75°F to 85°F (24°C-29°C). Since gluten-free dough lacks the strong elastic network of gluten, it may not double in size as dramatically as wheat dough, but it should become noticeably puffier and lighter.
The duration of the first rise can vary depending on the temperature of your environment and the specific flour blend used, but it often takes anywhere from 60 to 90 minutes. You're looking for a significant increase in volume, perhaps 50-75%. This resting time allows the yeast to produce gases that lighten the dough and helps the flavors develop. Don't expect the same level of "stretch" as wheat dough; gluten-free dough will remain softer and more delicate.
Step 5: Braiding Your Gluten-Free Challah - Visual Guide
Braiding is the signature feature of challah, and while gluten-free dough can be trickier to handle than wheat dough, it is definitely possible to create a beautiful braid for your gluten-free challah bread. Gently turn the risen dough out onto a lightly floured surface (using gluten-free flour). It may be helpful to lightly oil your hands as well, as the dough can be quite sticky. Divide the dough into the desired number of strands (traditionally 3, 4, or 6 strands are common).
Roll each portion of dough into a log. Gluten-free dough logs may be more prone to cracking than wheat dough; handle them gently and roll them patiently. Once you have your logs, arrange them for braiding. For a simple 3-strand braid, arrange the logs side-by-side and pinch them together at one end. Then, braid like you would hair, alternating outer strands over the middle. For more complex braids (4 or 6 strands), follow a specific pattern, using visual guides or videos if needed. Pinch the ends together firmly once braided.
Step 6: Second Rise: Proofing the Braided Challah for a Light and Airy Result
After braiding your gluten-free challah bread, it needs a second rise, also known as proofing. Carefully transfer the braided loaf to a baking sheet lined with parchment paper. Cover the loaf loosely with plastic wrap or a light kitchen towel, ensuring it doesn't stick to the dough. Place the baking sheet back in a warm, draft-free spot for the final rise.
This second rise allows the yeast to continue producing gas, further lightening the dough and helping the braided shape hold during baking. The dough should become visibly puffier, though again, it may not double in size. This rise typically takes 30-60 minutes, or until the challah looks nicely plump. Over-proofing can cause the loaf to collapse in the oven, so keep an eye on it. While the challah is proofing, preheat your oven according to the recipe's instructions, usually around 375°F (190°C).
Step 7: Baking to Golden Perfection: Temperature and Time
Baking is the final step to transform your proofed dough into a beautiful gluten-free challah bread. Before placing the loaf in the oven, it's traditional to brush the top with an egg wash (beaten egg with a little water or milk). This wash gives the challah its signature glossy, golden-brown crust. For an egg-free option, you can use a milk wash (dairy or non-dairy) or melted butter.
Carefully place the baking sheet in the preheated oven. The baking time will vary depending on the size and thickness of your loaf, but a standard loaf often takes around 30-45 minutes. The challah is done when it is deeply golden brown all over and sounds hollow when tapped on the bottom. An internal temperature of about 200°F (93°C) indicates it is fully baked. If the top is browning too quickly, you can loosely tent the loaf with aluminum foil partway through baking.
Tips for Perfect Gluten-Free Challah Bread
Achieving the Right Consistency for Gluten-Free Challah Dough
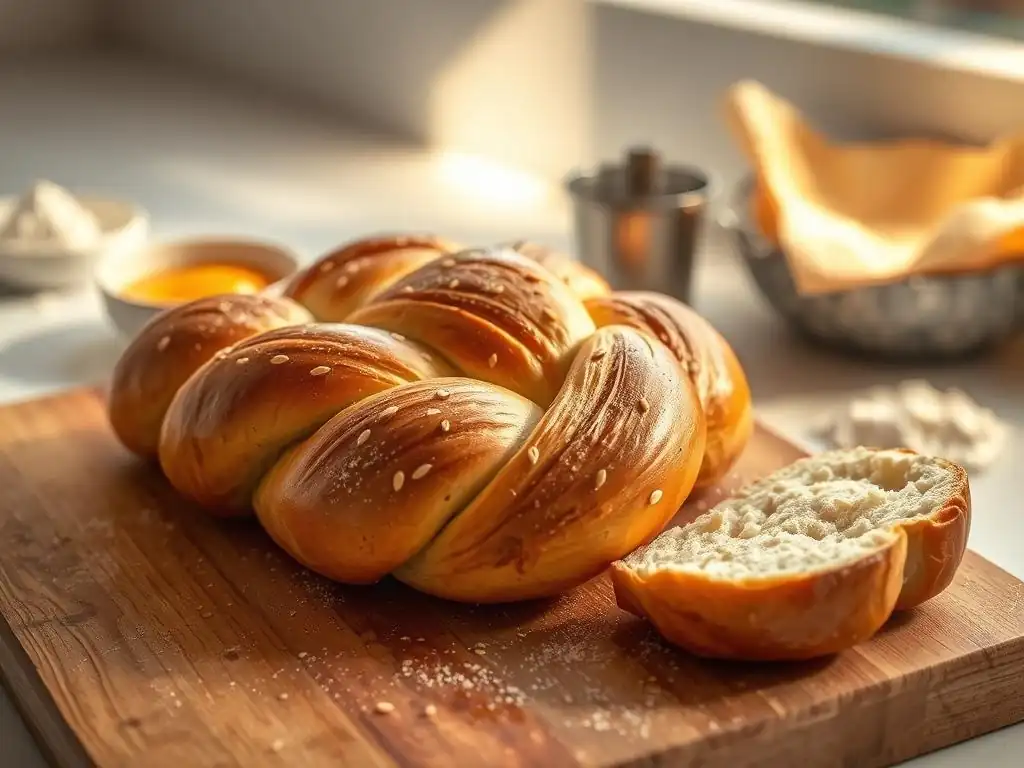
One of the most common challenges when baking a gluten-free challah bread recipe is achieving the correct dough consistency. Gluten-free doughs are inherently different from wheat doughs; they are typically wetter, stickier, and less elastic. Do not be tempted to add excessive amounts of extra flour during mixing or kneading, as this will result in a dry, dense loaf. The dough should be soft and manageable, but it will not feel like traditional elastic bread dough.
The amount of liquid needed can sometimes vary slightly depending on the specific gluten-free flour blend used and even the humidity of your kitchen. It's often better to err on the side of a slightly wetter dough than a dry one. If the dough seems too wet to handle for braiding, chilling it briefly in the refrigerator (about 20-30 minutes) can make it firmer and easier to shape. Lightly oiling your hands and work surface instead of flouring heavily can also help manage stickiness without adding too much dry flour.
Troubleshooting Common Gluten-Free Baking Issues
Baking a gluten-free challah bread recipe can sometimes present unique challenges compared to traditional baking. One common issue is a lack of rise; this could be due to inactive yeast, a too-cold rising environment, or insufficient hydration in the dough. Ensure your yeast is fresh and the water temperature for activation is correct. Providing a warm, draft-free spot, perhaps in a slightly warmed oven (turned off!) or near a warm appliance, is crucial for proper proofing.
Another issue can be a crumbly texture. This often happens if the dough is too dry or if there wasn't enough binder (like xanthan gum or psyllium husk) used. Ensure you measure ingredients accurately, especially the liquid, and don't skip the binder if the recipe calls for it. If your loaf spreads out instead of rising upwards during baking, it might indicate insufficient hydration during mixing or over-proofing during the second rise, which weakens the dough's structure.
Ensuring a Golden-Brown Crust on Your Gluten-Free Challah
A beautiful, golden-brown crust is a hallmark of challah, and you can achieve this on your gluten-free challah bread too. The egg wash applied before baking is key to achieving this rich color and a lovely sheen. A traditional egg wash is simply a whole egg whisked with a tablespoon or two of water or milk. Brushing this evenly over the entire surface of the braided loaf ensures consistent browning.
The sugar or sweetener in the dough also contributes to the crust's color through caramelization during baking. Baking at the correct temperature is also important; if the oven is too cool, the crust may not brown properly, while if it's too hot, the crust can burn before the inside is fully cooked. If you notice the top browning too quickly, loosely covering the loaf with aluminum foil for the remainder of the baking time will protect the crust while allowing the inside to finish baking.
Serving and Storing Your Gluten-Free Challah
Delicious Ways to Enjoy Your Freshly Baked Challah
Once your gluten-free challah bread is baked to golden perfection and has cooled slightly on a wire rack, it's ready to be enjoyed! The slightly sweet, tender crumb makes it incredibly versatile. It's wonderful simply sliced and served warm with butter or a touch of jam. The richness from the eggs and oil makes it particularly satisfying.
Challah is traditionally enjoyed on its own during meals, but its slightly sweet profile also makes it excellent for other uses. Day-old gluten-free challah makes exceptional French toast due to its rich texture and ability to soak up the egg mixture without falling apart. It can also be used for bread pudding or even savory applications like stuffing, offering a unique flavor profile compared to standard gluten-free bread.
Proper Storage Techniques to Maintain Freshness
To keep your homemade gluten-free challah bread fresh for as long as possible, proper storage is essential. Once the challah has cooled completely to room temperature, store it in an airtight container or a bread bag. Plastic wrap or a resealable plastic bag works well to prevent the bread from drying out. Avoid storing it in the refrigerator, as this can actually cause bread to become stale more quickly.
At room temperature, your gluten-free challah will typically stay fresh for 2-3 days. If you won't be eating the entire loaf within a few days, it freezes exceptionally well. To freeze, slice the cooled challah (or freeze it whole) and wrap it tightly in plastic wrap, followed by a layer of aluminum foil or place it in a freezer-safe bag. Frozen gluten-free challah can last for up to 3 months. Thaw slices or the whole loaf at room temperature, or warm slices gently in a toaster or oven.
Variations and Adaptations for Your Gluten-Free Challah
Sweetening Your Challah: Honey vs. Maple Syrup
The sweetness in a gluten-free challah bread recipe is a key characteristic, and the type of sweetener used can subtly alter the flavor profile. Traditionally, granulated sugar or honey is used. Granulated sugar provides clean sweetness and aids in browning. Honey adds a distinct floral note and helps create a moist crumb; it is often preferred for its richer flavor.
For those avoiding refined sugar or seeking a vegan option (when combined with egg substitutes), maple syrup is an excellent alternative. Pure maple syrup contributes a warm, slightly earthy sweetness that pairs wonderfully with the rich dough. While the liquid nature of maple syrup might require a tiny adjustment to the overall liquid in the recipe, it generally substitutes well volume-for-volume for liquid sweeteners like honey, providing a delicious variation to the classic gluten-free challah bread.
Adding Seeds or Raisins for Extra Flavor and Texture
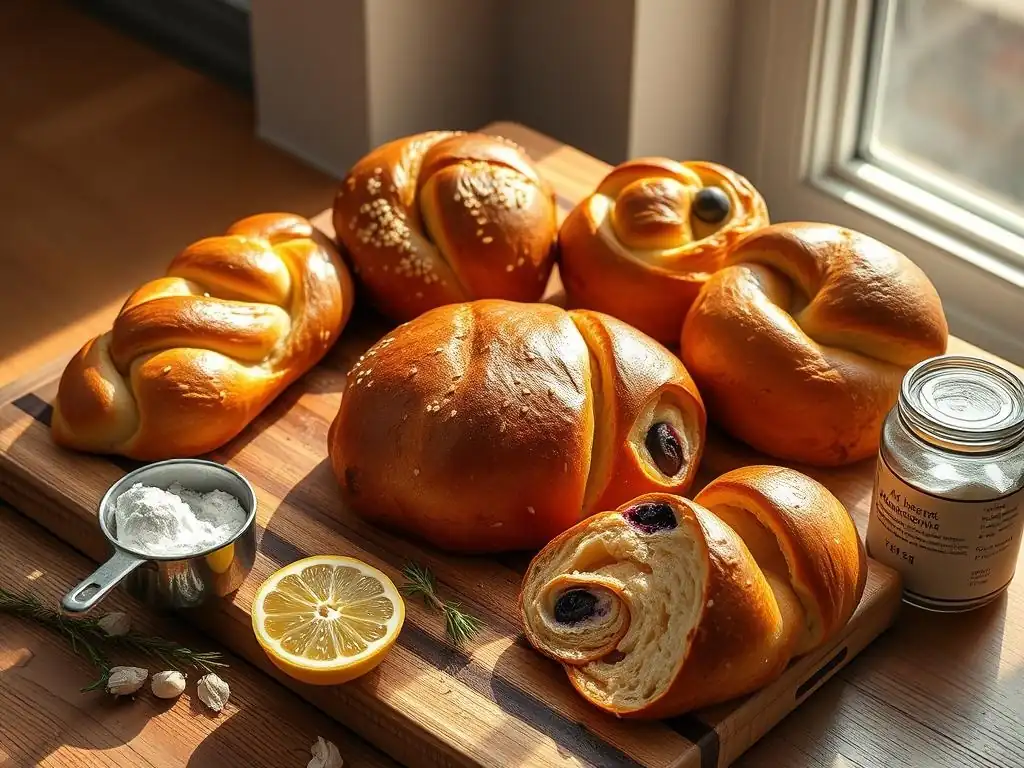
Elevating your gluten-free challah bread recipe with mix-ins is a simple way to add extra flavor and texture. Adding seeds, such as sesame seeds, poppy seeds, or nigella seeds, is a traditional variation. These can be incorporated into the dough during the mixing stage or sprinkled generously on top of the loaf before baking (often adhering better with an egg wash). A common practice is to sprinkle sesame seeds on half the strands and poppy seeds on the other half before braiding, creating a visually appealing contrast.
For a sweeter, more dessert-like challah, raisins or other dried fruits can be folded into the dough during the final mixing stage before the first rise. Approximately 1/2 cup to 1 cup of raisins is usually sufficient for a standard loaf size, providing bursts of sweetness throughout the bread. Ensure the raisins are evenly distributed. Other additions could include chocolate chips for a decadent treat or even savory elements like herbs or roasted garlic, though savory challah is less traditional.
Making Mini Gluten-Free Challah Rolls
This gluten-free challah bread recipe can easily be adapted to make smaller, individual rolls instead of a large loaf. This is a great option for portion control, serving individual guests, or for making mini sandwiches. The process is largely the same up until the braiding step. Instead of dividing the dough into strands for one large loaf, divide the dough into smaller, equal portions (e.g., 6-8 portions for medium rolls, more for smaller ones).
For each roll, you can either shape it into a simple round bun or divide that portion further into 2 or 3 smaller pieces to create mini braids. For a 3-strand mini braid, divide a portion into three, roll into small ropes, pinch one end, braid, and pinch the other end. Place the shaped rolls on a parchment-lined baking sheet, leaving some space between them. The proofing time for rolls might be slightly shorter than for a large loaf, and the baking time will definitely be reduced, often to around 20-30 minutes depending on size.
Further Gluten-Free Baking
Exploring Other Gluten-Free Bread Recipes
Mastering this gluten-free challah bread recipe is a fantastic step into the world of gluten-free baking, but it's just the beginning! The principles learned here – understanding gluten-free flour blends, working with sticky doughs, and proper proofing – are applicable to a wide variety of other gluten-free bread types. Expanding your repertoire can provide delicious options for everyday sandwiches, toasts, and meals.
Consider exploring recipes for basic gluten-free sandwich loaves, which are staples for packed lunches and breakfast toast. Gluten-free focaccia, with its dimpled surface and olive oil richness, is another rewarding bake. For something with a bit more texture, try a gluten-free seeded loaf. Each type of bread will utilize different techniques and ingredient ratios, further building your skills and confidence in gluten-free baking.
Recommended Gluten-Free Bread Recipes
After successfully baking your gluten-free challah bread, here are a few other types of gluten-free bread recipes you might enjoy trying. A simple gluten-free sandwich bread recipe is a great next step, often relying on a similar flour blend but with a different structure and shaping method. Look for recipes that yield a soft, pliable crumb suitable for slicing.
For something quicker and less reliant on yeast, consider a gluten-free soda bread, which uses baking soda and buttermilk (or a dairy-free alternative) for leavening. This is a relatively fast bread to make from start to finish. If you're feeling adventurous, tackling a gluten-free sourdough starter and recipe can be a rewarding challenge, offering tangy flavor and a chewy texture distinct from yeasted breads. Each of these recipes offers a different experience and outcome, broadening your gluten-free baking horizons.
Conclusion: Savoring the Taste of Homemade Gluten-Free Challah
Baking your own gluten-free challah bread recipe is a rewarding endeavor that allows you to enjoy this traditional, beautiful bread even with dietary restrictions. From selecting the right flour blend to mastering the braiding and achieving that perfect golden crust, each step contributes to a delicious outcome. The effort put into creating this special loaf is truly worthwhile when you slice into its tender, slightly sweet interior.
Sharing a warm, homemade gluten-free challah with family and friends is a wonderful experience, bringing a sense of tradition and warmth to any table. Whether enjoyed plain, toasted, or transformed into French toast, this gluten-free challah bread is a testament to the possibilities of adapting classic recipes to suit modern dietary needs. Embrace the process, enjoy the aroma filling your kitchen, and savor every bite of your beautiful, homemade gluten-free challah.
Frequently Asked Questions
How difficult is this Gluten-Free Challah Bread Recipe for a beginner baker?
This recipe is designed to be beginner-friendly, with clear instructions and readily available ingredients. While working with gluten-free dough can be different, the steps are straightforward.
What are the key ingredients that make this challah bread gluten-free?
The recipe uses a blend of gluten-free flours, often including rice flour, tapioca starch, and potato starch. A binding agent like xanthan gum is also crucial for structure.
Can I substitute any of the gluten-free flours listed in the recipe?
Substitutions can be tricky with gluten-free baking. While some minor adjustments are possible, sticking to the recommended flour blend is best for optimal results.
How does gluten-free challah differ from traditional challah bread?
Traditional challah relies on gluten for its structure and elasticity. Gluten-free challah requires specific ingredients to mimic these properties, resulting in a slightly different texture and crumb.
What tips can ensure a successful rise for my gluten-free challah dough?
Ensure your yeast is fresh and active. Provide a warm, draft-free environment for rising. Gluten-free dough often rises slower, so patience is key.
Final Reflection: The Enduring Comfort of Gluten-Free Challah
The pursuit of delicious, inclusive baking continues to resonate deeply, and the simple joy of a perfectly golden challah, even without gluten, remains a powerful testament to culinary creativity. This recipe, designed for ease and accessibility, aims to bridge the gap between dietary restrictions and the comforting traditions of bread-making. It's a reminder that delicious food doesn't have to be complicated, and that adapting recipes to suit individual needs can be a rewarding and fulfilling experience.
The impact of gluten-free baking extends far beyond simply accommodating dietary restrictions; it represents a growing movement towards inclusivity and mindful eating. It's about creating a space at the table for everyone, regardless of their dietary needs. This recipe, for me, is more than just a set of instructions; it's a symbol of that inclusivity. Food is symbolic of love when words are inadequate.
- Alan D. Wolfelt. This quote perfectly encapsulates the emotional connection we forge with food, and the importance of sharing that connection with others, regardless of dietary differences.
Now, I invite you to take this recipe and make it your own. Experiment with different spices, add your favorite dried fruits or nuts, and most importantly, share the warmth and deliciousness of this gluten-free challah with those you love. Let this recipe be a starting point for your own culinary journey, a testament to the power of adaptation, and a reminder that even the most traditional recipes can be reimagined to bring joy and connection to the table.
Unleash Your Inner Baker: Bake This Challah Today!
Thanks for joining us on this delicious journey into gluten-free baking! We hope you now feel confident and inspired to tackle this amazing challah recipe. Ready to get your hands floury?
- Bake your own challah: This recipe is easier than you think! Gather your ingredients and follow the steps – you'll be amazed at the results.
- Share your masterpiece: Tag us on social media with a photo of your glorious gluten-free challah! We'd love to see your creations.
- Explore other gluten-free delights: Dive into our website and discover more simple and satisfying recipes perfect for your dietary needs.
What’s your favorite part of the baking process, and what delicious gluten-free treat will you make next?