
SteamEnhanced Baking: When to Introduce Moisture and at What Temperature

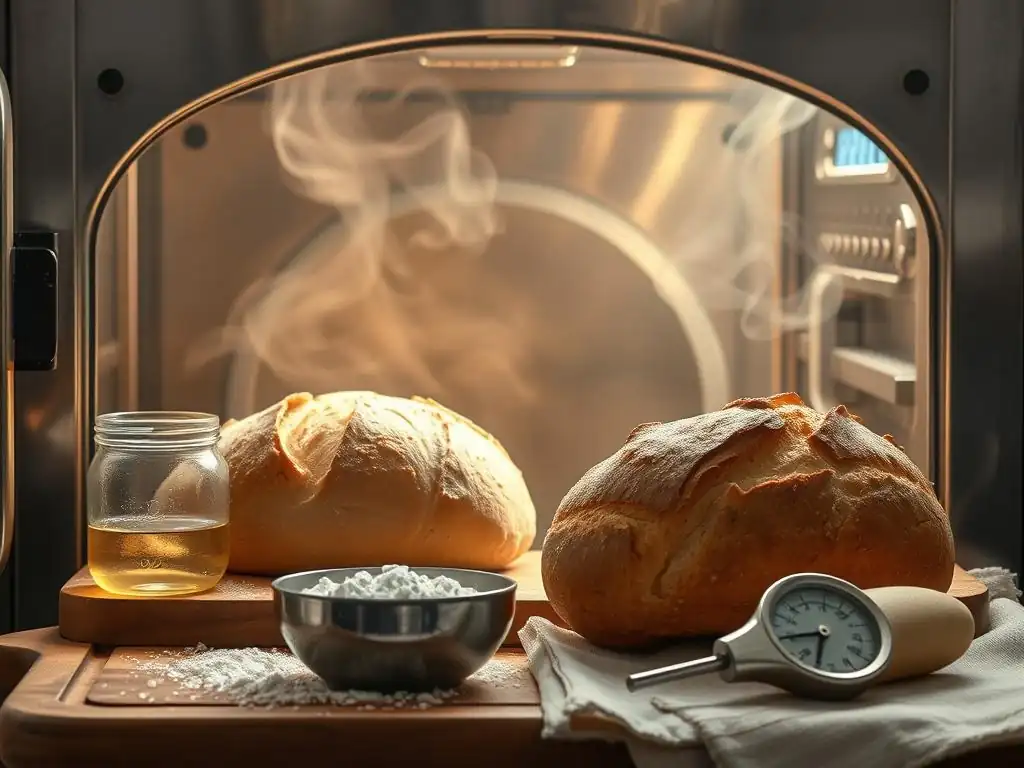
Welcome to BakeWithEase, your haven for simplifying the joys of baking! Ever wondered how bakers achieve that perfectly crusty loaf or a moist, airy cake? This month we delve into a game-changing technique: Steam Enhanced Baking Temperature. Discover the secrets of when to introduce moisture and at what temperature to unlock a whole new level of deliciousness in your baking. Curious? Let's get started!
- Steam Enhanced Baking: Achieving Artisan Bread at Home
- Understanding Steam's Role in Bread Baking
- Mastering Steam: Methods for Home Ovens
- The Importance of Temperature in Steam Baking
- Timing is Key: When to Introduce and Release Steam
- Steam Baking for Different Types of Bread
- Troubleshooting Steam Baking Issues
- Advanced Steam Baking Techniques
- Recipes That Excel with Steam
- Consistent Results: Perfect Steam Enhanced Baking Every Time
- Frequently Asked Questions
- Final Reflection: Mastering the Art of Steam-Enhanced Baking
- Unlock Your Baking Potential: Master the Art of Steam
Steam Enhanced Baking: Achieving Artisan Bread at Home
Understanding Steam's Role in Bread Baking
What is Steam Enhanced Baking and Why Use It?
Steam enhanced baking is a technique used primarily when baking bread, involving the introduction of moisture into the oven environment during the initial phase of baking. This moisture, in the form of steam, plays a crucial role in creating the desired characteristics of artisan-style bread, such as a thin, crisp crust and significant oven spring. Unlike baking cakes or cookies, where a dry environment is often preferred, many bread varieties benefit immensely from the presence of steam. This method is essential for unlocking the full potential of dough, especially those with higher hydration levels typical of rustic loaves.
The primary reason bakers use steam is to keep the surface of the dough moist and pliable during the first 10-20 minutes of baking. As the dough heats up, the yeast activity increases rapidly, causing the dough to expand. If the crust forms too quickly in a dry environment, it becomes rigid and restricts this expansion, resulting in less volume and a denser crumb. Steam prevents this premature crust formation, allowing the dough to achieve maximum oven spring before the crust sets, leading to a lighter, airier interior and a beautifully expanded loaf.
Benefits of Baking with Steam: Crust, Rise, and Texture
The introduction of steam into the oven environment offers several significant benefits that dramatically improve the final quality of baked bread. Firstly, it delays the formation of the crust. In a dry oven, the surface water of the dough evaporates rapidly, causing the crust to set quickly. Steam keeps the surface hydrated, allowing the dough to continue expanding freely during the initial heat surge – a phenomenon known as oven spring. This can result in loaves that achieve 20-30% greater volume compared to baking without steam, creating a more open crumb structure.
Secondly, steam contributes directly to the quality of the crust itself. By keeping the surface moist longer, it allows complex carbohydrates on the surface to remain pliable and participate in the Maillard reaction and caramelization processes more effectively once the steam is removed and the temperature is often adjusted. This results in a thinner, shatteringly crisp crust with a richer, more complex flavor and a beautiful golden-to-deep brown color, rather than a thick, leathery crust that can form in a dry oven. The improved texture and rise are hallmarks of professional-quality artisan bread achievable at home.
Mastering Steam: Methods for Home Ovens
Dutch Oven Method: Simple and Effective
One of the most popular and arguably simplest methods for achieving effective steam enhanced baking at home is using a Dutch oven or any heavy, oven-safe pot with a lid. This method is particularly effective because the pot traps the moisture naturally released from the dough as it bakes, creating a steamy micro-environment around the loaf.
To use this method, preheat your Dutch oven with the lid on inside your oven to a high temperature, typically between 450°F and 500°F (230°C to 260°C), for at least 30-60 minutes. The high preheat ensures the pot is hot enough to immediately start baking the bread and generate steam from the dough's surface moisture.
Once the pot is fully preheated, carefully transfer your shaped dough into the hot pot. Score the dough if desired, quickly place the lid back on, and return the pot to the oven. Bake with the lid on for the first 15-25 minutes. During this time, the trapped steam works its magic, allowing for maximum oven spring and keeping the crust soft. After this initial steaming period, remove the lid to allow the crust to dry out and brown. The steam enhanced baking temperature during the lidded phase is typically high, contributing significantly to the overall bake.
Lava Rocks and Water: Creating a Steamy Environment
Another effective method for generating steam in a standard oven involves using lava rocks or a similar material that can retain heat and a pan of water. Place a tray or cast iron pan filled with lava rocks (or even just empty) on the bottom rack of your oven or directly on the oven floor if it's safe to do so. As the oven preheats to the desired steam enhanced baking temperature, typically in the 450°F to 500°F (230°C to 260°C) range for many crusty breads, the lava rocks get extremely hot.
Just before placing your loaf in the oven (usually on a preheated baking stone or steel on a higher rack), carefully pour about 1 cup of hot water into the pan with the lava rocks. Be extremely cautious of the resulting burst of steam. Quickly close the oven door to trap the steam inside.
The hot rocks flash the water into steam, filling the oven cavity with moisture. This provides the necessary humid environment for the initial phase of baking, promoting oven spring and preventing premature crust formation. This method requires a bit more care due to the hot steam but can be very effective.
Spritzing the Dough: Adding Initial Surface Moisture
While not as effective as enclosed methods like the Dutch oven or continuous steam generation with rocks, a simpler technique involves spritzing the dough's surface with water or placing a tray of hot water in the bottom of the oven before adding the bread. For the spritzing method, simply use a spray bottle to mist the surface of the shaped loaf generously with water just before putting it into the hot oven. You can also spray the oven walls a few times, though this steam dissipates very quickly.
Alternatively, place a shallow metal tray on the bottom rack of your oven while it preheats to the desired steam enhanced baking temperature. Just before adding the bread, carefully pour about 1-2 cups of boiling water into the hot tray. This creates a burst of steam. While these methods provide some initial moisture, they often don't sustain the humid environment for the full duration needed for optimal oven spring (typically 15-20 minutes). They are best used in conjunction with other methods or for breads that require less intense steaming.
The Importance of Temperature in Steam Baking
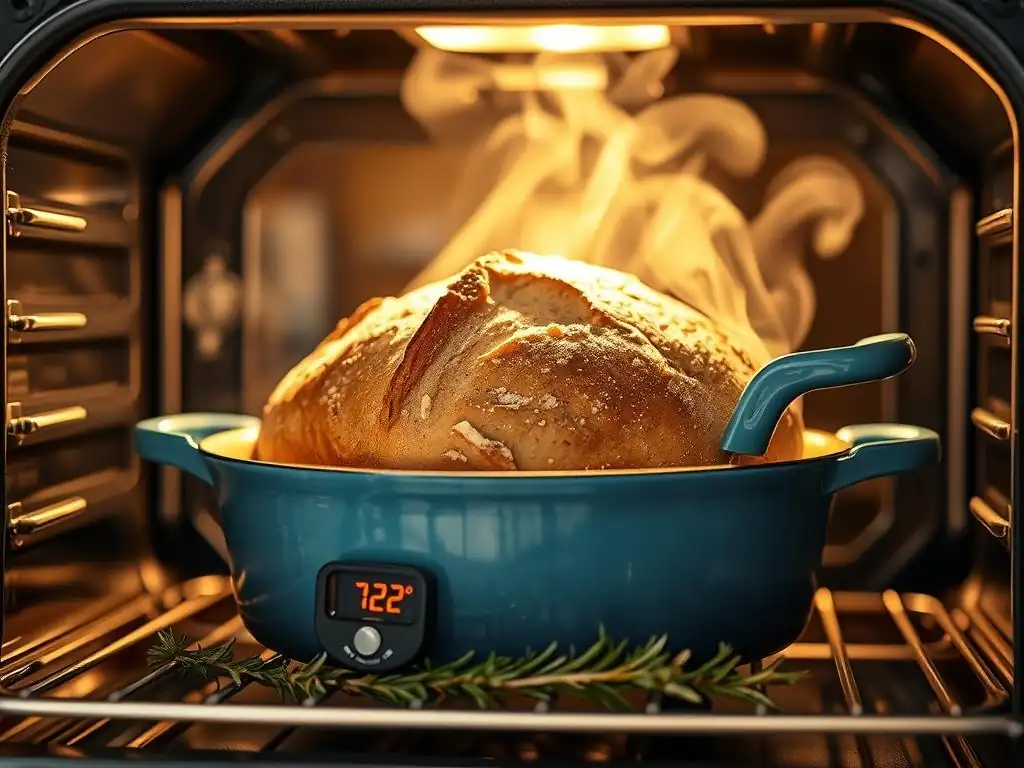
Optimal Steam Baking Temperature Ranges for Different Breads
The steam enhanced baking temperature is a critical factor that works in conjunction with the presence of moisture to achieve the desired bread characteristics. For most artisan-style crusty breads like sourdough, baguettes, and pain de campagne, the initial baking phase with steam is typically conducted at a high temperature, ranging from 450°F to 500°F (230°C to 260°C). This high heat, combined with steam, promotes rapid yeast activity and enzyme action, leading to maximum oven spring before the crust sets. It also kickstarts the complex chemical reactions that contribute to flavor development.
The specific temperature within this range can be adjusted based on the bread type and desired outcome. A higher temperature like 500°F might be used for lean, crusty loaves baked on a stone or steel, aiming for aggressive oven spring and a bold crust. A slightly lower temperature, perhaps 450°F, might be preferred when using a Dutch oven to prevent the bottom of the loaf from burning before the top is adequately baked, or for breads with additions like cheese or herbs that could scorch at very high heat.
High Temperature Steam Baking: Promoting Caramelization
High temperature steam baking, typically at 450°F to 500°F (230°C to 260°C) during the initial phase, is crucial not just for oven spring but also for setting the stage for excellent crust development. While steam prevents the crust from setting too early, the high heat ensures that once the steam is removed, the conditions are perfect for the rapid browning and caramelization of the crust. The high heat quickly raises the internal temperature of the loaf, ensuring a quick bake time which helps prevent the interior from drying out.
After the steaming period (usually 15-25 minutes), the lid is removed (in the Dutch oven method) or the steam source is taken out or allowed to dissipate. At this point, the high temperature, or a slightly reduced temperature, continues the baking process. The sugars on the surface of the dough, which were kept pliable by the steam, now rapidly caramelize under the intense heat, creating that signature deep golden to reddish-brown color and complex flavor associated with artisan bread. This high steam enhanced baking temperature phase is essential for achieving both great rise and a superb crust.
Reducing Temperature After Steaming: Ensuring Even Baking
While the initial phase of steam enhanced baking often utilizes a high temperature for oven spring and initial crust development, it is common practice to reduce the oven temperature after the steam is removed or dissipates. This temperature reduction, often by 25°F to 50°F (15°C to 30°C) down to around 400°F to 425°F (200°C to 220°C), serves several important purposes.
Primarily, it prevents the crust from burning while allowing the interior of the loaf to finish baking through evenly. The rapid browning that occurs at very high temperatures can sometimes outpace the rate at which heat penetrates to the center of the loaf.
Reducing the temperature ensures that the Maillard reaction and caramelization continue at a slightly slower, more controlled pace, allowing the crust to achieve a richer color without becoming excessively dark or burnt, particularly on the bottom or edges. It also gives the crumb structure time to set properly. The exact temperature reduction and the duration of the second baking phase depend on the size and type of loaf, but this step is key to achieving a loaf that is perfectly baked both inside and out after the initial high steam enhanced baking temperature phase.
Timing is Key: When to Introduce and Release Steam
Steam at the Beginning: Maximizing Oven Spring
The most critical time to introduce steam into the oven environment is at the very beginning of the baking process, as soon as the dough is placed in the hot oven. This is because oven spring – the final burst of expansion the dough undergoes – occurs primarily within the first 10 to 15 minutes of baking. During this initial phase, the yeast activity increases rapidly due to the heat, producing a large volume of carbon dioxide gas. Simultaneously, water in the dough turns to steam, also contributing to expansion.
If the surface of the dough is allowed to dry out and form a crust too early, this expansion is restricted. By introducing steam at the outset, the surface remains moist and flexible, allowing the dough to expand freely to its maximum potential. This is why methods like the Dutch oven (which traps the dough's own moisture) or adding water to a hot pan (which fills the oven with external steam) are performed before or immediately as the bread goes into the oven. The initial high steam enhanced baking temperature combined with moisture is the engine of oven spring.
Releasing Steam Later: Achieving a Dry, Crisp Crust
While introducing steam at the beginning is crucial for oven spring, maintaining a steamy environment for the entire bake would result in a soft, leathery, or even soggy crust. Therefore, it is equally important to release or remove the steam after the initial expansion phase is complete. This typically happens after 15 to 25 minutes of baking, depending on the size and type of loaf and the specific steam enhanced baking temperature used.
Once the desired oven spring has been achieved and the internal structure of the loaf is starting to set, the steam source is removed (e.g., lifting the lid off a Dutch oven, removing the water tray, or opening the oven door briefly to let steam escape). The oven environment then becomes dry, allowing the surface of the loaf to dry out, brown, and crisp up under the remaining high heat (or slightly reduced temperature). This two-phase process – steam for expansion, dry heat for crust – is fundamental to achieving the characteristic texture of artisan bread.
No Steam Required: Breads That Don't Need Steam
Not all breads benefit from or require steam enhanced baking. Breads that are typically baked without steam include enriched doughs high in fat and sugar, such as challah, brioche, dinner rolls, and many sandwich loaves. These doughs are softer and less focused on developing a thin, super-crisp crust. Their texture is meant to be tender and soft all over, and the presence of fat (like butter, eggs, or oil) helps keep the crust soft even in a dry oven environment.
Similarly, some rustic breads that are baked directly on the oven rack or in loaf pans without any special steam setup might not require added moisture, although they might still benefit from it. The decision often depends on the desired final texture. A soft sandwich loaf aims for a pliable crust, while a rustic baguette aims for a thin, crackly one. For soft breads, focusing on a consistent, moderate baking temperature is usually more important than managing steam.
Steam Baking for Different Types of Bread
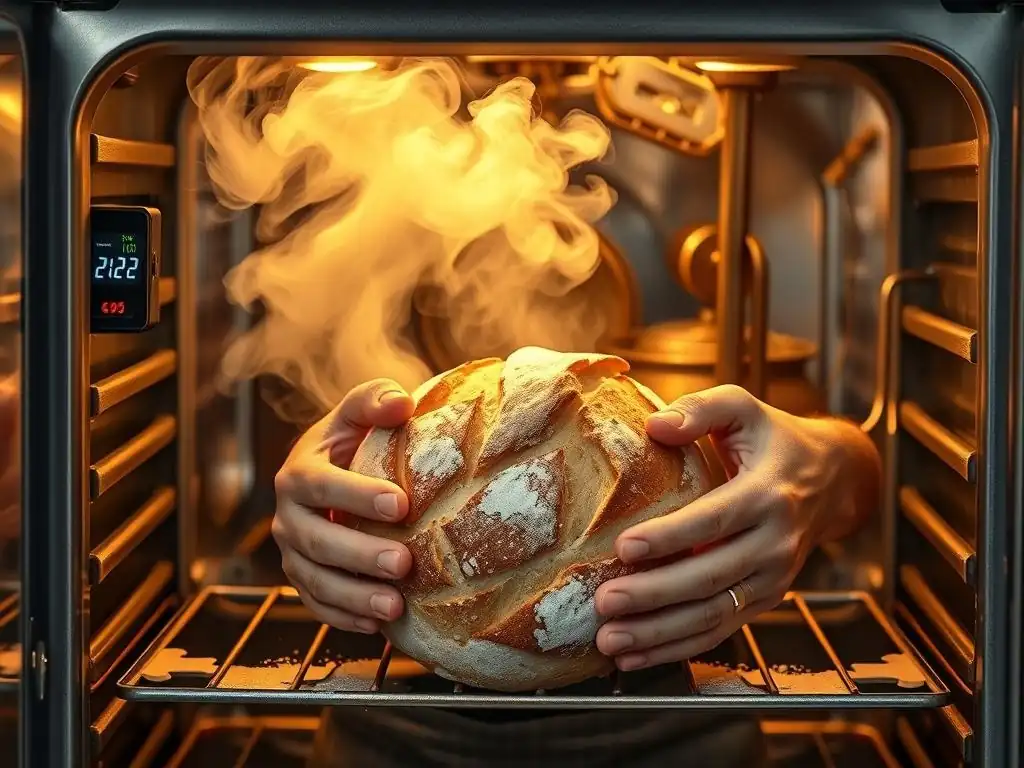
Steam Baking Sourdough: Achieving a Bold Crust
Sourdough bread is perhaps the quintessential example of a loaf that benefits immensely from steam enhanced baking. The high hydration levels and often lean nature of sourdough doughs make them ideal candidates for developing a robust oven spring and a classic, bold crust. The initial phase of baking sourdough is typically done at a high steam enhanced baking temperature, often 475°F to 500°F (245°C to 260°C), usually within a preheated Dutch oven or with significant steam introduced via other methods.
Baking sourdough with steam for the first 20-25 minutes allows its characteristically high hydration dough to expand significantly, resulting in a well-developed open crumb structure. Once the lid is removed or the steam is released, the temperature is often reduced slightly (e.g., to 450°F or 425°F) for the remaining 20-30 minutes of baking. This allows the crust to achieve a deep, caramelized color and that desirable shatteringly crisp texture that is a hallmark of great sourdough. The contrast between the bold crust and the airy, tangy interior is maximized through proper steam management.
Steam Baking Baguettes: Creating a Classic Crumb and Crust
Baguettes are another classic lean bread that relies heavily on steam for its iconic structure and texture. Achieving the signature open, irregular crumb (alveoli) and the thin, crisp crust of a baguette requires a very hot oven and a significant amount of steam during the initial baking phase. Baguettes are often baked at high temperatures, around 450°F to 475°F (230°C to 245°C), with steam introduced immediately upon loading the loaves into the oven, often using a steam tray with water and potentially lava rocks, or by baking on a stone and covering with a roasting pan.
The steam keeps the surface of the slender loaves pliable, allowing them to expand fully and develop those large, irregular holes in the crumb structure. After about 10-15 minutes, when the baguettes have achieved their oven spring, the steam is vented from the oven. The baking continues in a dry environment for another 10-15 minutes until the crust is deeply golden brown and crisp. The precise steam enhanced baking temperature and duration are crucial for achieving the perfect balance of open crumb and delicate, crisp crust characteristic of a true baguette.
Steam Baking Soft Rolls: Maintaining a Tender Interior
While many soft rolls like dinner rolls or burger buns do not strictly require steam, a brief period of steam enhanced baking can sometimes improve their texture, particularly for slightly leaner or enriched doughs where you want a tender interior without a thick crust. For soft rolls, the initial steam enhanced baking temperature might be slightly lower than for artisan loaves, perhaps in the range of 400°F to 425°F (200°C to 220°C).
Introducing steam for just the first 5-10 minutes can help keep the tops of the rolls soft and prevent them from forming a hard shell too early, allowing for better overall rise and a more uniform shape. This can be achieved by placing a small pan of hot water on the oven floor or bottom rack.
After the initial steam period, the water pan is removed, and the rolls finish baking in a dry environment. The goal here is not a bold, crisp crust, but rather a soft, tender crust and a light, airy interior, and a little bit of initial steam can aid in achieving this delicate balance.
Troubleshooting Steam Baking Issues
Soggy Crust: Causes and Solutions
A common issue encountered in steam enhanced baking is ending up with a soggy or leathery crust instead of a thin, crisp one. One primary cause is maintaining the steam environment for too long. If steam is present throughout the entire baking period, the crust never gets a chance to dry out and crisp up. A soggy bottom crust can also occur if the baking surface (like a stone or steel) wasn't sufficiently preheated, or if too much water condensed on the bottom of the Dutch oven.
To fix a soggy crust, ensure you are releasing the steam at the appropriate time – typically after the first 15-25 minutes, once oven spring is complete. Make sure your oven is at the correct steam enhanced baking temperature for the initial phase and that your baking surface or Dutch oven is thoroughly preheated. If using a Dutch oven, sometimes removing the loaf for the last 5-10 minutes and placing it directly on the oven rack can help crisp up the bottom.
Lack of Oven Spring: Identifying Potential Problems
Insufficient oven spring, resulting in a dense loaf, is a frustrating problem in steam baking. While steam is crucial for maximizing spring, it cannot compensate for underlying dough issues. A primary cause of poor oven spring despite using steam is underdeveloped gluten. If the dough hasn't been kneaded or folded enough, it lacks the structure to hold the expanding gases. Similarly, overproofing can exhaust the yeast's ability to produce enough gas for a strong final push in the oven.
Other factors include using an oven temperature that is too low for the initial steam phase – the high steam enhanced baking temperature is necessary to trigger rapid expansion. An inaccurate oven thermometer can be misleading here. Also, if the steam setup is inadequate (e.g., too little water, steam escaping the oven), the crust can set prematurely, restricting expansion. Ensure proper dough development, accurate proofing times, and an effective steam setup at the correct initial high temperature.
Uneven Baking: Ensuring Consistent Results
Uneven baking, where parts of the loaf are darker or lighter than others, or the bottom is burnt while the top is pale, can occur in steam enhanced baking. This is often related to hot spots in the oven or improper placement of the bread or steam source. If using a Dutch oven, sometimes the bottom can get excessively dark, especially at very high initial temperatures like 500°F.
To promote even baking, ensure your oven is properly calibrated and doesn't have significant hot spots. Rotating the loaf halfway through the dry baking phase (after steam is released) can help, especially if baking directly on a stone or steel.
If using a Dutch oven and the bottom is burning, try reducing the initial steam enhanced baking temperature slightly, or place a baking sheet on the rack below the Dutch oven during the second half of the bake to shield the bottom. Using a baking stone or steel can also provide more consistent heat distribution than just a wire rack.
Advanced Steam Baking Techniques
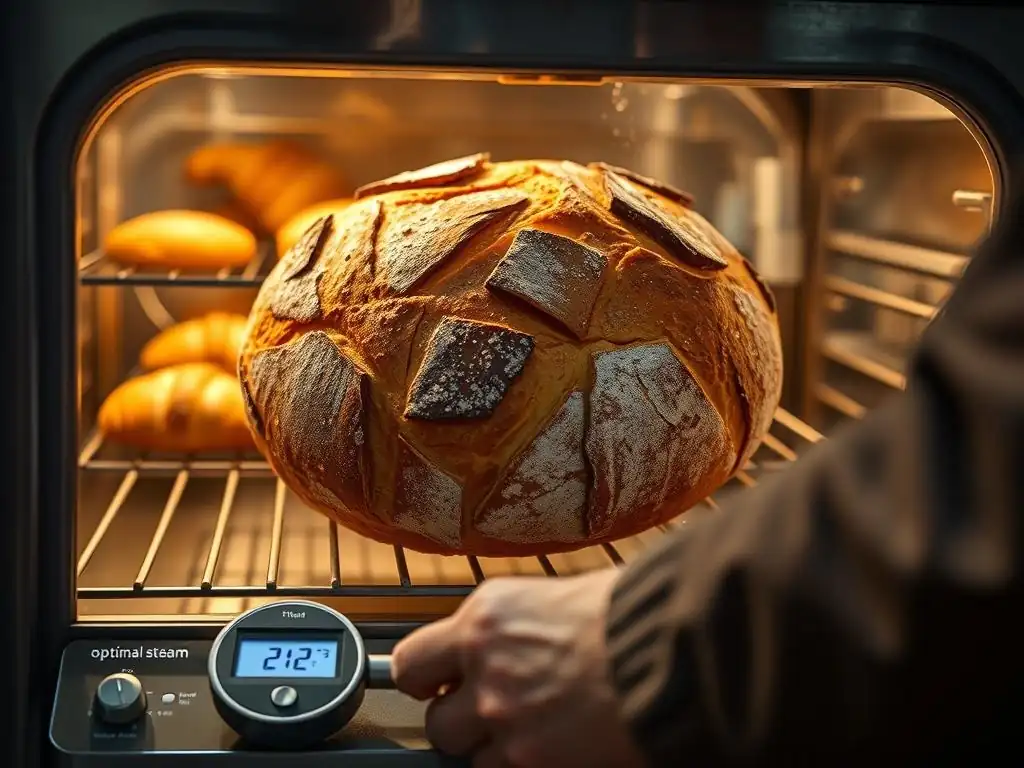
Preheating the Baking Surface: Enhancing Crust Formation
Beyond just preheating the oven and the steam source, preheating the surface the bread bakes on – whether it's a baking stone, steel, or the base of a Dutch oven – is a crucial advanced technique for achieving a great crust. A super-hot surface provides a powerful thermal shock to the base of the dough as soon as it makes contact. This intense initial heat encourages rapid expansion upwards (contributing to oven spring) and immediately starts setting the bottom crust, preventing it from being pale or soggy.
For methods using a baking stone or steel, these should be placed in the oven during the entire preheating period (typically 45-60 minutes) to reach the full oven steam enhanced baking temperature. When using a Dutch oven, the entire pot is preheated. This hot surface contact, combined with the steam environment, works synergistically to maximize oven spring and create a strong, well-developed bottom crust right from the start of the bake.
Using a Probe Thermometer: Monitoring Internal Temperature
While visual cues and crust color are important indicators, the most accurate way to determine if a loaf of bread is fully baked is by checking its internal temperature using an instant-read probe thermometer. For most lean artisan breads, a fully baked loaf will have an internal temperature between 200°F and 210°F (93°C and 99°C). For enriched breads, the temperature might be slightly lower, around 190°F to 200°F (88°C to 93°C).
Checking the internal temperature is especially useful after the steam has been released and the crust has achieved the desired color. If the crust looks perfect but the internal temperature is low, it means the loaf needs more time in the oven, likely at a slightly reduced temperature to prevent the crust from burning. Monitoring the internal temperature ensures the crumb is fully set and cooked through, preventing a gummy interior, which is essential for a successful steam enhanced baking temperature strategy.
Adjusting Steam Based on Dough Hydration: Fine-Tuning the Process
The amount and duration of steam needed can be subtly adjusted based on the hydration level of the dough being baked. Higher hydration doughs (those with a higher percentage of water relative to flour, often 75% or more) naturally release more moisture during baking. When baking these very wet doughs, especially in an enclosed environment like a Dutch oven, the amount of steam generated from the dough itself is significant.
While these high-hydration doughs benefit greatly from steam, the intense moisture can sometimes lead to a thicker, chewier crust if the steam period is too long or the subsequent drying phase is insufficient. For extremely high hydration doughs, you might find that slightly reducing the initial steam duration (e.g., steaming for 15 minutes instead of 20-25) or ensuring a longer, hotter dry baking phase after releasing steam at a high steam enhanced baking temperature helps achieve a thinner, crisper crust. Conversely, slightly lower hydration doughs might benefit from a slightly longer steam period to ensure maximum expansion.
Recipes That Excel with Steam
Pain de Campagne with a Rustic Crust
Pain de Campagne, or "country bread," is a versatile and forgiving dough that truly shines when baked with steam. Typically made with a blend of white and whole wheat or rye flour, often incorporating a levain or sourdough starter, it has a moderate to high hydration level. Baking Pain de Campagne in a preheated Dutch oven at a high steam enhanced baking temperature, such as 475°F (245°C), for the first 20 minutes (lid on) creates incredible oven spring and sets the stage for its characteristic rustic crust.
After removing the lid and potentially reducing the temperature to 425°F (220°C), baking continues for another 25-35 minutes until the crust is a deep, mottled brown. The steam ensures the relatively open crumb and the chewy interior, while the subsequent dry heat develops the thick, crackly crust that is perfect for slicing and serving with soups or stews. The steam enhanced baking temperature and method are key to achieving this loaf's delightful texture contrast.
Crusty Italian Bread with a Light Crumb
Crusty Italian bread, often shaped as a round loaf (pagnotta) or a long, rustic loaf, is another excellent candidate for steam enhanced baking. These doughs are typically lean (no added fat or sugar) and rely on proper fermentation and steam to develop their structure and crust. Using a baking stone or steel preheated to a high steam enhanced baking temperature, like 450°F (230°C), combined with a steam pan setup (water poured into a hot tray or lava rocks) is a common method.
Introducing steam immediately as the loaves go into the oven for the first 15-20 minutes allows the dough to expand fully, creating a light, airy interior with an irregular, open crumb. Once the steam is vented, the baking continues at a dry heat, often with the temperature reduced slightly to 425°F (220°C), for another 20-30 minutes until the crust is golden brown and wonderfully crisp. The steam enhanced baking temperature strategy is vital for achieving the perfect balance of a light crumb and a thin, delicate, crisp crust typical of authentic Italian loaves.
Consistent Results: Perfect Steam Enhanced Baking Every Time
Achieving consistent results with steam enhanced baking boils down to controlling a few key variables: dough development, proofing, temperature, and steam management. Start with a well-developed dough that has sufficient gluten structure to support expansion. Ensure your dough is properly proofed – not under or over-proofed – so it has the energy for oven spring.
Mastering the steam enhanced baking temperature is paramount. Preheat your oven and baking surface/vessel thoroughly to the correct high temperature for the initial steam phase. Introduce steam effectively at the beginning of the bake using a reliable method like a Dutch oven or a well-executed steam pan setup.
Be sure to release the steam at the appropriate time to allow the crust to dry and crisp up, and potentially reduce the temperature for the remainder of the bake to ensure even cooking. By paying attention to these details, you'll be well on your way to consistently baking beautiful, artisan-quality bread at home.
Frequently Asked Questions
What is steam enhanced baking and why is it important?
Steam enhanced baking involves introducing moisture into the oven during the initial stages of baking. This is crucial for creating a crispy crust and a light, airy interior, particularly in breads.
At what temperature should I introduce steam when baking bread?
Typically, steam is introduced at a high initial temperature, generally between 400-475°F (200-245°C). This allows for rapid expansion of the dough before the crust sets.
How long should I keep the steam in the oven during baking?
The steam should only be present for the first 10-20 minutes of baking. After this, it needs to be released to allow the crust to dry and crisp up.
What are some methods for creating steam in a home oven?
Several methods exist, including using a preheated Dutch oven, adding ice cubes to a hot pan, or spraying the oven walls with water. Choose the method that best suits your oven and comfort level.
Can steam enhanced baking be used for all types of baked goods?
While beneficial for many breads and some pastries, steam isn't ideal for all baked goods. Cakes and cookies generally don't benefit from added steam and may become soggy.
Final Reflection: Mastering the Art of Steam-Enhanced Baking
The precise control of steam during baking is no longer a niche technique; it's a crucial element for achieving professional-quality results at home. Understanding the interplay between moisture introduction and temperature unlocks a world of superior texture, crust development, and overall flavor in baked goods, impacting everything from crusty loaves to delicate pastries.
The impact of steam on baking extends far beyond mere technical improvement; it represents a deeper connection to the craft. It's about understanding the fundamental science behind the process and applying that knowledge to create something truly exceptional. This journey of exploration has reinforced my own appreciation for the artistry involved, reminding me that even seemingly small details can yield extraordinary results. The best bakers are scientists, artists, and storytellers all rolled into one.
– This quote, while not directly about steam, perfectly encapsulates the multifaceted nature of baking mastery that steam-enhanced techniques further enhance.
Now, it's your turn. Consider the recipes you already love and imagine the possibilities unlocked by strategically introducing steam. Experiment with different temperatures and timings, observe the results, and refine your technique. Don't be afraid to fail; each attempt brings you closer to mastering this powerful tool and unlocking a new level of baking excellence. The journey of culinary exploration is a rewarding one, and steam-enhanced baking is a delicious path to follow.
Unlock Your Baking Potential: Master the Art of Steam
Thanks for diving into the world of steam-enhanced baking! We hope you now feel confident about using steam to achieve perfectly textured baked goods. Ready to put your newfound knowledge into practice?
- Bake your dream loaf: Try incorporating steam into your next bread recipe, focusing on the temperature and timing we discussed. Note the difference in crumb and crust!
- Share your steaming success: Post a picture of your creation on social media and tag us! Let’s inspire other bakers.
- Explore other steam techniques: Experiment with different methods and types of ovens to find what works best for you and your baking style.
What innovative steaming techniques will you try next? Let's discuss in the comments below!