
Easy Greek Pita Bread: Pocket Full of Goodness

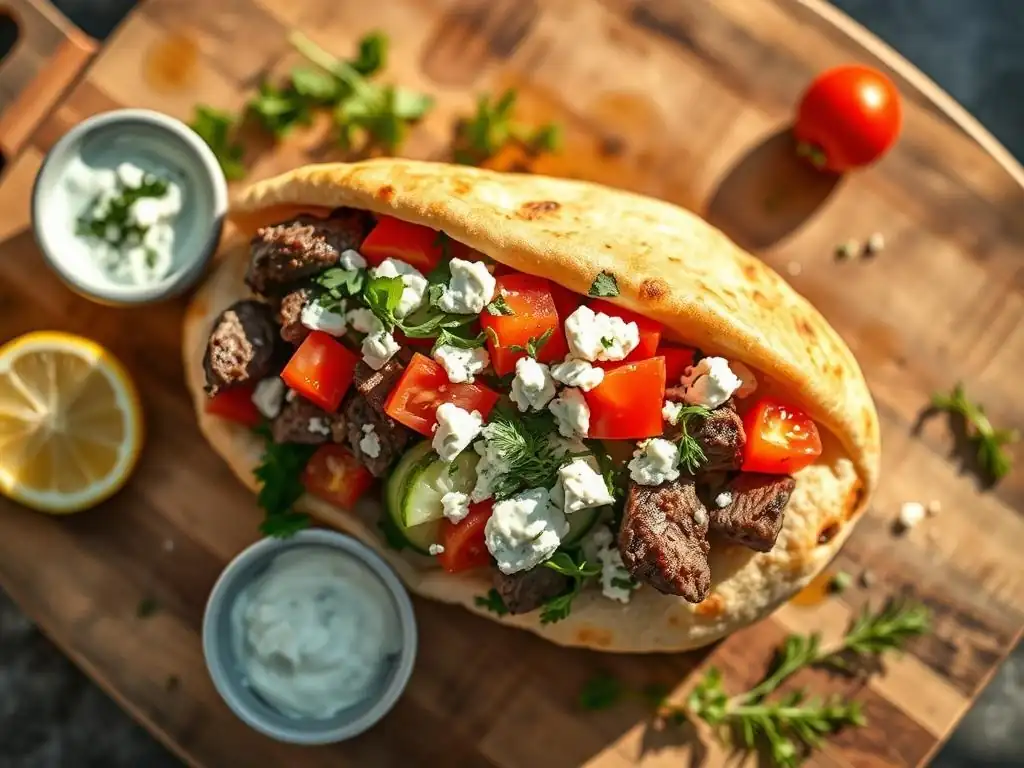
Welcome to BakeWithEase, where the joy of baking is always within reach! Ever dreamt of perfectly soft, pillowy pita bread, warm from the oven and ready to be filled with your favorite delights? Imagine the aroma filling your kitchen as you effortlessly create authentic Greek pita bread. Our Easy Greek Pita Bread Recipe will guide you through each step, ensuring baking success. Ready to unlock the secrets to this versatile staple and create a pocket full of goodness? Let's get baking!
- Homemade Pita Bread: A Simple & Delicious Guide
- Introduction to Pita Bread Baking
- Understanding Pita Bread
- Pita Bread Recipe: Step-by-Step
- Tips for Perfect Pita
- Serving Suggestions
- Recipe Variations
- Expanding Your Baking Skills
- Conclusion: Enjoy Your Homemade Pita Bread!
-
Frequently Asked Questions
- What makes this Greek pita bread recipe considered easy?
- What kind of flour is best for this easy Greek pita bread recipe?
- How do I ensure my pita bread puffs up properly when baking?
- Can I freeze the easy Greek pita bread dough or baked pita bread?
- What are some serving suggestions for this easy Greek pita bread?
- Final Reflection: The Simple Joy of Homemade Pita
- Unleash Your Inner Baker: Make Amazing Pita!
Homemade Pita Bread: A Simple & Delicious Guide
Introduction to Pita Bread Baking
The Satisfaction of Baking Your Own Bread
There's a unique satisfaction that comes from baking bread from scratch. The simple act of combining flour, water, yeast, and salt and watching it transform into a warm, fragrant loaf is incredibly rewarding. For many, it's a connection to ancient culinary traditions, a tactile experience that engages the senses from the first touch of flour to the final golden-brown crust.
Imagine pulling a batch of warm, puffed pita bread straight from your oven – the aroma filling your kitchen, a testament to your own hands creating something wonderful. This process isn't just about making food; it's about creating a moment of connection with your ingredients and the simple magic of baking.
Beyond the sensory pleasure, baking your own bread offers a sense of accomplishment. It demystifies a process often thought of as complex, proving that delicious, fresh bread is achievable at home. This is especially true when tackling an Easy Greek pita bread recipe.
Unlike some elaborate loaves, pita bread is relatively quick and forgiving, making it an ideal starting point for new bakers or a satisfying project for experienced ones looking for a simple win. The pride you feel when sharing your homemade pita, still warm and ready to be filled, is a delicious reward in itself, far surpassing any store-bought option.
Why This Recipe is Great for Beginners
This Easy Greek pita bread recipe is specifically designed with the beginner baker in mind. It simplifies the process without sacrificing authenticity or flavor, breaking down each step into manageable actions. We focus on basic techniques like simple mixing, minimal kneading, and straightforward shaping, ensuring that you won't feel overwhelmed.
The ingredients are common pantry staples, easy to find at any grocery store, which removes another potential barrier to getting started. You won't need special equipment beyond a mixing bowl, a surface for kneading, and an oven – no fancy bread machines or proofing boxes required to achieve fantastic results.
One of the most exciting parts of making pita is watching it puff up dramatically in the oven, creating that signature pocket. This recipe guides you to achieve that perfect puff, which is a key indicator of success and incredibly motivating for a new baker.
We'll provide clear instructions and tips to help you understand the 'why' behind each step – why kneading is important, what proofing does, and how oven temperature affects the bake. By following this Easy Greek pita bread recipe, beginners can build confidence, learn fundamental bread-making skills, and quickly enjoy delicious, fresh bread, setting the stage for exploring more complex baking projects in the future.
Understanding Pita Bread
What Defines Authentic Pita Bread?
Authentic pita bread, particularly the style common in Greek and Middle Eastern cuisine, is defined by its soft, slightly chewy texture and, most notably, its characteristic pocket. This pocket forms when the dough is baked at a high temperature, causing the water within the dough to quickly turn to steam and inflate the bread like a balloon. As the bread cools, the steam condenses, leaving behind a hollow space perfect for stuffing.
Traditional recipes typically use simple ingredients: flour, water, yeast, and salt, sometimes with a touch of olive oil for added softness. The dough is usually kneaded just enough to develop some gluten structure but not so much that it becomes dense.
The baking method is crucial for that signature puff. Authentic pita is often baked in very hot ovens, sometimes on stones or in traditional tandoors, which provide intense, direct heat.
While most home ovens might not reach the extreme temperatures of a professional setup, this Easy Greek pita bread recipe uses techniques like preheating a baking stone or steel, or simply using a hot oven, to replicate the effect as closely as possible. The result should be a pliable flatbread that is soft enough to fold without cracking and has a distinct separation between the top and bottom layers forming the pocket.
The Many Uses of Pita Bread
The versatility of pita bread is one of its greatest attributes. Its primary use is as a vessel for carrying fillings, making it perfect for sandwiches and wraps. The natural pocket is ideal for stuffing with everything from falafel, hummus, and fresh vegetables to grilled meats like souvlaki or gyro, creating a complete meal that's easy to hold and eat. In many cultures, pita is also used simply as an edible utensil, torn into pieces and used to scoop up dips, stews, and salads, much like injera in Ethiopian cuisine or naan in Indian cuisine.
Beyond stuffing and scooping, pita bread can be transformed into other delicious forms. When cut into triangles and baked or fried until crispy, it becomes pita chips, a popular snack or accompaniment for dips like hummus, baba ghanoush, or tzatziki. Stale pita can be used in dishes like fattoush salad, where torn pieces are toasted or fried and mixed with vegetables and dressing.
Its neutral, slightly yeasty flavor makes it a perfect canvas for both savory and even some sweet applications (though savory is far more common). This Easy Greek pita bread recipe opens up a world of culinary possibilities right from your kitchen.
Pita Bread Recipe: Step-by-Step
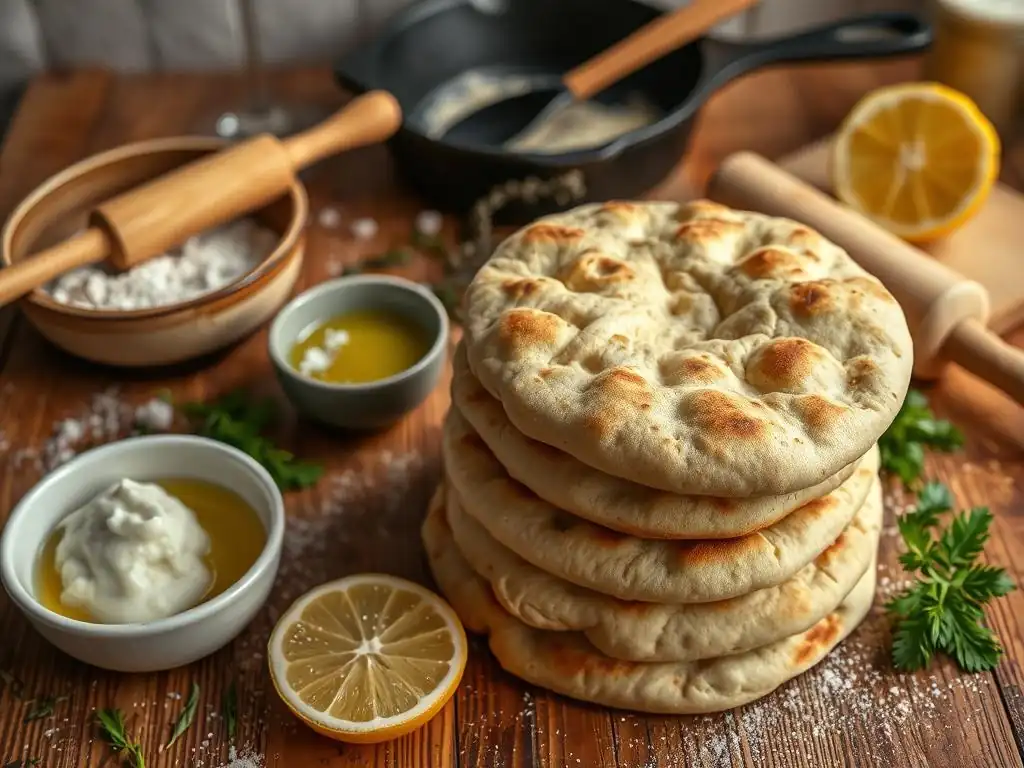
Ingredients
Bread Flour: The Foundation of Your Pita
Bread flour is highly recommended for this Easy Greek pita bread recipe because of its higher protein content, typically ranging from 12% to 14%. This higher protein level is crucial for developing strong gluten strands during mixing and kneading. Gluten is the network that gives bread dough its structure and elasticity, allowing it to stretch without tearing and trapping the gases produced by the yeast.
For pita, sufficient gluten development is key to achieving that characteristic pocket; a strong, elastic dough can trap the steam needed to inflate the bread during baking. While all-purpose flour (typically 10-12% protein) can be used, it may result in a slightly less airy dough and a less pronounced pocket.
Using bread flour helps create a dough that is both pliable and strong enough to withstand handling and the high heat of the oven. It contributes to the slightly chewy texture that is characteristic of authentic pita. When measuring your flour, use the spoon-and-level method: spoon the flour into your measuring cup and level off the excess with a straight edge, rather than scooping directly from the bag.
This prevents compacting the flour, which could lead to using too much and resulting in a dry, heavy dough. For this recipe, you'll likely need around 3 to 4 cups of bread flour, though the exact amount can vary slightly based on humidity and the absorption rate of the specific flour.
Yeast, Water, and Salt: Essential Components
Yeast is the leavening agent in this Easy Greek pita bread recipe, responsible for making the dough rise and contributing to the bread's flavor and texture. We'll use active dry or instant yeast. Active dry yeast typically requires proofing in warm water before being added to the dry ingredients, while instant yeast can be mixed directly with the flour.
A standard package of yeast contains about 2.25 teaspoons, which is usually sufficient for a recipe using 3-4 cups of flour. The yeast consumes sugars in the flour and produces carbon dioxide gas and alcohol; the gas is trapped by the gluten network, causing the dough to expand.
Water is essential for activating the yeast and hydrating the flour to allow gluten formation. The temperature of the water is important: too cold and the yeast won't activate; too hot and you can kill it. Lukewarm water, between 105°F and 115°F (40°C-46°C), is ideal for active dry yeast, while cooler water (around 80°F-90°F or 27°C-32°C) is fine for instant yeast, though warmer water speeds things up. You'll need about 1.25 to 1.5 cups of water for this recipe.
Salt is not just for flavor; it also helps regulate the yeast activity and strengthens the gluten structure. Don't omit the salt, but make sure it doesn't come into direct contact with the yeast for too long before mixing, especially if proofing active dry yeast, as high concentrations of salt can inhibit yeast activity. About 1 to 1.5 teaspoons of fine sea salt is typically used.
Dough Preparation
Mixing and Kneading for Elasticity
Mixing the dough for your Easy Greek pita bread recipe begins by combining the warm water, yeast, and a pinch of sugar (optional, to feed the yeast) in a large bowl if using active dry yeast, letting it bloom for 5-10 minutes until frothy. If using instant yeast, you can simply whisk it into the flour and salt mixture. Gradually add the flour to the wet ingredients, mixing with a spoon or spatula until a shaggy dough forms.
At this point, you can turn the dough out onto a lightly floured surface for kneading. Kneading develops the gluten, transforming the sticky mass into a smooth, elastic dough.
Kneading by hand involves folding the dough onto itself, pushing down and away with the heel of your hand, rotating, and repeating. Aim for 5-8 minutes of kneading until the dough is smooth and elastic. You can test for sufficient kneading by performing the "windowpane test": pinch a small piece of dough and gently stretch it. If it stretches thin enough to see light through it without tearing, the gluten is well-developed.
If it tears easily, continue kneading for another minute or two. Alternatively, a stand mixer with a dough hook can do the work in 4-6 minutes on medium speed. Proper kneading is vital for the dough's ability to puff up in the oven.
Proofing: The Key to Lightness
Proofing, also known as fermentation, is the process where the yeast produces carbon dioxide gas, causing the dough to rise and double in size. This step is absolutely crucial for achieving light and airy pita bread. After kneading, shape the dough into a ball and place it in a lightly oiled bowl, turning to coat the surface.
Cover the bowl tightly with plastic wrap or a damp tea towel to prevent the dough from drying out. The ideal temperature for proofing is warm, around 75°F to 80°F (24°C-27°C). A warm oven that has been turned off (or slightly warmed and then turned off) is a good spot, or simply a warm countertop away from drafts.
The first proof typically takes 60-90 minutes, or until the dough has roughly doubled in volume. The exact time can vary significantly depending on the ambient temperature and the vitality of your yeast. You can tell the dough is ready when you gently press two fingers into it and the indentation remains, or springs back very slowly.
Don't rush this step; proper proofing allows the gluten to relax and the flavors to develop. After the first proof, you'll gently punch down the dough to release some of the gas before dividing and shaping, preparing it for the final shaping and baking phase of this Easy Greek pita bread recipe.
Shaping and Baking
Dividing and Rolling the Dough
After the first proof, gently turn the dough out onto a lightly floured surface. Avoid overworking the dough at this stage; the goal is to handle it minimally to preserve the airy structure built during proofing. Use a bench scraper or knife to divide the dough into equal portions. For standard-sized pita bread (about 6-7 inches in diameter), you'll typically get 6-8 pieces from a recipe using 3-4 cups of flour.
Each piece should weigh roughly 80-100 grams. Shape each portion into a small ball by tucking the edges underneath to create surface tension. Let the dough balls rest for 5-10 minutes, covered, to allow the gluten to relax.
Once rested, the dough balls are ready for rolling. Working with one ball at a time, keeping the others covered, use a rolling pin to flatten the dough into a circle about 6-7 inches in diameter and roughly 1/8 to 1/4 inch thick. Aim for an even thickness across the circle, as thin spots can prevent the pita from puffing properly. Avoid using too much flour during rolling, as excess flour on the surface can inhibit the puff.
Place the rolled pita rounds on a baking sheet lined with parchment paper or a clean kitchen towel, ensuring they don't touch. Cover them lightly and let them rest for another 10-15 minutes while you preheat your oven and baking surface. This short rest helps the dough relax again before hitting the heat.
Baking for the Perfect Puff
Achieving the perfect puff is the most exciting part of baking pita bread and is key to this Easy Greek pita bread recipe. High heat is essential. Preheat your oven to its maximum temperature, typically 475°F to 500°F (245°C-260°C). If you have a baking stone or steel, place it in the oven while it preheats for at least 30-60 minutes to ensure it's scorching hot. This conductive heat is ideal for rapid steam formation and puffing. If you don't have a stone or steel, you can use a heavy baking sheet, preheating it in the oven as well.
Carefully transfer the rolled pita rounds directly onto the hot baking surface in the oven. Don't overcrowd the oven; bake only 2-3 pita at a time to maintain the high temperature. Close the oven door quickly to trap the heat. Within 1-3 minutes, you should see the pita bread start to inflate like a balloon.
Once fully puffed (which takes only a couple of minutes), continue baking for another 1-2 minutes until they are lightly golden and set, total baking time is often just 3-5 minutes per batch. Remove the puffed pita from the oven and place them in a basket or on a cooling rack, covering them with a clean towel to keep them soft and pliable as they cool slightly. This step-by-step guide ensures your Easy Greek pita bread recipe yields beautifully puffed pockets every time.
Troubleshooting: Common Problems and Solutions
One common issue when baking pita bread is that it doesn't puff up fully, or at all. Several factors can cause this. Insufficient oven temperature is a major culprit; the heat needs to be high enough (475°F-500°F) to instantly turn the internal moisture into steam. Ensure your oven is fully preheated, preferably with a baking stone or steel that has had ample time to heat up (at least 30 minutes, ideally 60).
Another reason is improper dough handling; if the dough wasn't kneaded enough, the gluten structure isn't strong enough to trap the steam. Conversely, over-kneading can make the dough too tough. Also, rolling the dough too thick or unevenly can prevent proper puffing; aim for about 1/8 to 1/4 inch thickness.
If your pita breads are coming out hard or crispy instead of soft and pliable, this usually indicates over-baking or insufficient moisture in the dough. Pita bakes very quickly, often in just 3-5 minutes. They should be removed from the oven when they are puffed and just starting to show light golden spots, not deeply browned like a loaf of bread.
Covering the pita with a towel immediately after baking helps trap steam and keeps them soft. If your dough felt dry during mixing, next time slightly increase the water amount by a tablespoon or two. Resting the dough balls and rolled rounds for the recommended times also helps the gluten relax, contributing to a softer texture in this Easy Greek pita bread recipe.
Tips for Perfect Pita
Achieving the Right Texture
The perfect pita bread has a soft, pliable texture with a distinct pocket. Achieving this involves several factors throughout the process of making your Easy Greek pita bread recipe. First, using bread flour (12-14% protein) helps develop a strong yet elastic gluten network, crucial for trapping steam and creating the puff. Proper kneading, enough to make the dough smooth and elastic but not overly tough, is also key. Over-kneading can lead to a dense, chewy texture, while under-kneading results in a weak dough that won't puff well.
Proofing the dough correctly allows the yeast to develop gases and the gluten to relax, contributing to softness. Don't rush the proofing stages. When rolling the dough, aim for an even thickness of about 1/8 to 1/4 inch; uneven thickness can lead to some parts being too thin and crispy while others are too thick and dense.
Finally, the high-temperature, short baking time is critical. Baking at 475°F-500°F for just 3-5 minutes ensures the outside sets quickly while the inside steams and creates the pocket, without drying out the bread. Immediately covering the baked pita with a towel as they cool helps retain moisture and keeps them soft and pliable.
Storing Freshly Baked Pita
Freshly baked pita bread is best enjoyed warm, but it can be stored for later use. Once completely cooled, stack the pita breads and place them in an airtight container or a resealable plastic bag. Removing as much air as possible before sealing helps prevent them from drying out. Stored at room temperature, homemade pita bread will stay fresh and soft for 2-3 days. After a couple of days, the texture might start to become a little tougher, but they are still perfectly usable, especially if gently reheated.
For longer storage, pita bread freezes exceptionally well. Wrap cooled pita breads tightly in plastic wrap, either individually or in small stacks of 2-3, then place the wrapped bundles in a freezer-safe bag or container. Properly frozen pita bread can maintain its quality for up to 3 months.
To use frozen pita, simply remove the desired number from the freezer and let them thaw at room temperature for an hour or two, or gently reheat them directly from frozen using one of the methods described below. Storing your pita properly ensures you can enjoy the fruits of your Easy Greek pita bread recipe whenever you like.
Reheating for Optimal Taste
Reheating homemade pita bread helps restore its soft texture and brings back that wonderful fresh-baked aroma. Several methods work well. One of the easiest is to warm them gently in a dry skillet over medium heat for 1-2 minutes per side, flipping occasionally. This method works well for slightly firm pita and helps crisp up the exterior slightly while warming the inside. Be careful not to overheat, or they can become stiff.
Alternatively, you can warm pita in a toaster oven or a conventional oven preheated to about 350°F (175°C). Place the pita directly on the oven rack or on a baking sheet for 2-4 minutes, or until warm and pliable. Avoid placing cold pita directly onto a very hot surface like a preheated baking stone unless you're trying to re-puff them, as they can burn quickly.
For a quick reheat, you can even wrap a pita in a damp paper towel and microwave it for 10-20 seconds, though this method can sometimes make them a bit rubbery if microwaved for too long. Experiment with these methods to find your preferred way to enjoy your delicious Easy Greek pita bread recipe leftovers.
Serving Suggestions
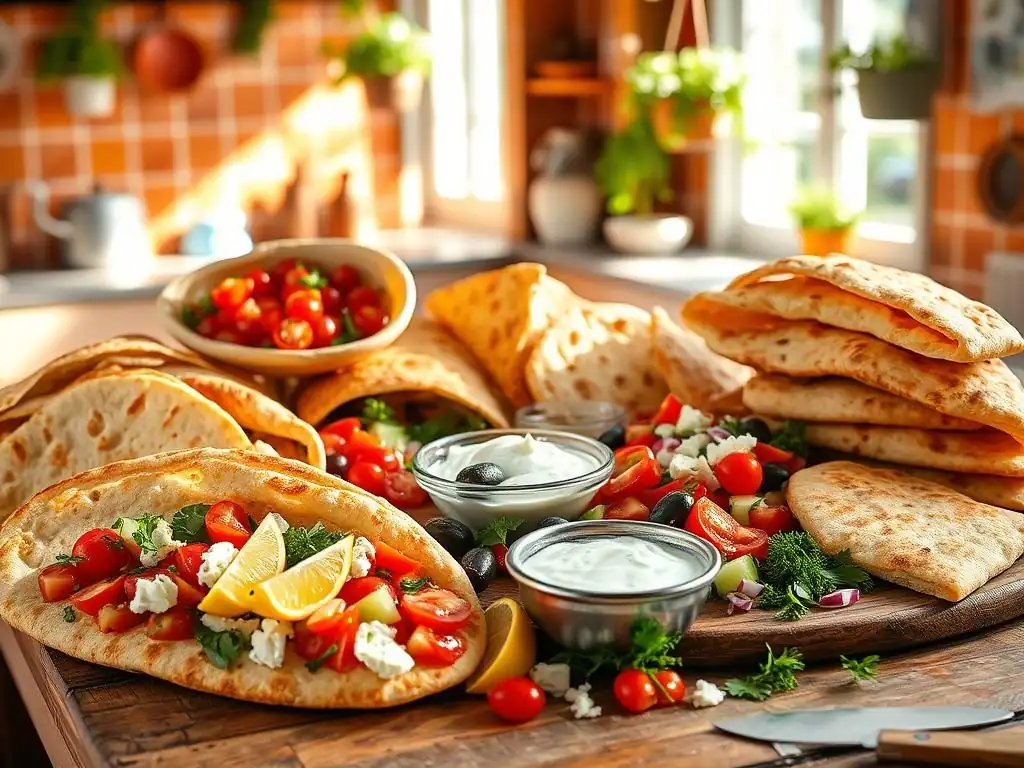
Classic Fillings
Falafel and Hummus: A Vegetarian Delight
One of the most beloved and classic ways to enjoy pita bread, especially from an Easy Greek pita bread recipe, is by filling it with falafel and hummus. Falafel are crispy, deep-fried patties or balls made from ground chickpeas or fava beans, herbs, and spices. Their earthy, slightly spicy flavor and crunchy exterior provide a wonderful textural contrast to the soft pita. Hummus, a creamy dip made from mashed chickpeas, tahini, lemon juice, and garlic, adds a smooth, rich element that complements the falafel perfectly.
To assemble this vegetarian delight, gently open the pocket of a warm pita bread. Spread a generous layer of hummus inside the pocket or on one half. Add several hot falafel balls or patties. Then, layer in fresh vegetables like chopped tomatoes, cucumbers, red onion, and crisp lettuce.
A drizzle of tahini sauce or a dollop of plain yogurt or tzatziki can add extra moisture and flavor. This combination is not only incredibly satisfying and flavorful but also packed with plant-based protein and fiber, making it a wholesome meal option. It's a staple street food in many regions and a fantastic way to showcase your homemade pita.
Grilled Chicken and Tzatziki: A Flavorful Combination
For meat lovers, stuffing warm pita bread with grilled chicken and tzatziki is a quintessential Greek experience and a perfect pairing for your Easy Greek pita bread recipe. Marinated and grilled chicken pieces, often seasoned with lemon, garlic, oregano, and other Mediterranean herbs, offer a juicy, savory filling. Chicken souvlaki (skewered and grilled chicken) or thinly sliced chicken gyro meat are excellent choices. The smoky flavor from the grill adds another layer of deliciousness.
Tzatziki is a cool, creamy Greek sauce made from strained yogurt, cucumber, garlic, olive oil, and sometimes dill or mint. Its refreshing tang and cool temperature provide a delightful contrast to the warm chicken. To create this flavorful combination, open a warm pita pocket. Add a generous portion of grilled chicken.
Spoon in plenty of fresh tzatziki sauce. You can also add traditional Greek garnishes like sliced tomatoes, red onions, and a sprinkle of fresh parsley or oregano. This combination is incredibly popular, easy to customize, and highlights the versatility of your homemade pita bread as a vehicle for vibrant, fresh flavors.
Creative Uses
Pita Bread Chips: A Crunchy Snack
Transforming your homemade pita bread into crispy, crunchy chips is a simple and delicious way to use any leftover pita or create a perfect snack or appetizer. This use works particularly well for pita that might be a day or two old and slightly less pliable. To make pita chips, start by cutting each round of pita bread into triangles, typically 6-8 triangles per pita. You can separate the two layers of the pocket if you prefer thinner chips, but leaving them together works just as well for a sturdier chip.
Arrange the pita triangles in a single layer on a baking sheet. Drizzle or brush them lightly with olive oil. For flavor, sprinkle them generously with seasonings like salt, pepper, garlic powder, onion powder, sumac, oregano, or a blend of your favorite herbs and spices. Bake in a preheated oven at around 350°F (175°C) for 10-15 minutes, or until golden brown and crispy.
Keep a close eye on them, as they can burn quickly. Once baked, let them cool completely on the baking sheet; they will crisp up further as they cool. Homemade pita chips are fantastic for scooping up dips like hummus, baba ghanoush, spinach dip, or salsa, offering a healthier alternative to fried chips.
Pita Bread Wraps: A Versatile Meal
While the pocket is a defining feature, pita bread is also excellent used simply as a flatbread wrap, especially when made with an Easy Greek pita bread recipe that results in a soft, pliable texture. Instead of stuffing a pocket, you can pile ingredients onto one half of the pita and fold or roll it up like a soft taco or burrito. This method is often easier for ingredients that are harder to stuff neatly into a pocket, such as larger pieces of meat, substantial salads, or ingredients with a lot of sauce.
Pita wraps are incredibly versatile and can be filled with almost anything you'd put in a sandwich or tortilla wrap. Think grilled vegetables and halloumi, leftover roasted meats, chicken salad, tuna salad, or even breakfast fillings like scrambled eggs and cheese. The soft texture of the homemade pita holds everything together well without cracking, making it a convenient and delicious hand-held meal. Simply warm the pita slightly to make it more pliable, add your desired fillings to one side, and fold or roll. It's a quick way to turn leftovers into a fresh and satisfying meal.
Recipe Variations
Whole Wheat Pita: A Healthier Choice
Adding whole wheat flour is a simple way to make your Easy Greek pita bread recipe a bit healthier, increasing the fiber content and adding a nuttier flavor. Whole wheat flour contains the entire wheat kernel – the bran, germ, and endosperm – unlike white bread flour which primarily uses the endosperm. This results in a denser flour that absorbs liquid differently and has a lower protein content relative to its weight compared to bread flour.
To make whole wheat pita, you can substitute a portion of the white bread flour with whole wheat flour. A good starting point is replacing 25% to 50% of the white flour with whole wheat. For instance, if the recipe calls for 4 cups of bread flour, try using 2 cups of bread flour and 2 cups of whole wheat flour, or even 3 cups bread flour and 1 cup whole wheat.
You may need to slightly increase the amount of water, as whole wheat flour tends to absorb more liquid. The dough might be a bit stickier and less elastic, and the resulting pita might not puff quite as dramatically as those made with 100% white flour, but they will still form pockets and offer a more robust flavor and nutritional profile.
Spiced Pita: Adding Flavor to Your Bread
Infusing your homemade pita bread with spices is an excellent way to add depth and character, moving beyond the basic Easy Greek pita bread recipe. Spices can be incorporated directly into the dry ingredients before adding the wet components. Common additions include Mediterranean flavors like dried oregano, thyme, or za'atar (a Middle Eastern blend typically containing sumac, thyme, sesame seeds, and salt). About 1-2 teaspoons of dried herbs or spices per 3-4 cups of flour is usually sufficient to impart noticeable flavor without overwhelming the bread.
Other interesting spice additions could include garlic powder, onion powder, a pinch of smoked paprika, or even a touch of cumin for a slightly different profile. For a subtle warmth, you could add a tiny pinch of cayenne pepper or black pepper. When adding spices, whisk them thoroughly into the flour and salt mixture before adding the wet ingredients to ensure even distribution throughout the dough. Spiced pita bread is particularly good served alongside dips like hummus or baba ghanoush, or used as wraps for richly flavored fillings like spiced lamb or roasted vegetables, enhancing the overall culinary experience.
Expanding Your Baking Skills
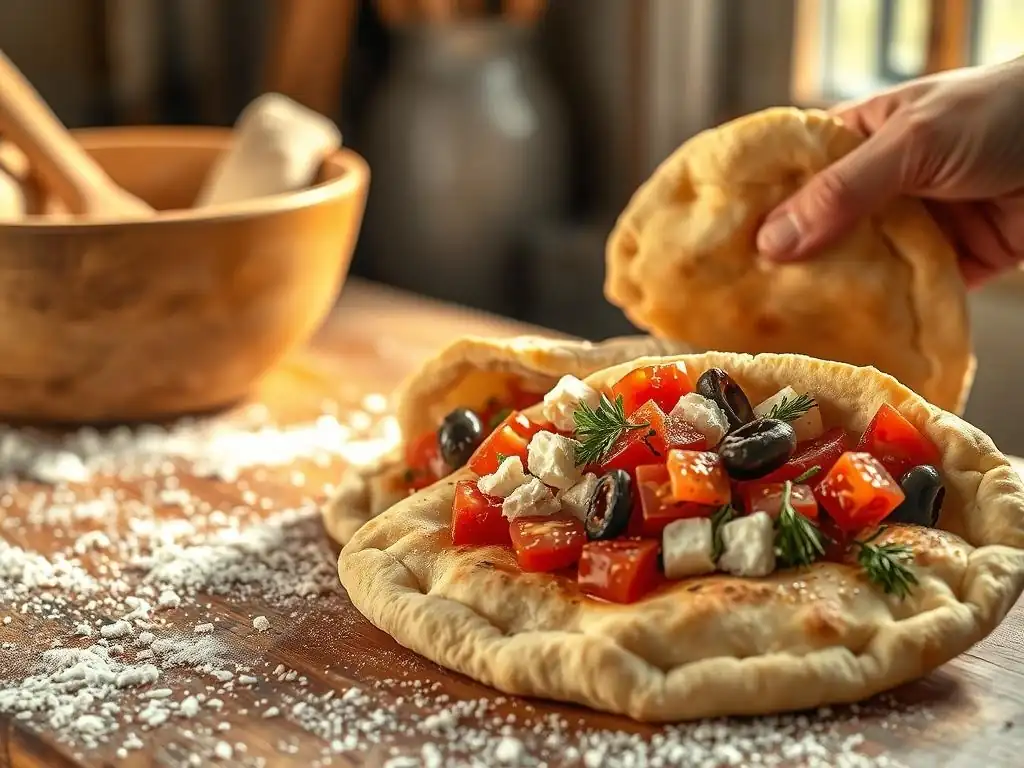
Explore Other Bread Recipes
Mastering this Easy Greek pita bread recipe is a fantastic achievement and a great stepping stone into the wider world of bread baking. The techniques you've learned – understanding yeast activity, kneading dough, proofing, and baking at high temperatures – are fundamental skills applicable to many other types of bread.
Once you're comfortable making pita, you might feel ready to tackle other flatbreads, such as focaccia, naan, or even tortillas. Focaccia, for example, involves a wetter dough and different shaping techniques, while naan often includes yogurt or milk for softness and is traditionally cooked in a tandoor (though achievable in a hot oven or skillet).
Moving beyond flatbreads, you could explore enriched doughs used for challah or brioche, which include eggs, milk, and butter, resulting in a softer, richer crumb. Lean doughs, like those for crusty baguettes or rustic loaves, involve longer fermentation times and different shaping and baking methods, often incorporating steam in the oven to achieve a crisp crust. Each new recipe introduces slight variations on the basic principles, helping you refine your understanding of how ingredients and techniques influence the final loaf. Don't hesitate to experiment with different flours, hydration levels, and fermentation times as you continue your baking journey.
Conclusion: Enjoy Your Homemade Pita Bread!
Frequently Asked Questions
What makes this Greek pita bread recipe considered easy?
This recipe focuses on simple ingredients and straightforward steps, minimizing complexity for bakers of all skill levels. We avoid overly technical processes and prioritize ease of execution.
What kind of flour is best for this easy Greek pita bread recipe?
We recommend using all-purpose flour for best results. It provides a good balance of gluten development for a soft and pliable pita. Alternatively, you can use bread flour for chewier results.
How do I ensure my pita bread puffs up properly when baking?
A very hot oven is crucial for proper puffing. Also, ensure your dough is rolled out evenly and not too thin, which can prevent steam from building inside.
Can I freeze the easy Greek pita bread dough or baked pita bread?
Yes, both the dough and baked pita bread can be frozen. For the dough, wrap it tightly and thaw completely before baking. For baked pita, cool completely and freeze in an airtight bag.
What are some serving suggestions for this easy Greek pita bread?
Enjoy it with tzatziki, hummus, or use it to wrap gyros or souvlaki. It's also delicious simply warmed with a drizzle of olive oil or used as a base for mini pizzas.
Final Reflection: The Simple Joy of Homemade Pita
The aroma of freshly baked pita bread, warm and slightly chewy, is a testament to the enduring power of simple pleasures. This seemingly straightforward recipe, designed to make even the most novice baker feel confident in crafting their own Greek pita, speaks to a deeper connection with food and tradition. It's more than just a recipe; it's a gateway to a richer culinary experience.
The impact of homemade food, especially bread, transcends mere sustenance. It fosters a sense of accomplishment, a connection to heritage, and a deeper appreciation for the ingredients and processes involved. Bread is the staff of life,
a proverb often repeated, highlights the fundamental role bread plays in cultures worldwide. This simple pita recipe allows you to participate in that tradition, to create something nourishing and delicious with your own hands, and to share that joy with others. The act of making your own pita, even if just once, shifts your perspective on this everyday staple.
Now, I invite you to consider the possibilities. Will you try your hand at this easy Greek pita bread recipe? Imagine the satisfaction of creating warm, fluffy pockets perfect for kebabs, falafel, or simply a generous spread of hummus. More than just a meal, it's an experience, a connection to something larger than yourself, and a delicious journey into the heart of Greek cuisine. Embrace the simplicity, embrace the process, and embrace the joy of homemade goodness.
Unleash Your Inner Baker: Make Amazing Pita!
Thanks for joining us on this pita-making adventure! We hope you now feel confident and excited to bake your own delicious, fluffy pita bread. Ready to take your culinary skills to the next level?
- Bake a batch today! Use our recipe as a springboard – experiment with different herbs and fillings to create your signature pita.
- Share your pita creations! Show us your baking masterpieces on social media using #BakeWithEasePita. We'd love to see what you come up with!
- Try a pita-inspired recipe swap. Find a favorite recipe (salad, pizza, etc.) and see how it tastes with homemade pita!
What unexpected filling will you try in your next batch of homemade pita bread?