
Basic Sourdough: What to Do After Baking Your First Loaf

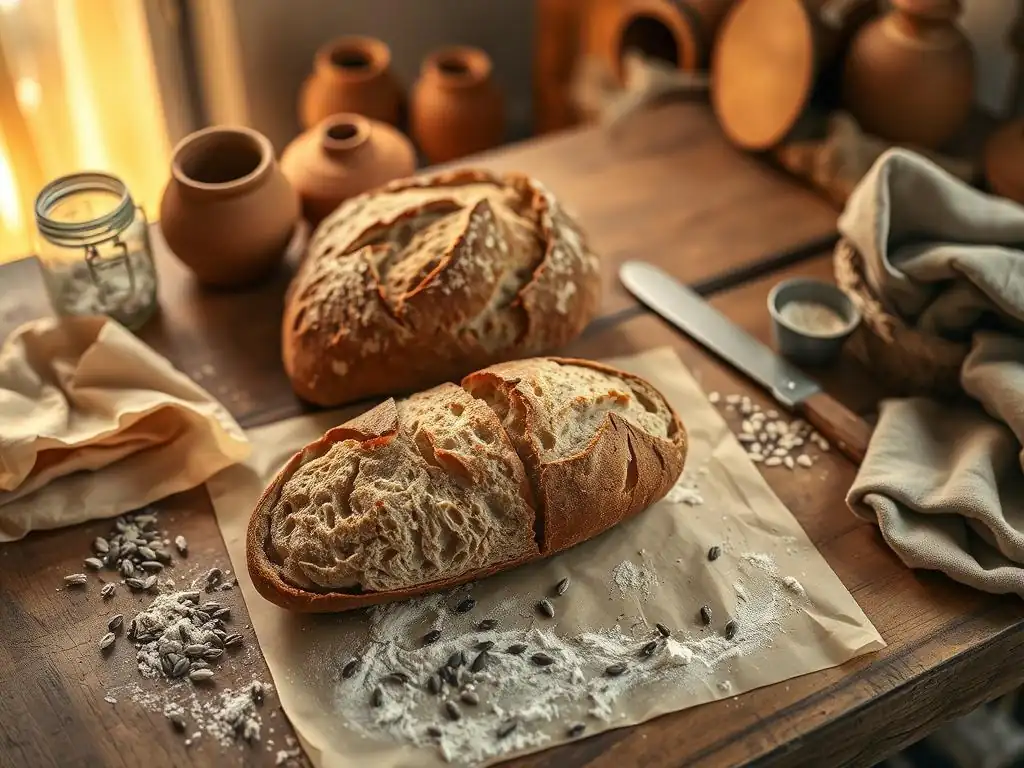
Welcome to BakeWithEase, your companion in the delightful world of baking! Just pulled your first sourdough loaf from the oven? Congratulations! But what if it's not quite perfect? Don't worry, we've all been there. This article dives into essential sourdough loaf troubleshooting tips, guiding you through common issues and offering solutions to elevate your next bake. Curious about achieving that perfect crust and airy crumb? Keep reading to unlock the secrets!
- Basic Sourdough: What to Do After Baking Your First Loaf - BakeWithEase
- Congratulations, You've Baked Your First Sourdough! Now What?
- Sourdough After-Bake: Initial Handling and Cooling
- Storing Your Sourdough Loaf: Maintaining Freshness
- Sourdough Loaf Troubleshooting Tips: Common Issues and Solutions
- Enjoying Your Sourdough: Serving Suggestions and Recipes
- Sourdough Starter Care After Baking
- Next Steps in Your Sourdough Journey
-
Frequently Asked Questions
- What are some common problems people encounter after baking their first sourdough loaf?
- My sourdough loaf is too dense. What could be the cause?
- The crust of my sourdough is rock hard! How can I prevent this?
- My sourdough has a gummy texture inside. Is it still safe to eat?
- How can I improve the sour flavor of my sourdough bread?
- Final Reflection: Beyond the First Loaf: A Sourdough Journey
- Unleash Your Inner Baker: Next Steps on Your Sourdough Journey!
Basic Sourdough: What to Do After Baking Your First Loaf - BakeWithEase
Congratulations, You've Baked Your First Sourdough! Now What?
Taking your very first sourdough loaf out of the oven is a moment of immense pride and accomplishment. The aroma filling your kitchen, the beautiful golden-brown crust – it's the culmination of nurturing your starter, mastering mixing, proofing, and shaping. You've successfully navigated the core steps of sourdough baking, and you've earned the right to celebrate! But the journey with your fresh loaf isn't quite over yet. Proper handling and storage are crucial to ensure you enjoy the best possible texture and flavor from your hard work.
Beyond simply admiring your creation, there are practical steps to take immediately after baking to maximize its potential. Understanding how to cool, store, and even troubleshoot common issues will help you get the most out of this loaf and prepare you for future baking adventures. This guide will walk you through everything you need to know, from that first crucial cooling period to storing your bread and even offering some helpful sourdough loaf troubleshooting tips for those inevitable moments when things don't go exactly as planned.
Sourdough After-Bake: Initial Handling and Cooling
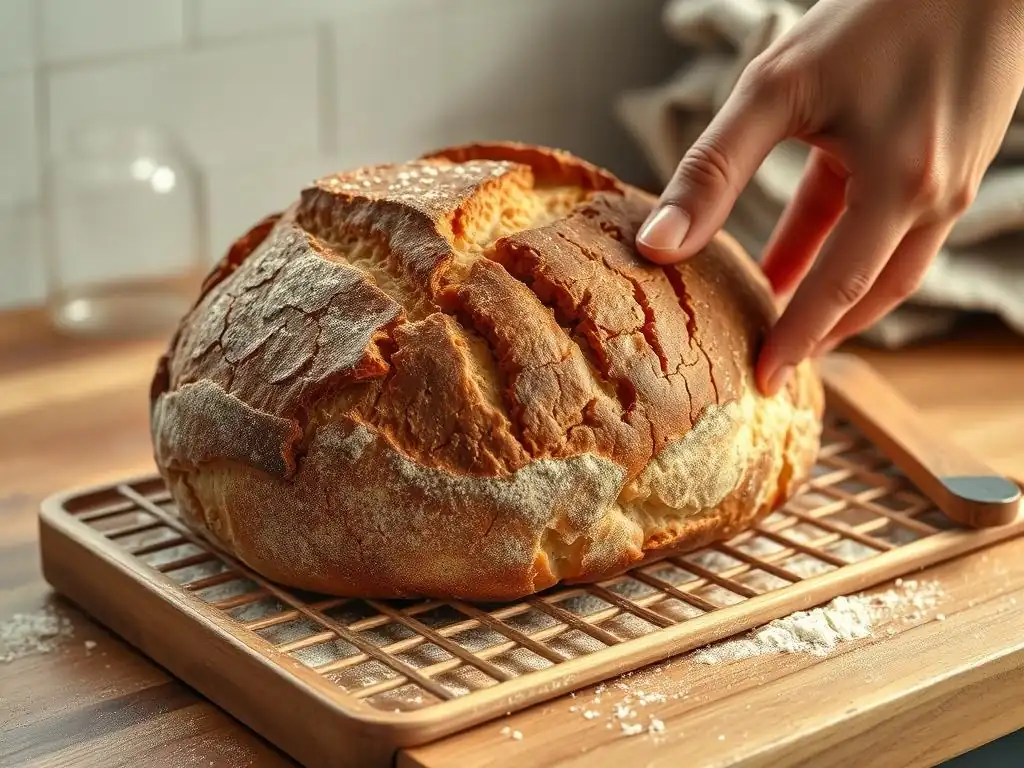
Allowing Your Sourdough Loaf to Cool Properly
Once your beautiful sourdough loaf emerges from the heat of the oven, the most important first step is patience. Resist the urge to slice into it immediately! Your loaf needs a significant amount of time to cool completely on a wire rack. This allows steam to escape and the internal structure, known as the crumb, to set properly. Placing the loaf on a rack ensures air circulation around the entire surface, preventing moisture buildup on the bottom crust, which can make it soggy.
The cooling process typically takes at least 1 to 2 hours for a standard-sized loaf, but larger or very dense loaves might require even longer, sometimes up to 3-4 hours. The bread is essentially still "cooking" internally as it cools, with starches solidifying and flavors developing. Cutting too soon interrupts this process, leading to a gummy or doughy texture inside, even if the crust is perfect. Find a spot away from drafts or direct heat and let your masterpiece rest undisturbed.
Why Cooling Matters for Sourdough Bread Texture
The internal temperature of a sourdough loaf fresh out of the oven can be upwards of 200°F (93°C). As it cools, this heat dissipates, and the steam trapped within the crumb slowly escapes. This escape of moisture is vital for developing the open, airy texture that is characteristic of a well-baked sourdough. If you slice the loaf while it's still hot, the steam is trapped, condensing and creating that undesirable gummy layer just beneath the crust.
Furthermore, the starches within the bread continue to gelatinize and firm up as the loaf cools. This retrogradation process contributes significantly to the bread's structure and mouthfeel. Properly cooled bread will have a firm yet resilient crumb that holds its shape when sliced, rather than collapsing or feeling heavy and wet. Think of it like letting a steak rest after cooking – the internal structure needs time to settle. Proper cooling is a non-negotiable step for achieving that perfect sourdough texture you've worked so hard for.
Storing Your Sourdough Loaf: Maintaining Freshness
Best Practices for Sourdough Bread Storage
Storing your sourdough correctly is key to preserving its delicious flavor and texture for as long as possible. Unlike commercially produced breads with added preservatives, sourdough relies on its natural acidity and the quality of its ingredients to stay fresh. The primary enemies of fresh sourdough are moisture loss (leading to staleness) and excessive moisture (leading to mold). The ideal storage method balances these factors, protecting the crust while maintaining a pleasant interior texture.
The best practice for short-term storage (1-2 days) is often the simplest: keeping the loaf at room temperature, loosely wrapped. Avoid airtight plastic bags initially, as they can trap moisture and soften the crust you worked so hard to achieve. Materials like paper bags, cloth bread bags, or even just placing the cut side down on a clean surface are good options for the first day. For longer storage, you'll need to consider methods that better prevent drying out or inhibit mold growth, depending on how long you plan to keep it.
Different Sourdough Storage Methods: A Comparison
Choosing the right storage method depends on how quickly you plan to consume your sourdough loaf. Each method has its pros and cons regarding crust texture, crumb freshness, and shelf life. Understanding these differences will help you decide the best approach for your baking habits and household.
Storing Sourdough at Room Temperature
Storing your sourdough at room temperature is ideal for maintaining its crusty exterior and chewy interior for the first couple of days. A simple paper bag or a dedicated linen bread bag works well, allowing the bread to breathe while offering some protection. A bread box is another excellent traditional option, providing a dark, cool environment that helps regulate humidity. Stored this way, a sourdough loaf typically remains enjoyable for about 2 to 3 days. Placing the cut side down helps prevent that surface from drying out.
Refrigerating Sourdough: Is it Recommended?
Generally, refrigerating a whole or partially sliced sourdough loaf is not recommended for preserving its quality. While the cold temperature does slow down mold growth and staling compared to room temperature, it significantly alters the texture of the crumb, often making it dense, dry, and less palatable. The starches within the bread undergo retrogradation much faster at refrigerator temperatures (around 35-40°F or 1-4°C) than at room temperature.
If you absolutely must refrigerate (perhaps due to a very humid environment or to slightly extend the life of a fully cooled loaf before freezing), wrap it very well to minimize moisture loss, but be prepared for a less-than-ideal texture. It's usually better to freeze if you won't eat it within a few days.
Freezing Sourdough Bread for Later
Freezing is the best method for long-term storage, preserving the quality of your sourdough loaf for weeks or even months. To freeze, ensure the loaf is completely cooled. You can freeze it whole, in halves, or pre-sliced. Pre-slicing is often the most convenient, allowing you to thaw just what you need.
Wrap the bread tightly in plastic wrap, then place it in a freezer-safe bag or wrap it again in foil to prevent freezer burn. Properly wrapped sourdough can last in the freezer for 1 to 3 months. Thaw slices as needed or thaw a whole loaf wrapped at room temperature for several hours. You can often refresh a thawed loaf by warming it in a moderate oven (300-350°F or 150-175°C) for 10-15 minutes.
Sourdough Loaf Troubleshooting Tips: Common Issues and Solutions
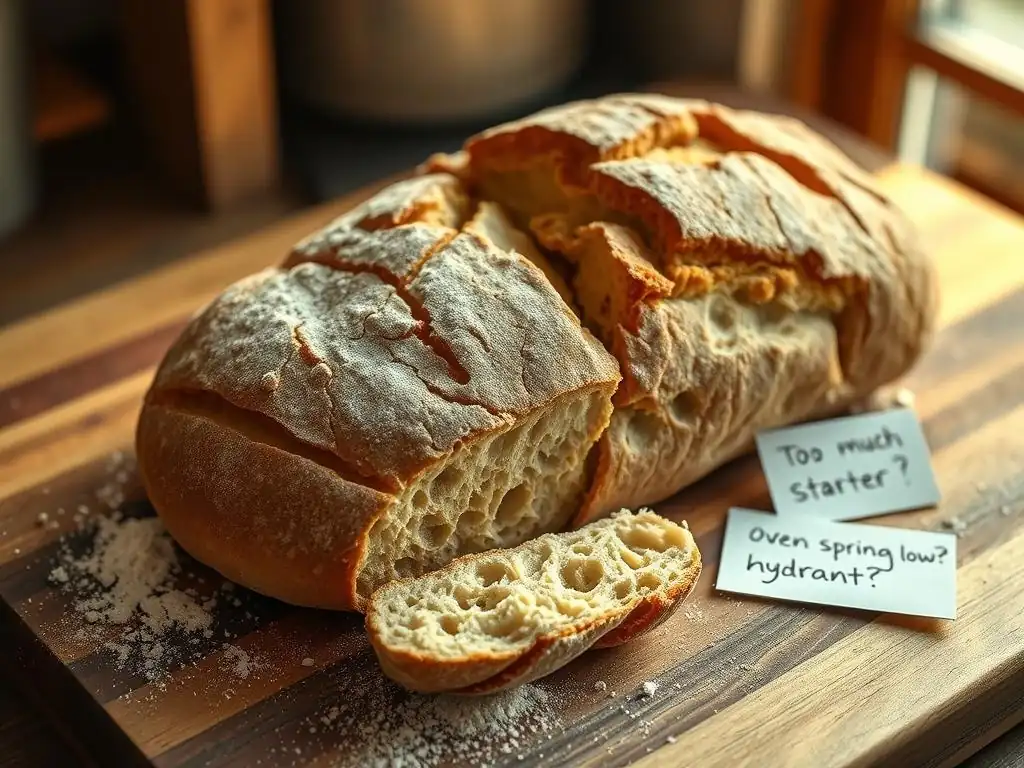
Even experienced bakers encounter challenges. Learning common sourdough loaf troubleshooting tips can turn a seemingly failed bake into a delicious lesson. Don't be discouraged if your first (or fifth!) loaf isn't perfect; identify the issue and adjust for next time.
Dealing with a Gummy Sourdough Crumb
A gummy or wet-looking crumb is a common issue and often points to one of two main culprits: insufficient cooling or underbaking. If you sliced the loaf while it was still warm, the trapped steam caused the gumminess. Sourdough loaf troubleshooting tips for this include allowing ample cooling time – seriously, wait those 2-3 hours! If the loaf was fully cooled but still gummy, it was likely underbaked.
This means the internal temperature didn't reach the point needed to set the starches properly. Ensure your oven is calibrated and bake until the internal temperature is at least 205-210°F (96-99°C). Sometimes, adding an extra 5-10 minutes of baking time, especially uncovered after the initial steam period, can make a significant difference.
Another factor contributing to a gummy crumb can be excessive hydration relative to the flour used or insufficient dough development during mixing and fermentation. If you're using a very wet dough (high hydration) and not developing enough strength, the structure might not support the open crumb, leading to dense, wet spots. Ensure you are developing good gluten structure through kneading or folds and that your bulk fermentation is sufficient to build strength and activity. These sourdough loaf troubleshooting tips cover both post-bake handling and pre-bake preparation.
Addressing a Hard Sourdough Crust
While a thick, crunchy crust is a hallmark of great sourdough, sometimes it can be too hard, almost impenetrable. This is often related to oven temperature, baking time, or lack of sufficient steam during the initial bake. If your oven runs hot, the crust can set too quickly and become excessively thick and hard before the inside is fully baked.
Using a baking vessel like a Dutch oven or adding steam to your oven environment (e.g., with a tray of hot water or ice cubes) is crucial for the first 15-20 minutes of baking. This steam keeps the surface moist, allowing the loaf to expand fully before the crust sets, resulting in a thinner, crisper crust.
Additionally, overbaking can lead to a very hard crust as moisture is driven out excessively. Check your loaf for doneness using an internal thermometer rather than solely relying on crust color. If you're getting a hard crust despite adequate steam and internal temperature, try reducing the total baking time slightly or lowering the oven temperature by 10-15°F (5-8°C) for the final part of the bake after removing the lid (if using a Dutch oven). These sourdough loaf troubleshooting tips focus on managing heat and moisture during the baking process.
My Sourdough Loaf is Too Dense: Possible Causes
A dense sourdough loaf, lacking the characteristic open crumb, is a common frustration. Several factors can contribute to this, primarily related to the health and activity of your starter, insufficient proofing, or improper shaping. If your starter wasn't active and vigorous when you mixed your dough, it wouldn't produce enough carbon dioxide to create air pockets, resulting in a heavy loaf. Ensure your starter is doubling or tripling in volume after feeding and passes the float test (a small piece floats in water) before using it.
Insufficient proofing (both bulk fermentation and final proof) is another major cause of density. The dough needs adequate time in a warm environment to develop gases. If cut short, the loaf won't have enough internal structure or gas to expand properly in the oven. Conversely, overproofing can also lead to a dense loaf, as the gluten structure can collapse after rising too much.
Learning to read your dough's signs (like the poke test during final proof) is key. Finally, gentle but effective shaping is important; rough handling can degas the dough, removing the bubbles needed for an open crumb. These sourdough loaf troubleshooting tips highlight the critical stages before the oven.
Preventing Mold Growth on Your Sourdough
Mold is the unwelcome guest no baker wants to see. While sourdough's acidity helps deter mold longer than commercial bread, it's not immune. The primary cause of mold is moisture and time. Storing your loaf in an airtight plastic bag at room temperature, especially in a humid environment, creates a perfect breeding ground. Sourdough loaf troubleshooting tips for mold prevention focus on proper storage.
For short-term storage (2-3 days), use breathable options like paper or cloth bags. If you live in a very humid climate, consider storing the loaf in a bread box or loosely wrapped in a cupboard rather than exposed on the counter. For anything longer than 2-3 days, freezing is your best defense against mold. Ensure the loaf is completely cool before storing it, as residual heat creates condensation. If you see even a small patch of mold, it's generally recommended to discard the entire loaf, as mold spores can spread invisibly throughout porous bread.
Enjoying Your Sourdough: Serving Suggestions and Recipes
Your finished sourdough loaf is incredibly versatile! Once properly cooled and stored, it's ready to be enjoyed in countless ways. From simple slices with butter to starring roles in more complex dishes, its tangy flavor and satisfying texture make it a fantastic base or accompaniment.
Creative Ways to Use Your Sourdough Loaf
Beyond the classic slice, there are many creative uses for your sourdough. Consider using it as the base for gourmet sandwiches, where its sturdy structure stands up well to various fillings. Cube stale sourdough to make homemade croutons for salads or soups – simply toss with olive oil and herbs and bake until crispy. Sourdough also makes excellent breadcrumbs, perfect for coating cutlets or topping casseroles.
Don't forget its potential in breakfast or brunch dishes! Sourdough french toast is a revelation, offering a delightful chewiness that regular bread often lacks. You can also make savory bread puddings or stratas using leftover sourdough, incorporating vegetables, cheese, and eggs for a satisfying meal. Its natural tang adds an extra layer of flavor to these dishes.
Sourdough Toasting Tips for Perfect Flavor
Toasting is arguably one of the best ways to enjoy sourdough, enhancing its texture and bringing out its unique flavor profile. For perfect sourdough toast, aim for an even golden-brown color and a crisp exterior while keeping the interior slightly chewy. A toaster oven often provides more even heat than a pop-up toaster, allowing for better control.
For thicker slices, a broiler or even a hot skillet with a little butter or olive oil can work wonders. Keep a close eye on it, as the high sugar content from fermentation can cause it to brown quickly. Once toasted, apply your favorite toppings immediately while the bread is warm – butter, avocado, jam, or cheese all melt beautifully into the craggy surface.
Recipe Ideas for Leftover Sourdough Bread
Got a loaf that's a few days old? Don't toss it! Stale sourdough is perfect for transforming into delicious new creations. One classic is Panzanella, an Italian bread salad where chunks of stale bread soak up the juices from tomatoes, cucumbers, and vinaigrette. It's a fantastic way to use up slightly dry bread.
Another great option is making bread pudding. Cubed sourdough can be soaked in a sweet or savory custard and baked until golden and bubbly. This works exceptionally well as the bread absorbs the liquid without becoming mushy, retaining some texture. Finally, consider making crostini or bruschetta by slicing the bread thinly, toasting it, and topping with garlic, olive oil, tomatoes, or other spreads.
Sourdough Starter Care After Baking
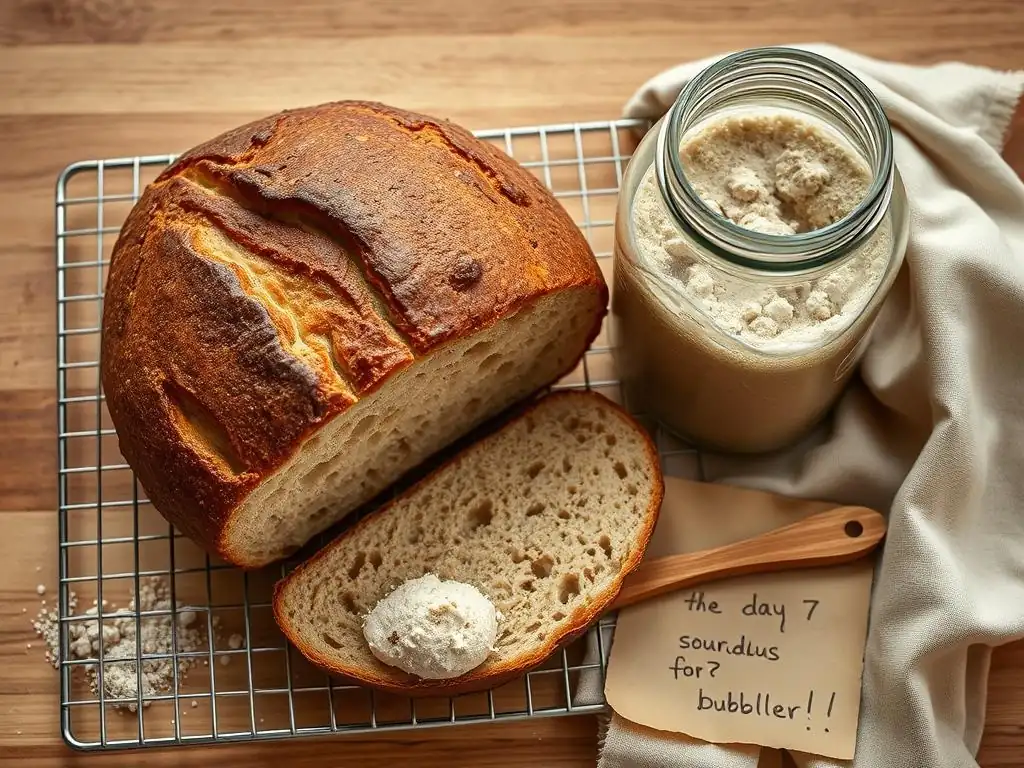
Your relationship with sourdough doesn't end when the loaf comes out of the oven; it continues with the care of your sourdough starter, the living heart of your baking. After using a portion of your starter for baking, it needs attention to remain healthy and active for your next bake.
Feeding Your Sourdough Starter After a Bake
After you've taken the amount of starter needed for your recipe, the remaining starter in your jar will be significantly reduced. This is the time to replenish it. The general rule is to feed your starter with equal parts by weight of flour and water to the amount of starter remaining. For example, if you have 50 grams of starter left, feed it with 50 grams of flour and 50 grams of water. This 1:1:1 ratio (starter:water:flour) is a common maintenance feed.
Ensure you use the same type of flour you typically feed your starter with, whether it's all-purpose, bread flour, or a mix. Mix thoroughly until no dry flour remains and the consistency is like a thick batter. Mark the level on the jar and let it sit at room temperature until it shows signs of activity (bubbles, rise) before returning it to its usual storage spot (counter or fridge). This feeding replenishes the microbial population, ensuring it's ready for future use.
Maintaining a Healthy Sourdough Starter for Future Bakes
Consistency is key to maintaining a healthy and vigorous sourdough starter. Regular feeding, even when not baking frequently, keeps the yeast and bacteria in balance. If you store your starter in the refrigerator, you can typically feed it once a week. Take it out, let it warm up slightly, discard a portion (or use the discard in recipes), and feed it its regular ratio of flour and water. Let it sit at room temperature for a few hours to show some activity before returning it to the fridge.
If you keep your starter at room temperature, it will require daily feeding to remain active. Pay attention to its smell (pleasantly tangy, not overly acidic or alcoholic) and its activity levels (consistent doubling or tripling within a predictable timeframe after feeding). A well-maintained starter is the foundation for successful sourdough loaves and helps prevent many common sourdough loaf troubleshooting scenarios related to poor rise or density.
Troubleshooting Your Sourdough Starter's Activity
Sometimes, your starter might seem sluggish or less active than usual. This is a common issue, but usually fixable. Sourdough loaf troubleshooting tips for a slow starter often involve adjusting its environment or feeding schedule. Temperature is a major factor; starters are more active in warmer conditions (around 75-80°F or 24-27°C). If your kitchen is cool, find a warmer spot or use a proofing box.
Ensure you're feeding it regularly and with good quality, unbleached flour. Using chlorinated water can sometimes inhibit activity; if concerned, use filtered or bottled water. If your starter seems very weak, try feeding it a few times at room temperature every 12 hours with a higher ratio of flour and water (e.g., 1:2:2 or 1:3:3) to build up its population before returning to your regular feeding schedule. Patience and consistent feeding are usually enough to revive a sleepy starter.
Next Steps in Your Sourdough Journey
Baking your first sourdough loaf is a significant achievement, but it's just the beginning! The world of sourdough is vast and offers endless opportunities for learning and experimentation. There are many avenues to explore that can elevate your baking skills and the quality of your bread.
Exploring Different Sourdough Recipes
Once you've mastered a basic loaf, try venturing into variations. Sourdough isn't just for rustic loaves. Explore recipes for sourdough pizza dough, sourdough discard pancakes or waffles, sourdough bagels, or even enriched doughs like sourdough brioche or cinnamon rolls. Each new recipe challenges you in different ways and expands your understanding of how the starter interacts with various ingredients and dough types.
You can also experiment with different flours in your basic loaf recipe. Swapping out some of the white flour for whole wheat, rye, or spelt will dramatically change the flavor, texture, and handling of the dough. These different flours ferment differently and absorb water uniquely, offering new sourdough loaf troubleshooting puzzles and delicious rewards.
Experimenting with Sourdough Hydration Levels
Hydration refers to the ratio of water to flour in your dough. Your first loaf likely used a moderate hydration (perhaps 65-70%). Increasing the hydration (e.g., to 75% or 80%) results in a wetter, stickier dough that is harder to handle but can produce a more open, airy crumb. Decreasing hydration results in a stiffer dough that's easier to shape but yields a denser crumb.
Experimenting with hydration helps you understand how water affects dough development, fermentation speed, and final texture. Start with small increases (5%) and see how the dough feels and behaves. Mastering higher hydration doughs is a skill that takes practice but can lead to stunning results and is a key area for advanced sourdough loaf troubleshooting.
Advanced Sourdough Baking Techniques to Try
Ready for more challenges? Look into advanced techniques like autolyse (mixing flour and water and letting it rest before adding the starter and salt), which helps with gluten development. Explore different shaping methods beyond a basic boule or batard to achieve specific loaf profiles or textures.
Consider incorporating inclusions like seeds, nuts, fruits, or cheese into your dough for added flavor and texture. Learning advanced scoring patterns isn't just for aesthetics; specific cuts can control the loaf's expansion in the oven, influencing its shape and crumb structure. Each new technique offers a deeper dive into the science and art of sourdough baking, building on the sourdough loaf troubleshooting skills you've already begun to develop.
Frequently Asked Questions
What are some common problems people encounter after baking their first sourdough loaf?
Common issues include a gummy texture, a dense crumb, or a lack of sour flavor. These are often related to fermentation time or baking temperature.
My sourdough loaf is too dense. What could be the cause?
A dense loaf often indicates under-proofing (not enough fermentation) or using a starter that isn't active enough. Try allowing more time for the dough to rise in future bakes.
The crust of my sourdough is rock hard! How can I prevent this?
An overly hard crust can be due to over-baking or insufficient steam during baking. Reduce baking time slightly, or increase steam by adding water to a hot pan in the oven.
My sourdough has a gummy texture inside. Is it still safe to eat?
A gummy texture usually means the loaf is underbaked or the dough wasn't properly fermented. While likely safe, it's not ideal. Ensure a higher internal temperature next time and a longer proof.
How can I improve the sour flavor of my sourdough bread?
Increasing the fermentation time and using a cooler temperature during bulk fermentation can enhance the sour flavor. Also, using a more mature starter will help.
Final Reflection: Beyond the First Loaf: A Sourdough Journey
The seemingly simple act of baking a sourdough loaf is a gateway to a deeper understanding of fermentation, patience, and the profound connection between nature and culinary creation. The challenges encountered in baking that first loaf – from achieving the right hydration to understanding the nuances of proofing – are not setbacks, but rather crucial lessons in a continuous learning process. Mastering sourdough is not a destination, but a journey.
The impact of sourdough baking extends far beyond the kitchen table. It's a testament to the enduring power of traditional techniques in a world increasingly dominated by instant gratification. The process itself fosters mindfulness and a deeper appreciation for the time and care required to produce something truly special. As the renowned baker, Chad Robertson, once said, Bread baking is a metaphor for life. It requires patience, attention to detail, and a willingness to accept imperfections.
This resonates deeply with my own experience, highlighting the meditative quality of nurturing a sourdough starter and the rewarding feeling of sharing the fruits of that labor.
Now, consider your own sourdough journey. What lessons have you learned from your successes and failures? What new explorations await you – perhaps experimenting with different flours, shaping techniques, or even venturing into sourdough pastries? Don't be afraid to embrace the imperfections; they are the hallmarks of a truly handcrafted loaf. The path of the sourdough baker is a rewarding one, filled with continuous learning and the satisfaction of creating something beautiful and delicious from simple ingredients. Embrace the journey, and savor each loaf along the way.
Unleash Your Inner Baker: Next Steps on Your Sourdough Journey!
Thanks for joining me on this sourdough adventure! You've now experienced the incredible satisfaction of baking your first loaf – a truly rewarding accomplishment. Ready to take your skills even further?
- Dive deeper into sourdough techniques: Explore different shaping methods, experiment with hydration levels, and master the art of scoring for perfectly risen loaves. This is where the real fun begins!
- Share your baking triumph! Show off your beautiful sourdough creation on social media and inspire others to start their own baking journey. Use #BakeWithEase to connect with our community.
- Consider experimenting with different flours to discover your favorite unique sourdough flavor profiles.
What unique ingredient will you try in your next sourdough loaf?