
Bake Basic Sourdough Overnight: A Simple Recipe

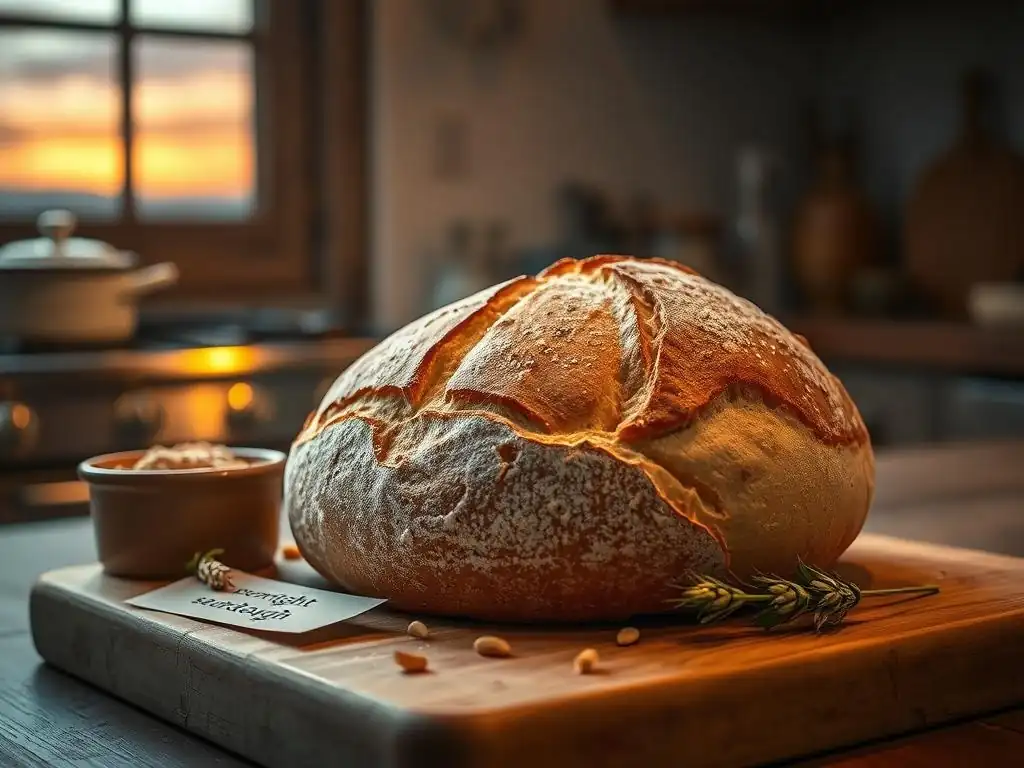
Welcome to BakeWithEase, where baking becomes a joy, not a chore! Ever dreamt of waking up to the irresistible aroma of freshly baked sourdough? Our Simple Overnight Sourdough Recipe makes that dream a reality. Discover how you can effortlessly craft a delicious, tangy loaf with minimal effort. Ready to unlock the secrets of artisan bread, even on a busy schedule? Keep reading and let's get baking!
- Bake Basic Sourdough Overnight: A Simple Recipe for BakeWithEase
- Introduction to Overnight Sourdough Baking
- The Easiest Overnight Sourdough Recipe: Step-by-Step
- Preparing the Sourdough Dough: A Detailed Guide
- Overnight Proofing: The Key to Flavor Development
- Baking Your Simple Overnight Sourdough Loaf
- Cooling and Enjoying Your Homemade Sourdough
- Troubleshooting Your Overnight Sourdough
- Mastering Sourdough: Next Steps with BakeWithEase
- Conclusion: Your Journey to Sourdough Success with BakeWithEase
- Frequently Asked Questions
- Final Reflection: The Unexpected Joys of Overnight Sourdough
- Unleash Your Inner Baker: Start Your Sourdough Journey Today!
Bake Basic Sourdough Overnight: A Simple Recipe for BakeWithEase
Introduction to Overnight Sourdough Baking
Why Choose Overnight Sourdough? A Beginner's Guide
Opting for an overnight sourdough process offers significant advantages, especially for those new to baking with a starter. The primary benefit is timing – it fits seamlessly into a busy schedule. Instead of constantly monitoring a dough during the day, you perform the main mixing and initial bulk fermentation in the evening, then let a long, slow proofing happen in the refrigerator while you sleep or go about your day. This method breaks down the traditionally time-intensive sourdough process into manageable steps, making a simple overnight sourdough recipe achievable for home bakers.
Furthermore, the extended cold fermentation phase, typically lasting 10 to 16 hours at refrigerator temperatures around 38-40°F (3-4°C), contributes immensely to the flavor development of your loaf. Unlike a faster room-temperature proof, the cold environment slows down yeast activity while allowing beneficial bacteria in the starter more time to produce organic acids. This results in a more complex, tangy flavor profile and often improves the dough's structure and oven spring, leading to a better rise and a more open crumb structure compared to a rushed bake.
BakeWithEase's Simple Approach to Sourdough
At BakeWithEase, we believe that baking delicious sourdough doesn't require a professional kitchen or years of experience. Our simple overnight sourdough recipe is designed specifically to demystify the process, focusing on clear steps and reliable techniques that minimize complexity. We guide you through each stage, from understanding your starter's readiness to mastering the overnight proof, ensuring that even your first attempt at baking a simple overnight sourdough is met with success rather than frustration.
Our approach emphasizes achievable hydration levels, straightforward mixing methods, and practical tips for managing your dough's fermentation based on visual cues rather than strict, unforgiving timers. We provide approximate timings and temperatures, but also explain what to look for in your dough – like achieving a certain level of volume increase during bulk fermentation (often a 50-75% rise) or ensuring the dough feels airy and bubbly before shaping. This focus on understanding the dough, combined with the convenience of an overnight schedule, empowers you to bake consistently great bread.
The Easiest Overnight Sourdough Recipe: Step-by-Step
Gathering Your Ingredients for Overnight Sourdough (BakeWithEase Style)
Starting with quality ingredients is fundamental to baking a successful simple overnight sourdough loaf. While sourdough relies on just four basic components, their quality and condition significantly impact the final bread. Freshly milled flour can offer superior flavor and nutrition, though standard bread flour from the grocery store works perfectly well. Your sourdough starter, the heart of the loaf, needs to be active and vigorous, ideally having doubled in size within 4-8 hours after its last feeding before you use it for mixing the dough.
Accuracy in measurement is also key, particularly when it comes to hydration – the ratio of water to flour. For this simple overnight sourdough recipe, we often recommend a hydration level around 70-75% (meaning the water weight is 70-75% of the flour weight) as it's manageable for beginners but still provides good extensibility and a nice crumb. Using a kitchen scale for precise measurements of flour, water, salt, and starter is highly recommended over volume measurements like cups, as it ensures consistency and accuracy in your dough's hydration and overall balance.
Essential Sourdough Ingredients: Flour, Water, Salt, Starter
- Active sourdough starter (typically 15-20% of total flour weight)
- High-quality bread flour (or a blend, e.g., 90% bread flour, 10% whole wheat)
- Filtered or non-chlorinated water (at a temperature suitable for your environment, often around 80-85°F or 27-29°C)
- Fine sea salt or non-iodized salt (around 2% of total flour weight)
Recommended Equipment for Easy Sourdough Baking
- Digital kitchen scale for precise measurements
- Large mixing bowl (glass or plastic is fine)
- Dough scraper or spatula
- Bench scraper
- Proofing basket (banneton) or a bowl lined with a floured towel
- Dutch oven or baking stone/steel with a steam setup
- Lame or sharp razor blade for scoring
- Wire cooling rack
Preparing the Sourdough Dough: A Detailed Guide

Step 1: Mixing the Dough – The Initial Steps
The initial mixing phase for a simple overnight sourdough recipe often begins with combining the flour and water first, a technique known as autolyse. This involves mixing just the flour and water until no dry bits remain, then letting the mixture rest for 30 to 60 minutes. This resting period allows the flour to fully hydrate and gluten development to begin naturally, making the dough easier to work with later. For example, if using 500g of flour and 375g of water (75% hydration), you would simply mix these two together and let them sit.
After the autolyse, the active sourdough starter and salt are added. The dough is then mixed, either by hand or with a stand mixer on a low speed, until the starter and salt are fully incorporated. This might take anywhere from 5 to 10 minutes of mixing. At this point, the dough will likely still be shaggy but should start to show some initial signs of structure. The goal here is just incorporation; significant gluten development happens during the subsequent bulk fermentation with folding.
Step 2: Bulk Fermentation – Time and Temperature for Optimal Results
Bulk fermentation is the most critical phase for developing flavor and structure in your simple overnight sourdough. After the initial mix, the dough rests at room temperature, typically between 72°F and 78°F (22°C and 26°C). During this period, which usually lasts 4 to 6 hours depending on the ambient temperature and starter activity, you perform a series of folds. These folds, often 3-4 sets performed every 30-60 minutes during the first 2-3 hours of bulk fermentation, help to strengthen the dough's gluten network and equalize the dough's temperature and yeast activity.
The goal of bulk fermentation is for the dough to increase in volume by approximately 50-75% and become noticeably airy and bubbly. You should see bubbles forming on the surface and feel that the dough has gained structure and elasticity. This phase is where the yeast produces carbon dioxide, creating the airy structure, and the bacteria produce organic acids, contributing to the sour flavor. Monitoring the dough's feel and appearance is more important than strictly adhering to a timer, as environmental factors can greatly influence fermentation speed.
Step 3: Shaping the Dough for Overnight Proofing
Once bulk fermentation is complete and the dough has increased sufficiently in volume, it's time to shape it for its long, cold proof. First, the dough is gently turned out onto a lightly floured surface. A brief pre-shape is often done by gently pulling the edges of the dough into the center to form a rough ball or log, creating some initial surface tension. This pre-shaped dough is then allowed to rest for 15-20 minutes, uncovered, to relax the gluten before the final shape.
The final shaping depends on your chosen proofing vessel, usually a banneton basket. The goal is to create significant surface tension on the outside of the dough while trapping air within. For a round loaf (boule), you might fold the dough like an envelope and then gently round it against the surface. For an oval loaf (batard), you would typically fold and roll the dough into an elongated shape. Proper shaping is crucial as it provides the structure needed to hold the loaf's shape during the long overnight proof and during the intense heat of the oven.
Overnight Proofing: The Key to Flavor Development
Preparing Your Banneton Basket for Proofing
A well-prepared banneton basket is essential for a successful overnight proof. The purpose of the basket is to support the dough and prevent it from spreading during the long, cold fermentation. To ensure the dough doesn't stick, the basket needs to be generously floured. Rice flour is often recommended for dusting bannetons because its fine texture and lack of gluten prevent it from being absorbed by the dough, creating a reliable barrier. You can use a mix of rice flour and bread flour, typically a 50/50 blend.
To flour the banneton, simply sprinkle the chosen flour generously into the basket. Then, shake and tap the basket to ensure the flour coats all the crevices and the sides. You want a visible layer of flour. Some bakers use a brush to help distribute the flour evenly. Once floured, the shaped dough is placed into the basket seam-side up (if baking in a Dutch oven seam-side down) or seam-side down (if baking seam-side up) depending on your preferred final appearance. This simple step ensures that the dough releases cleanly from the basket the next morning.
Best Practices for Overnight Refrigeration
Overnight proofing in the refrigerator is a cornerstone of baking a simple overnight sourdough. After shaping and placing the dough in its floured banneton, the basket should be covered. You can use a plastic bag, a reusable bowl cover, or cling film to prevent the dough surface from drying out and forming a skin. The covered dough is then placed in the refrigerator, ideally set between 38°F and 40°F (3°C and 4°C).
The cold temperature significantly slows down the fermentation process, allowing the dough to develop complex flavors over an extended period, typically 10 to 16 hours. This long, slow proof also makes the dough easier to handle and score the next morning, as it firms up in the cold.
While 10-16 hours is a common range, the dough can often proof for up to 24 hours or even longer in the refrigerator, depending on the strength of your starter and the dough's initial level of fermentation. The key is the low temperature, which puts the yeast into a state of near-dormancy while the bacteria continue their slow work.
Baking Your Simple Overnight Sourdough Loaf
Preheating Your Oven for Perfect Sourdough
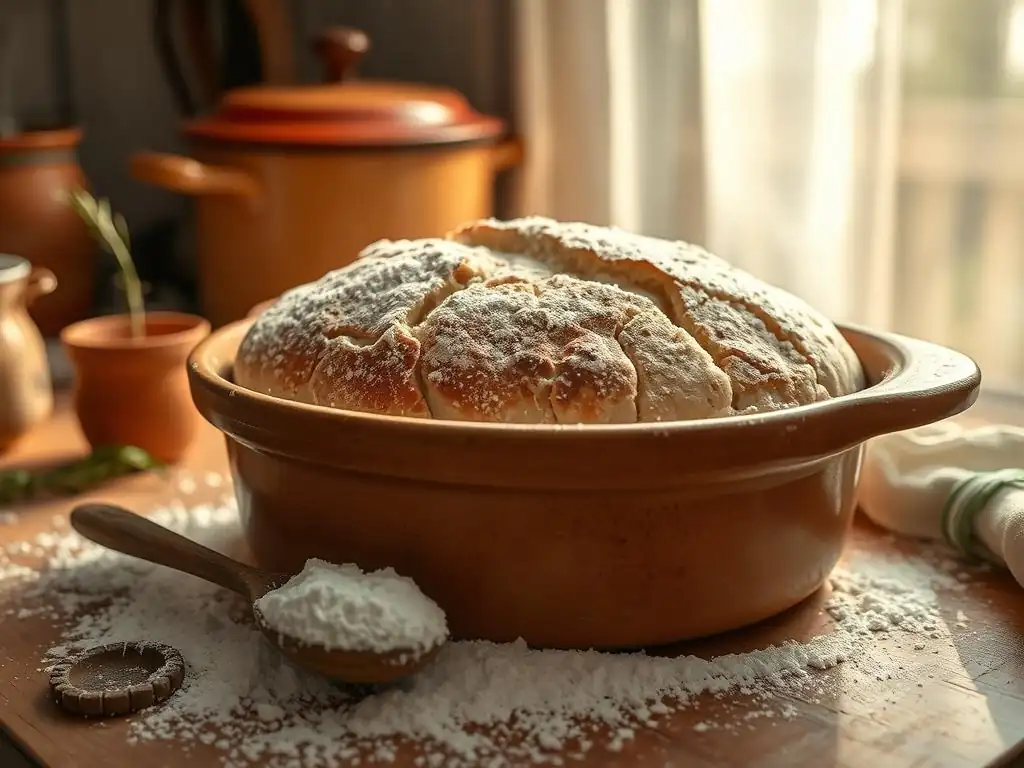
Achieving a great bake for your simple overnight sourdough starts with a properly preheated oven. Sourdough benefits immensely from high initial heat and steam, which allows for maximum oven spring before the crust sets. If using a Dutch oven, place it inside the oven before preheating. Turn your oven on to a high temperature, typically between 450°F and 500°F (230°C and 260°C).
Allow the oven, and the Dutch oven if using one, to preheat for a significant amount of time, usually 45 to 60 minutes. This ensures that the baking vessel or stone is fully saturated with heat, providing the intense thermal shock needed when the dough is placed inside. Adequate preheating is crucial for creating a beautiful crust and achieving that desirable rise (oven spring) during the first few minutes of baking.
Scoring the Dough: Achieving the Ideal Oven Spring
Scoring the dough just before baking is a vital step in baking your simple overnight sourdough. Scoring involves making cuts on the surface of the dough with a sharp blade (a lame or razor). These cuts act as controlled vents, allowing the dough to expand predictably in the intense heat of the oven. Without scoring, the crust would set rapidly, and the expanding gases inside the loaf would burst through the weakest point, leading to an uncontrolled and potentially less attractive rupture.
The type and depth of the score influence the final shape and appearance of the loaf. A simple, deep slash down the length of a batard or a cross on a boule allows for maximum expansion. More intricate patterns can also be created for aesthetic purposes, but they still serve the primary function of guiding the oven spring. Aim for a clean, confident cut about 1/2 inch (1-2 cm) deep. The cold dough from the overnight proof is much easier to score cleanly than warm, fully proofed dough.
Baking Instructions: Time and Temperature for a Golden Crust
Baking your simple overnight sourdough typically involves two stages when using a Dutch oven: covered and uncovered. Carefully transfer the scored dough from the banneton into the preheated Dutch oven. Place the lid on and bake at a high temperature, such as 475°F (245°C), for the first 20 to 25 minutes. The covered environment traps the moisture released by the dough, creating steam, which keeps the crust soft and allows the loaf to expand fully before the crust hardens.
After the initial covered bake, remove the lid from the Dutch oven. Reduce the oven temperature slightly, perhaps to 450°F (230°C), and continue baking for another 15 to 20 minutes, or until the crust is a deep golden brown and the internal temperature reaches 205-210°F (96-99°C). This uncovered phase allows the crust to dry out and develop its signature color, crispness, and flavor. Baking time may vary slightly depending on your oven and the size of your loaf.
Cooling and Enjoying Your Homemade Sourdough
Cooling Techniques for a Perfect Crumb
Proper cooling is just as important as the baking itself for your simple overnight sourdough. As soon as the loaf comes out of the oven, it should be transferred immediately to a wire cooling rack. Leaving the loaf in the hot Dutch oven or on a solid surface can trap steam, leading to a soggy bottom crust. The wire rack allows air to circulate around the entire loaf, facilitating even cooling.
Resist the urge to slice into your beautiful loaf right away! The internal structure of the bread is still stabilizing and moisture is redistributing within the crumb as it cools. Cutting too early can result in a gummy or dense texture. Allow the loaf to cool completely, which typically takes 1 to 2 hours for a standard-sized boule or batard. A fully cooled loaf will have a firm, crisp crust and a well-set interior crumb.
Serving Suggestions for Your Freshly Baked Sourdough
Your homemade simple overnight sourdough, with its tangy flavor and wonderful texture, is incredibly versatile. The simplest way to enjoy it is often the best: thickly sliced and served with good quality butter or a drizzle of extra virgin olive oil. The robust flavor pairs wonderfully with rich fats.
Beyond the basics, use your sourdough for magnificent open-faced sandwiches piled high with fresh ingredients, or as the base for bruschetta topped with tomatoes, garlic, and basil. It's also fantastic served alongside soups and stews, perfect for soaking up flavorful broths. Don't forget the classic combination of sourdough and avocado, perhaps with a sprinkle of flaky sea salt and chili flakes for a simple yet satisfying snack or meal.
Troubleshooting Your Overnight Sourdough
Common Sourdough Baking Problems and Solutions
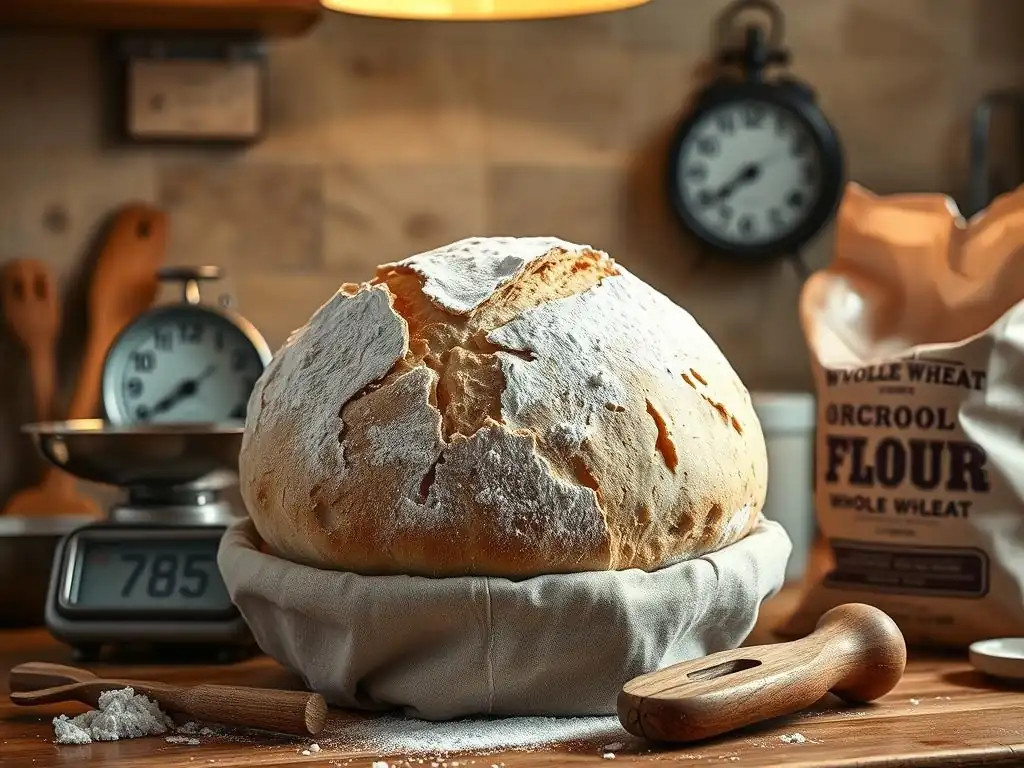
One common issue with baking a simple overnight sourdough is a loaf that spreads wide and flat instead of rising upwards. This can often be attributed to an under-active starter, insufficient gluten development during bulk fermentation (perhaps not enough folds or too short a bulk), or inadequate shaping which didn't create enough surface tension. Ensure your starter is doubling reliably before use, perform enough sets of folds until the dough feels strong, and practice your shaping technique to build tension.
Another frequent problem is a dense crumb. This might happen if the dough was under-proofed during bulk fermentation (didn't gain enough volume), or if the final overnight proof was too short or the refrigerator wasn't cold enough. Conversely, an over-proofed dough can also lead to a poor rise and dense spots. Monitor your bulk fermentation closely (aim for a 50-75% increase), ensure your fridge is consistently below 40°F (4°C), and understand that typical overnight proofing is 10-16 hours, adjusting based on your dough's activity.
Tips for Achieving a Better Rise and Flavor
To consistently achieve a better rise in your simple overnight sourdough, focus on the health and activity of your starter. A starter that reliably doubles or triples within a few hours of feeding (e.g., 4-8 hours at room temperature) is crucial. Also, ensure your bulk fermentation reaches the correct level of development – the dough should feel airy and show significant bubble activity before shaping. Proper shaping techniques that create tight surface tension are also key to a good oven spring.
For enhanced flavor, longer cold fermentation is your friend. While 10-16 hours is standard for an overnight proof, pushing it to 18-24 hours in a cold refrigerator (around 38°F or 3°C) can deepen the tangy notes and improve the crumb structure. Experimenting with different flours, such as adding a small percentage (e.g., 10-20%) of whole wheat or rye flour to your bread flour, will also introduce new layers of flavor and nutrients to your simple overnight sourdough.
Mastering Sourdough: Next Steps with BakeWithEase
Exploring Variations of the Basic Overnight Sourdough Recipe
Once you've successfully baked your first simple overnight sourdough, the door opens to a world of delicious variations. A straightforward way to experiment is by incorporating different flours into your mix. Try substituting 10-20% of the bread flour with whole wheat flour for a nuttier taste and denser crumb, or use rye flour for a more assertive, tangy profile. These simple substitutions can dramatically change the character of your loaf while still utilizing the convenient overnight process.
You can also add inclusions to your dough during the mixing or early bulk fermentation stages. Seeds like sesame, poppy, or sunflower seeds (perhaps 5-10% of the flour weight) add crunch and flavor. Incorporating roasted garlic, herbs like rosemary or thyme, or even cheese can transform your basic loaf into something special. For example, adding 50g of toasted seeds per 500g of flour is a simple way to start experimenting with flavor variations on your simple overnight sourdough recipe.
Advanced Sourdough Techniques for the Confident Baker
For those ready to move beyond the simple overnight sourdough recipe, BakeWithEase offers guidance on more advanced techniques. Exploring higher hydration doughs, perhaps moving from 70% to 75% or even 80% hydration, can result in a more open, airy crumb, though they require more careful handling and stronger gluten development. Techniques like the Rubaud mix or more intensive slap-and-fold methods can help manage these wetter doughs effectively.
Delving deeper into starter management, such as creating a stiff starter (lower hydration, e.g., 50-60%) or experimenting with different feeding ratios and temperatures for your levain build, can also influence the final loaf's characteristics. Understanding dough temperature throughout the process, using a digital thermometer to target specific temperatures (e.g., a final dough temperature of 75-78°F or 24-26°C after mixing), allows for greater control over fermentation speed and consistency, leading to even better results in your sourdough journey.
Conclusion: Your Journey to Sourdough Success with BakeWithEase
Baking a simple overnight sourdough loaf is a rewarding experience that is well within reach for any home baker. This method simplifies the process, leverages the power of cold fermentation for superior flavor, and fits conveniently into a busy lifestyle. By following a reliable simple overnight sourdough recipe and understanding the basic principles of fermentation, shaping, and baking, you can consistently produce delicious, homemade bread.
With the guidance and resources available at BakeWithEase, you have everything you need to embark on your sourdough adventure. From mastering this basic simple overnight sourdough recipe to exploring variations and more advanced techniques, we are here to support your baking journey every step of the way. Enjoy the process, learn from each bake, and savor the incredible taste of bread made with your own hands and your trusty sourdough starter.
Frequently Asked Questions
What makes this sourdough recipe "simple"?
This recipe is considered simple because it uses a basic set of ingredients and relies on an overnight fermentation, requiring minimal active work. It's designed for beginners!
Can I skip the overnight proofing?
No, the overnight proofing is crucial for developing the sourdough flavor and texture. Skipping it will result in a significantly different, less flavorful bread.
What if I don't have a Dutch oven?
While a Dutch oven provides the best crust, you can use a baking stone or sheet with a tray of water for steam. This will help mimic the steam environment needed for a good crust.
My sourdough starter isn't very active. Can I still use it?
For best results, your sourdough starter should be active and bubbly. If it's not, feed it regularly for a few days until it doubles in size after feeding.
How long does the dough need to be cold proofed?
The dough needs to be cold proofed for at least 12 hours, but can be proofed for up to 24 hours in the refrigerator. This enhances the flavor of the sourdough.
Final Reflection: The Unexpected Joys of Overnight Sourdough
The humble sourdough starter, once a niche pursuit, has exploded in popularity, transforming home baking from a chore into a mindful practice. This simple overnight recipe demonstrates that crafting delicious, artisanal bread doesn't require hours of dedicated kneading and proofing. It's accessible, even for beginners.
The journey of making sourdough, even with this simplified method, is a testament to patience and the magic of fermentation. It's a connection to a long tradition of bread making, a tangible link to the past. Bread is the staff of life.
This simple phrase encapsulates the profound impact bread has had on cultures worldwide, and making it yourself, even a simple loaf, deepens that appreciation. The subtle tang, the satisfying crust, the warm aroma filling your kitchen – these are sensory experiences that elevate baking beyond mere sustenance.
Now, consider your own kitchen. Imagine the quiet satisfaction of waking to the fragrant rise of your sourdough, ready to bake and share. Don't be intimidated by the perceived complexity of sourdough. This recipe is your invitation to embark on this rewarding journey. Try it. Embrace the slow process, savor the results, and discover the unexpected joys waiting for you in the heart of your own home.
Unleash Your Inner Baker: Start Your Sourdough Journey Today!
Thanks for taking the time to explore the world of sourdough baking with us! We hope you found this simple overnight recipe empowering and inspiring. Ready to take the next step?
- Begin your sourdough adventure: Try baking this recipe tonight—you'll be amazed by the results!
- Share your sourdough success: Post a picture of your loaf on social media and tag us—we'd love to see it! #BakeWithEase #SourdoughSuccess
- Explore our other recipes: Discover more baking tips and recipes to elevate your skills on BakeWithEase.
What unique twist will you add to your first sourdough loaf? Let's hear your ideas in the comments below!