
Cold Proofing Basic Sourdough: Why & How it Works

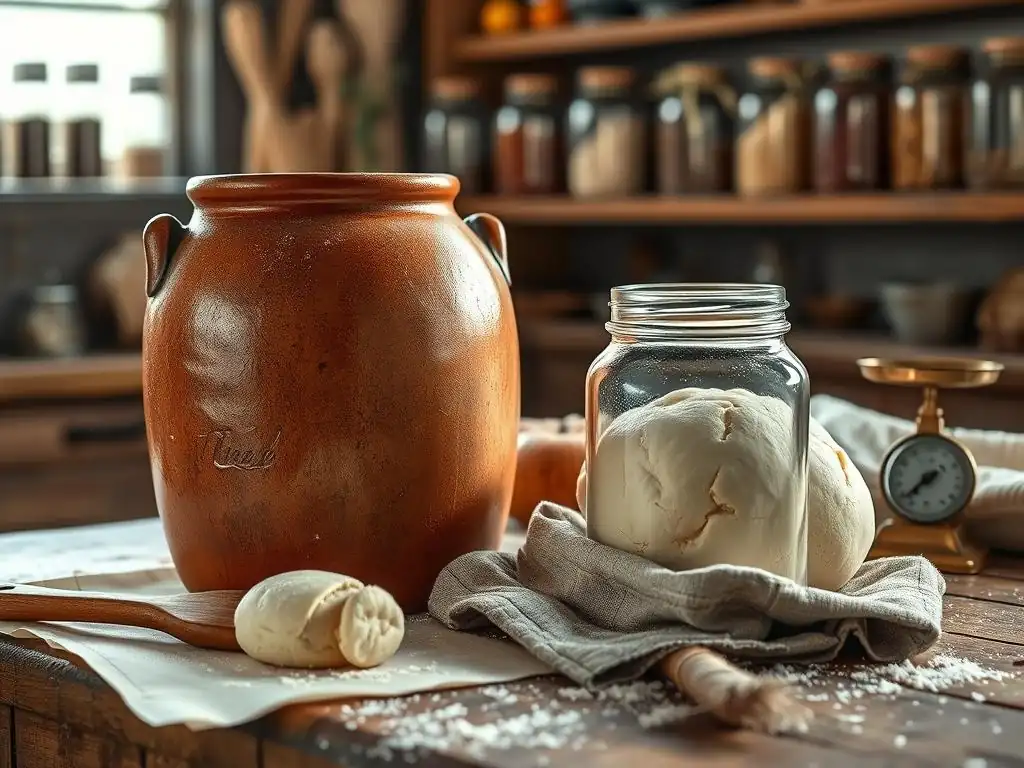
Welcome to BakeWithEase, your trusted guide to baking brilliance! Ever wondered how to unlock the full potential of your sourdough starter and achieve that perfect tangy flavor and incredible crumb? Dive into the secrets of cold proofing sourdough starter and discover how this simple technique can transform your baking game. Learn why it works, how to do it right, and unlock a whole new level of flavor in your homemade sourdough. Ready to elevate your baking?
- Introduction to Cold Proofing Sourdough Bread
- The Science Behind Cold Proofing
- Step-by-Step Guide to Cold Proofing
- Cold Proofing: Troubleshooting and Tips
- Baking Sourdough After Cold Proofing
- Flavor Development with Cold Proofing
- Cold Proofing: Recipe Adaptations
- Conclusion: Mastering Cold Proofing
- Frequently Asked Questions
- Final Reflection: The Quiet Power of Cold Proofing
- Unleash Your Sourdough's Potential: Master Cold Proofing!
Introduction to Cold Proofing Sourdough Bread
Cold proofing, also known as retarding, is a technique used by many bakers to improve the flavor, texture, and handling of sourdough bread. It involves placing the shaped dough in a cool environment, typically a refrigerator, for an extended period. This slows down the fermentation process significantly, allowing complex flavors to develop and making the dough easier to work with. For anyone looking to elevate their basic sourdough recipe, understanding the principles and practice of cold proofing is a game-changer.
What is Cold Proofing and Why Use It?
Cold proofing is essentially a slow, cool fermentation period for your sourdough dough. Instead of letting the dough complete its final rise at room temperature, you place it in a refrigerator, usually between 3°C and 5°C (37°F and 41°F). This drastically slows the activity of the wild yeast and bacteria in your sourdough starter. While fermentation doesn't stop entirely, it proceeds at a much reduced rate, sometimes taking 12 to 72 hours or even longer, compared to just a few hours at room temperature.
The primary reasons bakers adopt cold proofing are enhanced flavor, improved dough structure, and scheduling flexibility. By slowing down fermentation, the dough has more time to develop complex organic acids and other flavor compounds. This process also strengthens the gluten network, leading to better oven spring and a more open crumb structure. Plus, it means you don't have to bake your bread immediately after shaping, offering a convenient way to fit baking into a busy schedule.
Benefits of Retarding Sourdough Dough
Retarding sourdough dough in a cold environment offers several distinct advantages. One of the most significant is the development of a deeper, more nuanced flavor profile. The slow fermentation allows lactic acid bacteria (LAB) in the sourdough starter to produce more lactic and acetic acids. Lactic acid contributes a milder, creamy tang, while acetic acid provides a sharper, vinegary bite. The balance and concentration of these acids are greatly influenced by time and temperature, resulting in a more complex taste compared to a quick room-temperature rise.
Beyond flavor, cold proofing improves the dough's physical characteristics. The extended cool period allows enzymes to break down starches into sugars, which not only feed the yeast over a longer time but also contribute to browning and crust development during baking. It also helps relax the gluten network while simultaneously strengthening its structure, making the dough easier to handle and score. This improved structure leads to better gas retention, resulting in a higher rise and a more open, airy crumb structure in the final loaf.
Cold Proofing: A Beginner's Guide
For those new to using a sourdough starter and baking sourdough bread, cold proofing might seem like an advanced technique, but it's surprisingly simple to incorporate. The basic idea is to perform your bulk fermentation at room temperature as usual, shape your dough, and then instead of letting it do its final rise on the counter, you place the shaped loaf directly into the refrigerator. This is typically done in a proofing basket or bowl lined with a floured cloth.
The duration of the cold proof can vary widely based on your recipe, the temperature of your refrigerator, and how active your sourdough starter is. A common range is 12 to 24 hours, but some bakers cold proof for up to 48 or even 72 hours for maximum flavor development. Start with a shorter duration, like 12-18 hours, to see how your dough responds. This slow final rise in the cold is a simple step that yields impressive results in both flavor and texture for your basic sourdough loaf.
The Science Behind Cold Proofing
Understanding the scientific principles behind cold proofing helps demystify the process and allows bakers to better control the outcome. It's a delicate balance of temperature, time, and the biological activity of the microorganisms present in your sourdough starter. By manipulating temperature, we manipulate their activity, guiding the fermentation towards desired results like enhanced flavor and structure.
How Cold Temperatures Affect Fermentation
Fermentation in sourdough is driven by the symbiotic activity of wild yeast and lactic acid bacteria (LAB) from the sourdough starter. Both are biological entities whose metabolic rates are highly dependent on temperature. At typical room temperatures (around 20-24°C or 68-75°F), both yeast and LAB are quite active, leading to rapid gas production (primarily carbon dioxide) and acid production. This is ideal for the initial bulk fermentation.
When dough is placed in a cold environment, such as a refrigerator at 3-5°C (37-41°F), the metabolic activity of both yeast and LAB slows down dramatically. Yeast activity is inhibited more significantly than some types of LAB at these temperatures. This differential slowing is key. Gas production slows considerably, meaning the dough rises much slower. However, the production of organic acids by the bacteria continues at a relatively higher rate compared to yeast activity, allowing for the accumulation of more flavor compounds over time without the dough quickly over-proofing.
The Role of Yeast and Bacteria
In a sourdough starter, wild yeast (primarily Saccharomyces cerevisiae and others) are responsible for producing carbon dioxide, which makes the dough rise, and ethanol. Lactic acid bacteria (LAB), including species like Lactobacillus sanfranciscensis and Lactobacillus plantarum, produce lactic acid and acetic acid, contributing to the characteristic sourdough tang and improving the dough's extensibility. At warmer temperatures, yeast activity is dominant, leading to faster rising.
During cold proofing, the cooler temperatures shift the balance. Yeast activity is significantly suppressed, limiting the rate of rise. However, many LAB species remain relatively active even at refrigerator temperatures. This allows the bacteria to continue producing organic acids, deepening the flavor profile, while the yeast takes a long, slow rest. This extended period of bacterial activity, coupled with slow enzymatic breakdown of starches into sugars, is what transforms a simple dough into a complex, flavorful sourdough loaf.
Developing Flavor Through Slow Fermentation
The magic of cold proofing sourdough lies in the slow development of flavor compounds. As mentioned, the extended activity of lactic acid bacteria at cooler temperatures is crucial. These bacteria produce a higher proportion of acetic acid relative to lactic acid in colder conditions compared to warmer conditions. Acetic acid contributes a sharper, more pronounced sourness, while lactic acid is milder and creamy. The longer the cold proof, generally the more acetic acid is produced, leading to a tangier loaf.
Furthermore, the slow enzymatic breakdown of complex carbohydrates into simpler sugars over the extended cold period provides more fuel for the remaining yeast and bacteria, contributing to better browning and crust development during baking. This slow process also allows for the development of other volatile organic compounds that contribute to the overall aroma and flavor complexity of the finished bread, creating layers of taste that are simply not achievable with a quick, warm proof.
Step-by-Step Guide to Cold Proofing
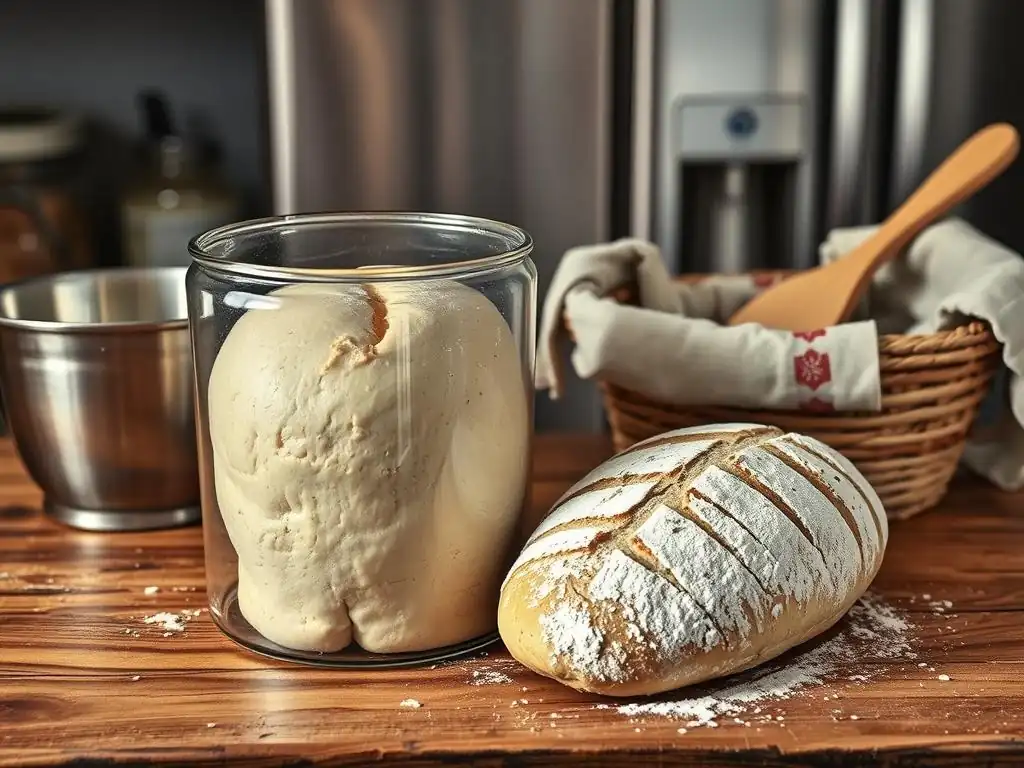
Incorporating cold proofing into your basic sourdough routine is straightforward once you understand the steps. It fits neatly after the bulk fermentation and shaping stages of your standard recipe. The key is to ensure your dough is properly prepared and placed in the right environment for the cool, slow rise.
Preparing Dough for Cold Proofing
Before cold proofing, your sourdough dough should have completed its bulk fermentation. This means it should have increased significantly in volume (often doubling or nearly doubling, depending on the recipe and temperature) and feel airy and alive. After bulk fermentation, gently turn the dough out and shape it into your desired loaf shape (e.g., boule or batard). The shaping step is important as it creates tension in the dough, which will help it hold its structure during the long cold proof.
Once shaped, the dough needs to be placed into a suitable container for the cold proof. A proofing basket (banneton) is ideal, as it supports the dough's shape and allows for even cooling. Line the basket with a floured cloth or generously flour the basket itself with rice flour (which is less likely to stick). Carefully place the shaped dough seam-side up into the prepared basket.
Ideal Temperature for Cold Proofing
The ideal temperature range for cold proofing sourdough is typically between 3°C and 5°C (37°F and 41°F). This range is standard for most home refrigerators. Temperatures below 3°C can almost completely halt fermentation, while temperatures above 5°C may allow fermentation to proceed too quickly, risking over-proofing, especially during longer cold proofs.
Consistency is key. Try to place your dough in a spot in your refrigerator where the temperature remains stable, often towards the back or bottom shelf, away from the door. Using a small thermometer inside your fridge can help you monitor the actual temperature and ensure it's within the optimal range for retarding your sourdough dough effectively.
Choosing the Right Container
Selecting the correct container is essential for successful cold proofing. A proofing basket (banneton) is the most common and recommended choice for shaped loaves. Bannetons are typically made from rattan or cane and are designed to wick away a small amount of moisture from the surface of the dough, helping to form a skin that contributes to a good crust. They also provide support, helping the dough maintain its shape during the long, slow rise.
If you don't have a banneton, you can use a bowl lined with a clean kitchen towel that has been generously floured. Ensure the towel is large enough to fully cradle the dough. For smaller quantities or different shapes, small bowls or even loaf pans can be used, covered tightly to prevent drying out. Regardless of the container, it's crucial to cover the dough well with plastic wrap, a reusable cover, or a lid to prevent the surface from drying and forming a thick, leathery skin during the extended cold proofing time.
Cold Proofing Time: Timing is Key
Determining the correct cold proofing time is perhaps the most variable aspect and often requires some experimentation. There's no single "right" answer, as it depends on factors like your refrigerator temperature, the hydration of your dough, the strength and activity of your sourdough starter, and your desired level of sourness and rise. A common range for basic sourdough is 12 to 24 hours.
For a milder flavor and good oven spring, 12-18 hours is often sufficient. For a tangier loaf and maximum flavor development, you might extend the cold proofing sourdough dough to 24, 36, or even 48 hours. Beyond 48-72 hours, you risk over-proofing, where the dough structure begins to degrade. Pay attention to how your dough looks and feels after different durations in the cold. It should increase in volume by about 30-50% during the cold proof and feel very light and airy but still hold its shape.
Monitoring Dough During Cold Proofing
While the dough is in the refrigerator, fermentation is significantly slowed, but it's not entirely dormant. It's a good idea to monitor the dough, especially when you are first experimenting with cold proofing sourdough starter recipes. Check on the dough periodically, perhaps after 12 hours, then again at 18 and 24 hours, to observe how it is rising.
The dough should slowly increase in volume. You can gently press the side of the dough with a floured finger (the "poke test"), though it will spring back much slower in the cold than at room temperature. The goal is for the dough to be just proofed enough so it has sufficient strength and gas to expand beautifully in the oven. Over-proofing in the fridge is less common than at room temperature but can still happen, especially with very long durations or slightly warmer fridge spots. Look for signs like the dough starting to flatten or lose tension.
Cold Proofing: Troubleshooting and Tips
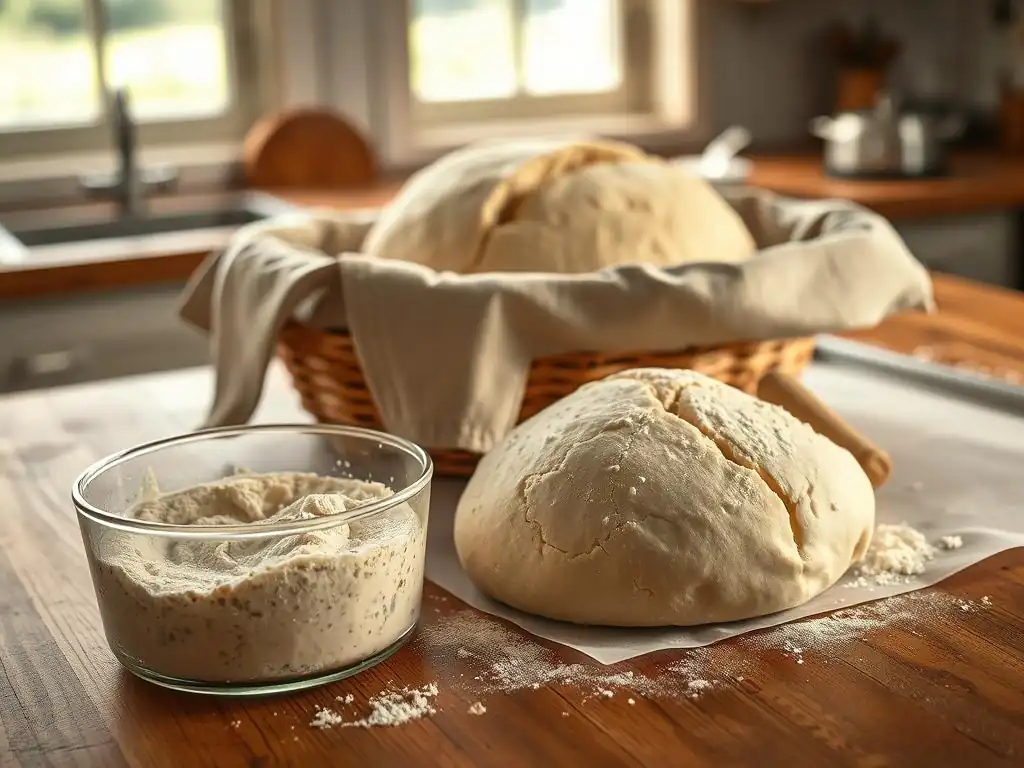
Even with the best practices, sometimes things don't go exactly as planned. Understanding common issues and how to address them is part of mastering the art of cold proofing sourdough. Most problems relate to timing or temperature control.
Over-Proofing: Prevention and Solutions
Over-proofing during cold proofing, while less likely than at room temperature, can occur with extended times or if the refrigerator temperature is too warm. Signs of over-proofed dough include a dough that has risen significantly and appears puffy but lacks tension, might spread out instead of holding its shape, and could potentially have small bubbles on the surface. When poked, it may not spring back at all.
To prevent over-proofing, ensure your refrigerator is consistently at 3-5°C (37-41°F). Start with shorter cold proofing times (12-18 hours) and gradually increase as you gain experience. If you suspect your dough is slightly over-proofed after coming out of the cold, handle it very gently. You can try baking it directly from the fridge, which sometimes helps provide structure through the thermal shock. If it's severely over-proofed and completely slack, you might need to gently reshape it (though this can deflate it) or even use it for a flatbread like focaccia.
Under-Proofing: Troubleshooting Steps
Under-proofing is perhaps more common when first trying cold proofing sourdough. This happens if the dough hasn't had enough time in the cold to develop sufficient gas or flavor, or if your sourdough starter wasn't active enough initially. Signs of under-proofed dough include a loaf that doesn't rise much in the oven (poor oven spring), has a dense crumb with large, irregular tunnels (sometimes called "gorilla holes"), and may have a less developed flavor.
If you take your dough out of the fridge and it feels dense and hasn't increased much in volume, it's likely under-proofed. You have a couple of options. You can let it sit at room temperature for 30-90 minutes (this is called tempering, discussed later) and watch for signs of it loosening up and gaining some volume before baking. Alternatively, for severely under-proofed dough, you might need to allow it to finish proofing at room temperature for 1-3 hours, keeping a close eye on it, before baking. This negates some cold proofing benefits but saves the loaf.
Adjusting Cold Proofing Time Based on Room Temperature
The temperature of your kitchen during bulk fermentation significantly impacts how long the dough needs to cold proof. If your bulk fermentation was done in a warm environment (e.g., 24-26°C or 75-79°F) and the dough developed quickly, it will likely need less time in the fridge before it's perfectly proofed. The yeast and bacteria are very active, and the dough enters the cold proofing stage already quite developed.
Conversely, if your bulk fermentation was slow in a cooler kitchen (e.g., 18-20°C or 64-68°F), the dough will take longer to reach the desired proof level before heading into the cold. It might also benefit from a longer cold proofing period to compensate and fully develop flavor. Think of the total fermentation time as a pie chart: the warmer the room temp portion, the smaller the cold proof portion needs to be, and vice-versa. Pay attention to the dough's look and feel, not just the clock.
Common Mistakes to Avoid
Several common pitfalls can hinder successful cold proofing sourdough. One is placing the dough in the fridge before it has completed sufficient bulk fermentation. Cold proofing is a slow final rise, not a substitute for the initial bulk. The dough needs the strength and initial gas development from room temperature bulk fermentation to perform well in the cold.
Another mistake is not covering the dough properly in the fridge, leading to a dry, leathery skin that restricts oven spring and ruins the crust. Ensure your cover is airtight. Finally, not accounting for the initial temperature of the dough when it goes into the fridge can lead to inconsistent results. A warm dough will continue actively fermenting for a while as it cools down in the fridge, effectively shortening the true cold proofing time compared to a dough that was slightly cooler when placed in the cold.
Baking Sourdough After Cold Proofing
Once your dough has completed its cold proofing journey, it's ready for the oven. Baking a cold-proofed loaf is slightly different from baking a room-temperature proofed loaf, and these steps are crucial for achieving that beautiful crust and open crumb.
Tempering Cold Proofed Dough Before Baking
Some bakers prefer to bake their cold-proofed sourdough dough directly from the refrigerator, while others advocate for a short period of tempering at room temperature. Tempering involves taking the dough out of the fridge 30-60 minutes before you plan to bake. This allows the dough to warm up slightly.
Tempering can make the dough slightly easier to handle and score, as it becomes a little less stiff. It also allows the very surface of the dough to warm, which can sometimes help with oven spring and prevent the crust from setting too quickly. However, many bakers achieve excellent results baking directly from the cold, relying on the thermal shock to provide a strong initial lift. Experiment to see which method works best for your dough and baking setup.
Scoring Dough for Optimal Oven Spring
Scoring, or slashing, the surface of your dough just before baking is essential, especially with cold-proofed dough. The cold temperature helps the dough hold its shape, making it easier to score cleanly. Scoring controls where the bread expands during the intense heat of the oven. Without scoring, the rapidly expanding gases inside the dough would burst through the weakest point, often resulting in an uncontrolled, jagged split.
Use a sharp blade, like a lame or a razor blade, to make deliberate cuts in the surface of the dough. Common scoring patterns include a single long slash (for batards) or a cross or square pattern (for boules). The depth and angle of the score influence the oven spring and the final appearance of the crust. A deeper cut at an angle can create a significant "ear" or flap of crust. The cold, firm surface of cold-proofed dough makes it an ideal candidate for intricate or deep scoring.
Baking Temperatures and Times
Baking sourdough, especially cold-proofed sourdough, is often done at high temperatures, typically between 230°C and 250°C (450°F and 480°F). The high initial heat provides a burst of energy that causes rapid expansion of gases within the dough – this is the "oven spring." Baking in a Dutch oven or a lidded pot is highly recommended for the first part of the bake, as it traps steam released by the dough. This steam keeps the surface of the dough moist and elastic, allowing it to expand fully before the crust sets.
A common baking method involves baking covered at a high temperature for 20-25 minutes, then removing the lid and reducing the temperature slightly (e.g., to 220°C or 425°F) to finish baking uncovered for another 20-30 minutes until the crust is deep golden brown and the internal temperature reaches around 96-99°C (205-210°F). The exact times will vary based on your oven and loaf size.
Achieving a Perfect Crust and Crumb
Cold proofing sourdough significantly contributes to achieving both a perfect crust and an open, airy crumb. The extended cold fermentation allows for better gluten development and structure, which helps the dough hold onto the gases produced during proofing and the initial oven spring. This leads to a more open crumb structure with irregular holes, a hallmark of well-made sourdough.
The enzymatic activity during the cold proof also helps break down starches into sugars, which caramelize during the high-temperature bake, contributing to a deep golden-brown crust with excellent flavor. Baking in a steamy environment (like a Dutch oven) during the first phase ensures the crust remains pliable during oven spring, while the dry heat in the second phase allows it to crisp up beautifully. The controlled, slow fermentation of the cold proof sets the stage for these desirable characteristics.
Flavor Development with Cold Proofing
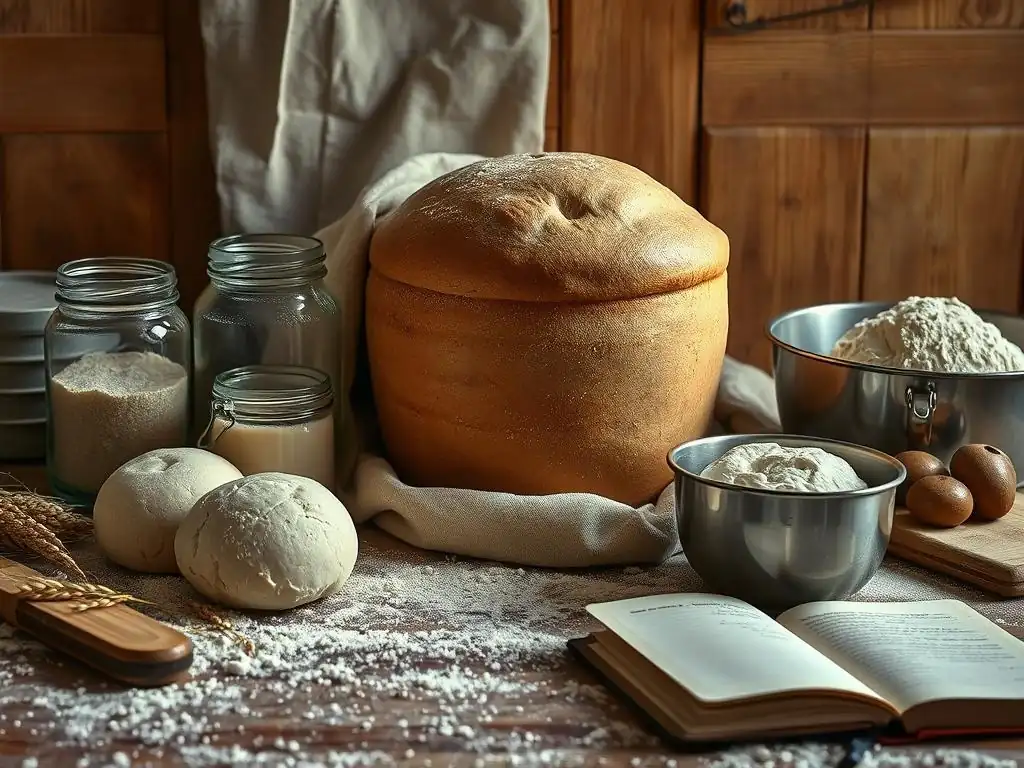
One of the most celebrated benefits of cold proofing is its profound impact on the flavor profile of sourdough bread. It's where the characteristic tang and complexity truly develop, transforming simple flour and water into something extraordinary.
Enhancing Acidity and Complexity
The extended, slow fermentation in the cold is a playground for lactic acid bacteria (LAB). While yeast activity is suppressed, LAB continue their work, producing organic acids. As mentioned earlier, colder temperatures favor the production of acetic acid over lactic acid. Lactic acid provides a smooth, creamy sourness, while acetic acid offers a sharper, more vinegar-like tang.
A longer cold proofing time allows more time for these acids to accumulate, particularly acetic acid. This results in a tangier loaf compared to one proofed solely at room temperature. The interaction of these acids with other compounds developed during the long fermentation creates a more complex flavor profile with layers of subtle notes that are highly prized in artisanal sourdough. Think beyond just "sour" to notes that can range from milky or yogurty to sharp and vinegary, depending on the duration.
Impact on Texture
Beyond flavor, cold proofing also positively impacts the texture of the final loaf, both the crust and the crumb. The slow fermentation allows enzymes to break down complex carbohydrates into simpler sugars. These sugars are food for the microbes and contribute to the beautiful caramelization of the crust during baking, resulting in a richer color and a crispier texture.
Inside the loaf, the extended time allows the gluten network to relax and strengthen simultaneously. This improved structure is better able to trap the gases produced during fermentation and oven spring, leading to a more open, airy crumb with irregular holes. The dough also becomes easier to handle and score after a long cold proof, contributing to better shape and oven spring, which in turn influences the crumb structure.
Exploring Different Flavors by Varying Time
One of the exciting aspects of cold proofing sourdough starter dough is the ability to manipulate flavor by simply varying the duration of the cold proof. A shorter cold proof (12-18 hours) will yield a loaf with a milder tang, where the flavors are more subtle and bread-like. This is a great starting point if you prefer less sourness.
Extending the cold proof to 24, 36, or even 48 hours will progressively increase the acidity and complexity. The loaf will become noticeably tangier as acetic acid levels rise. Some bakers enjoy pushing to 72 hours for a truly intense sourness. Experimenting with different cold proofing times on similar doughs is the best way to discover your preferred balance of flavor and acidity. Keep notes on proofing time and the resulting taste to refine your process.
Cold Proofing: Recipe Adaptations
While cold proofing can be applied to many basic sourdough recipes, understanding how to adapt your approach based on different factors like flour type or desired shape is beneficial. It's not a one-size-fits-all technique.
Adjusting Recipes for Cold Proofing
When adapting a standard room-temperature sourdough recipe for cold proofing, the main adjustment you'll likely need to make is the length of the final proof. A recipe calling for a 2-4 hour final proof at room temperature will require a significantly longer cold proof, typically 12-48 hours.
You might also slightly reduce the amount of sourdough starter used initially, as the longer fermentation provides ample time for the microbes to work. For example, if a recipe calls for 20% starter, you might drop it to 15% when planning a long cold proof to prevent over-proofing, although many recipes work fine without reducing the starter percentage.
Another consideration is hydration. Very high-hydration doughs can sometimes spread more during a long cold proof if not adequately supported (like in a banneton). You might find slightly lower hydration doughs (around 70-75%) a bit easier to handle when starting out with long cold proofs. Pay attention to the dough's development during bulk fermentation; it should be strong and well-developed before going into the cold.
Cold Proofing with Different Flours: Spelt and Einkorn
Cold proofing works well with doughs made from various flours, including ancient grains like spelt and einkorn, or blends containing them. However, these flours often behave differently than strong bread flour. Spelt and einkorn tend to have weaker gluten structures and ferment faster than modern wheat.
When cold proofing sourdough made with spelt or einkorn, you may need to adjust timing. Bulk fermentation might be shorter, and the cold proofing time might also be on the shorter end of the typical range (e.g., 12-24 hours) to avoid the dough breaking down or becoming too sticky due to the weaker gluten. It's crucial to handle these doughs gently throughout the process and ensure they are well-supported during the cold proof. The flavor development from cold proofing is particularly lovely with the inherent nuttiness of these flours.
Cold Proofing Sourdough for Baguettes
Cold proofing sourdough is an excellent technique for baguettes. Baguette dough is often relatively low hydration and benefits greatly from the structure and flavor development provided by a long, cool fermentation. After bulk fermentation, shape the dough into rough rectangles, rest, and then shape into baguettes.
Instead of proofing at room temperature, place the shaped baguettes on a floured couche (linen cloth) with folds between them to maintain their shape, or in a perforated baguette pan. Cover the couche or pan with plastic wrap and place in the refrigerator for cold proofing sourdough baguettes, typically for 12-24 hours. The cold makes the long, thin shapes easy to handle and score cleanly before transferring them to a hot baking surface (like a baking stone or steel) in a steamy oven. The result is a baguette with a crisp crust, chewy interior, and that signature sourdough tang.
Conclusion: Mastering Cold Proofing
Cold proofing sourdough is a technique that offers significant rewards for minimal extra effort. By simply utilizing your refrigerator, you can transform a good loaf of sourdough into a truly exceptional one, enhancing its flavor, improving its texture, and adding valuable flexibility to your baking schedule. It's a technique accessible to beginners and a staple for experienced bakers.
Benefits of Incorporating Cold Proofing
The advantages of making cold proofing a part of your sourdough routine are clear:
- Superior Flavor: Development of complex acids for a deeper, tangier taste.
- Improved Texture: Stronger gluten structure leads to better oven spring and a more open crumb.
- Enhanced Crust: More sugars available for caramelization result in a richer color and crispier crust.
- Scheduling Convenience: Bake on your schedule, not the dough's. Prepare the dough one day and bake the next.
- Easier Handling: Cold dough is firmer and easier to score and transfer to the oven.
Further Resources
To continue your journey in mastering sourdough, exploring resources like detailed guides on maintaining a healthy sourdough starter, understanding dough hydration, and practicing different shaping techniques can be invaluable. Many online communities and baking books offer extensive information and support for sourdough enthusiasts at every level. Learning from others' experiences and experimenting in your own kitchen are key to success.
Resources for Sourdough Success
Success with cold proofing sourdough starter dough relies on a few fundamental pillars: a healthy and active sourdough starter, a solid basic sourdough recipe, and patience. Ensure your starter is regularly fed and vigorous before baking. Work with a recipe you understand and feel comfortable with before introducing the cold proofing step. Don't be afraid to experiment with cold proofing times and observe how your dough behaves. With practice, you'll develop an intuition for when your dough is perfectly proofed after its cold nap, leading to consistently delicious results.
Frequently Asked Questions
What exactly is cold proofing, and why is it used in sourdough baking?
Cold proofing is the process of slowing down the fermentation of your sourdough dough by placing it in the refrigerator. This allows for extended fermentation and development of flavor.
How does cold proofing affect the taste of my sourdough bread?
Cold proofing intensifies the flavor profile of sourdough. The slow fermentation allows lactic acid bacteria to produce more complex and tangy flavors.
When is the best time to cold proof sourdough bread?
Typically, you cold proof after the initial bulk fermentation and shaping of the dough. This allows the dough to develop some strength before the slow, cold rise.
How long should I cold proof my sourdough starter and dough?
Cold proofing times can vary, but generally range from 12 to 72 hours, depending on the desired tang and your schedule. Experiment to find what works best for your recipe.
Can I over-proof my sourdough in the refrigerator?
Yes, while cold proofing slows down fermentation, it doesn't stop it completely. Over-proofing can still occur, resulting in a dense or collapsed loaf. Monitor your dough.
Final Reflection: The Quiet Power of Cold Proofing
The art of cold proofing sourdough isn't just a technique; it's a gateway to unlocking the full potential of your starter and achieving consistently delicious bread. This seemingly simple process profoundly impacts the flavor, texture, and overall quality of your sourdough loaves, offering bakers of all levels a path to greater control and predictability in their baking. It's a testament to the power of patience and understanding the subtle nuances of fermentation.
Cold proofing's influence on the sourdough baking community is undeniable. It's moved beyond a niche technique and become a cornerstone of many bakers' routines, allowing for greater flexibility and planning. Patience is a virtue, especially in sourdough baking,
a wise baker once said, and cold proofing embodies this perfectly. It allows us to schedule our baking around our lives, rather than the other way around, fostering a more relaxed and enjoyable baking experience. This shift towards mindful baking, prioritizing process over speed, reflects a broader cultural trend towards appreciating slow, deliberate craftsmanship.
Now, consider your own sourdough journey. What adjustments can you make to incorporate cold proofing into your routine? Will you experiment with different proofing times to discover what works best for your starter and your desired flavor profile? Embrace the possibilities. The journey of sourdough baking is a continuous exploration, and mastering cold proofing is a significant step towards unlocking the full spectrum of flavors and textures this ancient craft has to offer. Don't just bake bread; cultivate a deeper understanding of the process, and savor the rewards of your patience and dedication.
Unleash Your Sourdough's Potential: Master Cold Proofing!
Thanks for taking the time to explore the world of cold proofing with us! You've now learned a technique that unlocks incredible flavor and texture in your sourdough. Ready to put your new knowledge into practice?
- Bake your best loaf yet: Try cold proofing your next sourdough starter and see the difference! Pay close attention to the rise and adjust your baking time accordingly – the results will be worth it.
- Share your sourdough journey: Post a picture of your cold-proofed creation on social media and tag us! Let's inspire each other.
- Dive deeper into sourdough science: Explore our other articles on BakeWithEase.com to learn more advanced techniques and recipes.
What unique flavor notes did you discover in your cold-proofed sourdough? Let's hear about it in the comments!