
Basic Sourdough Recipe: Understanding Proofing Times

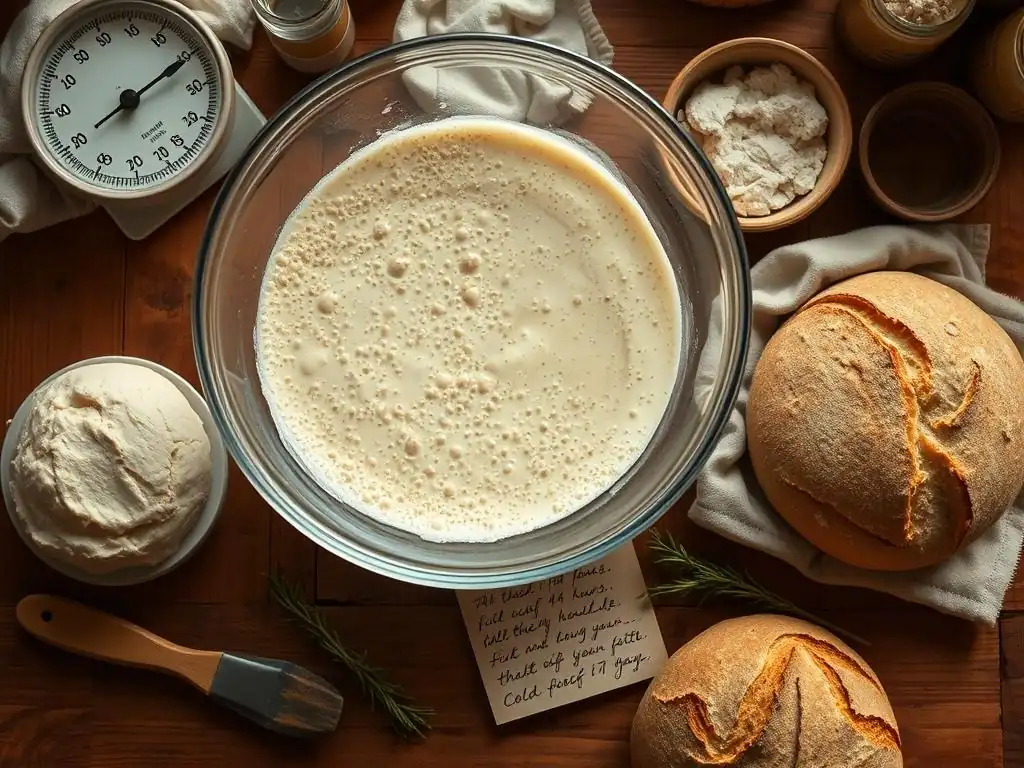
Welcome to BakeWithEase, your trusted guide to the delightful world of baking! Ever wondered if your sourdough is truly ready for the oven? This article dives deep into the often-misunderstood, yet crucial, aspect of sourdough baking: the sourdough proofing time guide. Unlock the secrets to perfectly proofed dough and consistently delicious loaves. Intrigued? Let's get started!
- BakeWithEase' Guide to Sourdough Proofing Times
- Understanding the Importance of Proofing Sourdough
- Basic Sourdough Recipe: A Step-by-Step Guide
- Mastering Sourdough Proofing Time: A Detailed Guide
- Sourdough Proofing Methods: Choosing the Right Approach
- Troubleshooting Sourdough Proofing Issues
- Baking Your Sourdough: From Proof to Oven
- Conclusion: Achieving Sourdough Success Through Proper Proofing
- Frequently Asked Questions
- Final Reflection: The Art and Science of Sourdough Patience
- Unlock Your Sourdough Potential: Master the Proof!
BakeWithEase' Guide to Sourdough Proofing Times
Welcome to your comprehensive sourdough proofing time guide! Mastering sourdough baking is an incredibly rewarding journey, and understanding the nuances of proofing is perhaps the most critical step after nurturing a vibrant starter. This guide will walk you through a basic sourdough recipe while demystifying the process of proofing, helping you achieve that perfect rise and open crumb.
Getting the timing right for your sourdough proof can feel like a dark art initially. Too short, and your loaf will be dense; too long, and it might collapse. We'll break down the factors that influence this crucial stage, from ambient temperature to the hydration of your dough, providing you with the knowledge to confidently navigate the proofing process and bake delicious, beautiful loaves every time.
Understanding the Importance of Proofing Sourdough
Proofing, also known as fermentation, is where the magic happens in sourdough baking. It's the period during which the yeast and bacteria in your sourdough starter consume sugars in the flour, producing carbon dioxide gas and organic acids. This gas is what causes the dough to rise, while the acids contribute significantly to the characteristic tangy flavor and the structure of the bread.
Proper proofing is essential for several reasons. Firstly, it develops the gluten structure, which allows the dough to trap the gas produced during fermentation, leading to a light and airy crumb. Secondly, it develops the complex flavors unique to sourdough. Skipping or rushing this step results in a flat, dense, and less flavorful loaf. Truly mastering your sourdough proofing time is the key to unlocking artisanal quality bread at home.
What is Sourdough Proofing and Why Does it Matter?
Sourdough proofing refers specifically to the fermentation periods your dough undergoes after mixing. There are typically two main phases: bulk fermentation (the first rise after mixing and initial folds) and final proofing (the rise after shaping, before baking). During these phases, the dough expands significantly as the microorganisms in the starter produce gas.
The importance of proofing cannot be overstated. It's not just about making the dough bigger; it's about developing the dough's structure, flavor, and texture. An under-proofed dough will be dense with a tight crumb and potentially large, irregular tunnels, often referred to as "mouse holes." An over-proofed dough, on the other hand, will be slack, difficult to handle, and may collapse in the oven, resulting in a flat loaf with a poor structure. Finding that sweet spot is what this sourdough proofing time guide aims to help you achieve.
The Role of Time and Temperature in Sourdough Proofing
Time and temperature are the two most significant factors influencing the rate of sourdough proofing. The microorganisms in your starter are living organisms, and their activity is highly dependent on their environment. Warmer temperatures accelerate fermentation, meaning the dough will proof faster. Cooler temperatures slow it down.
For example, a bulk fermentation that might take 4-6 hours in a kitchen at 75°F (24°C) could take 8-12 hours or even longer in a cooler kitchen at 65°F (18°C). Similarly, final proofing at room temperature might take 2-4 hours, while cold proofing in a refrigerator at 38-40°F (3-4°C) can take anywhere from 8 to 48 hours. Understanding this relationship is fundamental to managing your sourdough proofing time.
Basic Sourdough Recipe: A Step-by-Step Guide
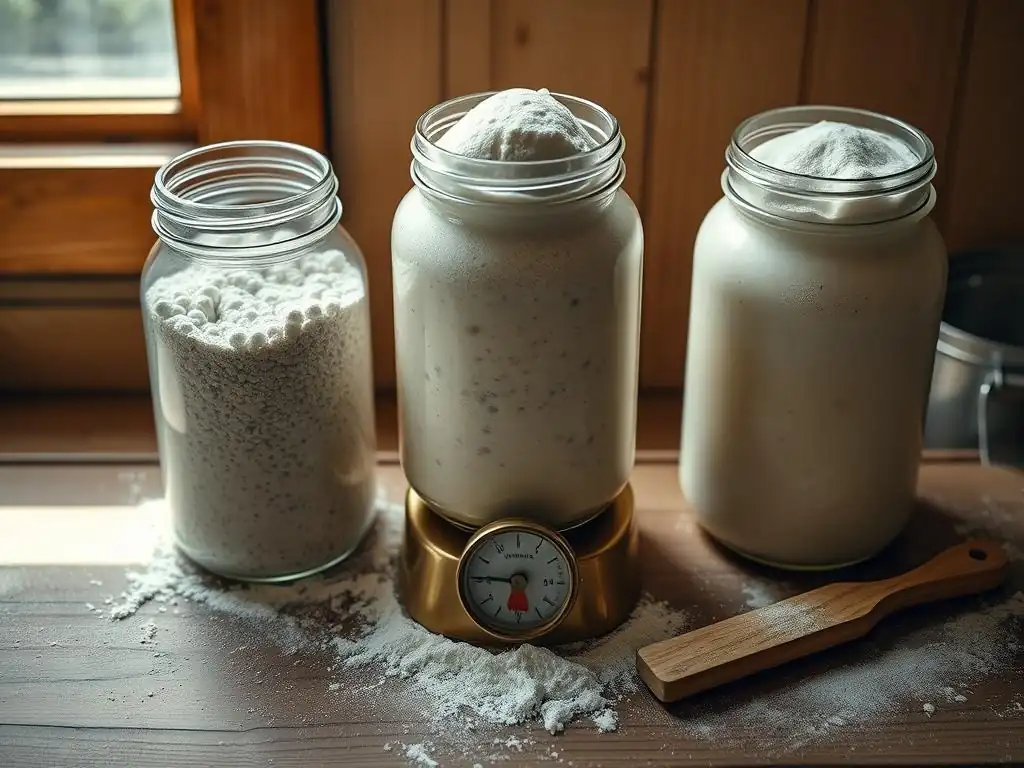
This basic recipe provides a foundation for understanding the proofing process. It uses common ratios and techniques suitable for beginners. While exact timing will vary based on your environment and starter, this guide gives you a solid starting point for your sourdough proofing time guide.
Let's gather our ingredients and get started on building our dough before we dive deeper into the nuances of proofing. Remember, consistency in your process helps you learn how to adjust timing effectively.
Ingredients for Your First Sourdough Loaf
Keeping the ingredient list simple helps focus on the process, especially understanding proofing. We'll use a standard hydration level that is manageable for beginners.
- 100g active sourdough starter (fed 4-12 hours prior, bubbly and active)
- 350g warm water (around 80-85°F or 27-29°C)
- 500g strong bread flour (high protein content helps structure)
- 9g fine sea salt
Note: An active starter is crucial. If your starter isn't doubling within 4-8 hours after feeding (1:1:1 ratio of starter:water:flour), it might not be ready for baking, and your proofing times will be significantly affected.
Mixing the Dough: Achieving the Right Consistency
The initial mixing combines your ingredients into a shaggy mass. This is where gluten development begins and hydration is set. We'll use a simple method that requires minimal kneading.
- In a large bowl, whisk together the active sourdough starter and the warm water until the starter is mostly dissolved.
- Add the bread flour and salt to the bowl.
- Mix with a spatula or your hand until no dry flour remains and a shaggy dough forms. It will be sticky.
- Cover the bowl and let the dough rest for 30 minutes (autolyse). This rest period allows the flour to fully hydrate and gluten development to start naturally, making subsequent steps easier.
This initial step sets the stage for the fermentation process. The dough's hydration level directly impacts its behavior during proofing – higher hydration doughs are often stickier and require more careful handling, but can yield a more open crumb if proofed correctly.
Bulk Fermentation: The First Rise
Bulk fermentation is the period from when you finish mixing until you shape the dough. This is where the majority of the dough's rise and flavor development occurs. It involves a series of folds to build strength in the dough.
After the 30-minute autolyse, perform a series of stretch and folds. Wet your hands slightly to prevent sticking. Grab one side of the dough, stretch it upwards, and fold it over the center. Rotate the bowl and repeat this 3-4 times until all sides have been folded. Repeat this folding process every 30-45 minutes for the first 2-3 hours of bulk fermentation.
Once the folds are complete, let the dough rest, covered, until it has increased significantly in volume – typically 50% to 100% depending on temperature and desired outcome. This can take anywhere from 4 to 12 hours at room temperature (68-78°F or 20-26°C). This is a critical part of your sourdough proofing time guide; monitor the dough, not just the clock. Look for signs like bubbles on the surface and a domed shape.
Shaping the Dough: Preparing for Proofing
After bulk fermentation, the dough needs to be shaped into its final form before the final proof. Shaping creates tension in the dough's surface, which helps it hold its structure during the final rise and in the oven.
Gently turn the dough out onto a lightly floured surface. Be careful not to degas it too much. Perform a pre-shape: gently fold the edges towards the center to form a rough ball or rectangle, depending on your desired final shape. Let it rest, uncovered, for 20-30 minutes. This allows the gluten to relax before the final shape.
Now, perform the final shape. For a boule (round loaf), gently pull the dough towards you while pushing away with your hands or a bench scraper to create surface tension. For a batard (oval loaf), fold the top down, the bottom up, and then roll it tightly. Place the shaped dough seam-side up into a floured proofing basket (banneton) or a bowl lined with a floured tea towel. This prepares the dough for its final sourdough proofing time.
Mastering Sourdough Proofing Time: A Detailed Guide
Understanding and managing the sourdough proofing time is arguably the most challenging aspect for new bakers. It requires observation and intuition, as there is no single correct time that applies to every situation. This section provides a detailed guide to help you master this crucial step.
The goal of final proofing is to allow the dough to rise further and develop flavor before baking. The dough should increase in volume but not necessarily double again, especially if you had a vigorous bulk fermentation. Over-proofing at this stage is a common pitfall.
Determining the Ideal Sourdough Proofing Time
Determining the ideal proofing time involves considering multiple factors and observing the dough itself. While recipes provide estimates (e.g., "proof for 2-4 hours at room temp" or "cold proof for 12-24 hours"), these are just starting points. The key is to learn the visual and tactile cues of properly proofed dough.
A well-proofed dough will look visibly larger and feel light and airy. A common test is the "poke test": gently press your floured finger into the dough about half an inch deep. If the indentation springs back slowly and only partially, the dough is likely well-proofed. If it springs back immediately, it needs more time (under-proofed). If the indentation stays completely or collapses, it's likely over-proofed. This tactile check is a valuable part of any sourdough proofing time guide.
Factors Affecting Sourdough Proofing Time: Temperature, Hydration, and Starter Activity
As mentioned earlier, several variables significantly impact how quickly or slowly your sourdough proofs. Ignoring these factors is why simply following a recipe's time estimate can lead to inconsistent results. Let's look at the main culprits.
Understanding the interplay between these elements is key to adjusting your sourdough proofing time. A highly active starter in a warm, humid environment will proof dough much faster than a less active starter in a cool, dry environment. Always assess your specific conditions.
The Impact of Temperature on Sourdough Proofing
Temperature is the most dominant factor influencing proofing speed. For every 10°F (around 5.5°C) increase in temperature, the fermentation rate roughly doubles. This means a few degrees difference in your kitchen can drastically change the required proofing time.
For example, dough proofing at 75°F (24°C) might be ready in 3-4 hours, while the same dough at 65°F (18°C) could require 6-8 hours or longer. This is why cold proofing in the refrigerator (typically 38-40°F or 3-4°C) slows fermentation to a crawl, allowing for proofing times of 12-48 hours or even longer. This extended, slow fermentation also contributes to more complex flavor development, a major benefit of cold proofing described in many a sourdough proofing time guide.
Hydration Levels and Their Effect on Dough Proofing
Dough hydration, the ratio of water to flour, also plays a role in proofing. Higher hydration doughs (e.g., 75% water or more relative to flour) generally ferment slightly faster than lower hydration doughs (e.g., 65%). The higher water content makes the dough softer and more extensible, allowing the gas produced by the starter to expand more easily.
However, higher hydration doughs can also be more difficult to handle and shape. They may appear more slack even when properly proofed compared to a lower hydration dough. When working with higher hydration, relying on visual cues like significant bubbling and a domed surface, alongside the poke test, becomes even more critical for determining the correct sourdough proofing time.
Assessing Your Sourdough Starter's Activity
The health and activity of your sourdough starter are paramount. A vigorous starter, fed regularly and kept at a favorable temperature, will contain a large, active population of yeast and bacteria ready to ferment your dough efficiently. A sluggish or neglected starter will ferment slowly, if at all.
Before mixing dough, always check your starter's activity. It should have at least doubled (preferably tripled) in volume within 4-8 hours after being fed with a 1:1:1 ratio of starter, water, and flour. It should be bubbly throughout and smell pleasantly tangy, not overpoweringly acidic or like acetone. Using an inactive starter will extend your sourdough proofing time significantly, potentially leading to frustration and dense loaves.
Visual Cues for Perfectly Proofed Sourdough
Beyond the poke test, there are several visual indicators that your dough is approaching optimal proofing. Learning to read these signs is crucial, as they are often more reliable than strictly adhering to time.
Look for the dough to be visibly increased in volume, feeling airy and soft to the touch. The surface should appear smooth and slightly domed, with potentially small bubbles visible just beneath the surface. If proofing in a banneton, the dough should have filled out the basket nicely but not be spilling over the edges.
Recognizing Over-Proofed Sourdough
Identifying over-proofed dough is key to avoiding disappointment. Over-proofed dough has fermented for too long, causing the gluten structure to weaken significantly. It can no longer hold the gas produced by the starter.
Signs of over-proofing include the dough appearing very large and puffy, almost deflated, or spreading out horizontally rather than holding its shape. The poke test will show an indentation that doesn't spring back at all, and the dough may feel fragile or even start to collapse. If proofing in a banneton, it might look like it's spilling over the sides. While salvaging over-proofed dough is sometimes possible (e.g., turning it into flatbread), it won't achieve the desired open crumb of a properly proofed loaf. This is a crucial lesson in any sourdough proofing time guide.
Identifying Under-Proofed Sourdough
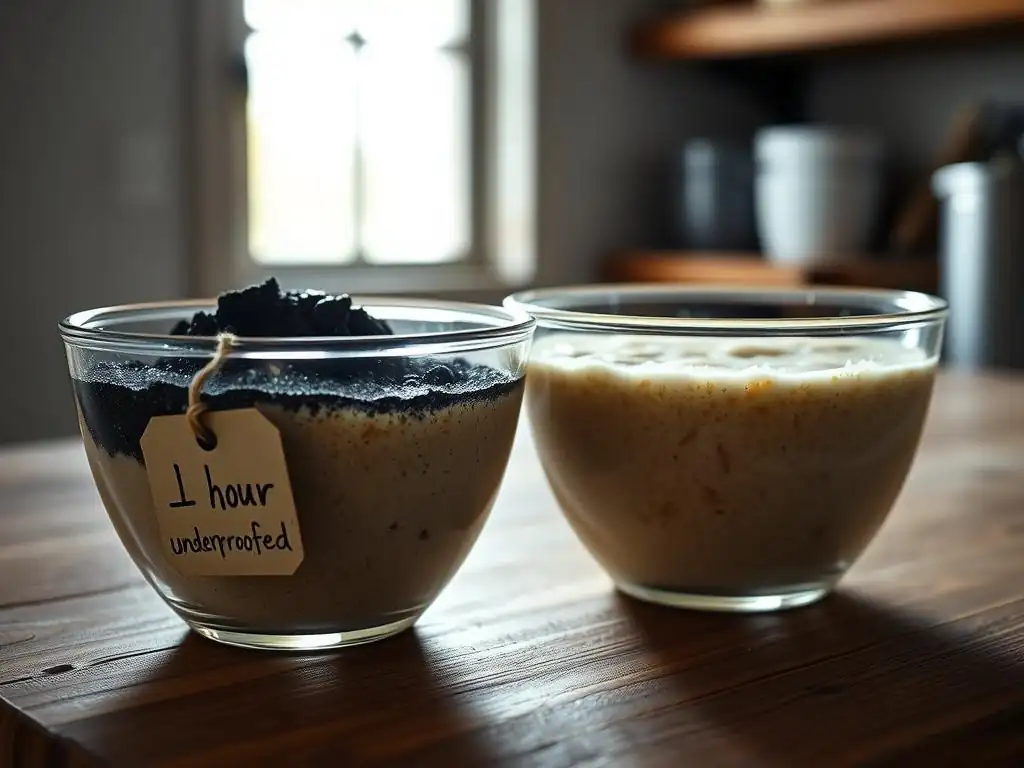
Under-proofed dough hasn't fermented long enough. The gluten structure hasn't fully relaxed, and insufficient gas has been produced. This is another common issue when trying to get your sourdough proofing time right.
Under-proofed dough will appear dense and heavy for its size and may not have increased much in volume. The poke test will show an indentation that springs back quickly and completely. When baked, under-proofed loaves often exhibit a phenomenon called "blowout," where the crust cracks in an uncontrolled manner, typically along the sides, because the internal pressure from gas expansion during baking is too great for the underdeveloped gluten structure to contain. The crumb will be dense with irregular, large holes alongside very tight areas ("mouse holes").
Sourdough Proofing Methods: Choosing the Right Approach
The method you choose for final proofing impacts both the required sourdough proofing time and the final characteristics of your loaf, such as flavor and crust development. The two most common methods are room temperature proofing and cold proofing in the refrigerator.
Each method has its advantages and disadvantages, and the best choice often depends on your schedule and desired outcome. Some bakers even combine methods, starting at room temperature and finishing in the cold.
Room Temperature Proofing: A Traditional Method
Room temperature proofing is the more traditional approach, especially in warmer climates or before refrigeration was widespread. After shaping, the dough is placed in its proofing basket and left at typical room temperature (around 68-78°F or 20-26°C) until it's ready to bake.
The main advantage is speed – proofing can take as little as 2-4 hours depending on the temperature and dough activity. This is convenient if you want to bake the same day you mix the dough. However, it requires careful monitoring, as the window for perfect proofing can be relatively short, especially in warmer conditions. Over-proofing can happen quickly. Getting the sourdough proofing time right at room temp requires constant attention.
Cold Proofing in the Refrigerator: Slow and Steady
Cold proofing involves placing the shaped dough in the refrigerator (typically 38-40°F or 3-4°C) for an extended period. This dramatically slows down yeast activity while allowing the bacteria to continue producing organic acids, which deepens the flavor and improves the keeping quality of the bread.
Cold proofing is incredibly flexible, allowing you to bake the loaf hours or even a day or two later. This makes it much easier to fit sourdough baking into a busy schedule. The slow fermentation also develops more complex, nuanced flavors and often results in a better crust and oven spring. While the sourdough proofing time is much longer (12-48+ hours), the slower rate makes it much more forgiving regarding the proofing window compared to room temperature proofing.
Using a Proofing Box: Maintaining Consistent Temperature
For bakers who want more control over their proofing environment, a proofing box (or a makeshift setup like an oven with the light on) can be invaluable. These tools allow you to maintain a consistent, controlled temperature, removing one of the major variables affecting sourdough proofing time.
Using a proofing box set to a specific temperature, say 75°F (24°C), means your dough will proof at a predictable rate every time, assuming your starter activity and dough hydration are consistent. This is particularly helpful in environments with fluctuating temperatures or during colder months. While not strictly necessary for home bakers, it provides a level of consistency that can significantly improve results and make managing your sourdough proofing time much easier.
Troubleshooting Sourdough Proofing Issues
Even with a good sourdough proofing time guide, you might encounter issues. Sourdough is a living process, and variations are normal. Here are some common problems and how to address them.
Don't get discouraged if your first few loaves aren't perfect. Learning to read your dough takes practice. Troubleshooting helps you understand the process better and adjust for future bakes.
My Sourdough Isn't Rising: Possible Causes and Solutions
If your dough isn't rising during bulk fermentation or final proofing, several factors could be at play. This is a common frustration when trying to nail the sourdough proofing time.
- Inactive Starter: The most likely culprit. Ensure your starter is active and bubbly before use. Feed it and wait for it to double or triple.
- Cold Temperature: Sourdough ferments slowly in cold conditions. Try proofing in a warmer spot (like an oven with the light on, or near a warm appliance) or be prepared for a much longer proofing time.
- Insufficient Time: You might simply need to wait longer, especially if your environment is cool or your starter isn't super vigorous. Patience is key.
- Too Much Salt: High salt levels can inhibit yeast activity. Ensure you're using the correct amount (typically around 1.8-2% of the flour weight).
- Weak Flour: Using flour with low protein content might result in poor gluten development, which struggles to trap gas. Use strong bread flour (12%+ protein).
- Check starter activity before baking.
- Evaluate ambient temperature.
- Be patient and allow sufficient time.
- Verify salt measurement.
- Ensure use of strong bread flour.
Dealing with Sticky Dough During Proofing
Sticky dough is common, especially with higher hydration recipes. While some stickiness is normal, excessive stickiness can make handling difficult and might indicate an issue with gluten development or hydration.
- High Hydration: This is often the reason. Higher water content means stickier dough. Use a light touch, wet hands or a wet bench scraper, and minimal flour when handling and shaping.
- Insufficient Gluten Development: The dough might not have enough structure to manage the water. Ensure you're performing adequate stretch and folds during bulk fermentation.
- Over-Proofing: As dough ferments and gluten breaks down, it can become slack and sticky. This is a sign you've gone past the optimal sourdough proofing time. Try reducing proofing time in future bakes.
- Flour Type: Some flours absorb water differently. You might need to slightly adjust the water amount if consistently dealing with overly sticky dough.
Quote:
A slightly sticky dough is a happy dough in sourdough baking, but excessively sticky dough can be a sign that something needs adjustment in your process or timing.
How to Adjust Proofing Time Based on Your Environment
The best way to adjust your sourdough proofing time is to become an observer of your dough and your environment. Don't blindly follow recipes; use them as a guide and adapt.
If your kitchen is consistently warmer than the recipe assumes, anticipate shorter proofing times. If it's cooler, expect longer times. Keep a baking journal noting temperatures and proofing durations to build your own reliable sourdough proofing time guide based on your specific conditions. Remember to use the visual cues and the poke test as your primary indicators of readiness, rather than relying solely on the clock.
Baking Your Sourdough: From Proof to Oven
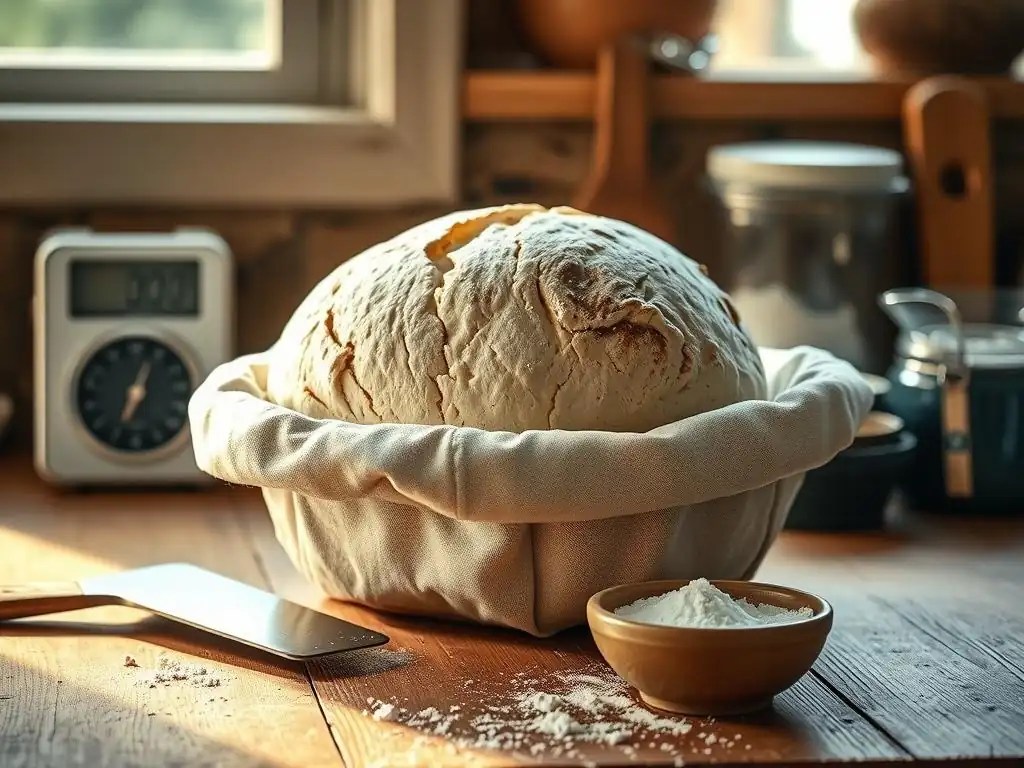
Once your dough is perfectly proofed, it's ready for the oven. The transition from proofing basket to hot oven is a critical moment that impacts the final shape and crust.
This final stage is where all your effort in mixing, folding, shaping, and getting the sourdough proofing time right pays off. A well-proofed dough will expand beautifully in the oven, a phenomenon known as oven spring.
Scoring the Dough: Preparing for Baking
Scoring involves making cuts on the surface of the dough just before it goes into the oven. This serves several purposes: it allows the dough to expand in a controlled manner during oven spring, prevents uncontrolled cracking, and creates beautiful patterns on the crust.
Use a sharp razor blade (lame) or a very sharp knife. Make quick, confident cuts about half an inch deep. For a classic ear, make one long, sweeping cut across the loaf at a slight angle. For other patterns, experiment with different cuts. Scoring requires a steady hand and confidence, but practice makes perfect. A well-proofed dough will accept scoring easily without deflating.
Baking Techniques for a Perfect Crust
Achieving a beautiful, crispy sourdough crust requires high heat and steam in the initial stages of baking. Steam keeps the surface of the dough pliable, allowing it to expand fully before the crust sets.
The most common method for home bakers is baking in a Dutch oven. Preheat your oven and the Dutch oven to a high temperature (e.g., 450-500°F or 230-260°C). Carefully transfer the proofed dough into the hot Dutch oven, score it, cover with the lid, and bake for 20-30 minutes.
Then, remove the lid and continue baking for another 15-25 minutes until the crust is deep golden brown and the internal temperature reaches around 205-210°F (96-99°C). The Dutch oven traps the steam naturally released by the dough, creating the ideal environment for a great crust and maximum oven spring from your perfectly proofed dough.
Cooling and Enjoying Your Homemade Sourdough
After baking, it's crucial to let your sourdough cool completely on a wire rack. This allows steam to escape and the internal structure to set properly. Cutting into a hot loaf can result in a gummy texture.
Cooling can take 1-3 hours, depending on the size of the loaf. Be patient! Once cooled, slice your beautiful, perfectly proofed sourdough and enjoy the fruits of your labor. Whether you spread it with butter, use it for sandwiches, or simply admire the open crumb you achieved by mastering your sourdough proofing time, there's nothing quite like homemade sourdough.
Conclusion: Achieving Sourdough Success Through Proper Proofing
Mastering sourdough baking is a journey of learning and observation, and understanding sourdough proofing time is a cornerstone of this process. It's not about following strict rules but about developing an intuition for your dough based on environmental factors and the dough's own signals.
By paying attention to your starter's activity, the temperature of your environment, and the visual and tactile cues of the dough itself, you can confidently navigate the bulk fermentation and final proofing stages. Don't be afraid to experiment with different proofing methods, like cold proofing, to see how they affect flavor and texture.
Key Takeaways for Mastering Sourdough Proofing Time
- Proofing is essential for flavor, texture, and rise.
- Time and temperature are the most significant factors affecting proofing speed.
- An active starter is crucial for successful proofing.
- Higher hydration doughs typically proof slightly faster but require careful handling.
- Learn to read the dough: use visual cues (volume increase, bubbles) and the poke test.
- Under-proofing leads to dense crumb and blowouts.
- Over-proofing leads to slack dough and potential collapse.
- Cold proofing offers flexibility and enhances flavor development.
- Always adjust proofing time based on your specific conditions, not just recipe estimates.
With practice and observation, managing your sourdough proofing time will become second nature, allowing you to consistently bake delicious, beautiful sourdough loaves. Happy baking!
Frequently Asked Questions
What exactly is sourdough proofing and why is it so important?
Sourdough proofing is the final rise of your dough after shaping. It's crucial because it allows the yeast to develop flavor and creates the airy texture characteristic of sourdough.
How does temperature affect sourdough proofing time?
Higher temperatures generally accelerate proofing, while lower temperatures slow it down. Adjust proofing time based on your kitchen's temperature to prevent under- or over-proofing.
What are the signs of a properly proofed sourdough?
A properly proofed sourdough will be slightly increased in size, feel light and airy, and leave a slow indent when gently poked.
Can I over-proof my sourdough dough? What happens then?
Yes, you can. Over-proofed dough will often collapse, become sour and gummy, and may be difficult to bake with good structure.
How does this recipe change based on the flour type I use?
Different flours have varying gluten strengths and water absorption rates, which can affect proofing time. You may need to adjust the hydration levels and proofing time based on your flour choice.
Final Reflection: The Art and Science of Sourdough Patience
Mastering sourdough bread is not just about following a recipe; it's about understanding the intricate dance between time, temperature, and the living organism within your starter. The seemingly simple act of proofing becomes a profound journey of observation and adaptation, a testament to the power of patience in achieving culinary excellence.
The influence of sourdough extends far beyond the kitchen; it represents a return to slower, more mindful food production. It's a rebellion against instant gratification, a celebration of the natural rhythms of fermentation. This connection to a process older than recorded history is deeply satisfying. Bread is the staff of life,
they say, and in the case of sourdough, that staff is forged through time and nurtured with care. The subtle nuances in flavor and texture, born from the careful observation of proofing times, are a reward for this dedication.
Now, consider your own baking journey. What have you learned about patience and observation through the process of making sourdough? Don't be afraid to experiment, to adjust your proofing times based on your environment and starter's activity. Embrace the imperfections, for they are the stepping stones to mastery. The next loaf you bake will be even better, a testament to your growing understanding of this ancient craft. The journey of sourdough is a lifelong pursuit, and each loaf is a step closer to perfection.
Unlock Your Sourdough Potential: Master the Proof!
Thanks for diving deep into the world of sourdough proofing! We hope you now feel more confident in understanding those crucial fermentation stages. Ready to put your new knowledge into action?
- Bake your perfect loaf: Use what you've learned to tackle your next sourdough bake. Experiment with different proofing times and observe the results! Pay close attention to the changes in your dough's texture and aroma.
- Share your sourdough journey: Post a picture of your beautiful creation on social media and tag #BakeWithEaseSourdough – let's inspire others!
- Explore advanced techniques: Dive deeper into sourdough by exploring different hydration levels or experimenting with different flours. The possibilities are endless!
What unique flavor profile will you create with your newfound sourdough expertise?