
Tempering Coconut Oil in Vegan Pastries: Avoiding Grainy Fillings

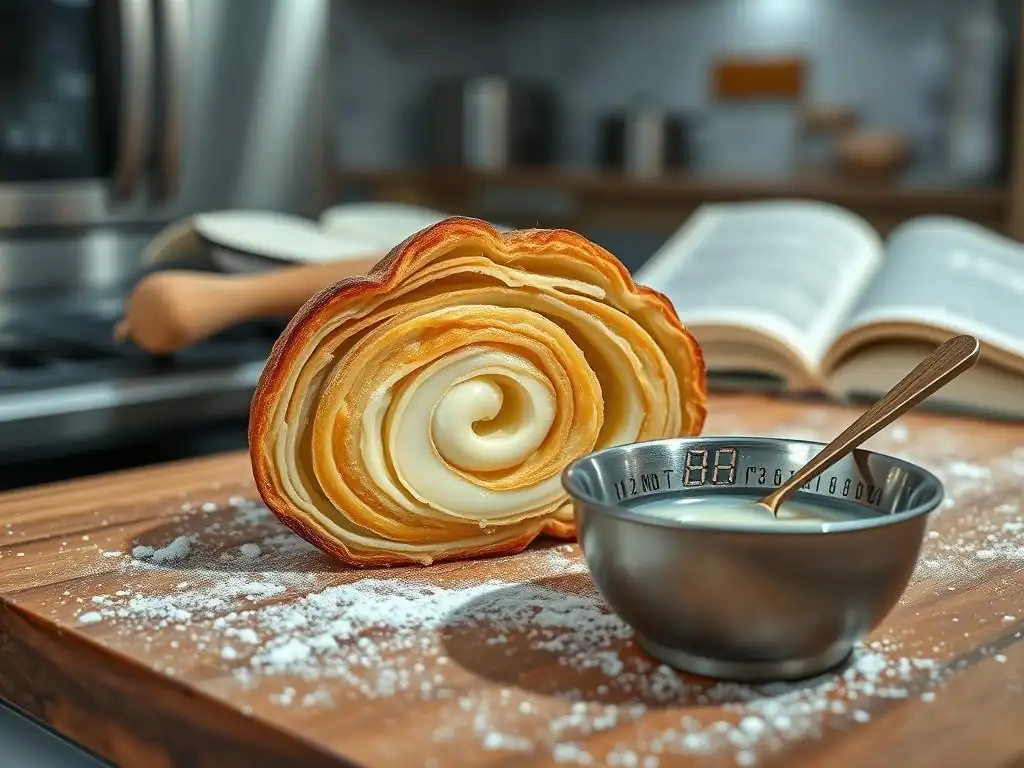
Welcome to BakeWithEase, your trusted guide to baking bliss! Ever wondered how to achieve that perfectly smooth, melt-in-your-mouth texture in your vegan pastries? You're in the right place! Discover our essential Vegan coconut oil tempering tips to avoid grainy fillings and unlock a world of creamy, decadent desserts. Intrigued? Let's dive in and elevate your baking game!
- Tempering Coconut Oil in Vegan Pastries: Achieving Smooth Fillings
- Understanding Coconut Oil in Vegan Baking
- The Problem: Grainy Fillings and Coconut Oil Crystallization
- Coconut Oil Tempering Guide: A Step-by-Step Process
- Troubleshooting Common Tempering Issues
- Enhancing Flavor and Texture with Coconut Oil
- Advanced Techniques for Professional Vegan Pastries
-
Frequently Asked Questions
- What is coconut oil tempering and why is it important for vegan pastries?
- What are the key factors to consider when tempering coconut oil for vegan baking?
- How can I prevent my vegan pastry fillings from becoming grainy when using coconut oil?
- Are there any specific types of coconut oil that are better for tempering in vegan recipes?
- What are some alternative fats I can use instead of coconut oil in vegan baking to avoid tempering altogether?
- Final Reflection: The Art of Tempering for Vegan Culinary Excellence
- Unlock Perfectly Smooth Vegan Pastries!
Tempering Coconut Oil in Vegan Pastries: Achieving Smooth Fillings
Understanding Coconut Oil in Vegan Baking
The Role of Coconut Oil in Vegan Pastry Recipes
Coconut oil has become a superstar ingredient in the world of vegan baking, largely due to its unique properties that mimic traditional fats like butter. Unlike liquid oils, coconut oil is solid at room temperature, typically below 76°F (24°C), which allows it to contribute structure and flakiness to pastries. When used in pie crusts, biscuits, or scones, its solid state enables techniques like cutting in the fat, creating layers that result in a light, tender crumb when baked. Furthermore, its relatively high smoke point makes it versatile for various baking methods.
Beyond structure, coconut oil also plays a significant role in the texture and mouthfeel of vegan fillings, creams, and glazes. Its ability to melt smoothly near body temperature gives a pleasant 'melt-in-your-mouth' sensation. However, this characteristic also presents a challenge: controlling its crystallization. When not handled correctly, coconut oil can solidify unevenly, leading to undesirable textures. Understanding how to manage its phase changes is key to achieving the silky, smooth results desired in professional-quality vegan pastries.
Why Tempering is Crucial for Smooth Textures
Tempering coconut oil is a process of controlled melting and cooling designed to encourage the formation of stable fat crystals. Think of it like working with chocolate – improper melting and cooling cause cocoa butter to crystallize haphazardly, resulting in a dull, streaky, and brittle finish. Similarly, coconut oil contains various fatty acids that crystallize at different temperatures. Without tempering, these fatty acids can cool and solidify into larger, less uniform crystals.
The primary goal of tempering coconut oil, especially for fillings, ganaches, and smooth glazes, is to ensure that it sets into a fine, uniform crystalline structure. This fine structure is what gives fillings their smooth, luxurious texture, preventing the gritty or grainy mouthfeel that can occur when large, unstable crystals form. Mastering vegan coconut oil tempering tips is therefore essential for any baker aiming for professional results in their plant-based creations.
The Problem: Grainy Fillings and Coconut Oil Crystallization
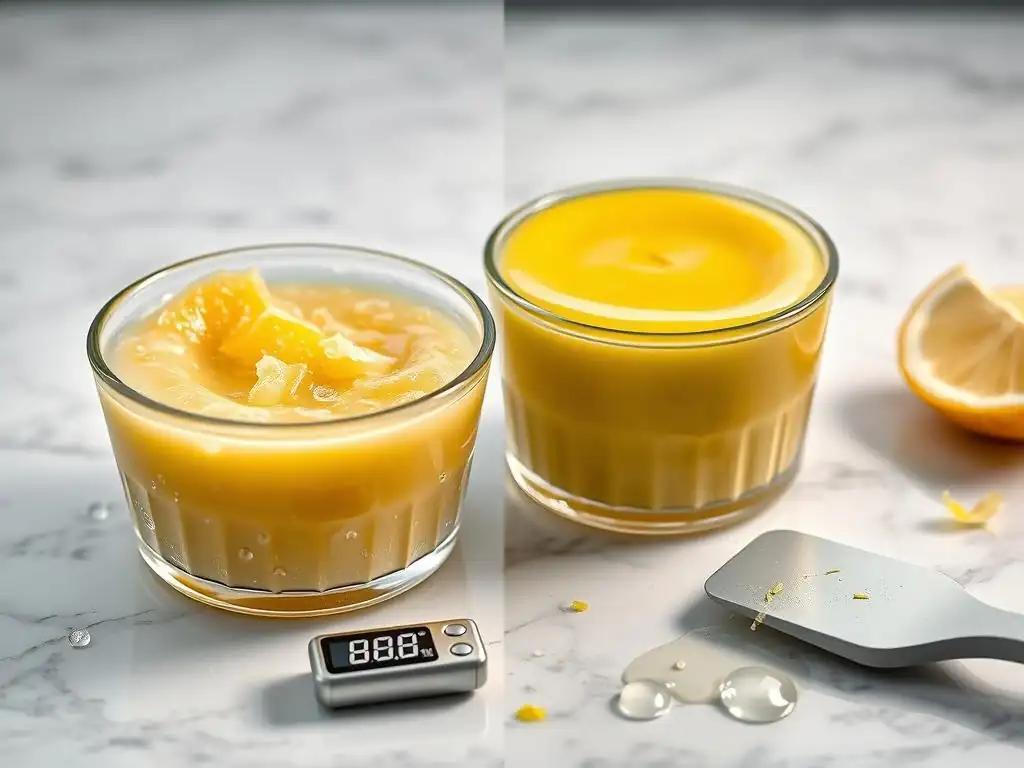
What Causes Coconut Oil to Become Grainy in Pastries?
Graininess in vegan fillings made with coconut oil is almost always a result of improper crystallization. Coconut oil is composed of various saturated fatty acids, primarily lauric acid (around 47-48%), myristic acid (around 17-18%), and palmitic acid (around 8-9%). Each of these fatty acids has a slightly different melting point and crystallizes at a different temperature. When melted coconut oil cools too quickly or unevenly, these fatty acids solidify out of sync, forming larger, distinct crystals rather than a homogenous, fine network.
This uneven crystallization process leads to a texture that feels gritty or sandy on the tongue, a common complaint when dealing with untempered coconut oil in smooth applications like vegan buttercream, chocolate ganache, or pastry creams. The goal of tempering is to guide these fatty acids to crystallize simultaneously into a stable, fine structure, ensuring the final product is consistently smooth from the first bite to the last.
Factors Influencing Coconut Oil Texture: Temperature and Cooling Rates
Two major factors dictate the final texture of solidified coconut oil: the temperature it reaches during melting and the rate at which it cools. Overheating coconut oil, even slightly above its melting point, can destroy some of the existing crystal structures (seed crystals) that could help guide proper crystallization during cooling. While coconut oil melts relatively low, around 76°F (24°C), some sources suggest heating it carefully to just above its full melting point, perhaps 80-85°F (27-29°C), ensuring all crystals are melted, but avoiding excessive heat that can damage flavor or properties.
The cooling rate is arguably the most critical factor. Rapid cooling, such as placing a warm filling directly into a cold refrigerator, encourages the fatty acids to solidify quickly and haphazardly, leading to large crystal formation and graininess. A slower, more controlled cooling process, often at room temperature or in a slightly cooler environment, allows the fatty acids to align and form smaller, more uniform crystals, resulting in a smooth texture. This controlled cooling is a cornerstone of effective vegan coconut oil tempering tips.
Coconut Oil Tempering Guide: A Step-by-Step Process
Step 1: Selecting the Right Type of Coconut Oil
Choosing the right coconut oil is the foundation of successful tempering. There are two main types: refined and unrefined (often labeled "virgin"). Unrefined coconut oil retains a distinct coconut flavor and aroma, which can be desirable in some recipes but overpowering in others. Refined coconut oil has a neutral flavor and aroma, making it more versatile for a wider range of pastries where you don't want a prominent coconut taste. For delicate fillings or glazes where flavor neutrality is important, refined coconut oil is usually the better choice.
Beyond flavor, the processing can slightly affect the fatty acid composition and thus the melting and solidification points. However, the more significant factor is often the general quality and consistency of the oil. Look for reputable brands that provide information about their processing. Understanding these nuances helps you predict how the oil will behave during tempering and cooling, contributing to better vegan coconut oil tempering tips.
Refined vs. Unrefined Coconut Oil: Impact on Flavor and Texture
Refined coconut oil undergoes processing, typically involving heating and filtering, to remove impurities and volatile compounds. This results in a higher smoke point (around 400°F or 204°C) compared to unrefined (around 350°F or 177°C) and a neutral taste. While the tempering process itself doesn't drastically differ between the two, using refined oil ensures that the delicate flavors of your pastry filling, like vanilla or chocolate, are not masked by coconut.
Unrefined, or virgin, coconut oil is made from fresh coconut meat using methods like wet-milling or quick drying, preserving its natural aroma and nutrients. Its strong flavor can be a delightful addition to coconut-themed desserts but can clash with other flavor profiles. Texture-wise, both types solidify similarly, but the subtle differences in fatty acid profiles due to processing might slightly alter their ideal tempering temperatures by a degree or two, though for home baking, the general principles apply to both.
The Significance of Melting Point and Solidification
Coconut oil has a relatively low melting point, typically between 76°F and 78°F (24°C and 26°C). This means it's solid at average room temperature but melts easily in warm conditions or when handled. Understanding this specific range is crucial for tempering. You need to heat it enough to melt all existing crystals but not so much that you risk damaging the oil or making it difficult to cool properly for crystallization.
The solidification point is just as important. As the oil cools below its melting point, it begins to crystallize. The goal of tempering is to control the speed and temperature range of this cooling process to ensure the formation of desirable, stable crystals. Rapid drops in temperature or cooling below the optimal range too quickly are common pitfalls leading to graininess.
Step 2: The Tempering Process: Gentle Melting and Controlled Cooling
The core of tempering involves carefully melting the coconut oil and then cooling it back down under controlled conditions. This isn't just about melting it; it's about guiding its transition back to a solid state with the right crystal structure. This process ensures the smooth texture needed for applications like vegan white chocolate fillings or creamy frostings.
A gentle melting method followed by a slow, deliberate cooling phase is key. Avoid the microwave for melting large quantities, as it can create hot spots and overheat the oil unevenly. Instead, opt for methods that provide even, low heat.
How to Gently Melt Coconut Oil Using a Double Boiler
Using a double boiler is the preferred method for gently melting coconut oil for tempering. This involves placing the coconut oil in a heatproof bowl set over a pot of simmering water, ensuring the bottom of the bowl doesn't touch the water. The steam's indirect heat melts the oil slowly and evenly, preventing overheating.
Heat the coconut oil until it is fully liquid and clear, with no solid bits remaining. Aim for a temperature just above its melting point, perhaps around 80-85°F (27-29°C). Use a thermometer to monitor the temperature precisely. Once fully melted, remove the bowl from the heat. This gentle melting is the first critical step in successful vegan coconut oil tempering tips.
The Importance of Slow Cooling to Minimize Crystal Formation
After melting, the next crucial step is controlled cooling. This is where you encourage the formation of small, stable crystals. Unlike chocolate tempering, which often involves "seeding" or cooling rapidly on a marble slab, coconut oil tempering for smooth textures relies more on slow, undisturbed cooling.
Allow the melted coconut oil to cool gradually at room temperature, ideally in a consistent environment between 68°F and 72°F (20°C and 22°C). Stirring occasionally as it cools can help promote even crystallization, but avoid excessive agitation which can incorporate air. As it cools, you'll notice it starting to become opaque around the edges as it approaches its solidification point. This slow cooling allows the fatty acids to align correctly, forming a fine, stable crystal structure, the hallmark of properly tempered coconut oil.
Step 3: Maintaining Consistent Baking Temperatures
While tempering focuses on the fat itself before it's incorporated into a filling or baked item, the subsequent baking temperature can still impact its stability within the final product. For vegan pastries containing tempered coconut oil, maintaining a consistent and appropriate oven temperature is important.
Extreme temperature fluctuations during baking can stress the fat structure within the pastry. For instance, if a filling sets primarily through the solidification of tempered coconut oil, exposing it to excessively high temperatures for too long could cause the fat to melt completely and potentially recrystallize improperly upon cooling.
Baking Temperatures and Their Impact on Coconut Oil Stability
Most vegan pastry recipes using coconut oil will specify baking temperatures typically ranging from 325°F to 375°F (160°C to 190°C). Within a baked good like a pie or tart, the coconut oil within the filling or crust will melt as the internal temperature rises. However, if the oil was properly tempered beforehand (e.g., for a filling added after baking, like a cream), the temperature of the final product during storage and serving becomes more relevant to maintaining its smooth texture.
For baked-in applications like crusts, the structure is set by the baking process itself, and the melted coconut oil is absorbed or holds the structure together. The tempering principles are less about preventing graininess in the baked structure and more relevant for fillings or coatings applied after baking, which rely on the oil's solid state for texture.
Step 4: Optimal Cooling Methods
The way the final pastry or filling cools after baking or assembly is just as important as how the coconut oil was initially tempered. Rapid cooling is the enemy of a smooth texture when using coconut oil.
Allowing pastries or fillings containing tempered coconut oil to cool gradually at room temperature is crucial. This slower process allows the fat within the finished product to solidify evenly, preserving the fine crystal structure achieved during tempering.
Avoiding Rapid Temperature Changes During Cooling
Placing a warm pastry or filling directly into a cold refrigerator or freezer is the quickest way to encourage rapid, uneven crystallization of the coconut oil, potentially leading to a grainy texture even if the oil was tempered correctly initially.
Instead, let the item cool on a wire rack at room temperature until it is no longer warm to the touch. If refrigeration is required for setting (like for a ganache or cream pie filling), transfer it to the refrigerator only after it has cooled significantly at room temperature, perhaps for 1-2 hours, depending on the size. This two-stage cooling process – initial slow cooling at room temperature followed by chilling if necessary – helps maintain the smooth texture.
Troubleshooting Common Tempering Issues

Addressing Grainy Texture: Identifying Potential Causes
Encountering graininess after attempting to temper coconut oil can be frustrating, but understanding the potential causes helps you fix it for next time. The most common culprits include:
- Overheating the oil: Melting at too high a temperature can break down desirable crystal structures.
- Cooling too quickly: Rapid temperature drops are the primary cause of large, uneven crystal formation.
- Insufficient melting: Not heating the oil enough to melt all previous crystals before cooling.
- Temperature fluctuations: Inconsistent temperatures during the cooling phase.
- Using cold ingredients: Adding very cold liquids or ingredients to melted coconut oil can shock it and cause rapid solidification.
Reviewing your process against these points can help pinpoint where things went wrong and improve your vegan coconut oil tempering tips.
Salvaging Grainy Fillings: Re-melting and Re-tempering Strategies
If your vegan filling or ganache has turned out grainy due to improperly tempered coconut oil, don't despair! It can often be salvaged. The solution is typically to re-melt the mixture and attempt the tempering process again.
Gently heat the grainy filling using a double boiler, just as you would for the initial tempering. Heat it only until it is fully liquid and smooth again, ensuring no graininess remains. Avoid high heat. Once fully melted, remove from the heat and follow the controlled cooling process again, allowing it to cool slowly at room temperature, stirring occasionally, until it reaches the desired consistency or coolness before chilling further if needed. This re-melting and re-tempering can often restore the smooth texture.
Enhancing Flavor and Texture with Coconut Oil
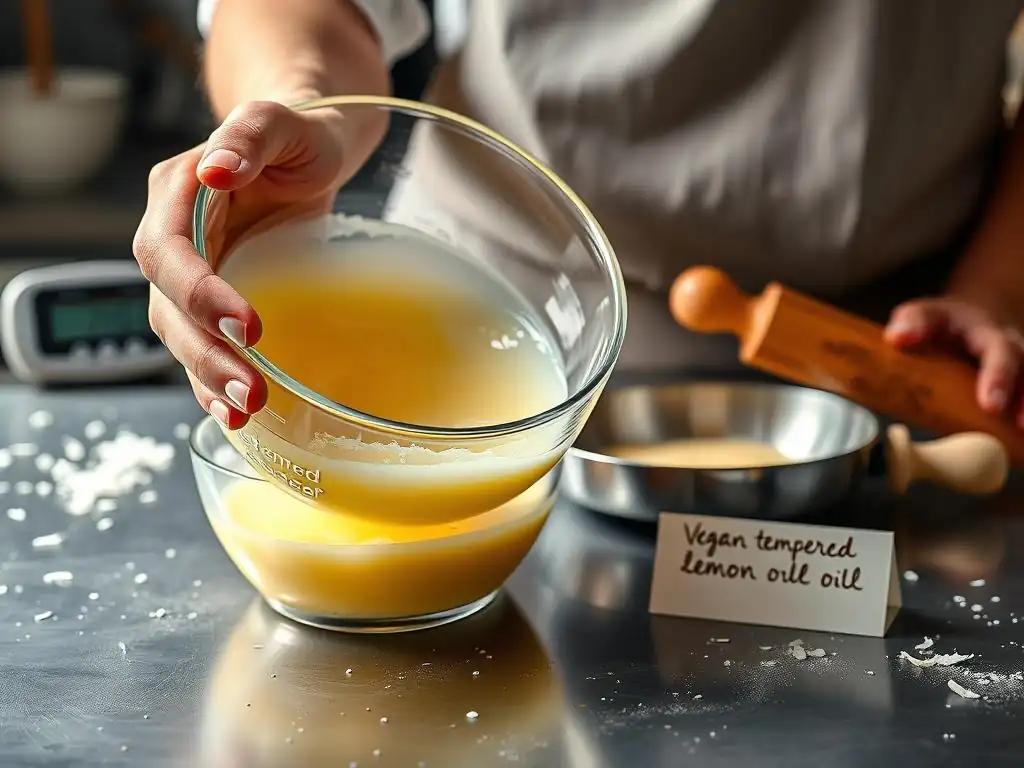
Combining Coconut Oil with Other Vegan Fats for Balanced Results
While coconut oil is a powerful vegan fat, sometimes combining it with other plant-based fats can yield superior results, balancing texture, flavor, and workability. Different fats have different melting points and crystallization behaviors.
For instance, combining coconut oil with a softer fat like vegan butter (which is often a blend of oils and emulsifiers) or a liquid oil like sunflower oil can create a fat blend with a more pliable texture at room temperature and a less pronounced coconut flavor (if using unrefined). This is particularly useful in applications like frostings or cookie doughs where you want some structure but also spreadability or tenderness. A common ratio might be 50/50 coconut oil and vegan butter for a frosting base, offering a good balance of firmness and creaminess.
Coconut Oil and Shea Butter Blend for Enhanced Creaminess
Shea butter is another excellent vegan fat, solid at room temperature, known for its incredibly smooth texture and emollient properties. It's often used in vegan chocolate and confectionery for its melt profile. Blending tempered coconut oil with shea butter can create exceptionally creamy and smooth vegan fillings or ganaches.
A blend, perhaps 70% tempered coconut oil and 30% shea butter, can offer a texture that is firmer than shea butter alone but smoother than pure coconut oil, with less risk of graininess if both fats are handled correctly. Shea butter melts slightly higher than coconut oil, around 90-100°F (32-38°C), so consider this when blending and tempering. The combined fat needs to be melted together gently and then cooled slowly as per the tempering process.
Coconut Oil and Vegan Chocolate: Optimizing Flavor and Texture
Coconut oil is frequently used in vegan chocolate applications, from making simple chocolate coatings to creating smooth ganaches. Its ability to melt and solidify cleanly makes it a useful addition. When added to melted vegan chocolate, it helps to create a softer set and a smoother mouthfeel compared to chocolate alone.
However, the same tempering principles apply. If you're adding coconut oil to melted vegan chocolate for a ganache or coating, ensure the coconut oil is fully melted and incorporated smoothly. The resulting mixture should then be allowed to cool slowly and undisturbed to set, encouraging the formation of smooth crystals from both the cocoa butter in the chocolate and the fatty acids in the coconut oil. Rapid chilling will likely result in a dull, potentially streaky or grainy finish.
Advanced Techniques for Professional Vegan Pastries
Creating Smooth Vegan Ganache with Tempered Coconut Oil
Achieving a perfectly smooth vegan ganache is a hallmark of professional pastry. Tempered coconut oil plays a crucial role here, especially when working with vegan chocolate that may have less cocoa butter than traditional chocolate or when aiming for a specific consistency.
To create a smooth vegan ganache using tempered coconut oil: Gently melt your vegan chocolate (ensure it's dairy-free) with a liquid base like warm vegan cream or plant milk. While this is happening, gently melt your tempered coconut oil using the double boiler method (around 80-85°F or 27-29°C). Once both are ready, slowly whisk the melted coconut oil into the chocolate mixture until fully emulsified and glossy.
The tempered coconut oil helps the ganache set with a beautiful sheen and a perfectly smooth, non-grainy texture. Cool the ganache slowly at room temperature until it reaches your desired consistency for pouring, spreading, or piping.
Using Coconut Oil for Vegan Pastry Glazes and Finishes
Tempered coconut oil is excellent for creating shiny, smooth glazes and finishes on vegan pastries. Its ability to set firmly but melt cleanly provides a satisfying texture. A simple glaze can be made by combining tempered coconut oil with powdered sugar, a splash of plant milk, and flavorings like vanilla extract.
For a chocolate glaze, melt vegan chocolate chips with a small amount of tempered coconut oil (e.g., 1 part coconut oil to 8-10 parts chocolate). Melt gently, ensuring the mixture is smooth. Use this warm mixture to dip or pour over cooled pastries. As the tempered coconut oil cools, it helps the chocolate set quickly with a snap and a beautiful shine, just like properly tempered chocolate. The key is applying the glaze when the pastry is cool but the glaze is still liquid, and then allowing it to set without rapid chilling.
Frequently Asked Questions
What is coconut oil tempering and why is it important for vegan pastries?
Coconut oil tempering involves carefully controlling the cooling process of melted coconut oil in vegan pastries. This prevents the formation of large crystals, which can lead to a grainy or unpleasant texture.
What are the key factors to consider when tempering coconut oil for vegan baking?
The most important factors are temperature control and avoiding rapid cooling. Gradual temperature changes and preventing the oil from fluctuating too much are crucial for smooth results.
How can I prevent my vegan pastry fillings from becoming grainy when using coconut oil?
Ensure the coconut oil is fully melted and then cooled slowly before adding it to your filling. Mixing it thoroughly with other ingredients can also help prevent graininess.
Are there any specific types of coconut oil that are better for tempering in vegan recipes?
Refined coconut oil is often preferred as it has a higher melting point and less coconut flavor. However, unrefined can be used with careful temperature control.
What are some alternative fats I can use instead of coconut oil in vegan baking to avoid tempering altogether?
Consider using vegan butter alternatives or cocoa butter. These fats may provide a smoother texture without the need for tempering, but can result in a different taste.
Final Reflection: The Art of Tempering for Vegan Culinary Excellence
The journey of mastering vegan coconut oil tempering is not just about achieving the perfect texture in pastries; it is a testament to the evolving landscape of plant-based cooking. As more individuals embrace veganism, understanding techniques like tempering becomes crucial for creating delectable dishes that satisfy both the palate and the ethical considerations of modern dining. This knowledge empowers home bakers and professional chefs alike to elevate their culinary creations, proving that plant-based does not mean compromising on quality or taste.
The influence of vegan cooking techniques, such as tempering coconut oil, extends far beyond the kitchen; it reflects a broader cultural shift toward sustainability and health consciousness. As we navigate this new culinary frontier, we are reminded of the words of culinary innovator Alice Waters: The best way to make a difference is to make good food.
This sentiment resonates deeply as we recognize that our choices in the kitchen can lead to a more compassionate and environmentally friendly world. By embracing these techniques, we not only enhance our cooking skills but also contribute to a movement that values quality ingredients and mindful eating.
As you reflect on the insights shared in this article, I invite you to take action in your own kitchen. Experiment with vegan coconut oil tempering techniques and share your creations with others. Let your culinary adventures inspire those around you to explore the delicious possibilities of plant-based cooking. Remember, every pastry you create is not just a treat; it’s a step toward a more sustainable and flavorful future. Embrace the challenge, and let your passion for vegan baking shine!
Unlock Perfectly Smooth Vegan Pastries!
Thanks for exploring the secrets to flawlessly smooth vegan pastries! We hope you now feel confident in avoiding those pesky grainy fillings. Ready to put your new knowledge into practice?
- Whip up your dream vegan pastry: Use the tempering techniques discussed to create your signature recipe – imagine the creamy, melt-in-your-mouth texture!
- Share your success: Show off your perfectly smooth creations on social media using #BakeWithEaseSmoothVegan. Let's inspire others!
- Try a new recipe challenge: This week, experiment with a new vegan filling recipe, using what you've learned to achieve that silky smooth texture.
What innovative vegan pastry filling will you create next?