
Temperature Control: Your Best Friend for Laminated Dough

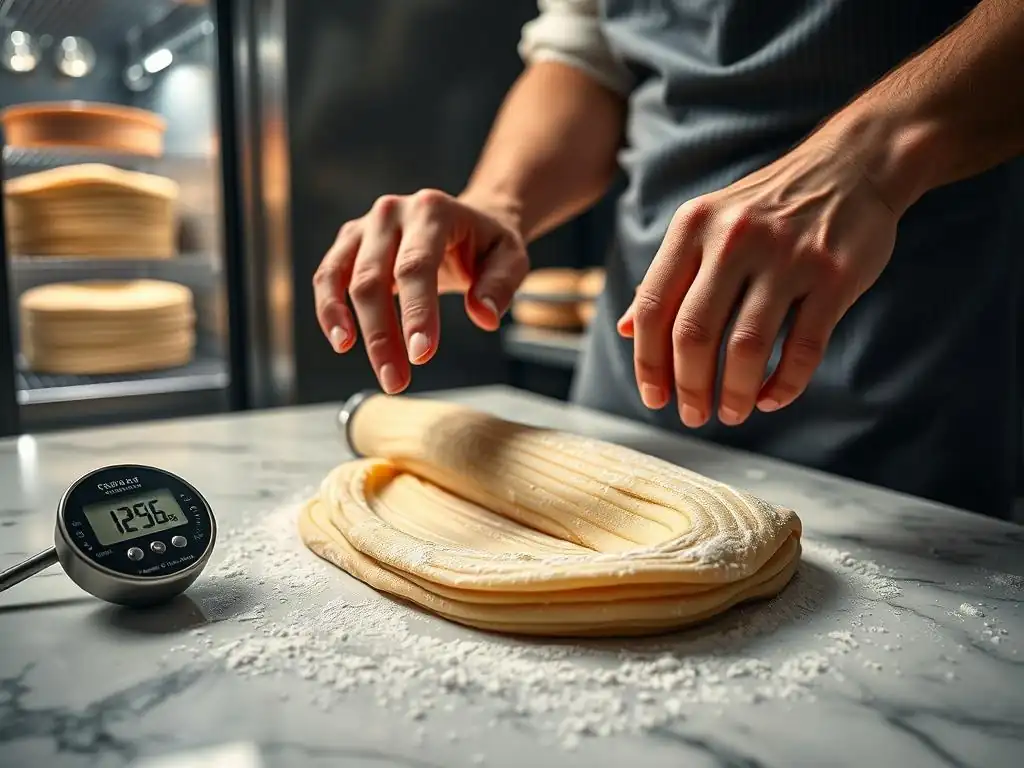
Welcome to BakeWithEase, where baking becomes a joy, not a chore! Ever wondered why your croissants aren't as flaky as you'd hoped, or your puff pastry just won't puff? The secret often lies in one crucial element: laminated dough temperature control. Dive into this article to unlock the secrets behind perfect lamination and discover how mastering temperature can transform your baking from good to absolutely extraordinary. Are you ready to elevate your pastry game?
- Temperature Control: Mastering Laminated Dough for Baking Excellence
- Understanding Temperature's Crucial Role in Laminated Dough Success
- Ideal Temperature Ranges for Laminated Dough Components
-
Step-by-Step Guide to Temperature Management in Laminated Dough
- Step 1: Preparing Ingredients at Optimal Temperatures
- Step 2: Mixing the Dough: Preventing Overheating and Gluten Over-Development
- Step 3: Resting and Chilling: Relaxing Gluten and Solidifying Butter
- Step 4: Lamination: Maintaining Consistent Cold Temperatures During Folding
- Step 5: Proofing: Achieving Optimal Rise at Controlled Warmth
- Step 6: Baking: Setting Layers and Developing a Golden-Brown Crust
- Troubleshooting Common Temperature-Related Dough Issues
- Tools and Techniques for Precise Temperature Regulation
- Achieving Bakery-Quality Results Through Precise Temperature Control
- Advanced Techniques: Refining Temperature Control for Superior Results
- Conclusion: Consistent Temperature Control = Exceptional Laminated Dough
-
Frequently Asked Questions
- How important is temperature control when making laminated dough?
- What is the ideal temperature range for laminated dough during the lamination process?
- What happens if my laminated dough gets too warm?
- How can I maintain the right temperature while making laminated dough?
- What are some common mistakes related to temperature control in laminated dough?
- Final Reflection: Mastering the Art of Laminated Dough
- Unlock Perfectly Laminated Dough: Master the Temperature!
Temperature Control: Mastering Laminated Dough for Baking Excellence
Understanding Temperature's Crucial Role in Laminated Dough Success
Achieving those beautiful, distinct layers in pastries like croissants and pain au chocolat hinges significantly on one factor: temperature. It's not just about following a recipe; it's about managing the environment and ingredients to create the perfect conditions for lamination. Proper laminated dough temperature control is the secret handshake between baker and dough, ensuring the butter remains solid yet pliable between thin sheets of dough. Without this careful management, the butter can melt into the dough prematurely, leading to a cake-like texture instead of the desired flaky layers.
The difference between a good croissant and a truly exceptional one often comes down to the precision in temperature management throughout the entire process. From the initial mixing to the final bake, maintaining specific temperature ranges dictates how the gluten develops, how the butter behaves during rolling and folding, and how the yeast performs during proofing. Mastering laminated dough temperature control allows you to consistently achieve pastries that are light, airy, and shatteringly crisp on the outside, with a tender, layered interior – the hallmark of successful laminated dough.
Why Temperature Matters: Achieving Distinct, Flaky Layers
The magic of laminated dough lies in the hundreds of alternating thin layers of dough and butter. When these pastries bake, the water in the dough layers turns to steam, puffing up the dough. Simultaneously, the butter melts, but because it's encapsulated by the dough layers, it essentially fries the dough, creating separation and crispness. This process can only work if the butter remains as distinct layers during the rolling and folding stages.
If the dough or butter is too warm during lamination, the butter softens excessively and can squeeze out, break, or worse, integrate into the dough rather than remaining as separate layers. Imagine trying to roll out warm butter – it's impossible to create thin, even sheets. Maintaining a cool temperature, typically below 15°C (59°F) for the dough and butter during lamination, ensures the butter stays solid enough to be rolled into thin layers alongside the dough, setting the stage for that incredible flaky structure during baking. This is a critical aspect of laminated dough temperature control.
The Science: How Temperature Affects Gluten, Fat, and Yeast Activity
Temperature is a master conductor for the key players in laminated dough: gluten, fat (butter), and yeast. Gluten, the protein network formed when flour and water combine, develops faster and becomes stronger in warmer conditions. While some gluten development is necessary, excessive development can make the dough tough and difficult to roll thinly without tearing. Keeping the dough cool, especially during mixing and resting, helps control gluten development, ensuring the dough is extensible and relaxed for lamination.
Butter, the fat component, has a specific melting point, typically around 30-35°C (86-95°F) for standard butter, though European-style butter melts slightly higher due to its higher fat content (often 82% vs. 80%). For lamination, the butter needs to be malleable but not soft. A temperature range of 10-13°C (50-55°F) is often ideal – firm enough to hold its shape but soft enough to roll without breaking.
Yeast activity, essential for proofing and rise, is highly temperature-dependent. Yeast thrives in warmer conditions, typically between 24-27°C (75-80°F), but too hot (above 50°C/122°F) will kill it, and too cold will make it dormant. Balancing these elements through precise laminated dough temperature control is paramount for success.
Ideal Temperature Ranges for Laminated Dough Components
Managing the temperature of your ingredients before you even start mixing is a fundamental step in successful laminated dough temperature control. Each component plays a specific role, and its initial temperature significantly impacts the dough's behavior throughout the process. Thinking ahead about ingredient temperatures sets you up for success from the very beginning.
Flour Temperature: Impact on Gluten Development and Dough Consistency
The temperature of your flour directly influences the final dough temperature after mixing, especially when combined with water. Colder flour, say around 18°C (64°F), will result in a cooler dough, which is beneficial for controlling initial gluten development. Warmer flour, perhaps stored in a hot kitchen at 25°C (77°F), will lead to a warmer dough after mixing, potentially accelerating gluten formation too quickly and making the dough less extensible for lamination.
To ensure optimal laminated dough temperature control, many bakers recommend using flour straight from a cooler environment, ideally around 18-20°C (64-68°F). This helps keep the final mixed dough temperature within the desired range, often targeted between 21-24°C (70-75°F). Using cold flour is a simple yet effective technique to prevent the dough from getting too warm during the mixing process, which can generate heat through friction.
Butter Temperature: Achieving Proper Layering and Preventing Melt-Out
The temperature of your butter is arguably the most critical factor for successful lamination. The butter slab (or beurre de tourage) needs to be at a temperature where it is pliable and can be rolled out into a thin, even sheet alongside the dough without breaking or melting. A common target temperature for the butter is 10-13°C (50-55°F). At this temperature, the butter should bend without cracking but still feel cool and firm to the touch.
If the butter is too cold (e.g., straight from the fridge at 4°C/40°F), it will be brittle and break into pieces during rolling, preventing the formation of continuous layers. If it's too warm (e.g., above 15°C/59°F), it will be too soft and will squeeze out the sides of the dough during rolling, or worse, incorporate into the dough rather than creating distinct layers. Achieving and maintaining the correct butter temperature is non-negotiable for effective laminated dough temperature control.
Water Temperature: Controlling Gluten Development and Dough Hydration
The temperature of the water (or milk) used in the dough significantly impacts the final dough temperature post-mixing. Since water makes up a large portion of the dough's weight, its temperature has a strong influence. Using cold water is a standard technique to keep the dough temperature down, which helps control the rate of gluten development and prevents the dough from becoming too warm during mixing, especially in a stand mixer which generates heat.
Many recipes for laminated dough call for ice-cold water, sometimes as low as 1-4°C (34-40°F). The goal is to counteract the heat generated by the mixer and the ambient temperature, aiming for a mixed dough temperature in the low 20s Celsius (low 70s Fahrenheit). The water temperature is a primary lever you can adjust based on the temperature of your other ingredients and your kitchen environment to ensure optimal laminated dough temperature control from the start.
Step-by-Step Guide to Temperature Management in Laminated Dough
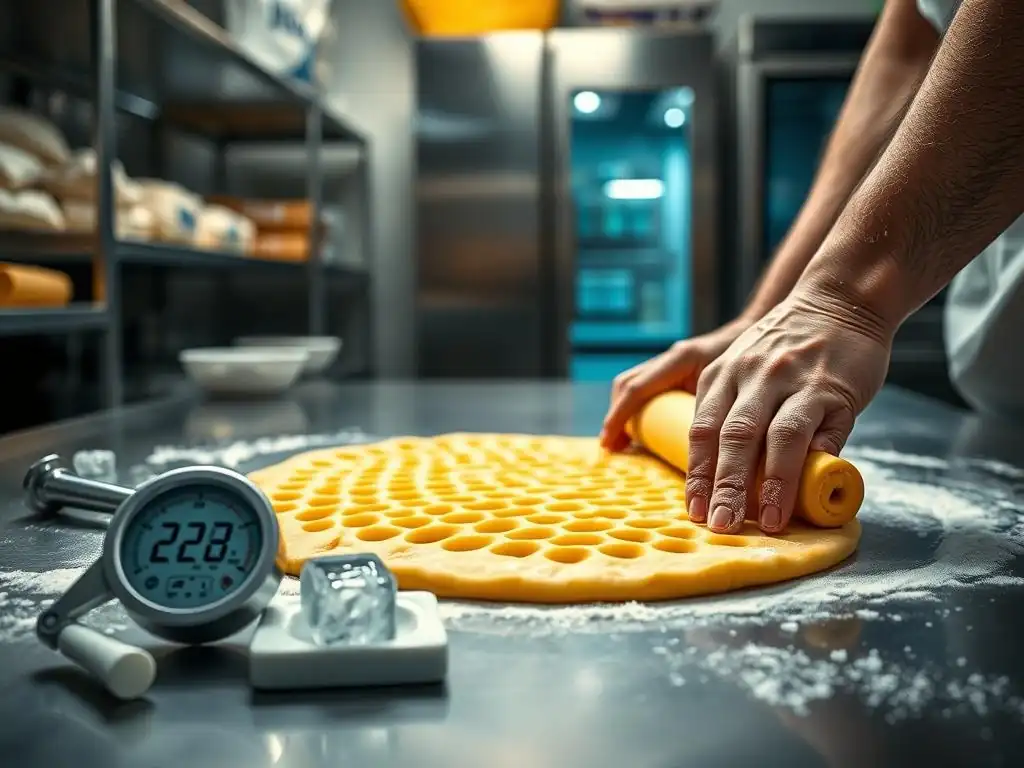
Mastering laminated dough temperature control involves being mindful of temperature at every stage. It's a process that requires patience and attention to detail, but the rewards in terms of flaky texture are immense. Let's walk through the key steps and how temperature plays a role.
Step 1: Preparing Ingredients at Optimal Temperatures
Before you even begin mixing, ensure your ingredients are at the correct starting temperatures. Measure out your flour and let it sit at room temperature (ideally 18-20°C / 64-68°F) if it was stored somewhere colder. Cut your butter into pieces and allow it to temper slightly until it reaches the ideal pliable state, around 10-13°C (50-55°F). For the liquid (water or milk), chill it thoroughly, ideally to 1-4°C (34-40°F).
Having all ingredients at their optimal starting temperatures significantly impacts the initial dough temperature after mixing. This proactive approach to laminated dough temperature control prevents having to frantically chill the dough later to compensate for a warm start. Think of it as laying the foundation for success.
Step 2: Mixing the Dough: Preventing Overheating and Gluten Over-Development
The goal during mixing is to hydrate the ingredients and develop just enough gluten to form a cohesive dough, while keeping the temperature relatively low. Friction from the mixer generates heat, so using cold liquids is crucial. Mix until the dough just comes together – it doesn't need to be fully developed or smooth at this stage. Over-mixing will generate excessive heat and develop too much gluten, making the dough difficult to roll.
Aim for a final mixed dough temperature between 21-24°C (70-75°F). You can use a probe thermometer to check this. If the dough is warmer, it will require longer chilling time later. Some bakers even mix the dough in a chilled bowl or use a 'detrempe' (the dough part) that's slightly cooler than the target temperature, anticipating the heat gain during mixing. Effective laminated dough temperature control during mixing sets the stage for the subsequent resting and chilling steps.
Step 3: Resting and Chilling: Relaxing Gluten and Solidifying Butter
After mixing, the dough needs to rest to allow the gluten to relax and the hydration to equalize. This is often followed by a significant chilling period, typically in the refrigerator for several hours, ideally overnight. This chilling step is vital for two main reasons: it further relaxes the gluten, making the dough easier to roll thinly without resistance or tearing, and it solidifies the butter block and the butter within the dough to the correct temperature for lamination.
The refrigerator temperature should be consistent, around 4°C (40°F). The dough should be well-wrapped to prevent drying. Chilling ensures the dough and butter are cold and firm enough, typically reaching a temperature of 4-7°C (40-45°F) internally, before you begin the delicate process of lamination. This extended chill is a non-negotiable step in successful laminated dough temperature control.
Step 4: Lamination: Maintaining Consistent Cold Temperatures During Folding
This is the heart of laminated dough temperature control. Rolling and folding the dough and butter together must be done in a cool environment with cold dough and butter. The ideal dough temperature during lamination should remain below 15°C (59°F), ideally between 10-13°C (50-55°F). If the dough or butter warms up, the butter will soften, making rolling difficult and risking the butter integrating into the dough.
Work quickly and efficiently. If at any point the dough becomes resistant to rolling or the butter feels too soft, stop and return the dough to the refrigerator for 20-30 minutes to firm up. This intermittent chilling is essential to maintain the correct temperature throughout the series of folds (e.g., three single folds or two double folds) required to create hundreds of layers. Patience and strategic chilling are key to successful laminated dough temperature control during lamination.
Step 5: Proofing: Achieving Optimal Rise at Controlled Warmth
Proofing is where the yeast gets to work, fermenting sugars and producing carbon dioxide gas, causing the dough to rise and expand, separating the layers. Unlike the cold temperatures required for lamination, proofing requires warmth, but controlled warmth. The ideal temperature range for proofing laminated dough is typically 24-27°C (75-80°F) with relatively high humidity (around 75-80%).
Temperatures too low will result in slow or insufficient rise. Temperatures too high can melt the butter layers before the dough structure is set, leading to butter pooling on the baking sheet and loss of layers. Over-proofing at warm temperatures can also cause the delicate gluten structure to collapse. Achieving the right balance of warmth and time during proofing is a critical aspect of laminated dough temperature control for a light, airy final product.
Step 6: Baking: Setting Layers and Developing a Golden-Brown Crust
The final act of laminated dough temperature control is baking. The oven temperature needs to be high enough to rapidly convert the water in the dough layers to steam, creating lift and separation, while also melting the butter to "fry" the layers and developing a beautiful golden-brown crust. Typical oven temperatures for laminated pastries range from 180°C to 220°C (350°F to 425°F), often starting hotter and sometimes reducing the temperature partway through.
The initial burst of heat is crucial for oven spring and layer separation. If the oven is too cool, the butter may melt and leak out before the dough structure is set, resulting in flat pastries. If it's too hot, the outside may burn before the inside is cooked through and the layers are fully set. Precise oven temperature, along with proper preheating, is the final piece of the puzzle in achieving perfect results through laminated dough temperature control.
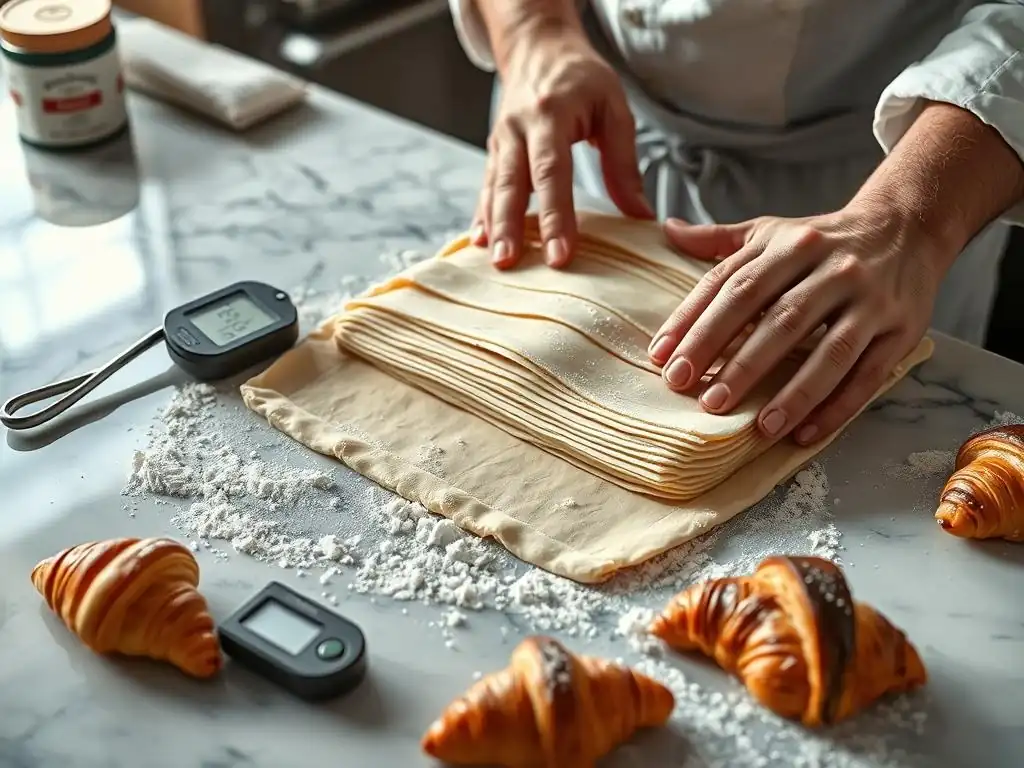
Despite best efforts, temperature issues can arise when working with laminated dough. Understanding the potential problems and having strategies to address them is part of mastering laminated dough temperature control.
Butter Softening Prematurely: Strategies for Warm Kitchens
Working in a warm kitchen (above 24°C/75°F) is perhaps the biggest challenge for laminated dough temperature control. The butter warms up quickly, making lamination difficult. Strategies include chilling ingredients extra cold initially, working in short bursts with frequent chilling breaks (20-30 minutes in the fridge between folds), and if possible, choosing the coolest time of day to bake.
Some bakers even resort to using a cold surface like a marble slab or chilling their rolling pin. Keeping your hands cold by rinsing them in cold water can also help. If the butter starts to ooze, immediately stop, gently reshape the dough, wrap it, and chill it thoroughly until firm again.
Dough Becoming Too Firm: Solutions for Cold Environments
Conversely, working in a very cold environment (below 18°C/64°F) can make the dough and butter too firm and difficult to roll without cracking or tearing. The butter might be brittle, and the dough resistant. If this happens, allow the dough to sit at room temperature for a few minutes (just until it becomes pliable, don't let it get warm) before attempting to roll.
You might also need to adjust your chilling times, reducing them slightly between folds. Ensure your butter block is at the correct pliable temperature (10-13°C / 50-55°F) before enclosing it in the dough. While less common than issues with warmth, dough that is too firm requires careful handling to avoid tearing and maintain even layers, highlighting the need for precise laminated dough temperature control in any environment.
Uneven Layering: Addressing Temperature Inconsistencies
Uneven layering can result from the butter being at an inconsistent temperature – parts are too hard and break, while others are too soft and squeeze out. It can also happen if the dough itself has warm and cold spots. This often occurs if the dough wasn't chilled evenly or if it sat out too long in a warm spot.
Ensure the dough is thoroughly and evenly chilled before lamination. When preparing the butter block, aim for a consistent temperature throughout. If you notice uneven resistance during rolling, it might indicate temperature variations. Try to gently coax the dough and butter without forcing, and if needed, return to the fridge to allow temperatures to equalize. Consistent laminated dough temperature control across the entire mass is key to uniform layers.
Insufficient Rise: Ensuring Proper Proofing Temperatures and Yeast Activity
If your laminated pastries don't rise properly during proofing, temperature is often the culprit. Yeast is most active in a specific temperature range (24-27°C / 75-80°F). If the proofing environment is too cold, the yeast will be sluggish. If it's too hot, you risk melting the butter before the yeast has done its work, or even killing the yeast if temperatures exceed 50°C (122°F).
Use a proofing box, a warm oven with the light on, or even a proofer setting if your oven has one, to maintain a consistent temperature and humidity. Check the internal temperature of the dough periodically with a probe thermometer to ensure it's within the optimal range. Proper laminated dough temperature control during proofing is essential for a light and airy final product.
Tools and Techniques for Precise Temperature Regulation
Achieving consistent laminated dough temperature control is much easier with the right tools and techniques. You don't need a professional bakery setup, but a few key items can make a significant difference in managing temperatures effectively.
Using a Thermometer: Accurately Monitoring Dough and Ingredient Temperatures
A reliable thermometer is your best friend when it comes to laminated dough temperature control. An instant-read probe thermometer is ideal for checking the internal temperature of your mixed dough, chilled dough, and even the butter block. This takes the guesswork out of knowing if your ingredients are at the correct temperature before proceeding to the next step.
You can also use an oven thermometer to verify the accuracy of your oven's temperature during baking and a probe thermometer to check the internal temperature of your baked goods for doneness. Relying on accurate temperature readings removes much of the uncertainty from the process and helps troubleshoot issues.
Chilling Equipment: Efficiently Cooling Dough and Ingredients
Access to effective chilling is paramount. A refrigerator that maintains a consistent temperature of around 4°C (40°F) is essential. For faster chilling of smaller items or ingredients, a freezer can be used briefly, but be careful not to freeze the dough solid.
If you have space, chilling your mixing bowl before use can help keep the dough temperature down during mixing. Having adequate refrigerator space to lay the dough flat for even chilling is also important. Efficient chilling is a cornerstone of successful laminated dough temperature control.
Adjusting Recipes: Adapting to Ambient Temperature Conditions
Experienced bakers often make small adjustments to their recipes based on the ambient temperature of their kitchen. In a warm kitchen, you might use even colder water or milk, mix for a shorter time, or plan for longer chilling periods between folds. In a very cold kitchen, you might use slightly less cold liquid or allow the dough to sit at room temperature for a few extra minutes before rolling.
This ability to adapt is part of mastering laminated dough temperature control. Pay attention to how the dough feels and behaves – if it's too soft or resistant, adjust your chilling or resting times accordingly.
European-Style Butter: Considerations for High-Fat Content
European-style butter typically has a higher fat content (around 82%) and a lower water content compared to standard American butter (around 80% fat). This higher fat content means it often has a slightly higher melting point and remains more pliable over a wider temperature range, making it easier to work with for lamination.
While you can certainly make excellent laminated dough with American butter, using European-style butter can provide a bit more insurance against melt-out, especially in warmer conditions. Regardless of the type of butter, ensuring it is at the correct pliable temperature (10-13°C / 50-55°F) is key for successful laminated dough temperature control.
Achieving Bakery-Quality Results Through Precise Temperature Control
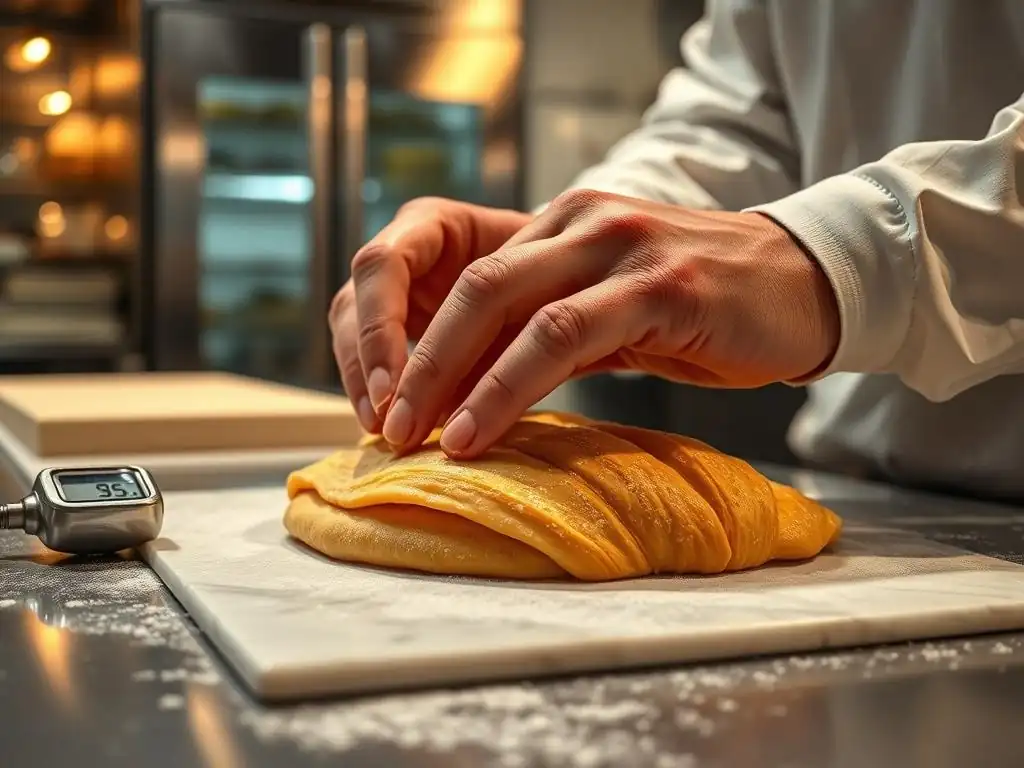
The principles of laminated dough temperature control apply universally, but they are perhaps most evident in classic laminated pastries where texture is paramount. Let's look at a few examples.
Pain au Chocolat: Optimizing Temperature for Perfect Chocolate Distribution
For pain au chocolat, not only is the flakiness of the dough important, but the melted chocolate batons should also be perfectly encased and melted within the layers. Proper laminated dough temperature control during the shaping stage ensures the dough is pliable enough to wrap snugly around the chocolate without tearing.
During proofing, the temperature needs to be warm enough for the dough to rise and expand around the chocolate, but not so hot that the chocolate melts prematurely and leaks out before baking. Baking at the correct high temperature ensures the dough sets quickly, trapping the melting chocolate inside, resulting in those delightful pockets of warm, gooey chocolate surrounded by crisp, flaky layers.
Croissant: Achieving Desired Shape, Texture, and Flakiness
The croissant is the quintessential example of how critical laminated dough temperature control is. The iconic crescent shape and the delicate, airy interior with countless crisp layers are direct results of precise temperature management throughout the process.
From the initial dough temperature ensuring proper gluten development, to the butter temperature allowing for hundreds of even layers during lamination, to the proofing temperature achieving optimal rise without butter melt-out, every step relies on maintaining specific temperature ranges. Baking at the right temperature provides the final dramatic puff and crispness. A deviation at any stage impacts the final texture, shape, and overall success of the croissant.
Kouign-Amann: Temperature's Role in Caramelization and Texture
Kouign-amann, a Breton pastry, is a rich, caramelized laminated dough. While it shares the same lamination techniques as croissants, it incorporates sugar into the layers, which caramelizes during baking. Proper laminated dough temperature control is needed to create the layers, but the baking temperature is particularly important for achieving the signature crisp, caramelized exterior and tender, layered interior.
The high sugar content means the pastry can burn easily if the oven is too hot or the bake time is too long. The temperature needs to be high enough to puff the layers and melt the butter but controlled to allow the sugar to caramelize to a deep amber without scorching. This requires careful monitoring and often a specific baking temperature profile to achieve the perfect balance of flaky layers and sweet, crunchy caramel.
Advanced Techniques: Refining Temperature Control for Superior Results
Once you've mastered the basics of laminated dough temperature control, you can explore more advanced techniques that leverage temperature to enhance flavor and texture even further.
Cultured Butter: Exploring Temperature Effects on Flavor Development
Using cultured butter, which is butter inoculated with bacterial cultures before churning, introduces complex, slightly tangy flavors to laminated pastries. The fermentation process that creates these flavors is temperature-dependent. While the butter's lamination properties are similar to those of uncultured high-fat butter (requiring the same 10-13°C / 50-55°F working temperature), the flavor development within the butter itself happened at specific temperatures during its production.
When using cultured butter, maintaining the correct dough and proofing temperatures can also subtly influence how those cultured flavors are expressed in the final baked product. The slow, cold fermentation of the dough alongside the cultured butter allows these nuanced flavors to meld and deepen.
Autolyse: Using Temperature to Optimize Hydration and Gluten Development
Autolyse is a technique where flour and water (or liquid) are mixed and allowed to rest for 20 minutes to several hours before adding other ingredients like salt and yeast. This resting period allows the flour to fully hydrate and enzymes to start breaking down proteins, which helps in gluten development with less mixing.
The temperature of the water and the resting environment during the autolyse significantly impact this process. A slightly warmer environment (around 24°C / 75°F) and water can speed up the enzymatic activity. However, for laminated dough, keeping the autolyse temperature cooler (closer to 20°C / 68°F) is often preferred to prevent excessive gluten development early on and to maintain a cooler dough temperature going into the main mix.
Long Fermentation: Managing Temperature for Complex Flavor Profiles
Allowing laminated dough to ferment slowly in the refrigerator for 24-72 hours (or even longer) is a technique used to develop more complex flavors. This slow fermentation occurs at cold temperatures, typically 4°C (40°F). At this temperature, yeast activity is greatly slowed, but enzymatic activity continues, breaking down starches into sugars and proteins into amino acids, which contribute to richer flavors and aromas.
Managing the temperature precisely during this long, cold fermentation is crucial. It must remain consistently cold to prevent over-proofing or spoilage. This extended cold period also further relaxes the gluten and solidifies the butter, contributing to easier handling and better layers during the final shaping and proofing. Long fermentation is a powerful tool in laminated dough temperature control for flavor enhancement.
Conclusion: Consistent Temperature Control = Exceptional Laminated Dough
Mastering laminated dough temperature control is arguably the most important skill for achieving bakery-quality pastries at home. Every stage, from ingredient preparation and mixing to lamination, proofing, and baking, relies on maintaining specific temperature ranges. The behavior of gluten, butter, and yeast are all dictated by temperature, and their harmonious interaction is what creates those coveted flaky layers.
While it requires attention and practice, integrating precise laminated dough temperature control into your baking routine will elevate your pain au chocolat, croissants, and other viennoiseries from good to truly outstanding. So, grab your thermometer, understand the role of temperature at each step, and embrace the chill – your journey to perfect laminated dough starts with controlling the heat.
Frequently Asked Questions
How important is temperature control when making laminated dough?
Temperature control is absolutely crucial. If the butter gets too warm, it will melt and incorporate into the dough, ruining the laminated structure.
What is the ideal temperature range for laminated dough during the lamination process?
The ideal temperature range for laminated dough is typically between 60-65°F (15-18°C). This range keeps the butter firm but pliable, allowing for clean layers.
What happens if my laminated dough gets too warm?
If your laminated dough gets too warm, the butter will soften and melt. This can lead to a greasy, dense product with poor lamination and a less flaky texture.
How can I maintain the right temperature while making laminated dough?
You can maintain the right temperature by working in a cool environment, using chilled ingredients (butter and water), and frequently resting the dough in the refrigerator or freezer.
Common mistakes include using butter that is too soft or working in a warm kitchen. Forgetting to chill the dough between turns is another frequent error.
Final Reflection: Mastering the Art of Laminated Dough
Precise temperature control isn't just a detail in laminated dough baking; it's the very foundation of success. A single degree too warm or too cold can mean the difference between flaky, buttery perfection and a dense, disappointing result. This article has explored the crucial role temperature plays at every stage, from chilling the butter to managing oven temperature, highlighting the importance of consistent monitoring and precise execution.
The pursuit of the perfect croissant, pain au chocolat, or puff pastry is a testament to the enduring power of culinary precision. The delicate balance of fat and flour, the intricate layering, all hinge on maintaining the correct temperature. This pursuit resonates deeply with me, as the satisfaction of achieving that perfect, melt-in-your-mouth texture is a reward that surpasses mere culinary accomplishment. It's a connection to a rich tradition, a testament to patience and skill. The most beautiful thing we can experience is the mysterious. It is the source of all true art and science.
- Albert Einstein. This quote, while not directly about baking, speaks to the awe-inspiring precision and artistry involved in mastering laminated dough.
Now, it's your turn. Consider the techniques and principles outlined in this article. Don't be afraid to experiment, to adjust your methods based on your specific environment and ingredients. Embrace the challenge of mastering temperature control, and you'll unlock a world of flaky, buttery possibilities. The journey to baking perfect laminated dough is a rewarding one – the taste of success is truly worth the effort.
Unlock Perfectly Laminated Dough: Master the Temperature!
Thanks for diving into the world of flaky, delicious pastries! You've now learned the secrets to achieving perfect lamination through precise temperature control. Ready to put your new skills to the test?
- Bake your masterpiece! Try the recipe we discussed, focusing on maintaining consistent temperatures throughout the process. Note your observations – what worked best for you?
- Share your success (or challenges)! Let's build a community of bakers. Post a picture of your laminated creation on social media and tag us! #BakeWithEase #LaminatedDough
- Experiment with different fillings and recipes. Now that you understand the key temperature principles, explore the endless possibilities of laminated dough! What unique flavors will you create?
What unexpected temperature-related challenge will you conquer next in your baking journey?