
The Secret to Chocolate Bark with a Professional Snap.

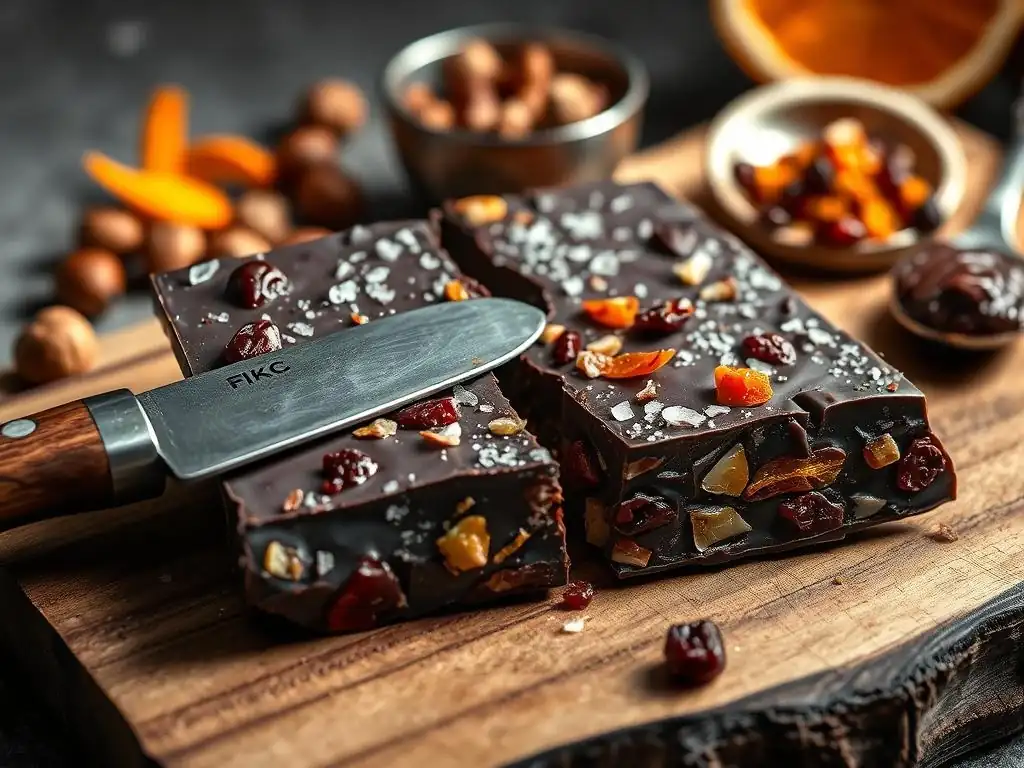
Welcome to BakeWithEase, your guide to unlocking baking brilliance! Ever wondered how to achieve that satisfying professional snap in your chocolate bark? We're diving deep into the secrets behind crafting the perfect batch, from ingredient selection to tempering techniques. Get ready to elevate your chocolate bark game and discover the simple steps that make all the difference. Read on to reveal the insider tips!
- BakeWithEase' Guide to Perfect Chocolate Bark: Achieving the Professional Snap
- Understanding the Importance of Chocolate Tempering for Bark
- Selecting the Right Chocolate for Your Bark: Quality Matters
- Mastering the Tempering Process: Step-by-Step Guide for Chocolate Bark
- Creating Your Unique Chocolate Bark: Flavor Combinations and Add-Ins
- Achieving the Perfect Snap: Cooling and Cutting Techniques
- Troubleshooting Common Chocolate Bark Problems
- Chocolate Bark Recipe: BakeWithEase' Professional Snap Formula
- Storing Your Chocolate Bark for Maximum Freshness and Snap
- Advanced Techniques for Chocolate Bark Perfection
- Enjoying Your Homemade Chocolate Bark with a Professional Snap
- Frequently Asked Questions
- Final Reflection: The Enduring Allure of the Perfect Snap
- Unleash Your Inner Chocolatier!
BakeWithEase' Guide to Perfect Chocolate Bark: Achieving the Professional Snap
Welcome to BakeWithEase, where we unravel the secrets to baking perfection! Today, we're diving into the world of chocolate bark and uncovering how to achieve that coveted professional snap. Forget dull, crumbly, or waxy bark; with the right techniques, you can create stunningly shiny chocolate pieces that break with a satisfying crisp sound. This guide will walk you through the essential steps, from understanding the science to mastering the tempering process, ensuring your homemade chocolate bark rivals that of any high-end chocolatier. Get ready to unlock the secret to a truly excellent chocolate bark professional snap recipe.
Creating chocolate bark with a professional snap isn't just about melting chocolate and adding toppings. It's about controlling the structure of the chocolate itself. The key lies in chocolate tempering, a process that stabilizes the cocoa butter crystals. When done correctly, tempering gives chocolate its beautiful sheen, smooth texture, and, most importantly for bark, that distinct, crisp snap when broken. We'll explore how different chocolates behave and the best methods to achieve this perfect state, setting you on the path to consistently impressive results.
Understanding the Importance of Chocolate Tempering for Bark
Why Tempering Chocolate is Crucial for Bark's Snap and Shine
Tempering chocolate is absolutely vital if you want your chocolate bark to have a professional finish. When chocolate is simply melted and allowed to cool, the cocoa butter crystals within it solidify randomly. This haphazard structure results in chocolate that is dull, prone to developing a white, powdery film known as bloom, and lacks that desirable crispness. Instead of snapping cleanly, it might crumble or bend.
Properly tempered chocolate, however, has cocoa butter crystals aligned in a stable, organized structure. This stability is what gives the chocolate a beautiful, glossy surface. More importantly for our quest for the perfect bark, this crystalline structure ensures that when the chocolate cools and hardens, it sets firmly and uniformly. This uniform hardness is the physical basis for the satisfying snap you hear and feel when you break a piece of high-quality chocolate bark. Without tempering, achieving a chocolate bark professional snap is virtually impossible.
The Science Behind Chocolate Tempering: Cocoa Butter Crystallization
At the heart of chocolate tempering is the manipulation of cocoa butter crystals. Cocoa butter contains several different types of fatty acid crystals, each melting and solidifying at different temperatures. When you simply melt chocolate, you destroy all existing crystal structures. As it cools, these different crystal types try to form, but without guidance, the least stable forms often dominate.
Tempering is a process of heating, cooling, and then slightly reheating chocolate to encourage the formation of only the most stable type of cocoa butter crystal, known as Form V. This specific crystal structure melts at around 90-92°F ( 32-33°C), is firm at room temperature, provides a smooth mouthfeel, and delivers that characteristic snap. By carefully controlling the temperature throughout the tempering process, we guide the cocoa butter molecules to align themselves into this desirable Form V structure, ensuring our chocolate bark professional snap recipe is successful.
Selecting the Right Chocolate for Your Bark: Quality Matters
Choosing Chocolate for Optimal Snap: Percentage and Type
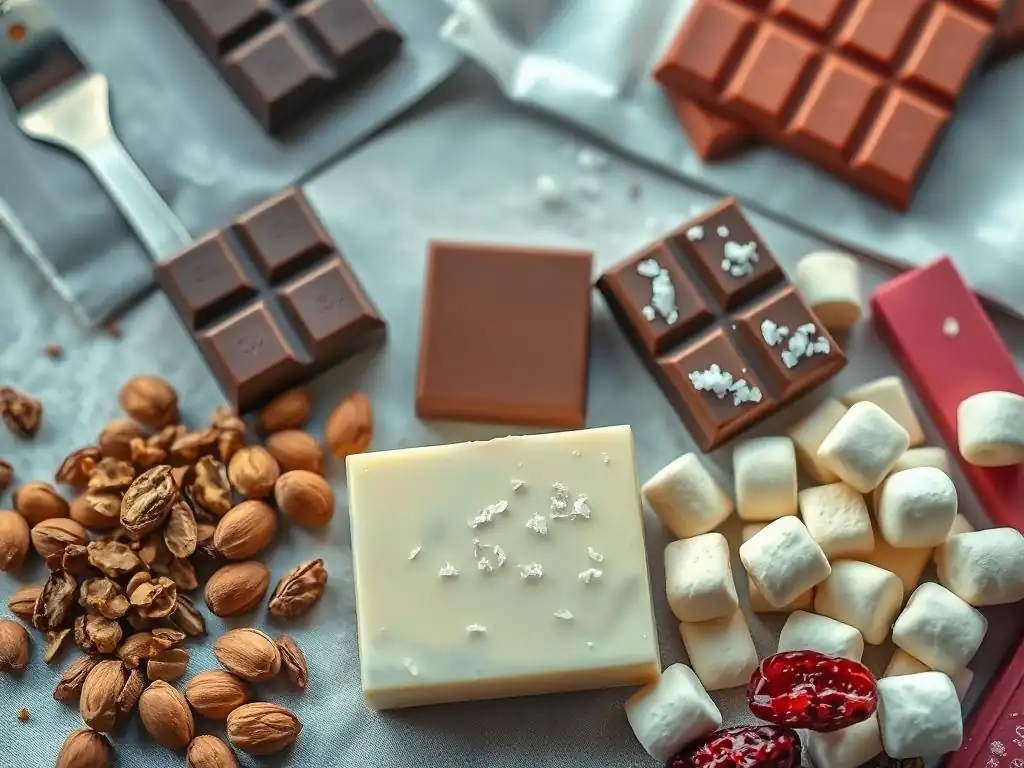
The type and quality of chocolate you use significantly impact the final snap of your bark. For the best results, always opt for real chocolate made with cocoa butter, not compound chocolate (which uses vegetable oils). Look for high-quality baking chocolate or couverture chocolate. Couverture, in particular, has a higher percentage of cocoa butter (typically 32-39%) and is specifically formulated for melting and tempering, making it an excellent choice for achieving a sharp snap and beautiful sheen.
Cocoa percentage also plays a role. Dark chocolate, with its higher cocoa solids and often higher cocoa butter content (typically 60-75%), tends to temper more easily and yield a firmer snap than milk or white chocolate. Milk and white chocolates have lower cocoa solid percentages and contain milk fats, which can affect the tempering process and result in a slightly softer set. While it's possible to temper all types of real chocolate, starting with a good quality dark chocolate is often recommended when first attempting a chocolate bark professional snap recipe.
Best Chocolate Brands for Achieving a Professional Chocolate Bark Finish
While specific brand names can vary by region, the key is to choose brands known for their quality and consistency, ideally those producing couverture or high-grade baking chocolate made with 100% cocoa butter. These chocolates are manufactured with tempering in mind, ensuring predictable results when processed correctly. Look for terms like "couverture," "callets," or "fèves" on the packaging, indicating high-quality chocolate designed for professional use.
Brands that provide detailed information about the chocolate's origin and cocoa percentage are often a good sign of quality. A chocolate with around 65-70% cocoa content is a fantastic starting point for dark chocolate bark, offering a good balance of flavor and excellent tempering properties conducive to a strong snap. Investing in better quality chocolate not only improves the snap but also enhances the flavor profile of your finished chocolate bark.
Mastering the Tempering Process: Step-by-Step Guide for Chocolate Bark
Step 1: Preparing Your Chocolate and Work Surface
Preparation is key to successful chocolate tempering. Start by finely chopping your chocolate if it's in bar form. Smaller pieces melt more evenly and quickly. If using callets or fèves, you can use them as they are. You'll need a clean, dry heatproof bowl (glass or stainless steel are best), a rubber spatula, and an accurate thermometer (digital is preferred). Ensure all your equipment is completely free of any moisture or grease, as even a tiny drop can cause the chocolate to seize.
Your work surface also needs to be ready. For the tablier method, you'll need a clean, cool surface like marble, granite, or a stainless steel table. For the seeding method, you just need your bowl and a supply of untempered chocolate to use as seeds. Have your desired toppings prepped and ready to go before you start tempering, as tempered chocolate sets relatively quickly once it's ready to use for your chocolate bark professional snap recipe.
Step 2: Melting the Chocolate: Achieving the Correct Temperature
The first step in tempering is melting the chocolate completely to destroy all existing crystal structures. This can be done using a double boiler or a microwave.
- Double Boiler: Place the bowl of chopped chocolate over a pot of simmering (not boiling) water, ensuring the bottom of the bowl doesn't touch the water. Stir gently and continuously until the chocolate is fully melted and smooth.
- Microwave: Heat the chocolate in short intervals (30-60 seconds initially, then 15-20 seconds), stirring thoroughly after each interval. This prevents scorching.
You need to heat the chocolate to a specific temperature range to ensure all crystals are melted. For dark chocolate, this is typically between 115°F and 122°F ( 46°C to 50°C). Milk and white chocolate require lower melting temperatures, usually around 105°F to 110°F ( 40°C to 43°C). Use your thermometer to monitor the temperature carefully. Do not overheat the chocolate, as this can damage its structure and make tempering difficult.
Step 3: Tempering Techniques: Seeding vs. Tablier Method
Once melted, the chocolate needs to be cooled down to a specific temperature while encouraging the stable Form V crystals to form. Two common techniques are the seeding method and the tablier (or marble) method. Both aim to bring the chocolate into the correct working temperature range while introducing stable crystal structures.
Choosing the right method depends on your comfort level and available equipment. The seeding method is generally easier for beginners and requires less specialized equipment. The tablier method is a classic professional technique that offers excellent control, particularly useful when making larger batches or aiming for the absolute best chocolate bark professional snap.
The Seeding Method Explained for Chocolate Bark
The seeding method is often considered the easiest way to temper chocolate at home. After melting your chocolate to the appropriate temperature (e.g., 115-122°F for dark), remove it from the heat. Add finely chopped solid, untempered chocolate (your "seeds") to the melted chocolate. A good starting ratio is about 25-30% of the weight of the melted chocolate in seeds.
Stir the mixture continuously. The seeds will melt and, in the process, cool the melted chocolate down while introducing stable Form V crystals from the solid chocolate. Continue stirring until the temperature drops to the working temperature range: typically 88-90°F ( 31-32°C) for dark chocolate, 86-88°F ( 30-31°C) for milk, and 82-84°F ( 28-29°C) for white. Once the seeds are mostly melted and the correct temperature is reached, remove any remaining unmelted seeds. The chocolate is now tempered and ready to use for your chocolate bark professional snap recipe.
The Tablier Method: A Professional's Tempering Technique
The tablier method involves pouring most of the melted chocolate onto a cool, clean surface (like marble) and working it with a spatula and scraper to cool it rapidly. After melting your chocolate to the correct temperature (e.g., 115-122°F for dark), pour about two-thirds of it onto your cool surface. Keep the remaining one-third in the bowl, which will help maintain warmth and act as a tempering base later.
Spread the chocolate thinly and scrape it back together repeatedly. This action cools the chocolate quickly and promotes the formation of Form V crystals. Continue working the chocolate until it thickens slightly and reaches a lower temperature range, typically around 80-82°F ( 27-28°C) for dark chocolate. Then, scrape the cooled, thickened chocolate back into the bowl with the reserved warm chocolate. Stir thoroughly until the mixture is smooth and reaches the final working temperature ( 88-90°F for dark). This mixing process ensures the stable crystals are evenly distributed, resulting in perfectly tempered chocolate for your chocolate bark professional snap recipe.
Step 4: Testing the Temper: Ensuring a Perfect Temper
Before you pour your chocolate for bark, it's crucial to test if it's properly tempered. Using poorly tempered chocolate will result in a dull finish, lack of snap, and potential bloom. The easiest test is the spatula test: dip the tip of a metal spatula, a piece of parchment paper, or a knife into the tempered chocolate.
Set the test piece aside at room temperature (ideally around 70°F or 21°C). Properly tempered chocolate should start to set and become matte within 2-5 minutes. Once fully set (5-10 minutes), it should be firm, shiny, and snap cleanly when broken. If it remains soft, streaky, or takes a long time to set, your chocolate is not properly tempered, and you'll need to reheat and re-temper it before proceeding with your chocolate bark professional snap recipe.
Creating Your Unique Chocolate Bark: Flavor Combinations and Add-Ins
Best Nuts and Dried Fruits for Chocolate Bark
Selecting high-quality add-ins is key to delicious chocolate bark. For nuts, choose fresh, ideally roasted nuts like almonds, pistachios, hazelnuts, or pecans. Roasting enhances their flavor and adds a delightful crunch. Ensure they are completely cool before adding them to the chocolate to avoid localized melting or affecting the temper.
Dried fruits add chewiness and bursts of flavor. Popular choices include cranberries, cherries, apricots, raisins, or even candied orange peel. Again, ensure they are dry and not sticky. Combining different nuts and fruits creates interesting textures and flavor profiles, making your chocolate bark more complex and enjoyable. A classic chocolate bark professional snap recipe often includes toasted almonds and dried cranberries.
Adding Spices and Extracts to Elevate Your Chocolate Bark
Incorporating spices or extracts can add an extra layer of sophistication to your chocolate bark. Ground spices like cinnamon, chili powder (for a touch of heat), nutmeg, or cardamom can be stirred directly into the tempered chocolate just before pouring. Start with small amounts, as their flavors can be potent.
Extracts like vanilla, almond, or peppermint can also be added, but use oil-based or pure extracts sparingly, as water-based extracts can cause the chocolate to seize. A few drops are usually sufficient. You can also sprinkle spices or flaky sea salt over the top of the bark after adding other toppings but before it sets completely. This adds both flavor and visual appeal to your chocolate bark professional snap recipe.
Creative Topping Ideas for a Visually Stunning Bark
Beyond nuts and fruits, the possibilities for chocolate bark toppings are endless! Think about adding contrasting textures and colors.
- Crunchy: Pretzels, granola, crispy rice cereal, cookie pieces (like Oreos or graham crackers).
- Sweet: Caramel bits, toffee pieces, marshmallows (miniature), sprinkles, crushed candy canes (for holidays).
- Salty: Flaky sea salt (a classic pairing with chocolate), crushed potato chips.
- Unique: Espresso beans, coconut flakes (toasted), edible flowers, chopped candy bars.
Arrange your toppings creatively on the surface of the poured chocolate. Don't overload it, but ensure even distribution so each piece of bark gets a good mix of flavors and textures. A visually appealing bark enhances the overall enjoyment of your chocolate bark professional snap recipe.
Achieving the Perfect Snap: Cooling and Cutting Techniques
Cooling Time and Temperature for Optimal Snap
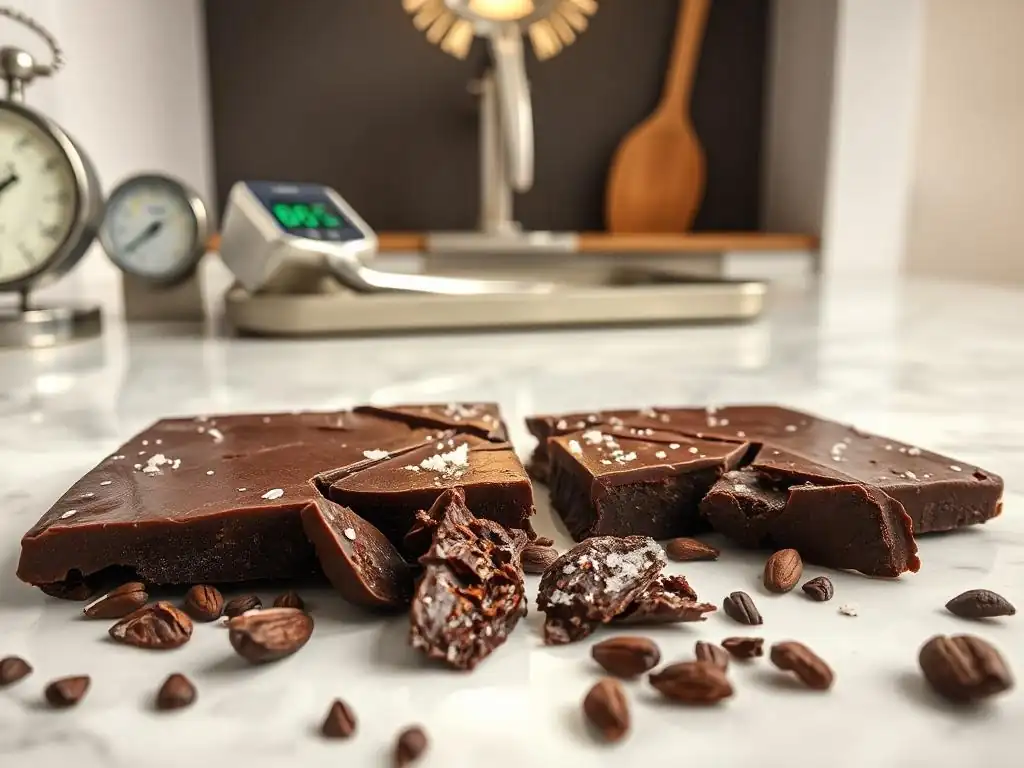
Once your chocolate bark is poured and topped, proper cooling is critical for achieving that professional snap. The tempered chocolate needs to solidify slowly and evenly to allow the Form V crystals to fully set. The ideal cooling environment is a cool room, around 65-70°F ( 18-21°C). Place the bark on a flat surface, like a baking sheet, and let it set undisturbed.
Avoid the temptation to rush the process by putting it in the refrigerator or freezer immediately. While this will harden the chocolate quickly, the rapid temperature change can disrupt the crystal structure, potentially leading to bloom and a less defined snap.
Allow the bark to set at room temperature for at least 1-2 hours, or until it is completely firm and easily lifts off the parchment paper. If your room is warm, a brief stint in the refrigerator (30-60 minutes) after it has already started setting at room temperature can help, but room temperature cooling is preferred for the best chocolate bark professional snap.
Professional Cutting Techniques for Clean Chocolate Bark Pieces
Cutting your chocolate bark cleanly is the final step before enjoying it. Trying to snap or break it while it's too cold can result in jagged, uneven pieces. Ensure the bark is fully set but not excessively cold (if it was briefly refrigerated, let it sit at room temperature for a few minutes).
For clean breaks, use a large, sharp chef's knife or a bench scraper. Place the bark on a cutting board. You can score the surface first with the tip of the knife before applying pressure. For a more rustic look, you can simply break the bark by hand, but for professional-looking pieces, controlled cutting is better.
Press down firmly and evenly with the knife or scraper to snap the chocolate. If using a knife, you can gently rock it back and forth. Clean the knife blade periodically if chocolate builds up. Aim for pieces roughly 2-3 inches in size, or whatever size you prefer for your chocolate bark professional snap recipe presentation.
Tips for Preventing Bloom on Your Chocolate Bark
Preventing bloom is crucial for maintaining the professional appearance and quality of your chocolate bark. Bloom is that unsightly white or gray film that can appear on the surface. There are two main types: fat bloom (caused by improper tempering or temperature fluctuations) and sugar bloom (caused by moisture).
- Preventing Fat Bloom: Ensure your chocolate is perfectly tempered before pouring. Avoid rapid temperature changes during cooling and storage. Let the bark set at room temperature if possible, and store it in a cool, stable environment.
- Preventing Sugar Bloom: Keep your chocolate away from moisture. Don't refrigerate chocolate in humid conditions without airtight packaging. Ensure all your add-ins are dry. Store bark in a dry place.
By mastering tempering and controlling cooling and storage conditions, you significantly reduce the risk of bloom, keeping your chocolate bark professional snap recipe looking and tasting its best.
Troubleshooting Common Chocolate Bark Problems
Dealing with Chocolate Bloom: Causes and Solutions
Encountering bloom on your chocolate bark can be frustrating, but it doesn't mean your bark is ruined. As mentioned, fat bloom happens when cocoa butter crystals separate and rise to the surface due to incorrect tempering or temperature swings. Sugar bloom occurs when moisture dissolves sugar on the surface, and it recrystallizes as white spots or a film.
Unfortunately, once bloom has occurred, you cannot reverse it on the finished bark without melting and re-tempering the chocolate. However, bloomed chocolate is still perfectly safe to eat. Its texture might be slightly grainy, and the snap might be diminished, but the flavor is generally unaffected. You can use bloomed chocolate in recipes where it will be melted down, such as brownies, cookies, or sauces, after verifying it still tastes good. To prevent bloom on future batches of your chocolate bark professional snap recipe, focus on precise tempering and proper storage.
Fixing Untempered Chocolate: Salvaging Your Bark
If your chocolate bark sets without a snap, is dull, or is soft at room temperature, it indicates the chocolate was not properly tempered. The good news is that untempered chocolate can almost always be salvaged. You don't need to discard it.
Carefully break the untempered bark back into pieces. You can then melt this chocolate down again. Ensure you heat it to the correct initial melting temperature (e.g., 115-122°F for dark) to erase the unstable crystal structures. Once fully melted, you can then attempt the tempering process again using either the seeding or tablier method, following the temperature guidelines precisely. With careful re-tempering, you can turn your previously failed batch into perfect chocolate bark with a professional snap.
Preventing Soggy or Sticky Chocolate Bark
Soggy or sticky chocolate bark is usually caused by moisture or ingredients that release moisture. This can happen if:
- Add-ins like dried fruits or nuts were not completely dry.
- Ingredients like fresh fruit (which should generally be avoided in bark) were used.
- The bark was exposed to high humidity during cooling or storage.
- Certain candies or toppings that melt easily or absorb moisture were used.
To prevent this, ensure all your nuts and dried fruits are thoroughly dry before adding them. If you roast nuts, let them cool completely. Avoid adding ingredients with high water content. Always cool and store your finished chocolate bark professional snap in a dry, airtight container away from humidity. If you live in a humid environment, using a food-grade desiccant packet in the storage container can help absorb excess moisture.
Chocolate Bark Recipe: BakeWithEase' Professional Snap Formula
Ingredients for a Professional Snap Chocolate Bark
This recipe focuses on the technique for achieving the snap, using a simple dark chocolate base with classic toppings. You can easily adapt the toppings to your preference.
- 1 pound (approx. 450g) high-quality dark chocolate (couverture or baking bar, 60-75% cocoa), finely chopped or in callets
- 1/4 cup (approx. 30g) finely chopped high-quality dark chocolate (for seeding method, optional)
- 1/2 cup (approx. 60g) roasted almonds, chopped
- 1/4 cup (approx. 35g) dried cranberries
- 1/4 teaspoon flaky sea salt (optional)
Step-by-Step Instructions for BakeWithEase' Signature Bark
Follow these steps precisely to achieve a chocolate bark professional snap:
- Prepare: Line a baking sheet (approx. 9x13 inches) with parchment paper or a silicone mat. Have almonds, cranberries, and salt ready.
- Melt (Initial): Gently melt the 1 pound of chocolate using a double boiler or microwave until it reaches
115-122°F(46-50°C). Ensure it is completely smooth. - Temper (Seeding Method): Remove from heat. Add the 1/4 cup of finely chopped chocolate (seeds). Stir continuously until the chocolate cools and thickens slightly, reaching
88-90°F(31-32°C). Remove any unmelted seeds.- Alternatively, Temper (Tablier Method): Pour two-thirds of the melted chocolate onto a cool surface. Work it with a spatula/scraper until it cools to
80-82°F(27-28°C) and thickens. Scrape back into the bowl with the remaining warm chocolate. Stir until smooth and the mixture reaches88-90°F(31-32°C).
- Alternatively, Temper (Tablier Method): Pour two-thirds of the melted chocolate onto a cool surface. Work it with a spatula/scraper until it cools to
- Test Temper: Dip a spatula tip into the chocolate. It should set within 2-5 minutes at room temperature, becoming matte and firm.
- Pour: Pour the tempered chocolate onto the prepared baking sheet. Use an offset spatula to spread it into a thin, even layer (about 1/8 to 1/4 inch thick).
- Add Toppings: Immediately sprinkle the chopped almonds, dried cranberries, and flaky sea salt evenly over the surface of the wet chocolate. Gently press them into the chocolate slightly.
- Cool: Leave the bark undisturbed at room temperature (
65-70°F) for 1-2 hours, or until completely set and firm. Avoid the refrigerator if possible, or use it only briefly if your room is warm. - Cut/Break: Once fully set, gently lift the bark off the parchment. Use a sharp knife or bench scraper to cut or break the bark into pieces.
- Store: Store the finished chocolate bark in an airtight container in a cool, dry place.
You've now successfully made chocolate bark with a professional snap!
Storing Your Chocolate Bark for Maximum Freshness and Snap
Best Storage Practices to Maintain Snap and Prevent Bloom
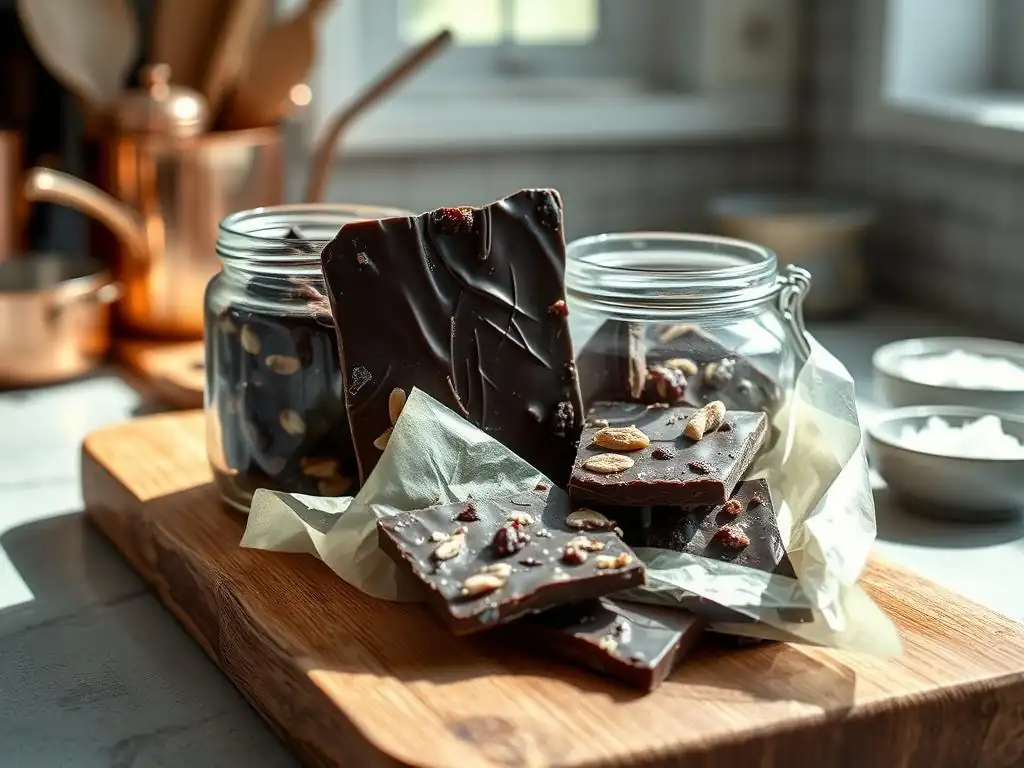
Proper storage is just as important as proper tempering for maintaining the quality and snap of your chocolate bark. The enemies of chocolate are heat, moisture, and strong odors. Store your tempered chocolate bark in a cool, dry place with a stable temperature, ideally between 60°F and 70°F ( 15°C and 21°C).
An airtight container is essential to protect the bark from moisture and odors. You can layer pieces with parchment paper to prevent them from sticking together. Avoid storing chocolate in the refrigerator unless absolutely necessary (like in a very hot, humid climate), and if you do, place it in a truly airtight container to shield it from moisture, which can cause sugar bloom. Allow refrigerated chocolate to come to room temperature slowly before serving to preserve the snap and prevent condensation.
Shelf Life of Properly Tempered Chocolate Bark
Properly tempered and stored chocolate bark has a surprisingly long shelf life compared to many other homemade treats. Because of the stable crystal structure and low moisture content, dark chocolate bark can last for several months, often up to 6-12 months, if stored correctly. Milk and white chocolate bark, due to their milk solids, have a slightly shorter shelf life, typically around 4-6 months.
The quality of your add-ins will also influence the shelf life. Nuts can go rancid over time, and dried fruits can become hard or overly dry. For the best flavor and texture, it's generally recommended to consume homemade chocolate bark within 1-3 months. However, the snap achieved through proper tempering will remain intact as long as the chocolate itself is stored correctly and doesn't bloom or melt. Enjoying your chocolate bark professional snap creation sooner rather than later is always a good idea!
Advanced Techniques for Chocolate Bark Perfection
Marbleizing and Swirling Techniques for Visual Appeal
Once you've mastered the basic chocolate bark professional snap recipe, you can experiment with advanced techniques to make your bark visually stunning. Marbleizing and swirling are popular ways to combine different types or colors of chocolate.
To marble, temper two or more types of chocolate separately (e.g., dark and white). Pour your main chocolate onto the prepared baking sheet. Then, drizzle lines or dollops of the second tempered chocolate over the first. Use a skewer, toothpick, or knife to gently swirl the colors together, creating patterns. Be careful not to over-mix, or the colors will blend into one muddy shade. Work relatively quickly, as tempered chocolate begins to set.
Layering Flavors and Textures for a Complex Bark Experience
Layering different chocolates and toppings can add incredible depth and complexity to your bark. For example, you could pour a layer of tempered dark chocolate, let it set partially, then pour a layer of tempered milk or white chocolate on top, adding different toppings to each layer or across both.
- Example Layering:
- Pour tempered dark chocolate layer, sprinkle with sea salt. Let set partially.
- Pour tempered white chocolate layer on top, sprinkle with crushed pistachios and dried cranberries.
- Cool completely and break.
This technique requires careful timing to ensure the layers adhere without the first layer being too hard or the second layer being too hot and melting the first. The goal is to create a multi-dimensional taste and texture experience in every bite of your chocolate bark professional snap.
Using Transfer Sheets for Intricate Chocolate Bark Designs
For truly professional-looking chocolate bark with intricate patterns or colors, chocolate transfer sheets are a fantastic tool. These are plastic sheets with designs printed on them using colored cocoa butter.
To use a transfer sheet, place it design-side up on your baking sheet before pouring the tempered chocolate. Pour the tempered chocolate directly onto the sheet and spread it evenly. Add your desired toppings on top of the chocolate layer as usual. Let the bark set completely at room temperature. Once fully hardened, the cocoa butter design will have transferred from the sheet onto the surface of your chocolate bark. Carefully peel away the transfer sheet to reveal a beautifully patterned bark. This technique adds a touch of elegance to any chocolate bark professional snap recipe.
Enjoying Your Homemade Chocolate Bark with a Professional Snap
Congratulations! You've navigated the intricacies of tempering and created beautiful, delicious chocolate bark with that sought-after professional snap. Share your creation with friends and family, package it as a homemade gift, or simply savor each piece yourself. Knowing you've mastered the technique to achieve perfect texture and shine makes every bite even more rewarding. Keep practicing, experiment with new flavor combinations and techniques, and enjoy the process of becoming a chocolate bark expert with BakeWithEase!
Frequently Asked Questions
What makes a "professional snap" in chocolate bark?
A professional snap in chocolate bark indicates that the chocolate has been properly tempered, resulting in a firm, glossy, and brittle texture. This is achieved through precise heating and cooling of the chocolate.
Can I use any type of chocolate for chocolate bark?
While you can use any chocolate, the best results, especially for a professional snap, come from using high-quality chocolate with a high cocoa butter content. These chocolates temper more easily.
What's the easiest way to temper chocolate at home?
Many techniques exist. A common method involves melting two-thirds of the chocolate, then removing it from the heat and stirring in the remaining third to seed the mixture and bring it to the correct temperature.
What kind of toppings work best for chocolate bark?
The sky's the limit! Consider contrasting flavors and textures. Popular choices include nuts, dried fruits, pretzels, candies, and sea salt. Always ensure toppings are dry to avoid affecting the chocolate.
How should I store chocolate bark to maintain its snap?
Store your chocolate bark in an airtight container in a cool, dry place away from direct sunlight or heat. This will prevent blooming (white streaks) and maintain its crisp texture.
Final Reflection: The Enduring Allure of the Perfect Snap
The pursuit of the perfect chocolate bark snap isn't just about a satisfying crack; it's a reflection of our desire for precision, artistry, and ultimately, a moment of pure indulgence. This seemingly simple confection holds a surprising depth, demanding attention to detail at every stage, from tempering the chocolate to achieving that coveted, almost musical, snap. The techniques explored in this article, from understanding the science of chocolate to mastering the art of cooling, are applicable far beyond the kitchen.
The impact of this seemingly small pursuit extends beyond the individual experience. The act of creating something beautiful and delicious, something that brings joy to oneself and others, is a powerful act of self-care and connection. The best things in life are simple, but not easy.
This quote perfectly encapsulates the journey to mastering the perfect chocolate bark snap. It's a testament to the rewarding nature of dedication and the satisfaction derived from achieving a level of mastery, no matter how seemingly small the task.
Now, consider your own pursuits. What seemingly small detail, what seemingly insignificant skill, holds the potential for a similar level of satisfaction and accomplishment? Perhaps it's mastering a new technique in your chosen craft, perfecting a recipe, or simply learning to appreciate the small moments of beauty in your daily life. I encourage you to embrace the spirit of the perfect snap – the dedication, the precision, the joy of creation – and apply it to your own endeavors. The reward, like the satisfying crack of a perfectly tempered chocolate bark, will be well worth the effort.
Unleash Your Inner Chocolatier!
Thanks for joining us on this delicious journey into the world of perfect chocolate bark! We hope you've gained some valuable tips and tricks to create stunning, snappable treats. Ready to take your skills to the next level?
- Master the snap: Practice the techniques we discussed – temperature control is key! Aim for that satisfying crackle with every bite.
- Share your creations: Post a picture of your chocolate bark masterpiece on social media and tag us – we'd love to see it! Use #BakeWithEaseChocolateBark.
- Experiment with flavors: Don't be afraid to get creative! Try incorporating your favorite nuts, fruits, or spices for a unique twist.
What unexpected flavor combination will you try for your next batch of chocolate bark? Let's hear your ideas in the comments below!