
Exploring the Sweet World of Mexican Pan Dulce

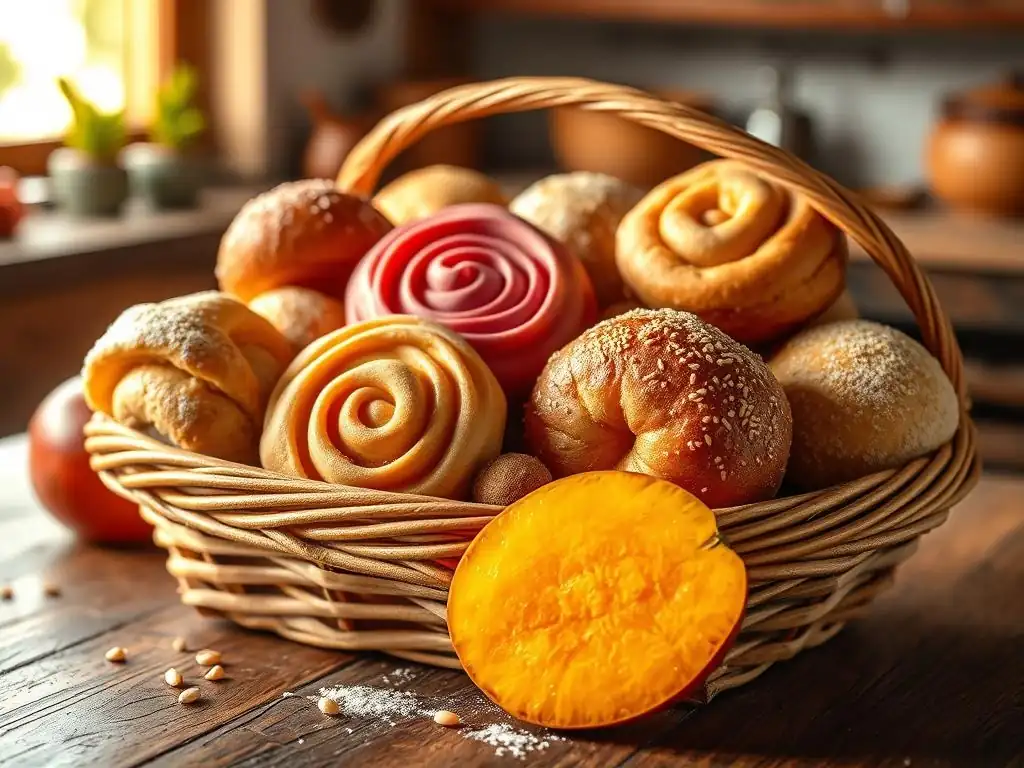
Welcome to BakeWithEase, your passport to a world of delightful baking adventures! Ever dreamt of creating those irresistibly sweet and colorful treats you see in Mexican bakeries? Well, prepare to be amazed! We're diving headfirst into the enchanting world of Pan Dulce, and you're about to discover just how surprisingly easy crafting authentic Mexican pan dulce recipes can be. Get ready to unlock the secrets to these delicious baked goods – and maybe even start a sweet tradition of your own. Intrigued? Let's get baking!
- Exploring the Sweet World of Mexican Pan Dulce: Easy Recipes for Home Bakers
- Discover Authentic Mexican Pan Dulce Recipes
- Understanding Mexican Pan Dulce: History and Traditions
- Must-Try Mexican Pan Dulce Recipes (Easy Baking Edition)
- Baking Techniques for Perfect Pan Dulce
- Tips for Baking Authentic Mexican Pan Dulce at Home
- Beyond the Basics: Exploring Advanced Pan Dulce Recipes
- Enjoy the Sweet Flavors of Mexico with These Easy Pan Dulce Recipes
- Frequently Asked Questions
- Final Reflection: The Enduring Sweetness of Mexican Pan Dulce
- Unleash Your Inner Panadero: Bake Your Own Sweet Treats!
Exploring the Sweet World of Mexican Pan Dulce: Easy Recipes for Home Bakers
Discover Authentic Mexican Pan Dulce Recipes
BakeWithEase Presents: A Guide to Sweet Mexican Breads
Welcome to the delightful world of Mexican pan dulce! If you've ever visited a panadería (Mexican bakery), you know the sheer joy and overwhelming variety of sweet breads on display. From fluffy conchas to crispy orejas, pan dulce is a staple of Mexican culture, enjoyed for breakfast, merienda (afternoon snack), or any time a sweet craving strikes. These pastries aren't just delicious; they are steeped in history and tradition, reflecting centuries of culinary evolution.
At BakeWithEase, we believe that bringing these flavors into your own kitchen should be an accessible and enjoyable experience. That's why we've curated this guide focusing on easy Mexican pan dulce recipes perfect for home bakers. You don't need specialized equipment or advanced skills to start making these treats. With simple ingredients and clear instructions, you can recreate the magic of a Mexican panadería right in your home kitchen. Get ready to fill your house with the irresistible aroma of freshly baked sweet bread!
Understanding Mexican Pan Dulce: History and Traditions
The Origins of Pan Dulce in Mexico
The story of pan dulce begins centuries ago with the arrival of the Spanish in Mexico. The Spanish brought wheat, baking techniques, and European pastry traditions. Before this, indigenous Mexicans primarily used corn. The introduction of wheat flour was a foundational change. Over time, these European methods blended with local ingredients and culinary creativity, giving birth to the unique category of pan dulce. French bakers, particularly during the 19th century under Emperor Maximilian I, also heavily influenced Mexican baking, introducing techniques for puff pastry and enriched doughs, which are still evident in varieties like cuernitos (croissants) and campechanas.
The evolution of pan dulce wasn't just about adopting foreign techniques; it was about adaptation and innovation. Mexican bakers began incorporating local flavors and ingredients, developing distinct shapes and textures. This period saw the proliferation of panaderías across Mexico, each contributing to the vast repertoire of pan dulce varieties we see today, estimated to number in the hundreds, if not thousands. This sweet bread became more than just food; it became an integral part of social life, family gatherings, and daily routines.
Regional Variations of Mexican Sweet Bread
Mexico's diverse geography and culture are beautifully reflected in its pan dulce. While some types, like conchas, are ubiquitous nationwide, many others are specific to certain regions or states. For example, Oaxaca is famous for its "pan de yema" (egg yolk bread), a rich, slightly sweet bread often decorated with intricate shapes, especially popular during Day of the Dead. In the Yucatán Peninsula, you might find marquesitas, a type of crispy rolled wafer often filled with Edam cheese, though sweet variations exist.
Central Mexico, including Mexico City, boasts an incredible variety due to the concentration of bakeries and cultural exchange. Here you'll find everything from chilindrinas (sugar-coated rounds) to ojo de buey (ox's eye), a pastry with a sweet filling surrounded by puff pastry. Each region adds its own twist, using local ingredients or developing unique preparation methods. Exploring these regional differences highlights the depth and richness of Mexican baking traditions, offering a lifetime of delicious discovery for any enthusiast of easy Mexican pan dulce recipes.
Key Ingredients in Traditional Pan Dulce
Traditional Mexican pan dulce relies on a foundation of common baking ingredients, often enhanced by specific elements that give it its unique character. The base dough is typically an enriched dough, meaning it contains eggs, milk, and butter or lard, which contribute to its softness and richness. Sugar is, of course, a critical component, used both in the dough and for toppings or fillings. Yeast is the leavening agent of choice, giving pan dulce its characteristic light and airy texture after proofing.
Beyond the basics, several ingredients are particularly prominent. Canela (cinnamon) is widely used, often in combination with sugar for toppings or infused into doughs. Piloncillo, a type of unrefined brown sugar cone with a distinct caramel-like flavor, is used in some doughs and many fillings, like those for empanadas. Mexican vanilla, known for its complex flavor profile, is also a popular addition. Lard is traditionally used in some doughs for tenderness and flakiness, though butter is also common. Understanding these core ingredients is the first step in mastering easy Mexican pan dulce recipes at home.
Must-Try Mexican Pan Dulce Recipes (Easy Baking Edition)
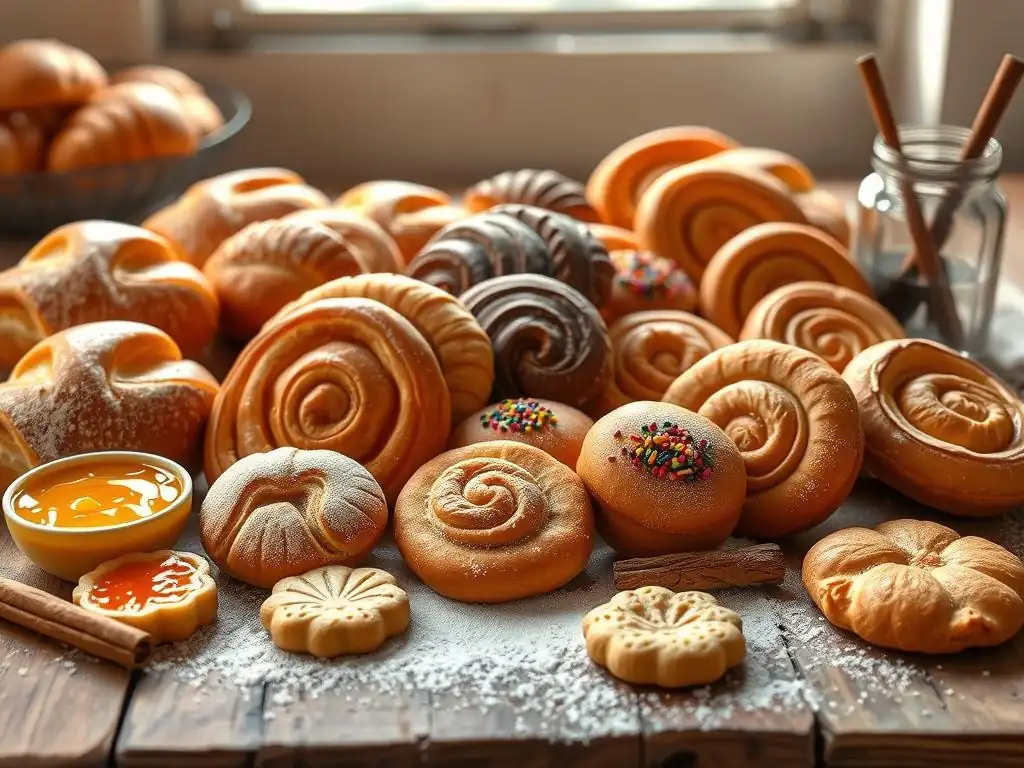
Recipe 1: Conchas - The Classic Mexican Sweet Bread
Conchas are arguably the most iconic type of Mexican pan dulce, instantly recognizable by their shell-like (concha means "shell") streusel topping. The base is a soft, slightly sweet brioche-like dough, and the topping is a simple mixture of flour, sugar, and fat (usually butter or shortening), often flavored with vanilla, chocolate, or cinnamon. Baking conchas is a rewarding experience, and with a few tips, it's one of the most accessible easy Mexican pan dulce recipes to start with.
Making the dough involves standard enriched bread techniques: mixing, kneading until smooth (about 8-10 minutes by hand or stand mixer), and allowing it to proof until doubled in size (typically 1-1.5 hours in a warm place). The magic happens with the topping. It's crucial that the topping mixture has a consistency similar to playdough so it can be easily flattened and placed onto the risen dough balls before baking. Scoring the topping with a special concha cutter or a knife creates the signature pattern, which expands beautifully in the oven.
Making the Concha Topping: A Step-by-Step Guide
Creating the perfect concha topping is simpler than it looks. You'll need equal parts all-purpose flour, powdered sugar, and softened butter or shortening, plus a pinch of salt and flavoring (like vanilla extract, cocoa powder for chocolate conchas, or ground cinnamon). In a bowl, cream the softened fat with the powdered sugar until smooth. Gradually mix in the flour and salt until a cohesive dough forms. For chocolate topping, replace a small amount of flour with cocoa powder. Knead it briefly on a clean surface until it's smooth and pliable.
Once the dough is ready, divide it into equal portions corresponding to the number of dough balls you have. Roll each portion into a small ball, then flatten it into a thin disk, roughly the diameter of your dough balls. You can do this by hand, between two pieces of plastic wrap, or using a tortilla press. The goal is a uniform disk about 1/8 inch thick. This topping will be placed on top of the shaped bread dough before the final proofing and baking.
Baking the Perfect Concha: Tips and Tricks
Baking conchas requires attention to both temperature and time. Preheat your oven to around 350-375°F (175-190°C). Place the topped conchas on baking sheets lined with parchment paper, leaving space between them as they will expand. Before baking, allow them a final short proof (about 15-20 minutes) until slightly puffy. The baking time typically ranges from 15 to 20 minutes, depending on your oven and the size of your conchas. Look for the bread portion to be golden brown on the bottom and edges, while the topping remains relatively light in color.
A key tip for perfectly baked conchas is ensuring the topping adheres well and doesn't slide off. Make sure the dough balls are slightly flattened on top before placing the topping disk. Scoring the topping right before baking helps it expand correctly and prevents cracking. If your topping is too dry and crumbly, add a tiny bit more softened butter; if it's too sticky, add a touch more powdered sugar. These easy Mexican pan dulce recipes are very forgiving, but these small adjustments make a big difference.
Recipe 2: Orejas (Palmiers) - Crispy and Flaky Delights
Orejas, meaning "ears" in Spanish, are the Mexican version of French palmiers. These crispy, flaky pastries are made from puff pastry rolled with sugar, creating layers that caramelize into a delightful crunch. While making puff pastry from scratch can be challenging, many easy Mexican pan dulce recipes for orejas call for using store-bought puff pastry, making this a quick and simple treat. The beauty of orejas lies in their simplicity and satisfying texture.
To make orejas, you typically roll out a sheet of puff pastry, sprinkle it generously with sugar (sometimes mixed with cinnamon), and then roll both ends inwards towards the center, creating a shape that resembles a scroll or two scrolls meeting. The log is then sliced into segments about 1/2 inch thick. These slices are placed on a baking sheet, often with additional sugar sprinkled on top, and baked until golden brown and caramelized. The heat causes the layers to puff and the sugar to melt and harden, creating the characteristic crispiness.
Achieving the Perfect Caramelization for Orejas
Caramelization is key to delicious orejas. This happens when the sugar exposed to high heat melts and browns, developing rich, complex flavors. To achieve optimal caramelization, ensure your oven is properly preheated, usually to a high temperature like 400-425°F (200-220°C). The high heat helps the pastry puff quickly before the sugar burns. Sprinkle a good amount of sugar on the pastry sheet before rolling, and consider sprinkling a little extra sugar on the baking sheet itself under each oreja slice – this bottom sugar will caramelize beautifully and create a lovely crust.
Baking time for orejas is relatively short, typically 10-15 minutes per side. You'll need to watch them closely and flip them halfway through baking to ensure even browning and caramelization on both sides. They go from perfectly golden to burnt very quickly, so stay near the oven! The sugar should melt into a bubbly, amber liquid and then harden as the pastries cool. If they aren't browning enough, you might need to increase the oven temperature slightly or bake them a minute or two longer.
Variations: Adding Chocolate or Spices to Your Orejas
While classic orejas are simply sugar and puff pastry, you can easily introduce variations to add more flavor. Before rolling the puff pastry with sugar, you can sprinkle finely chopped chocolate or mini chocolate chips over the sugar layer. As the orejas bake, the chocolate will melt slightly, creating pockets of rich flavor within the crispy layers. Dark chocolate works particularly well, balancing the sweetness of the caramelized sugar.
Another popular variation is adding spices. Cinnamon is a natural pairing with sugar and works wonderfully in orejas. Mix ground cinnamon with the sugar before sprinkling it on the pastry. Other warm spices like a pinch of nutmeg or cardamom could also be experimented with, though cinnamon is the most traditional addition in easy Mexican pan dulce recipes for orejas. Ensure the spices are finely ground and mixed evenly with the sugar for distribution.
Recipe 3: Empanadas de Cajeta - Sweet Caramel-Filled Pastries
Empanadas, meaning "wrapped in bread," are found across Latin America, but Mexican sweet empanadas often feature fillings like fruit preserves, sweet potato, or the beloved cajeta. Cajeta is a thick, caramelized goat's milk confection similar to dulce de leche but with a distinct tanginess. Empanadas de cajeta are sweet, slightly chewy pastries filled with this rich, gooey caramel, making them a comforting and popular treat. Making the dough for sweet empanadas is generally simpler than enriched bread doughs, often resembling a pie crust or shortcrust pastry.
The dough typically consists of flour, sugar, butter or shortening, and sometimes egg and a liquid like milk or water. It's mixed until just combined, then chilled before rolling. The filling is the star, and while homemade cajeta is wonderful, store-bought is readily available and perfectly acceptable for easy Mexican pan dulce recipes. A good quality cajeta will be thick enough not to run out during baking but still soft and gooey when warm.
Preparing the Cajeta Filling: A Homemade Option
While store-bought cajeta is convenient, making it at home allows you to control the thickness and flavor. Homemade cajeta is made by slowly simmering goat's milk (or a mix of goat's and cow's milk) with sugar and often a cinnamon stick and a pinch of baking soda. The baking soda helps prevent curdling and promotes caramelization. The process is time-consuming, requiring constant stirring over low heat for several hours until the mixture reduces and thickens to a rich, caramel consistency.
For a quicker, though less traditional, homemade "cajeta-like" filling, you can caramelize sugar and add evaporated milk or condensed milk, then stir in goat's milk if desired. However, using a good quality store-bought cajeta is the easiest route for these empanadas. Look for brands from Mexico if possible for the most authentic flavor. Before filling the empanadas, the cajeta should be at room temperature or slightly warmed to make it easier to spoon, but not hot.
Sealing and Baking Empanadas for Optimal Flavor
Once the dough is rolled and cut into circles (about 4-6 inches in diameter), a spoonful of cajeta filling is placed on one half of each circle. Be careful not to overfill, as this can cause the empanadas to burst during baking. Fold the dough over the filling to create a half-moon shape. The edges must be sealed tightly to prevent the filling from leaking. You can do this by pressing the edges together with your fingers, then crimping them with a fork (a classic look), or by folding the edge over onto itself.
Place the sealed empanadas on a baking sheet lined with parchment paper. For a golden finish and slight crispness, you can brush the tops with an egg wash (one egg beaten with a tablespoon of water or milk) and sometimes sprinkle with sugar. Bake in a preheated oven at around 375°F (190°C) for 15-20 minutes, or until the pastry is golden brown and slightly puffed. Let them cool slightly before eating, as the cajeta filling will be very hot.
Recipe 4: Churros - Mexican Fried Dough with Cinnamon Sugar
Churros are famous worldwide, but their presence in Mexican panaderías is undeniable. These long, fluted pieces of fried dough, typically coated in cinnamon sugar, are crispy on the outside and soft on the inside. While frying might seem intimidating, mastering the simple dough and temperature control makes churros one of the most fun and rewarding easy Mexican pan dulce recipes to make at home. They are often served with a cup of thick hot chocolate for dipping.
The dough, known as choux pastry (the same used for éclairs and cream puffs), is made by heating water (or milk), butter, sugar, and salt, adding flour off the heat to form a thick paste, and then beating in eggs one by one. This creates a stable dough that puffs when fried. The dough is typically piped through a star-tipped nozzle into hot oil, giving churros their characteristic ridges which help them cook evenly and hold onto more cinnamon sugar.
Mastering the Churro Dough: Consistency is Key
The consistency of choux pastry dough is crucial for successful churros. The initial paste formed when adding flour to the hot liquid should be very thick and pull away from the sides of the pan. After removing from the heat, the eggs are incorporated. Each egg must be fully mixed in before adding the next. The final dough should be smooth, glossy, and thick enough to hold its shape when piped, but not so stiff that it's hard to pipe. If the dough is too thin, the churros will collapse when fried; if too thick, they will be dense.
A good test is the "V" test: when you lift the paddle or spoon from the dough, it should fall back into the bowl in a V-shape. If it forms a stiff peak, you might need another half egg (beat an egg and add half). If it's too runny, you may need to start over or carefully heat it gently while stirring to evaporate some moisture (risky). Using a piping bag fitted with a large star tip (like an Ateco 826 or 827) is essential for shaping churros with the necessary ridges.
Frying Churros to Golden Perfection: Temperature Control
Frying requires caution and precise temperature control for crispy, evenly cooked churros. Use a neutral oil with a high smoke point, like canola, vegetable, or sunflower oil, filling a heavy-bottomed pot or deep fryer about 2-3 inches deep. Heat the oil to a temperature between 350°F and 375°F (175°C and 190°C). A thermometer is highly recommended. If the oil is too cool, the churros will absorb too much grease and be soggy; if too hot, they will brown too quickly on the outside and remain raw inside.
Carefully pipe 4-6 inch lengths of dough directly into the hot oil, cutting the end with scissors. Don't overcrowd the pot, as this lowers the oil temperature. Fry for 2-3 minutes per side, flipping them with tongs, until they are golden brown and cooked through. Use a slotted spoon to remove them from the oil and place them on a paper towel-lined plate to drain excess grease briefly. Immediately after draining, toss or roll the hot churros in a mixture of granulated sugar and cinnamon so the sugar adheres properly. Serve hot.
Recipe 5: Rosca de Reyes - The King's Cake for Epiphany
Rosca de Reyes, or King's Cake, is a special pan dulce baked specifically to celebrate Epiphany (Dia de Reyes) on January 6th. This large, oval-shaped sweet bread is decorated with candied fruits and sugar paste, symbolizing the jewels on a king's crown. Hidden inside is a small plastic or ceramic figurine representing the baby Jesus.
The person who finds the figurine in their slice is traditionally obligated to host a tamale party on Candelaria (February 2nd). While traditionally a more involved bake due to its size and decorations, simpler versions make it an accessible easy Mexican pan dulce recipe for a festive occasion.
The dough for Rosca de Reyes is a rich, slightly sweet yeasted dough, similar to brioche, often flavored with orange zest or orange blossom water. It's kneaded until elastic, then shaped into a large ring. The candied fruits (like fig, citron, or cherry) and strips of sugar paste (a mix of flour, sugar, and shortening) are pressed into the top before baking. The hidden figurine is usually inserted into the dough from the bottom after shaping but before the final proof.
Adding the Hidden Baby Jesus Figure
Adding the small figurine (monito) of the baby Jesus is a key step in preparing Rosca de Reyes. The figurine is typically made of plastic or ceramic and is small enough to be hidden within a slice of the bread. After the dough has been shaped into a ring and placed on the baking sheet for its final proof, the figurine is carefully inserted into the underside of the ring. Make a small slit on the bottom of the dough and push the figurine inside, then gently press the dough around it to seal the opening.
It's important to insert the figurine before the final proof and baking, but after the main shaping, to ensure it's fully enclosed. Some bakers insert multiple figurines. The purpose is to represent the hiding of the infant Jesus from King Herod. Finding the figurine is a fun tradition during the Epiphany celebration, adding an element of surprise and continuation of the festive season.
Decorating the Rosca de Reyes with Candied Fruits
The vibrant decoration of Rosca de Reyes is as important as the bread itself. The traditional decorations symbolize the jewels on the crowns of the Three Wise Men. Strips of colored candied fruits are pressed into the top of the ring. Common fruits include candied fig halves, red and green cherries, and strips of ate (fruit paste) or candied orange peel. These are arranged around the ring, often in a pattern.
Additionally, strips of sugar paste, similar to the topping used on conchas, are applied. This paste is made from flour, sugar, and shortening or butter, sometimes flavored with vanilla and left white or colored slightly yellow. These strips are spread or piped onto the surface of the dough between the candied fruits. An egg wash is often brushed over the exposed dough areas to give it a golden sheen. Some bakers also sprinkle sugar over the sugar paste strips before baking for extra sparkle.
Baking Techniques for Perfect Pan Dulce
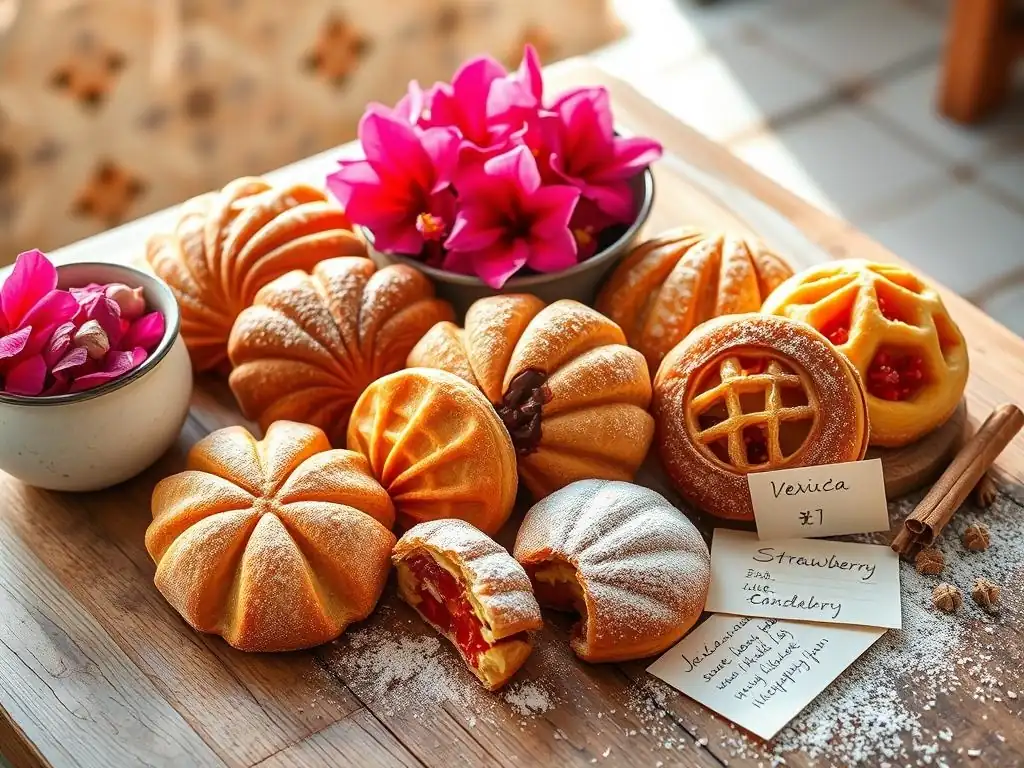
Mastering the Sweet Dough: Kneading and Proofing
Most easy Mexican pan dulce recipes begin with an enriched sweet dough. Mastering the techniques of kneading and proofing is fundamental to achieving the light, airy texture characteristic of these breads. Kneading develops the gluten in the flour, which provides structure and elasticity. For enriched doughs, which contain fat and sugar that can inhibit gluten development, sufficient kneading (often 8-15 minutes by hand or stand mixer) is crucial. The dough should become smooth, elastic, and pass the "windowpane test" (a small piece can be stretched thinly enough to see light through it without tearing).
Proofing, the process where yeast ferments and produces carbon dioxide gas, causes the dough to rise. Sweet doughs, with their higher sugar and fat content, often proof slower than lean bread doughs. The first proof typically involves placing the dough in a greased bowl, covered, in a warm place (around 75-80°F or 24-27°C) until it doubles in size, which can take 1-2 hours. A second, shorter proof after shaping the pan dulce pieces allows them to become light and airy before baking. Proper proofing ensures a tender crumb and good volume.
Working with Mexican Chocolate: Flavor Pairings
Mexican chocolate, often used in baking and drinks, is distinct from typical baking chocolate. It's traditionally made from ground cacao nibs, sugar, and cinnamon, and sometimes includes almonds or other spices. It has a slightly gritty texture due to the sugar and a prominent cinnamon flavor. When used in easy Mexican pan dulce recipes, it adds a unique depth. It pairs beautifully with vanilla, cinnamon (enhancing its own cinnamon notes), and even a hint of chili for a classic Mexican flavor combination.
You can use Mexican chocolate in various ways: chopped and folded into doughs or fillings, melted down for glazes or dipping sauces (like for churros), or grated for toppings. Be mindful of its sweetness level when substituting it for other chocolates in recipes. Its robust flavor profile makes it a wonderful addition to chocolate concha toppings, empanada fillings, or even incorporated into sweet bread dough itself.
Using Piloncillo (Mexican Brown Sugar) in Baking
Piloncillo, also known as panela or rapadura in other Latin American countries, is unrefined cane sugar pressed into cones or blocks. It has a rich, complex flavor profile with notes of caramel, molasses, and sometimes a hint of smokiness, distinct from granulated white sugar or even standard brown sugar. It's a staple in many traditional Mexican desserts and drinks. Using piloncillo in pan dulce adds an authentic depth of flavor that granulated sugar alone cannot provide.
To use piloncillo in baking, it typically needs to be dissolved first, either by simmering it in a liquid (like water or milk) to create a syrup or by grating it finely. For easy Mexican pan dulce recipes, using piloncillo syrup in doughs or fillings is common. Its flavor pairs exceptionally well with cinnamon, cloves, and anise, often found in more traditional or regional pan dulce varieties. When substituting piloncillo for granulated sugar, remember it adds moisture and a stronger flavor, so adjustments might be needed.
Tips for Baking Authentic Mexican Pan Dulce at Home
Sourcing Ingredients for Mexican Sweet Breads
Finding authentic ingredients can enhance your easy Mexican pan dulce recipes. While most recipes use common pantry staples like flour, sugar, eggs, and yeast, specific ingredients like piloncillo, Mexican vanilla, and good quality cajeta can elevate your results. Look for these items in Latin American grocery stores (tiendas latinas) or the international aisle of larger supermarkets. Online retailers are also a good source for harder-to-find items.
If you can't find specific ingredients, don't be discouraged! Many recipes offer substitutions. For example, dark brown sugar can sometimes substitute for piloncillo (though the flavor won't be identical), and regular vanilla extract can be used instead of Mexican vanilla. The most important thing is to use fresh, good-quality ingredients overall, especially for yeast, which needs to be active for successful rising.
Storing and Enjoying Your Homemade Pan Dulce
Homemade pan dulce is best enjoyed fresh, ideally the same day it's baked, when the textures are perfect – soft bread, crispy toppings, and gooey fillings. However, you can store most types to enjoy later. Pan dulce is typically stored at room temperature in an airtight container. This helps keep the bread soft and prevents it from drying out. Varieties with crispy toppings, like conchas or orejas, might lose some crispness upon storage, but they will still be delicious.
Most pan dulce will keep well for 2-3 days at room temperature. Avoid refrigerating pan dulce, as this can dry out the bread quickly. If you need to store it longer, freezing is an option. Wrap individual pieces tightly in plastic wrap and then place them in a freezer bag. Thaw at room temperature. You can often refresh slightly stale pan dulce by warming it briefly in a microwave or oven (around 300°F/150°C for a few minutes). Enjoy your creations with coffee, milk, or Mexican hot chocolate!
Adapting Recipes for Different Skill Levels
The wonderful thing about easy Mexican pan dulce recipes is their adaptability. If you're a complete beginner, start with the simplest versions like orejas using store-bought puff pastry, or basic conchas. Focus on mastering the dough handling and baking times. As you gain confidence, you can move on to more complex recipes like empanadas or churros, paying attention to fillings and frying techniques.
Many recipes can be simplified. For instance, while traditionalists might make everything from scratch, using pre-made ingredients like puff pastry, canned cajeta, or even a good quality sweet bread mix (if available) can make the process much faster and more accessible. Don't be afraid to start simple and gradually challenge yourself with more traditional techniques or more intricate varieties as your baking skills grow.
Beyond the Basics: Exploring Advanced Pan Dulce Recipes
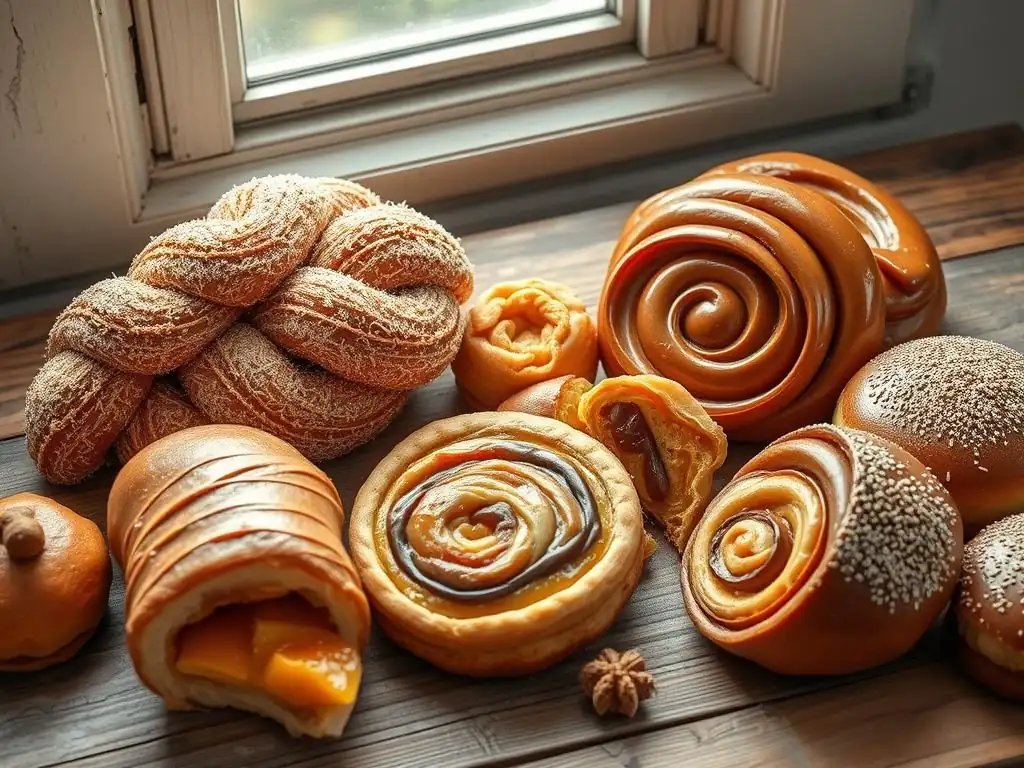
Recipe 6: Pan de Muerto - Bread of the Dead
Pan de Muerto is a special type of pan dulce baked for the Day of the Dead (Día de Muertos) celebration in early November. It's a sweet, soft bread, often flavored with orange zest, anise, or orange blossom water. Its distinctive decoration includes shapes representing bones and a central knob symbolizing a skull or the tears shed for the deceased. While the dough base is similar to Rosca de Reyes, the shaping and specific flavorings make it unique.
Making the bone shapes involves rolling small pieces of dough into ropes and then pressing indents along them to create a segmented, bone-like appearance. These "bones" and a small ball for the "skull" are attached to the main dough round before the final proof and baking. After baking, Pan de Muerto is often brushed with melted butter and sprinkled generously with granulated sugar, giving it a shimmering, sweet crust. It's a beautiful and meaningful bread, slightly more involved than the basic recipes but very rewarding.
Recipe 7: Campechanas - Glazed Puff Pastry
Campechanas are another popular pan dulce made from puff pastry, but unlike orejas, they are flat, square or rectangular pastries covered in a crisp, shiny, caramelized sugar glaze. They are incredibly flaky and shatteringly crisp, making them a delightful contrast to softer sweet breads. Achieving the perfect glaze requires precise temperature and timing.
The process typically involves cutting puff pastry into squares, docking them (pricking with a fork) to prevent excessive puffing, and then baking them partway. A sugar syrup is then brushed over the partially baked pastries, and they are returned to a hot oven to finish baking and caramelize the glaze. The high heat and quick bake are essential for the glaze to become hard and glossy without burning. Some variations include a layer of jam or fruit paste under the glaze.
Enjoy the Sweet Flavors of Mexico with These Easy Pan Dulce Recipes
Embarking on the journey of baking Mexican pan dulce is a truly rewarding experience. From the comforting familiarity of conchas to the crispy delight of orejas, these sweet breads offer a taste of Mexico's rich culinary heritage. We've explored several easy Mexican pan dulce recipes that are perfect for home bakers, requiring basic techniques and readily available ingredients.
Whether you choose to start with a simple recipe or tackle a more festive bake like Rosca de Reyes, the process of mixing, shaping, and baking these treats is filled with satisfaction. The aroma that fills your kitchen alone is worth the effort! So, gather your ingredients, follow these guides, and get ready to enjoy the delicious and diverse world of Mexican sweet bread right from your own oven. Happy baking!
Frequently Asked Questions
What exactly is pan dulce and what makes it special?
Pan dulce is a broad term for Mexican sweet bread. What makes it special is the variety of flavors and shapes and its role in Mexican culture, often enjoyed with coffee or hot chocolate.
Are pan dulce recipes difficult to make at home?
Not necessarily! BakeWithEase offers easy Mexican pan dulce recipes designed for bakers of all skill levels, with step-by-step guides. We focus on simplified ingredients and techniques.
Where can I find the ingredients for pan dulce recipes?
Most ingredients are easily found in local grocery stores. Some recipes might call for specialty ingredients, but we always provide substitutions or alternative sources.
Can I adapt pan dulce recipes to be gluten-free or vegan?
Adapting can be tricky, but possible! We are working on developing gluten-free and vegan pan dulce recipes. In the meantime, search online for reliable resources that provide specific substitutions.
What are some popular types of pan dulce that I can try baking?
Some popular options include conchas (shell-shaped sweet bread), orejas (elephant ears), and empanadas (filled pastries). Our website features easy recipes for these popular pan dulce and many more!
Final Reflection: The Enduring Sweetness of Mexican Pan Dulce
The vibrant world of Mexican pan dulce continues to flourish, a testament to its enduring appeal and the rich cultural heritage it represents. These aren't just baked goods; they're stories, traditions, and tastes passed down through generations, offering a comforting connection to family and a joyful celebration of life's simple pleasures. The ease of many recipes, as explored in this article, makes this delicious tradition accessible to everyone, regardless of baking experience.
The impact of pan dulce extends far beyond the simple act of baking and eating. It's a symbol of community, often found at family gatherings, celebrations, and even everyday moments. It's a tangible link to a rich history, a reminder of the artistry and passion poured into each meticulously crafted piece. Pan dulce is more than just bread; it's a piece of our soul.
This sentiment, though not directly quoted from a specific source, encapsulates the deep emotional connection many feel towards this beloved treat. The recipes shared here are not just instructions; they are invitations to participate in this vibrant cultural legacy.
Now, I invite you to explore the world of pan dulce for yourself. Don't be intimidated by the seemingly complex designs; many recipes, as highlighted in this article, are surprisingly simple to execute. Find a recipe that speaks to you, gather your ingredients, and embark on a journey of culinary discovery. Share your creations with loved ones, and experience the joy of sharing a piece of Mexican culture, one delicious bite at a time. The sweetness you create will be far more than just a treat; it will be a connection to something beautiful and enduring.
Unleash Your Inner Panadero: Bake Your Own Sweet Treats!
Thanks for joining us on this delicious journey through the world of Mexican pan dulce! We hope you've discovered some new favorite pastries and gained inspiration for your own baking adventures. Now it's time to put your newfound knowledge to the test!
- Try baking one of the recipes mentioned in the article: Start with your favorite, or choose one that seems the most challenging – mastering a new technique is incredibly rewarding!
- Share your baking journey on social media using #BakeWithEasePanDulce: Let's inspire each other with our creations! Show us your photos and tag us – we'd love to see your sweet successes.
- Explore more Mexican baking traditions on our blog: Dive deeper into the history, ingredients, and techniques behind this vibrant cuisine.
What unique pan dulce creation will you bake next? Let us know in the comments below!