
Humidity Hijacking Your Bake? Tips for Humid Days

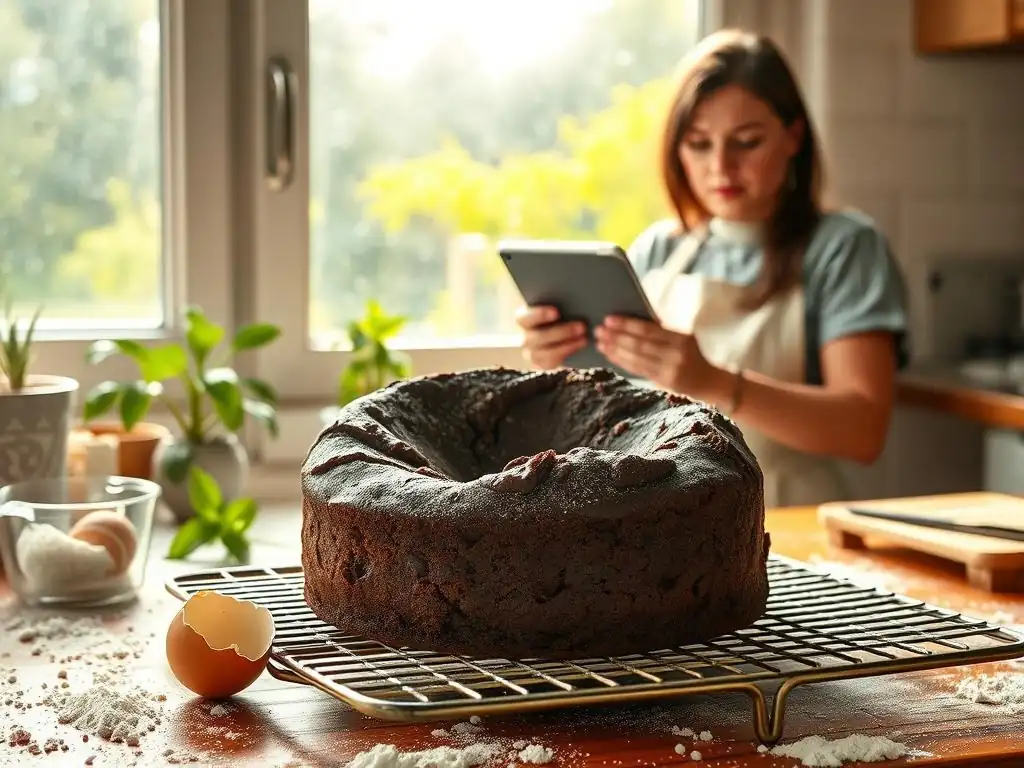
Welcome to BakeWithEase, your haven for all things baking! Are you finding that humidity is hijacking your bake? You're not alone! Discover our essential humidity baking tips to conquer even the stickiest of days. Read on to uncover the secrets to achieving perfectly risen breads and delectable desserts, no matter the weather. What small adjustments can make a huge difference in your next loaf?
- Baking Bread in Humid Climates: A Comprehensive Guide
- Understanding Humidity's Impact on Bread
- Practical Tips for Baking in Humid Conditions
- Troubleshooting Common Issues in Humid Climates
- Essential Tools for Humid Baking
- Recipes for Humid Climates
- Conclusion: Mastering Bread Baking in Any Climate
- Frequently Asked Questions
- Final Reflection: Mastering the Humidity Hustle in Your Kitchen
- Conquer the Humidity: Bake Perfect Every Time!
Baking Bread in Humid Climates: A Comprehensive Guide
Baking bread is a rewarding process, but sometimes external factors, like high humidity, can throw a wrench in your plans. Understanding how moisture in the air affects your dough is the first step to mastering bread baking, no matter the weather. Don't let sticky dough or flat loaves discourage you; these humidity baking tips make it easy to adapt.
Understanding Humidity's Impact on Bread
High humidity means there's more moisture in the air around you. This excess moisture readily interacts with your ingredients and dough throughout the baking process, from mixing to cooling. Recognizing these effects is crucial for successful bread baking in humid conditions.
How Humidity Affects Dough Hydration
Dough hydration refers to the ratio of water to flour in your recipe. On humid days, flour naturally absorbs moisture from the air even before you add any liquid. This pre-absorption means that the amount of water specified in a standard recipe might result in a significantly wetter dough than intended.
For example, flour stored in a high-humidity environment (say, 70-80% relative humidity) can absorb several percentage points more moisture than flour stored in a dry climate (20-30% relative humidity). If a recipe calls for 65% hydration using flour at 12% moisture, and your flour is already at 15% moisture due to humidity, the effective hydration of your dough will be higher, leading to a stickier, potentially harder-to-handle dough. This is a key area where humidity baking tips become essential.
Humidity's Influence on Gluten Strength
Gluten, the protein network formed when flour and water are mixed and kneaded, provides structure to your bread. While water is necessary for gluten development, too much effective hydration caused by high humidity can weaken the gluten structure.
When the dough is excessively wet, the gluten strands are more dispersed and less able to form a tight, resilient network. This can result in dough that feels slack, doesn't hold its shape well during proofing, and may struggle to achieve good oven spring. Think of trying to build a strong structure with very wet cement versus properly mixed cement; the wetter mix is harder to control and less stable.
The Impact of Humidity on Yeast Fermentation
Yeast activity is sensitive to temperature and moisture. High humidity often correlates with warmer temperatures, which can accelerate yeast fermentation. While faster fermentation might sound good, it can sometimes lead to dough that proofs too quickly, potentially overproofing before it even hits the oven.
Overproofed dough exhausts its available sugars and gas-producing power prematurely. In a humid environment, the surface of the dough may also remain wetter, which can affect crust development. Managing proofing time and temperature becomes critical to prevent your loaf from collapsing or having a dense crumb, highlighting the importance of practical humidity baking tips.
Practical Tips for Baking in Humid Conditions

Adjusting your approach based on the weather is key to consistent bread baking. Implementing these easy humidity baking tips can significantly improve your results.
Flour Adjustments: Adapting to High Moisture
The type and handling of your flour are primary factors influenced by humidity. Making smart choices here sets the foundation for a successful bake.
Using Bread Flour for Increased Gluten
Bread flour typically has a higher protein content (around 12-14%) compared to all-purpose flour (around 10-12%). This higher protein level allows for the development of a stronger gluten network, which is more resilient and better able to handle the extra moisture absorbed from a humid environment.
Switching to bread flour, or even incorporating a portion of it into your recipe if you normally use all-purpose, can provide the structural support needed to counteract the weakening effects of high humidity on gluten. This simple swap is one of the most effective humidity baking tips easy to implement.
Accurate Weighing for Consistent Results
Using a digital kitchen scale to weigh your ingredients, especially flour and water, is always recommended, but it becomes absolutely critical in humid conditions. Volumetric measurements (cups) can vary significantly based on how densely the flour is packed and how much moisture it has absorbed from the air.
Weighing ensures you use the precise amount of flour intended by the recipe developer, regardless of its humidity content or how it sits in the measuring cup. This gives you a more reliable starting point when adjusting hydration. For example, a cup of flour can weigh anywhere from 120g to 150g depending on packing and humidity, while 100g is always 100g.
Water Control: Managing Dough Hydration
Since flour absorbs extra moisture from the air, you'll likely need to adjust the amount of liquid you add to your dough.
Reducing Water Content Strategically
Start by slightly reducing the amount of water called for in the recipe, perhaps by 2-5% of the total flour weight, or a tablespoon or two per cup of flour. Add the rest of the water gradually as you mix, assessing the dough's consistency.
The goal is to achieve the dough texture described in the recipe (e.g., "shaggy," "smooth and elastic") without it feeling excessively sticky. You can always add more water if the dough is too dry, but it's much harder to correct an overly wet dough without adding more flour, which can throw off the recipe's balance. This cautious approach is a fundamental part of easy humidity baking tips.
Considering Flour Moisture Levels
While you might not have a tool to measure the exact moisture content of your flour, understand that flour stored in a humid pantry will be different from flour stored in a dry one. If you notice your flour feels clumpy or heavy, it has likely absorbed significant moisture.
Factor this observation into your initial water reduction. If the humidity is very high and your flour feels damp, you might need to reduce the liquid by a slightly larger amount than on a moderately humid day. Pay attention to how the dough feels during mixing – is it coming together too quickly? Does it feel stickier than usual? These are clues that you need less added water.
Proofing Management: Optimizing Fermentation
Proofing is where your dough rises, thanks to yeast activity. Humidity affects both the rate of rise and the dough's surface.
Monitoring and Adjusting Proofing Time
Warm, humid conditions accelerate yeast activity. This means your dough will likely rise faster than it would in a cooler, drier environment. Instead of relying solely on the clock, pay close attention to the visual cues of the dough.
Look for the dough to double in size (for the first rise) or increase by 50-75% (for the second rise, depending on the recipe). The "poke test" is also useful: gently press a finger into the dough; if the indentation slowly springs back halfway, it's often perfectly proofed. If it springs back immediately, it needs more time. If it stays indented, it might be overproofed. Be prepared to reduce proofing times by 20-40% on very humid days.
Maintaining Optimal Dough Temperature
While ambient temperature is often warmer in humid conditions, try to maintain a consistent, ideal dough temperature if possible. Yeast thrives around 75-80°F (24-27°C). If your kitchen is significantly warmer due to humidity, consider placing the dough in a slightly cooler spot, like a cooler pantry or even briefly in the refrigerator if it's rising too fast.
Conversely, if the humidity is high but the temperature is moderate, the surface of the dough might dry out slightly less, which is often a good thing. However, controlling the internal dough temperature is key to controlling fermentation speed. Using a probe thermometer to check dough temperature is a great way to stay on track.
Oven Adjustments for Humid Weather
Even in the oven, humidity can play a role, affecting how the crust forms.
Adjusting Baking Temperature for Even Cooking
Sometimes, in very humid environments, the dough might retain a bit more moisture internally. While not always necessary, some bakers find slightly increasing the initial baking temperature by 10-15°F (around 5-8°C) for the first 10-15 minutes can help the loaf achieve better oven spring and set the structure before reducing the temperature to finish baking.
Monitor your loaf's color carefully, as a higher initial temperature can accelerate browning. The goal is to ensure the internal temperature reaches the target (typically 200-210°F or 93-99°C for lean bread) while achieving a good crust.
Ensuring Proper Crust Formation
High humidity can make it harder to achieve a crisp crust because the surface of the dough retains more moisture. Using steam in the oven (like baking in a Dutch oven or using a steam pan) is crucial for good oven spring regardless of humidity, but it's even more important on humid days.
After the initial steam period (usually the first 15-20 minutes), you might need to remove the steam source (like taking the lid off the Dutch oven) earlier than usual or bake for a few extra minutes at the end to allow the crust to dry out and crisp up properly. Some bakers open the oven door slightly during the last 5-10 minutes to vent moisture.
Troubleshooting Common Issues in Humid Climates
Even with adjustments, you might encounter specific problems. Here are some easy humidity baking tips for fixing them.
Tackling Sticky Dough
Excessively sticky dough is perhaps the most common symptom of baking in high humidity. It's difficult to handle, shape, and can lead to misshapen loaves.
If your dough is too sticky during mixing or kneading, resist the urge to add large amounts of flour immediately. Try wetting your hands or your bench scraper instead of flouring them. If you must add flour, add just a tablespoon at a time, incorporating it fully before adding more, and stop as soon as the dough becomes manageable.
For high-hydration doughs, techniques like stretch and folds or coil folds performed in the bowl with wet hands are often easier than kneading on a floured surface. Allowing the dough to rest briefly (5-10 minutes) can also sometimes make it less sticky as the flour continues to absorb the liquid.
Preventing Flat Bread and Collapse
Flat loaves or dough that collapses during or after proofing are often signs of weakened gluten or overproofing, both exacerbated by humidity.
Ensure your dough has developed sufficient gluten strength during mixing/kneading. It should pass the windowpane test, where a small piece can be stretched thin enough to see light through it without tearing. Pay close attention to proofing cues; if the dough looks significantly larger and very jiggly, it might be overproofed. Baking slightly underproofed dough is often better than baking overproofed dough in humid conditions. Ensuring proper oven temperature and steam during the initial bake also helps provide the necessary spring before the structure sets.
Addressing Dense Crumb Texture
A dense crumb can result from under-proofed dough (not enough gas produced) or over-proofed dough (gas produced but structure collapsed). Humidity can contribute to both scenarios by affecting fermentation speed and gluten strength.
If the crumb is dense and tight with small, uniform holes, it might be slightly under-proofed. If it's dense, gummy, and possibly has large, irregular holes or tunnels, it's likely over-proofed or the gluten structure wasn't strong enough to support the rise. Review your mixing process to ensure good gluten development and meticulously monitor proofing using visual cues and the poke test, adjusting time based on temperature and humidity.
Essential Tools for Humid Baking
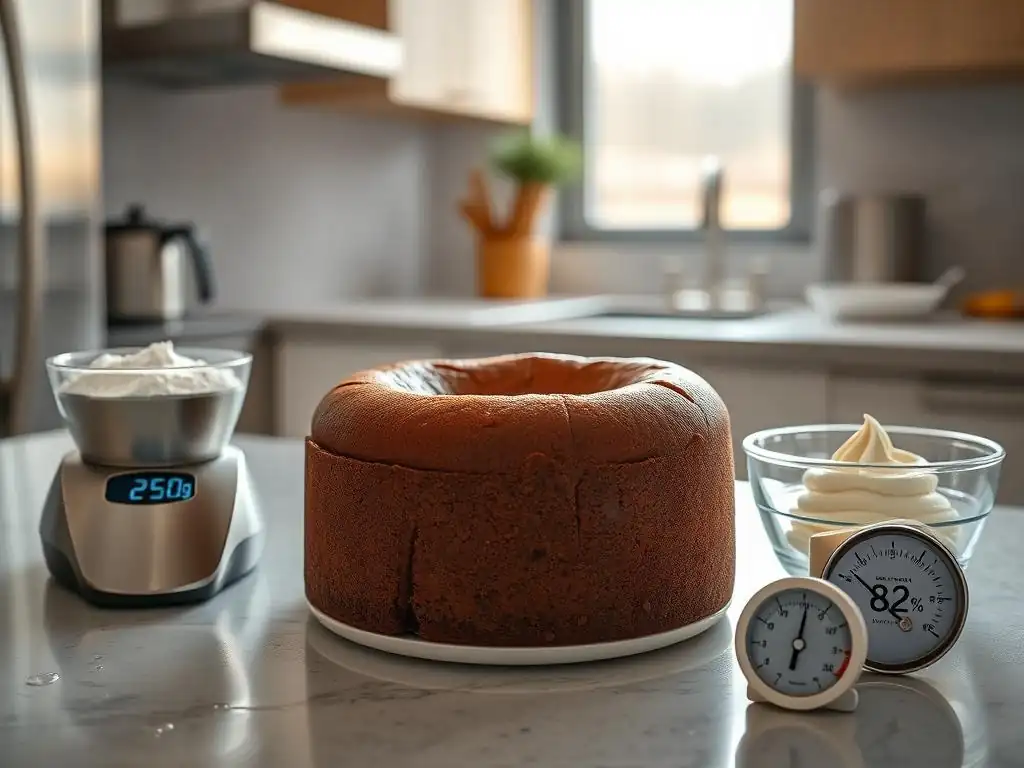
Having the right tools can make managing humidity much easier. These items provide objective data to guide your adjustments.
Humidity Monitoring: Hygrometers for Accurate Readings
A simple hygrometer (often combined with a thermometer) can tell you the relative humidity in your kitchen. Knowing the exact percentage helps you anticipate how much adjustment might be needed for your recipe.
Placing a hygrometer near where you store your flour and where you typically mix and proof dough gives you valuable context. For example, if the humidity is consistently above 60%, you know you'll need to be more vigilant about reducing water and monitoring proofing speed. This objective measurement takes the guesswork out of assessing the environment, making these humidity baking tips easy to apply.
Accurate Thermometers: Dough and Oven Temperature Control
Controlling temperature is vital for yeast activity. A digital probe thermometer is essential for checking the internal temperature of your dough during bulk fermentation and proofing. This allows you to ensure it's rising at the desired rate, regardless of ambient conditions.
An oven thermometer is also crucial. Ovens are notoriously inaccurate, and variations in temperature can affect baking time and crust development, issues that can be compounded by humidity. Knowing the true temperature of your oven ensures your baking times and temperatures are correct, helping you achieve consistent results.
Airtight Storage: Protecting Ingredients from Moisture
Proper storage of your flour and other dry ingredients is your first line of defense against humidity. Flour, sugar, and yeast can all absorb moisture from the air, affecting their performance.
Store flour and other dry ingredients in airtight containers, such as those with rubber seals or screw-on lids. For yeast, storing it in an airtight container in the refrigerator or freezer is best practice anyway, but it also protects it from humidity fluctuations. Keeping ingredients dry ensures they perform as expected when you measure them out, providing a more stable starting point for your recipe.
Recipes for Humid Climates
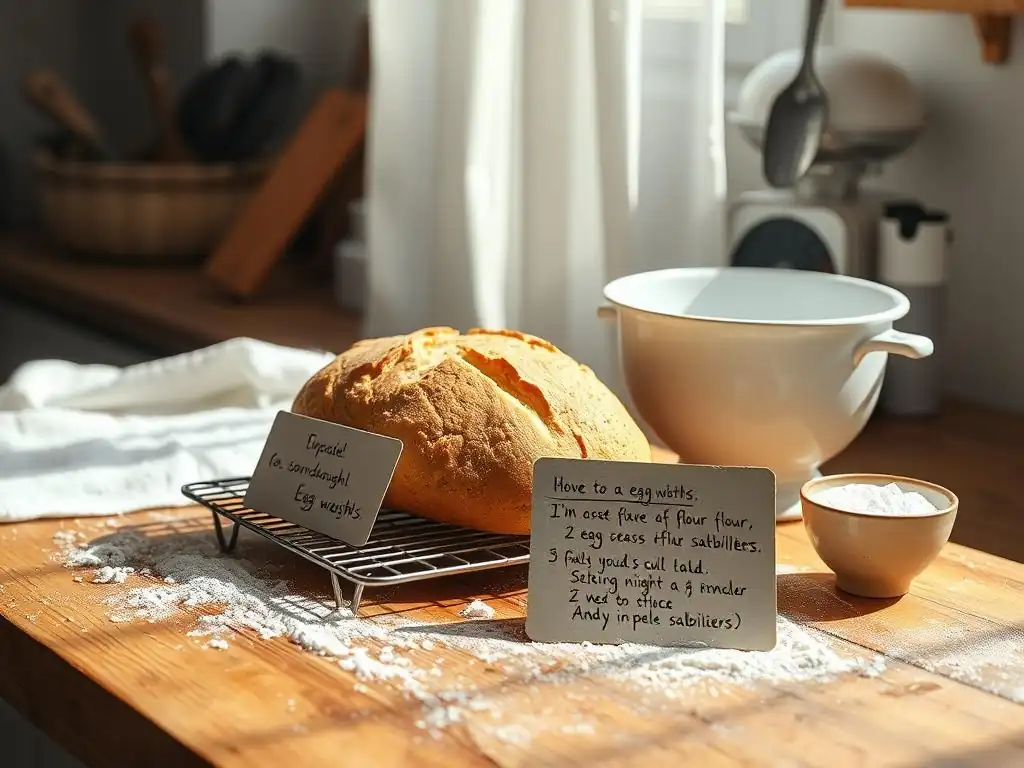
Some bread types are more forgiving or even thrive in humid conditions.
Sourdough Boule: A Sturdy Loaf for Humid Days
Sourdough bread, with its typically lower yeast content and longer fermentation times, can sometimes be more resilient to humidity fluctuations than commercial yeast loaves. The strong, developed gluten structure often associated with sourdough handling techniques (like stretch and folds) helps the dough maintain its shape even with potentially higher hydration levels.
While you'll still need to apply the humidity baking tips (adjusting hydration, monitoring proofing), the robust nature of a well-developed sourdough starter and dough provides a bit more buffer against environmental challenges. Focusing on proper starter maintenance and dough strength is key.
Irish Soda Bread: A Quick Bread That Thrives in Humidity
Irish Soda Bread is a quick bread leavened with baking soda and buttermilk, not yeast. It requires no kneading or proofing, making it remarkably unaffected by ambient temperature and humidity.
The chemical leavening acts rapidly once mixed, and the loaf goes straight into the oven. This bypasses the entire fermentation and proofing stages where humidity has its most significant impact on yeast breads. If you're frustrated by yeast bread issues on a muggy day, whipping up a batch of Irish Soda Bread is an easy and reliable alternative.
Conclusion: Mastering Bread Baking in Any Climate
Baking bread in humid conditions presents unique challenges, but they are far from insurmountable. By understanding how excess moisture affects your ingredients and dough, making strategic adjustments to your recipe's hydration, carefully monitoring fermentation, and adjusting your baking process, you can achieve excellent results regardless of the weather outside. These humidity baking tips provide easy-to-follow guidance. With practice and attention to detail, you'll gain the confidence to bake beautiful, delicious bread year-round, proving that you can master bread baking in any climate.
Frequently Asked Questions
How does humidity affect baking?
High humidity can introduce excess moisture into your ingredients, leading to sticky doughs and soggy finished products. It can also affect the rising process.
What are some easy tips to adjust recipes for humid days?
Reduce the amount of liquid in your recipe by a small amount, such as a tablespoon or two. Consider adding a bit of extra flour to counteract the moisture.
Can humidity impact the proofing process of bread?
Yes, humidity can significantly accelerate the proofing process. Keep a close eye on your dough and reduce proofing time to prevent over-proofing and a flat loaf.
What ingredients are most affected by humidity?
Ingredients like flour and sugar are particularly prone to absorbing moisture from the air. Store them in airtight containers to prevent clumping and maintain their integrity.
Are there any general baking tips that can help regardless of the recipe?
Ensure your oven is properly preheated and avoid opening the door frequently to maintain a consistent temperature. Also, let baked goods cool completely before storing to prevent condensation.
Final Reflection: Mastering the Humidity Hustle in Your Kitchen
The battle against humidity in baking is far from over, but understanding its impact is the first step towards victory. This seemingly simple element—humidity—can dramatically alter the texture and outcome of even the most carefully planned recipes. From flat cookies to gummy cakes, the effects of excess moisture are undeniable, and ignoring them is a recipe for baking disaster.
The subtle dance between flour, sugar, and water is profoundly affected by the ambient humidity. It's a constant negotiation, a delicate balance easily upset by unseen forces. Baking is a science, but it's also an art. Understanding the science allows you to master the art.
This quote perfectly encapsulates the journey of a baker grappling with humidity. The more we understand the scientific principles at play, the more creatively we can adapt and overcome the challenges presented by fluctuating atmospheric conditions. This understanding allows for a deeper appreciation of the craft and the satisfaction of a perfectly executed bake, even on the most humid of days.
So, the next time you find yourself facing a humid day and a baking project, remember the lessons learned here. Don't let the humidity hijack your bake! Take control by adjusting your techniques, understanding your ingredients, and embracing the challenge. Experiment with the tips provided, adapt them to your own style, and most importantly, enjoy the process of learning and perfecting your baking skills. The reward – a delicious, perfectly textured treat – is well worth the effort.
Conquer the Humidity: Bake Perfect Every Time!
Thanks for joining us on this baking adventure! We hope you gained valuable insights into tackling those tricky humid days. Now, it's time to put your new knowledge into action!
- Master the humid bake: Try one of the recipes we mentioned today, paying close attention to the humidity-specific tips. See how much of a difference it makes!
- Share your experiences: Let our community know how your baked goods turned out by posting your successes (or even your learning moments!) in the comments. We love to see your creations.
- Explore our archive: Dive deeper into our humidity-busting baking tips and recipes – we have a trove of information to help perfect your skills.
Ready to create your best bake yet, no matter the weather? What's your favorite baking technique to conquer humidity?