
Mastering the Lamination Technique for French Pastries (Easy)

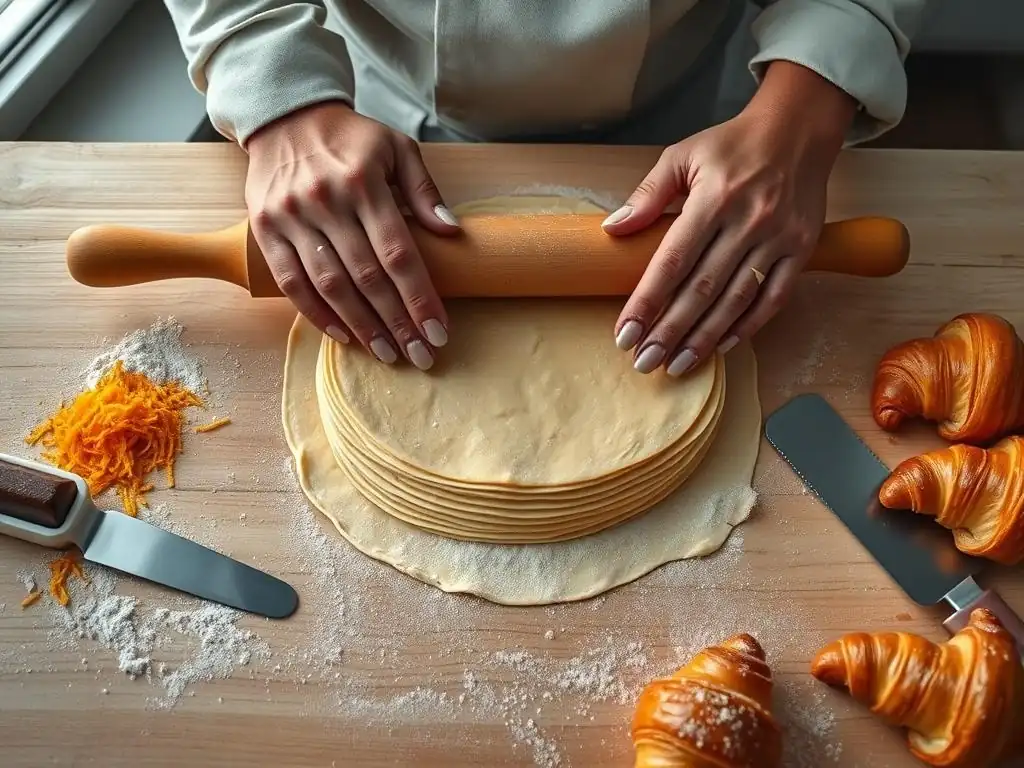
Welcome to BakeWithEase, your passport to the delightful world of baking! Ever dreamt of creating those flaky, buttery French pastries you see in patisseries? Now you can. In this article, we demystify the art of lamination with our guide to easy laminated pastry dough. Prepare to unlock the secrets to creating stunning croissants, pain au chocolat, and more, right in your own kitchen. Ready to embark on a delicious adventure? Let's get baking!
- Mastering Lamination for Croissants and Pain au Chocolat
- Introduction to Laminated Dough: Achieving Flaky Layers at Home
- Understanding the Key Components of Laminated Dough
- Step-by-Step Guide to Making Laminated Dough
- Tips and Tricks for Laminated Dough Success
- Using Your Laminated Dough: Recipe Ideas
- Storing Laminated Dough for Future Baking
- Conclusion: Elevate Your Baking with Homemade Laminated Dough
-
Frequently Asked Questions
- What exactly is laminated pastry dough, and why is it considered "easy" on BakeWithEase?
- What makes the lamination technique "easy" compared to traditional methods?
- What kinds of pastries can I make with this easy laminated pastry dough?
- What are some common mistakes to avoid when making laminated dough?
- How long does it take to make easy laminated pastry dough from start to finish?
- Final Reflection: The Sweet Symphony of Effortless Lamination
- Unleash Your Inner Pâtissier: Master Lamination Today!
Mastering Lamination for Croissants and Pain au Chocolat
Introduction to Laminated Dough: Achieving Flaky Layers at Home
What is Lamination and Why It's Essential for Croissants and Other Viennoiseries?
Lamination is a classic baking technique where a block of cold butter is enclosed in dough and repeatedly folded and rolled out. This process creates alternating layers of dough and butter. When baked, the water in the butter turns to steam, puffing up the dough layers and separating them, resulting in the incredibly light, airy, and flaky texture characteristic of pastries like croissants, pain au chocolat, and puff pastry. It's the secret behind those delicate layers that shatter when you bite into a perfectly baked pastry.
For viennoiseries specifically, such as croissants and pain au chocolat, lamination is absolutely fundamental. Without this careful layering of dough and butter, you wouldn't achieve the signature honeycomb interior structure or the crispy, golden-brown exterior. Mastering this technique is key to elevating your home baking from simple breads to exquisite French pastries, making even what seems complex, like an easy laminated pastry dough, achievable in your own kitchen.
A Simplified Approach to Laminated Dough for Home Bakers
While the traditional lamination process can seem intimidating, involving precise temperature control and numerous folds, adapting the method makes creating an easy laminated pastry dough at home entirely possible. The core principle remains the same – layering dough and butter – but we can simplify the process with fewer, carefully executed folds and by focusing on proper chilling times. This approach breaks down the technique into manageable steps, reducing complexity without sacrificing the essential flakiness.
This simplified method often involves fewer turns than professional techniques, perhaps three single folds instead of four or more, and focuses on clear visual cues and temperature management rather than specialized equipment. By following a clear, step-by-step guide and understanding the why behind each stage, home bakers can confidently produce a beautiful, easy laminated pastry dough ready to be transformed into delicious French treats. This guide aims to demystify the process, making flaky pastry accessible to everyone.
Understanding the Key Components of Laminated Dough
Flour: Choosing Bread Flour for Strength and Structure
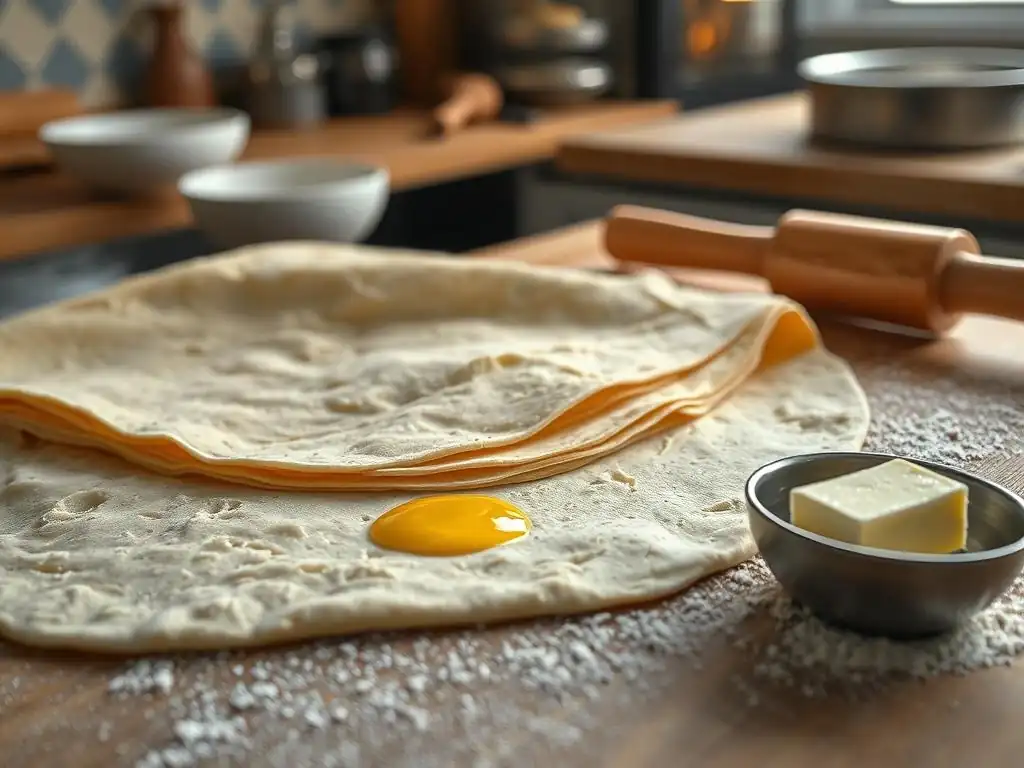
The choice of flour is critical when making laminated dough. Bread flour, with its higher protein content compared to all-purpose flour, is typically recommended. This higher protein level, usually around 12-14%, allows for the development of a strong gluten network during kneading. This strength is essential for the dough to withstand the repeated rolling and folding required during lamination without tearing, ensuring the butter layers remain intact and separate.
Using bread flour helps create a dough that is elastic enough to be stretched thinly without breaking, yet has enough structure to hold its shape and support the many delicate layers formed during the lamination process. While some recipes might suggest a blend or even all-purpose flour for a slightly more tender result, bread flour provides the necessary foundation for a resilient, workable dough that is forgiving for those learning how to make an easy laminated pastry dough.
Butter: Selecting European-Style Butter with High Fat Content
Butter is arguably the most important component in laminated dough, contributing both flavor and flakiness. European-style butter is highly preferred because it generally has a higher butterfat content, often around 82-84%, compared to typical American butter, which is usually around 80%. This higher fat percentage means less water, which results in clearer separation between dough layers as the steam creates lift during baking.
Crucially, the butter needs to be cold but pliable, not rock hard or too soft. High-fat butter tends to be more pliable at colder temperatures, making it easier to work with during the rolling and folding process. It needs to be able to flatten and spread evenly alongside the dough without melting or breaking into pieces. Using quality, high-fat butter is key to achieving distinct, buttery layers in your easy laminated pastry dough.
Water and Salt: Hydration and Gluten Development
Water plays a dual role in laminated dough: it hydrates the flour, allowing gluten to develop, and it's the source of steam that creates the lift and flakiness during baking. The amount of water used affects the dough's consistency; it should be firm enough to handle the butter but hydrated enough to be pliable. Typically, the hydration level for laminated dough is lower than for standard bread dough, often in the range of 50-60% of the flour weight.
Salt is essential for flavor, balancing the richness of the butter and the sweetness often added to the final pastries. Beyond taste, salt also plays a role in controlling yeast activity (if using a yeasted dough) and strengthening the gluten structure by tightening the protein network. Proper hydration and the inclusion of salt contribute to a well-developed, elastic dough that is crucial for successfully creating an easy laminated pastry dough.
Step-by-Step Guide to Making Laminated Dough
Step 1: Preparing the Détrempe (Base Dough)
Mixing Flour, Water, and Salt for Optimal Hydration
Begin by combining your chosen flour (bread flour is recommended), cold water, and salt in a mixing bowl. If using yeast, it's typically dissolved in the water first or mixed directly with the dry ingredients, depending on the recipe. Mix these ingredients until they just come together into a shaggy mass. Avoid overmixing at this stage; the goal is simply to hydrate the flour and start the gluten development process. The mixture should feel relatively firm, not sticky, which is ideal for an easy laminated pastry dough.
Kneading the Détrempe: Achieving a Smooth, Slightly Firm Dough
Turn the shaggy dough out onto a clean surface. Knead the dough for about 5-10 minutes, either by hand or using a stand mixer with a dough hook. The goal is to develop enough gluten so the dough becomes smooth and elastic, but not overly developed like bread dough. It should be slightly firm and pass the windowpane test (stretch a small piece thinly; you should be able to see light through it without it tearing easily). Proper kneading ensures the dough can be rolled thinly later without resistance or tearing.
Resting the Détrempe: 2 Hours Refrigeration
Once kneaded, shape the dough into a rough rectangle, wrap it tightly in plastic wrap, and place it in the refrigerator. A minimum rest of 2 hours is crucial, though overnight is often better. This cold rest allows the gluten to relax, making the dough much easier to roll out evenly later. It also chills the dough to a temperature similar to the butter, which is vital for successful lamination. This resting period is a passive but essential step in creating an easy laminated pastry dough.
Step 2: Preparing the Butter Block (Beurrage)
Shaping the Butter: Creating a 6x8 Inch Rectangular Block
Take your cold, high-fat butter. It needs to be pliable but still cold. You can achieve this by leaving it at cool room temperature for a short time (10-15 minutes) or by gently pounding it with a rolling pin while it's wrapped. The goal is to make it flexible without melting it. Shape the butter into a flat, even rectangle, approximately 6x8 inches (15x20 cm), using a rolling pin and bench scraper or by folding it within parchment paper. An even thickness is key.
Chilling the Butter: Maintaining a Firm but Pliable Consistency
Once shaped, wrap the butter block and return it to the refrigerator for at least 30 minutes. The butter needs to be firm enough to handle and roll without melting through the dough, but still pliable enough to bend without cracking. It should have a similar consistency to the chilled détrempe. If the butter is too hard, it will break the dough; if too soft, it will melt into the dough layers. Getting the butter's temperature and consistency right is fundamental for a successful and easy laminated pastry dough.
Step 3: The Lamination Process: Folding and Turning for Flaky Layers
Enclosing the Butter: The First Single Fold
Take your chilled détrempe and roll it out on a lightly floured surface into a rectangle roughly twice the size of your butter block (e.g., 12x8 inches or 30x20 cm). The center portion should be a bit thicker than the edges. Place the chilled butter block in the center of the dough rectangle. Fold one side of the dough over the butter, then fold the other side over to meet the first, like closing a book or a letter.
Pinch the seams to completely enclose the butter. Ensure the butter is fully sealed within the dough; any leaks will cause issues later. This is your first step in creating the layers of your easy laminated pastry dough.
The Importance of Chilling Between Folds: 30 Minutes Minimum
After each fold (or "turn"), it is absolutely critical to chill the dough again. Wrap the folded dough tightly in plastic wrap and place it back in the refrigerator for at least 30 minutes, preferably longer (up to an hour). This chilling period allows the gluten in the dough to relax after the stress of rolling and folding, preventing it from springing back excessively when you try to roll it again.
More importantly, it re-chills the butter, ensuring it remains firm and distinct from the dough layers. Skipping this step will lead to melted butter, torn dough, and poor lamination.
Executing the Turns: Creating Hundreds of Delicate Layers
A "turn" consists of rolling the dough out again and folding it. After the first fold enclosing the butter, you will roll the dough out into a long rectangle (e.g., 8x24 inches or 20x60 cm). Then, perform the chosen fold. A "single fold" involves folding one end to the center, then folding the other end over the first, creating three layers of dough/butter.
A "book fold" involves folding both ends to the center seam, then folding the dough in half, creating four layers. With each turn, the number of dough and butter layers multiplies. This is where the magic of creating an easy laminated pastry dough happens.
Number of Folds and Turns: 3 Single Folds
For a classic croissant or pain au chocolat dough using a simplified home method, three single folds are typically sufficient.
- Turn 1: Enclose the butter, then roll and perform the first single fold. Chill.
- Turn 2: Roll out the dough (rotated 90 degrees from the previous turn to ensure even layers) and perform the second single fold. Chill.
- Turn 3: Roll out the dough (rotated again) and perform the third single fold. Chill.
After three single folds, you will have theoretically created (3+1) x (3+1) x (3+1) - 1 = 63 layers of butter (between dough layers) if done perfectly. This is enough to produce a beautifully flaky result for your easy laminated pastry dough.
Step 4: Resting and Chilling the Laminated Dough
Why Resting is Crucial for Gluten Relaxation
After completing all the required folds, the dough is under significant tension from repeated rolling and folding. A final, extended rest in the refrigerator is essential for the gluten to fully relax. If you try to shape the dough immediately after the last turn, it will be very difficult to roll out thinly without it springing back or tearing. Resting allows the dough to become pliable and easy to work with for shaping, which is a key factor in making an easy laminated pastry dough.
Optimal Chilling Time: Overnight Refrigeration
The final rest should ideally be an overnight refrigeration period, or at least 6-8 hours. This long chill not only relaxes the gluten but also ensures the butter is thoroughly firm and cold. This firm butter is necessary for creating clean cuts when shaping the pastries and helps the layers remain distinct before baking. Proper final chilling is just as important as the folding process itself for achieving flaky, well-risen viennoiseries.
Tips and Tricks for Laminated Dough Success
Maintaining the Right Temperature: Keep Ingredients Cold
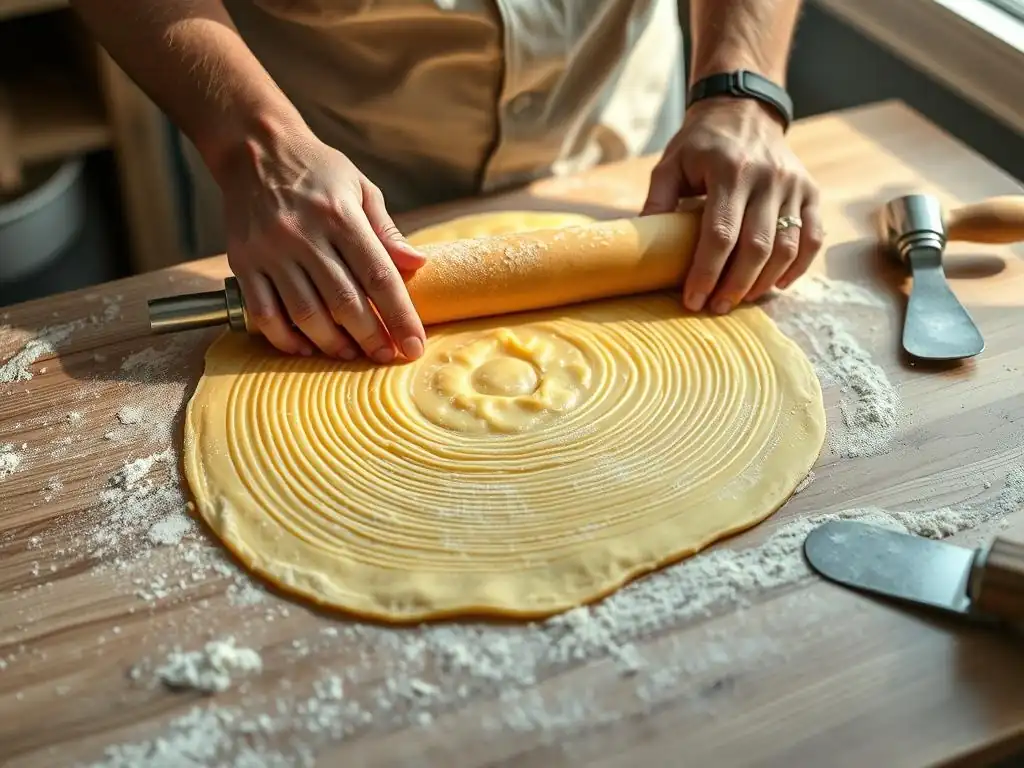
Temperature control is paramount when working with laminated dough. Both the dough and the butter must be kept cold throughout the process. The ideal temperature for the dough and butter during rolling and folding is typically between 40°F and 50°F (4°C and 10°C). If the dough or butter gets too warm, the butter will melt into the dough layers, preventing separation and resulting in a dense, bready texture instead of flakiness. Use a cool surface if possible, and don't hesitate to pop the dough back in the fridge for a few minutes if it starts to feel too soft.
Working Quickly and Efficiently: Minimize Butter Softening
While precision is important, speed is also your friend during the rolling and folding stages. The less time the dough and butter spend at room temperature, the less likely the butter is to soften and melt. Have your workspace prepared, your tools ready, and work with confidence. Roll evenly but efficiently, and get the dough back into the refrigerator as soon as each turn is completed. This quick workflow is vital for successfully handling an easy laminated pastry dough.
Troubleshooting Common Lamination Problems: Solutions for Torn Dough, Leaky Butter, and Uneven Layers
- Torn Dough: This often happens if the dough wasn't rested enough between turns, if it's too cold and brittle, or if you're rolling too aggressively. Ensure adequate chilling time for gluten relaxation. If a small tear occurs, you can sometimes patch it by pressing the dough together or using a tiny bit of flour, but significant tears can compromise the layers.
- Leaky Butter: This occurs when the butter gets too soft, often due to warm temperature or insufficient chilling. If butter is leaking during rolling, immediately stop, wrap the dough, and chill it thoroughly until the butter firms up again.
- Uneven Layers: This is usually a result of uneven rolling or inconsistent folding. Try to roll the dough to an even thickness across the entire rectangle before folding. Rotating the dough 90 degrees between turns also helps create more uniform layers throughout the pastry. Patience and practice are key to mastering an easy laminated pastry dough.
Using Your Laminated Dough: Recipe Ideas
Classic Croissants: Shaping and Baking
Once your easy laminated pastry dough is ready after its final chill, the most iconic use is for classic croissants. Roll the dough out to about 1/8 inch (3-4 mm) thickness. Cut triangles from the dough, make a small slit in the base of each triangle, and roll them up tightly from the base to the point.
They are then typically proofed in a warm, humid environment until significantly increased in size and jiggly, indicating the layers are ready to separate. Finally, they are baked at a relatively high temperature (around 400°F or 200°C) until golden brown and incredibly flaky.
Pain au Chocolat: Adding Chocolate Batons
Pain au chocolat is another beloved pastry made from easy laminated pastry dough. Instead of cutting triangles, the dough is typically cut into rectangles (around 3x4 inches or 8x10 cm). One or two chocolate batons (specifically designed for baking) are placed at one end of the rectangle, and the dough is rolled up to enclose the chocolate. Like croissants, they are proofed until puffy before being baked until golden and flaky. The melting chocolate inside provides a delightful contrast to the crisp pastry layers.
Kouign Amann: Caramelized Breton Cake
For something a little different, try Kouign Amann, a specialty from Brittany, France. This pastry uses laminated dough that is generously sprinkled with sugar between the layers during the final folds and shaping. The shaped dough (often a round or square folded onto itself) is then baked in a mold. As it bakes, the sugar caramelizes, creating a sticky, sweet, and utterly delicious crust on the outside, while the interior remains tender and layered. It's a beautiful example of how versatile an easy laminated pastry dough can be.
Fruit Tartlets: Versatile Pastry Base
Laminated dough isn't just for yeasted pastries like croissants. It can also be used as a base for elegant fruit tartlets, similar to puff pastry. Simply roll out the chilled dough, cut it into squares or rounds, and score a border about 1/2 inch from the edge (don't cut all the way through). The center can be filled with pastry cream, fruit, or jam before baking. As it bakes, the scored border will puff up, creating a natural case for the filling. This demonstrates the adaptability of easy laminated pastry dough for both sweet and savory applications.
Storing Laminated Dough for Future Baking
Proper Wrapping Techniques: Tightly Wrap in Plastic Wrap
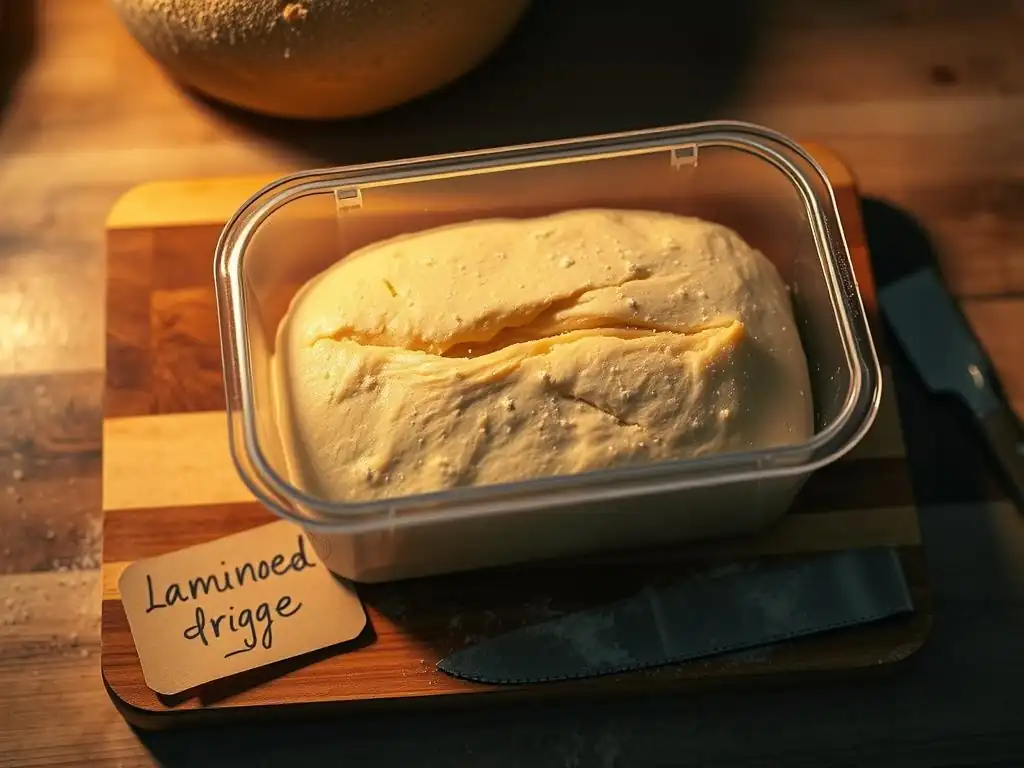
Proper storage is essential if you're not baking your easy laminated pastry dough immediately. After the final chill, wrap the dough very tightly in several layers of plastic wrap. Press out as much air as possible to prevent the dough from drying out or oxidizing, which can affect its texture and appearance. Ensure the wrap is sealed completely around the dough block or shaped pieces.
Thawing Laminated Dough: Thaw Overnight in the Refrigerator
If you've frozen your laminated dough, the best way to thaw it is slowly in the refrigerator. Transfer the wrapped dough from the freezer to the fridge and let it thaw overnight (typically 8-12 hours). This slow thawing process helps prevent condensation from forming excessively and maintains the integrity of the layers. Avoid thawing at room temperature, as this can cause the butter to melt prematurely and ruin the lamination.
Shelf Life of Laminated Dough: 3 Days Refrigerated, 2 Months Frozen
Correctly stored laminated dough has a decent shelf life. In the refrigerator, tightly wrapped dough is best used within 3 days after its final chill. Beyond this time, the quality can deteriorate, and if the dough contains yeast, it may over-ferment. For longer storage, laminated dough freezes exceptionally well. When properly wrapped, it can be stored in the freezer for up to 2 months. Remember to label the package with the date and the number of turns completed for easy reference.
Conclusion: Elevate Your Baking with Homemade Laminated Dough
Creating an easy laminated pastry dough at home might seem like a challenge, but by breaking it down into manageable steps and understanding the role of each ingredient and technique, it becomes a rewarding process. The effort invested in mastering lamination pays dividends in the form of incredibly light, flaky, and utterly delicious pastries that are far superior to anything store-bought. From classic croissants to versatile tart bases, the possibilities are vast once you have this fundamental dough technique in your repertoire.
Don't be discouraged by initial attempts; practice truly makes perfect when it comes to lamination. Embrace the process, manage your temperature, and soon you'll be enjoying warm, buttery pastries straight from your own oven, all thanks to your homemade easy laminated pastry dough.
Resources for Further Learning
If you're eager to deepen your understanding of lamination and other advanced baking techniques, numerous resources are available. Many reputable online baking schools and culinary websites offer detailed tutorials, videos, and explanations that go beyond the basics. Exploring these resources can provide visual guidance and further insights into the nuances of dough handling, temperature control, and achieving the perfect bake.
Further Exploration: Links to Recipes and Techniques
Once you've successfully made your easy laminated pastry dough, the next step is to use it! Look for recipes specifically designed for laminated dough, such as detailed guides for shaping and baking croissants or pain au chocolat. Explore techniques for different folds (single vs. book) and how they impact the final pastry structure. Don't stop at the classics; try adapting the dough for other pastries like danishes or turnovers to expand your baking horizons.
Frequently Asked Questions
What exactly is laminated pastry dough, and why is it considered "easy" on BakeWithEase?
Laminated dough is a pastry dough that consists of many thin layers of dough and butter. It's considered easy on BakeWithEase because we provide simplified techniques and clear instructions for achieving lamination at home.
What makes the lamination technique "easy" compared to traditional methods?
Our approach focuses on simplified folding techniques and chill times that are manageable for home bakers. We also prioritize using easy-to-find ingredients and equipment.
What kinds of pastries can I make with this easy laminated pastry dough?
You can use this dough to create a variety of French pastries like croissants, pain au chocolat, palmiers, and other delicious baked goods. The possibilities are vast!
What are some common mistakes to avoid when making laminated dough?
Avoid letting the butter melt or become too soft, and ensure you're chilling the dough sufficiently between folds. Also, be careful not to overwork the dough.
How long does it take to make easy laminated pastry dough from start to finish?
While the active time is relatively short, the process requires multiple chilling periods. Expect to spend a few hours over the course of a day, but the hands-on time is minimal.
Final Reflection: The Sweet Symphony of Effortless Lamination
Mastering the art of laminated dough isn't just about creating flaky, buttery pastries; it's about unlocking a world of culinary possibilities, right at your fingertips. This article aimed to demystify the process, proving that achieving professional-quality results with laminated dough is entirely achievable, even for beginner bakers. The ease of the techniques presented here empowers anyone with a passion for pastry to explore a wider range of delicious creations.
The impact of accessible baking techniques like this extends far beyond the individual kitchen. It fosters a sense of accomplishment and creativity, connecting us to a rich culinary heritage. The simple act of creating something beautiful and delicious from basic ingredients can be incredibly rewarding. As Julia Child wisely said, Find something you're passionate about and keep tremendously interested in it.
This applies perfectly to the joy of baking, and particularly to mastering a technique as seemingly complex as lamination. The satisfaction of biting into a perfectly layered croissant or pain au chocolat, knowing you made it yourself, is unparalleled.
Now, I invite you to roll up your sleeves, gather your ingredients, and embark on your own lamination journey. Don't be intimidated by the seemingly intricate process; embrace the challenge, and savor the sweet rewards. Remember the steps, practice the techniques, and most importantly, have fun! The flaky, buttery perfection you achieve will be a testament to your dedication and a delicious reward for your efforts. The world of easy laminated pastry awaits – go forth and create!
Unleash Your Inner Pâtissier: Master Lamination Today!
Thanks for taking the time to explore the art of lamination with us! We hope you now feel confident tackling this seemingly complex technique. Ready to put your new skills to the test?
- Bake your masterpiece! Try the recipe from the article and experience the incredible results of perfectly laminated dough. This is your chance to impress yourself and others with flaky, delicious pastries.
- Share your creation: Post a picture of your laminated pastry on social media and tag #BakeWithEaseLamination – let's see those beautiful layers!
- Explore further: Delve into our other pastry tutorials for more advanced techniques and recipes, and become a true baking master.
What unique twist will you add to your first perfectly laminated pastry? Let us know in the comments!