
Beginner's Guide to Baking Your First European Regional Bread

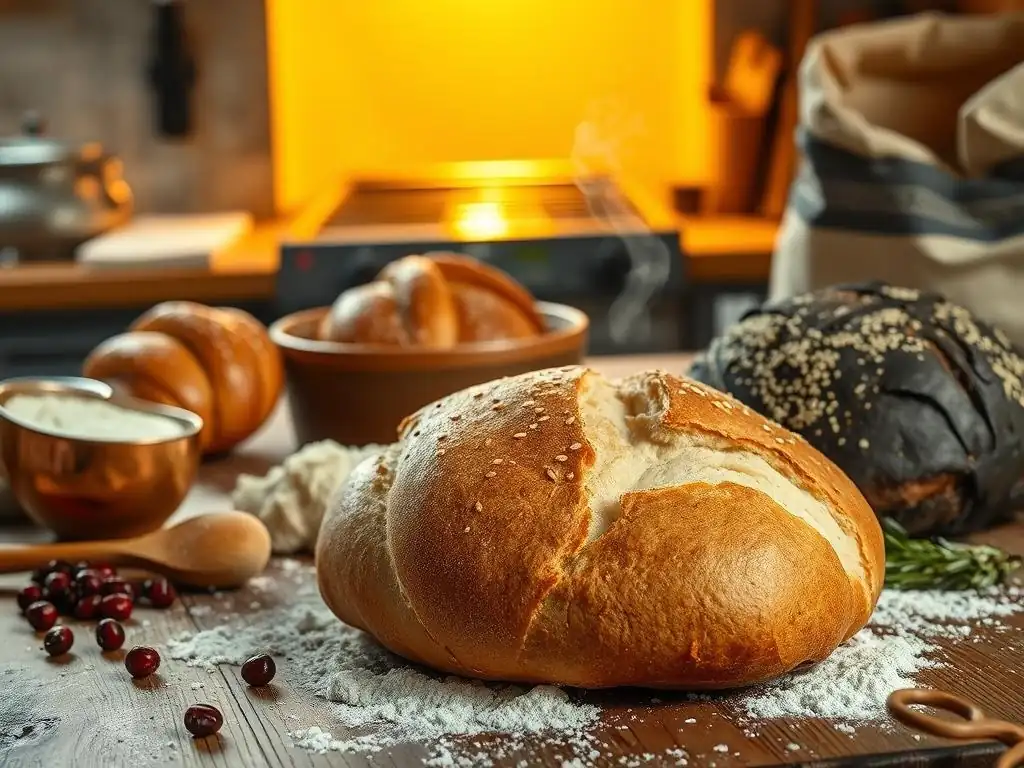
Welcome to BakeWithEase, your kitchen companion for demystifying the world of baking! Ever dreamed of filling your home with the aroma of freshly baked bread, but felt intimidated by complex recipes? You're in the right place. Get ready to embark on a delicious journey, starting with our guide to easy European bread recipes. Discover how simple it is to create authentic, flavorful loaves – and unlock a passion for baking you never knew you had. Ready to knead your way to success?
- Beginner's Guide to Baking Your First Sourdough Bread
- Introduction to Sourdough Bread Baking for Beginners
- Choosing Your First Sourdough Bread Recipe
- Essential Baking Tools and Ingredients for Sourdough Bread
- Step-by-Step Guide to Baking a Country Loaf
- Tips and Tricks for Baking Easy Sourdough Breads
- Exploring Other Sourdough Bread Recipes
- Storing and Enjoying Your Homemade Sourdough Bread
-
Frequently Asked Questions
- What exactly makes a bread recipe "European" in the context of BakeWithEase?
- I'm a complete beginner. Are the "Easy European bread recipes" on BakeWithEase truly beginner-friendly?
- What are some examples of "Easy European bread recipes" I can find on BakeWithEase?
- What if I don't have a specific ingredient listed in an "Easy European bread recipe"?
- How can BakeWithEase help me troubleshoot common baking problems I might encounter with European breads?
- Final Reflection: The Humble Loaf and the Global Table
- Unleash Your Inner Baker: Craft Your First European Loaf!
Beginner's Guide to Baking Your First Sourdough Bread
Introduction to Sourdough Bread Baking for Beginners
Discover the Joy of Baking Authentic Sourdough Bread at Home
Embarking on the journey of baking your first loaf of sourdough bread is a rewarding experience. It connects you to centuries of baking tradition, offering a depth of flavor and texture that's hard to achieve with commercial yeast alone. Sourdough, at its heart, is simply flour and water fermented by naturally occurring wild yeasts and bacteria.
This living culture, known as a starter, is the key to creating those delightful tangy notes and airy crumb that sourdough is famous for. Many classic Easy European bread recipes utilize this natural leavening process, making sourdough a fundamental skill for exploring regional baking styles.
Learning to bake sourdough might seem intimidating at first, with terms like 'autolyse,' 'bulk fermentation,' and 'proofing,' but it's entirely achievable for beginners. With patience and understanding of the process, you can transform simple ingredients into a truly spectacular loaf. This guide will walk you through the essential steps, from understanding your starter to achieving that perfect golden crust. Think of it as your first step into a world of delicious and easy European bread recipes, starting with the foundational technique of sourdough.
Why Bake Sourdough Bread? A Culinary Journey
Baking sourdough bread offers numerous benefits beyond just a delicious result. For many, it's a therapeutic and mindful activity, a chance to slow down and connect with the food they eat. The process, which unfolds over hours, sometimes even days, teaches patience and observation. Furthermore, sourdough bread can be easier to digest for some people compared to commercially yeasted bread, due to the long fermentation process breaking down starches and phytic acid.
From a culinary perspective, the complex flavor profile of sourdough is unmatched. The tanginess varies depending on your starter's unique microbial balance and the fermentation time, offering endless possibilities for experimentation. Mastering a basic sourdough recipe opens the door to countless variations and other easy European bread recipes, from rustic country loaves to enriched brioche or hearty rye breads. It's not just about baking a loaf; it's about cultivating a skill and a deeper appreciation for traditional baking methods.
Choosing Your First Sourdough Bread Recipe
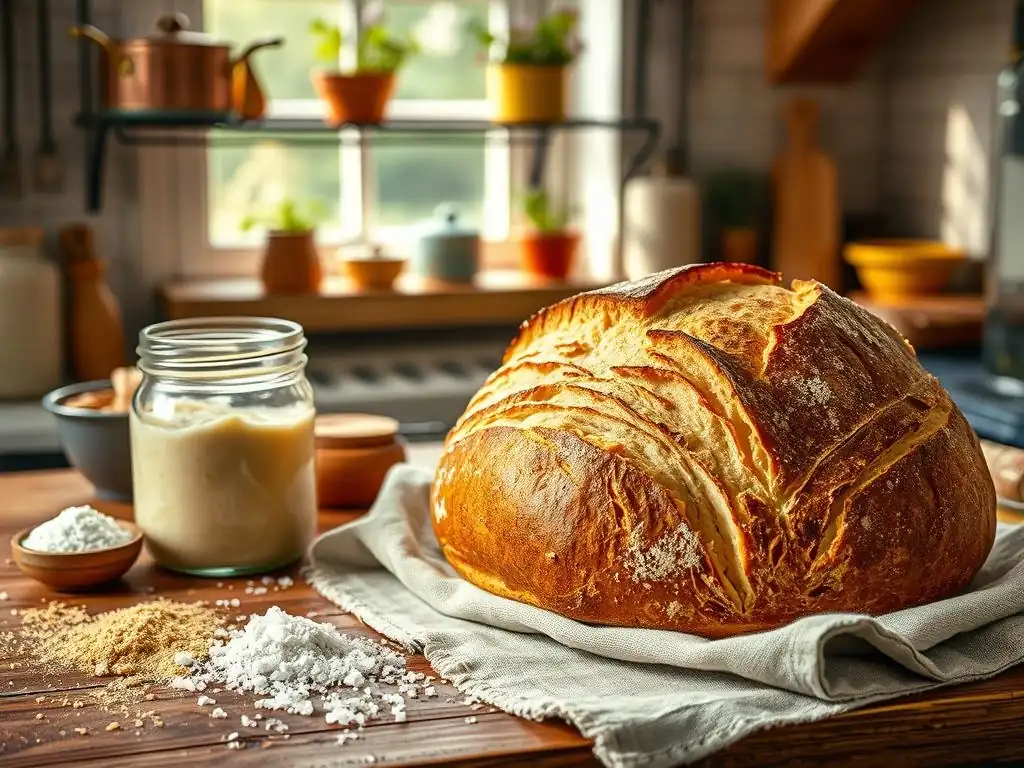
Simple Sourdough Recipes: A Beginner's Selection
Selecting your first sourdough recipe is crucial for a positive experience. Look for recipes specifically designed for beginners, often featuring straightforward steps and forgiving hydration levels. A classic country loaf or a simple boule are excellent starting points. These recipes typically use a mix of white and whole wheat flour, offering a good balance of structure and flavor. Avoid overly complex shapes or extremely high hydration doughs initially, as these can be more challenging to handle. Many easy European bread recipes are variations on these basic shapes and doughs, making them a perfect foundation.
A beginner-friendly recipe might involve fewer folds during bulk fermentation or a simpler shaping technique. It's also helpful to choose a recipe that clearly outlines the timeline, including feeding your starter, mixing the dough, bulk fermentation, shaping, proofing, and baking. Understanding the expected duration for each stage will help manage expectations and schedule your bake. Remember, consistency is key when starting out, so pick one recipe and stick with it for a few bakes to get a feel for the process before experimenting.
Factors to Consider: Hydration, Fermentation Time, and Scoring
When choosing a recipe, pay attention to hydration percentage – the ratio of water to flour by weight. Beginners often find doughs with 65-75% hydration easier to handle than those above 80%. Lower hydration doughs are less sticky and maintain their shape better during shaping and proofing.
Fermentation time is another critical factor. Sourdough fermentation is slower than commercial yeast and is heavily influenced by temperature. Beginner recipes often provide temperature guidelines (e.g., ferment at room temperature, around 72-78°F or 22-26°C) and visual cues for readiness (e.g., dough has doubled in size, passes the 'poke test'). Don't rush this stage; proper fermentation develops flavor and creates the gas needed for a good rise.
Scoring, cutting the top of the loaf before baking, isn't just for aesthetics; it controls where the bread expands. Simple scores, like a single slash or a cross, are easiest for beginners. More intricate patterns can be attempted later. Understanding these factors in a simple recipe sets you up for success with more complex easy European bread recipes down the line.
Recommended Easy Starter Recipes: Country Loaf, Beginner's Boule
Two excellent starting points for your sourdough journey are the classic Country Loaf and a Beginner's Boule. Both are versatile shapes and utilize doughs that are relatively easy to manage.
- Country Loaf: Typically a mix of bread flour and whole wheat or rye flour, baked in an oval shape. It offers a sturdy structure and classic sourdough tang. A common hydration for a beginner country loaf might be around 70%. The mix of flours adds flavor and makes the dough slightly easier to handle than 100% strong white flour at the same hydration. Many traditional easy European bread recipes are variations of this type of loaf.
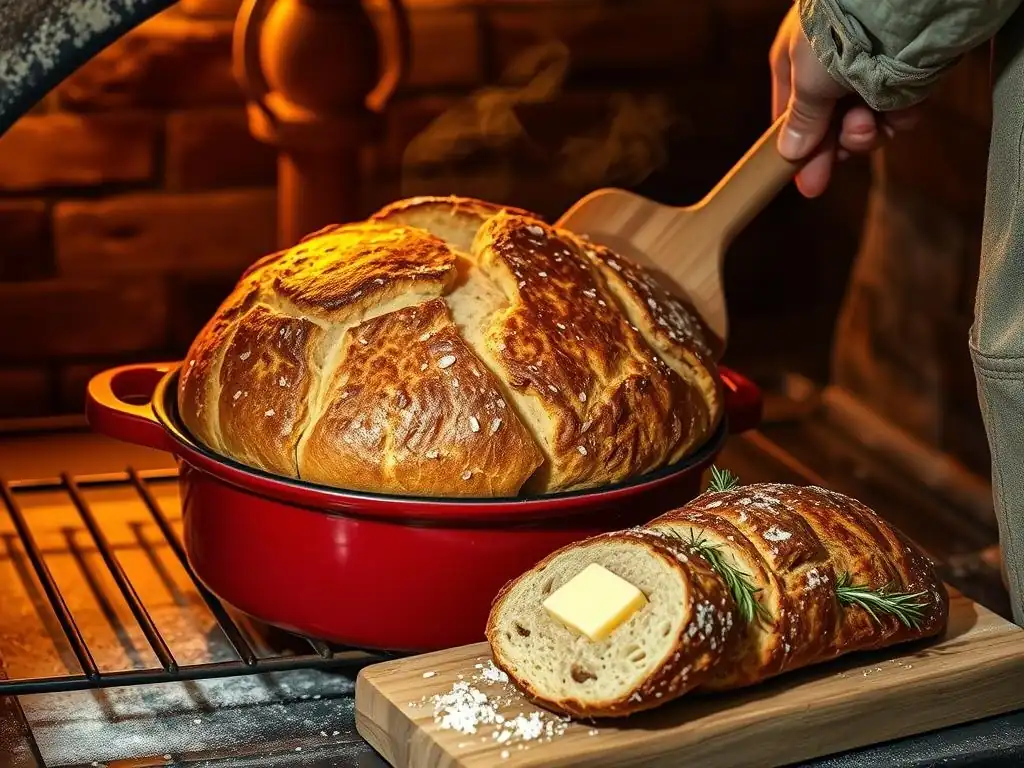
- Beginner's Boule: A round loaf, often baked in a Dutch oven. The Dutch oven traps steam, which helps the crust stay soft initially, allowing for better oven spring. Beginner boule recipes often use slightly lower hydration (65-70%) and focus on simple folding and shaping techniques. Baking in a Dutch oven simplifies the process of creating a great crust at home.
Both recipes provide a solid foundation in sourdough techniques – mixing, folding, shaping, and baking – which are applicable to many other easy European bread recipes. Starting with one of these will build your confidence and skill set.
Essential Baking Tools and Ingredients for Sourdough Bread
Must-Have Tools for Baking Sourdough Bread at Home
Having the right tools makes the sourdough baking process significantly smoother and improves your results. You don't need a professional setup, but a few key items are essential.
- Digital Scale: Sourdough recipes rely heavily on precise measurements by weight, especially for hydration. A good digital scale is non-negotiable.
- Mixing Bowls: At least two medium to large bowls are needed for mixing and bulk fermentation. Glass, plastic, or stainless steel work fine.
- Dough Scraper: A bench scraper is invaluable for dividing dough and cleaning surfaces. A bowl scraper (flexible plastic) helps get dough out of bowls.
- Proofing Baskets (Bannetons): These baskets, often lined with linen, hold the dough during its final proof, helping it maintain its shape and creating a nice pattern on the crust. Rice flour dusted generously prevents sticking. If you don't have one, a bowl lined with a floured tea towel works.
- Dutch Oven or Baking Stone: A Dutch oven (enameled cast iron is popular) is excellent for home sourdough baking as it traps steam, creating a fantastic crust. Alternatively, a baking stone or steel preheated in your oven can provide the necessary radiant heat, though you'll need a method to create steam in the oven.
- Lame or Sharp Razor Blade: For scoring the dough before baking. A sharp blade is crucial for clean cuts that allow the bread to expand properly.
These tools are foundational not just for sourdough but for many easy European bread recipes, making them a worthwhile investment for any home baker.
Key Ingredients for Authentic Sourdough Bread Baking
High-quality ingredients are fundamental to baking delicious sourdough bread. The beauty of sourdough lies in its simplicity: flour, water, salt, and your starter.
-
Flour: The type of flour significantly impacts the bread's structure, flavor, and hydration needs.
- Bread Flour: High in protein (typically 12-14%), providing the gluten structure necessary for a good rise and chewy texture.
- Whole Wheat Flour: Adds flavor, nutrients, and helps feed the starter. Often used in combination with bread flour.
- Rye Flour: Adds a distinct, tangy flavor and can be used in small amounts in starters or doughs. Many traditional easy European bread recipes, like German rye breads, feature this prominently.
Use unbleached flour for best results, as bleaching can affect gluten development and starter health.
-
Water: Use unchlorinated water if possible, as chlorine can be detrimental to the wild yeasts and bacteria in your starter. Filtered water is ideal. Water temperature can also influence fermentation speed.
-
Salt: Essential for flavor, controlling fermentation speed, and strengthening the gluten network. Use non-iodized salt, such as sea salt or kosher salt.
The quality and type of flour will be particularly important as you explore different easy European bread recipes, as regional variations often call for specific flour types like strong white, rye, or spelt.
Maintaining a Healthy Sourdough Starter
Your sourdough starter is a living ecosystem, and its health is paramount to successful baking. A healthy starter is active, bubbly, and smells pleasantly tangy, like yogurt or ripe fruit, not strongly alcoholic or like nail polish remover.
To maintain it, regular feeding is necessary. The standard feeding ratio is 1:1:1 by weight (1 part starter, 1 part water, 1 part flour). For example, feeding 50g of starter with 50g water and 50g flour. Feed it when it's at its peak or just starting to fall after a previous feeding.
- Storing: If you bake frequently (multiple times a week), keep your starter at room temperature and feed it daily or twice daily. If you bake less often, store it in the refrigerator and feed it once a week. Remember to revive it with 2-3 room-temperature feedings before baking.
- Discard: When feeding, you typically discard a portion of the starter to maintain a manageable amount and ensure the microbes have enough food. Don't throw the discard away! It can be used in other recipes like pancakes, crackers, or muffins, adding a subtle tang.
A vigorous, well-maintained starter is the secret weapon behind many fantastic loaves, including those found among easy European bread recipes.
Step-by-Step Guide to Baking a Country Loaf
Preparing the Dough: A Detailed Walkthrough
Baking your first country loaf starts with understanding the mixing process. This typically involves a few key stages:
- Autolyse (Optional but recommended): Mix the flour and water from your recipe (excluding salt and starter). Let it rest for 30-60 minutes. This allows the flour to hydrate fully and gluten development to begin naturally, making the dough easier to work with.
- Adding Starter and Salt: After the autolyse, add your active sourdough starter and salt. Mix thoroughly until everything is incorporated. The dough will be shaggy at first.
- Kneading/Folding: Instead of traditional kneading, sourdough often uses a series of folds over 2-3 hours. Techniques include 'stretch and fold' or 'coil folds'. These develop gluten gently. For example, perform 4 sets of folds 30 minutes apart during the first 2 hours of bulk fermentation. This gentle handling is key to developing a strong gluten network without tearing.
Throughout this process, the dough will become smoother, more elastic, and less sticky. Pay attention to the dough's feel and appearance – it's more about learning to read the dough than strictly following a timer, though the recipe timeline provides a crucial guide. This slow, gentle development is characteristic of many traditional easy European bread recipes.
Shaping and Proofing Your First Sourdough Loaf
Once bulk fermentation is complete (the dough has increased significantly in volume, is bubbly, and jiggly), it's time to shape and proof.
- Pre-Shaping: Gently turn the dough out onto a lightly floured surface. Shape it into a loose round or oval (depending on your final shape) and let it rest for 20-30 minutes. This allows the gluten to relax before the final shaping.
- Final Shaping: Shape the dough tightly into your desired form (boule or batard). The goal is to create tension on the surface of the dough. For a boule, fold the edges into the center and then pull the dough towards you with a bench scraper to create surface tension. For a batard, fold like an envelope and then roll it up, sealing the seam.
- Proofing: Place the shaped dough seam-side up into a floured proofing basket (or a bowl lined with a floured towel). Cover and place in the refrigerator for 8-12 hours (cold proofing). Cold proofing develops more flavor and makes the dough easier to score. Alternatively, you can proof at room temperature for 2-4 hours, but watch the dough closely – it's ready when it's visibly puffy but still holds its shape.
Proper shaping and proofing are vital for achieving a good rise and structure in your final loaf, a technique shared across many easy European bread recipes.
Baking to Perfection: Temperature and Scoring Tips
Baking is the final, exciting step! High heat and steam are crucial for a great crust and maximizing oven spring.
- Preheat: Preheat your oven with your Dutch oven or baking stone inside to a high temperature, typically 450-500°F (230-260°C), for at least 30-60 minutes. This ensures the baking vessel/surface is scorching hot.
- Score: Carefully transfer your cold-proofed dough onto parchment paper or directly into the hot Dutch oven. Score the top quickly and confidently with a sharp lame or razor blade. The score allows the bread to expand in a controlled manner. A single deep slash or a cross is simple and effective for beginners.
- Bake (Covered): If using a Dutch oven, place the lid on. This traps the steam released by the dough, keeping the crust soft and allowing the loaf to expand significantly (oven spring). Bake covered for 20-25 minutes.
- Bake (Uncovered): Remove the lid (if using a Dutch oven) and continue baking for another 20-30 minutes, or until the crust is deep golden brown and the internal temperature reaches around 205-210°F (96-99°C). The uncovered phase allows the crust to crisp up and develop color.
Achieving the right balance of heat and steam is a hallmark of baking excellent artisan loaves, including many easy European bread recipes.
Tips and Tricks for Baking Easy Sourdough Breads
Achieving the Perfect Crust: Secrets Revealed
The crust is a defining characteristic of great sourdough. Achieving a beautiful, crackly, and deeply colored crust requires a few key elements:
- High Initial Heat: Starting your bake in a very hot oven (450-500°F) provides the initial burst of heat needed for oven spring and crust development.
- Steam: Steam is critical in the first part of the bake. It keeps the surface of the dough pliable, allowing it to expand fully before the crust sets. A Dutch oven is the easiest way to achieve this at home. If not using a Dutch oven, you can create steam by placing a tray of water or ice cubes on the bottom rack of your oven when you put the bread in, or by spraying the oven walls with water.
- Proper Baking Time (Uncovered): Baking uncovered for long enough allows the crust to dry out and crisp up. Don't be afraid of a dark crust; it contributes significantly to flavor.
- Cooling: Allow the bread to cool completely on a wire rack before slicing. Slicing too early traps steam, resulting in a gummy crumb and a soft crust.
These techniques are applicable to numerous easy European bread recipes that aim for a rustic, satisfying crust.
Troubleshooting Common Baking Problems: Dense Crumb, Flat Loaf
Encountering issues is part of the learning process. Here are solutions to common sourdough problems:
- Dense or Gummy Crumb:
- Under-fermentation: The dough didn't develop enough gas. Ensure your starter is active, allow sufficient bulk fermentation time based on temperature, and don't cut the proofing time short.
- Under-baking: The internal temperature wasn't high enough. Bake until the internal temperature is 205-210°F (96-99°C).
- Slicing too early: The loaf needs to cool completely.
- Flat Loaf / Poor Oven Spring:
- Weak Starter: Ensure your starter is active and bubbly before using it.
- Over-proofing: The dough proofed too long and ran out of energy before hitting the oven. It might look very bubbly but lack tension. Cold proofing helps slow this down.
- Under-developed Gluten: Not enough folds during bulk fermentation, or dough was handled too roughly.
- Insufficient Surface Tension: Dough wasn't shaped tightly enough.
- Lack of Steam: The crust set too early, preventing expansion.
Keep a baking journal to track conditions (temperature, timings) and results. This helps identify patterns and improve future bakes of sourdough and other easy European bread recipes.
Flavor Variations and Additions for Your Sourdough Bread
Once you've mastered a basic sourdough loaf, you can start experimenting with flavor variations. This is where the connection to easy European bread recipes becomes even clearer, as many regional breads incorporate specific additions.
- Different Flours: Substitute some bread flour with rye, spelt, or whole wheat flour. A common variation is adding 10-20% rye or whole wheat for a deeper flavor profile.
- Seeds and Grains: Incorporate toasted seeds (sesame, poppy, sunflower, pumpkin) or cooked grains (oats, farro) into the dough during mixing or folding. Soak grains overnight to prevent them from absorbing moisture from the dough.
- Herbs and Spices: Add dried herbs like rosemary, thyme, or oregano, or spices like caraway seeds (classic in many easy European bread recipes, especially rye). Mix them in during the initial dough preparation.
- Cheese and Other Savory Additions: Cubes of cheese, chopped olives, or roasted garlic can be folded into the dough during the last set of folds.
- Sweet Additions: While less common for a classic country loaf, you can adapt sourdough for sweeter breads by adding dried fruits, nuts, or cinnamon.
Start with small additions (e.g., 5-10% of total flour weight for seeds) to see how they affect the dough's handling and the final bake.
Exploring Other Sourdough Bread Recipes
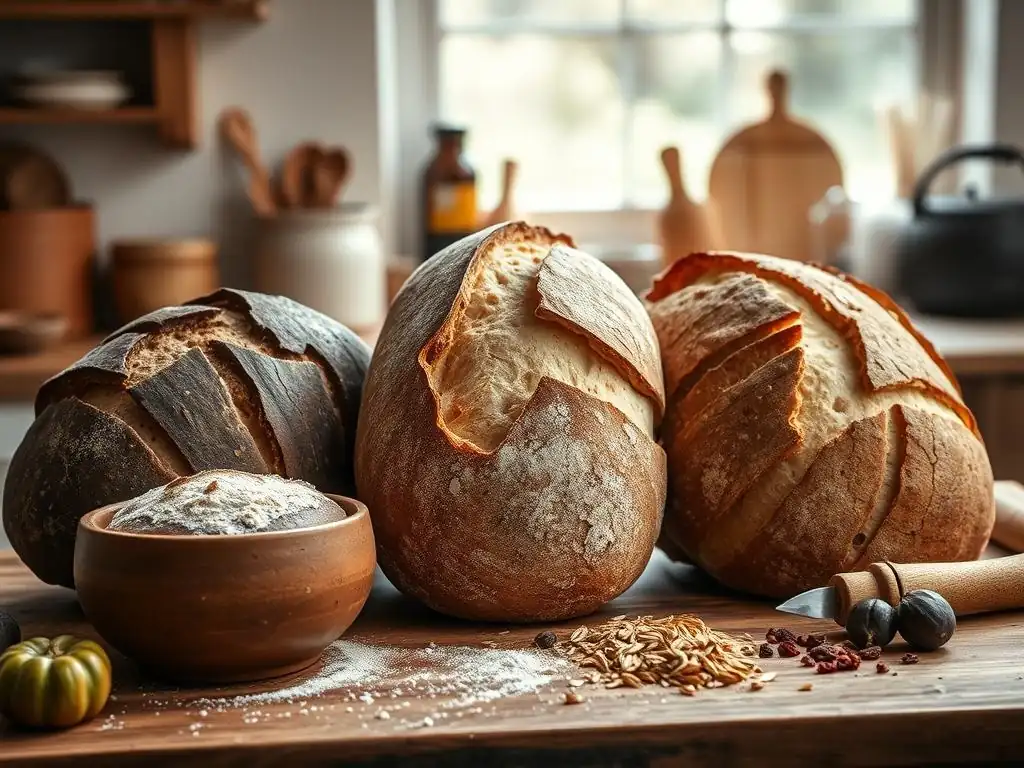
Expanding Your Repertoire: From Boule to Baguettes
Mastering the basic sourdough boule or country loaf is just the beginning. The principles you've learned are transferable to a vast array of other bread types, including many iconic easy European bread recipes.
- Bagels: Sourdough can be used to make chewy, flavorful bagels. The process involves boiling the shaped dough before baking.
- Pizza Dough: A sourdough starter makes an incredibly flavorful pizza crust with a delightful chew.
- Enriched Doughs: Sourdough isn't limited to lean doughs (just flour, water, salt). You can use it to leaven enriched doughs containing eggs, milk, butter, or sugar, like brioche or challah.
- Regional Variations: Explore specific easy European bread recipes that traditionally use sourdough, such as German Roggenbrot (rye bread), French Pain de Campagne (country bread, often sourdough), or Italian Pane di Matera (a distinctive durum wheat sourdough).
Each new recipe will teach you slight variations in technique, hydration, and fermentation times, deepening your understanding of sourdough baking.
Understanding Different Sourdough Baking Techniques
Beyond the standard boule in a Dutch oven, there are other techniques to explore that yield different results and are common in various easy European bread recipes.
- Baking on a Stone/Steel: Using a preheated baking stone or steel provides intense heat from below, contributing to a strong bottom crust. You'll need to create steam in the oven using a separate method (water tray, lava rocks, etc. ).
- Open Baking: Baking loaves freeform on a baking sheet or stone without a Dutch oven or added steam (though some steam might be added). This often results in a different crust texture.
- Proofing Methods: Experiment with different proofing times and temperatures. Longer, colder proofs (retarding in the refrigerator) develop more complex flavors and make dough easier to handle and score. Shorter, warmer proofs speed up the process but require careful timing.
- Handling High Hydration Doughs: As you gain confidence, try recipes with higher hydration (80%+). These doughs are stickier but can yield a more open, airy crumb. They require gentler handling and techniques like coil folds.
Each technique offers unique benefits and is suited to different types of bread, expanding your skills beyond basic easy European bread recipes.
Resources for Further Learning: Books and Online Tutorials
The world of sourdough baking is vast, and there are many excellent resources to help you continue learning and exploring.
- Books: Renowned authors like Chad Robertson ("Tartine Bread"), Ken Forkish ("Flour Water Salt Yeast"), and Vanessa Kimbell ("The Sourdough School") offer comprehensive guides with detailed recipes and explanations. Look for books that focus on techniques and the science behind sourdough.
- Online Tutorials and Blogs: Websites like BakeWithEase.com, The Perfect Loaf, and numerous YouTube channels provide step-by-step visual guides, troubleshooting tips, and a wide variety of easy European bread recipes and advanced sourdough techniques.
- Online Communities: Joining online forums or social media groups dedicated to sourdough baking allows you to ask questions, share your results, and learn from the experiences of other bakers.
Continuous learning and practice are key to mastering sourdough and confidently tackling any easy European bread recipes that pique your interest.
Storing and Enjoying Your Homemade Sourdough Bread
Best Practices for Storing Bread to Maintain Freshness
Proper storage is essential to keep your homemade sourdough delicious for as long as possible. The goal is to protect the crust while preventing the interior from drying out.
- Cool Completely: Always let the bread cool completely on a wire rack before storing, for at least 2-3 hours. This allows steam to escape.
- Room Temperature (Short-Term): For consumption within 1-2 days, store the loaf cut-side down on a cutting board, or wrap it loosely in a linen bread bag or a clean tea towel. Avoid airtight plastic bags or containers, which trap moisture and can soften the crust or encourage mold.
- Longer Storage (Freezing): For longer storage (up to a few months), freezing is the best option. Let the loaf cool completely. Slice the bread or freeze it whole. Wrap tightly in plastic wrap, then in aluminum foil or a freezer bag to prevent freezer burn. Thaw at room temperature. To refresh a whole loaf, sprinkle with water and reheat in a moderate oven (350°F/175°C) for 10-15 minutes.
Following these storage tips ensures that the effort you put into baking your easy European bread recipes is rewarded with continued freshness.
Serving Suggestions and Complementary Dishes
Homemade sourdough is incredibly versatile and pairs well with a wide variety of foods, making it a staple for any meal.
- Simple Pleasure: Enjoy it simply with good quality butter, olive oil, or a sprinkle of sea salt.
- Toasted: Toasted sourdough is fantastic for breakfast or snacks. Top with avocado, eggs, or jam.
- Sandwiches: The sturdy crust and chewy crumb make it perfect for both hot and cold sandwiches.
- Soups and Stews: Sourdough is ideal for dipping into hearty soups, stews, or chilis.
- Bruschetta or Crostini: Slice, toast, and top with tomatoes, garlic, cheese, or other toppings for appetizers.
- Cheese Boards: The tangy flavor complements a wide range of cheeses and charcuterie.
Exploring these serving suggestions lets you fully appreciate the unique flavor and texture of your homemade sourdough, a skill that enhances countless meals featuring easy European bread recipes.
Baking sourdough is often a journey shared with others. Connecting with fellow bakers can provide inspiration, support, and a platform to showcase your creations.
- Online Forums: Websites and forums dedicated to baking (like those associated with popular baking books or blogs) are great places to ask questions, share tips, and discuss recipes.
- Social Media: Platforms like Instagram or Facebook have vibrant baking communities. Share photos of your loaves, ask for advice, and connect with bakers worldwide. Using relevant hashtags (like #sourdoughbaking, #homemadebread, #easyeuropeanbreadrecipes) can help others find your posts.
- Local Baking Groups: Check for local baking clubs or workshops in your area. Baking with others can be a fun and educational experience.
- Sharing with Friends and Family: Of course, the most rewarding way to share your success is by gifting loaves to friends and family. Nothing beats the joy of sharing delicious homemade bread.
Engaging with the baking community enhances your learning and provides valuable feedback as you continue to master sourdough and venture into other easy European bread recipes.
Frequently Asked Questions
What exactly makes a bread recipe "European" in the context of BakeWithEase?
European bread recipes on BakeWithEase focus on traditional techniques and regional ingredients popular across Europe, offering a diverse range of flavors and textures. They often emphasize simplicity and natural fermentation.
I'm a complete beginner. Are the "Easy European bread recipes" on BakeWithEase truly beginner-friendly?
Yes! BakeWithEase prioritizes clear, step-by-step instructions and uses easily accessible ingredients. Our recipes are designed to guide even novice bakers through the process successfully.
What are some examples of "Easy European bread recipes" I can find on BakeWithEase?
You'll find recipes like French Baguettes, Italian Focaccia, and Irish Soda Bread. These recipes often require minimal kneading and use basic baking equipment.
What if I don't have a specific ingredient listed in an "Easy European bread recipe"?
BakeWithEase often provides substitution suggestions within the recipe instructions. We also have a dedicated section on common ingredient substitutions for baking.
How can BakeWithEase help me troubleshoot common baking problems I might encounter with European breads?
We offer a comprehensive troubleshooting guide addressing issues like dough not rising, bread being too dense, or crust burning. This guide helps you understand potential causes and solutions for each problem.
Final Reflection: The Humble Loaf and the Global Table
The simple act of baking bread, even a seemingly complex European regional loaf, connects us to a rich culinary history and offers a surprisingly accessible entry point into diverse cultures. Mastering even one regional recipe unlocks a world of flavor and tradition, proving that culinary exploration doesn't require years of experience or specialized equipment. This isn't just about following a recipe; it's about understanding the story behind the ingredients and the techniques.
The enduring appeal of bread transcends mere sustenance; it's a symbol of comfort, community, and shared heritage. From the rustic charm of a French baguette to the hearty texture of an Italian ciabatta, each loaf tells a story. The process itself, the kneading, the rising, the baking, is a meditative practice, a connection to generations past who perfected these techniques. As the great food writer M.F.K. Fisher once said, First we eat. Then we do everything else.
Baking bread, in its simplicity and complexity, embodies this truth perfectly. It nourishes not only the body but also the soul.
Now, I invite you to take this journey further. Don't be intimidated by the seemingly intricate details of regional baking. Choose a recipe that speaks to you, gather your ingredients, and embrace the process. The satisfaction of creating something delicious and meaningful with your own hands is a reward in itself. More than just a loaf of bread, you'll be baking a piece of history, a taste of culture, and a connection to something far greater than yourself. So, roll up your sleeves, and let the baking begin!
Unleash Your Inner Baker: Craft Your First European Loaf!
Thanks for joining us on this baking adventure! We hope you now feel confident and excited to tackle the world of European breads. Ready to put your new knowledge into practice?
- Bake your first regional loaf! Choose a recipe that excites you and follow our step-by-step guide. Don't be afraid to experiment with flours or add-ins.
- Share your baking journey! Snap a picture of your masterpiece and tag us on social media – we'd love to see your creations!
- Explore other regional breads on our website for your next baking project. Which region will you explore next?
What unique ingredient will you add to your first European bread to make it truly your own?