
Getting Consistent Puff Pastry Layers Every Single Time

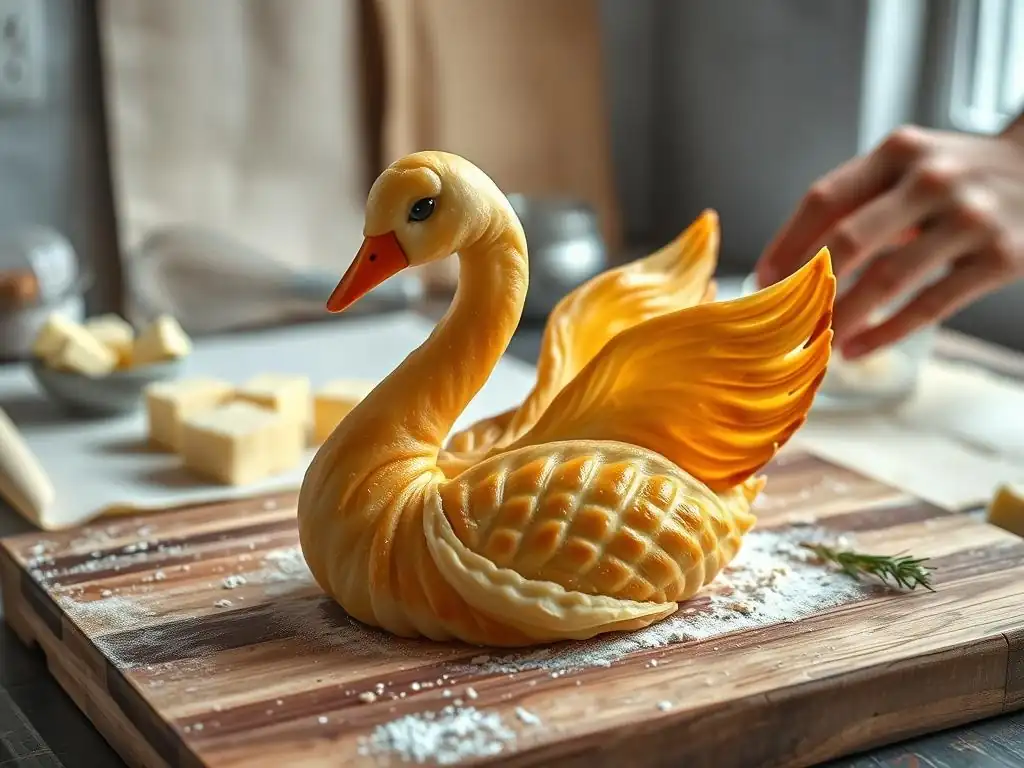
Welcome to BakeWithEase, your trusted companion on your baking journey! Ever dreamt of achieving perfectly flaky, sky-high puff pastry layers? You're in the right place. Discover the secrets to our consistent puff pastry layers recipe and unlock the art of creating pastries that are as visually stunning as they are delicious. Intrigued? Let's get baking!
- Achieving Consistent Puff Pastry Layers: A Baker's Guide
- Introduction to Perfect Puff Pastry Lamination
- Understanding the Key Principles of Lamination
- The Ultimate Consistent Puff Pastry Layers Recipe
- Mastering Puff Pastry Techniques for Even Lamination
- Troubleshooting Common Puff Pastry Problems
- Baking Your Puff Pastry Creations for Maximum Flakiness
- Advanced Tips for Puff Pastry Perfection
- Conclusion: Achieving Consistent Puff Pastry Success
-
Frequently Asked Questions
- How do I achieve consistent puff pastry layers when the dough keeps shrinking back?
- What's the ideal temperature for my kitchen when making puff pastry to ensure consistent layers?
- My butter keeps breaking through the dough. How can I prevent this and maintain consistent puff pastry layers?
- How many turns should I do to get the best and most consistent puff pastry layers?
- What type of flour is best for achieving consistent puff pastry layers?
- Final Reflection: Mastering the Flaky Perfection of Puff Pastry
- Unlock Your Perfect Puff Pastry: Flaky Layers, Every Time!
Achieving Consistent Puff Pastry Layers: A Baker's Guide
Introduction to Perfect Puff Pastry Lamination
Why Consistent Layers Matter for Puff Pastry Success
Achieving consistent layers is the hallmark of truly great puff pastry. Each delicate layer, separated by air and fat, contributes to the incredible rise and shatteringly crisp texture that defines this classic pastry. Without consistency, you risk uneven puffing, dense spots, or butter leakage during baking, leading to a less-than-ideal result for your croissants, vol-au-vents, or palmiers.
The goal of mastering a consistent puff pastry layers recipe is to ensure that the fat (usually butter) remains in distinct, thin sheets between equally thin sheets of dough throughout the rolling and folding process. When baked, the water in the butter turns to steam, forcing these delicate layers apart and creating that signature airy structure. Uniform layers mean uniform lift and an even golden-brown crust across your finished bake.
A Systematic Approach to Puff Pastry Perfection
Creating consistent puff pastry requires patience, precision, and a systematic approach. It's not a recipe you can rush; chilling times and careful handling are paramount. Think of it as a controlled process of building structure layer by layer.
By breaking down the process into manageable steps – from preparing the dough and butter block to performing the turns and finally baking – you can identify and control the variables that impact layer consistency. This guide will walk you through the essential techniques and provide a reliable consistent puff pastry layers recipe to help you achieve flaky success every time.
Understanding the Key Principles of Lamination
What is Lamination in Puff Pastry Baking?
Lamination is the process of repeatedly folding and rolling a dough and fat block together to create numerous thin, alternating layers. In puff pastry, this involves encasing a block of butter (the beurrage) within a simple dough (the détrempe) and then performing a series of "turns" – rolling the dough out and folding it like a letter.
Each turn doubles or triples the number of layers. For instance, after just three single turns (folding into thirds), you've created 3³ or 27 layers of dough and 27 layers of butter. A typical puff pastry recipe often calls for four to six turns, resulting in hundreds or even thousands of paper-thin layers, which is the secret behind its spectacular rise and flakiness when baked.
The Importance of Fat to Dough Ratio for Layer Formation
The ratio of fat to dough is critical for successful lamination and achieving those coveted consistent puff pastry layers. A common ratio is roughly equal parts butter to flour by weight, though some recipes might use slightly less fat. For example, a recipe might call for 250g flour and 250g butter for the beurrage, plus additional butter or fat in the détrempe itself.
If there is too little fat, the layers of dough may stick together during rolling, preventing proper separation and puffing. If there is too much fat relative to the dough's structure, the fat might leak out during rolling or baking, leading to a greasy, flat pastry. Finding the right balance ensures there's enough fat to create distinct layers without overwhelming the dough's ability to contain it.
Gluten Development's Role in Achieving Flaky Layers
Gluten development plays a dual role in puff pastry. You need some gluten structure in the détrempe to make the dough elastic enough to be rolled thinly without tearing. However, too much gluten development will make the dough tough and springy, causing it to resist rolling and potentially tear, disrupting the delicate layers.
Using a lower-protein flour, minimizing kneading when making the détrempe, and allowing ample resting time between turns are key strategies to control gluten. Resting allows the gluten network to relax, making the dough pliable and easier to roll evenly, which is essential for creating consistent puff pastry layers. Overworked dough is a common culprit for shrinkage and uneven texture.
The Ultimate Consistent Puff Pastry Layers Recipe
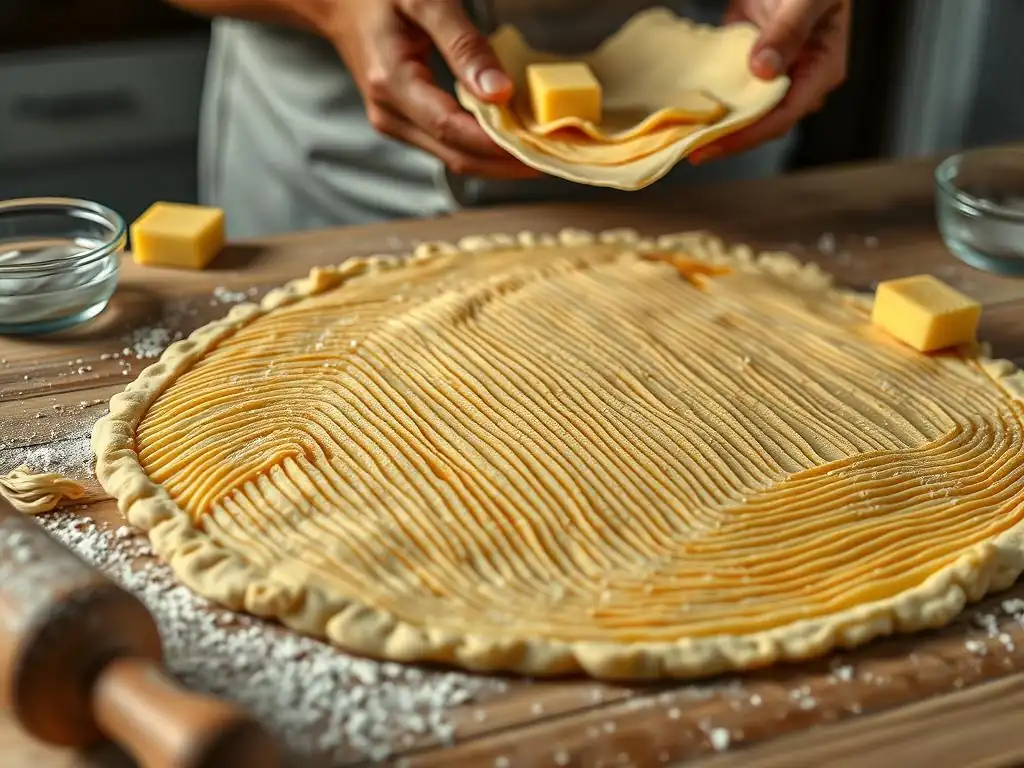
Ingredients for a Flaky and Even Puff Pastry
High-Fat Butter: The Foundation of Puff Pastry
For the best results and the most consistent puff pastry layers, using a high-quality, high-fat butter is paramount. European-style butters typically contain a higher percentage of butterfat, often around 82-84%, compared to American-style butters which are usually around 80%. This higher fat content makes the butter more pliable when cold and less prone to melting too quickly, which is crucial during the lamination process.
Consider using a brand known for its quality and higher fat content, like Plugrá (82%) or Kerrygold (82%). The butter should be cold but pliable enough to bend slightly without snapping. It should not be rock hard straight from the freezer, nor soft and greasy. This specific temperature and pliability are key to creating a smooth, even layer of butter within the dough.
Flour Selection: Choosing the Right Type for Puff Pastry
Selecting the correct flour is vital for achieving the right balance of structure and tenderness in your consistent puff pastry layers. A medium-protein all-purpose flour is generally recommended. Look for flours with a protein content around 10-12%. This provides enough gluten development to create a dough that can be rolled thin repeatedly without tearing, but not so much that it becomes overly elastic and difficult to work with or results in a tough pastry.
Avoid using high-protein bread flour (typically 12-14% protein) as it develops too much gluten, leading to tough pastry and difficulty in rolling. Conversely, very low-protein cake flour (around 7-9% protein) won't provide enough structure to hold the many layers during handling and baking. Standard all-purpose flour offers the necessary structure for lamination while allowing the pastry to remain tender and flaky.
Water Temperature: Critical for Gluten Control
The temperature of the water used to make the détrempe is a small detail with significant impact on achieving consistent puff pastry layers. The water should be very cold, ideally ice water, around 4°C (39°F) or below. Using cold water helps to keep the fat particles within the dough (any butter added directly to the détrempe) solid and also slows down gluten development during the initial mixing.
Keeping the dough cold from the start is essential for maintaining the integrity of the butter layers during subsequent rolling and folding. Warm water would soften the butter prematurely and encourage excessive gluten formation, making the dough sticky and difficult to handle, and hindering the creation of well-defined, separate layers.
Step-by-Step Guide to the Perfect Puff Pastry Dough
Preparing the Détrempe: The Dough Base
Begin by combining your chosen flour and a small amount of salt in a large bowl. Cut in a small amount of cold butter or other fat (if the recipe calls for it) until the mixture resembles coarse crumbs. This initial fat helps tenderize the dough. Gradually add the very cold water, mixing just until the dough comes together. Avoid kneading extensively; you want minimal gluten development at this stage.
Form the dough into a rough rectangle or square, wrap it tightly in plastic wrap, and refrigerate for at least 30 minutes. This resting period allows the flour to fully hydrate and the minimal gluten developed to relax, making the dough easier to roll out smoothly later. This foundational step is key to a consistent puff pastry layers recipe.
Encasing the Butter Block: Creating the Beurrage
While the détrempe rests, prepare the beurrage (the butter block). Take your cold, high-fat butter and either pound it into a rectangle or square (depending on the shape of your détrempe) about 1/2 to 3/4 inch thick using a rolling pin, or cut it into pieces and arrange them closely on parchment paper, then cover with more parchment and roll into the desired shape. The goal is a cohesive, pliable block of butter.
The dimensions of the butter block should be roughly two-thirds the size of your rolled-out détrempe. For example, if you plan to roll the détrempe into a 12x12 inch square, aim for a butter block that is about 8x8 inches. Ensure the butter is cold but pliable, not hard, so it rolls evenly with the dough without breaking or squishing through.
The First Turn: Locking in the Layers
Once the détrempe is rested and chilled, roll it out on a lightly floured surface into a rectangle large enough to enclose the butter block. The dimensions should allow you to place the butter block on one half of the dough rectangle and fold the other half over it, sealing the edges completely. For instance, if your butter block is 8x8 inches, roll the dough into a 16x8 inch rectangle. Place the 8x8 inch butter block on one 8x8 half of the dough.
Fold the remaining 8x8 half of the dough over the butter block, aligning the edges and pinching them firmly to seal the butter inside. This is the first step in creating layers, effectively making a "butter sandwich." Ensure no butter is exposed, as this could lead to leakage during subsequent rolling. This sealed package is now ready for its first turn.
Subsequent Turns: Building Flaky Perfection
After the first turn (encasing the butter), you begin building the hundreds or thousands of layers that create consistent puff pastry layers. Lightly flour your work surface and the dough package. Roll the dough package into a long rectangle, typically about three times as long as it is wide. For example, if your package is now roughly 8x12 inches, roll it to about 8x36 inches (adjusting based on thickness).
Perform the first fold: fold one end of the rectangle into the center, then fold the other end over the first fold, like folding a letter into thirds. This completes one "single turn," tripling the number of layers. Rotate the folded dough 90 degrees (so the open edge is facing you like a book spine), wrap it tightly, and refrigerate for the recommended resting time, usually 30-60 minutes. Repeat this process for the number of turns specified in your consistent puff pastry layers recipe, typically 4 to 6 turns total. Each turn adds more layers exponentially.
Resting the Dough: Essential for Relaxation and Preventing Shrinkage
Resting the dough between each turn is a non-negotiable step for achieving consistent puff pastry layers. After rolling and folding, the gluten in the dough becomes taut. Refrigeration allows the gluten network to relax and the butter to firm up again. This relaxation is crucial; without it, the dough will be springy, difficult to roll thinly and evenly, and prone to shrinking excessively when cut and baked.
A minimum rest of 30 minutes between turns is usually sufficient, but 45-60 minutes is often better, especially if your kitchen is warm or you work slowly. Ensure the dough is well-wrapped to prevent drying. Skipping rests or shortening them significantly is a common mistake that leads to uneven layers and a tough, shrunken final product.
Mastering Puff Pastry Techniques for Even Lamination
Cold Butter is Key: Maintaining Butter Temperature
Maintaining the correct temperature of the butter throughout the lamination process is perhaps the most critical factor for consistent puff pastry layers. The butter must be cold enough to remain solid and distinct from the dough layers, but pliable enough to roll out thinly without cracking. The ideal temperature for the butter block is typically around 10-13°C (50-55°F).
If the butter is too cold, it will break into pieces as you roll, creating gaps in the layers. If it's too warm, it will melt into the dough, obliterating the distinct layers needed for puffing. Keep your kitchen cool if possible, work efficiently, and rely on refrigeration between turns to keep the butter at the perfect consistency. If the butter starts to ooze or become too soft, stop immediately and chill the dough.
Gentle Handling: Preventing Gluten Overdevelopment
Handling the dough gently throughout the rolling and folding process is essential for controlling gluten development and preventing tearing. Use a firm but even pressure when rolling, applying force gradually rather than pressing down hard. Roll from the center outwards, turning the dough frequently to ensure even thickness and prevent it from sticking.
Avoid stretching or pulling the dough, as this activates gluten and can distort the layers. Think of it as coaxing the dough into shape rather than forcing it. Gentle handling combined with adequate resting periods ensures the dough remains relaxed and pliable, allowing for smooth, even rolling and the formation of beautifully consistent puff pastry layers.
Consistent Rolling: Achieving Uniform Thickness
Uniform thickness is paramount at every stage of rolling the puff pastry. Before each fold (turn), the dough should be rolled into a rectangle of even thickness. Aim for a thickness of about 1/4 inch (approx. 6-7mm) before performing a single turn (folding into thirds) or slightly thinner for a double turn (folding into quarters).
Uneven rolling leads to thick and thin spots in the final dough. When baked, the thinner sections may cook too quickly or the layers may fuse, while thicker sections may remain undercooked or dense. Using a ruler to check dimensions and thickness can be helpful, especially when you're starting out. Consistent rolling directly contributes to consistent puff pastry layers throughout the dough block.
The Importance of Resting Between Turns
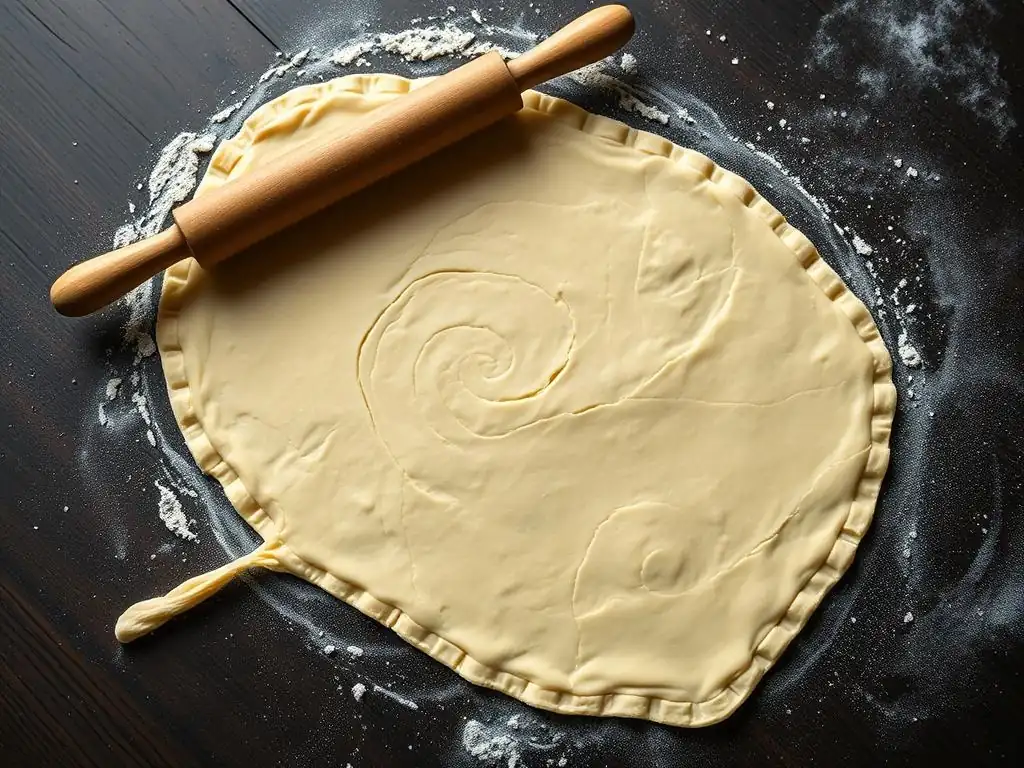
As mentioned previously, resting is not optional; it's fundamental to achieving consistent puff pastry layers. Each rolling and folding step puts stress on the dough's gluten structure and warms the butter. Refrigeration allows the gluten to relax, making the dough less elastic and easier to roll evenly in the next turn. It also firms up the butter, ensuring it remains a solid layer between the dough.
Sufficient resting time (typically 30-60 minutes per turn) prevents the dough from resisting the rolling pin, which can lead to tearing or uneven thickness. It also minimizes butter leakage. If the dough feels springy or the butter soft while rolling, it needs more time in the fridge. Patience during these rests is rewarded with pastry that rolls beautifully and puffs evenly.
Cutting and Shaping: Preserving the Layers
Even after successfully creating hundreds of consistent puff pastry layers, improper cutting can ruin them. Always use a sharp knife or a pizza cutter with a sharp blade to cut puff pastry. A dull blade will compress the layers together rather than slicing through them cleanly, preventing them from separating and puffing correctly during baking.
Cut straight down without sawing motions. For shapes like squares or rectangles, trim the edges for the best puff; the compressed edges don't puff as well as the clean-cut surfaces. When shaping, handle the dough minimally and keep it cold. Warm, overworked dough will lose its structure and the defined layers will be compromised. Chilling shaped pieces before baking can also help maintain their form and layer integrity.
Troubleshooting Common Puff Pastry Problems
Butter Leaking: Causes and Solutions
Butter leakage, often seen as pools of fat on the baking sheet, is a common and frustrating problem. It primarily happens when the butter gets too warm during rolling or handling, or if the dough tears and exposes the butter. Insufficient chilling between turns is a major culprit, as warm butter melts and oozes out.
- Causes: Insufficient chilling, warm kitchen, overhandling the dough, tearing the dough while rolling.
- Solutions:
- Ensure dough and butter are properly chilled between turns (at least 30-60 minutes).
- Work quickly and efficiently when rolling.
- If the kitchen is warm, consider placing the dough in the freezer for 10-15 minutes (watch closely!) instead of the fridge for a quick chill.
- Handle the dough gently to avoid tearing. Patch any small tears immediately by pressing the dough together.
- Use a high-fat butter that is less prone to melting quickly.
Dough Shrinking: Preventing and Correcting
Dough shrinkage during rolling or baking is usually a sign of excessive gluten development or insufficient resting. When gluten is overworked or not given time to relax, it becomes elastic and pulls back like a rubber band. This makes the dough hard to roll and causes it to shrink significantly when cut and exposed to heat.
- Causes: Overworking the dough (too much kneading in détrempe), not resting long enough between turns, rolling too forcefully or stretching the dough.
- Solutions:
- Mix the détrempe just until it comes together; avoid kneading.
- Perform all recommended resting times between turns (30-60 minutes minimum).
- Roll the dough gently with even pressure; avoid stretching.
- If dough is resisting rolling, stop and refrigerate it again for 15-30 minutes before continuing.
- Chill shaped pastry pieces before baking to help them hold their form.
Uneven Baking: Ensuring Consistent Heat Distribution
Uneven baking results in some parts of your puff pastry being golden and flaky while others are pale or dense. This can be due to inconsistent layer thickness, an oven with hot or cold spots, or overcrowding the baking sheet. Consistent puff pastry layers bake more evenly because the heat penetrates and causes the steam lift uniformly.
- Causes: Uneven dough thickness, oven temperature variations, overcrowding baking sheet, placing pastry too close to oven walls.
- Solutions:
- Ensure the dough is rolled to an even thickness before its final shape and before each turn.
- Know your oven; consider using an oven thermometer. Rotate the baking sheet halfway through baking if your oven has hot spots.
- Do not overcrowd the baking sheet; leave space for air circulation around each piece.
- Bake on the correct rack position, usually the middle rack.
Dense or Soggy Layers: Identifying and Fixing the Issues
Dense or soggy layers mean the puff pastry didn't puff properly. This is often linked back to issues with lamination – either the layers didn't form correctly or the butter melted into the dough instead of creating steam. Overworking the dough (leading to tough, fused layers) or insufficient chilling (leading to melted butter) are prime suspects.
- Causes: Butter melting into the dough (insufficient chilling, warm kitchen), layers fusing (overworked dough, insufficient resting, poor rolling), using a dull knife to cut (compressing layers), baking at too low a temperature.
- Solutions:
- Strictly adhere to chilling times between turns and before baking.
- Handle the dough gently and avoid overworking the détrempe.
- Use a sharp knife or cutter for clean cuts.
- Ensure your oven is preheated to the correct temperature (typically 200-220°C / 400-425°F) to create immediate steam and puff.
Baking Your Puff Pastry Creations for Maximum Flakiness
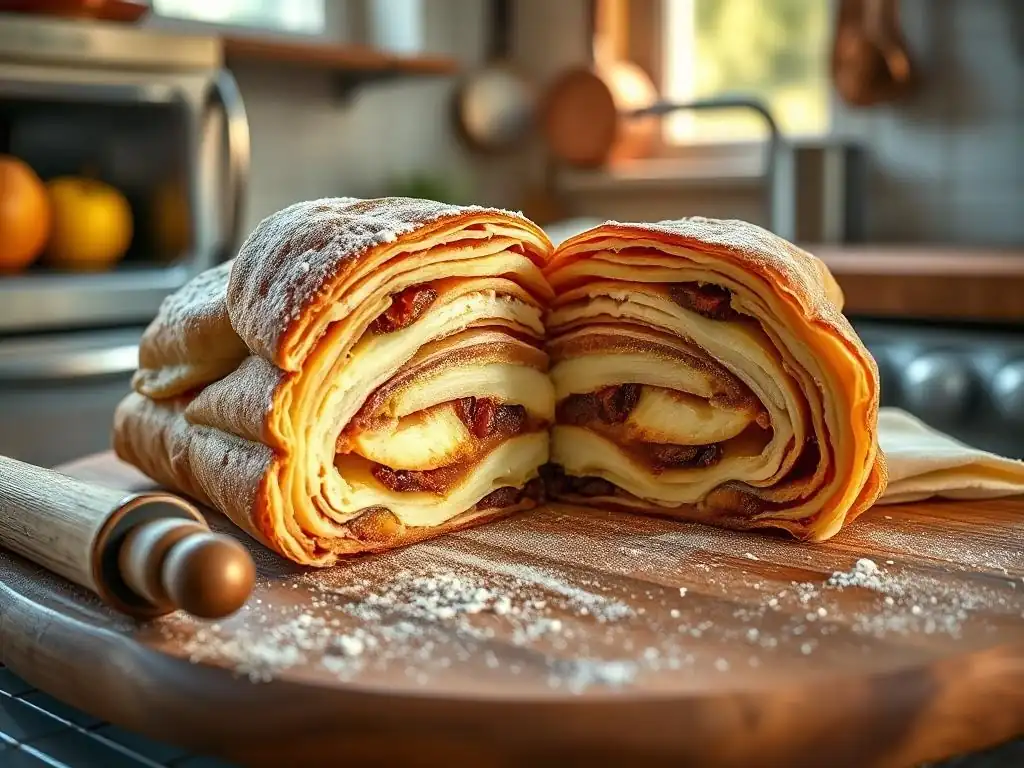
Oven Temperature: The Sweet Spot for Puff Pastry
Baking puff pastry at the correct high temperature is crucial for achieving maximum puff and flakiness. A typical starting temperature is quite high, often between 200°C and 220°C (400°F and 425°F). This initial high heat causes the water in the butter layers to rapidly turn to steam, forcing the dough layers apart and creating that dramatic rise.
Some recipes recommend starting at a high temperature for the first 10-15 minutes to achieve maximum lift, then reducing the temperature slightly (e.g., to 180°C / 350°F) to allow the layers to cook through and crisp up without burning the exterior. Using an oven thermometer is highly recommended to ensure your oven is reaching and maintaining the target temperatures accurately for the best consistent puff pastry layers.
Baking Time: Achieving Golden-Brown Perfection
Baking time for puff pastry varies greatly depending on the size and shape of the pastry piece. Small items like palmiers or cheese straws might bake in 12-18 minutes, while larger pieces like tart shells or vol-au-vent cases could take 20-30 minutes or even longer. The key indicator of doneness is a deep golden-brown color and a visibly puffed, flaky structure.
Don't be tempted to take the pastry out too early, even if it looks puffed. It needs enough time for the layers to cook through and become crisp. Underbaked puff pastry will be pale, potentially dense in the center, and lack that desirable shatteringly crisp texture. If the pastry is browning too quickly before it's fully puffed, you may need to slightly lower the oven temperature or tent it loosely with foil.
Steam in the Oven: Enhancing Puff and Flakiness
Creating a steamy environment in the oven can further enhance the puff and flakiness of your consistent puff pastry layers. The initial burst of steam helps keep the surface of the pastry pliable for longer, allowing it to expand more freely before the crust sets. This is similar to techniques used in bread baking.
One common method is to place a tray or pan of hot water on the bottom rack of the oven when you preheat it. The water will create steam as the oven heats up. Be cautious when adding or removing water from a hot oven. This added humidity, combined with the high initial baking temperature, maximizes the steam production within the pastry itself, resulting in a higher, more even rise and a lighter texture.
Advanced Tips for Puff Pastry Perfection
Using Different Types of Fat
While cold butter is the classic choice for achieving consistent puff pastry layers, other fats can be used, each offering slightly different characteristics. Some bakers use a combination of butter and a harder fat like shortening or lard. Lard or shortening can be more pliable when cold than butter, making them easier to roll, and they have a higher melting point, which can reduce the risk of leakage in a warm kitchen.
However, these fats don't contribute the same rich flavor or crispness as butter. Using pure butter typically yields the best flavor and flakiest texture, provided its temperature is carefully controlled. If experimenting, start by replacing a small portion of the butter (e.g., 20-30%) with another fat and observe the results before making larger substitutions in your consistent puff pastry layers recipe.
Incorporating Flavorings into Puff Pastry
Puff pastry is a versatile base that can be flavored in subtle or significant ways. Flavorings can be incorporated into the détrempe or added between the layers during the final turns. For savory applications, you might add a pinch of cayenne pepper, dried herbs like thyme or rosemary, or grated Parmesan cheese to the flour mixture in the détrempe.
For sweet pastry, a little sugar can be added to the détrempe, or spices like cinnamon or cardamom can be sprinkled between layers before the final roll and cut. Be mindful that adding solids like cheese or herbs can sometimes slightly disrupt the layers, so distribute them evenly. This adds an extra dimension to your consistent puff pastry layers creations.
Freezing Puff Pastry: Storing for Future Use
One of the great advantages of homemade consistent puff pastry layers is that it freezes beautifully, allowing you to do the labor-intensive lamination process ahead of time. After completing all the turns, wrap the dough block very tightly in plastic wrap, then in aluminum foil or a freezer bag, ensuring it's airtight. Label with the date.
Puff pastry dough can be frozen for up to 1-2 months. To use, thaw overnight in the refrigerator. Do not thaw at room temperature, as this can cause the butter to melt and separate from the dough. Once thawed, the dough should be treated as fresh – keep it cold, roll it gently, and chill cut pieces before baking. This makes having consistent puff pastry layers on hand for spontaneous baking projects incredibly convenient.
Conclusion: Achieving Consistent Puff Pastry Success
Mastering consistent puff pastry layers is a baking skill that requires practice, but the results are incredibly rewarding. By understanding the principles of lamination, paying close attention to ingredient temperatures, handling the dough gently, and following a systematic process with adequate chilling times, you can consistently achieve that coveted flaky, airy texture.
This guide provides the foundation for a reliable consistent puff pastry layers recipe. Remember to be patient, work in a cool environment if possible, and don't be discouraged if your first attempt isn't perfect. Each batch is a learning opportunity. With practice and adherence to these techniques, you'll be creating beautiful, perfectly puffed pastries every time. Happy baking!
Frequently Asked Questions
How do I achieve consistent puff pastry layers when the dough keeps shrinking back?
The key is to allow the dough to rest properly in the refrigerator between each turn. This relaxes the gluten and prevents shrinkage.
What's the ideal temperature for my kitchen when making puff pastry to ensure consistent layers?
A cool kitchen is crucial. Aim for a temperature below 70°F (21°C). A warmer environment will cause the butter to melt too quickly, hindering layer formation.
My butter keeps breaking through the dough. How can I prevent this and maintain consistent puff pastry layers?
Ensure the butter is cold and pliable, not frozen or melted. Also, roll gently and evenly, avoiding excessive pressure on any one spot to keep the butter intact.
How many turns should I do to get the best and most consistent puff pastry layers?
Generally, 4-6 single turns are sufficient. Overworking the dough can develop too much gluten, making it tough and preventing proper lamination.
What type of flour is best for achieving consistent puff pastry layers?
Use a strong bread flour with a high gluten content. This provides the necessary structure and elasticity for the dough to rise and create those beautiful distinct layers.
Final Reflection: Mastering the Flaky Perfection of Puff Pastry
The pursuit of consistently perfect puff pastry layers is more than just a culinary quest; it's a testament to the power of precision and understanding in the kitchen. Achieving those ethereal, delicate layers, each one a testament to butter's transformative power, is a rewarding experience that elevates baking from a simple task to an art form. This article has explored the crucial steps, from the initial chilling process to the careful folding techniques, that contribute to achieving this culinary gold standard.
The impact of mastering puff pastry extends far beyond the individual baker. It's a skill that connects us to generations of pastry chefs who have perfected this technique, a legacy passed down through time. The making of puff pastry is a dance between patience and precision, a testament to the transformative power of simple ingredients.
This quote, though my own, encapsulates the feeling of accomplishment and the deep satisfaction derived from successfully creating this challenging yet rewarding pastry. The ability to consistently produce beautiful puff pastry opens up a world of culinary possibilities, from classic croissants to elegant palmiers, allowing for greater creativity and expression in the kitchen.
Now, I invite you to take what you've learned and embark on your own puff pastry journey. Don't be discouraged by initial setbacks; embrace the process, learn from each attempt, and celebrate the small victories along the way. The mastery of puff pastry is not just about the final product; it's about the journey of learning, the patience cultivated, and the pride in creating something truly exquisite. So, gather your ingredients, embrace the challenge, and experience the joy of achieving consistently perfect, flaky layers. Your taste buds (and your Instagram feed!) will thank you.
Unlock Your Perfect Puff Pastry: Flaky Layers, Every Time!
Thanks for joining us on this puff pastry journey! We hope you now feel confident in tackling this seemingly tricky technique. Ready to take your baking skills to the next level?
- Master the art of lamination: Practice makes perfect! Try the recipe again, focusing on even butter distribution and gentle folds. Notice the difference each time.
- Share your puff pastry creations: Show us your beautiful, layered masterpieces on social media using #BakeWithEasePuffPastry! We'd love to see your results.
- Explore new puff pastry recipes: Now that you’ve mastered the basics, let’s get creative! Find a new savory or sweet recipe to put your skills to the test.
What innovative puff pastry treat will you bake next?