
Vanillekipferl (Vanilla Crescent Cookies): An Easy Recipe to Master

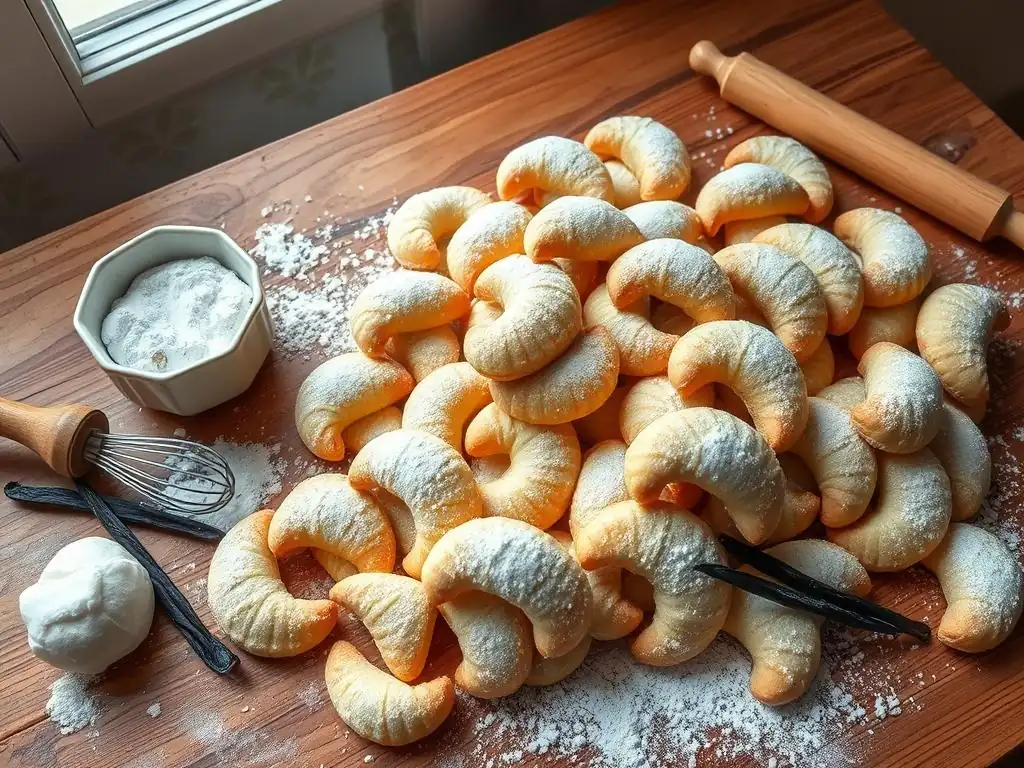
Welcome to BakeWithEase, your companion on a delightful baking journey! Ever dreamed of creating melt-in-your-mouth cookies that whisper tales of Austrian Christmas markets? Get ready to unlock the secrets of a beloved classic with our easy vanilla crescent cookie recipe. Prepare to be amazed at how simple it is to create these delicate treats, and discover why they're a staple in regional baking traditions. Intrigued? Let's get baking!
- Bake Authentic Vanillekipferl: A Guide from Sally's Baking Addiction
- Understanding Vanillekipferl: A German Baking Tradition
- The Easiest Vanilla Crescent Cookie Recipe You'll Ever Need
- Tips and Tricks for Perfect Vanilla Crescent Cookies
- Troubleshooting Common Vanillekipferl Baking Problems
- Storing Your Homemade Vanilla Crescent Cookies
- Variations on the Classic Vanillekipferl Recipe
- More German Baking Delights from Sally's Baking Addiction
-
Frequently Asked Questions
- What makes this Vanilla Crescent Cookie recipe easy?
- What are the key ingredients that define a traditional Vanilla Crescent Cookie?
- Can I substitute any ingredients in this Vanillekipferl recipe?
- How do I prevent my Vanilla Crescent Cookies from spreading during baking?
- What's the best way to store Vanilla Crescent Cookies to maintain their freshness?
- Final Reflection: The Sweet Simplicity of Tradition
- Unlock the Secrets of Perfect Vanillekipferl!
Bake Authentic Vanillekipferl: A Guide from Sally's Baking Addiction
Embarking on the journey of baking traditional German cookies can feel daunting, but with the right approach, it becomes a truly delightful experience. Many bakers, inspired by popular resources like Sally's Baking Addiction, seek out accessible methods to recreate classic European treats right in their own kitchens. This guide focuses on providing an easy vanilla crescent cookie recipe that simplifies the process without sacrificing the authentic taste and texture that makes Vanillekipferl so beloved.
Our aim is to demystify this classic German cookie, proving that you don't need years of baking experience to achieve perfect results. We'll break down the steps, share helpful tips, and guide you through creating these melt-in-your-mouth vanilla crescents, making German baking delights achievable for every home baker. Get ready to fill your kitchen with the irresistible aroma of vanilla and butter!
Understanding Vanillekipferl: A German Baking Tradition
What are Vanillekipferl? The History and Origins
Vanillekipferl are traditional small, crescent-shaped biscuits originating from Austria, and widely popular across Germany, Hungary, Slovakia, and the Czech Republic, especially during the Christmas season. Their history is somewhat debated, with popular legends linking them to the Siege of Vienna in 1683, where bakers supposedly created crescent-shaped pastries to celebrate the defeat of the Ottoman Turks, whose flag featured a crescent moon. While this story is more myth than documented fact, it highlights the deep cultural roots and historical significance of crescent-shaped pastries in the region.
Historically, these delicate cookies were often made with walnuts or almonds, flour, butter, and sugar, then dusted generously with vanilla sugar while still warm. The inclusion of ground nuts is a hallmark, contributing significantly to their tender, crumbly texture. Over centuries, the recipe has been refined, but the core elements – the crescent shape, the use of nuts, and the generous vanilla sugar coating – remain central to what defines a Vanillekipferl. They are a staple on Christmas cookie platters, representing centuries of baking tradition and festive celebration.
This easy vanilla crescent cookie recipe stands out because it prioritizes simplicity and reliable results, making it perfect for bakers of all skill levels. Traditional recipes can sometimes be finicky, requiring precise handling and technique to achieve that signature melt-in-your-mouth texture. Our approach streamlines the process, focusing on clear instructions and forgiving methods that minimize common baking pitfalls, such as cookies spreading too much or becoming tough.
Furthermore, this recipe ensures that the key characteristics of a great Vanillekipferl are still prominent: the rich buttery flavor, the delicate crumb, and the intense aroma of vanilla from the generous coating of vanilla sugar. It's designed so that even a beginner can create cookies that look and taste like they came from a traditional German bakery. By simplifying the steps, we make it easier for anyone to enjoy the rewarding experience of baking these classic treats and sharing them with friends and family, celebrating the joy of German baking delights with minimal stress.
Gather Your Ingredients: Simple & Accessible
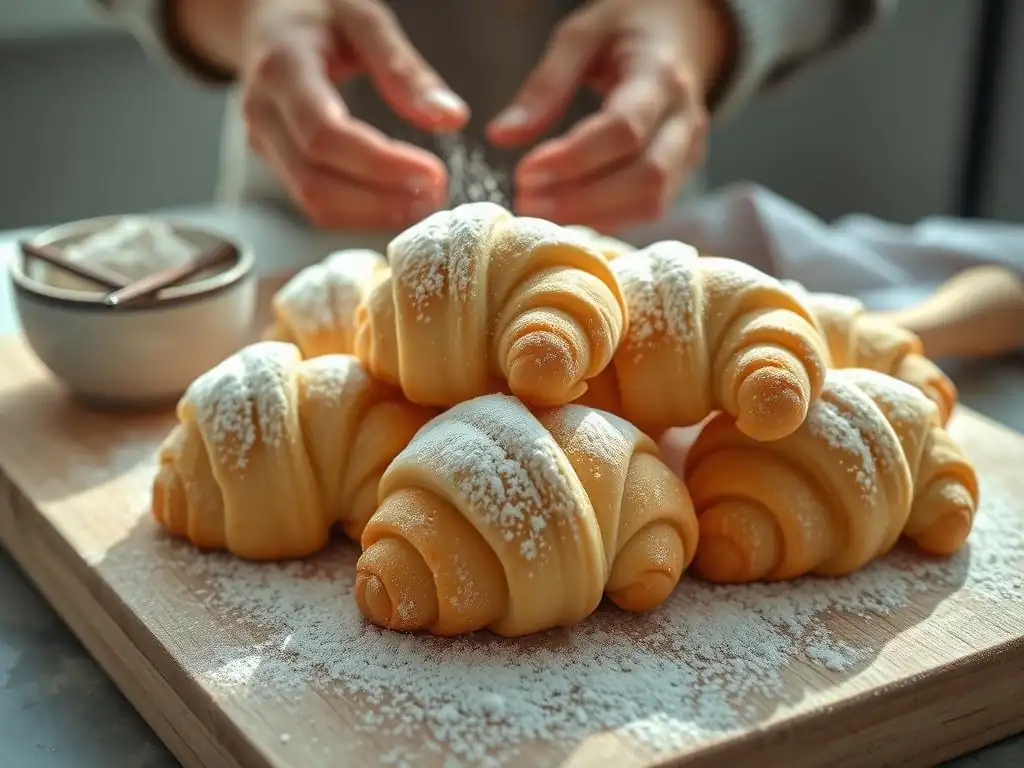
One of the beauties of this easy vanilla crescent cookie recipe is that it relies on pantry staples you likely already have on hand, or that are easily found at any grocery store. You won't need exotic flours or hard-to-find extracts. The simplicity of the ingredient list contributes directly to the ease of the recipe, allowing you to focus on the technique rather than hunting down special items.
Ensure your ingredients are fresh and measured accurately. For example, using good quality butter makes a noticeable difference in flavor. Having everything measured out and ready before you start mixing is a simple step that saves time and reduces stress, making the entire baking process smoother and more enjoyable. This preparation is key to mastering any easy vanilla crescent cookie recipe.
Ingredients List for Perfect Vanillekipferl
- All-purpose flour: Approximately
250g - Finely ground almonds or walnuts: Approximately
100g - Unsalted butter, softened: Approximately
200g - Powdered sugar (for dough): Approximately
80g - Vanilla extract:
1 teaspoon - Pinch of salt
- Vanilla sugar (for coating): Approximately
100g(You can make your own by burying vanilla beans in granulated sugar for a week, or use store-bought) - Optional: Additional powdered sugar for dusting
Step-by-Step Instructions: Baking Vanillekipferl with Ease
Baking Vanillekipferl with this easy recipe is straightforward. Follow these steps carefully, and you'll be enjoying these delicate cookies in no time. Precision in steps like chilling the dough and handling the warm cookies is more important than complex techniques.
Step 1: Preparing the Dough for Vanilla Kipferl
Begin by creaming the softened butter and powdered sugar together in a large bowl until the mixture is light and fluffy. This usually takes about 2-3 minutes with an electric mixer. Next, beat in the vanilla extract and a pinch of salt. In a separate bowl, whisk together the flour and finely ground nuts. Gradually add the dry ingredients to the butter mixture, mixing on low speed until just combined.
Be careful not to overmix, as this can result in tough cookies. The dough should come together into a soft, pliable ball. Flatten the dough into a disc, wrap it tightly in plastic wrap, and refrigerate for at least 30 minutes. Chilling the dough is crucial for easy handling and preventing excessive spreading during baking, a common issue tackled by any good easy vanilla crescent cookie recipe.
Step 2: Shaping the Crescent Cookies
Once the dough is chilled and firm enough to handle, take small portions (about the size of a walnut, roughly 10-15g each) and roll them between your palms or on a lightly floured surface into small logs, approximately 5-6 cm long. Gently curve the ends of each log to form a crescent shape. Place the shaped cookies about 2-3 cm apart on baking sheets lined with parchment paper. If the dough becomes too soft while shaping, return it to the refrigerator for a few minutes. Working in batches can help maintain the dough's temperature and make shaping easier, ensuring your vanilla crescent cookies hold their shape.
Step 3: Baking to Golden Perfection
Preheat your oven to 160°C (320°F). Bake the Vanillekipferl for 10-15 minutes, or until the edges are lightly golden and the tops appear set but not browned. The exact baking time will depend on your oven and the size of your cookies. They should still look quite pale when they come out of the oven, as they continue to cook slightly on the baking sheet. Be careful not to overbake, as this will make them dry.
Step 4: The Essential Vanilla Sugar Coating
This step is critical for the signature taste and appearance of Vanillekipferl. While the cookies are still warm (but not hot enough to break easily), gently roll them in vanilla sugar. It's easiest to do this by placing a generous amount of vanilla sugar in a shallow dish or plate and carefully rolling each cookie. The warmth helps the sugar adhere beautifully. Be delicate, as the cookies are very fragile when warm. Allow the coated vanilla crescent cookies to cool completely on a wire rack.
Achieving the Perfect Texture: Light and Crumbly
The signature melt-in-your-mouth texture of Vanillekipferl comes from a few key factors. First, using finely ground nuts (almonds are traditional, but walnuts also work well) adds richness and prevents the dough from becoming too dense. Ensure the nuts are ground almost to a powder, not chunky. Second, do not overmix the dough once the flour is added. Overmixing develops gluten, which leads to a tougher cookie. Mix just until the ingredients are combined.
Third, the amount of butter is generous in this recipe, contributing significantly to the crumbly texture. Ensure your butter is softened but not melted when you start. Finally, baking them just until the edges are lightly golden is crucial. Overbaking will dry them out, resulting in a hard cookie instead of a tender one. Aim for cookies that are still pale on top with just a hint of color on the bottom edges.
Mastering the Crescent Shape: Techniques and Tools
Shaping the Vanillekipferl is perhaps the most hands-on part of this easy vanilla crescent cookie recipe. The key is to work with dough that is properly chilled. If the dough is too warm, it will be sticky and difficult to roll into logs. If it becomes too soft during shaping, place it back in the refrigerator for 10-15 minutes.
You can roll the dough portions between your palms or on a clean, lightly floured surface. Aim for logs that are relatively uniform in thickness, about 1-1.5 cm in diameter, and 5-6 cm long. Gently curving the ends creates the classic crescent shape. Practice makes perfect, and even slightly imperfect shapes will still taste delicious! Using a small kitchen scale to portion the dough (e.g., 12g per cookie) can help ensure uniformity in size, leading to more even baking.
The Secret to Intense Vanilla Flavor: Choosing the Right Vanilla
The name "Vanillekipferl" literally means "vanilla crescents," highlighting the importance of vanilla flavor. The most impactful way to infuse this flavor is through the vanilla sugar coating applied while the cookies are warm. Using homemade vanilla sugar, made by storing vanilla beans in granulated sugar for a week or two, provides the most authentic and intense vanilla aroma. The oils from the bean permeate the sugar, creating a fragrant coating.
If using store-bought vanilla sugar, ensure it's a good quality product. Alternatively, you can enhance the flavor by adding a touch more vanilla extract to the dough (perhaps 1.5 teaspoons instead of 1) or by sifting a small amount of pure vanilla powder in with your powdered sugar before coating. Don't skip the vanilla sugar coating; it's what truly defines these vanilla crescent cookies.
Troubleshooting Common Vanillekipferl Baking Problems
Why are my Vanillekipferl Spreading?
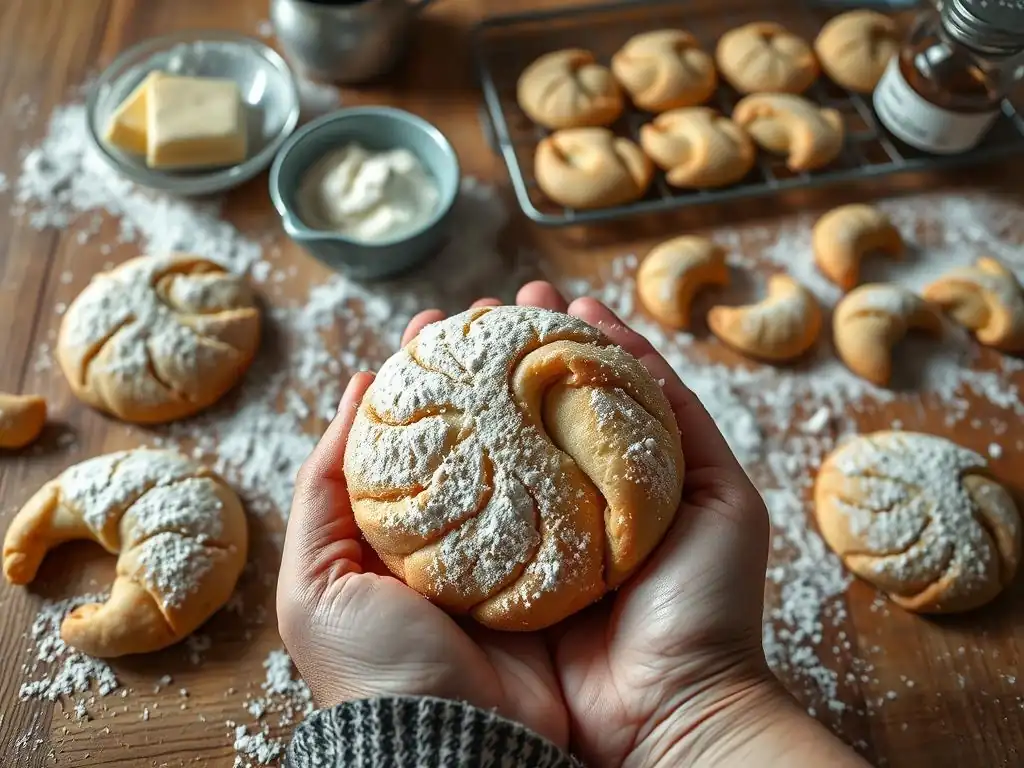
Excessive spreading is a common issue with many cookie recipes, including Vanillekipferl. The primary culprit is usually butter that is too soft or melted, or dough that hasn't been adequately chilled. Butter should be softened to room temperature, meaning it yields slightly when pressed but isn't greasy. If your kitchen is warm, your butter might soften too much while you're working.
Ensure the dough is chilled for at least 30 minutes before shaping, and if it becomes soft during shaping, pop it back into the fridge. Also, check your oven temperature with an oven thermometer; an oven that is not hot enough can cause cookies to spread before they set. Using parchment paper on your baking sheets also helps prevent sticking and can slightly mitigate spreading compared to greased pans.
Dry Vanillekipferl are often a result of overbaking or using too much flour. These cookies should be delicate and crumbly, not hard or dry. They are meant to be baked for a relatively short time at a moderate temperature. As mentioned earlier, look for lightly golden edges, not a completely browned cookie.
Accuracy in measuring flour is also key. Using the "spoon and level" method (lightly spooning flour into a measuring cup and leveling off the excess with a straight edge) is preferable to scooping directly from the bag, which can compact the flour and result in using too much. If you suspect your dough was a bit dry before baking, you can sometimes add a tiny splash of milk or cream (half a teaspoon at a time) while mixing the wet ingredients, but be careful not to add too much liquid.
Burnt cookie bottoms are frustrating! This can happen for several reasons. The most common is baking on a dark metal baking sheet, which absorbs more heat than lighter ones. Using parchment paper is a simple solution that provides a barrier and helps prevent burning.
Another cause can be placing the baking sheet too low in the oven. Try baking on the middle rack. If you consistently have issues with bottoms browning too quickly, you can try using two baking sheets stacked on top of each other; the extra layer of air acts as insulation. Always ensure your oven is preheated correctly, as putting cookies into a cool oven can lead to longer baking times and potential burning.
How to Keep Vanillekipferl Fresh and Flavorful
Once completely cooled, Vanillekipferl should be stored in an airtight container at room temperature. Layering the cookies with parchment paper can help prevent them from sticking together, especially if the vanilla sugar coating is very generous. Stored properly, they will retain their delicate texture and intense vanilla flavor for up to 2-3 weeks. In fact, some people find their flavor even improves after a day or two as the flavors meld.
Keep the container away from direct sunlight or heat sources, which can affect the texture. Avoid storing them with other types of cookies that have stronger flavors or different textures, as the delicate vanilla flavor can be easily overshadowed or the cookies can absorb moisture. An easy vanilla crescent cookie recipe yields a delicious treat, and proper storage ensures you can enjoy them for longer.
Freezing Vanillekipferl for Later Enjoyment
Vanillekipferl freeze exceptionally well, either baked or unbaked. To freeze baked cookies, ensure they are completely cooled and coated in vanilla sugar. Place them in a single layer on a baking sheet and freeze until solid, about 1-2 hours. Then, transfer the frozen cookies to an airtight container or freezer bag, layering with parchment paper to prevent sticking. They can be frozen for up to 3-4 months. Thaw them at room temperature before serving.
To freeze unbaked dough, follow Step 1 to make the dough. You can freeze the entire disc of dough wrapped tightly in plastic wrap and then foil, or shape the crescents first and freeze them on a baking sheet before transferring to a container. Frozen unbaked dough or shaped cookies can be stored for up to 2 months. Thaw dough overnight in the refrigerator before shaping or baking. Shaped, frozen cookies can often be baked directly from frozen, adding a minute or two to the baking time.
Variations on the Classic Vanillekipferl Recipe
Adding Nuts: Hazelnut or Almond Vanillekipferl
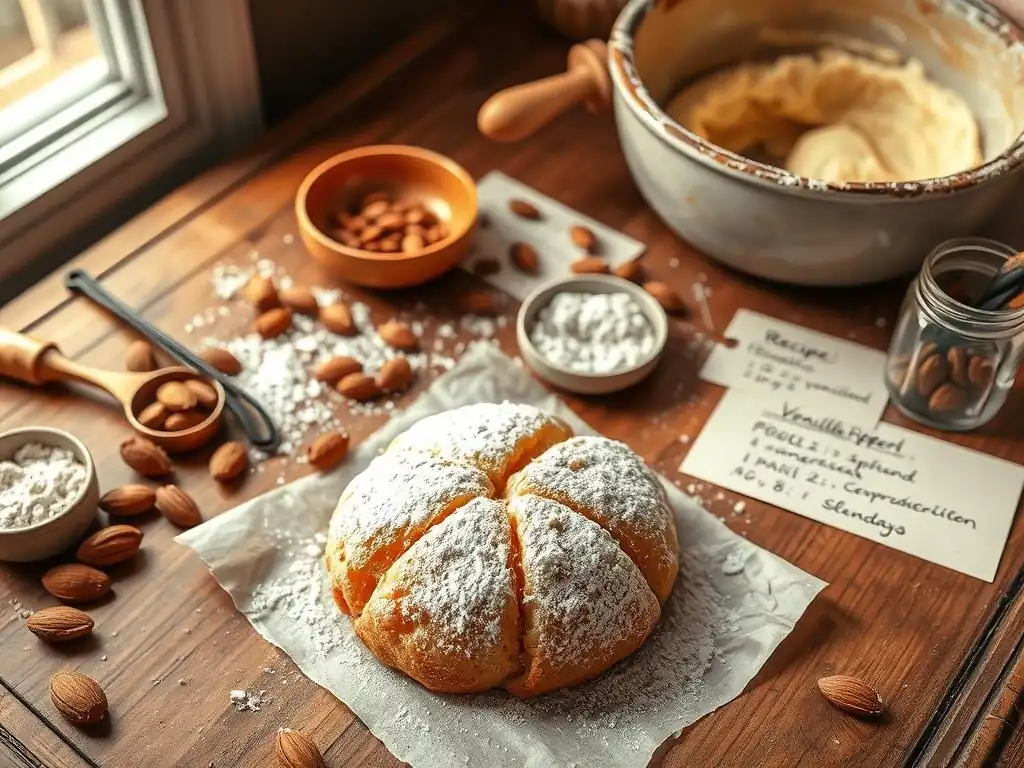
The classic Vanillekipferl often uses ground almonds, but ground hazelnuts are another popular and delicious variation. Substituting ground hazelnuts for some or all of the ground almonds gives the cookies a slightly richer, nuttier flavor. Ensure the nuts are finely ground for the best texture. You can buy pre-ground nuts or grind them yourself in a food processor, being careful not to over-process into a paste.
Using different nuts is a simple way to add a twist to this easy vanilla crescent cookie recipe. Some bakers even use a blend of almond and hazelnut. Ensure the total weight of ground nuts remains around 100g as specified in the ingredient list to maintain the correct dough consistency.
For those who love the combination of vanilla and chocolate, dipping the cooled Vanillekipferl in melted chocolate is a simple yet decadent variation. After the cookies have cooled completely and are coated in vanilla sugar, melt some good quality dark, milk, or white chocolate using a double boiler or microwave. Dip one end of each cookie into the melted chocolate, letting any excess drip off, and place them on parchment paper to set.
This adds an extra layer of flavor and texture. You can sprinkle the chocolate with chopped nuts, sprinkles, or a dusting of cocoa powder before it sets for extra flair. Allow the chocolate to harden completely before storing the cookies.
Gluten-Free Vanillekipferl: A Baking Adaptation
Adapting this easy vanilla crescent cookie recipe to be gluten-free is possible using a good quality gluten-free all-purpose flour blend. Look for a blend that is suitable for cookies and contains a mix of flours and starches, often including rice flour, tapioca starch, and potato starch.
Replace the all-purpose flour in the recipe with an equal weight ( 250g) of your chosen gluten-free blend. The dough might handle slightly differently, possibly being a bit more crumbly. You might need to work it gently with your hands to bring it together. The baking time and temperature should remain similar, but keep a close eye on them as gluten-free baked goods can sometimes brown faster. The resulting gluten-free vanilla crescent cookies can be just as tender and flavorful as the traditional version.
More German Baking Delights from Sally's Baking Addiction
For those eager to explore more German baking delights after mastering this easy vanilla crescent cookie recipe, there are many other wonderful traditional treats to discover. Recipes inspired by popular baking sites often provide accessible entry points into these rich baking traditions.
Exploring other classic German recipes allows you to expand your baking repertoire and delve deeper into the regional and cultural baking landscape. Each cookie or cake tells a story of German culinary history and celebration.
Lebkuchen Recipe
Lebkuchen are traditional German gingerbread cookies, often soft and chewy, flavored with a blend of warm spices like ginger, cinnamon, cloves, and cardamom. They vary widely by region, from soft, cake-like versions to firmer, cut-out cookies. Often glazed or decorated with almonds, they are a quintessential part of German Christmas markets and festive baking. Mastering an easy Lebkuchen recipe is a great next step for fans of spiced cookies.
Black Forest Cake Recipe
Black Forest Cake, or Schwarzwälder Kirschtorte, is a famous German layer cake featuring chocolate sponge cake, whipped cream, cherries, and Kirsch (cherry brandy). It's a more complex baking project than cookies but incredibly rewarding. A good Black Forest Cake recipe balances the richness of the chocolate and cream with the tartness of the cherries and the distinct flavor of the Kirsch, making it a truly iconic German dessert.
Frequently Asked Questions
This Vanillekipferl recipe emphasizes simple steps and readily available ingredients. It avoids complex techniques, making it accessible for bakers of all skill levels.
The core ingredients typically include butter, flour, sugar, and ground nuts (usually almonds or walnuts). A generous coating of vanilla sugar after baking is also essential.
Can I substitute any ingredients in this Vanillekipferl recipe?
While the recipe is designed for optimal flavor, some substitutions are possible. For example, you could use different nuts, but be aware that this will affect the final taste.
Using cold butter and chilling the dough before shaping are crucial. Also, avoid overmixing the dough, as this develops gluten, which can lead to spreading.
Store them in an airtight container at room temperature. This helps prevent them from drying out and maintains their delicate texture for several days.
Final Reflection: The Sweet Simplicity of Tradition
The enduring appeal of the Vanillekipferl lies not just in its delicate flavor, but in its ability to connect us to cherished memories and traditions. These seemingly simple crescent cookies, easily mastered with the recipe provided, represent a comforting ritual, a tangible link to generations past, and a delightful way to share warmth and joy with loved ones. Their ease of preparation belies the profound satisfaction derived from creating something beautiful and delicious from scratch.
The act of baking these cookies, the scent of warm vanilla and nuts filling the kitchen, evokes a powerful sense of nostalgia and belonging. It's a feeling I believe many share, a connection to simpler times and the comforting embrace of family gatherings. The best things in life are simple,
a sentiment perfectly encapsulated by the humble yet exquisite Vanillekipferl. The recipe itself becomes a vessel for creating memories, a shared experience that transcends generations and cultures.
Now, I invite you to embrace the simplicity and joy of baking these cookies. Don't just follow the recipe; let it be a starting point for your own culinary exploration. Experiment with different nuts, perhaps add a touch of citrus zest, or personalize the presentation with unique decorations. Most importantly, share your creations with those you cherish, and let the sweet aroma and delicious taste of these Vanillekipferl create lasting memories for you and your loved ones. The magic lies not just in the recipe, but in the love and care you put into making them.
Unlock the Secrets of Perfect Vanillekipferl!
Thanks for joining us on this delicious journey into the world of Vanillekipferl! We hope you've gained the confidence to tackle this classic recipe. Ready to bring the magic of these buttery, vanilla-scented crescents to your kitchen?
- Bake a batch of your own Vanillekipferl today! Use our recipe as your guide, and don't be afraid to experiment with different variations. Remember, practice makes perfect!
- Share your baking journey: Post a picture of your creations on social media and tag us! Let's inspire each other.
- Explore other festive recipes on BakeWithEase.com – we have a whole collection of holiday treats just waiting to be discovered!
What unique twist will you add to your Vanillekipferl to make them truly your own?